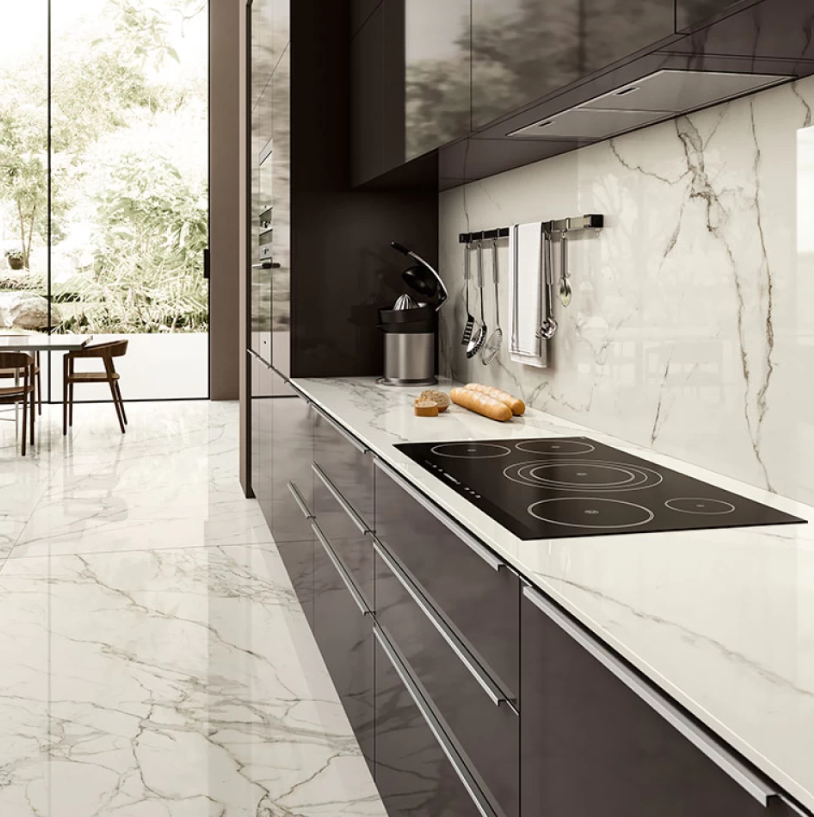
bathroom, blog, how to articles
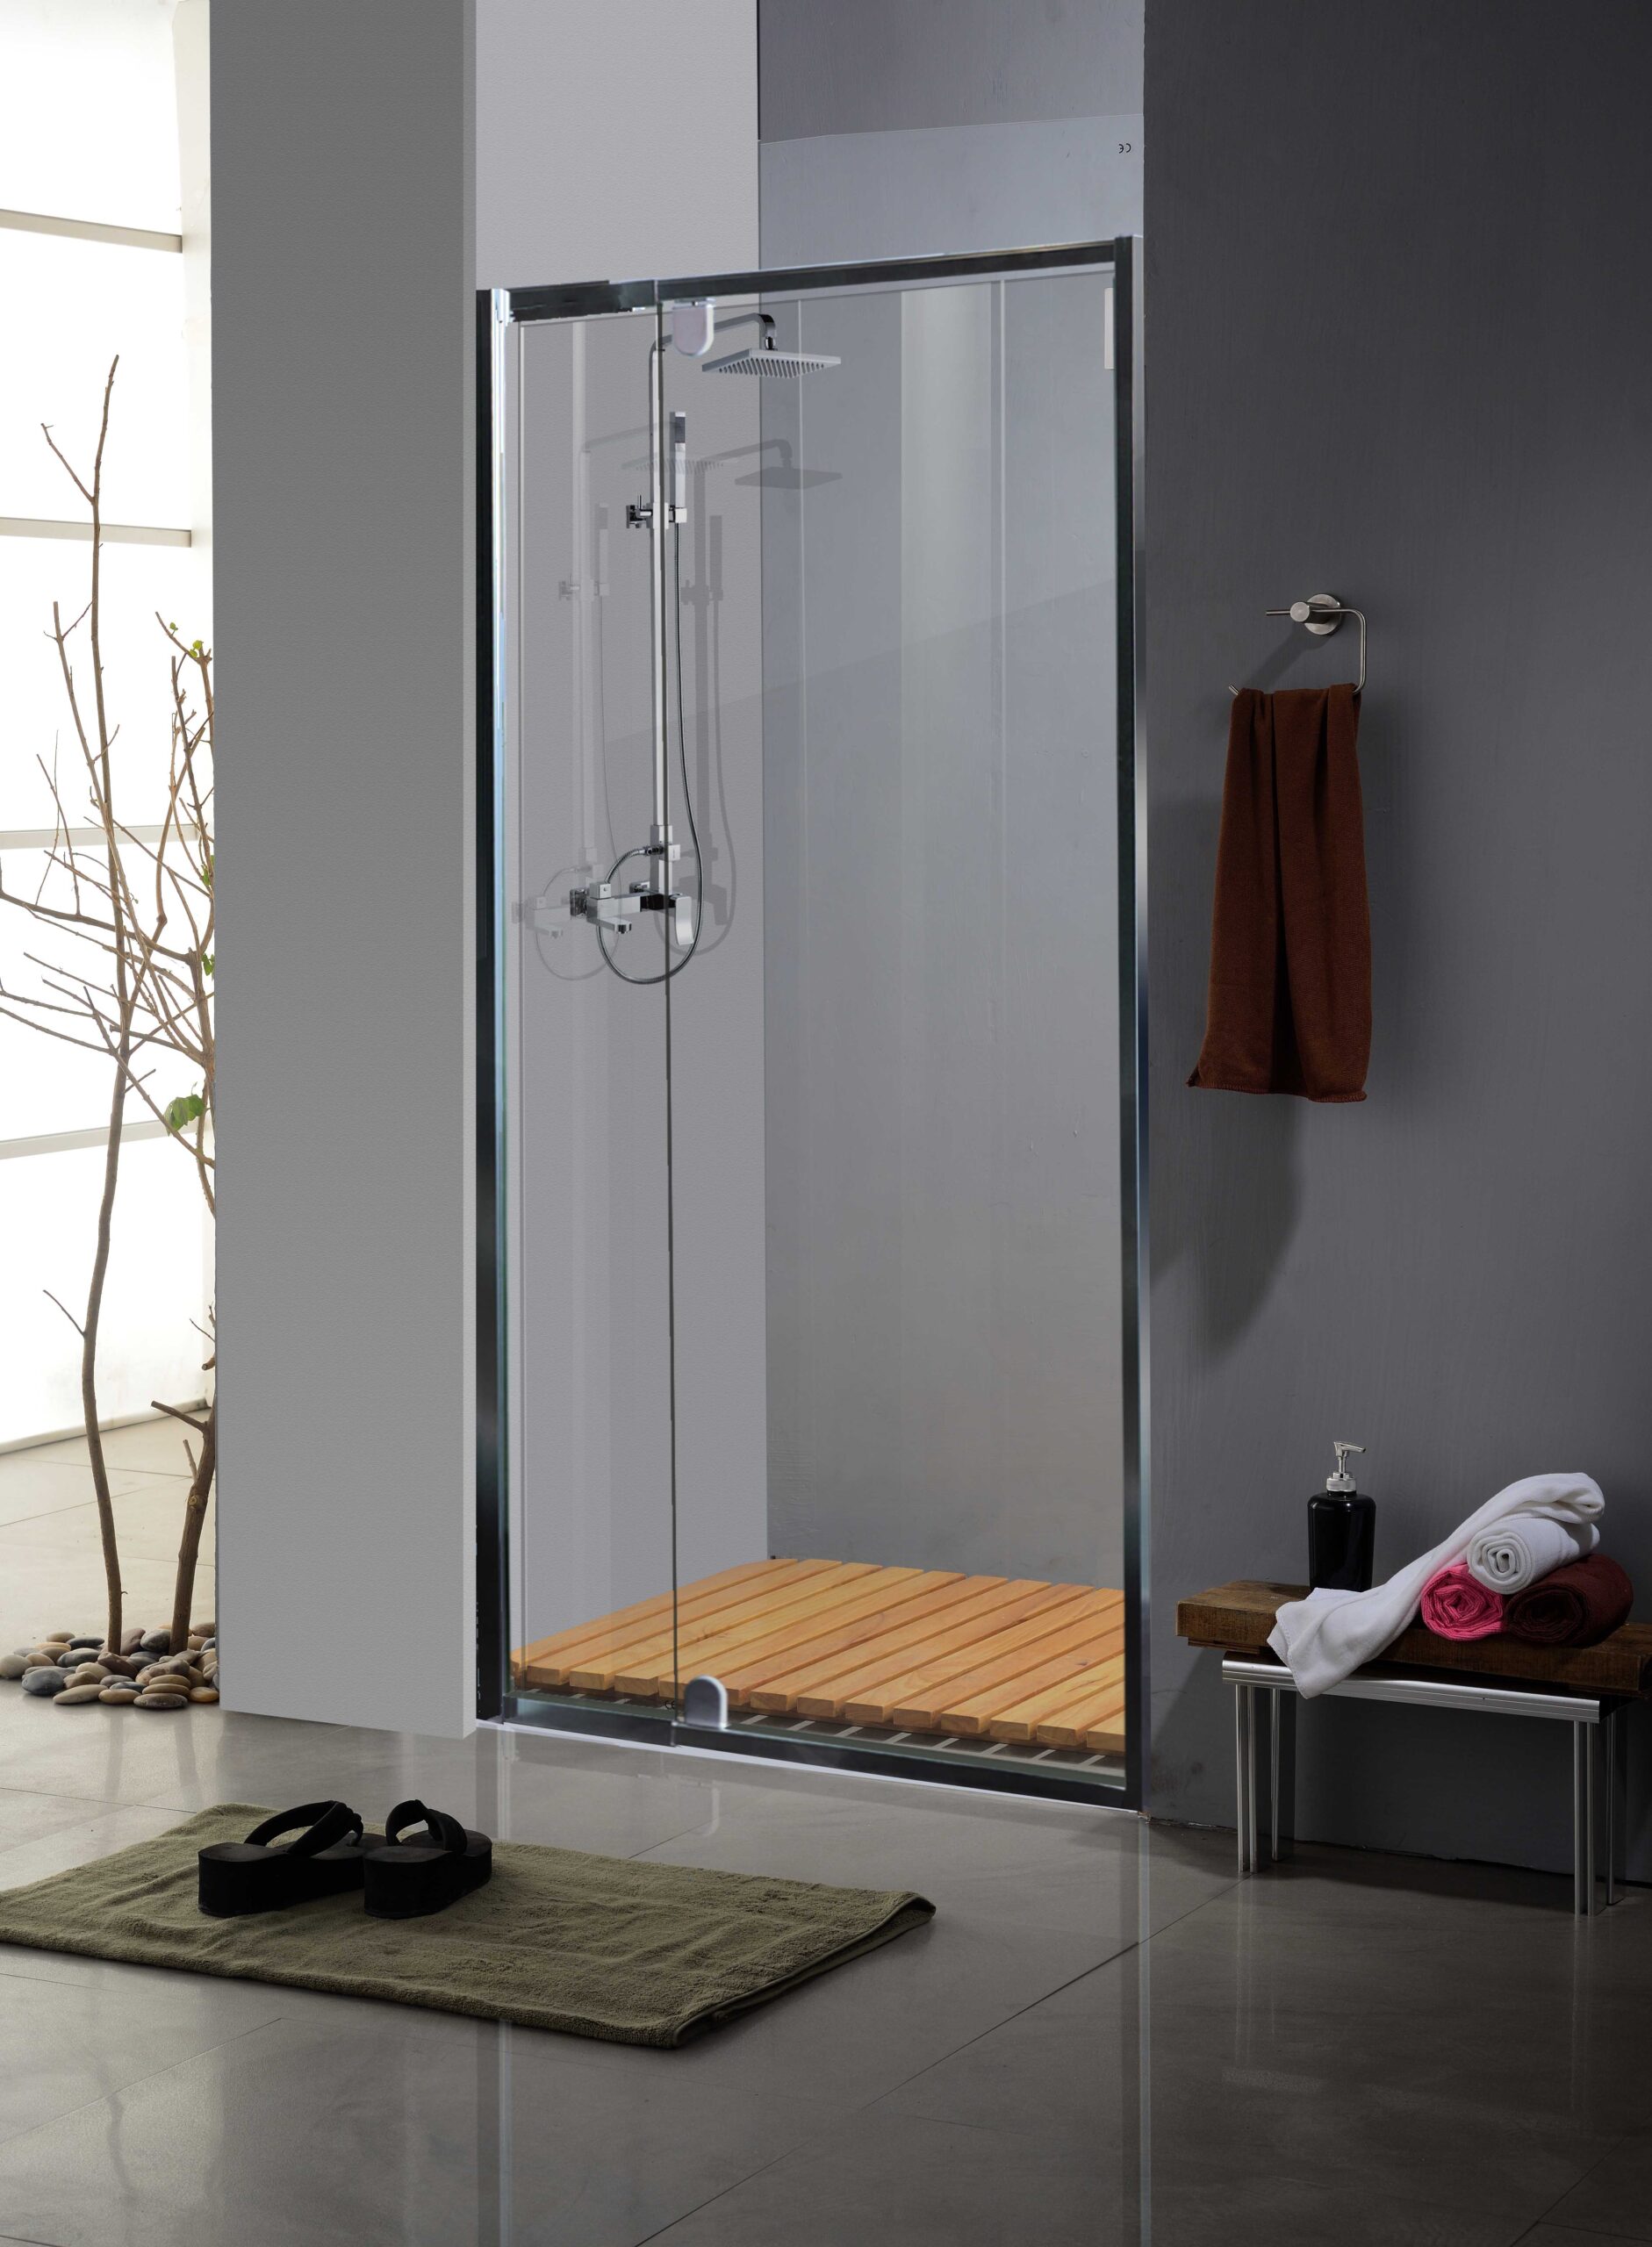
Choosing your shower and shower doors is crucial for creating a luxurious and functional bathroom space. A well-chosen shower not only enhances the aesthetics but also ensures a seamless experience.
Prefer watching over reading? Explore this topic by tuning in to the episode on Tiletoria Trends here.
The most important consideration
Measure your available space before selecting your bathroom shower doors, as the choice can significantly impact functionality. For instance, choosing a pivot door might not work in a small bathroom with limited space for the door to open.
Shower Curtains vs Shower Doors
One aspect that significantly elevates your experience and aesthetic is the choice between curtains and doors. Unlike curtains, doors provide a water-tight enclosure, ensuring a cleaner bathroom and a more enjoyable bathing experience.
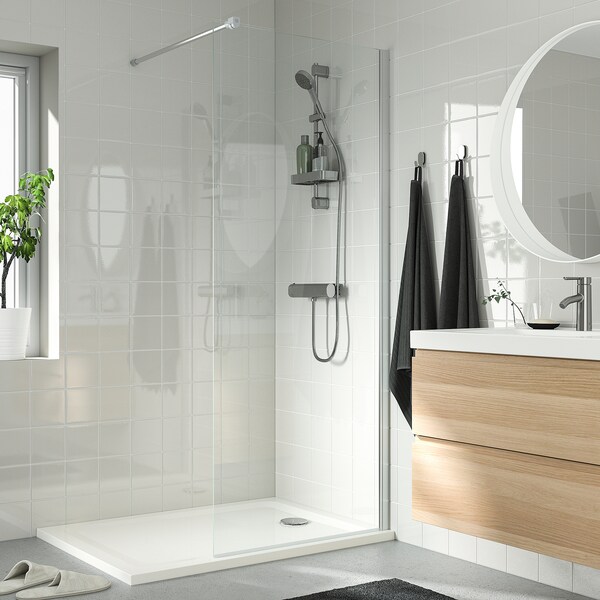
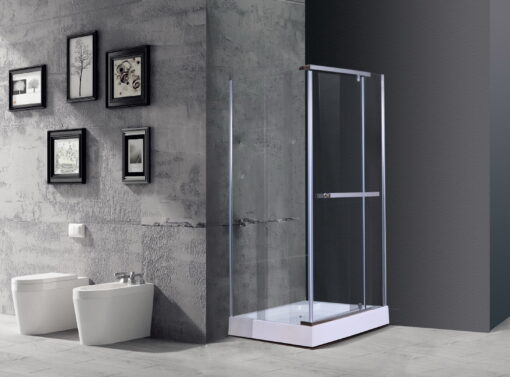
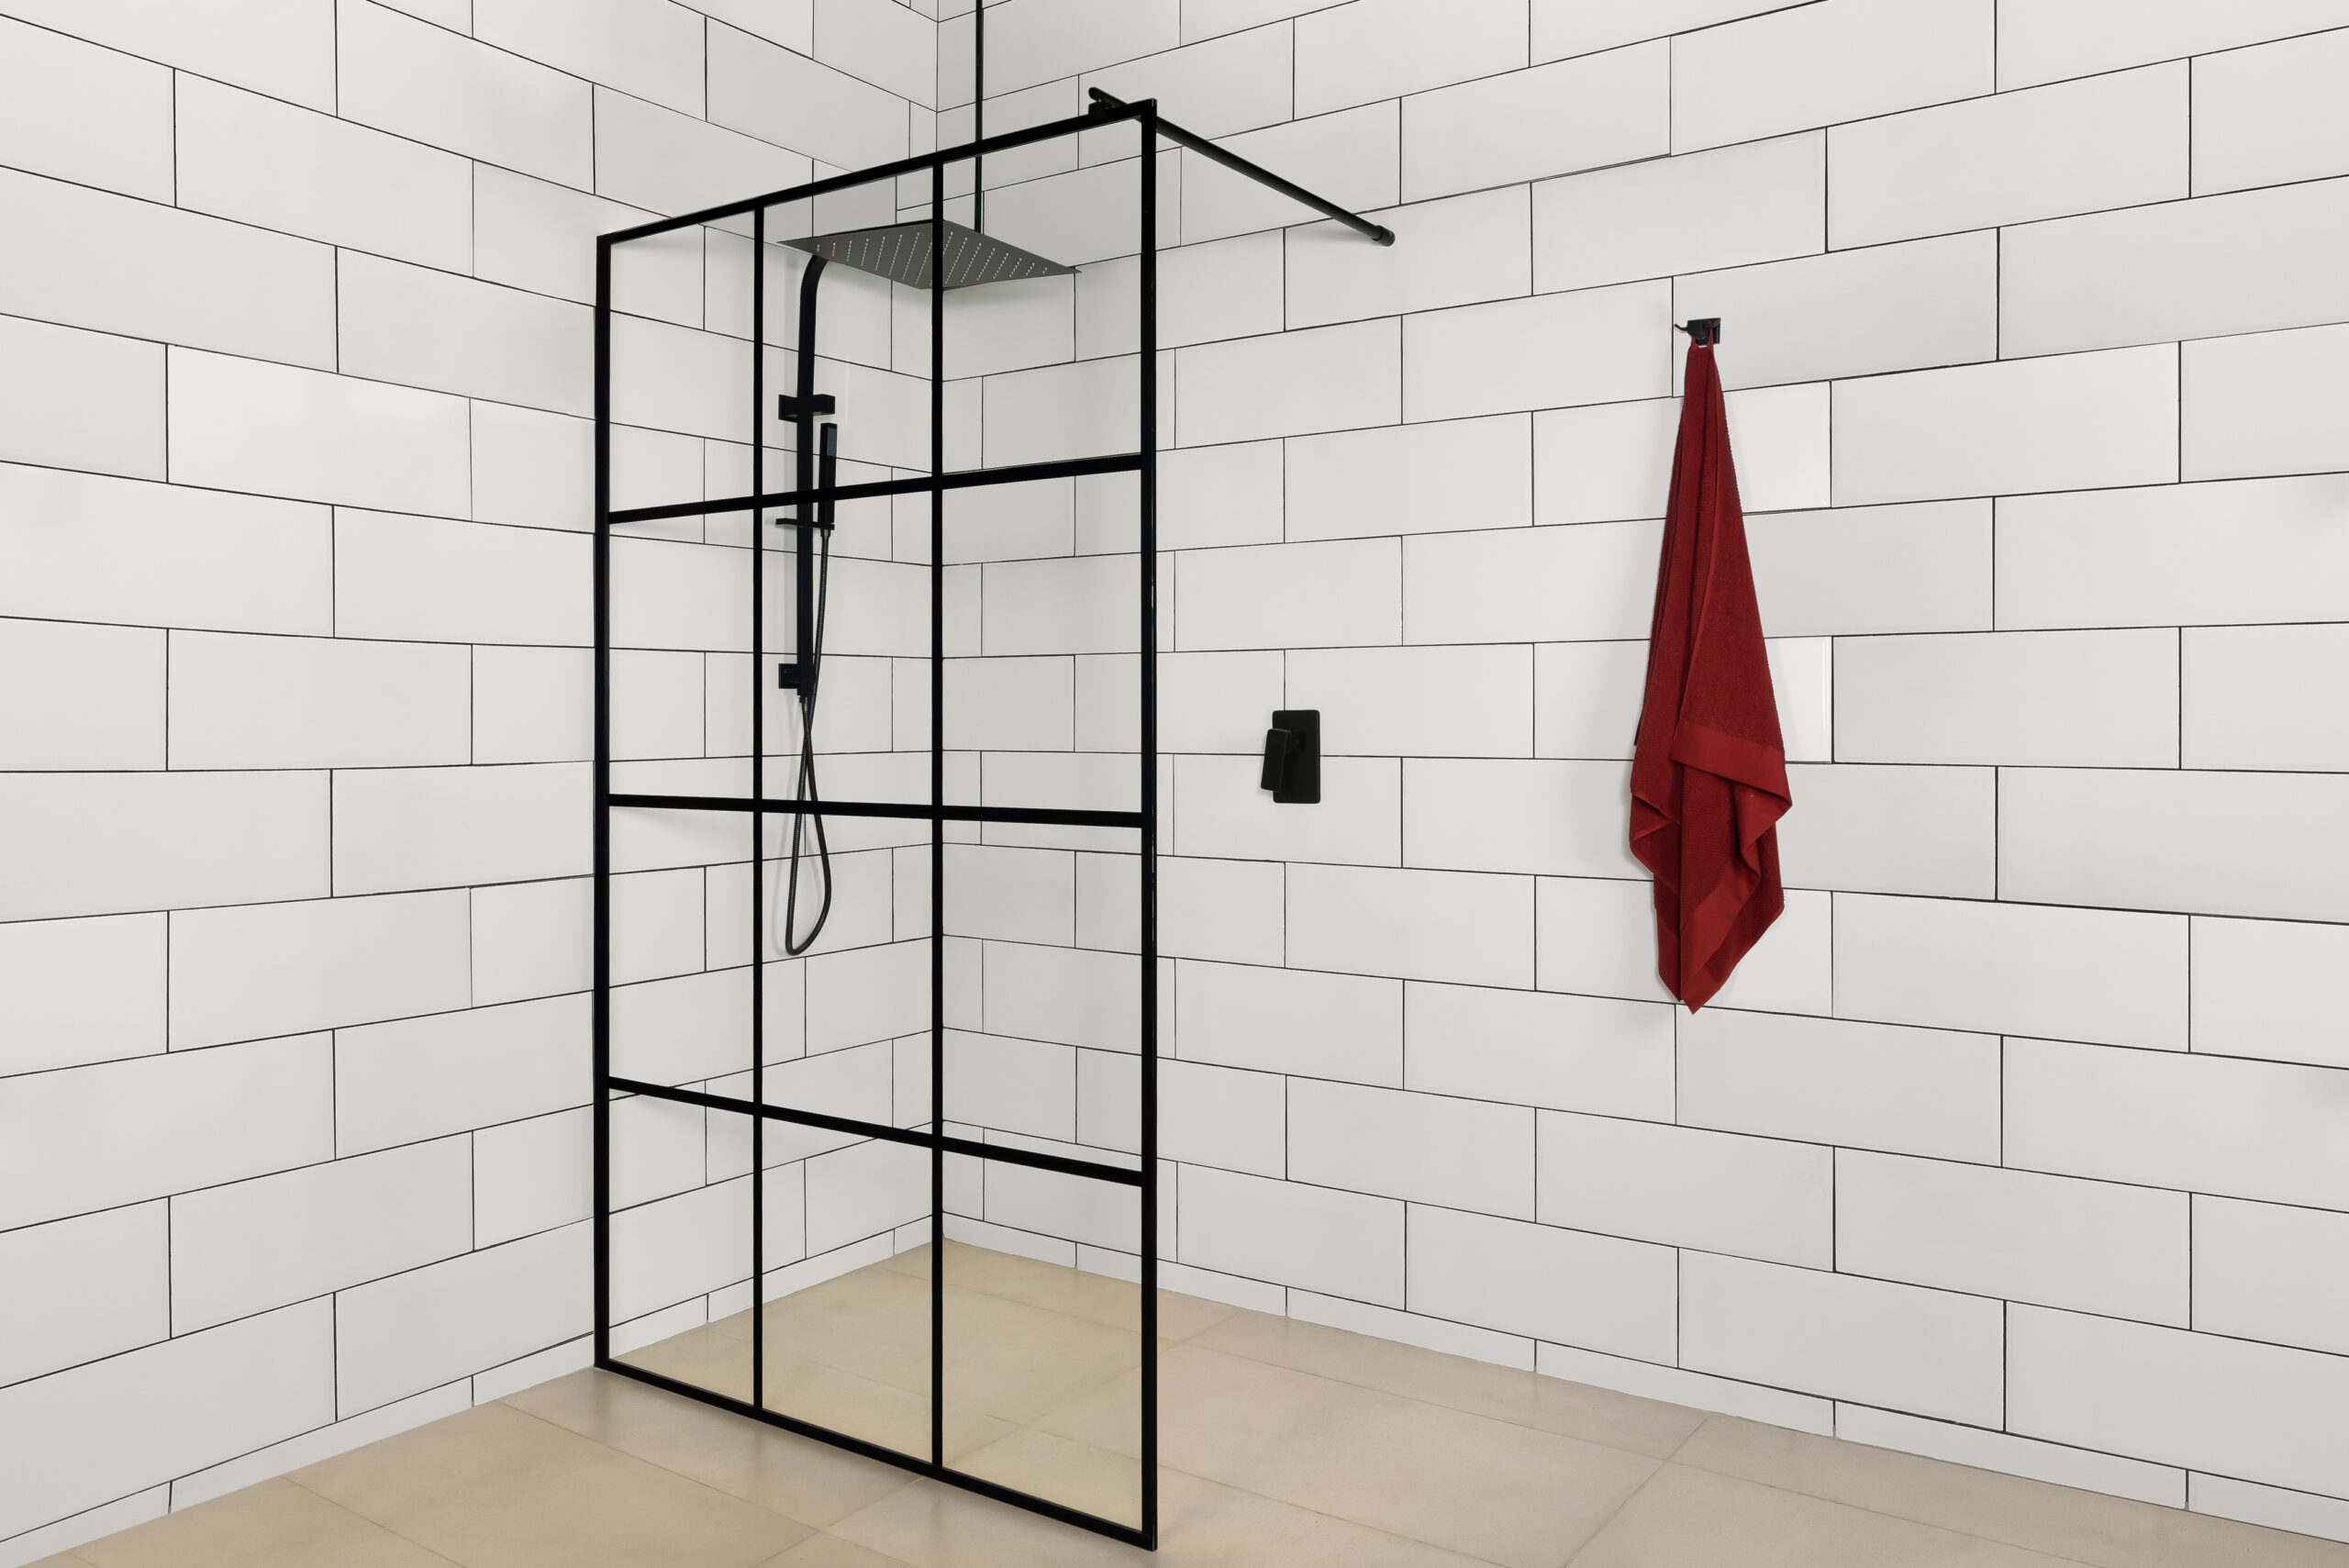
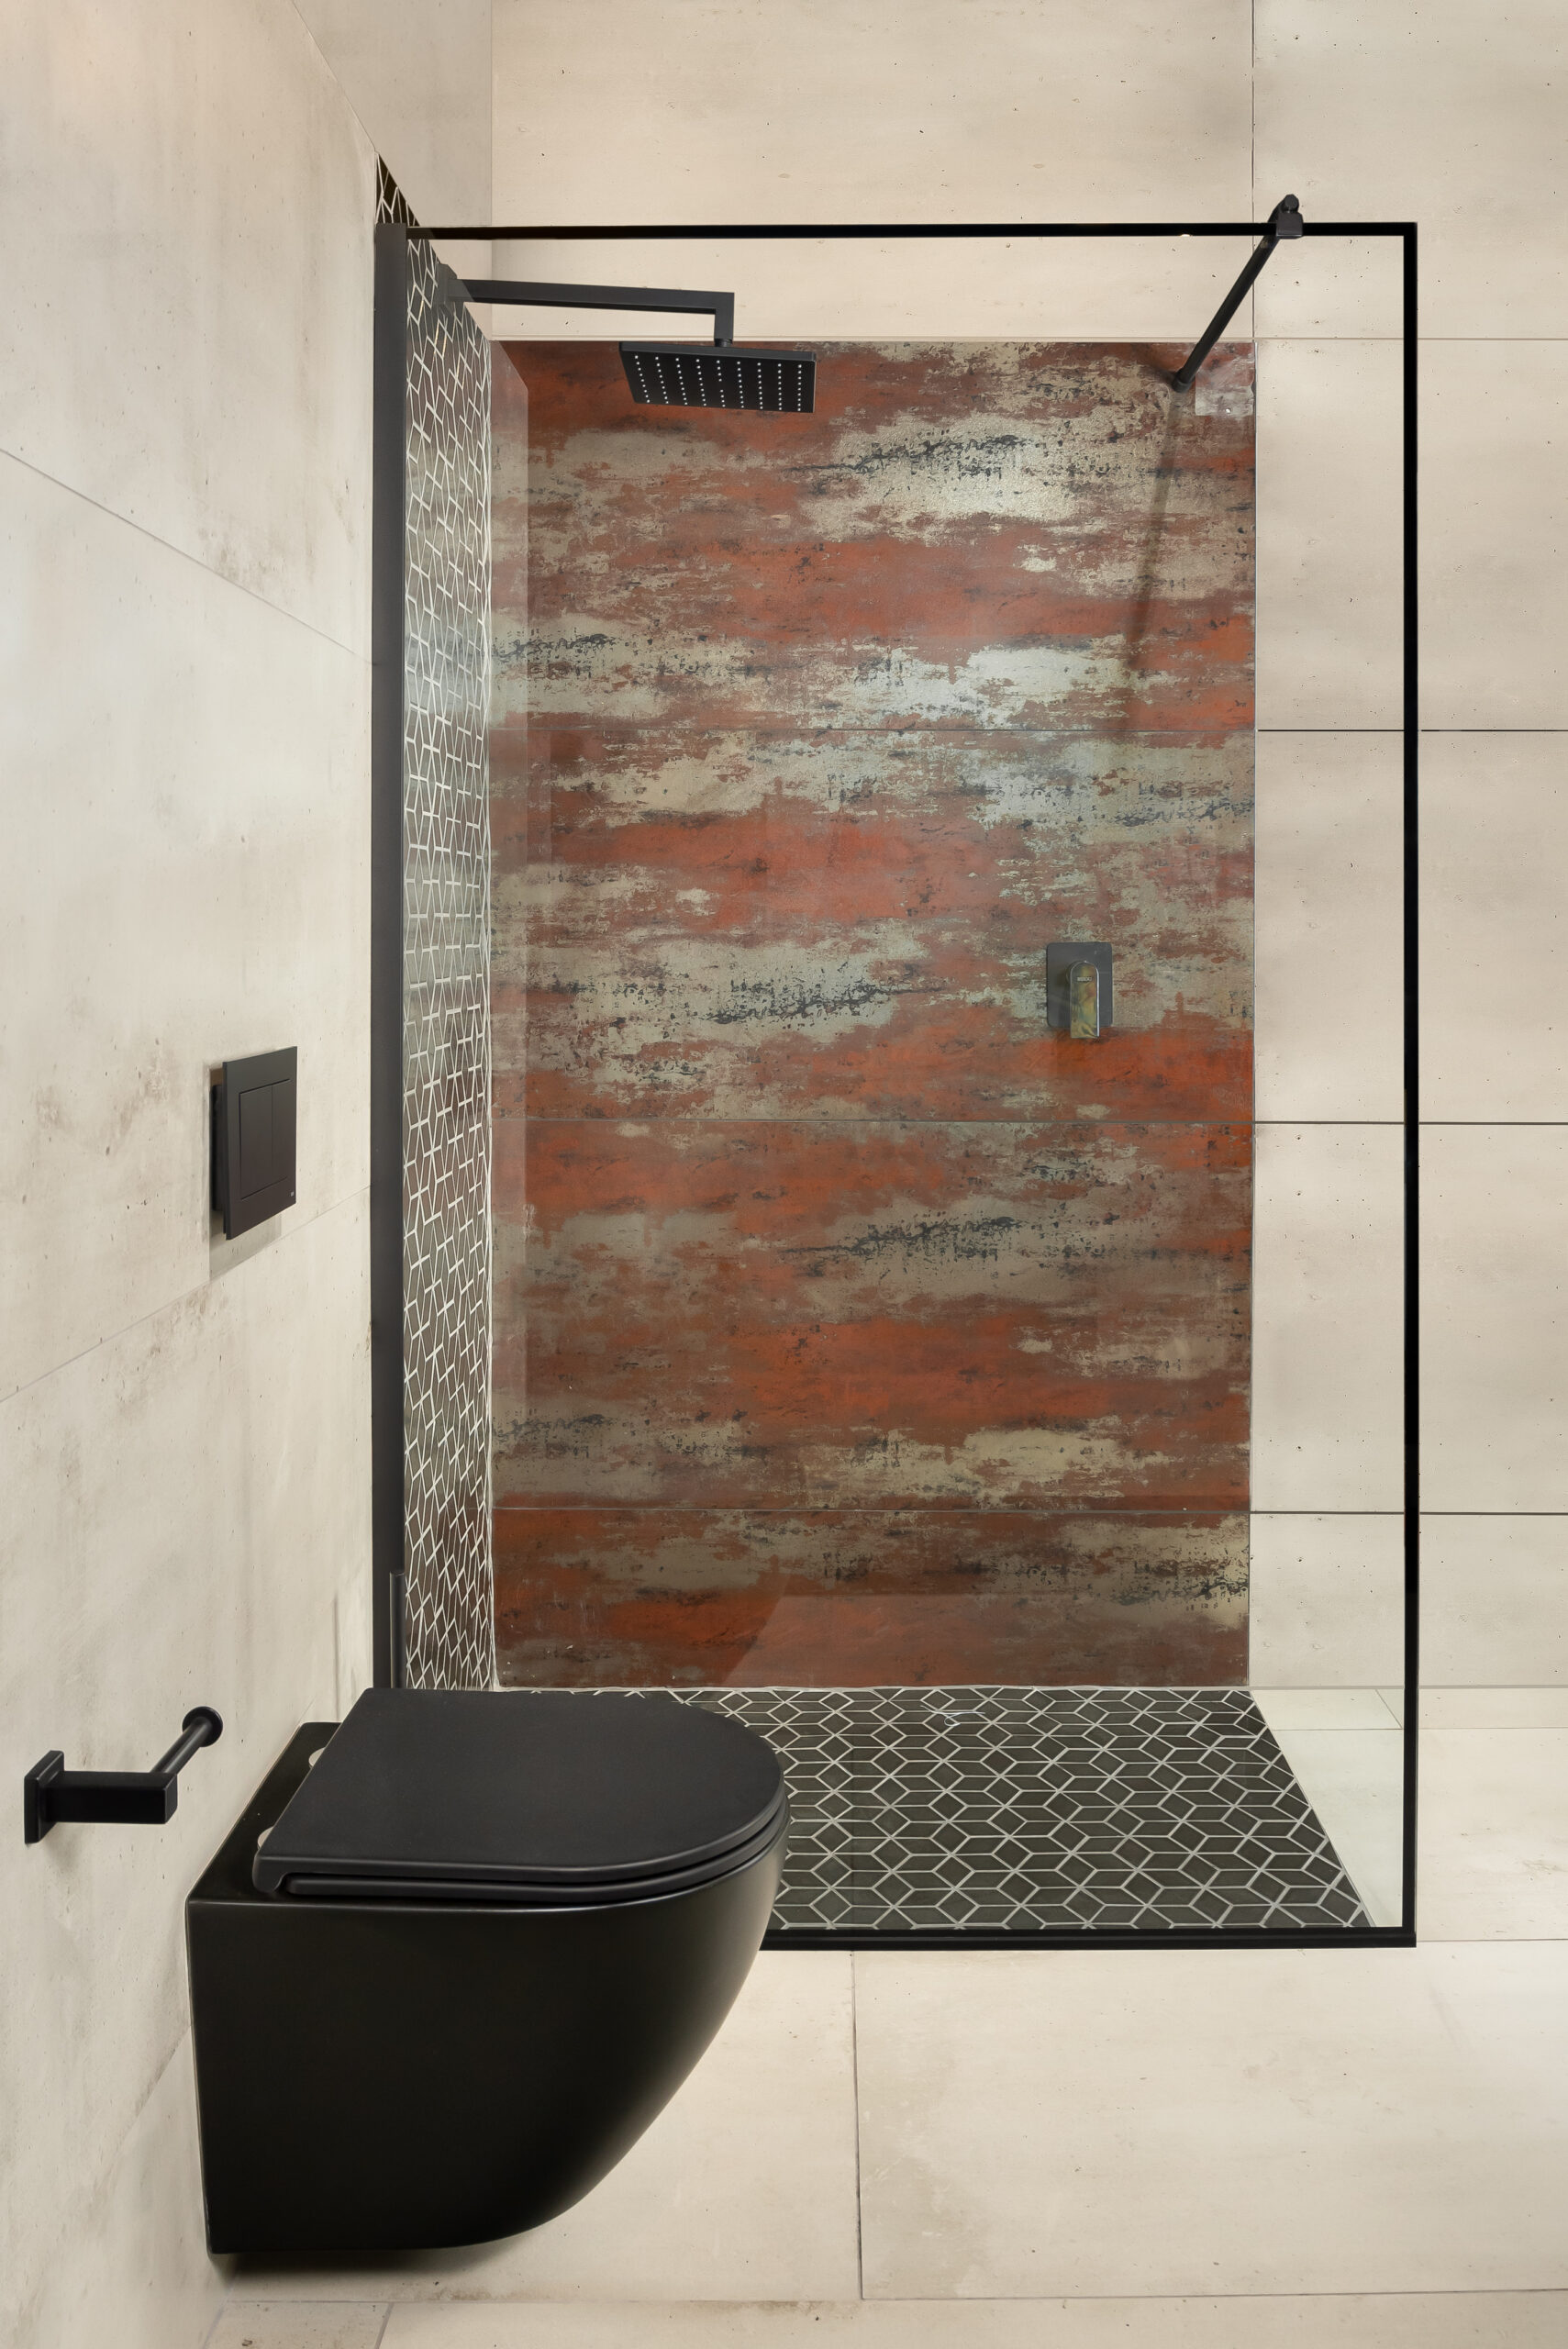
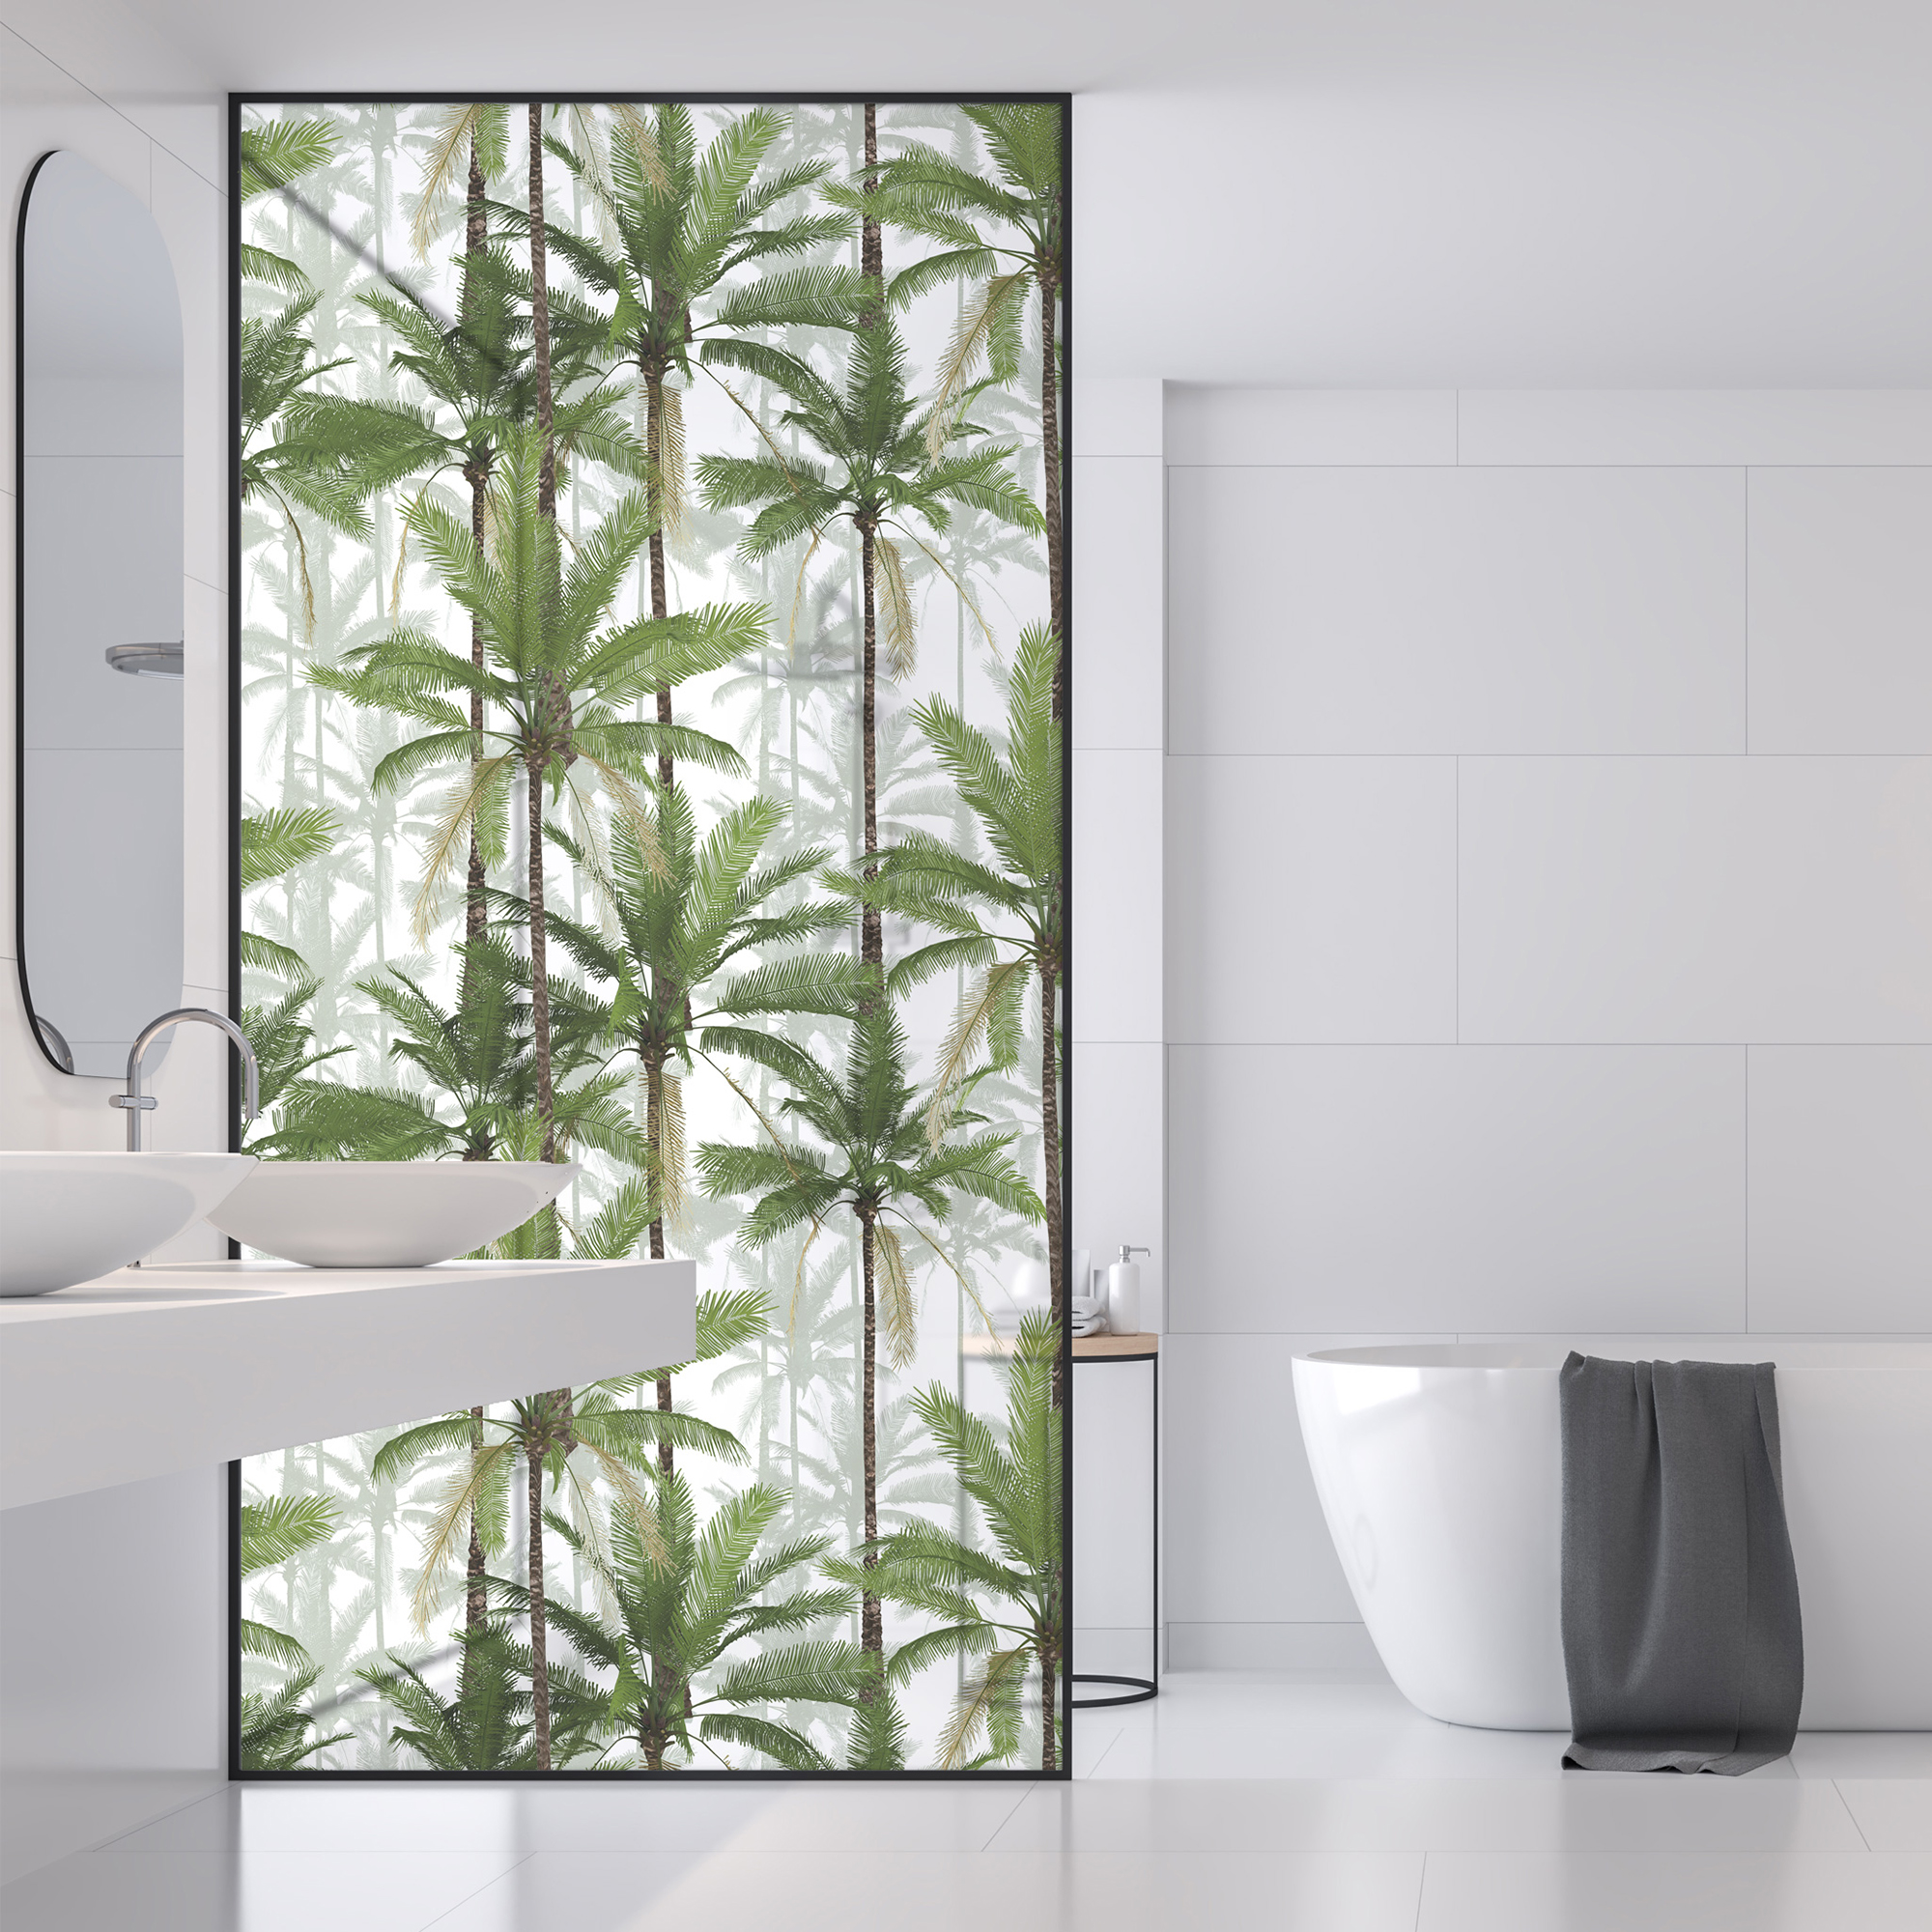
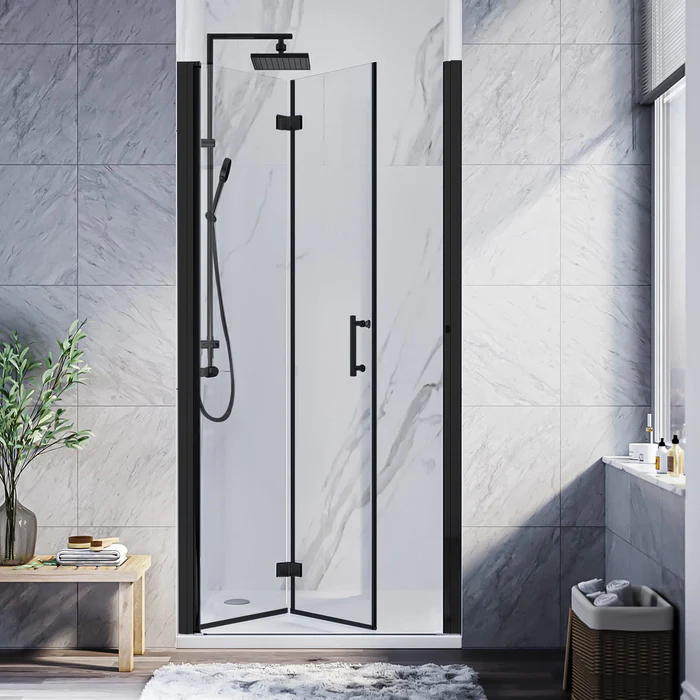
Shower Screen
A typically shower enclosure, offers a contained space for bathing. A glass panel or a shower screen, open on one side, provides a minimalistic and open feel to your bathroom. This choice conveys the sensation of a walk-in shower. Remember, the choice impacts not only functionality but also the overall aesthetics of your space.

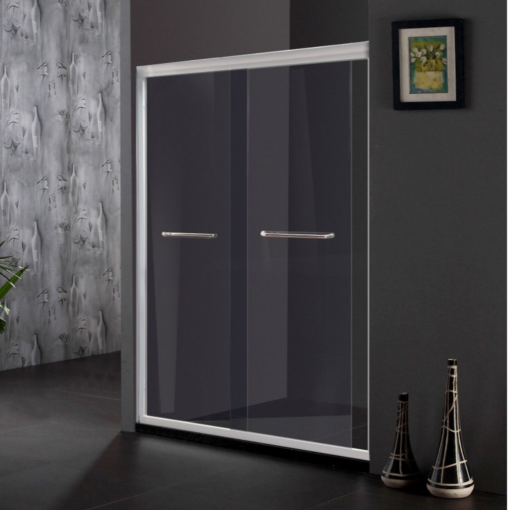
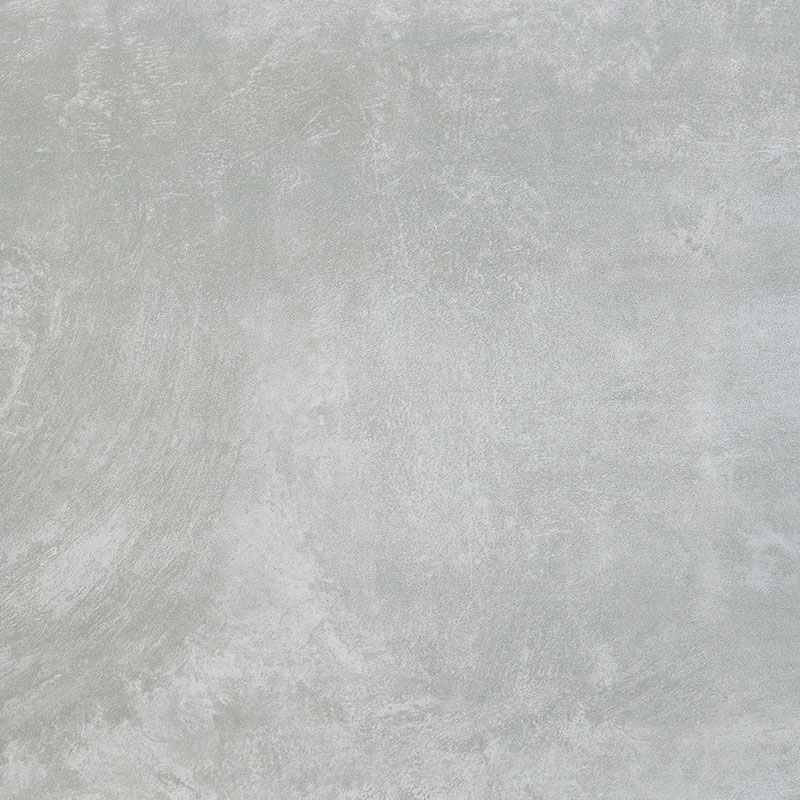
Clear Glass vs Frosted glass
Clear shower glass panels provide a sleek look, allowing you to showcase the beauty of your tiles and fixtures.
On the other hand, frosted glass panels add a layer of privacy while still allowing natural light to filter through. Frosted glass shower doors also offer decorative patterns which can add character into your space.
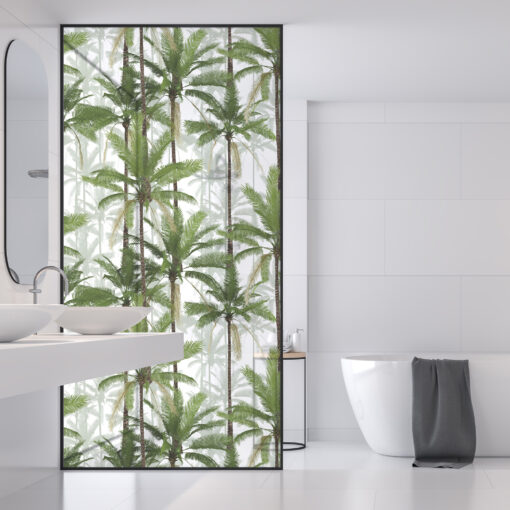
If you’re considering frosted shower doors but not quite ready for a commitment, consider Robin Sprong Shower Panel Vinyl. These easy-to-apply vinyl stickers offer a frosted glass effect. They are long-lasting, and leave absolutely no damage or residue upon removal. You can also fully customize them to suit your unique style and taste.
Explore our range here.
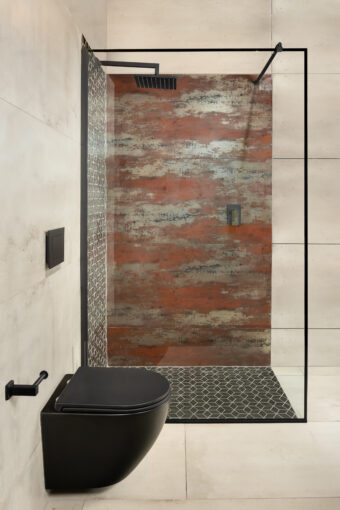
Frameless
For those who appreciate a clean, minimalist look, frameless shower doors are the epitome of sophistication. With no visible frames, these doors provide an unobstructed view, adding a touch of luxury to your space.
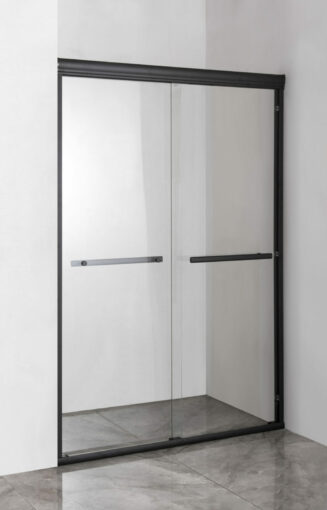
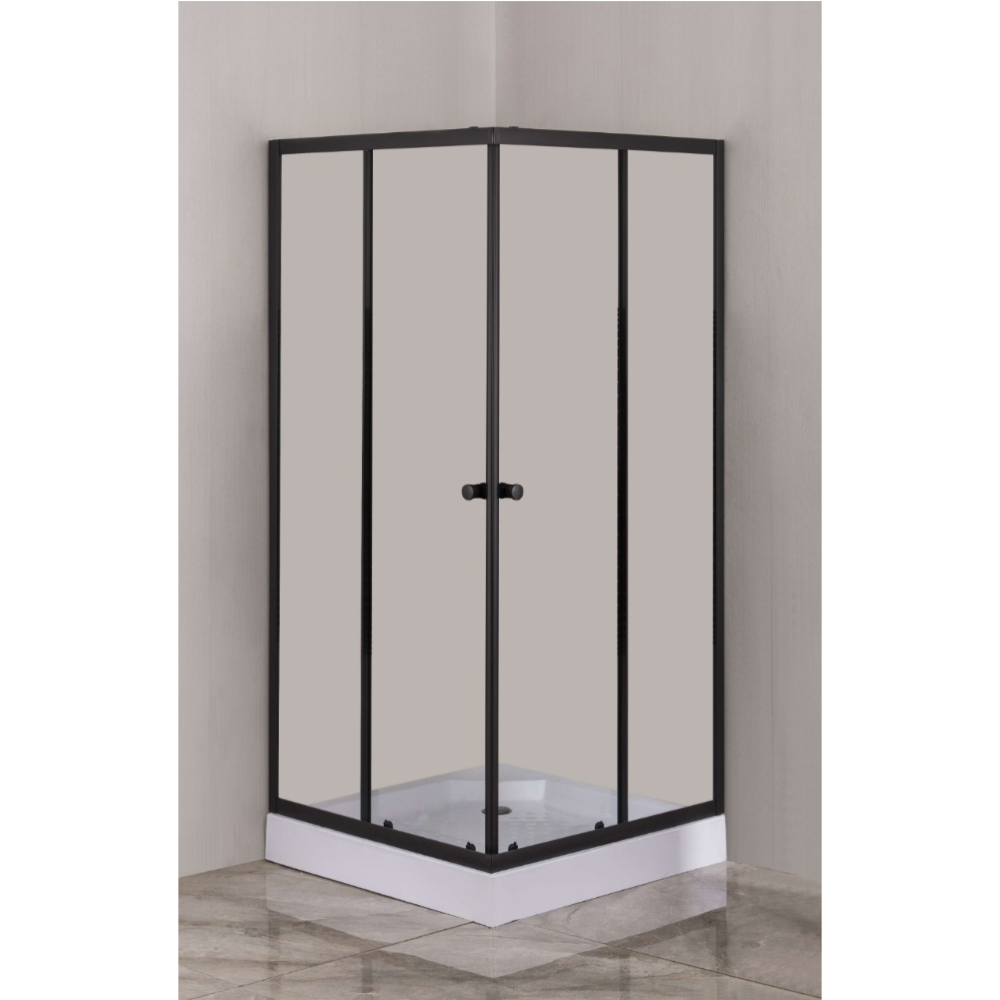
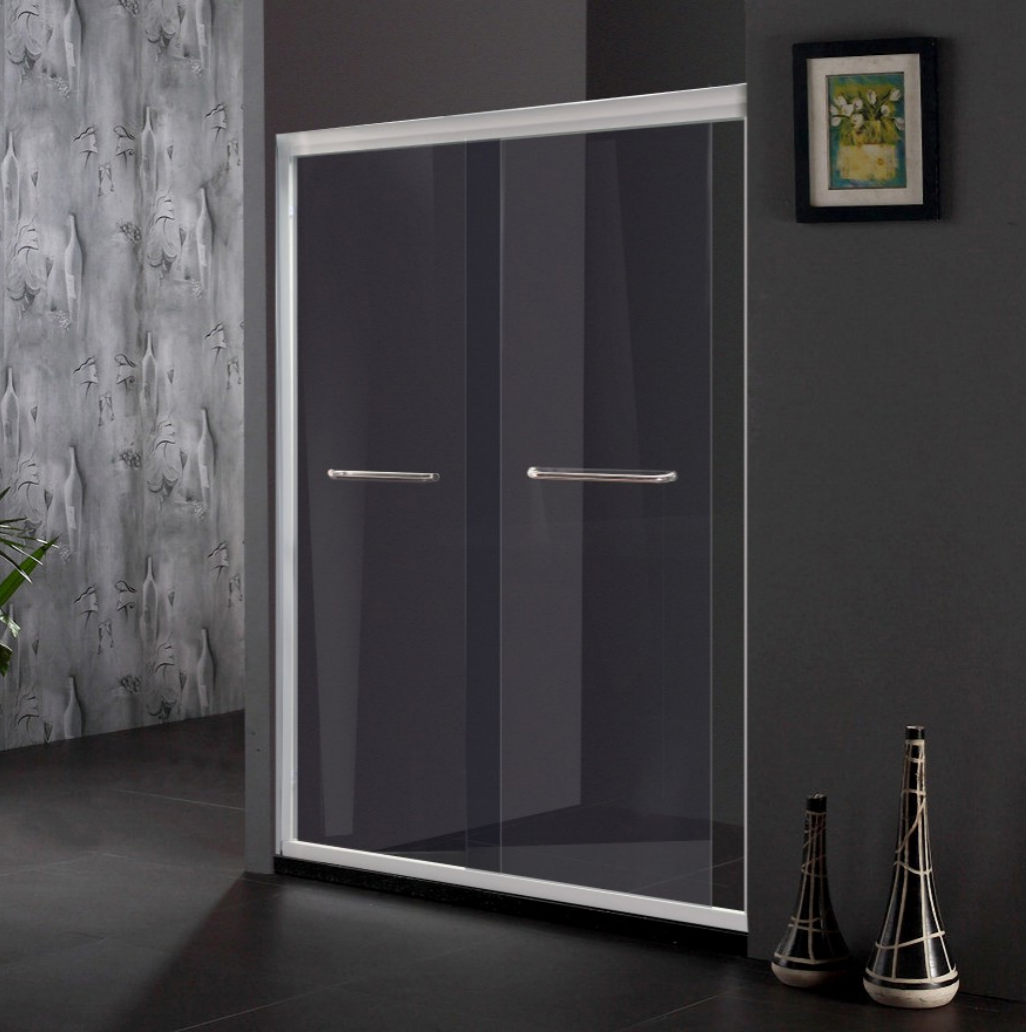
Framed and Semi-Frameless
Framed shower doors, with a sturdy metal frame, provide added stability and support. Semi-frameless doors combine the best of both worlds, offering a sleek design with a minimal frame. These options are excellent choices for those seeking a balance between durability and traditional aesthetics.

Different types of shower doors
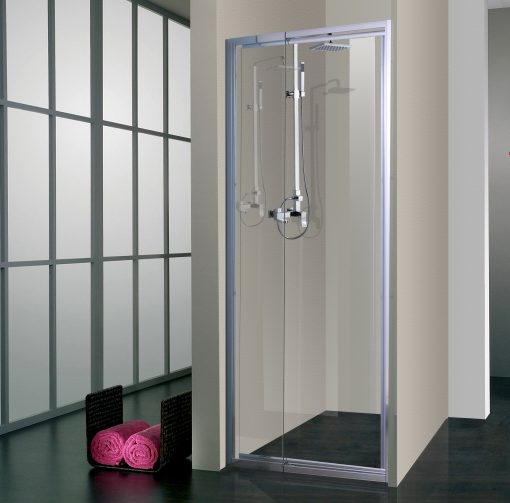
Sliding doors
Suitable for compact spaces, sliding shower doors exude simplicity and functionality. Their smooth gliding mechanism ensures a hassle-free entry and exit, making them a practical choice for smaller bathrooms.

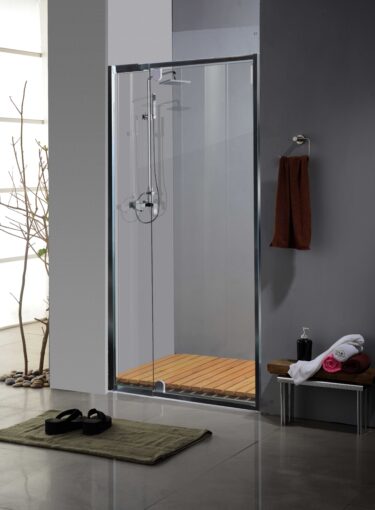
Pivot doors
Offering a traditional yet stylish look, pivot shower doors open on a pivot hinge. They provide a classic aesthetic while ensuring ease of use. Remember, these may not be suitable for smaller bathrooms with limited space.

Folding doors
Folding shower doors are perfect for tight spaces. Their accordion-like design allows them to fold neatly against the wall, offering convenience without compromising on style.
Corner Entry Showers
If space is a concern, corner shower doors optimize the layout of your bathroom. They fit seamlessly into corners, making the most of available space while adding a unique visual appeal.

Glass vs. Plastic vs. Acrylic – Material Considerations
When choosing your material, it’s essential to weigh the pros and cons.
Glass shower doors are durable and easy to clean but can be heavy and expensive. On the other hand, acrylic and plastic doors are lightweight and budget-friendly but may not be as durable as glass. Consider the material that best suits your budget and needs.
Colours – Setting the Tone
The colour of your shower door can significantly impact the overall aesthetic. Black shower doors offer a bold and modern look, while white shower doors evoke a sense of cleanliness and simplicity. Choose a colour that complements your bathroom’s theme and overall aesthetic.
Specials
To sweeten the deal, we regularly offer shower and shower door specials throughout the year. Keep an eye on our social media platforms for real-time updates on discounts and promotions.
For an exclusive heads-up, sign up for our newsletter, and be the first to know about upcoming sales. You’ll also get an exclusive sneak peek at all discounted products before their public release.

Selecting the perfect shower is not only about functionality. It involves enhancing your bathroom’s aesthetic and transforming your daily routine into a luxurious experience. The diverse range available allows you to tailor your choice to fit both your space and style.
Remember, the key is to strike a balance between practicality and elegance. So, measure your space, consider your preferences, and let your shower be a statement of sophistication!
View our range of showers for sale and shower doors for sale
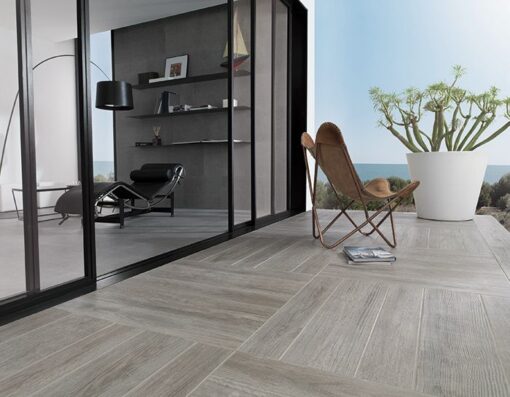
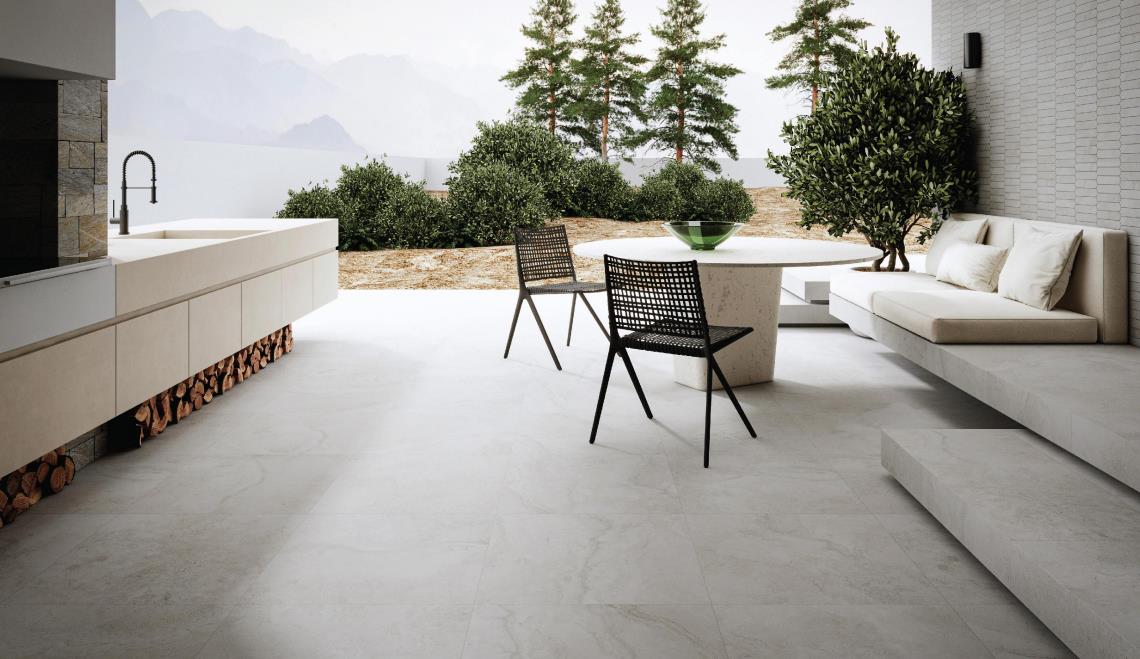
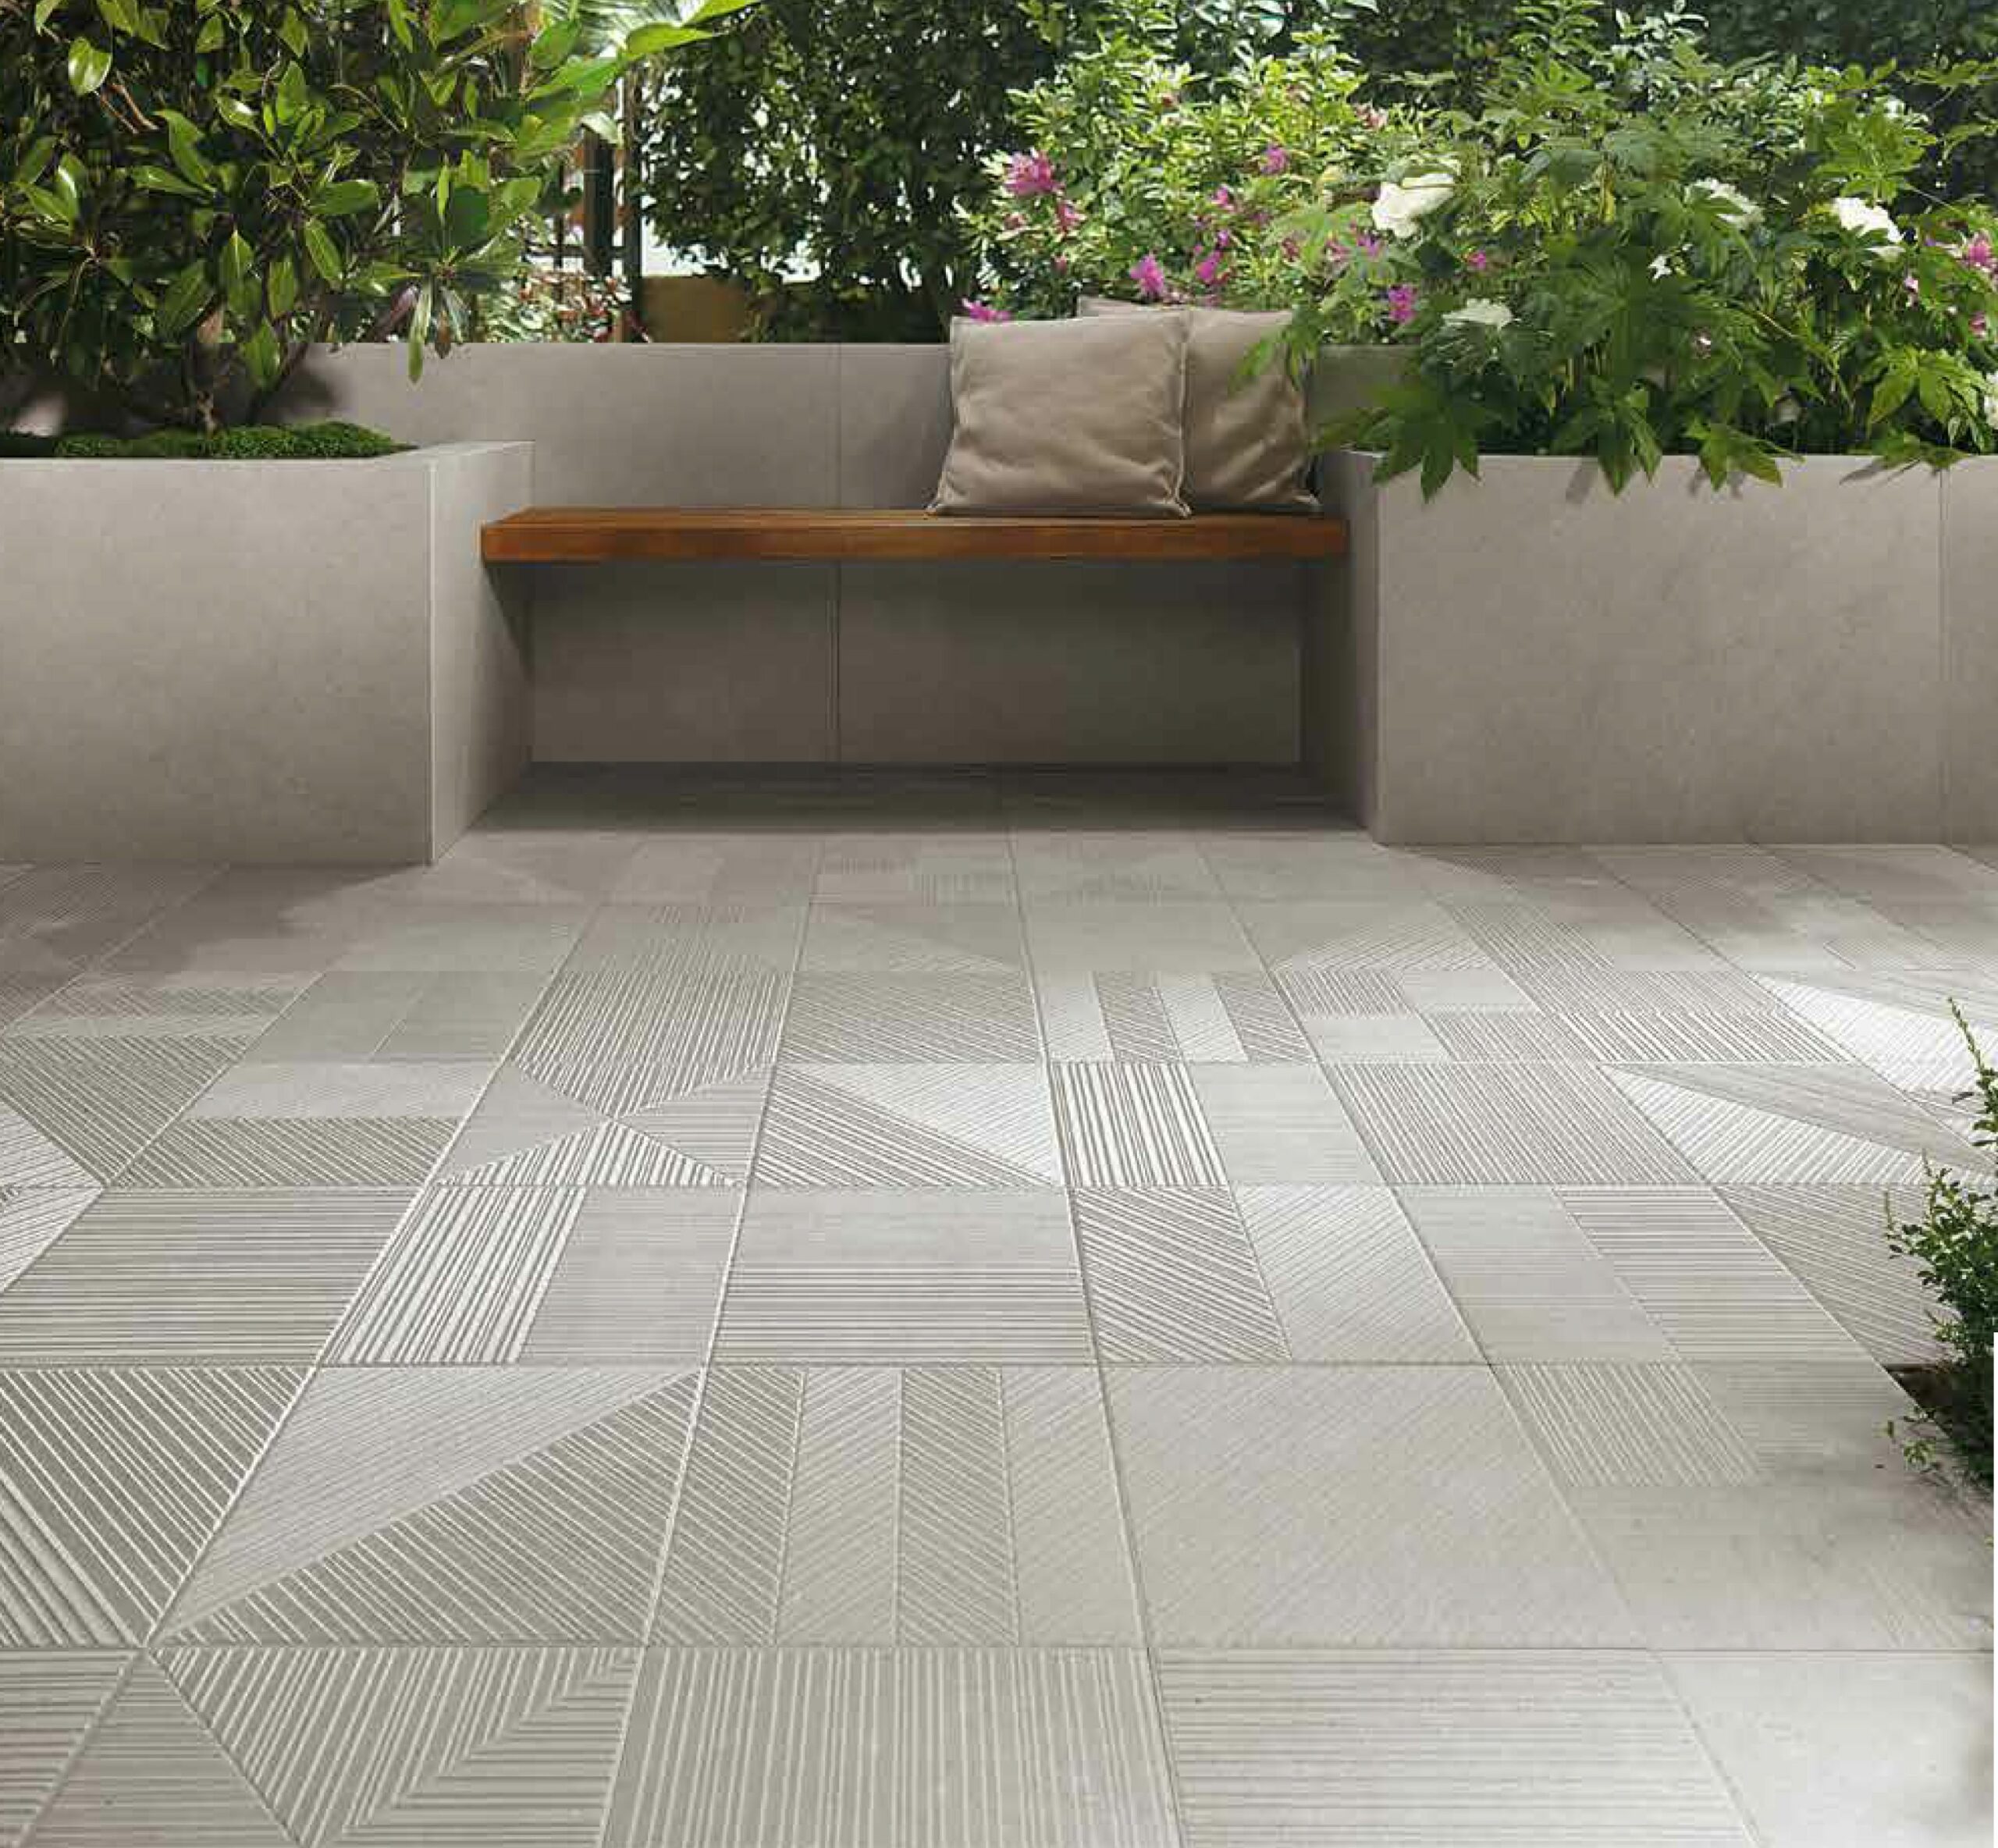
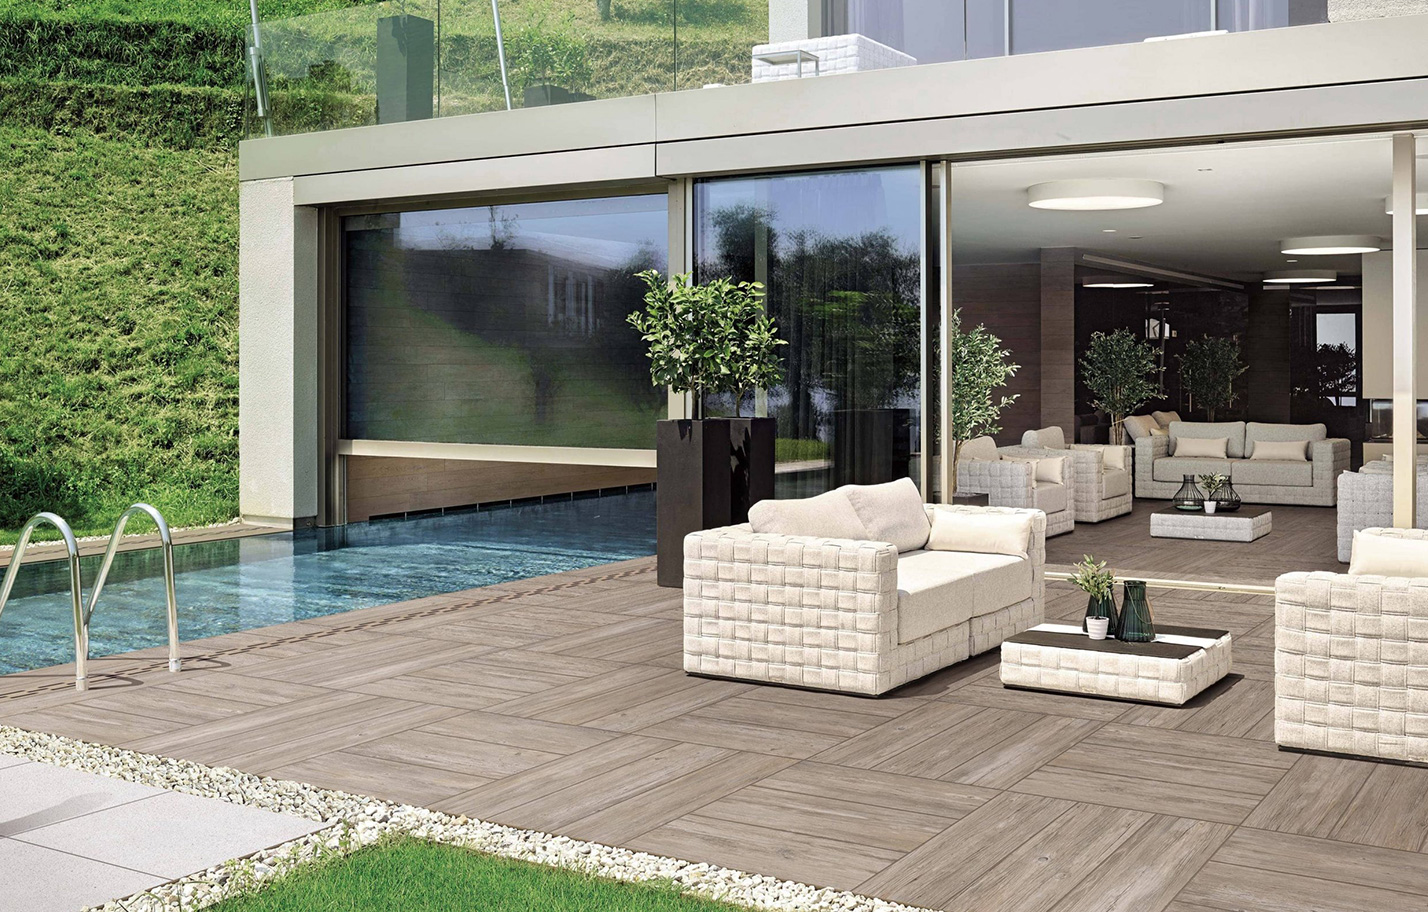
blog, outdoor, trends
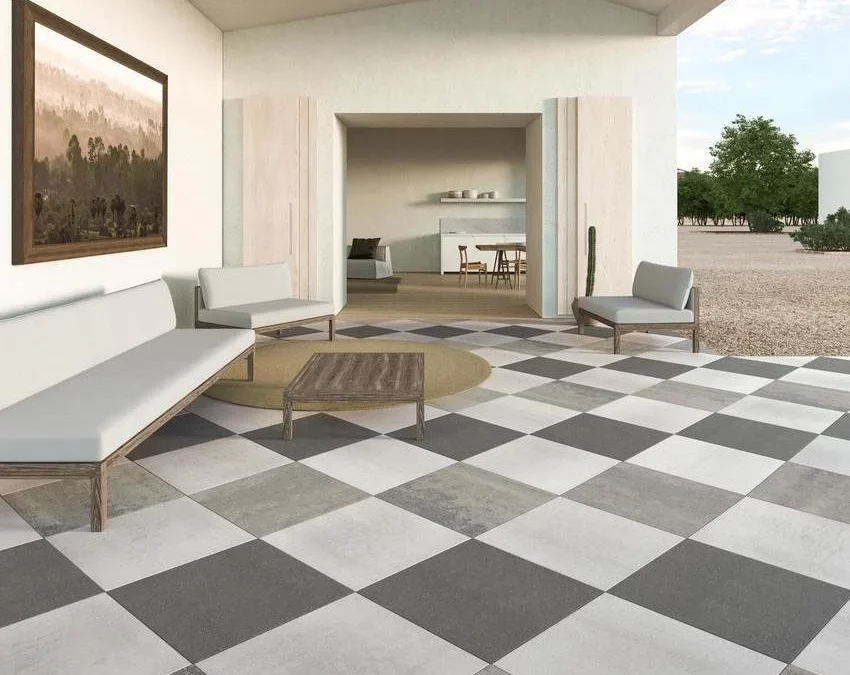
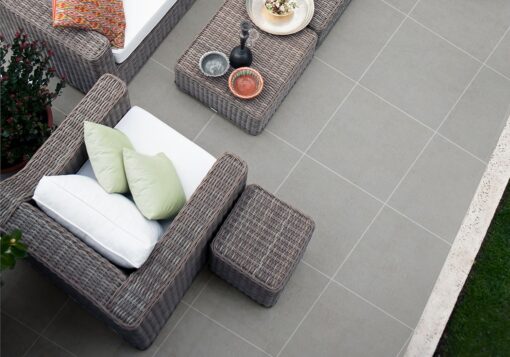
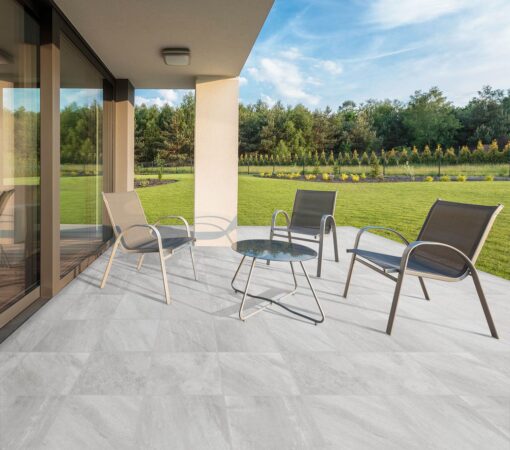
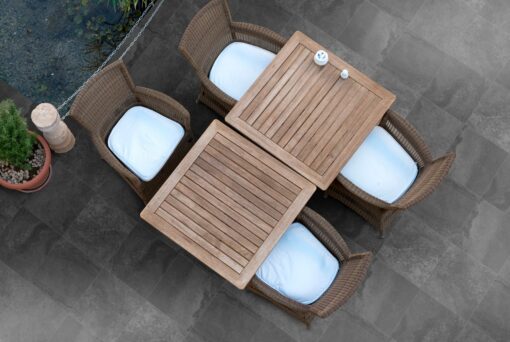
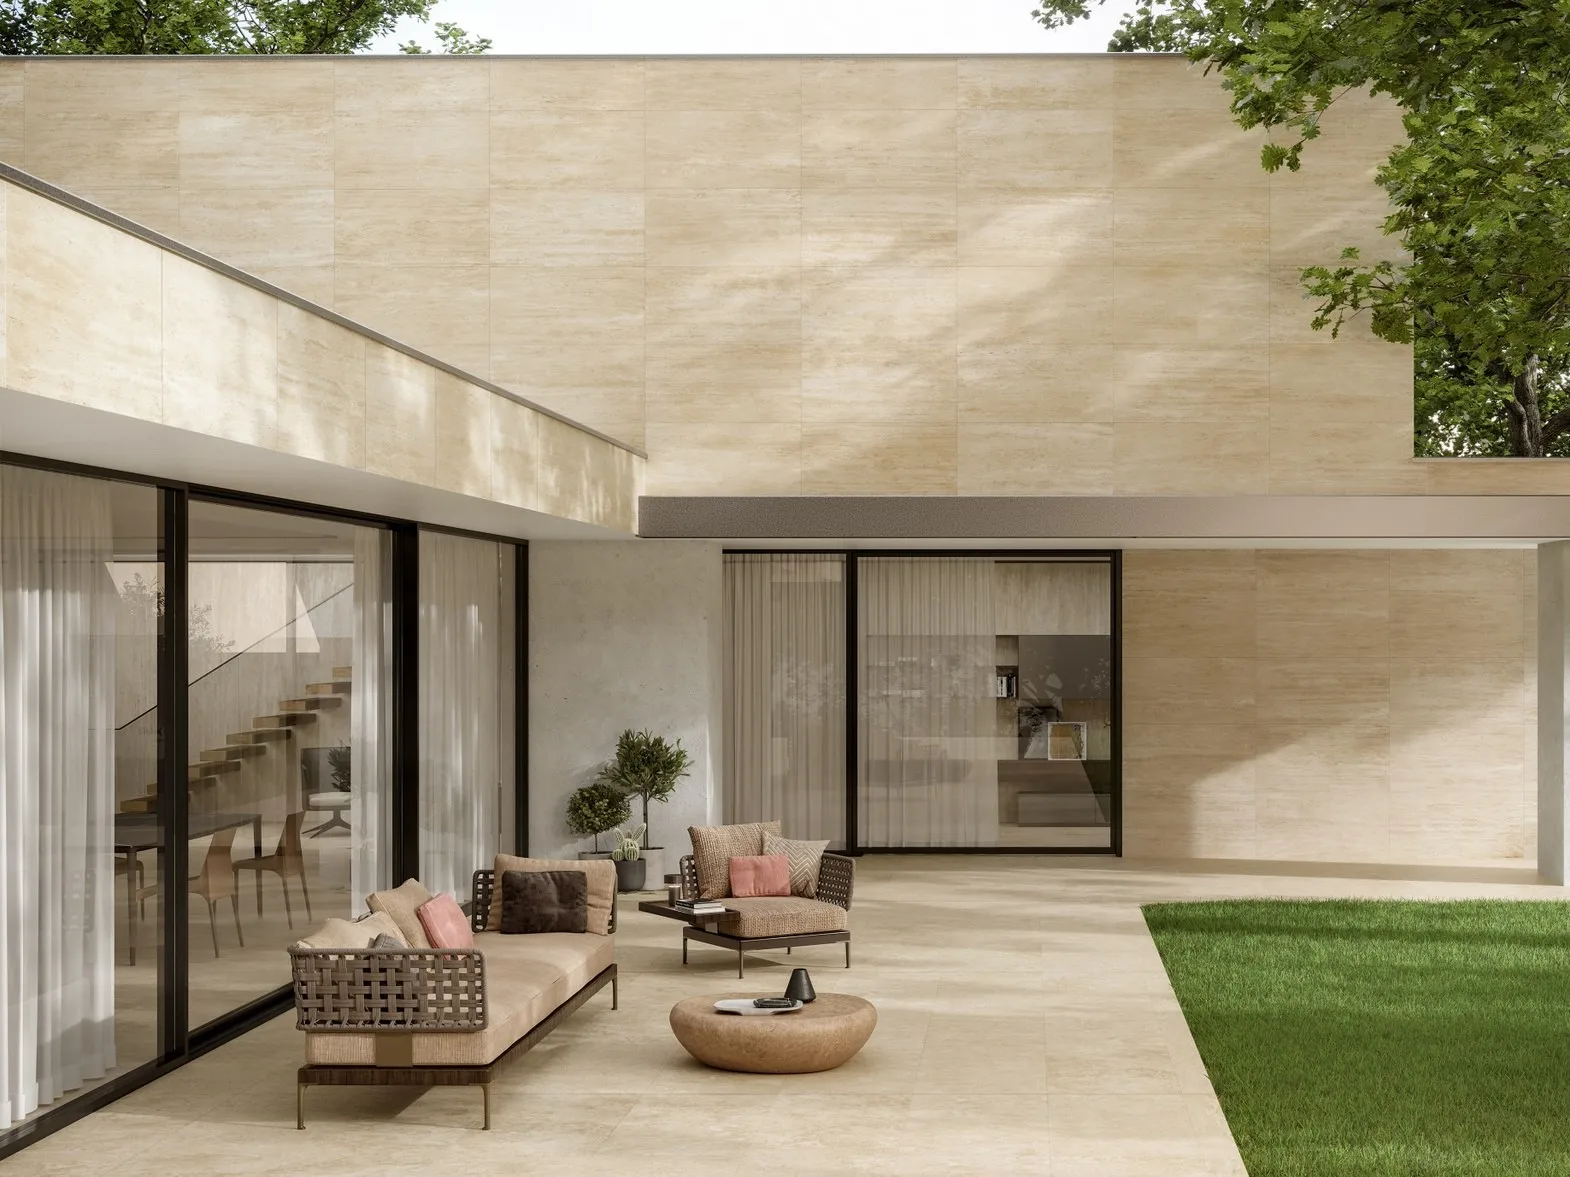
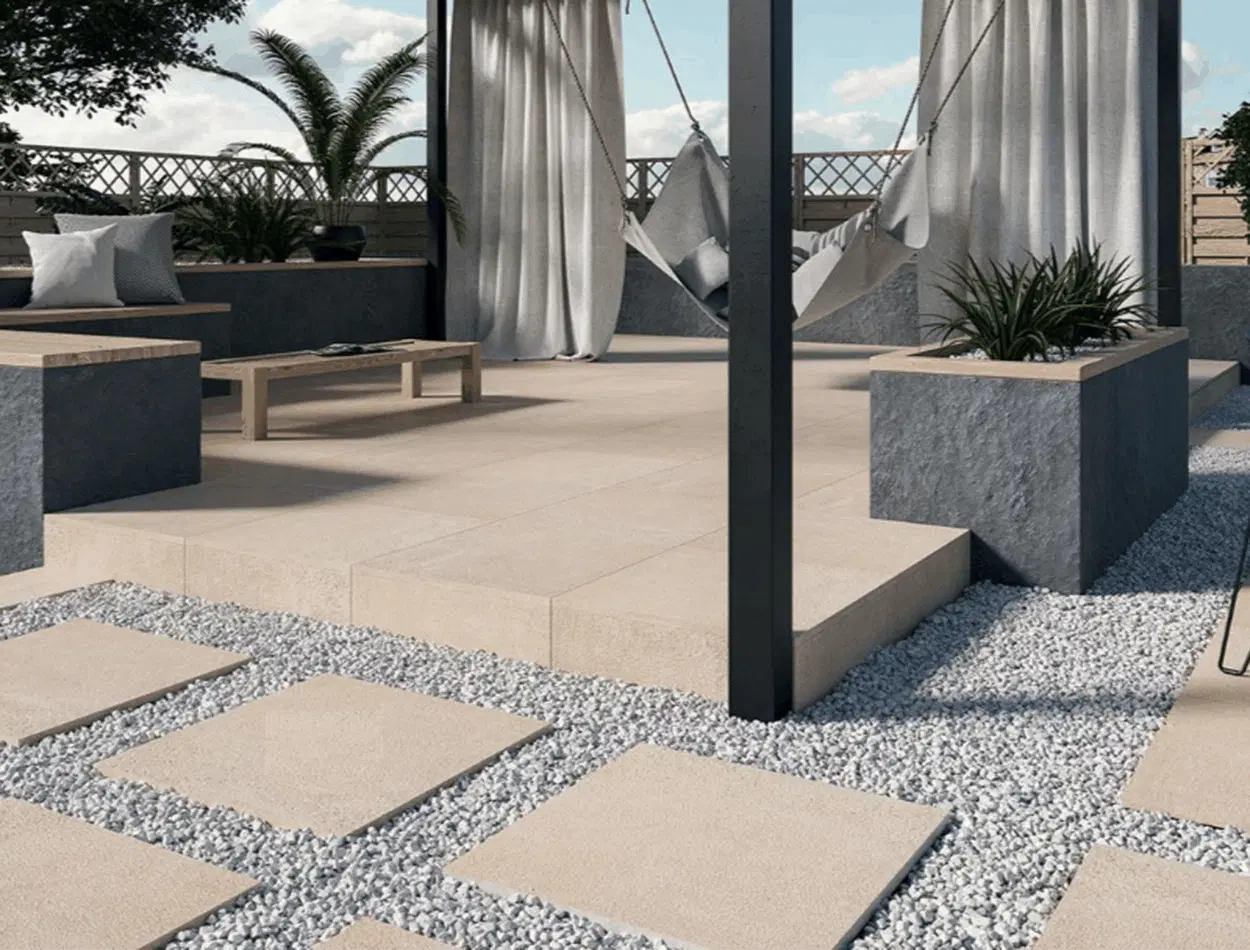
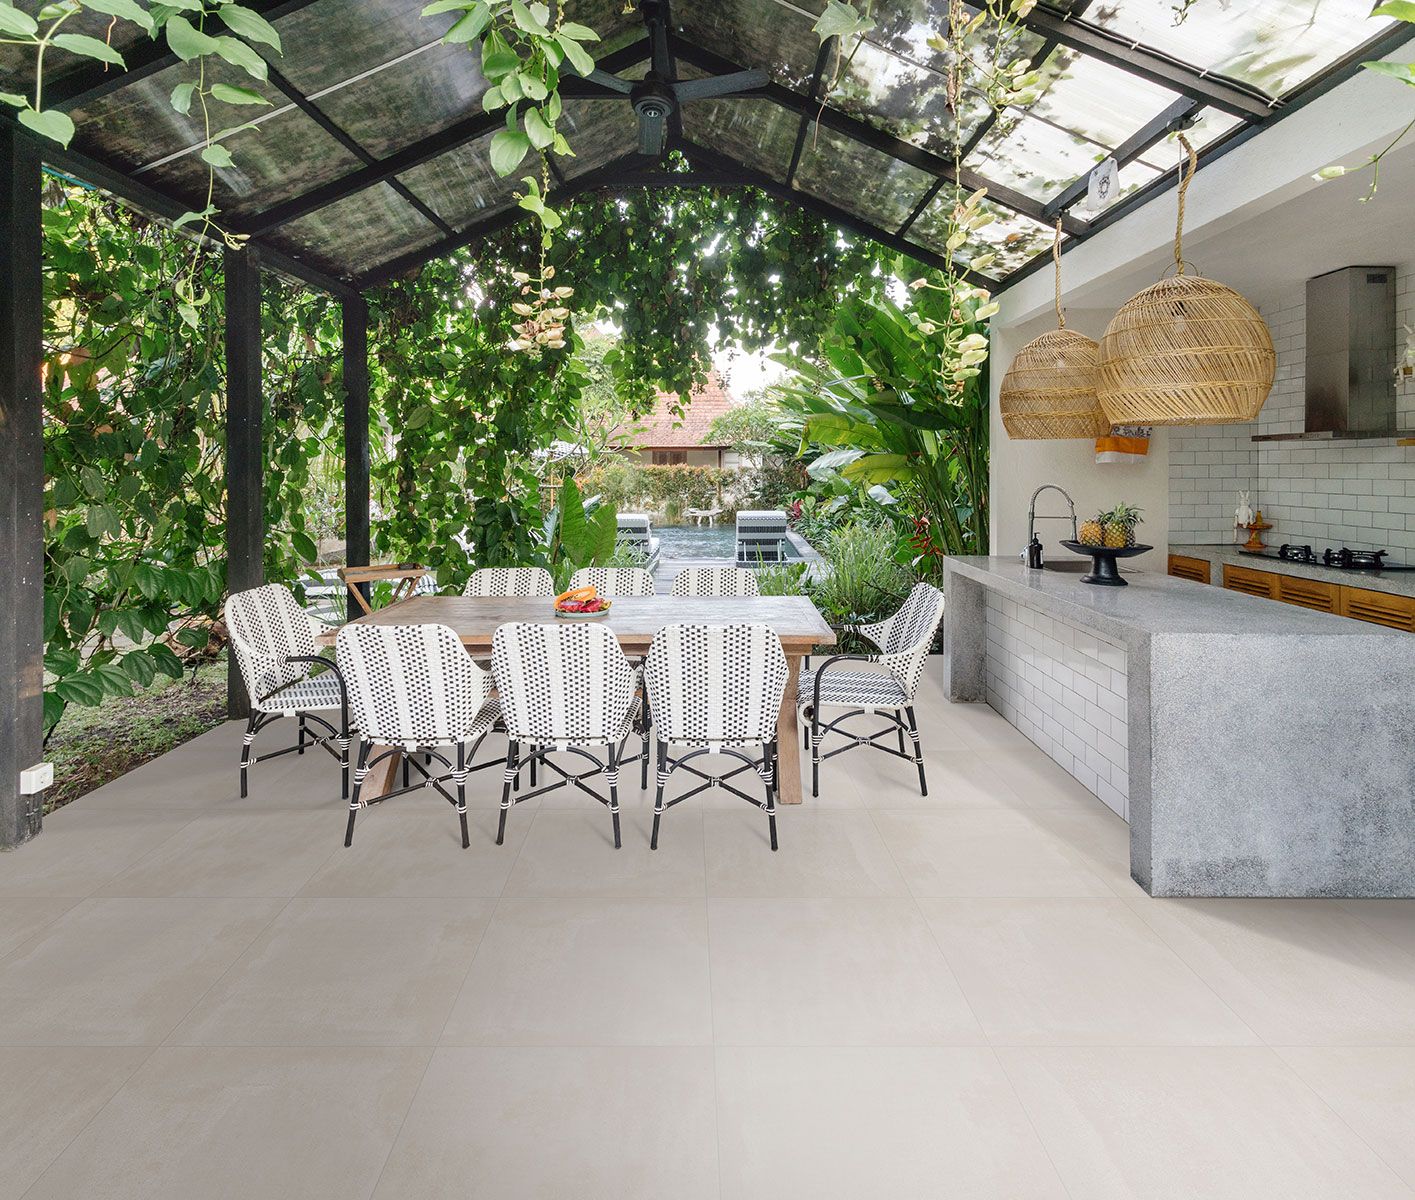
Enhancing the look and functionality of your outdoor space starts with investing in premium outdoor tiles. Whether it’s your patio, garden, or any exterior area, the right choice of exterior tiles can change your space. We’ll look at the world of outdoor patio tiles, from the range of options available to creative ideas on how to use them.
Understanding Outdoor Tiles
Understanding the difference between indoor and outdoor tiles ensures using the right tile for the right application.
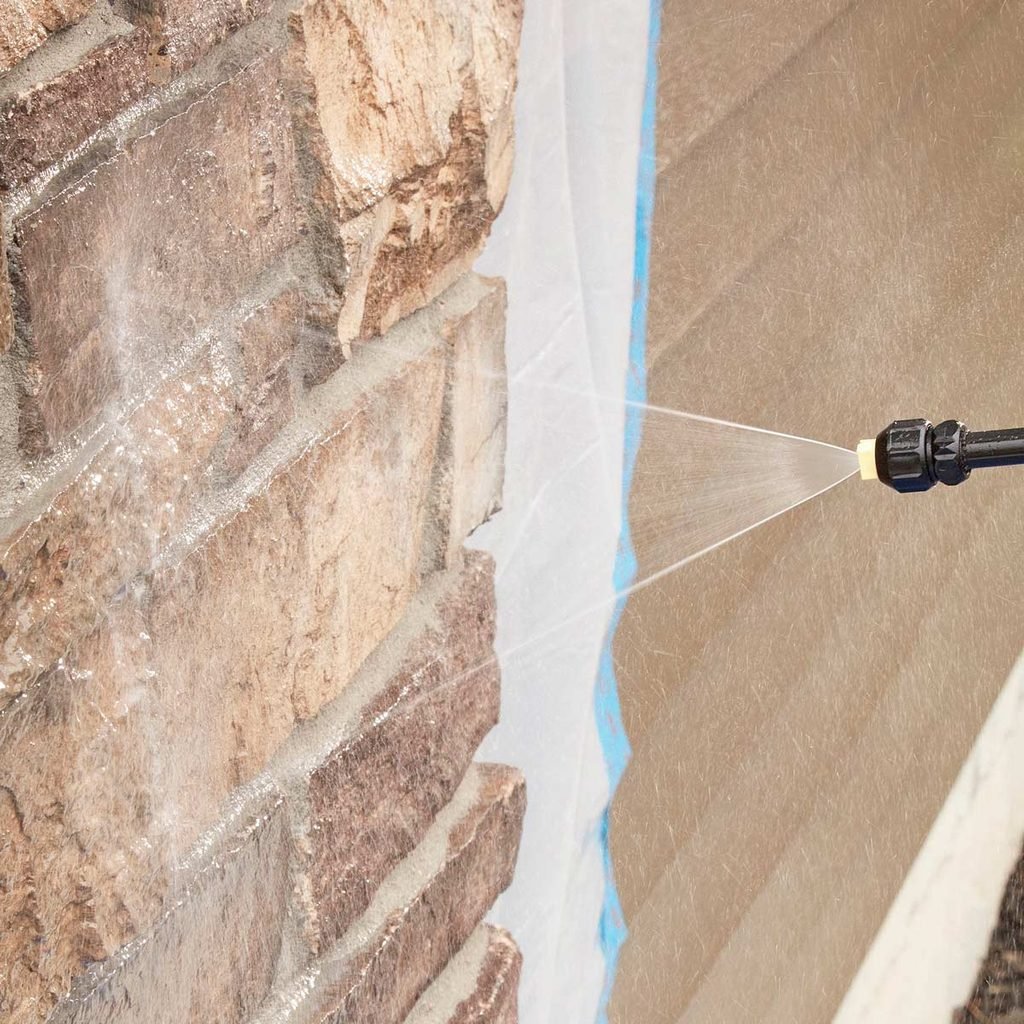
Indoor house tiles typically focus on aesthetics and comfort in controlled environments. As a result, they lack the durability to withstand harsh outdoor elements like fluctuating temperatures, UV exposure, and moisture.
On the other hand, manufacturers specifically engineer outdoor tiles to endure these challenging conditions. Crafted from robust materials like porcelain, ceramic or natural stone, they guarantee resilience against weathering, fading, and water damage. Additionally, outdoor tiles boast enhanced slip resistance (or anti slip). This provides a safer surface, especially in areas prone to wet conditions.
Choosing the Right Tiles
Selecting outdoor tiles for your project involves considering factors such as durability, weather resistance and slip resistant tiles. Opt for exterior floor tiles that withstand the challenges of the outdoors while retaining their visual appeal. Explore options like mosaic tiles and decor tiles to infuse personality into your outdoor areas.

Types of Outdoor Tiles
Garden Tiles:
Choose from various designs and materials to complement the natural beauty of your garden while providing a durable surface.
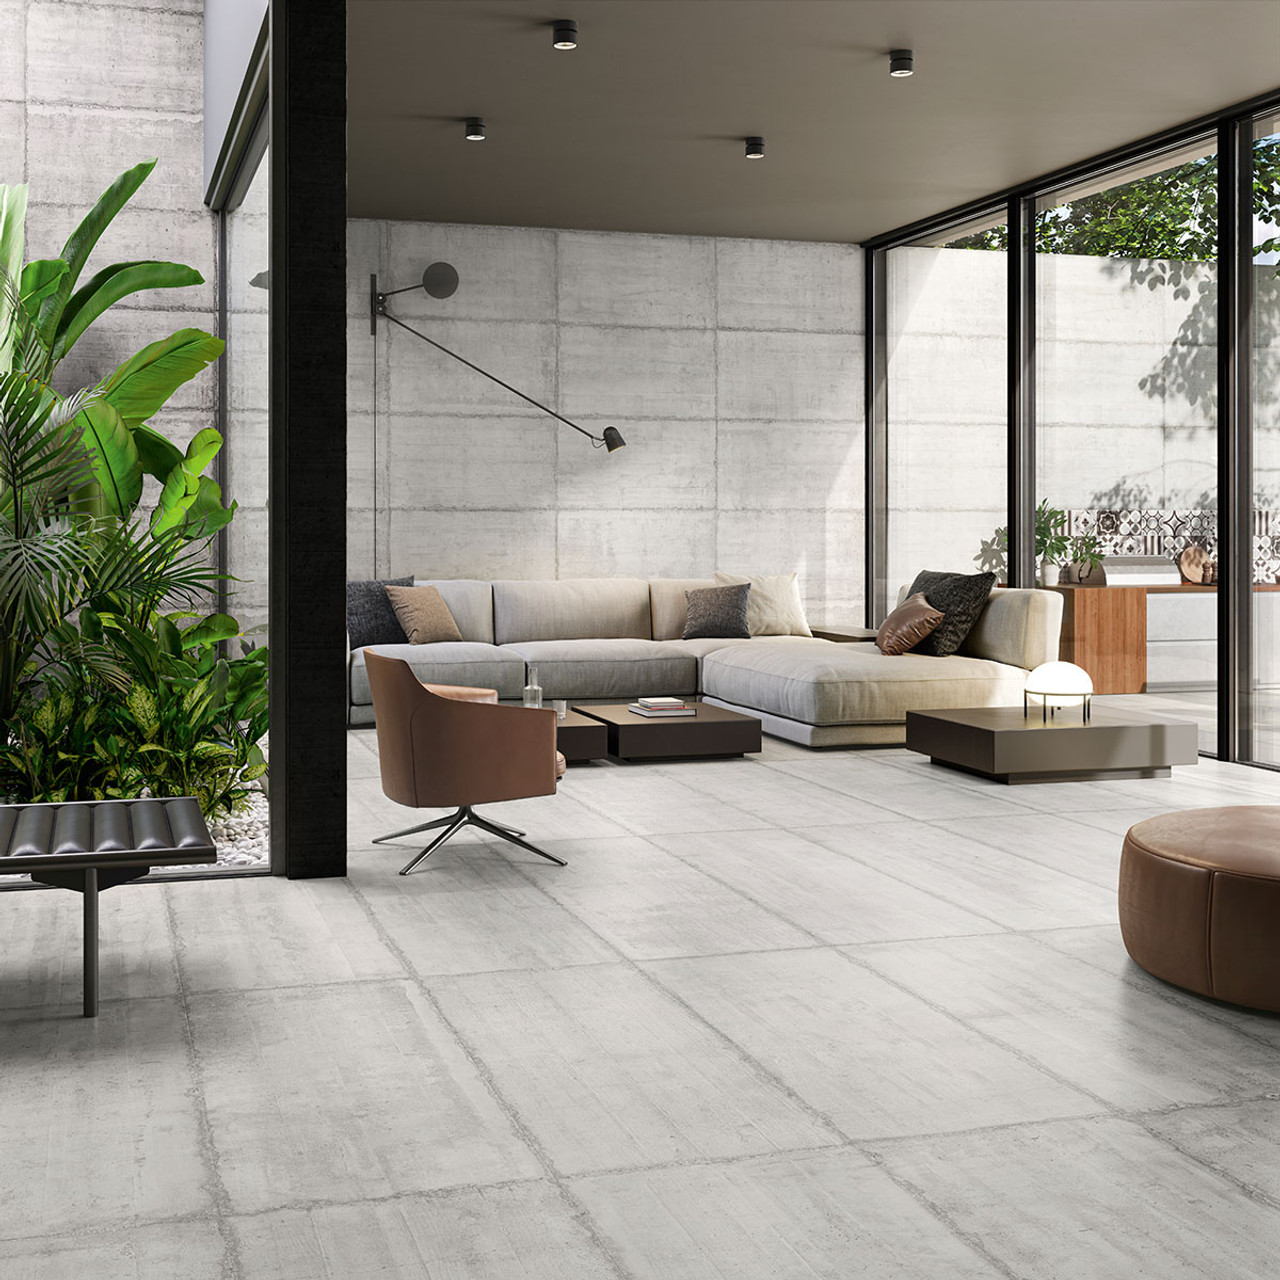
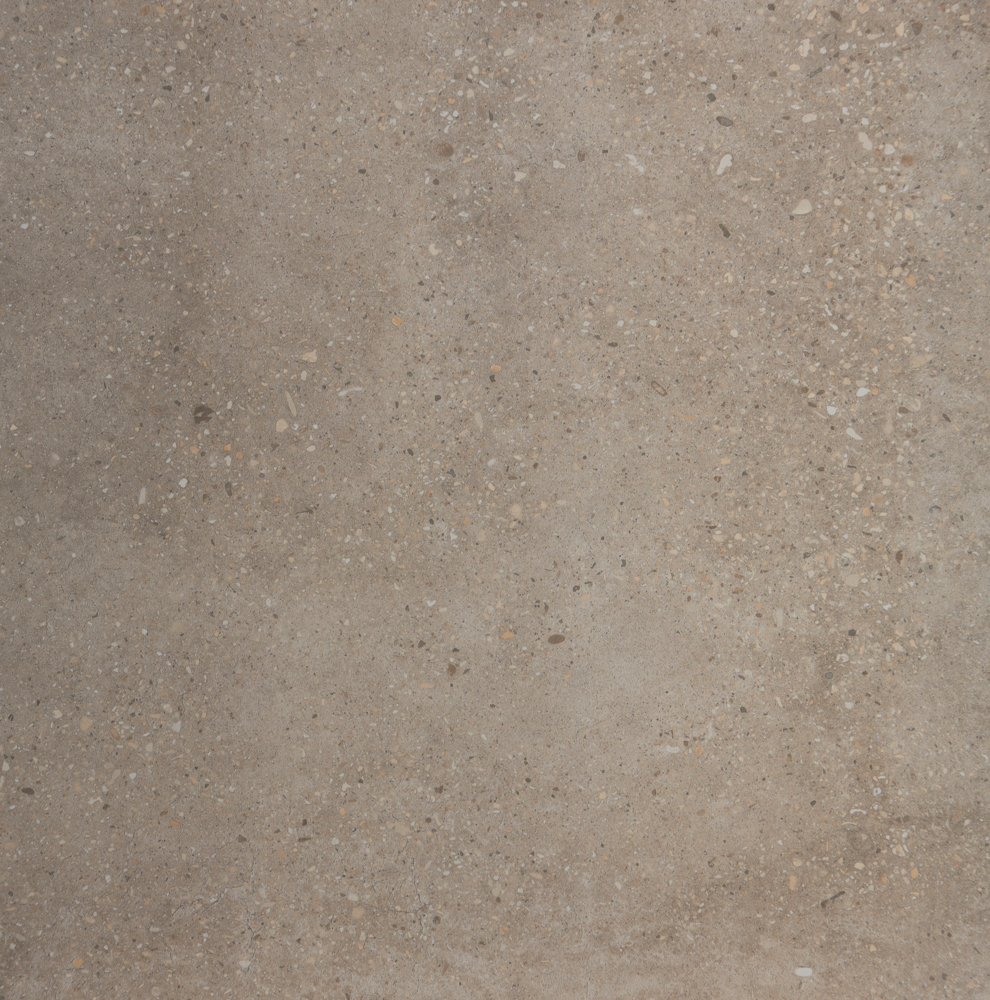
Concrete Tiles Outdoor:
Boasting a modern and industrial aesthetic, concrete tiles are ideal for contemporary outdoor designs. Their robust nature is suitable for high-traffic areas and provide a long-lasting appeal.
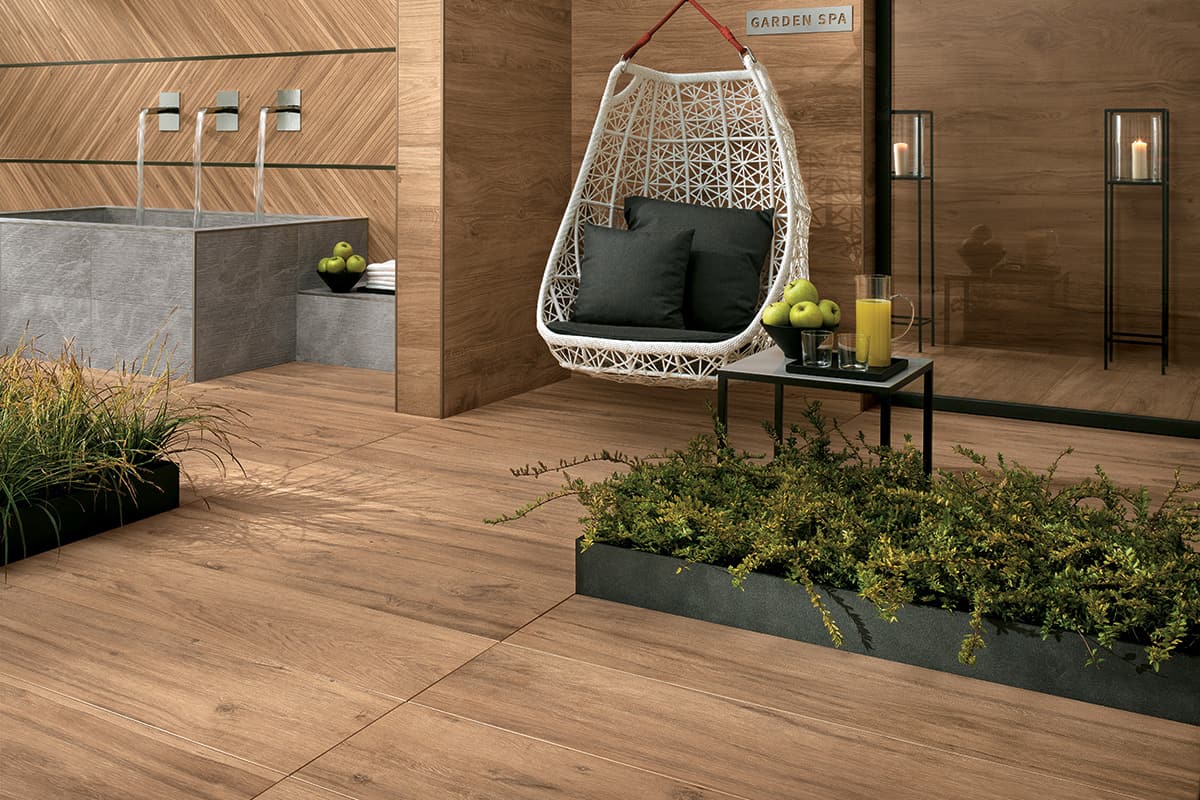
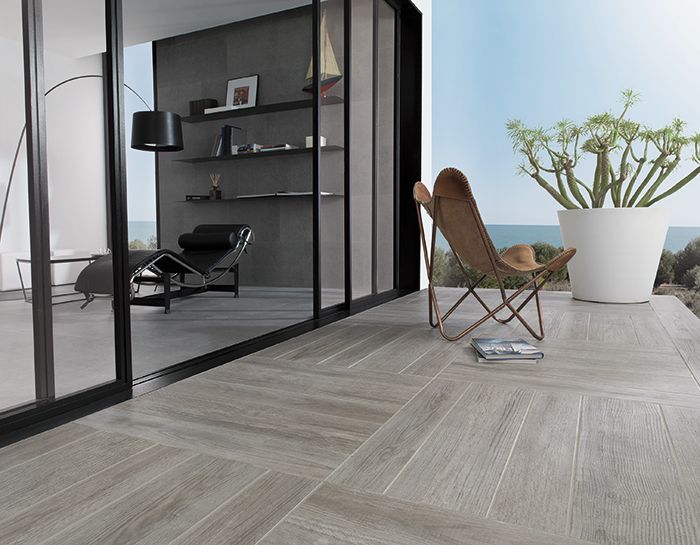
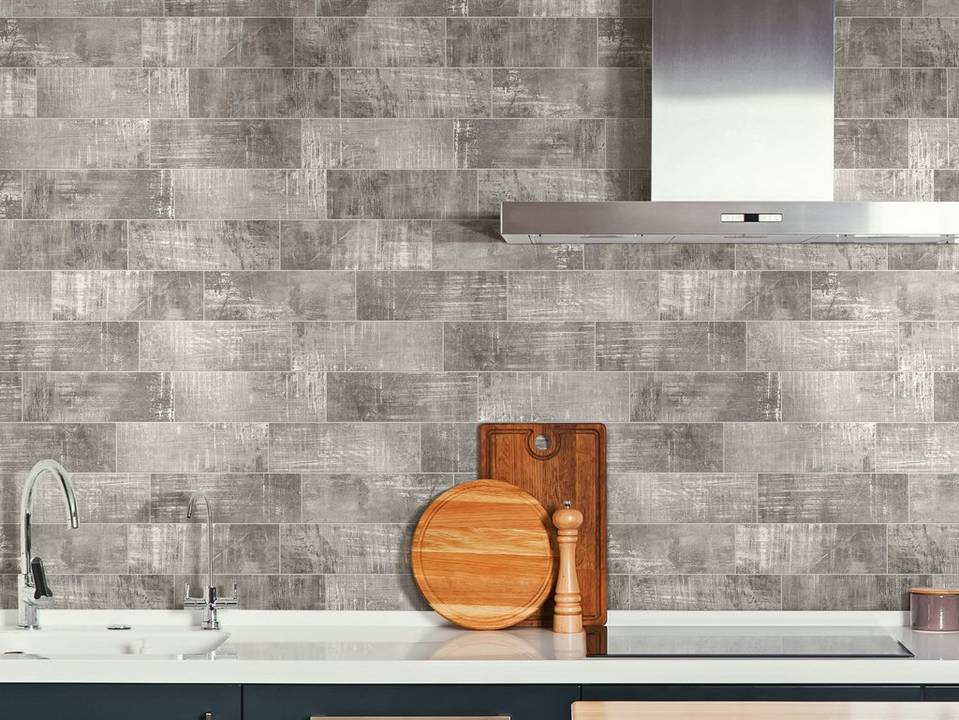
Wood Look Floor Tiles:
Capture the warmth and elegance of wood without compromising on durability by opting for wood look floor tiles. These tiles provide the aesthetic appeal of wood while offering the resilience needed to withstand outdoor elements effectively. They are easy to clean and maintain, ensuring your outdoor space always looks its best.
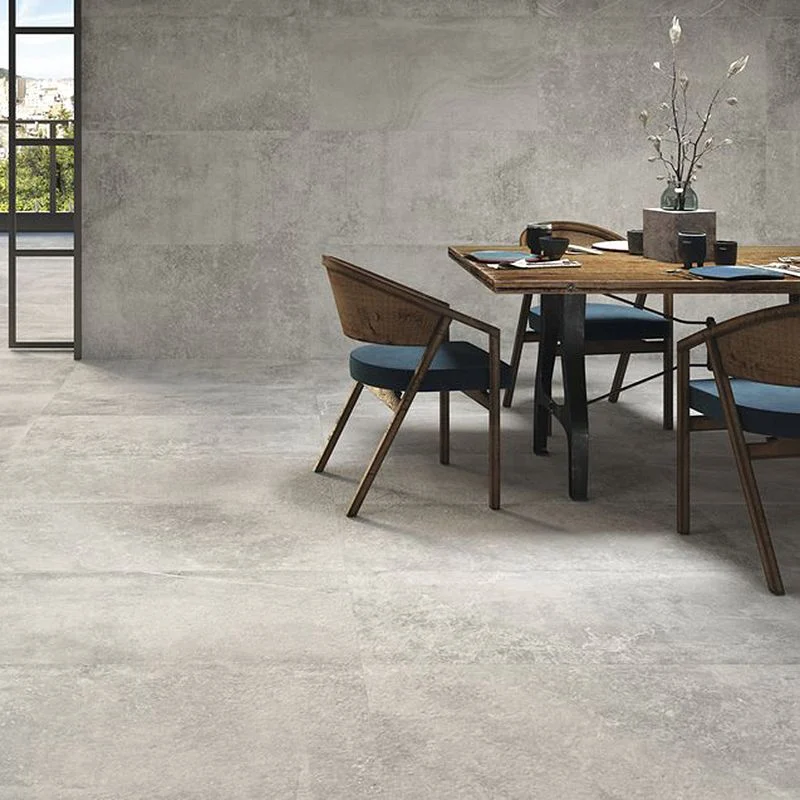
Large Format Tiles:
Create a cohesive look in your outdoor space with large format tiles. Their expansive size not only creates a clean look but also minimizes grout lines. This results in a seamless outdoor surface.
Decor Tiles:
Decor tiles come in various patterns and designs, allowing you to infuse personality and style into your outdoor spaces. Whether you prefer a classic or contemporary look, decor tiles offer a versatile solution for enhancing your outdoor ambiance.
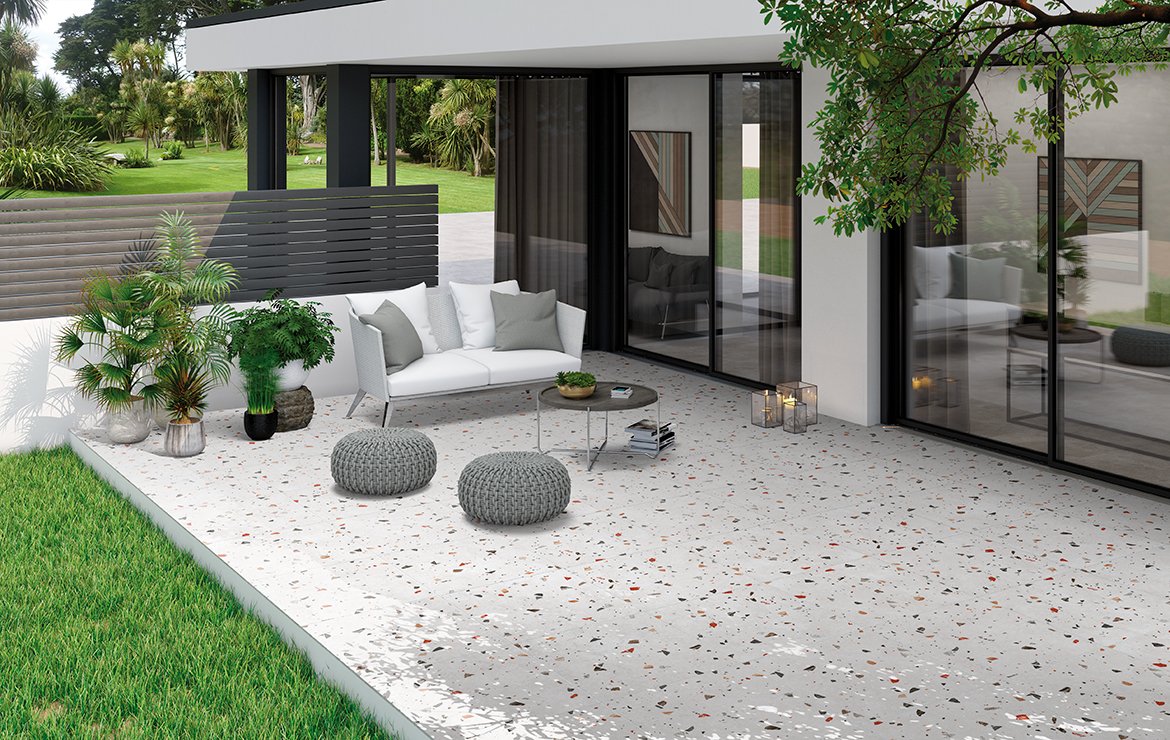
Terrazzo Tiles:
Made with a mix of marble, quartz, granite, or glass chips, these tiles provide a durable and stylish option. Terrazzo’s unique composition not only ensures resistance to wear and tear but also contributes to a visually captivating surface. With a smooth and polished finish, terrazzo tiles effortlessly elevate the outdoor ambiance, offering a sophisticated and contemporary look.
Cheap Outdoor Floor Tiles:
If you’re on a budget but want to enhance your outdoor flooring, explore our wide range of affordable outdoor floor tiles for sale. Despite their economical price, our outdoor tiles maintain quality, offering a cost-effective solution for your outdoor projects.
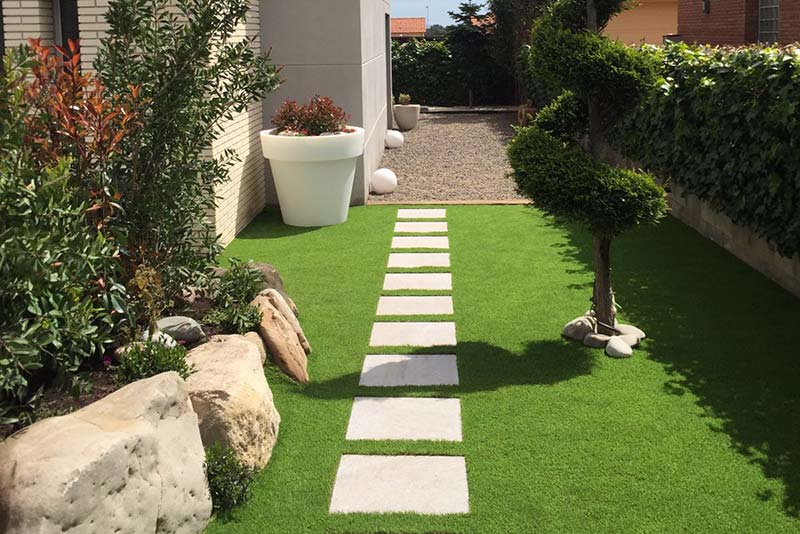
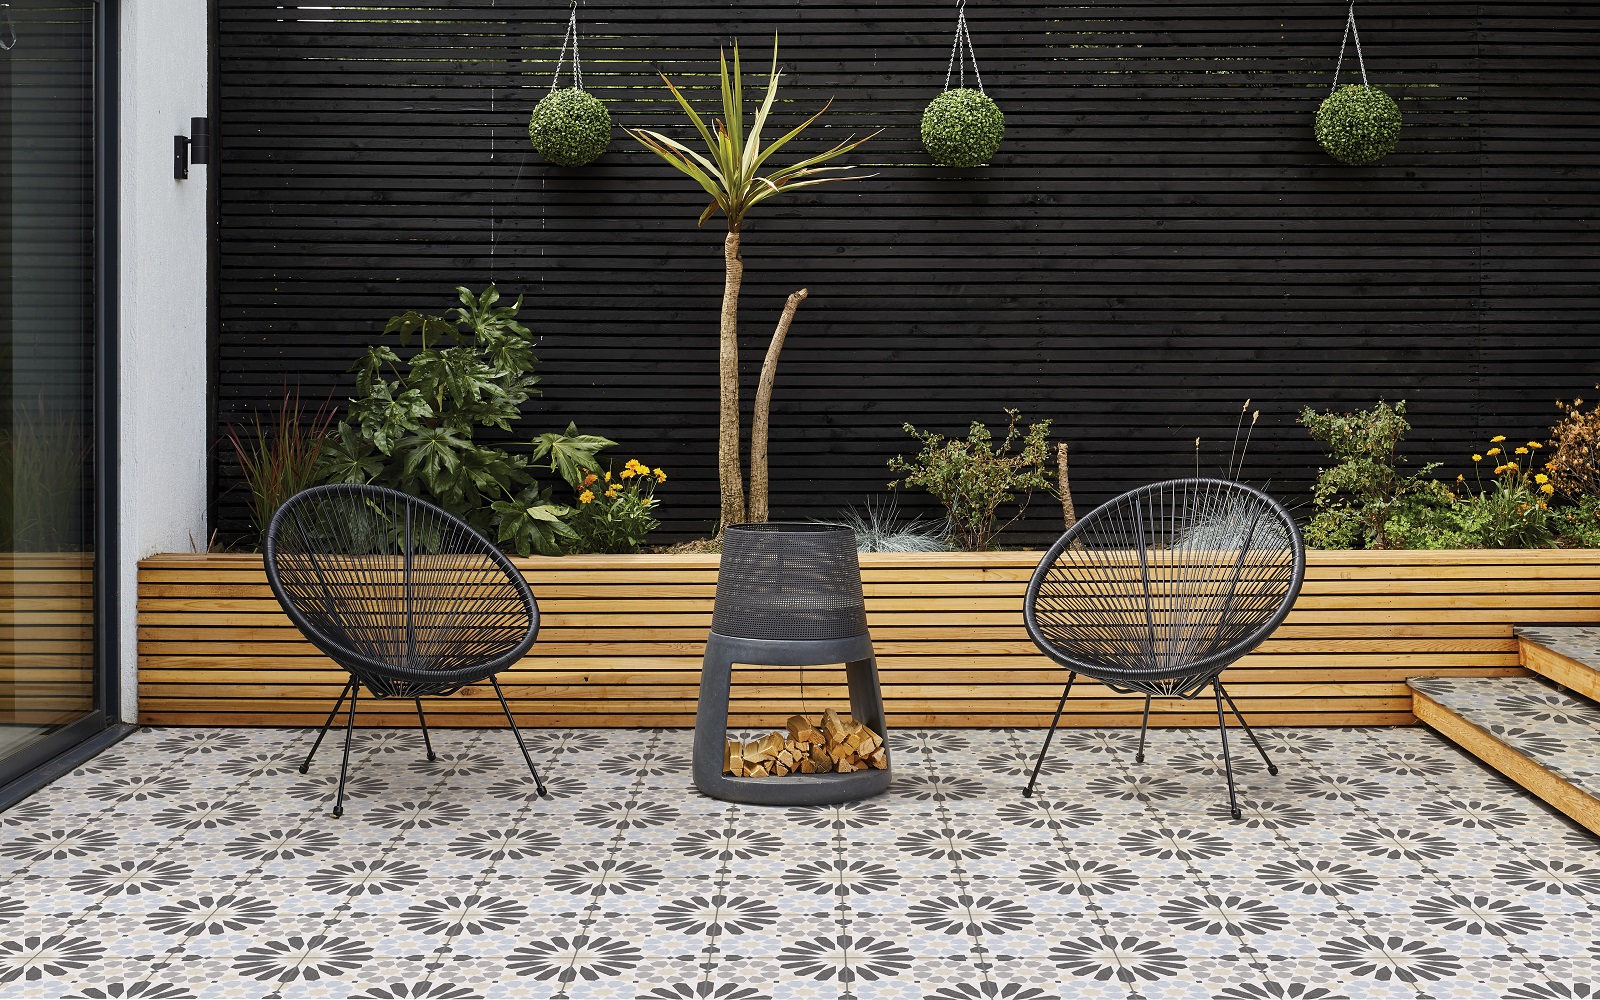
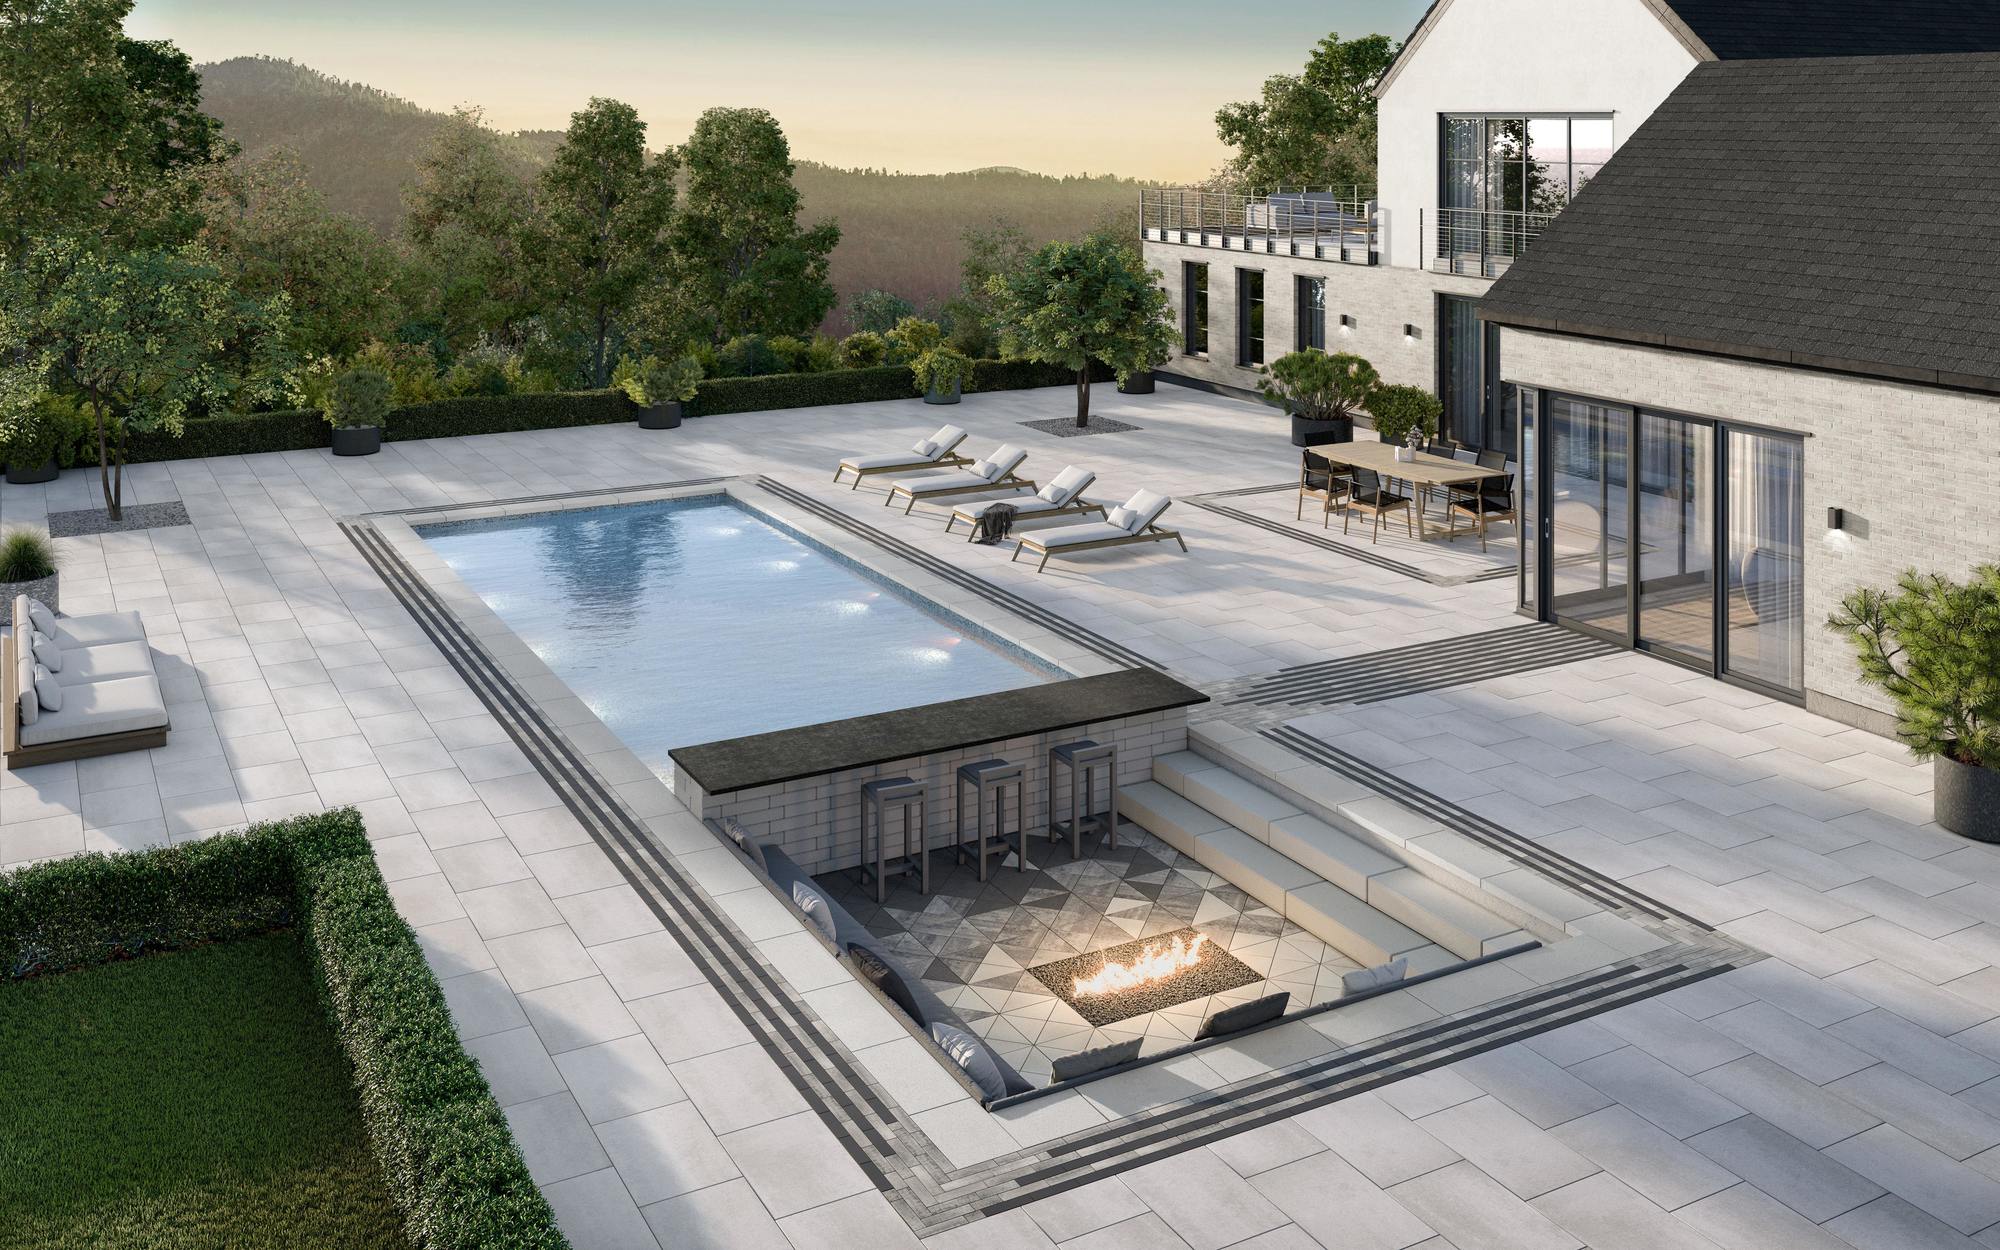
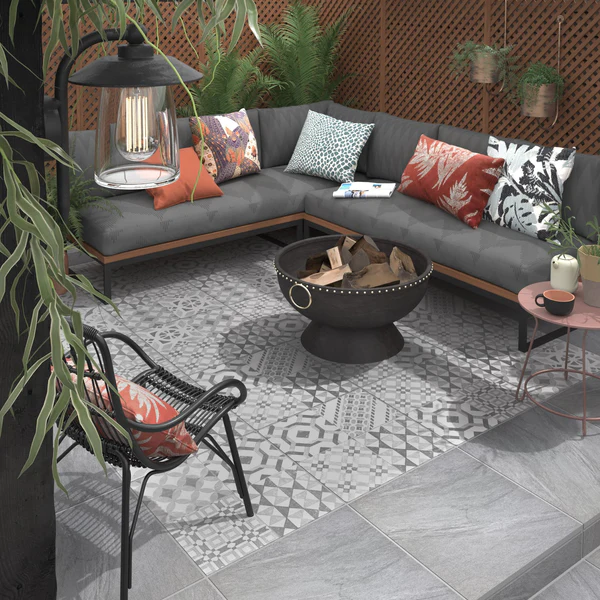
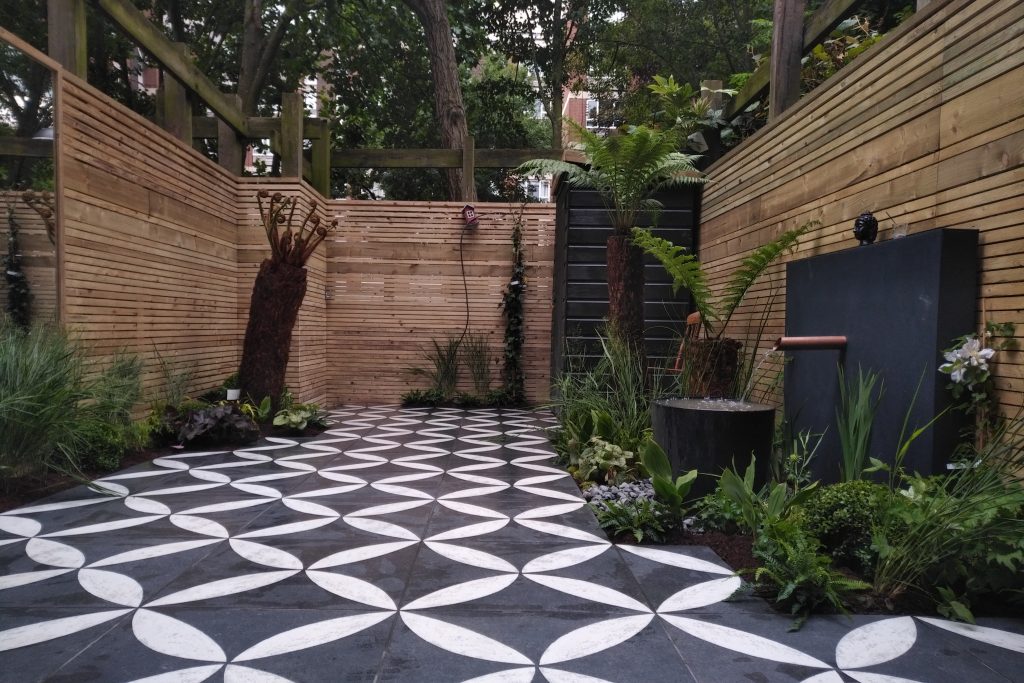
Outdoor Tile Ideas
Define Zones with Tiles:
Utilize tiles to delineate different zones in your outdoor space. For example, create a dining area with a unique tile pattern to separate it from the rest of the outdoor space.
Mosaic Masterpiece:
Infuse your outdoor design with a burst of colour and creativity by using mosaic tiles. Especially suitable for pool areas and pathways, mosaic tiles with slip-resistant features add both flair and safety.
Geometric Brilliance:
Experiment with geometric tile patterns, such as hexagons or chevron designs.
Natural Stone Elegance:
Opt for natural stone tiles like slate or travertine to bring a touch of timeless elegance to your patio or garden. The unique textures and earthy tones of natural stone create a rustic yet sophisticated ambiance.
Reflective Pool Tiles:
Enhance the beauty of your pool area by using reflective tiles that shimmer in the sunlight. This not only adds a luxurious touch but also creates a dazzling visual effect.

Gravel and Tile Fusion:
Combine the durability of tiles with the natural feel of gravel by integrating both materials in a creative pattern. This fusion not only adds texture but also creates a visually dynamic outdoor surface.
Outdoor tile patterns and layouts
Herringbone:
Add a touch of timeless elegance to your outdoor space with the classic herringbone pattern. Whether used on a patio or pathway, the distinctive V-shaped design creates a visually appealing and sophisticated look.
Basket Weave:
Opt for the charming basket weave pattern to lend a sense of texture and intricacy to your outdoor flooring. This interwoven design adds a subtle yet distinctive visual interest.
Mixed Materials:
Blend different textures, colours, and sizes to create a dynamic and unique aesthetic. This eclectic approach allows you to personalize your outdoor space with a captivating mosaic of materials and patterns.
Whether you choose premium tiles or budget-friendly alternatives, there are a wide range of outdoor tiles for sale and patio tiles for sale. Enhance the aesthetics and durability of your exterior areas by choosing the right outdoor tiles for your home.
Discover the latest in outdoor flooring trends on tiletoria trends here.
Check out more of our top tips on choosing outdoor tiles for your home here.
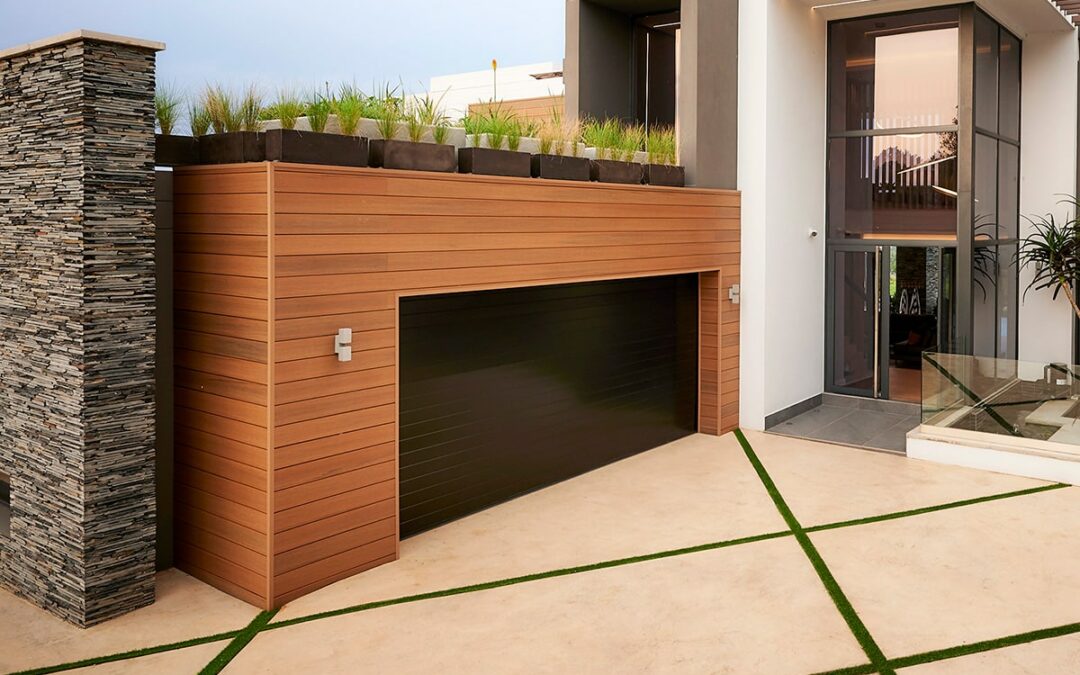
blog, outdoor
Cladding stands out as a timeless and versatile choice when enhancing the aesthetics of your living or working space. Considering a modern exterior upgrade or want to add a touch of sophistication to your interior? Cladding offers a wide range of options to suit your style and preferences.
Understanding Cladding:
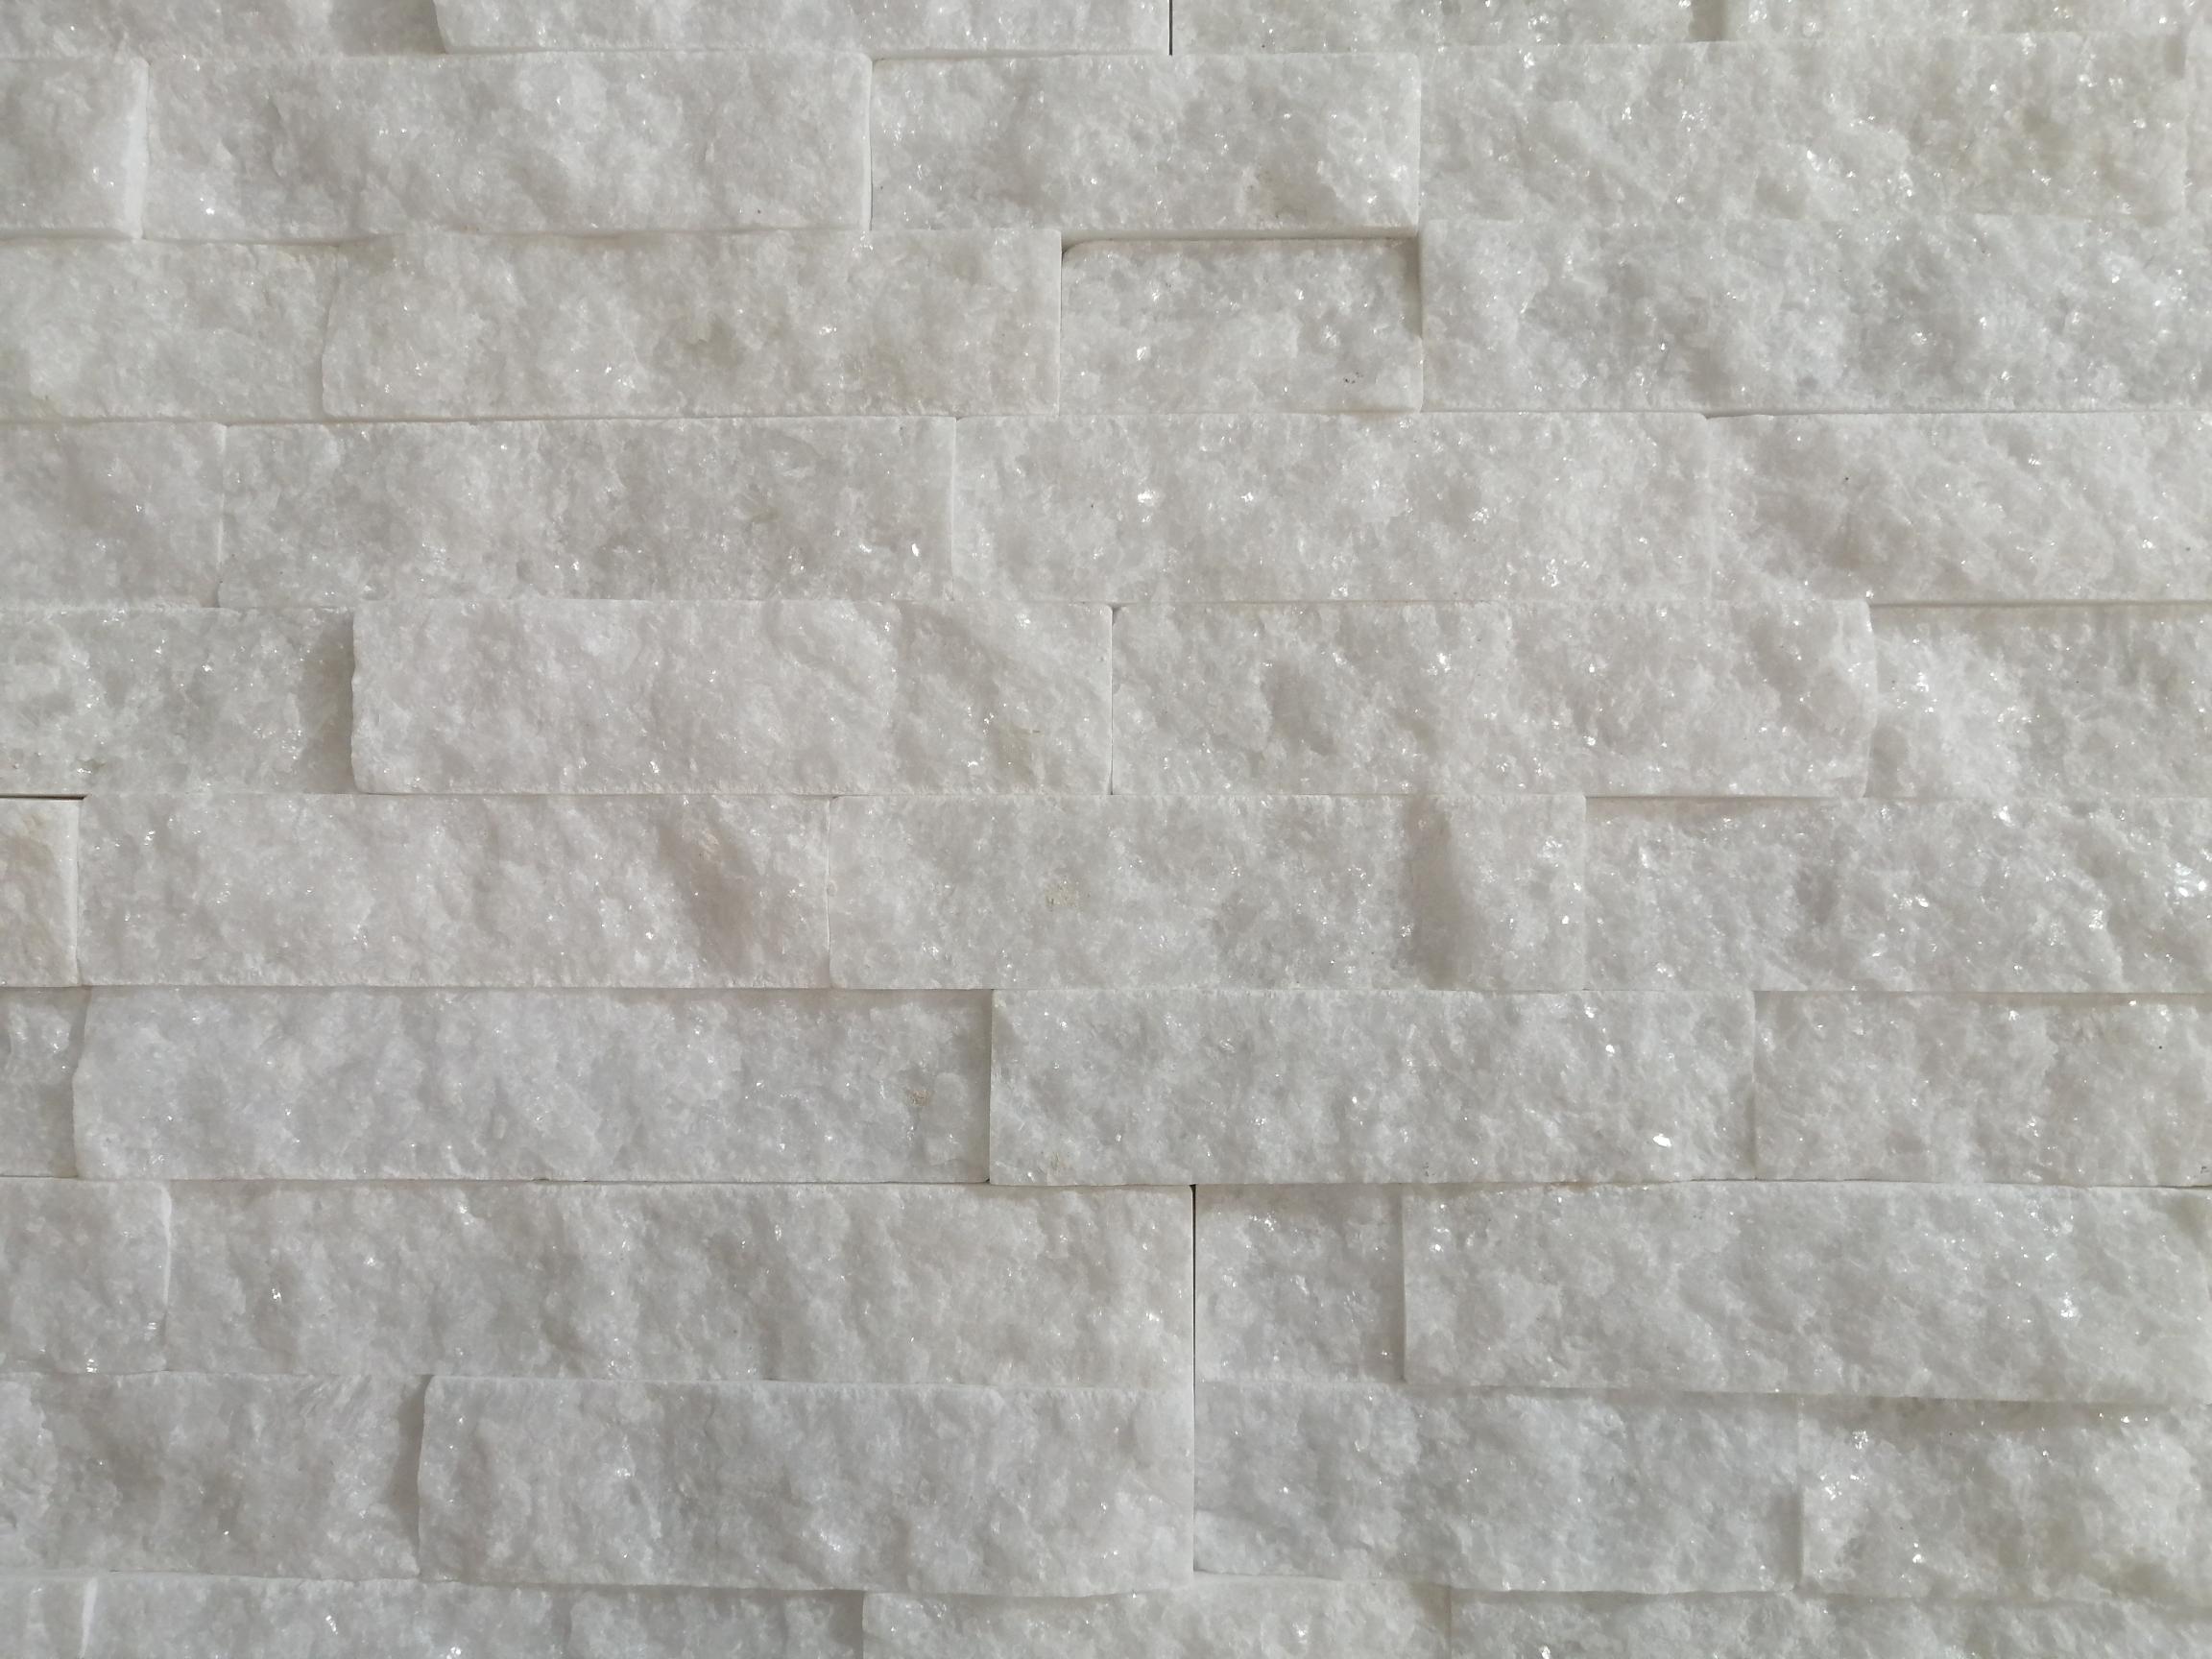
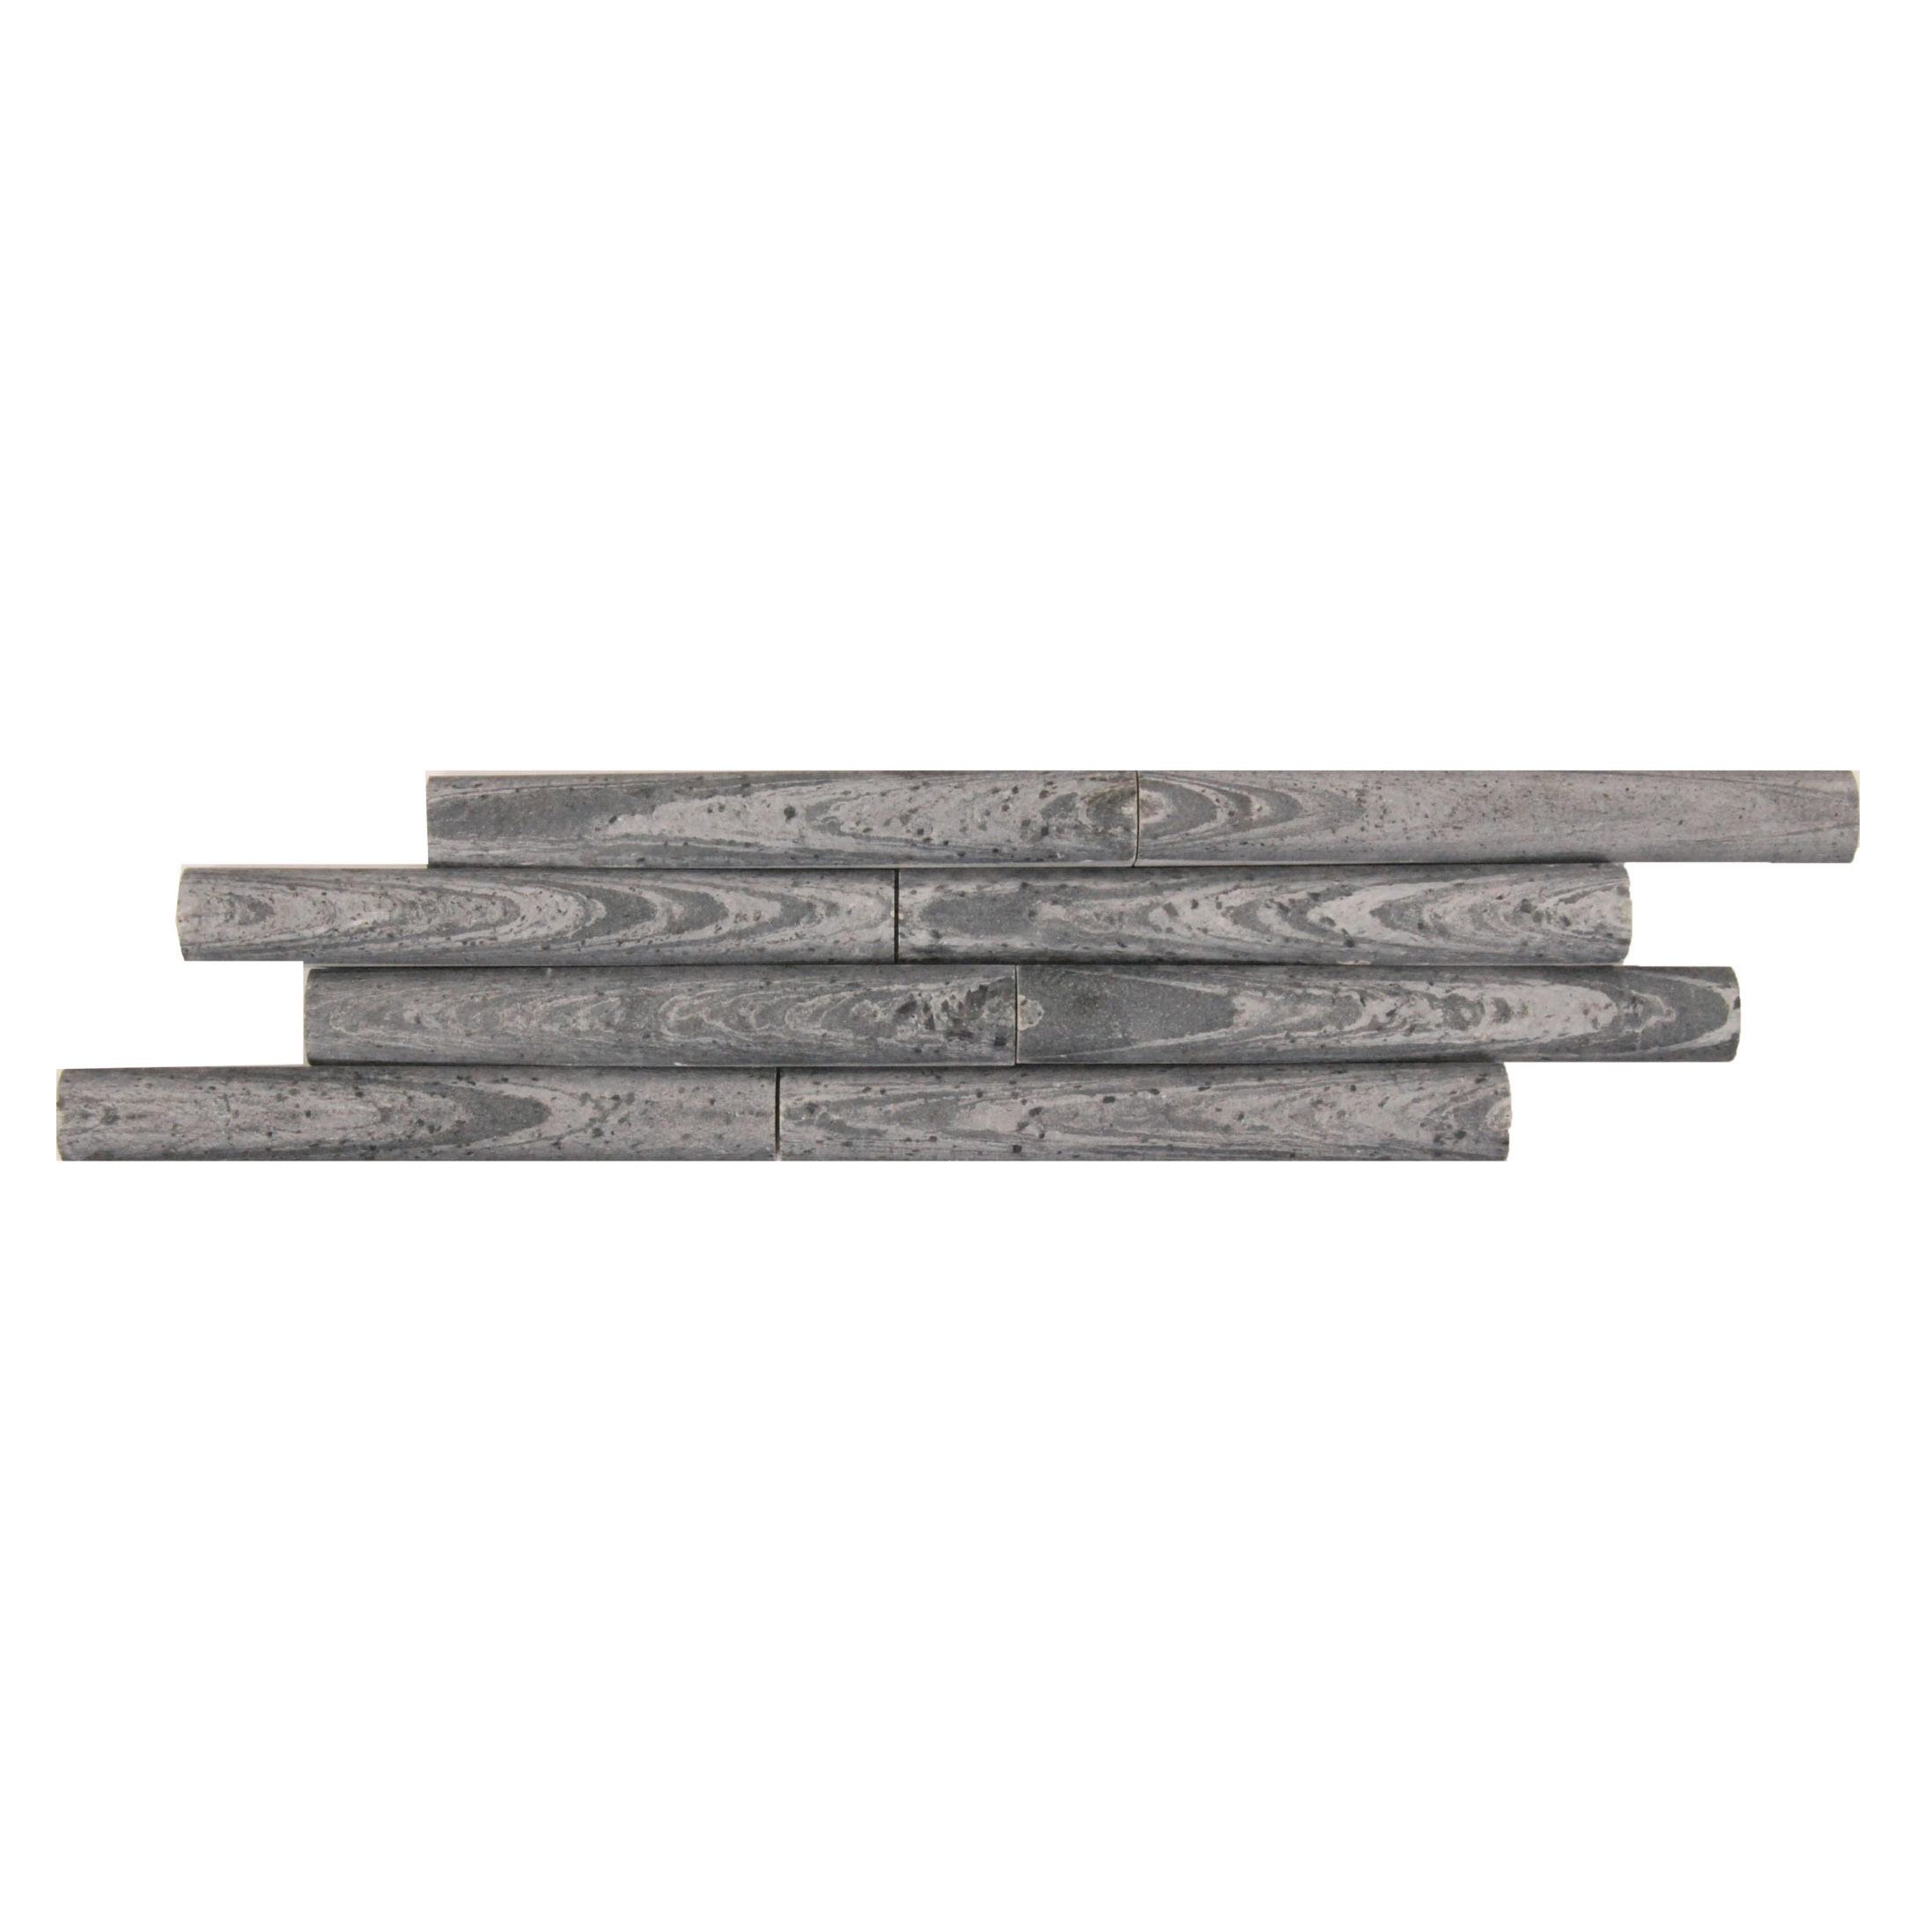
Stone wall cladding tiles offer a way to cover walls with layers of stone, giving them texture and durability. Available in various textures, colours, and patterns, cladding is versatile and adaptable to different design preferences and styles. Its popularity stems from the ability to capture the essence of natural materials while offering practical benefits and design flexibility. Whether used for exterior or interior, cladding elevates spaces by infusing them with the enduring beauty of natural stone.
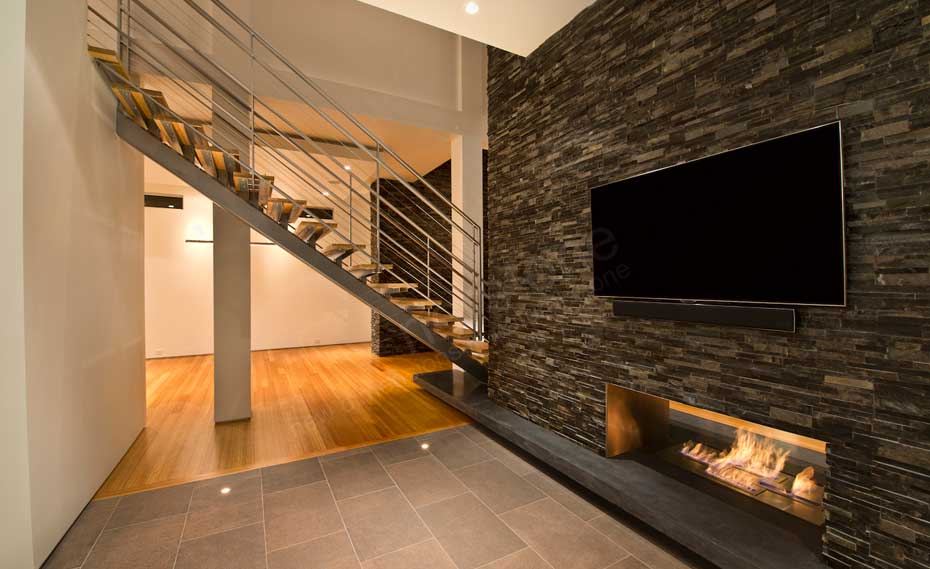
Exterior Stone Cladding:
If you’re looking to enhance the appeal of your home or commercial building, outdoor cladding tiles are well suited. The durability of natural stone makes it resistant to weathering, ensuring your space stays beautiful for a long time. Explore a variety of exterior wall cladding tiles, in various textures and colours to find the perfect match.
Interior Stone Cladding:
Create a warm and inviting atmosphere indoors with interior stone cladding tiles. From rustic to contemporary, the diverse range of natural stone options allows you to express your unique style. Transform accent walls, fireplaces, or even entire rooms with the timeless beauty of cladding tiles for interior walls.
Natural Stone Elegance:
One cannot overstate the genuine nature of natural stone, including wood wall cladding. With stone wall tiles and cladding stones for sale, you can bring the raw, organic beauty of nature into your living or working space. Natural stone cladding is a testament to the timeless allure that only Mother Nature can provide.
Affordable Options:
Contrary to popular belief, achieving an elegant look with stone cladding doesn’t have to break the bank. Explore cheap cladding tiles for sale without compromising on quality or style. Affordable options make it possible for everyone to enjoy the benefits of stone cladding without exceeding their budget.
Browse our range of affordable cladding tile options:
Stone Cladding in South Africa:
South Africa boasts a rich array of natural stone options, making it an ideal region for stone cladding enthusiasts. From traditional to modern exterior stone cladding, the local market offers a diverse selection.
Maintenance and Longevity:
Stone cladding is not only visually stunning but also low-maintenance. With proper care, it can withstand the test of time, maintaining its appeal for generations. Consider stone cladding for exterior walls as a durable and aesthetically pleasing solution that requires minimal upkeep.
In the world of wall upgrades, stone cladding steals the show, with a perfect blend of natural beauty, durability, and style. Stone cladding is a timeless choice for home or commercial projects, adding value to any space. So, explore the possibilities, transform your walls, and let the classic beauty of stone leave a lasting impression for years to come!

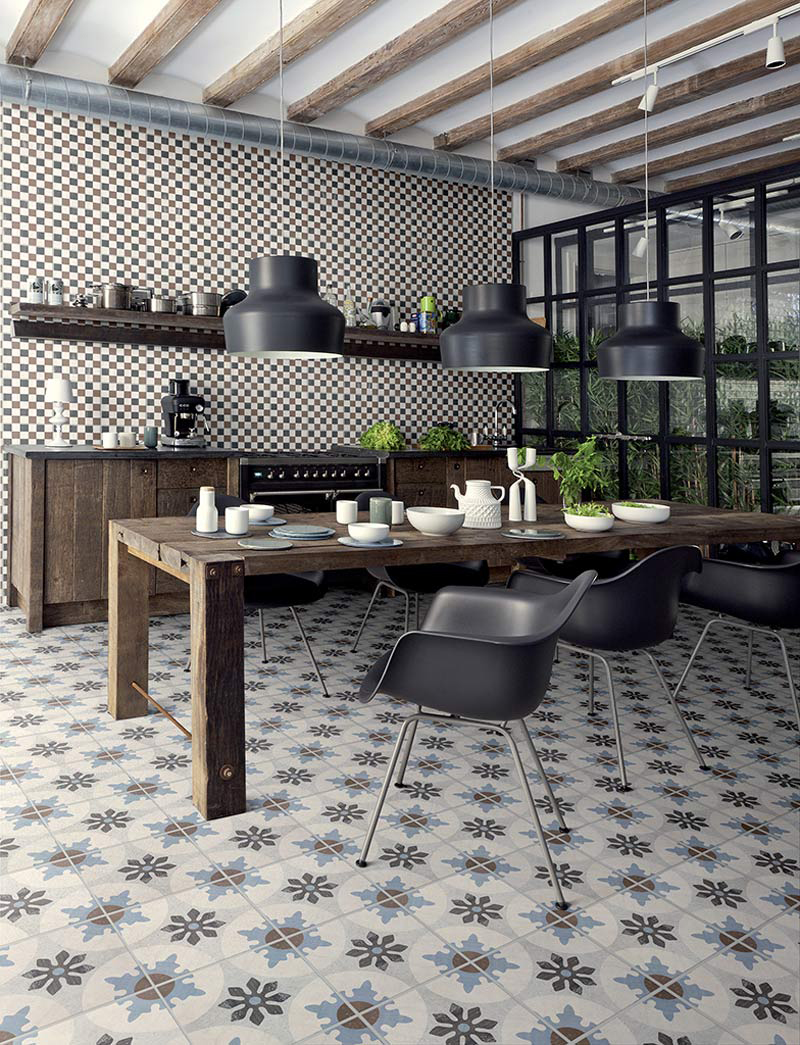
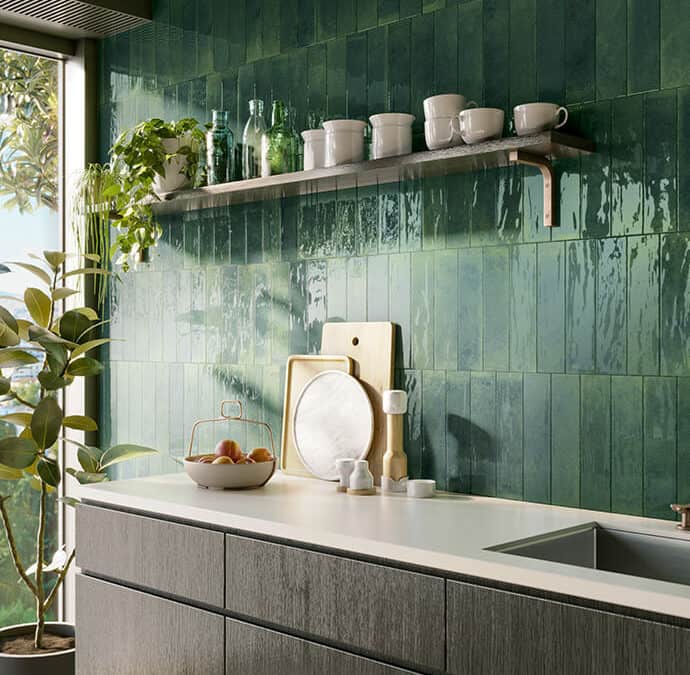
blog, floors
Cement tiles have become a go-to choice for home décor, blending durability, aesthetics, and eco-friendliness. Let’s explore the world of cement tiles – their applications, design ideas, and distinctive features that set them apart.
What is a Cement Tile?
Cement tiles are handmade tiles created from a mix of cement, sand, and pigments. Cement tiles are also know as Encaustic tiles. While traditional ceramic tiles have patterns on the surface, encaustic tiles feature patterns embedded into the tile itself. The term “encaustic” refers to the process of using pigmented colours in the making of the tile.
During the production process, workers press the mixture into a mold and let it cure, resulting in a strong and stylish tile. Each tile’s uniqueness stems from its handmade nature, ensuring that no two tiles are exactly alike.
Cement tiles align with the growing trend of sustainable living. They last longer, so you don’t need to replace them as often as some other flooring materials.
People have used encaustic tiles for ages, and they’re still popular today for their unique look and design flexibility.
Why choose Cement Tiles?
Durable against wear and cleaning agents, simple to maintain, and hygienic – they are an ideal choice for the floors and walls of any space.
What makes cement tiles stand out is their flexibility. You can use them in flooring, wall designs, and even outdoor spaces.
Their resistant to heat, makes them suitable for use with underfloor heating systems, providing comfort in colder seasons.
Cement Look Tiles: A Modern Touch
For a chic and contemporary appearance, consider cement look floor tiles. These imitate traditional cement tiles but utilize more modern materials, providing the same look with enhanced durability.
Stylish and Practical: Cement Tiles Transforming Kitchens
Cement tiles are gaining popularity in kitchens for their perfect mix of style and practicality. Resistant to wear and stains, and easy to clean, they make an excellent choice for flooring and wall coverings in busy kitchen spaces.
Make your kitchen a culinary haven with a variety of stylish patterns and colours. Encaustic tiles not only handle the busyness of a kitchen but also bring timeless elegance to your home’s heart.
Cement Tiles for Bathrooms: Perfect Match
Extend the charm to bathrooms, where water-resistant cement tiles for floors excel.
Their natural resistant to water, makes them suitable for areas prone to moisture like bathrooms. This helps prevent water damage and ensures the longevity of the tiles. Encaustic tiles are inherently hygienic, as they do not promote the growth of mold or mildew. This quality is particularly crucial in a bathroom setting where moisture is present.
Cement Tiles Outdoors: Nature Meets Design
From patios to garden pathways, cement outdoor floor and wall tiles withstand the elements while maintaining their aesthetic appeal.
They are resistant to weathering, making them a reliable choice for areas exposed to sunlight, rain, and temperature fluctuations. Many encaustic tiles have a textured surface to make them slip-resistant. This feature is crucial for outdoor areas where the surface may become wet and slippery.
Their heat resistance makes them suitable for areas exposed to direct sunlight. This property prevents the tiles from becoming excessively hot and uncomfortable to walk on.
Encaustic tiles are relatively low-maintenance, requiring minimal care to keep them looking good. Regular sweeping and occasional washing are usually sufficient to maintain their appearance in outdoor settings.
Cement Tile Ideas: Unleash Your Creativity
Experiment with various patterns, colours, and layouts to create a personalized look. From geometric designs to intricate florals, cement tiles offer endless possibilities for your space.
The enduring appeal of cement tiles lies in their rich history and timeless design. From their origins centuries ago to their current popularity, they continue to captivate with their distinctive aesthetic and versatility.
Encaustic tiles stand as a testament to the seamless blend of tradition and contemporary style. As we appreciate their enduring charm, it becomes clear that cement tiles are more than just a design choice. They are a celebration of artistry and enduring elegance.
Browse our collection of Cement and Cement Look Tiles:
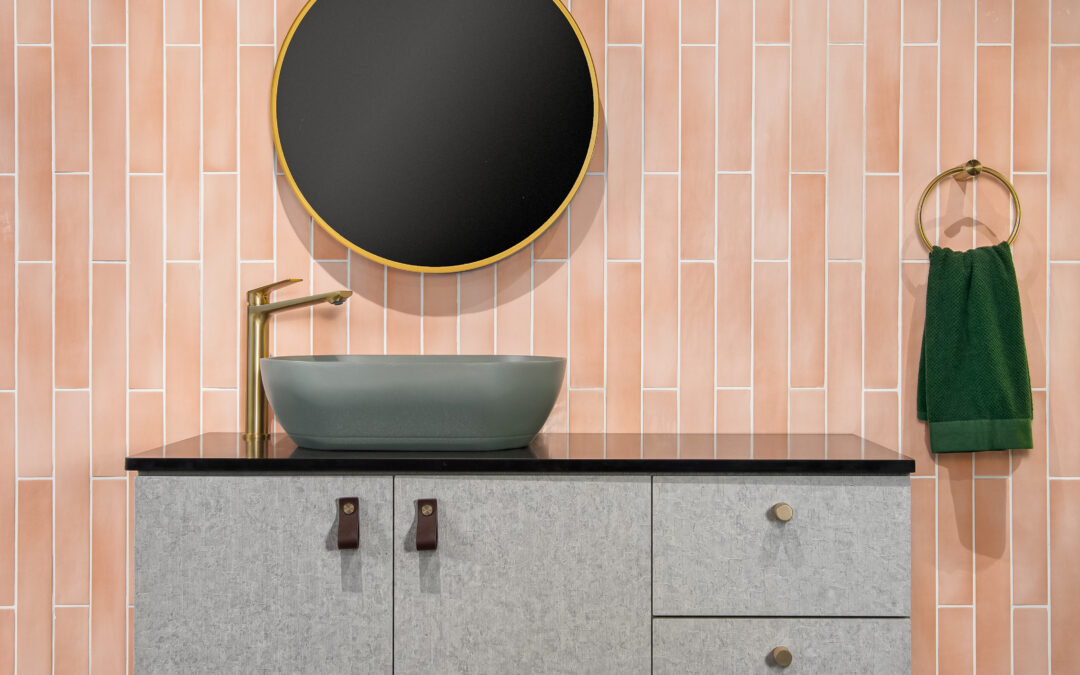
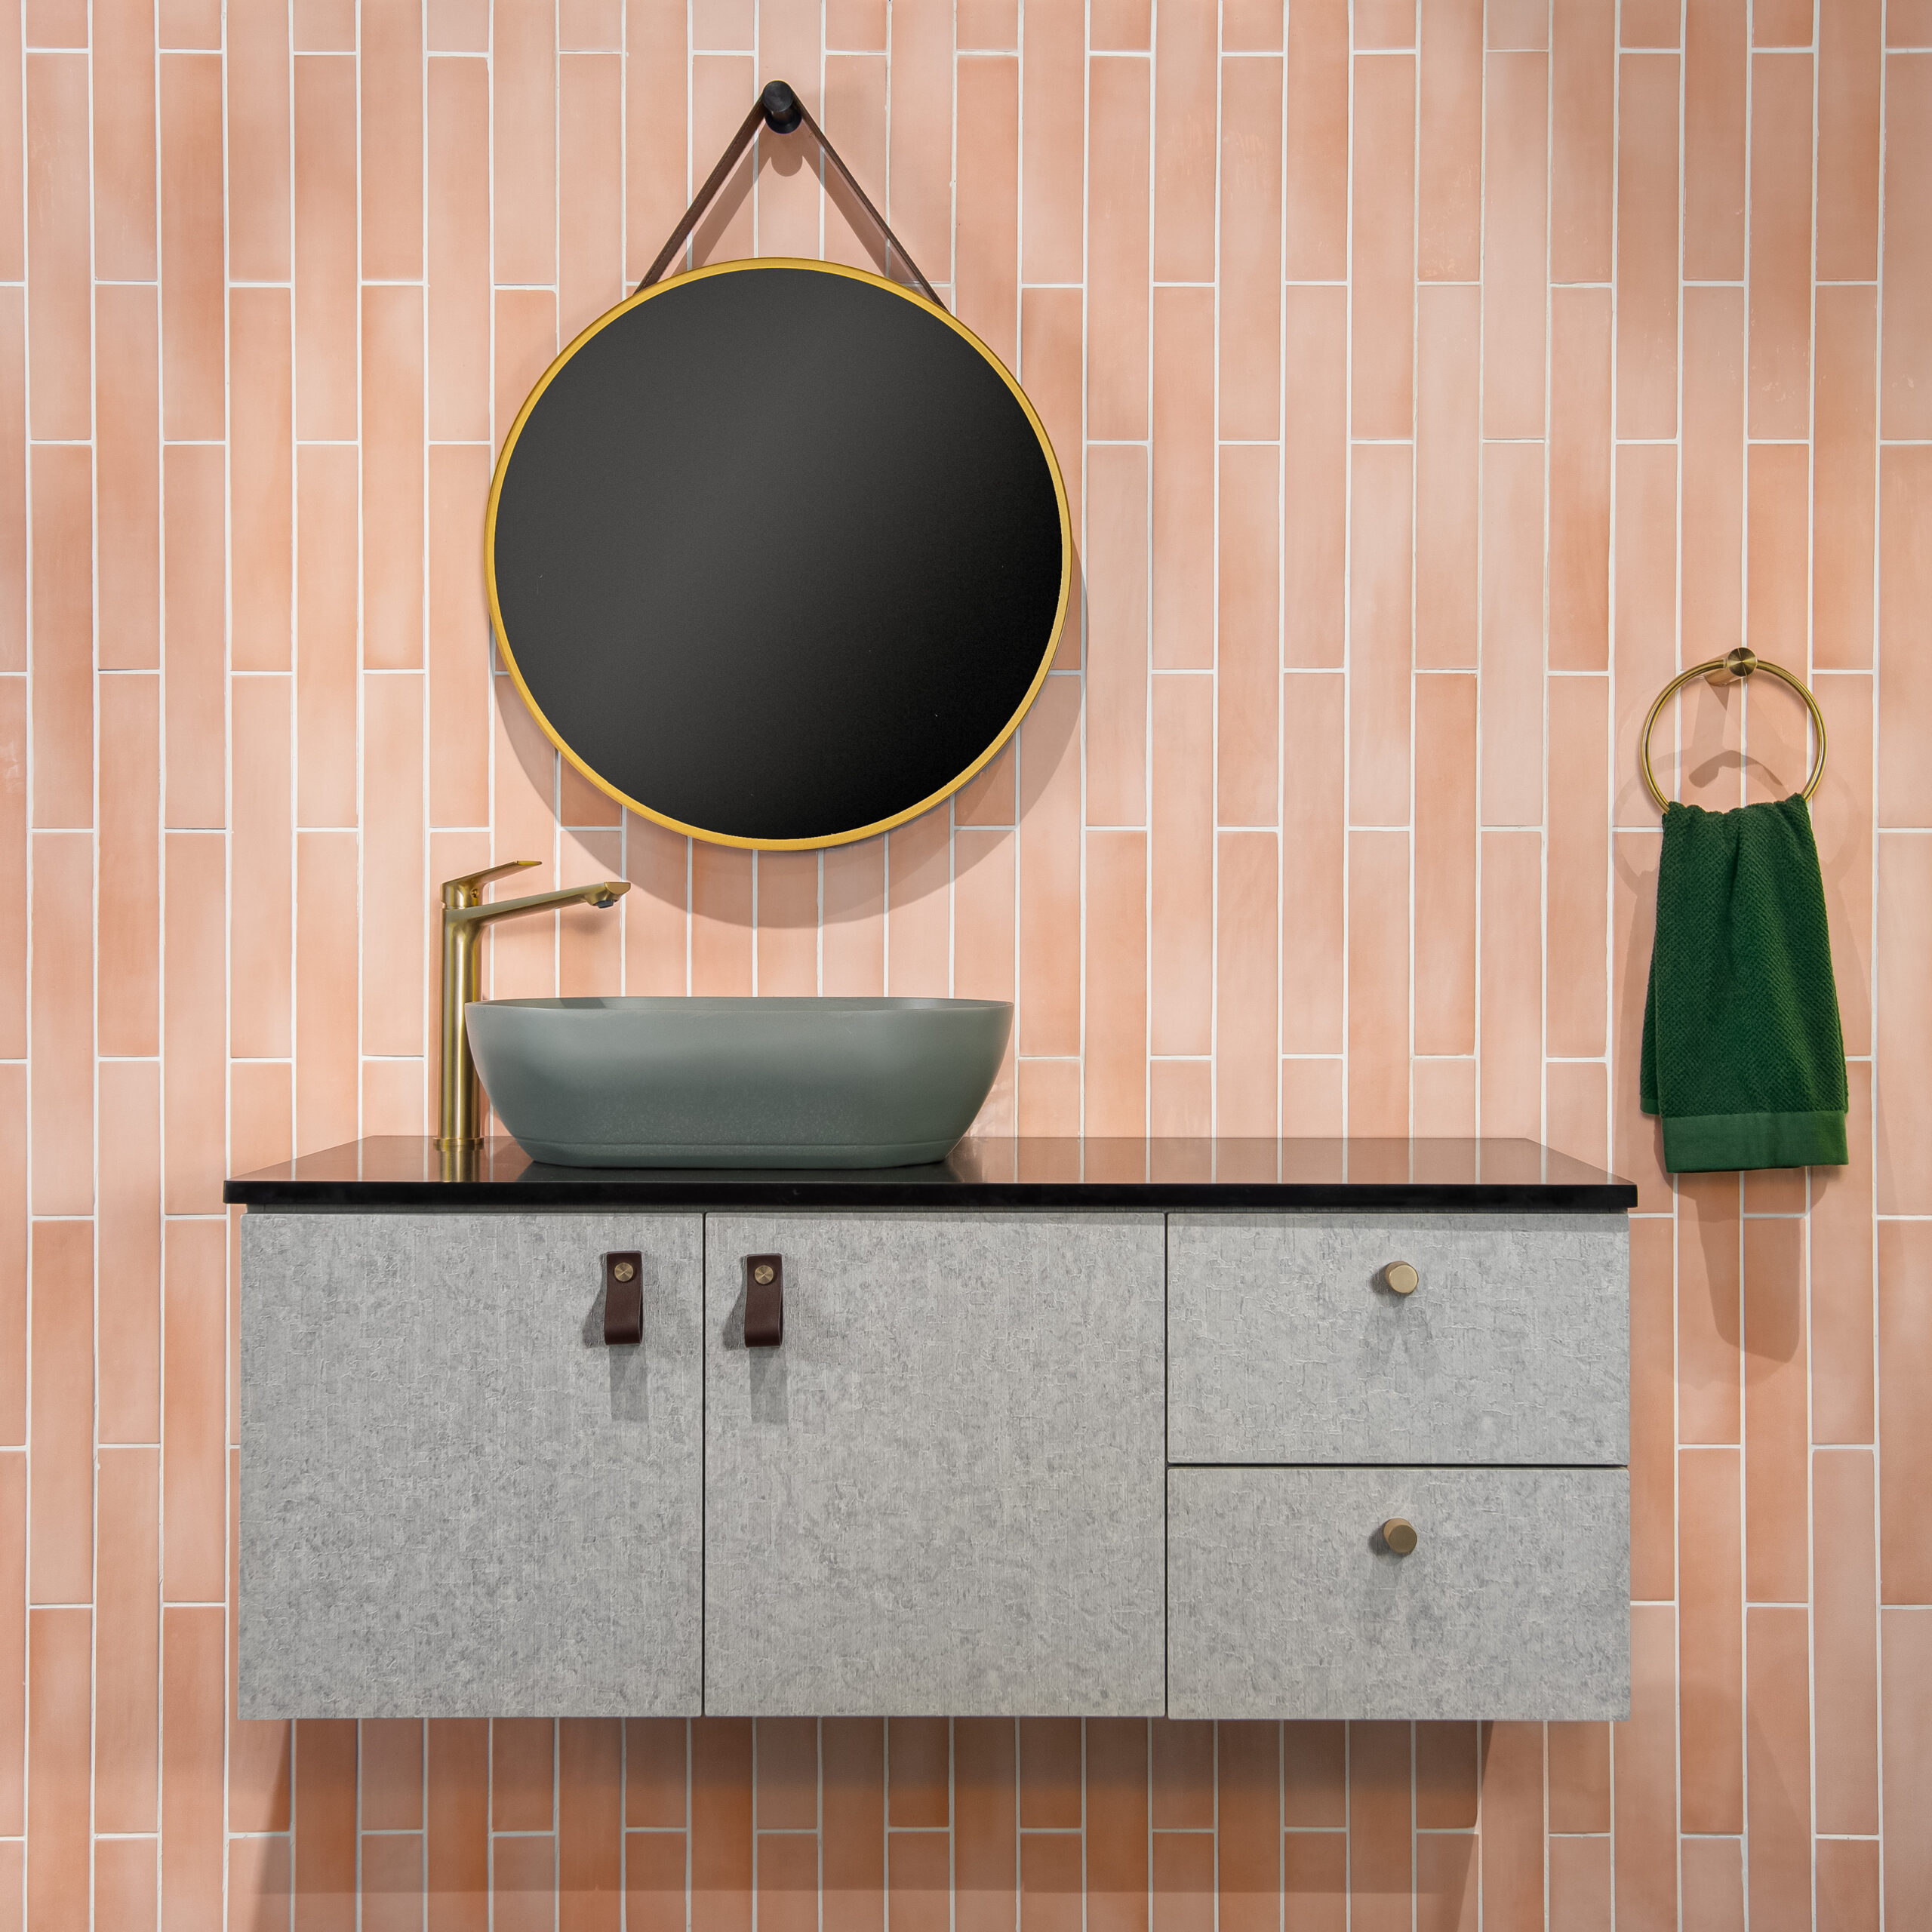
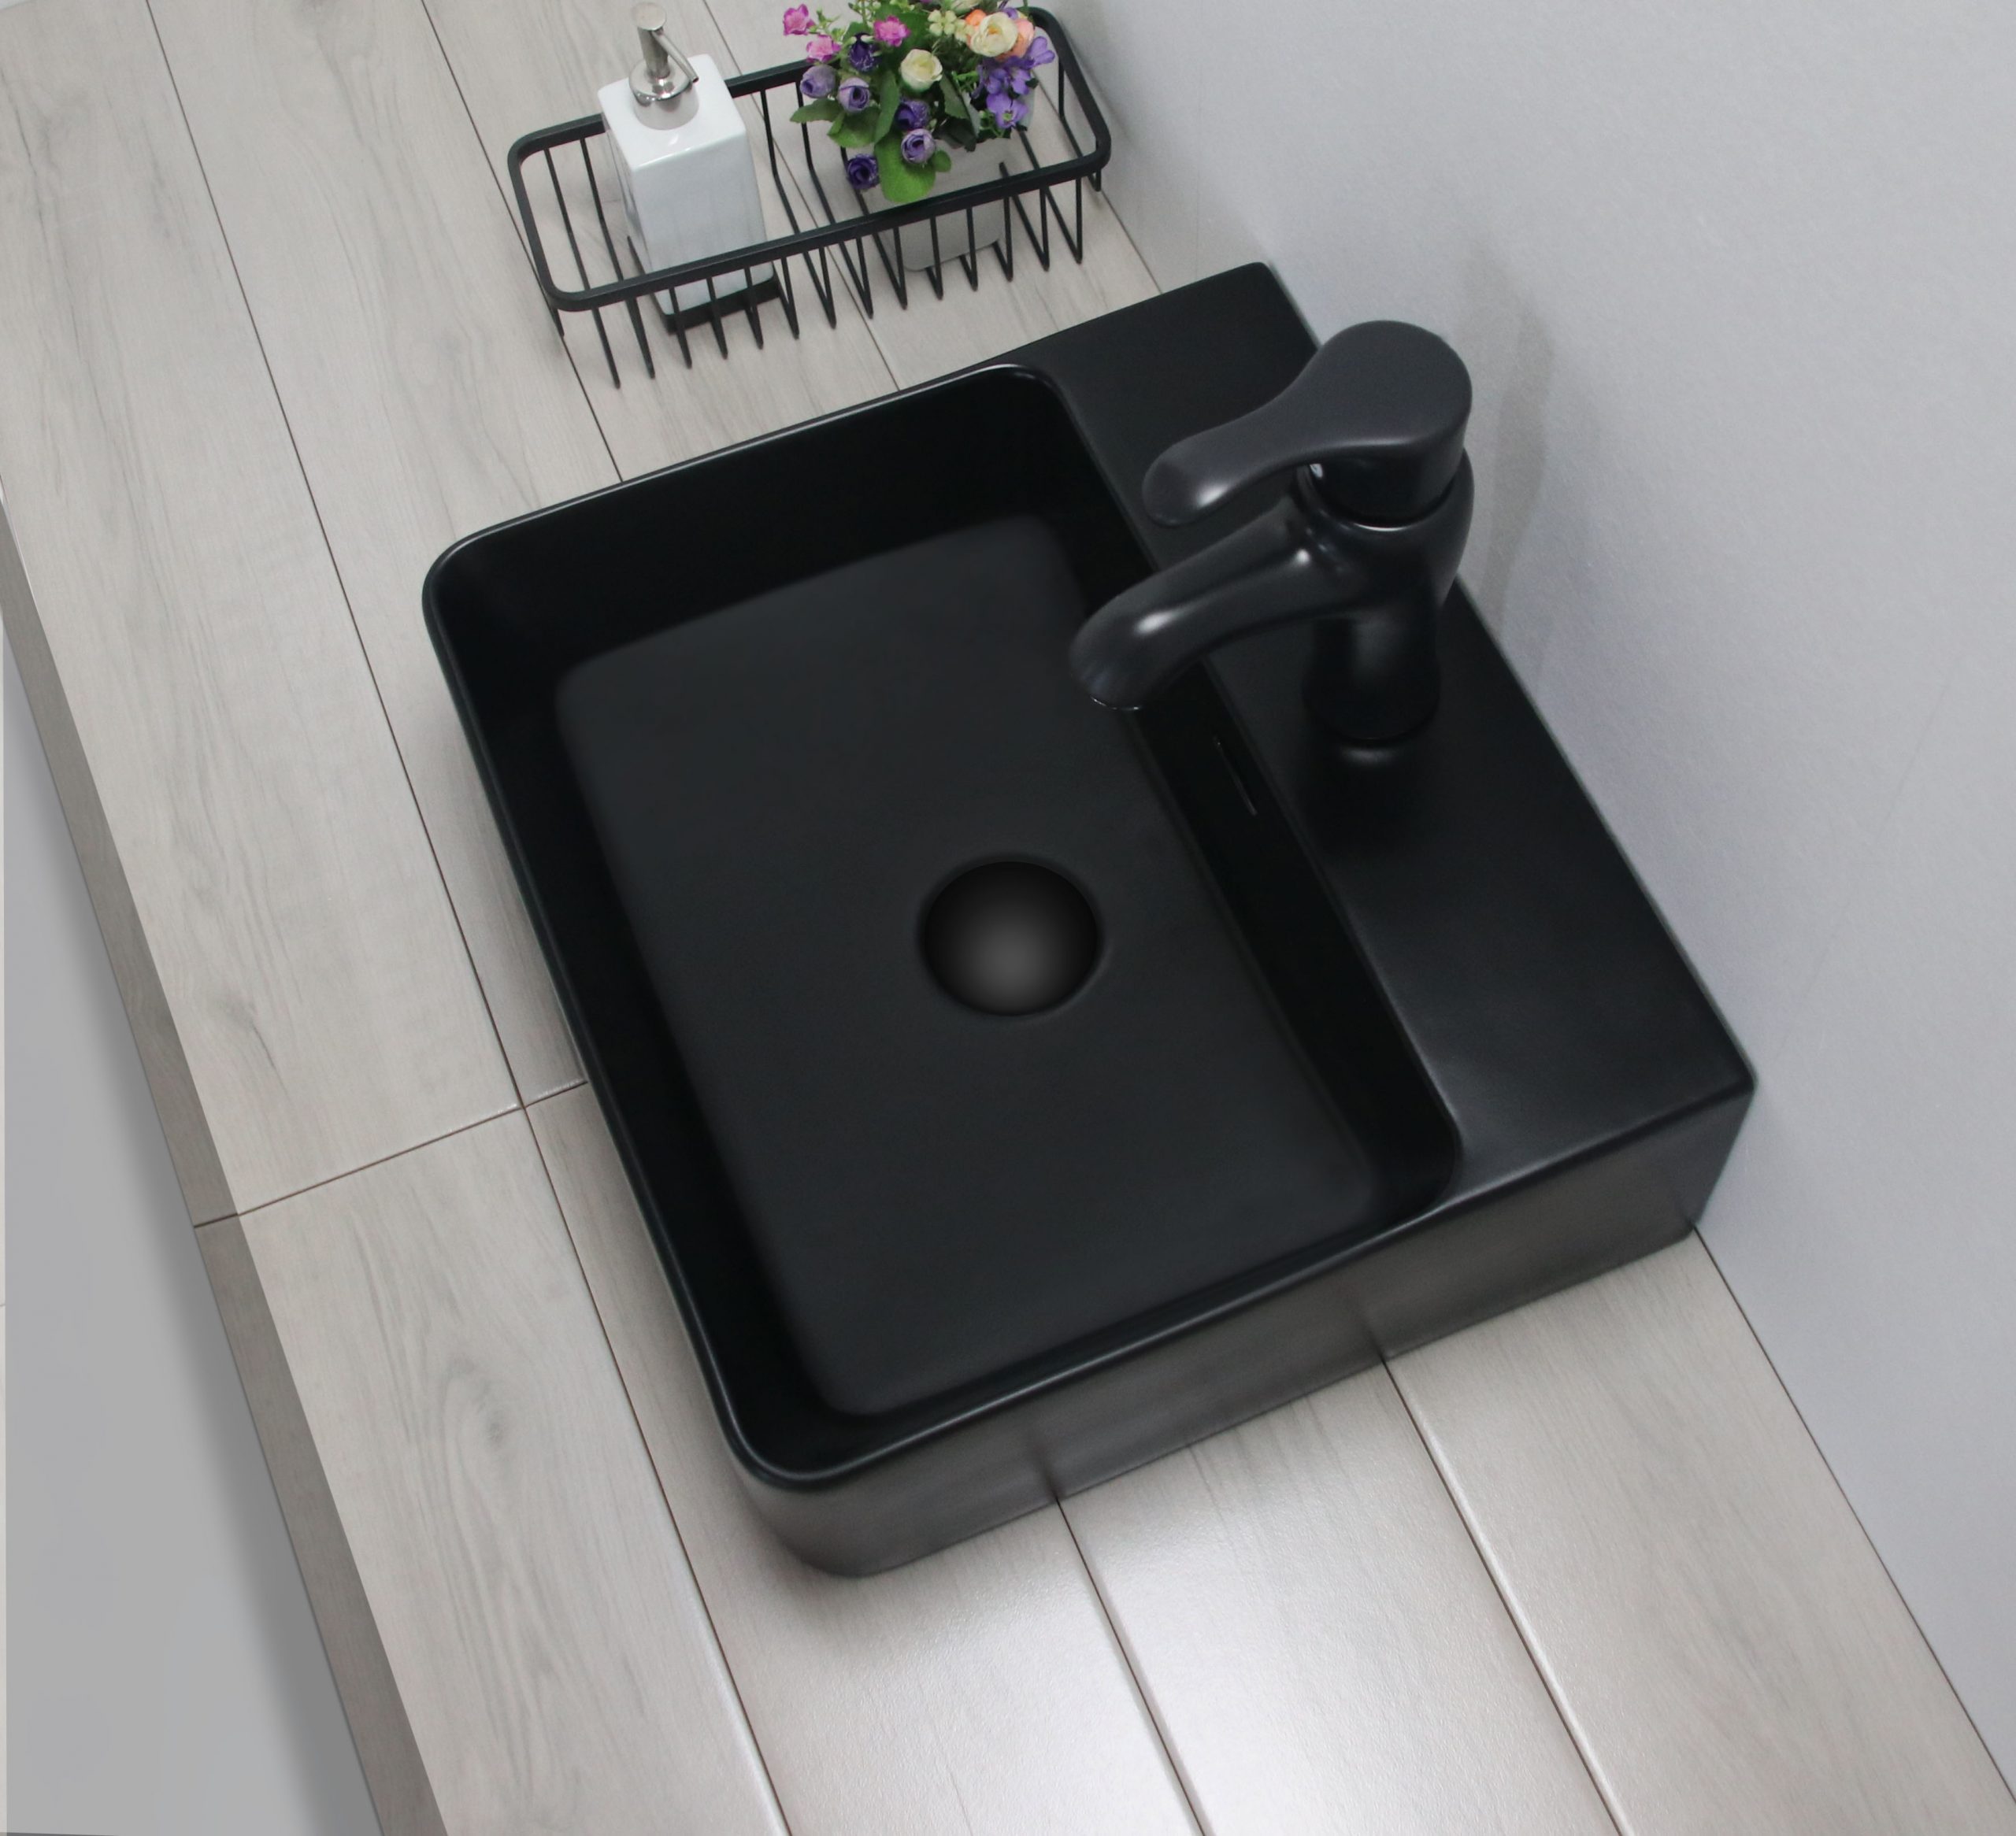
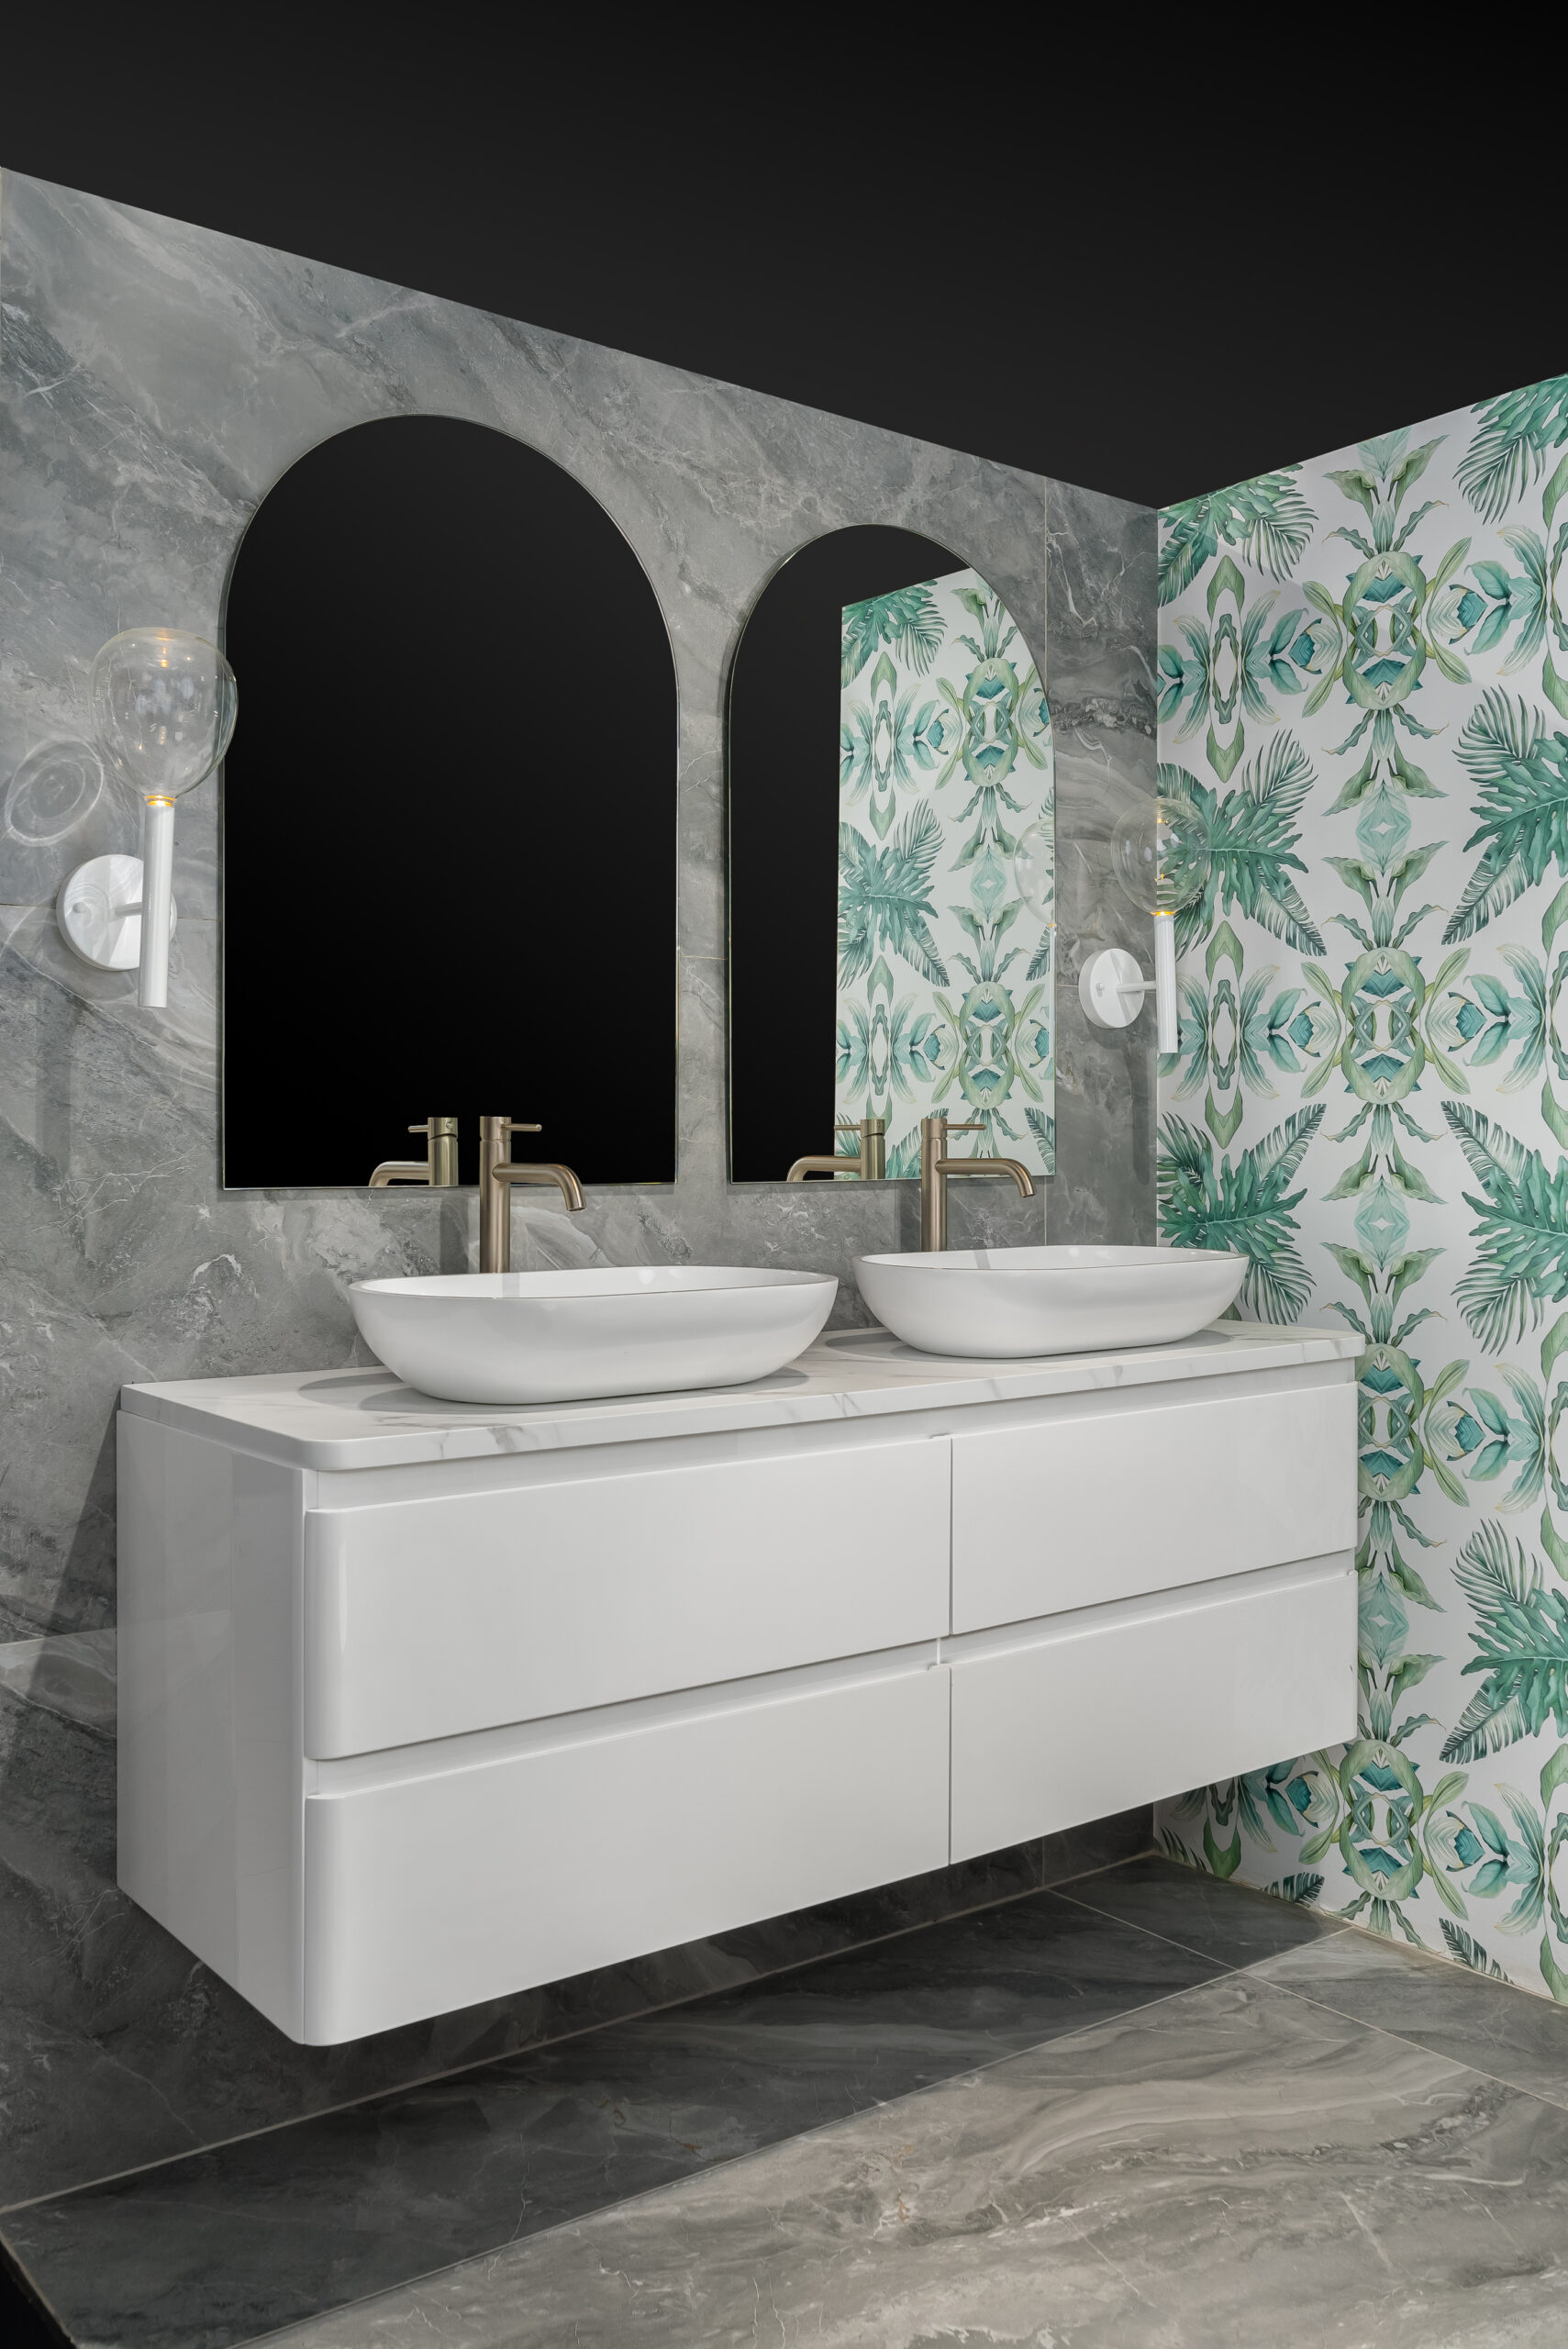
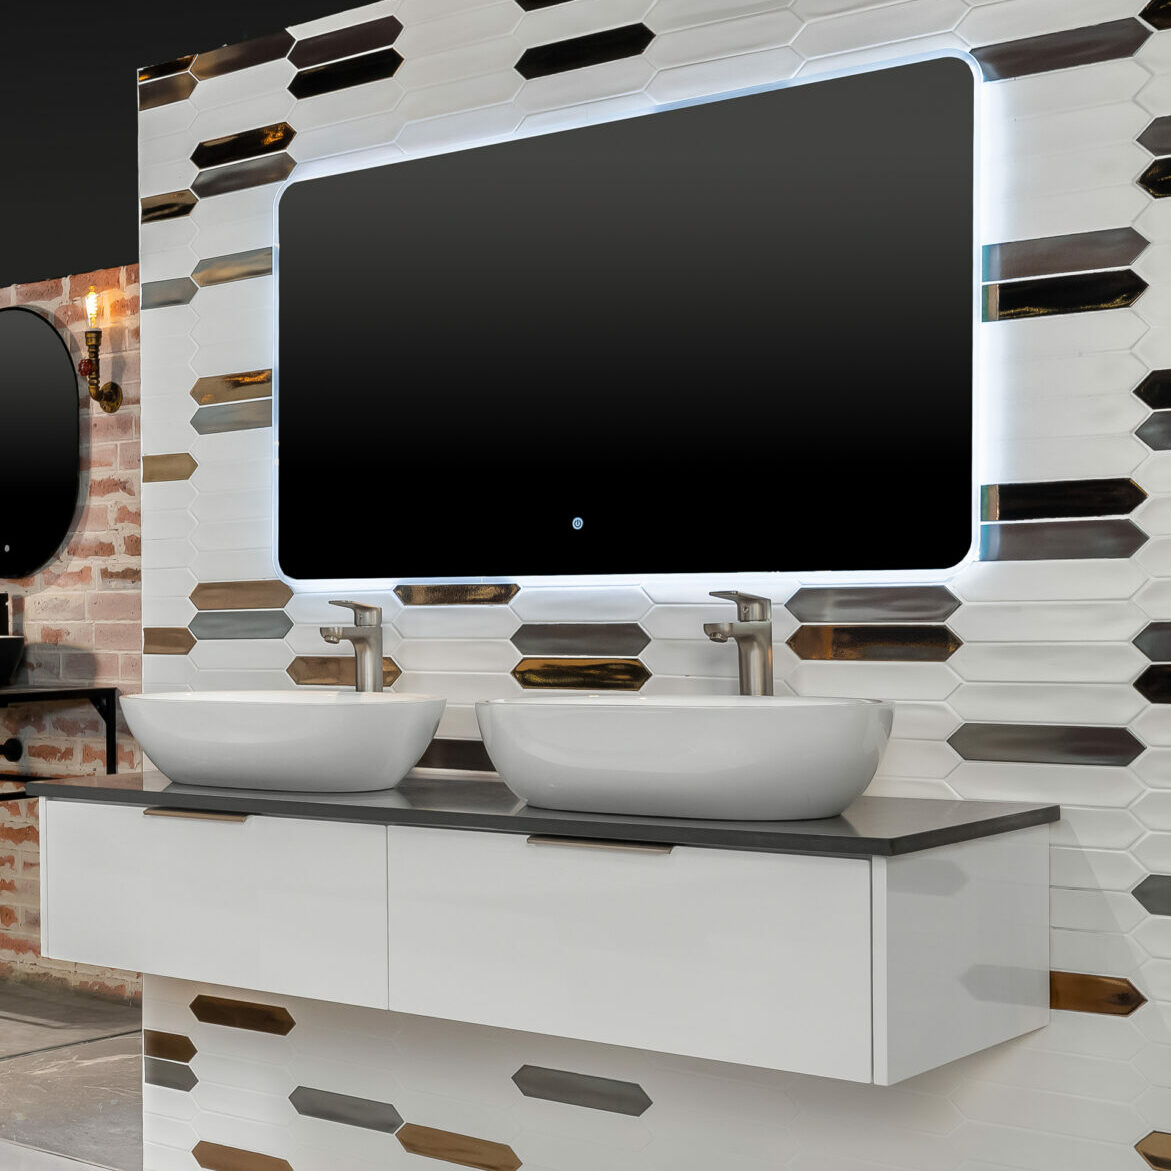
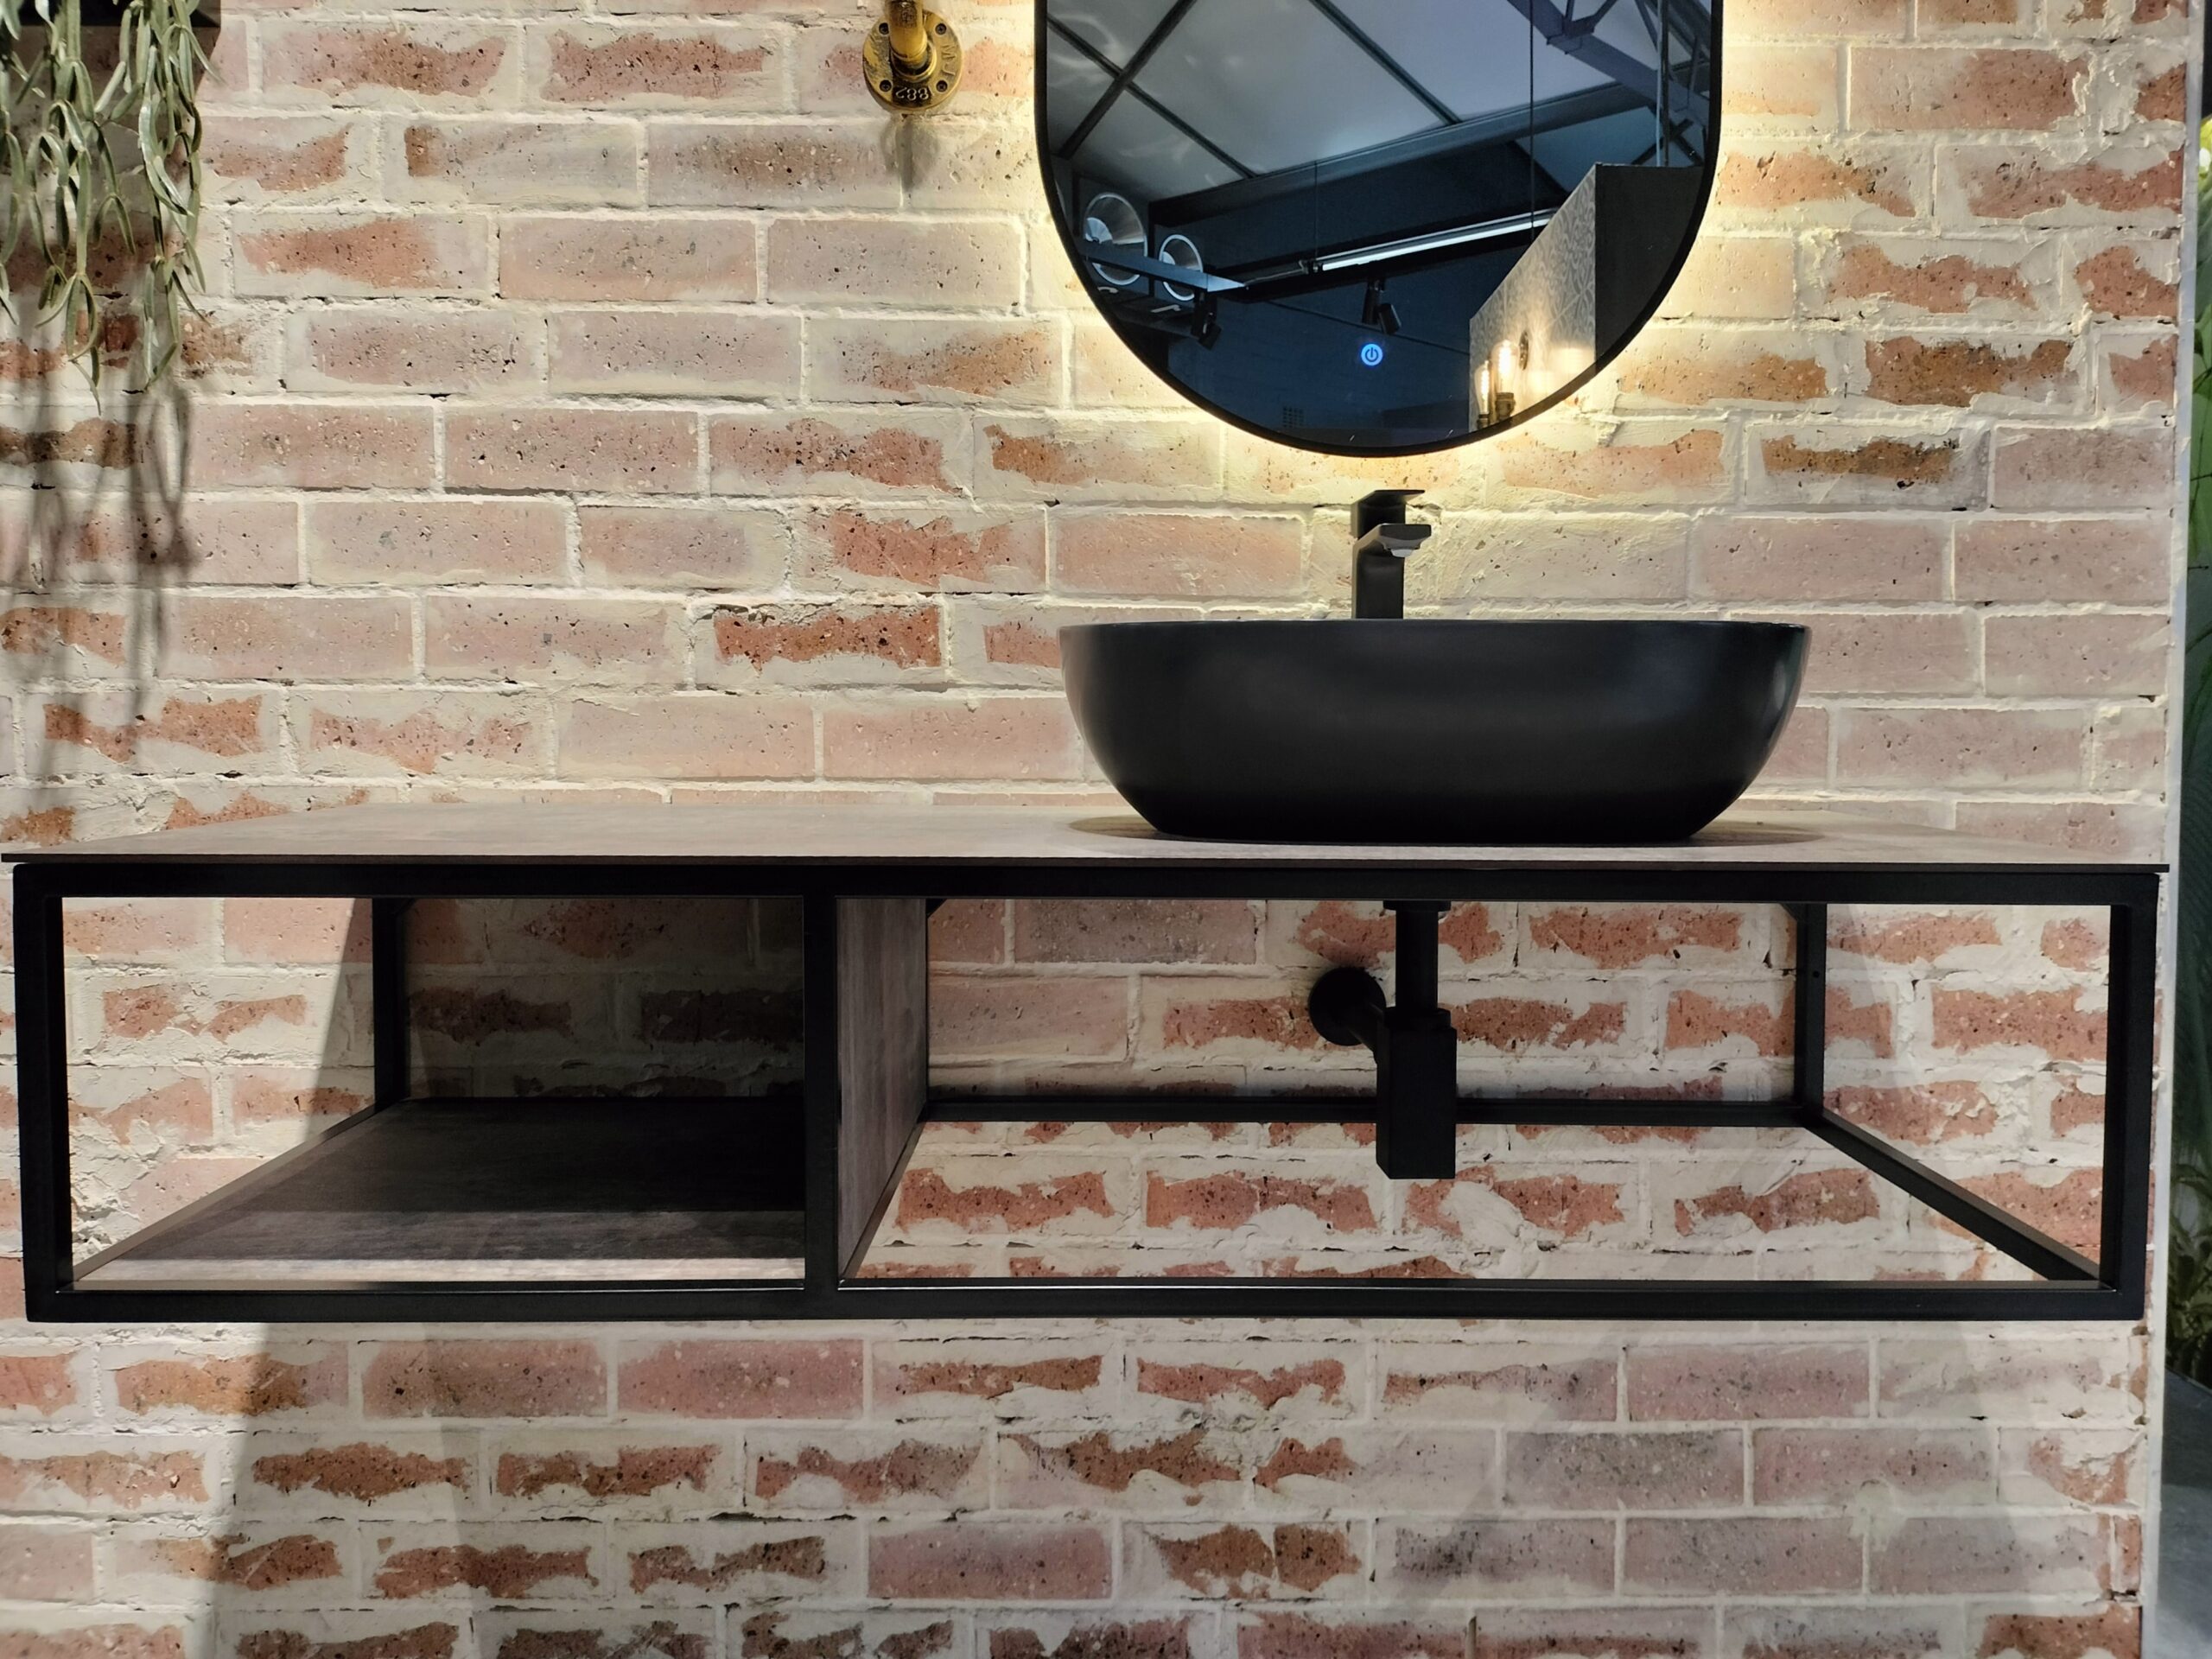
bathroom, blog
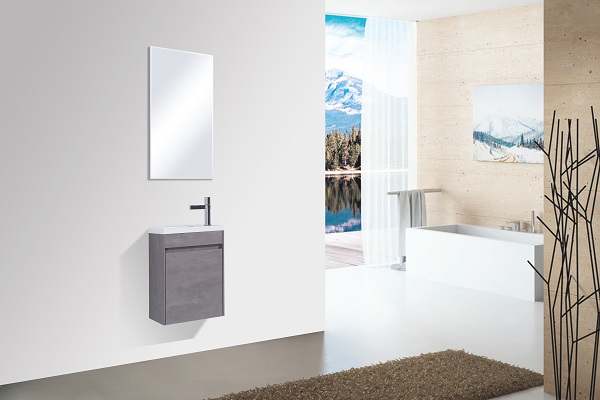
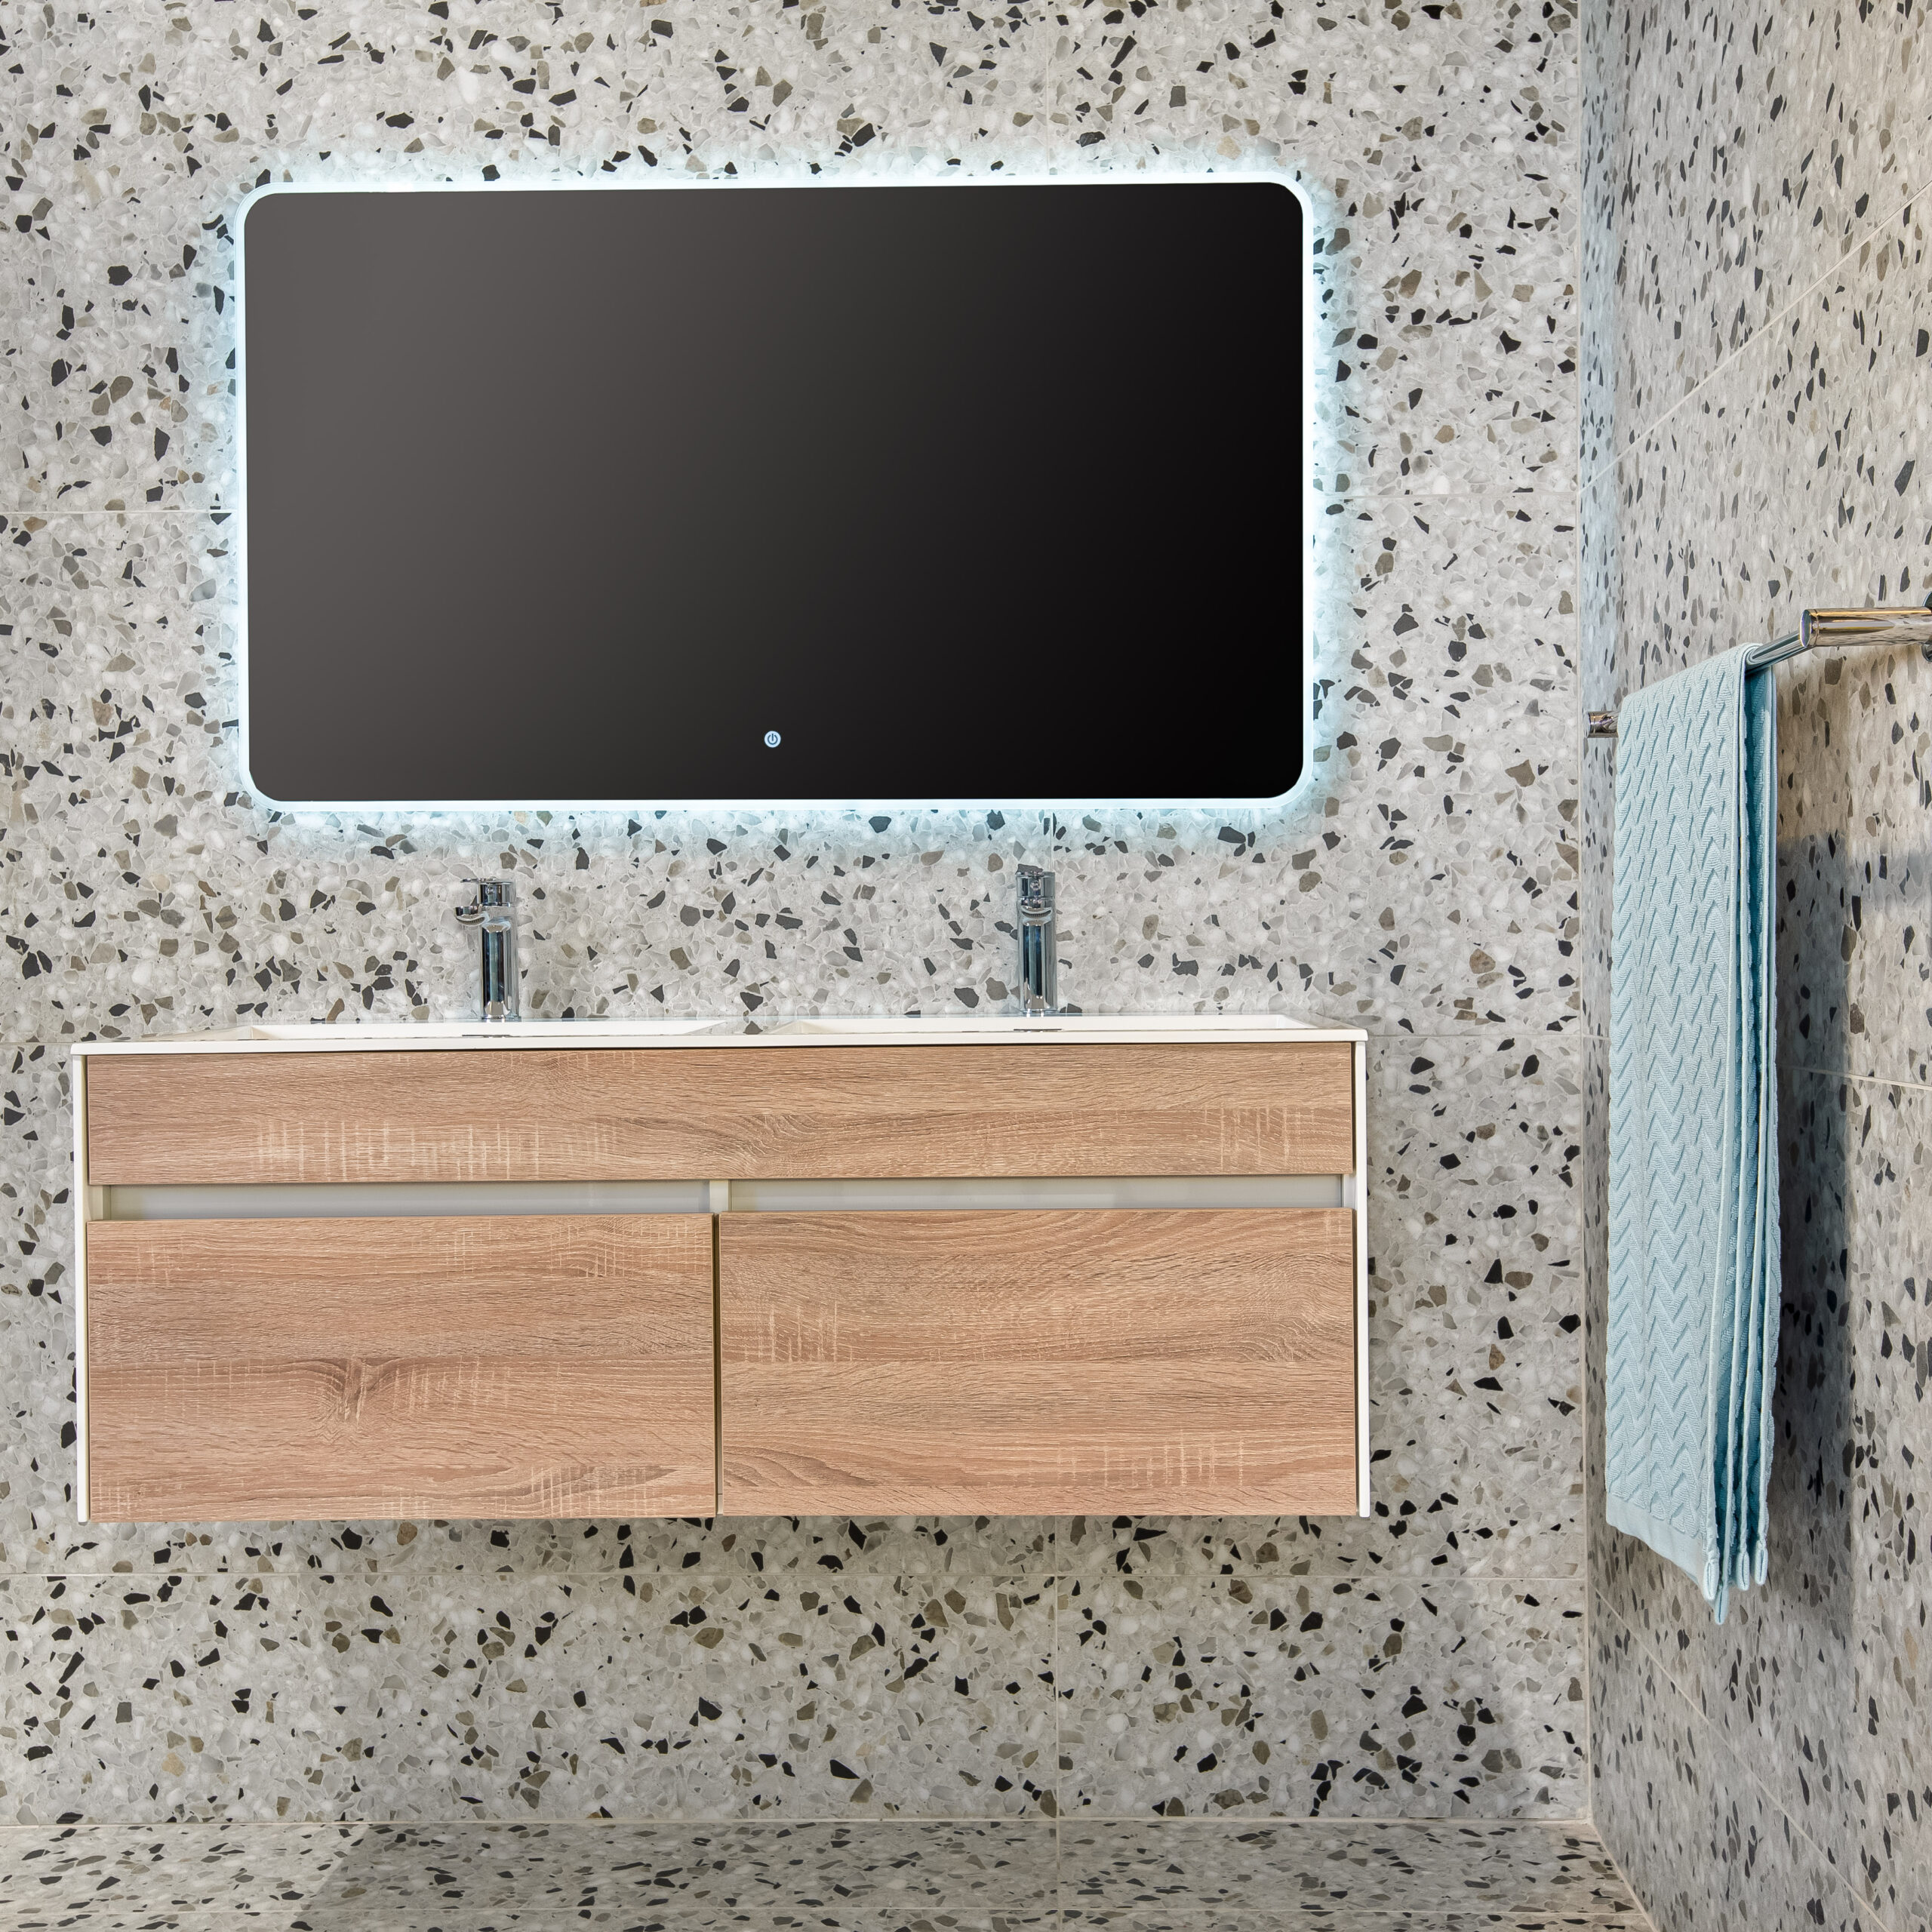
Planning a bathroom renovation or looking for a change? We’ll break down the process of picking the ideal bathroom vanity unit for your space.

Step 1: Assess Your Space
Take a moment to assess your bathroom space. Consider the size of your bathroom, the layout, and the existing plumbing, water and electrical fixtures. Don’t forget to consider the windows and door clearance space!
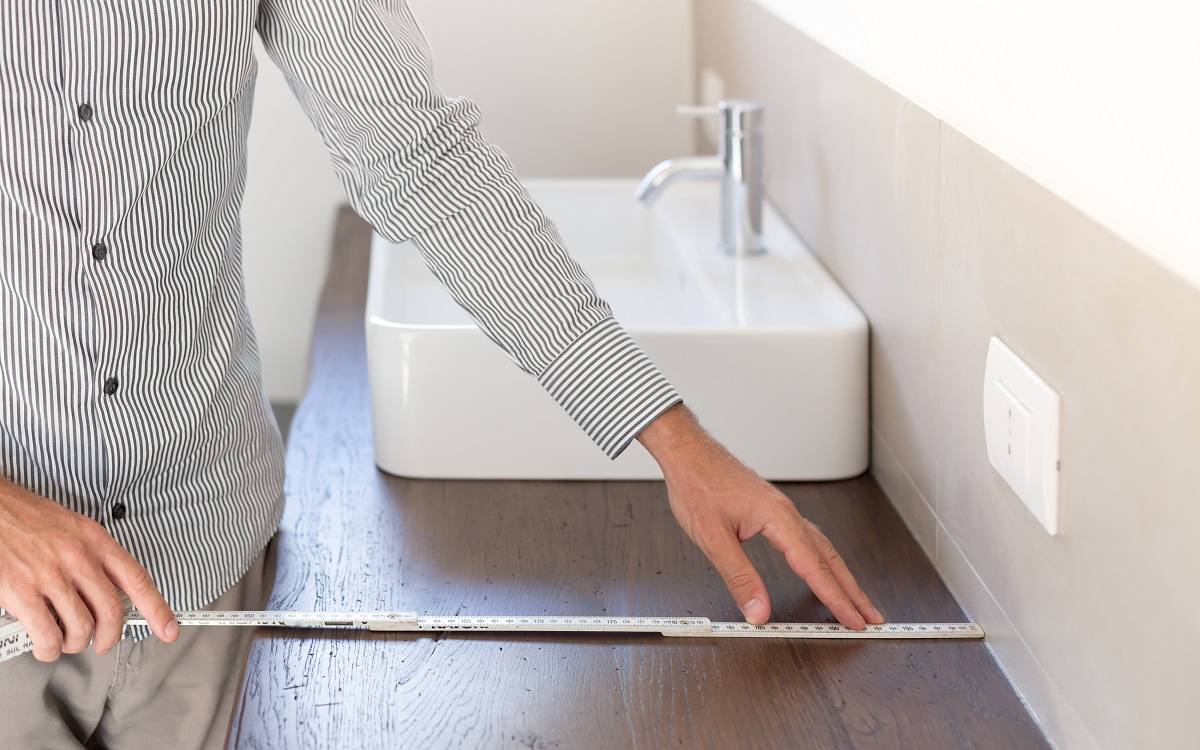
Step 2: Measure Twice, Purchase Once
Accurate measurements are crucial when selecting a bathroom vanity. Measure the available space for the vanity, taking into account the width, depth, and height. This will ensure that the chosen vanity fits seamlessly into your bathroom without any installation issues.

If you’re unsure how to measure for your bathroom vanity, read this guide.
Step 3: Define your style preferences
Determine whether you prefer a modern, transitional or traditional cabinet style. This step will help narrow down your options and guide your decision-making process.
Step 4: Choose the Right Type of Vanity
Bathroom vanities come in various types, each catering to different needs and preferences. Common options include wall-mounted cabinets, freestanding units, and corner vanities. Bathroom wall cabinets are ideal for smaller bathrooms, creating a spacious and airy feel. Freestanding vanities offer ample storage and a classic look, while corner vanities optimize space in tight quarters.
Step 5: Select a Suitable Basin and Vanity Top
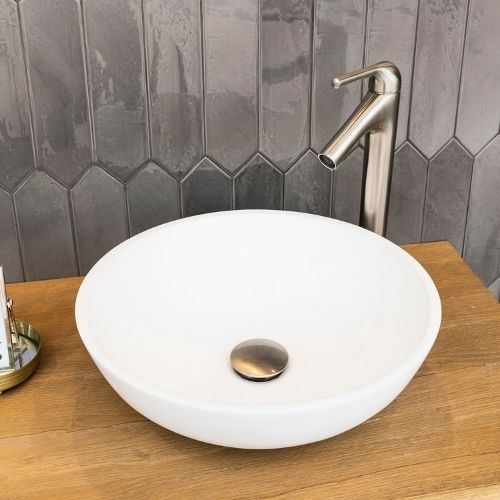
The basin and vanity top are key components of any bathroom vanity. Choose a basin (if not included / built in to your vanity) that complements the overall style of your bathroom – options include undermount, vessel, and integrated basins. Consider the material and colour of the bathroom basin cabinet top. Ensure that it coordinates with your chosen aesthetic and is durable enough to withstand daily use.
Step 6: Optimize Storage with Bathroom Cabinets and Cupboards
Efficient bathroom storage is a crucial aspect. Explore the variety of storage options available, including drawers, shelves, cabinets and bathroom cupboards. Custom bathroom storage cabinets allow you to personalize the storage space according to your specific needs. Evaluate the amount of storage you require for toiletries, towels, and other essentials.
Step 7: Explore Cabinet Styles and Finishes
Bathroom vanities are available in a wide range of styles and finishes. Whether you prefer a sleek, minimalist design or a more traditional look, there’s a style to suit every taste. Consider finishes such as wood, laminate, or painted surfaces, and choose a colour that complements your bathroom decor.
Step 8: Set a Budget and Shop Around
Once you’ve identified your preferences, set a budget for your bathroom vanity. Keep an eye out for bathroom cabinets for sale or special promotions that may help you get the best value for your investment.
Step 9: Complete with matching accessories
Once you’ve chosen or created your perfect bathroom vanity, add the final touches. Choose a basin (if sold separately), taps, and accessories that compliment the style and colour. Make sure everything blends seamlessly with your bathroom’s overall theme. Don’t forget a well-matched mirror to enhance the overall look.
Design your own cabinet
Did you know you can design your own cabinet? If you find a style you love but want to tweak the size, colour, countertop, or handles, consider opting for a custom cabinet. Here’s how you can make it happen:
Step 1: Visit your nearest Tiletoria showroom
Cape Town
Johannesburg
Step 2: Choose your size
Step 3: Choose your colour

White High Gloss

Matt Black

Bordeaux
Step 4: Choose your top
PVC Wrap Top

EeziQuartz Iceberg

EeziQuartz Thunder

EeziQuartz Nero
Step 5: Choose your handle
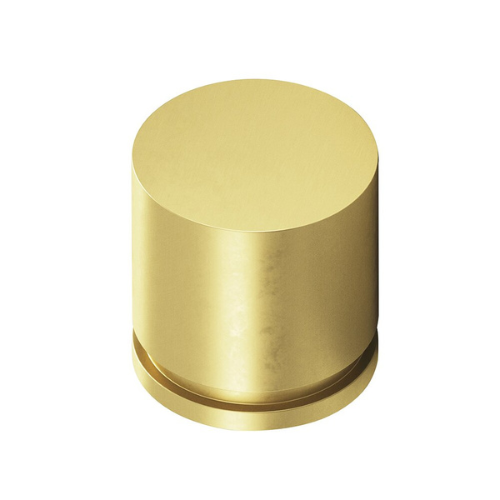
Knob Brass
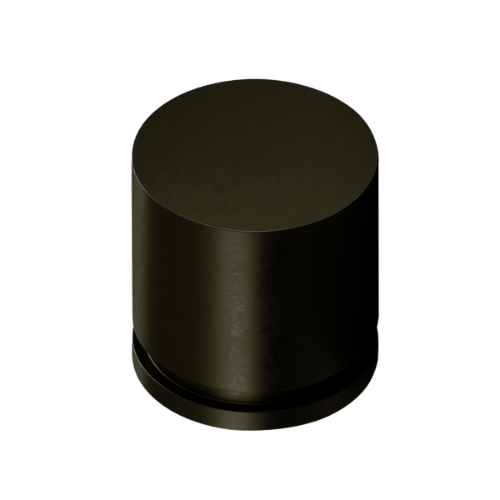
Knob Black
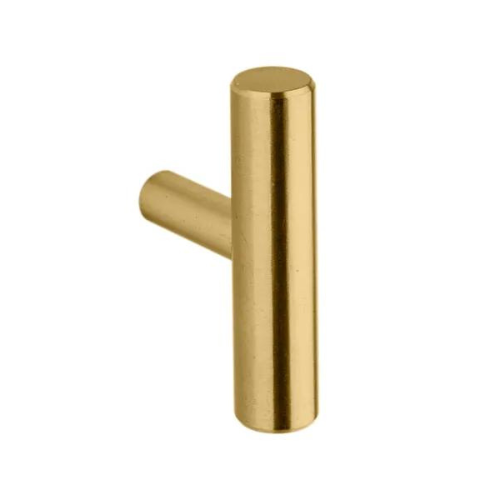
T Brass
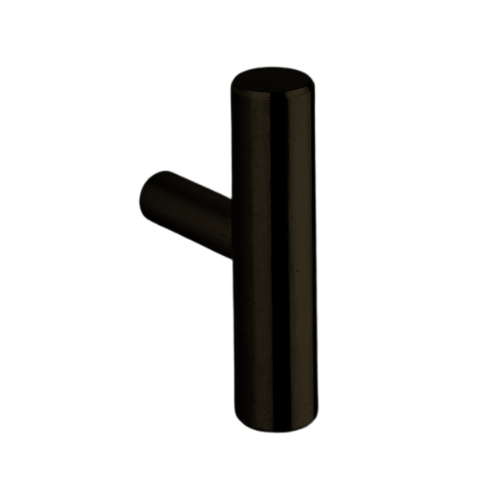
T Black
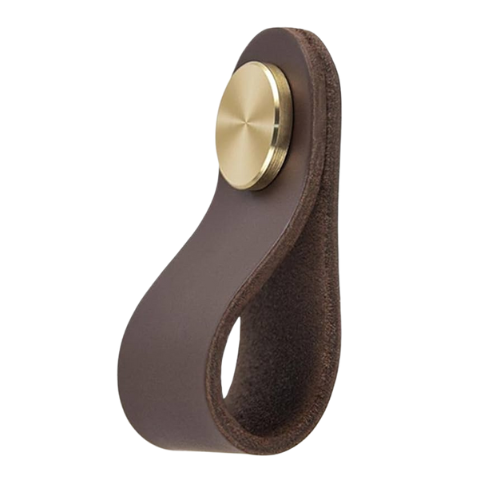
Leather Brown
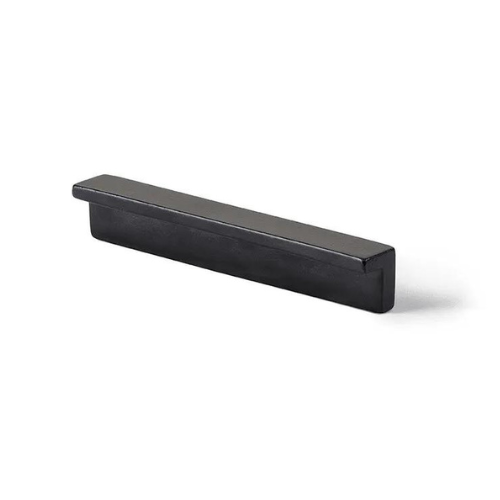
Pull Black
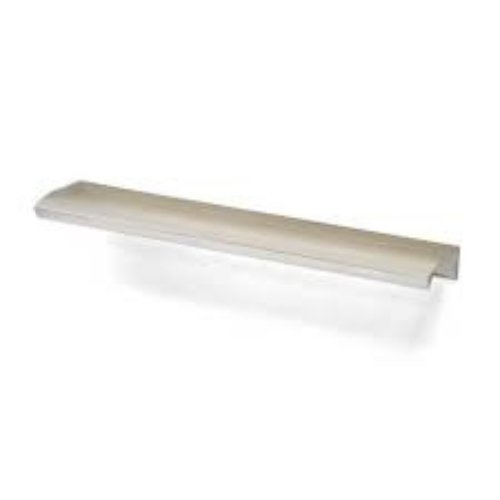
Pull BA
Selecting the right bathroom vanity involves careful consideration of your space, style preferences, and functional needs. By following these steps, you’ll be well on your way to choosing a bathroom vanity that enhances your space and meets your unique requirements. Happy renovating!
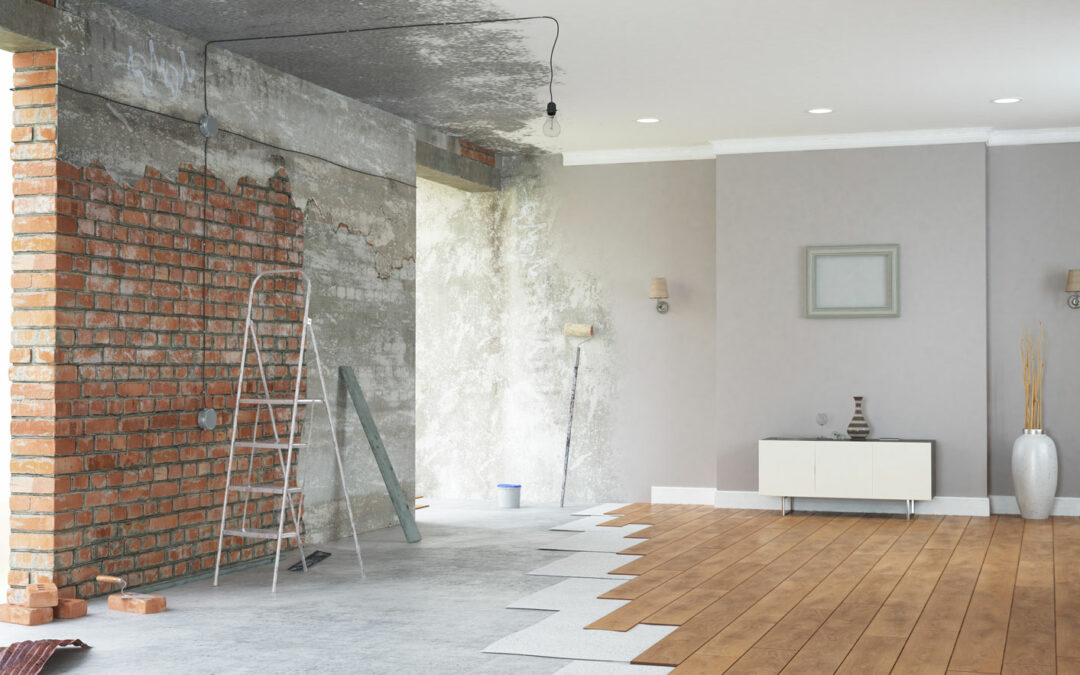
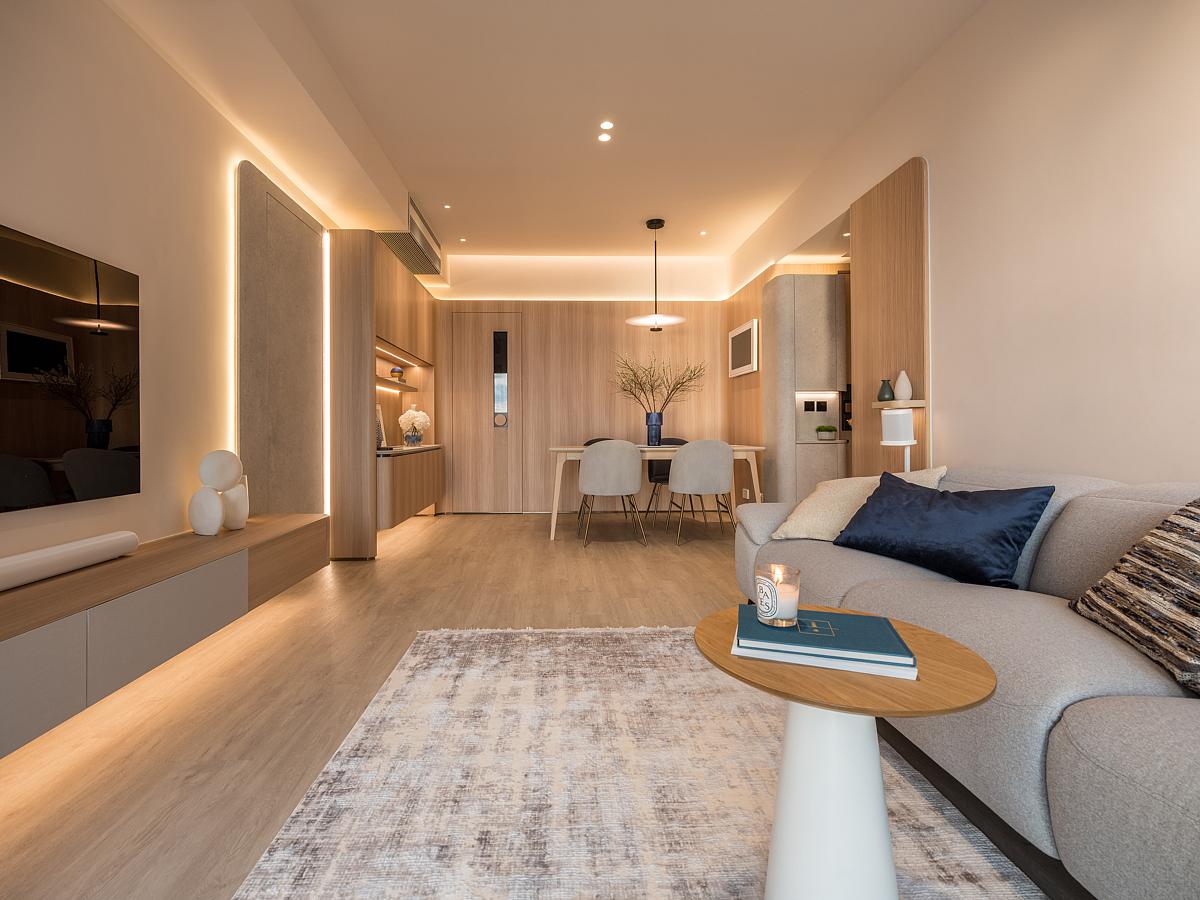
blog, renovation tips
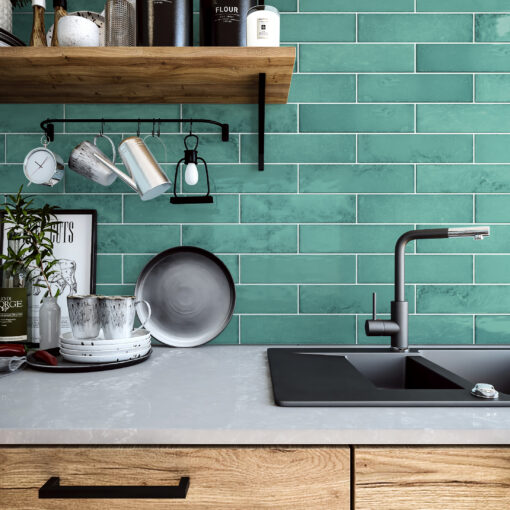
As we step into the new year, there’s no better time to give your home a new look and feel. Thinking about upgrading your kitchen, giving your bathroom a fresh look, or transforming your outdoor space? We’ve got you covered with easy and stylish home renovation ideas. From trendy tiles to chic taps, let’s explore ways to elevate your space and stay on top of the latest interior design trends.
Kitchen Bliss
A well-designed kitchen not only makes cooking a joy but also turns into a central hub for family and friends to gather.
Floor and Wall Tiles:
Start updating your kitchen by using large format porcelain or ceramic tiles on both the floor and walls. This will make the space feel bigger and ensure it stays durable over time.
Kitchen Backsplash:
For an extra touch of style, consider adding a kitchen backsplash. Mosaic, decor or subway tiles are an excellent choice to enhance the visual appeal of your space. Play around with patterns and colours to make your backsplash a focal point in your revamped kitchen.
For more kitchen backsplash ideas, read our blog here.
Taps:
Whether you prefer a classic look or a more contemporary vibe, choose taps that complement the style of your revamped kitchen.
Mixing style with functionality not only sparks culinary creativity but also makes your kitchen the heart of your home.
Bathroom Retreat
Your bathroom is a sanctuary where you begin and end your day. Turn this essential space into a personal retreat with functional and stylish upgrades.
Bathroom Tiles:
Transform your bathroom with ceramic or porcelain tiles on both the walls and floors. Opt for slip-resistant floor tiles to ensure safety and durability. Mosaic tiles can add character and visual interest to your space, while decor tiles bring texture.

Bathroom Taps:
Upgrade your bathroom with modern or classic taps. Consider matching taps throughout the bathroom in brushed copper, matte black, or silver to create a cohesive and stylish look.
Additional Touches:
Enhance your bathroom makeover by adding stylish cabinets, accessories, LED-backlit mirrors and shower panel vinyls.
For more tips on how to create the perfect bathroom, read our blog here.
Outdoor Haven
Transforming your outdoor space into a haven is easier than you think. By carefully selecting outdoor and pool tiles, you can create an atmosphere that seamlessly blends style and functionality.
Outdoor Tiles:
Extend your living space outdoors with durable, slip-resistant tiles. Consider using wood-look tiles to add a touch of natural warmth.
Check out our top tips on choosing outdoor tiles for your home here.
Pool Tiles:
If you have a pool, choose high quality tiles that will stand the test of time!
Create a relaxing and entertaining oasis in your outdoor space by combining natural materials and comfortable furnishings. With the right mix, your outdoor area will be the perfect spot to unwind and have fun.
Living Room
Your living room stands as a testament to your personal style and comfort.
Flooring:
Opt for tiles to not just enhance the flooring but elevate the entire space. Choose from options like porcelain, ceramic, wood-look, or large-format tiles, or consider vinyl or laminate flooring.
Quick Makeovers
Wallpaper:
Give any room a quick facelift with trendy wallpaper, from bold patterns to subtle textures.
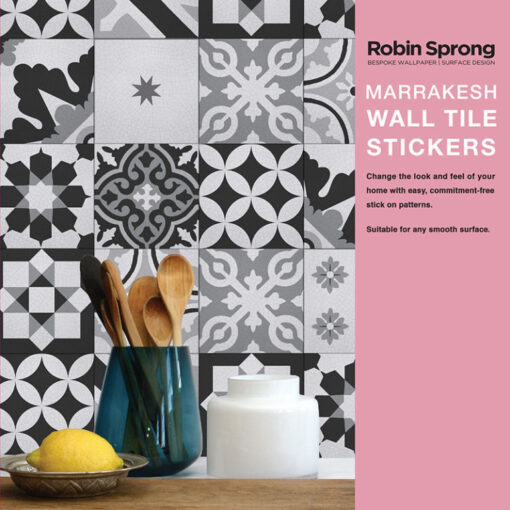
Tile Stickers:
Take it a step further by adding tile stickers for an additional touch of style. These stickers are a quick and easy way to enhance the look of your space.
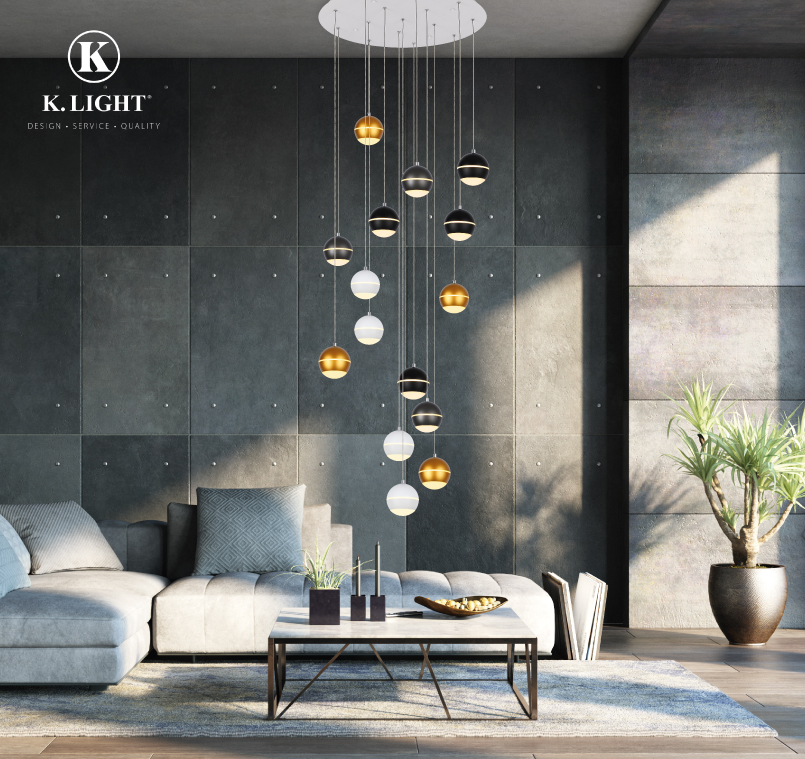
Lighting
Ambient Lighting:
Illuminate your living spaces with strategic lighting. Area lighting can bring your space together and create a cozy and inviting atmosphere.
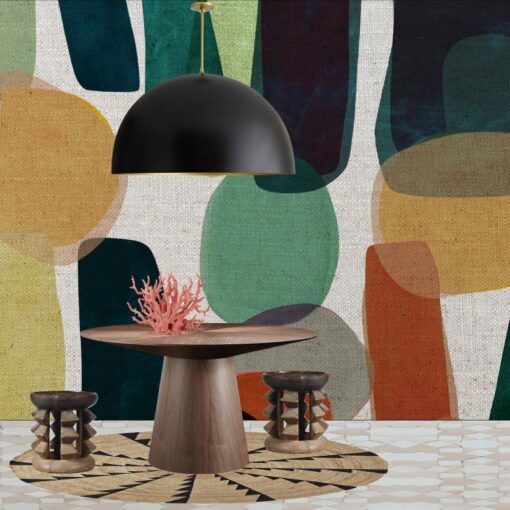
Statement Lighting:
Make a bold statement in your space with unique and eye-catching lighting fixtures. A chandelier or an artistic pendant light can add a touch of personality and drama.
DIY Fun: Unleash Your Creativity
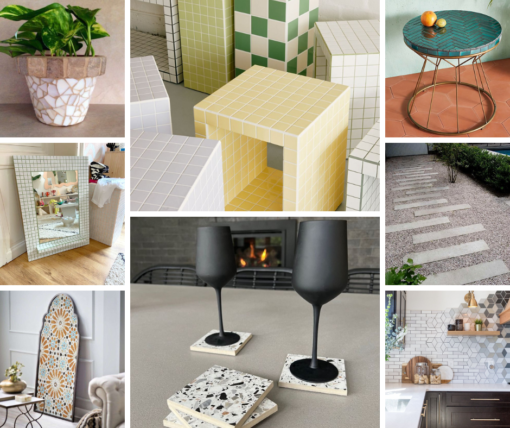
Try out some DIY projects to add a unique touch to your home. Use any leftover tiles for fun and creative projects, like mosaic wall art, revamping furniture, or creating garden planters. For more DIY inspiration on what to do with your leftover tiles, click here.
Looking for an easy DIY project but unsure where to start? Explore these 50 simple and creative home DIY project ideas.
This year, make your home renovations a breeze with easy and trendy ideas. Discover Tiletoria, your go-to for home improvements. We provide a wide range of tile choices and accessories, perfect for any design style. Here’s to a refreshed and revitalized living space!


