Welcome to the era of emerald green, a trend that’s making waves in interior design! Let’s explore how easy it is to bring this luxurious colour into your home, from your bathroom to your kitchen and beyond.
Emerald green is like taking a deep breath of fresh air, instantly making you feel calm and refreshed. Reminiscent of lush, green forests and the peacefulness of nature, it gives you a sense of tranquility and happiness.
Both soothing and energizing, it’s perfect for creating a cozy retreat at home. This colour can lift your mood and rejuvenate your spirit.
How to combine Emerald Green with other elements in your space
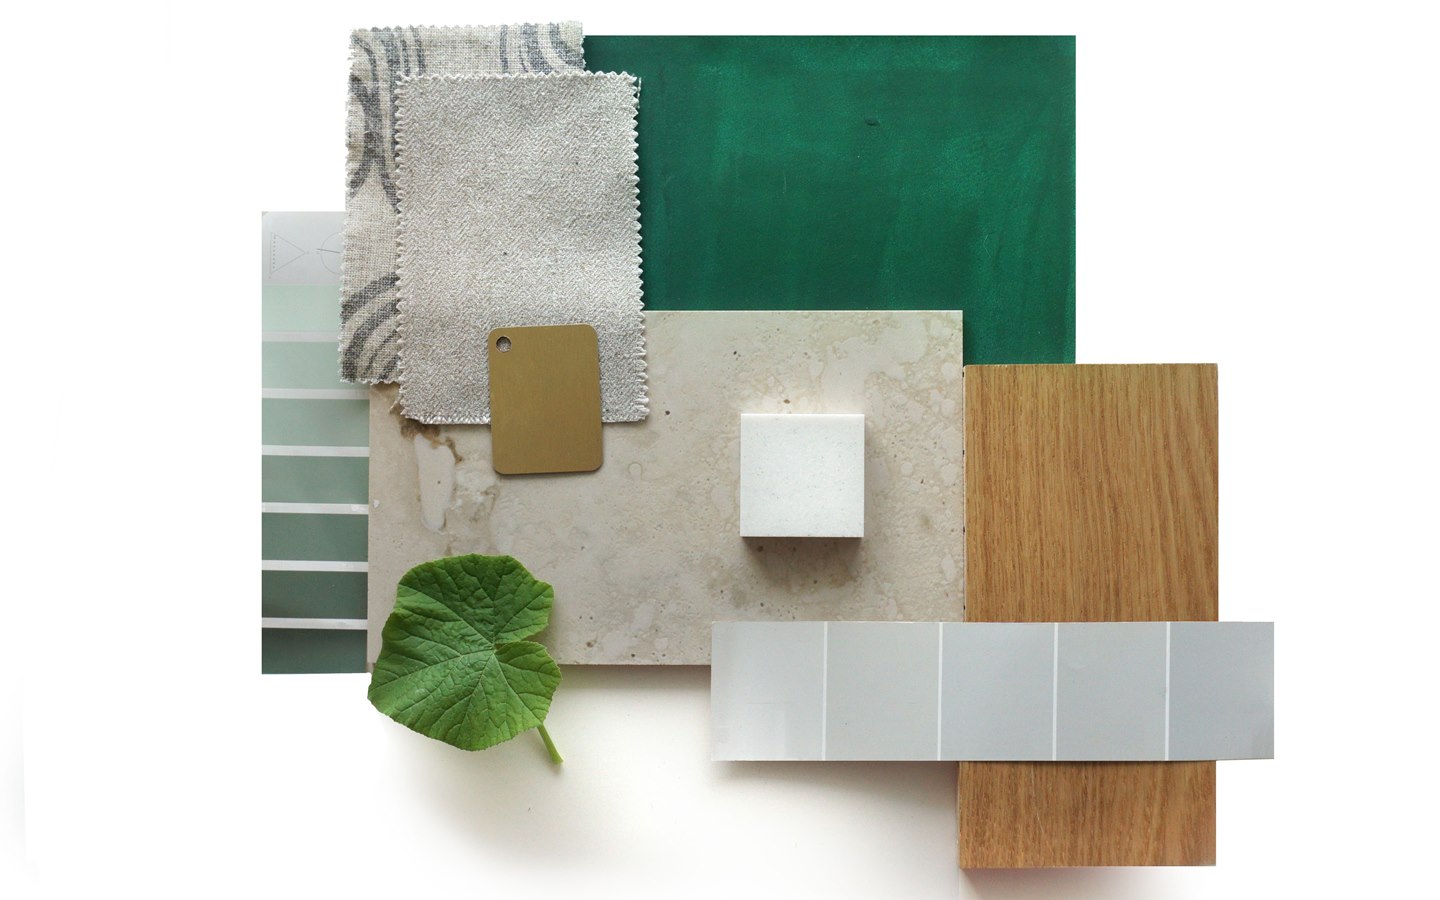
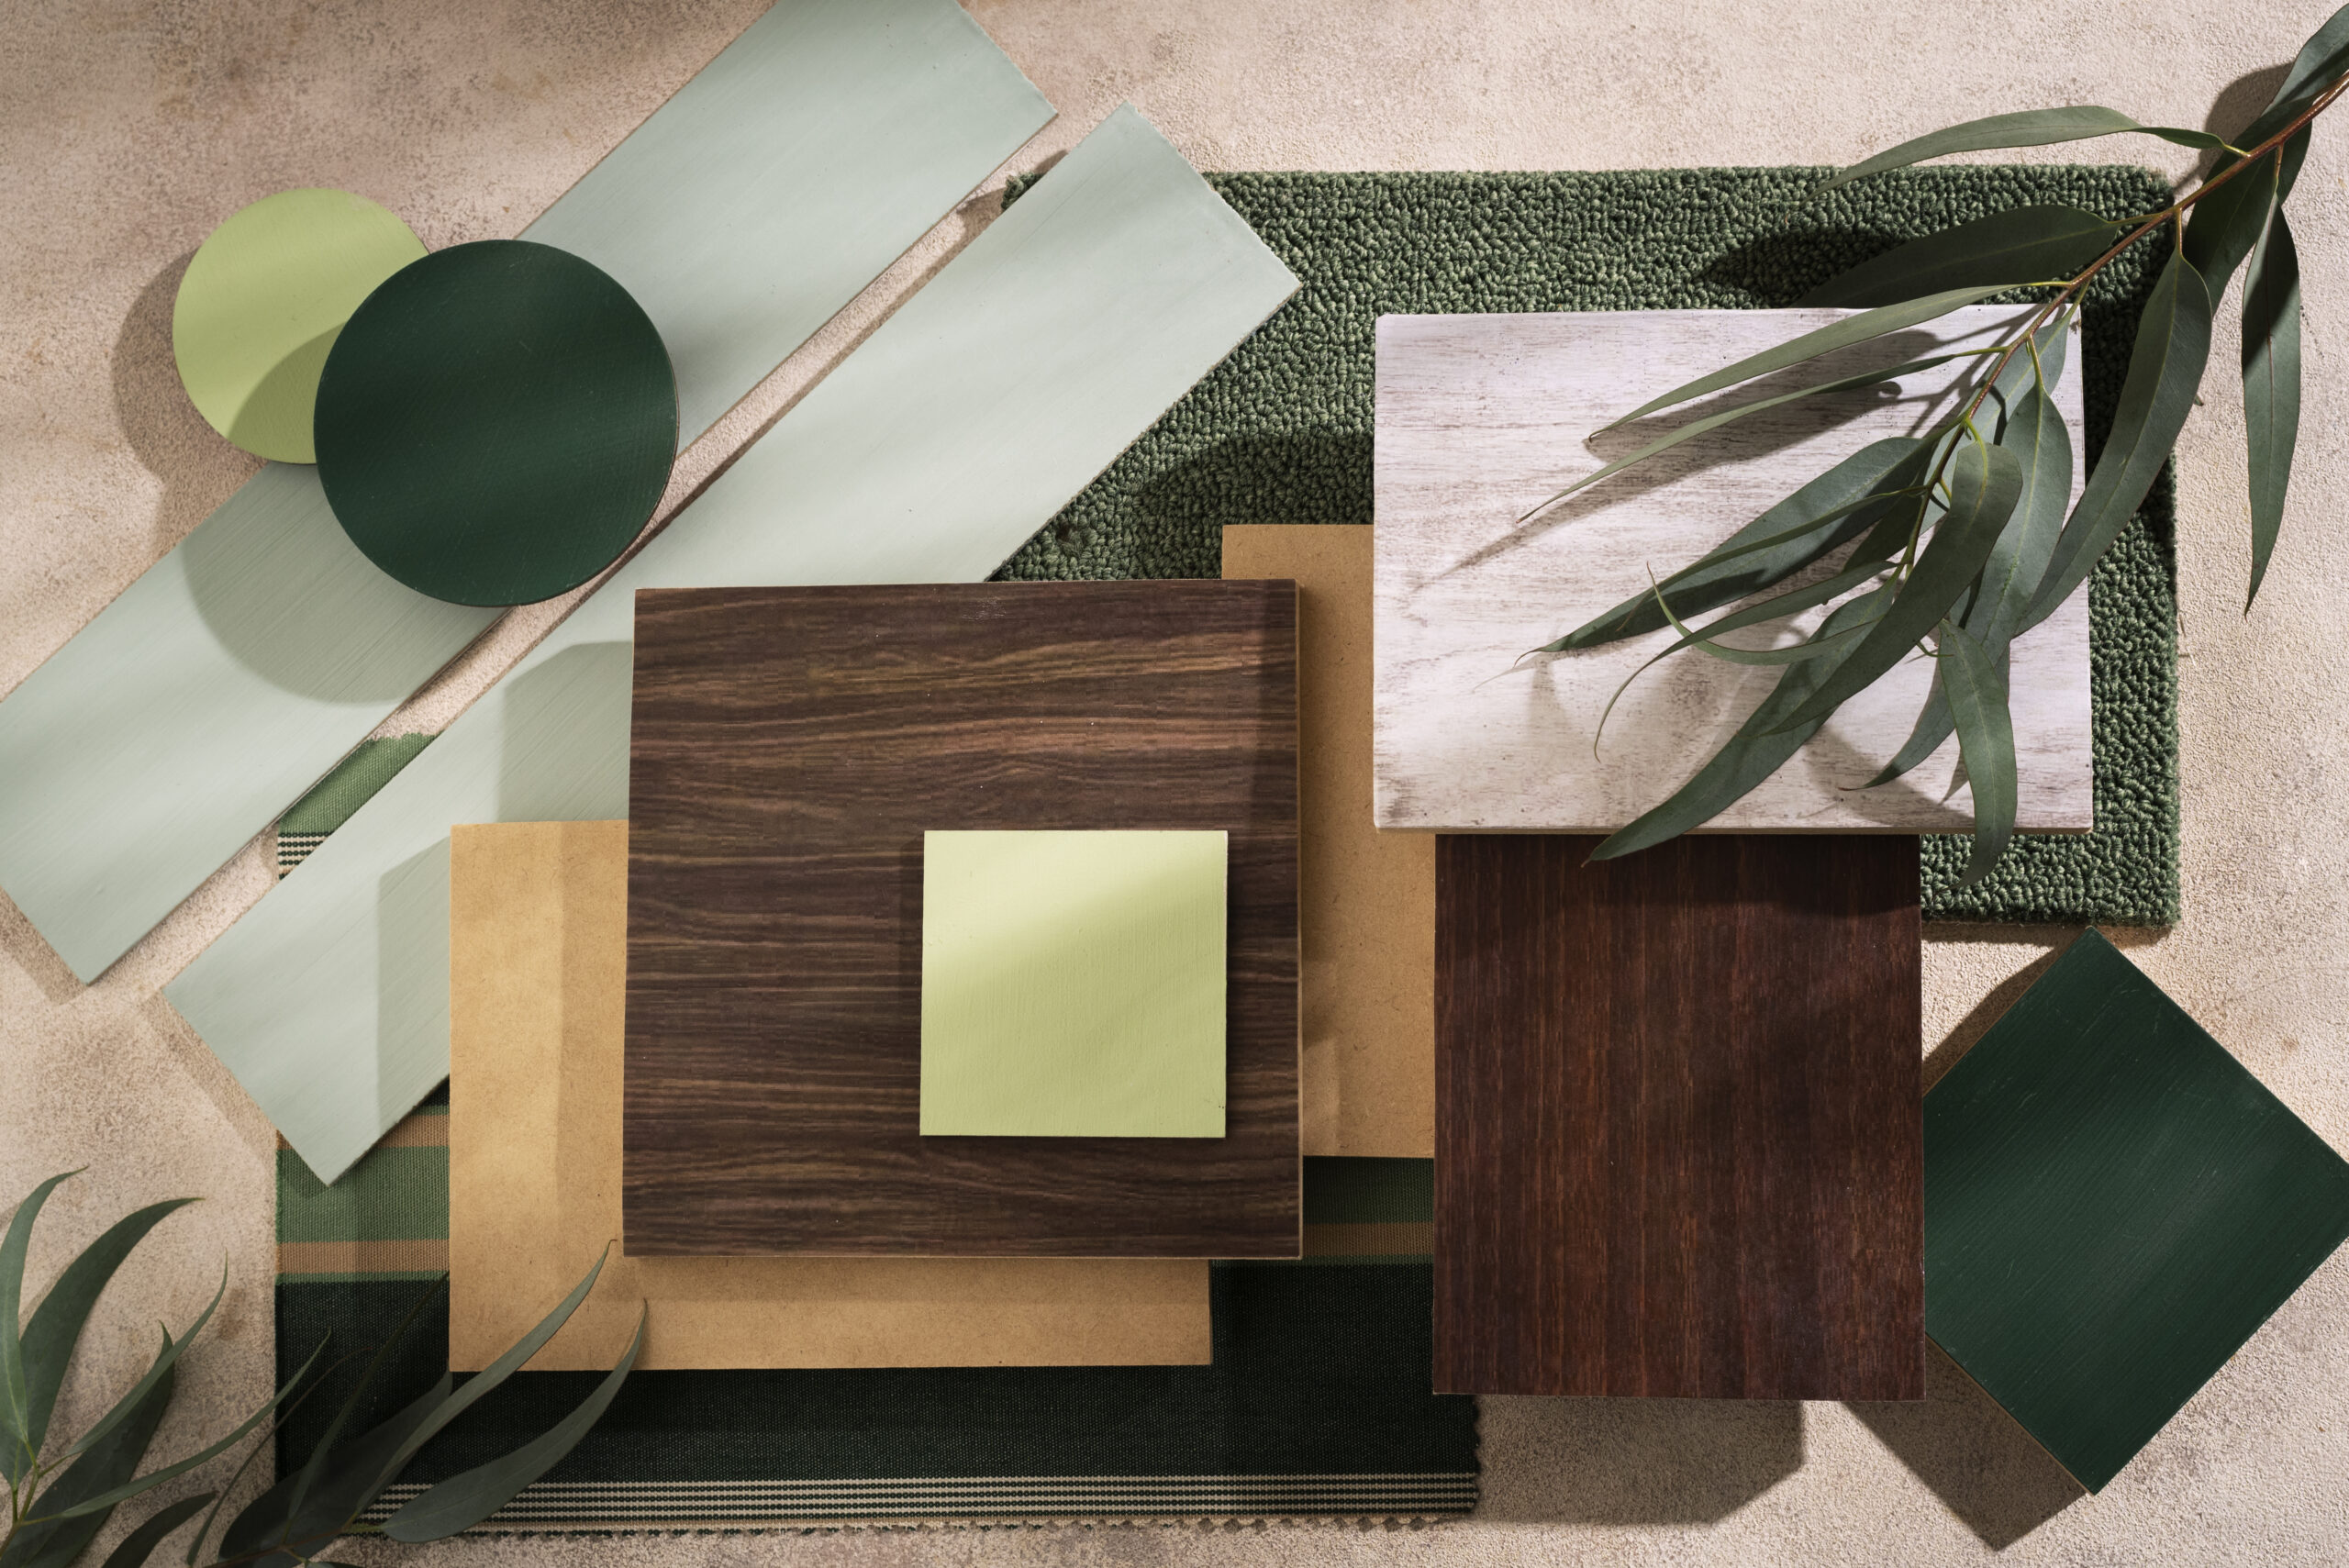
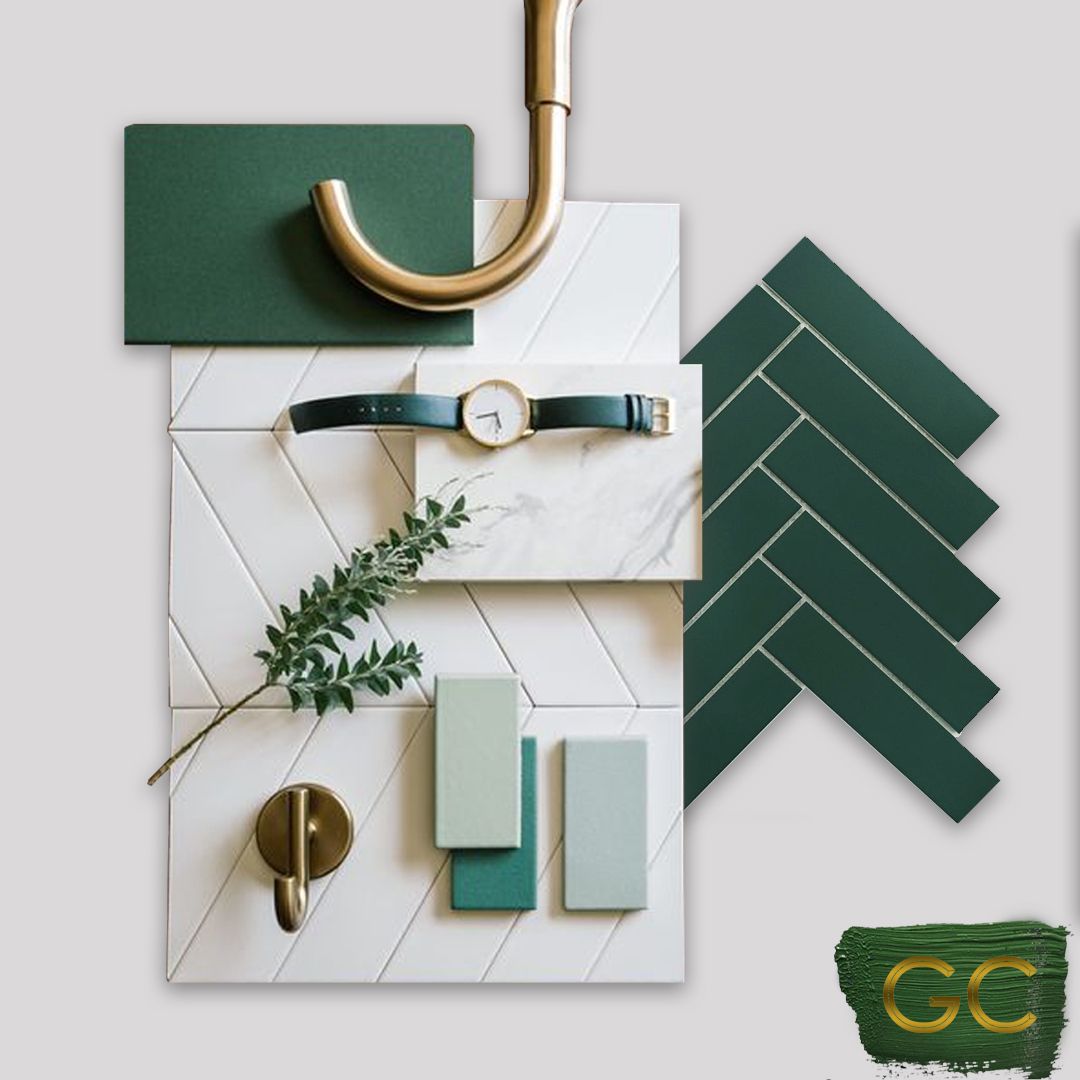
The possibilities are endless when pairing materials, colours, and textures with emerald green! Here’s a quick rundown of some great combinations:
Materials:
Marble: Pairing emerald green with marble creates a luxurious look. Consider marble countertops in the kitchen or a marble basin in the bathroom to complement the richness.
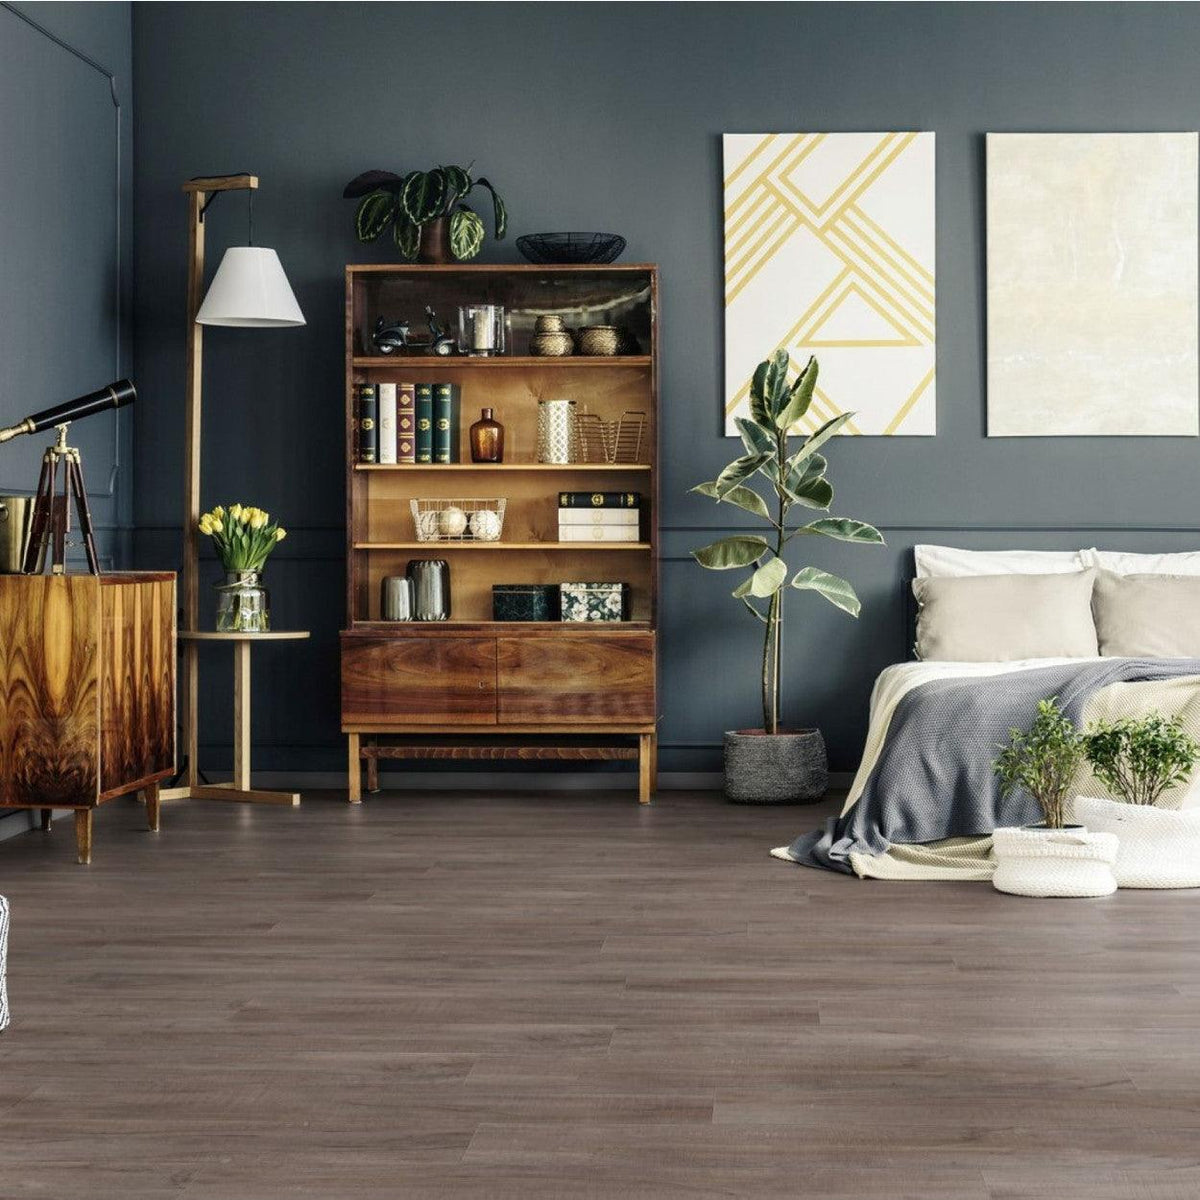
Wood: Natural wood tones add warmth and texture. Think wooden flooring in the kitchen or wooden furniture pieces in the living room for a cozy yet stylish contrast.
Stainless Steel: For a modern twist, incorporate stainless steel appliances or fixtures. The sleek, metallic finish creates a striking juxtaposition against the vibrant green, adding a touch of contemporary flair.
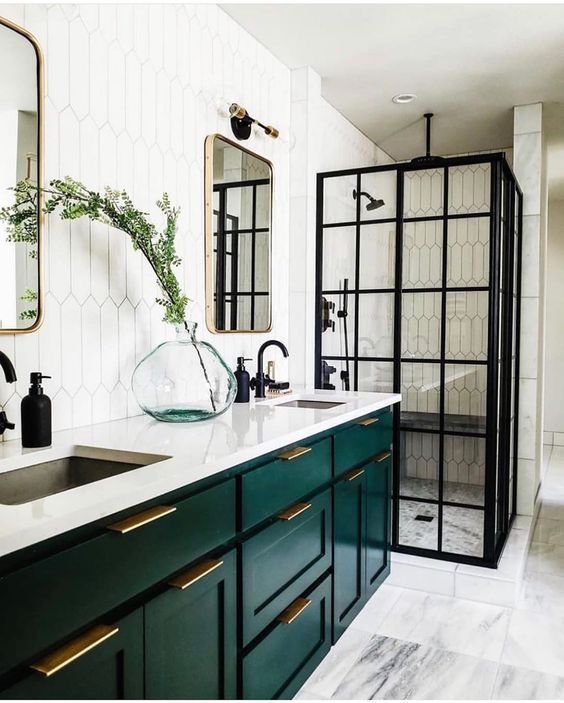
Black: Black accents can enhance the drama and depth. Incorporate black hardware, fixtures, or accessories to create a bold contrast that commands attention.
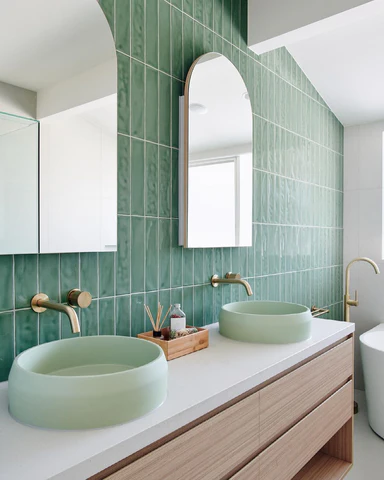
Sage Green: Pairing emerald green with softer shades of green, such as sage green, creates a harmonious and cohesive colour palette. Use sage green textiles or decor accents to balance out the richness of the emerald.
Mustard: Introducing mustard tones can create a dynamic and modern look. Consider mustard throw pillows or artwork to add warmth and interest to your space.
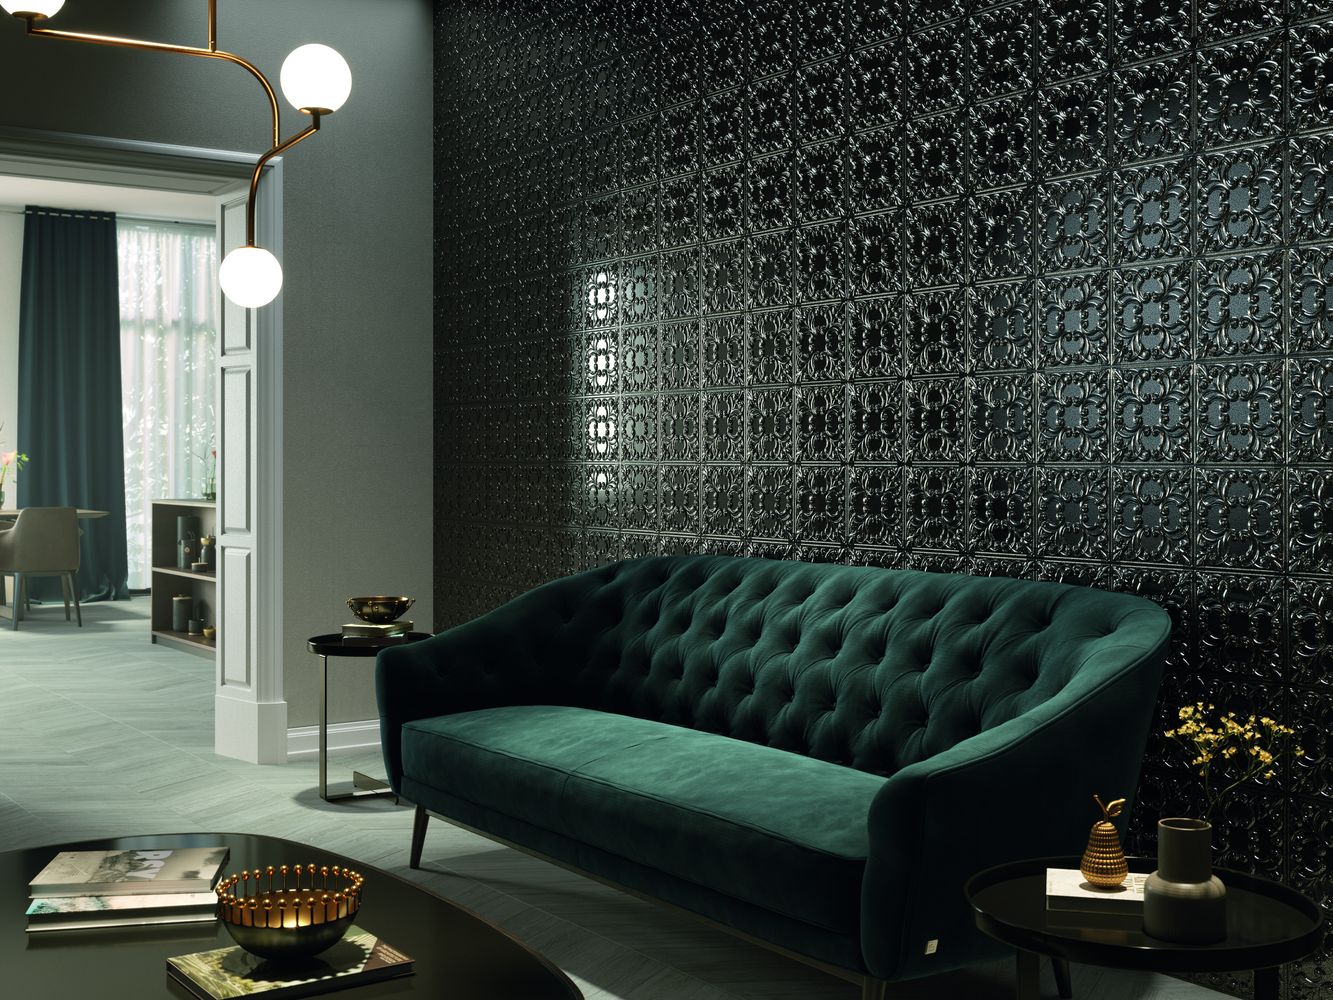
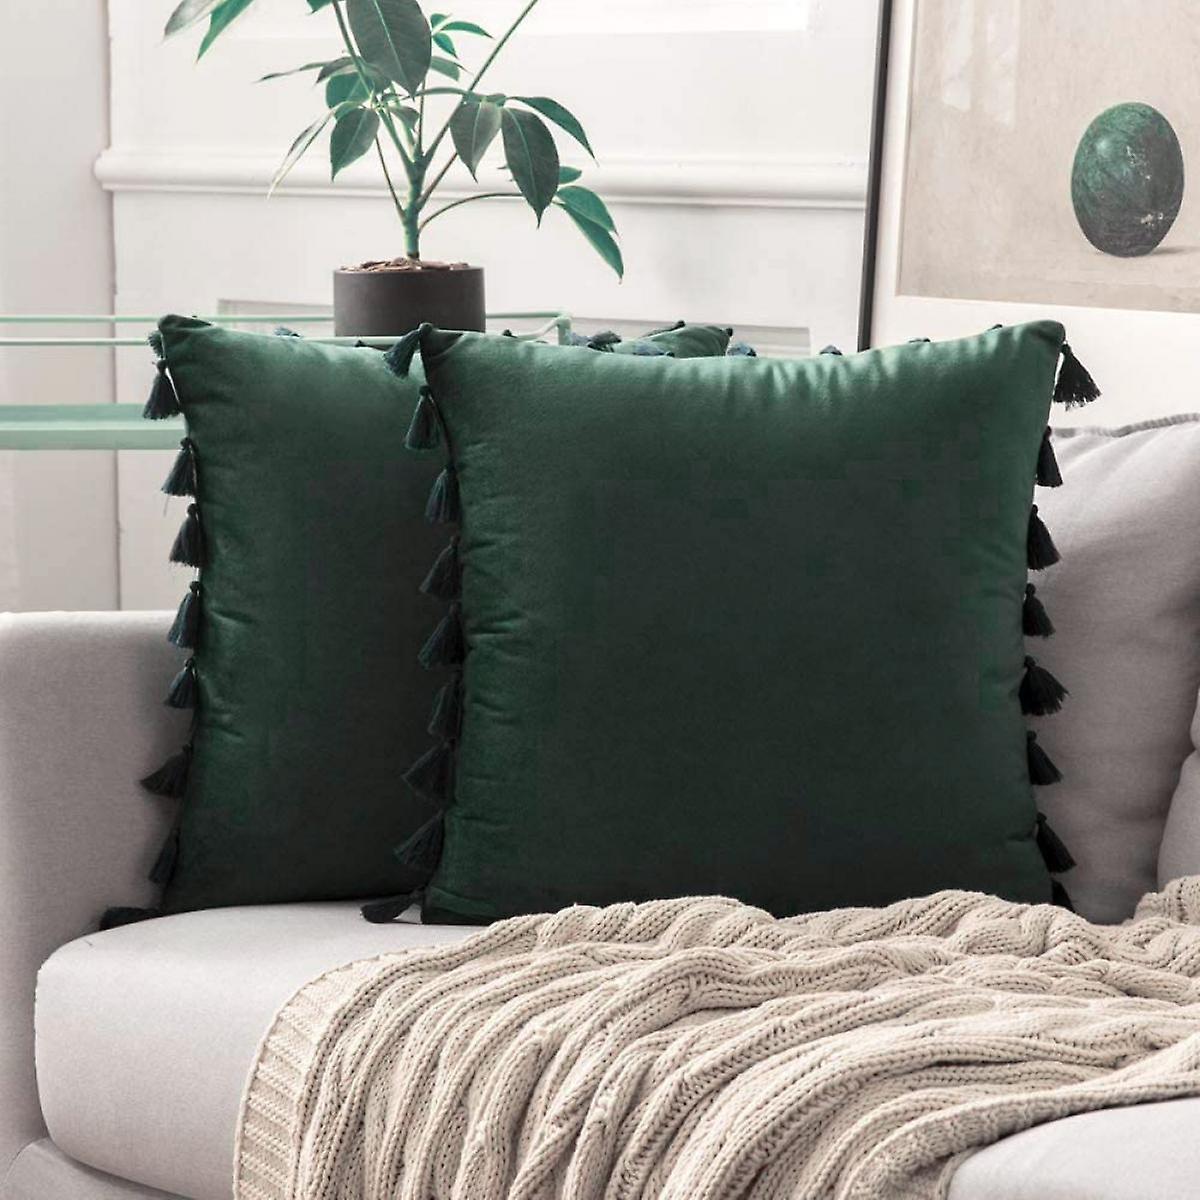
Velvet: Velvet upholstery or drapes in emerald green add a touch of opulence and luxury. The plush texture enhances the richness of the colour and creates a sense of coziness.
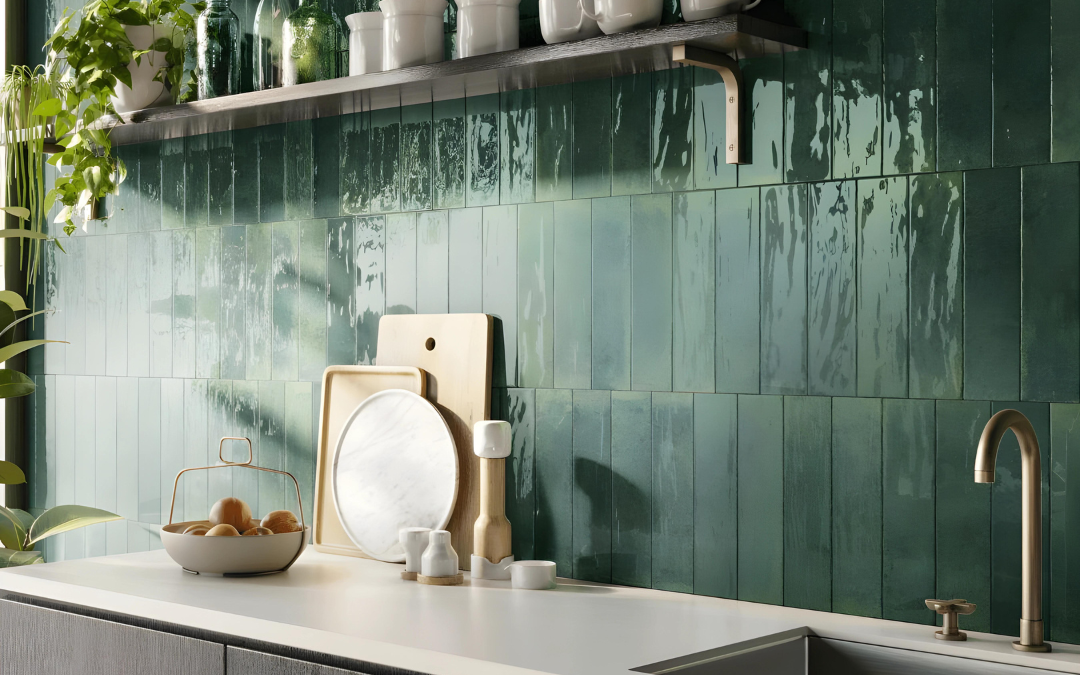
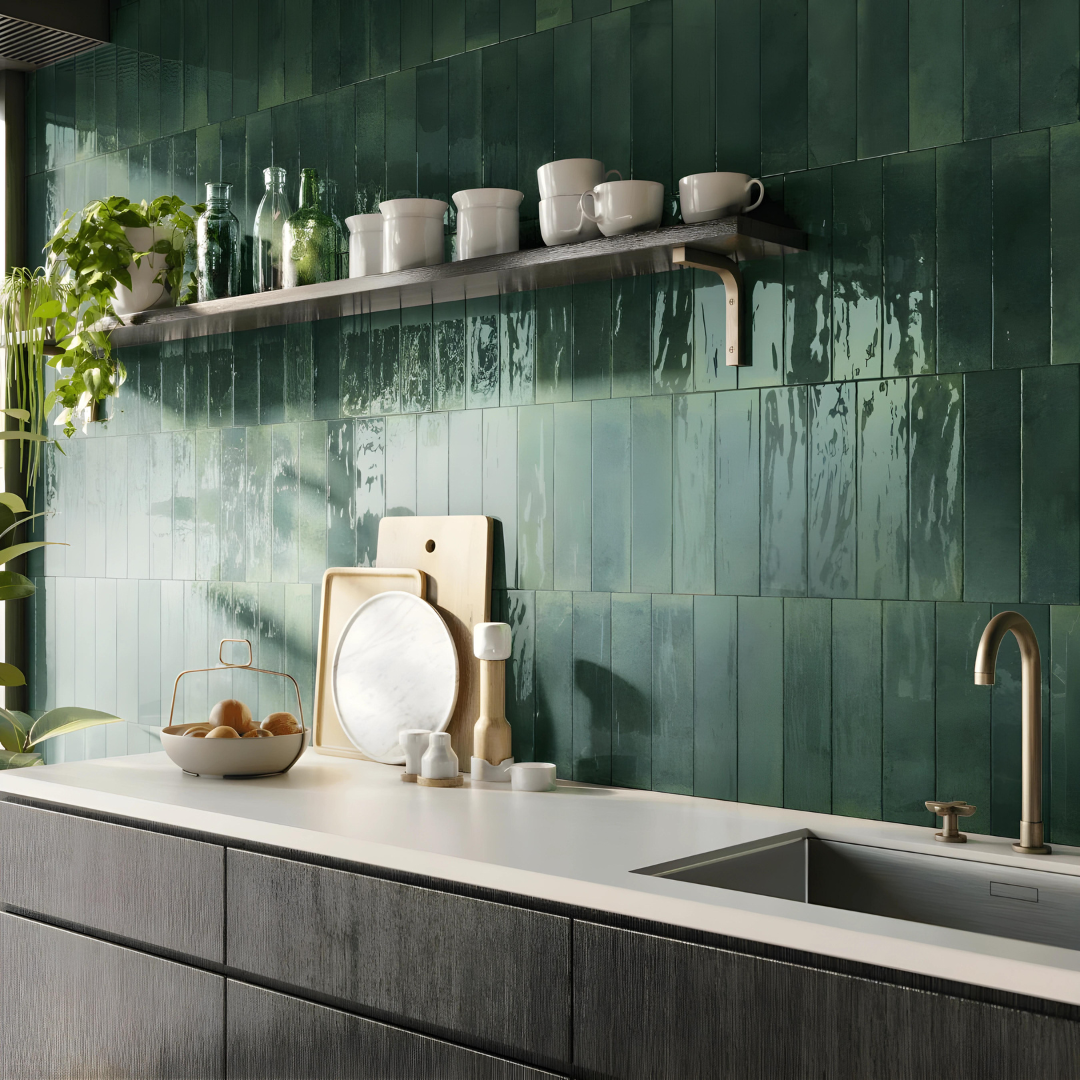
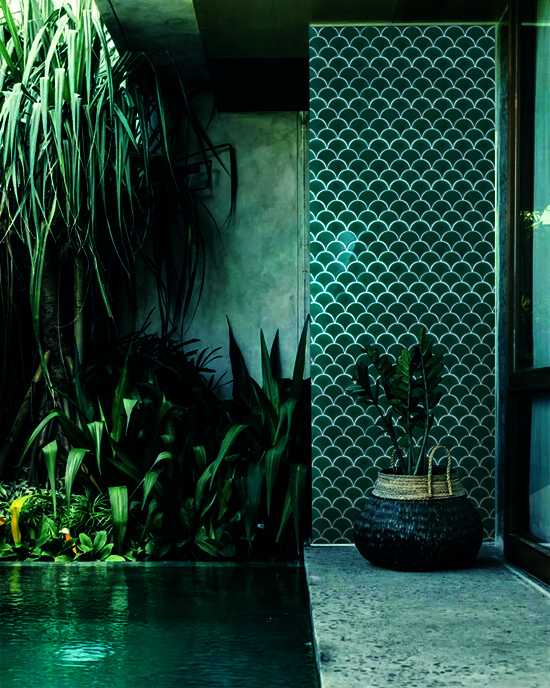
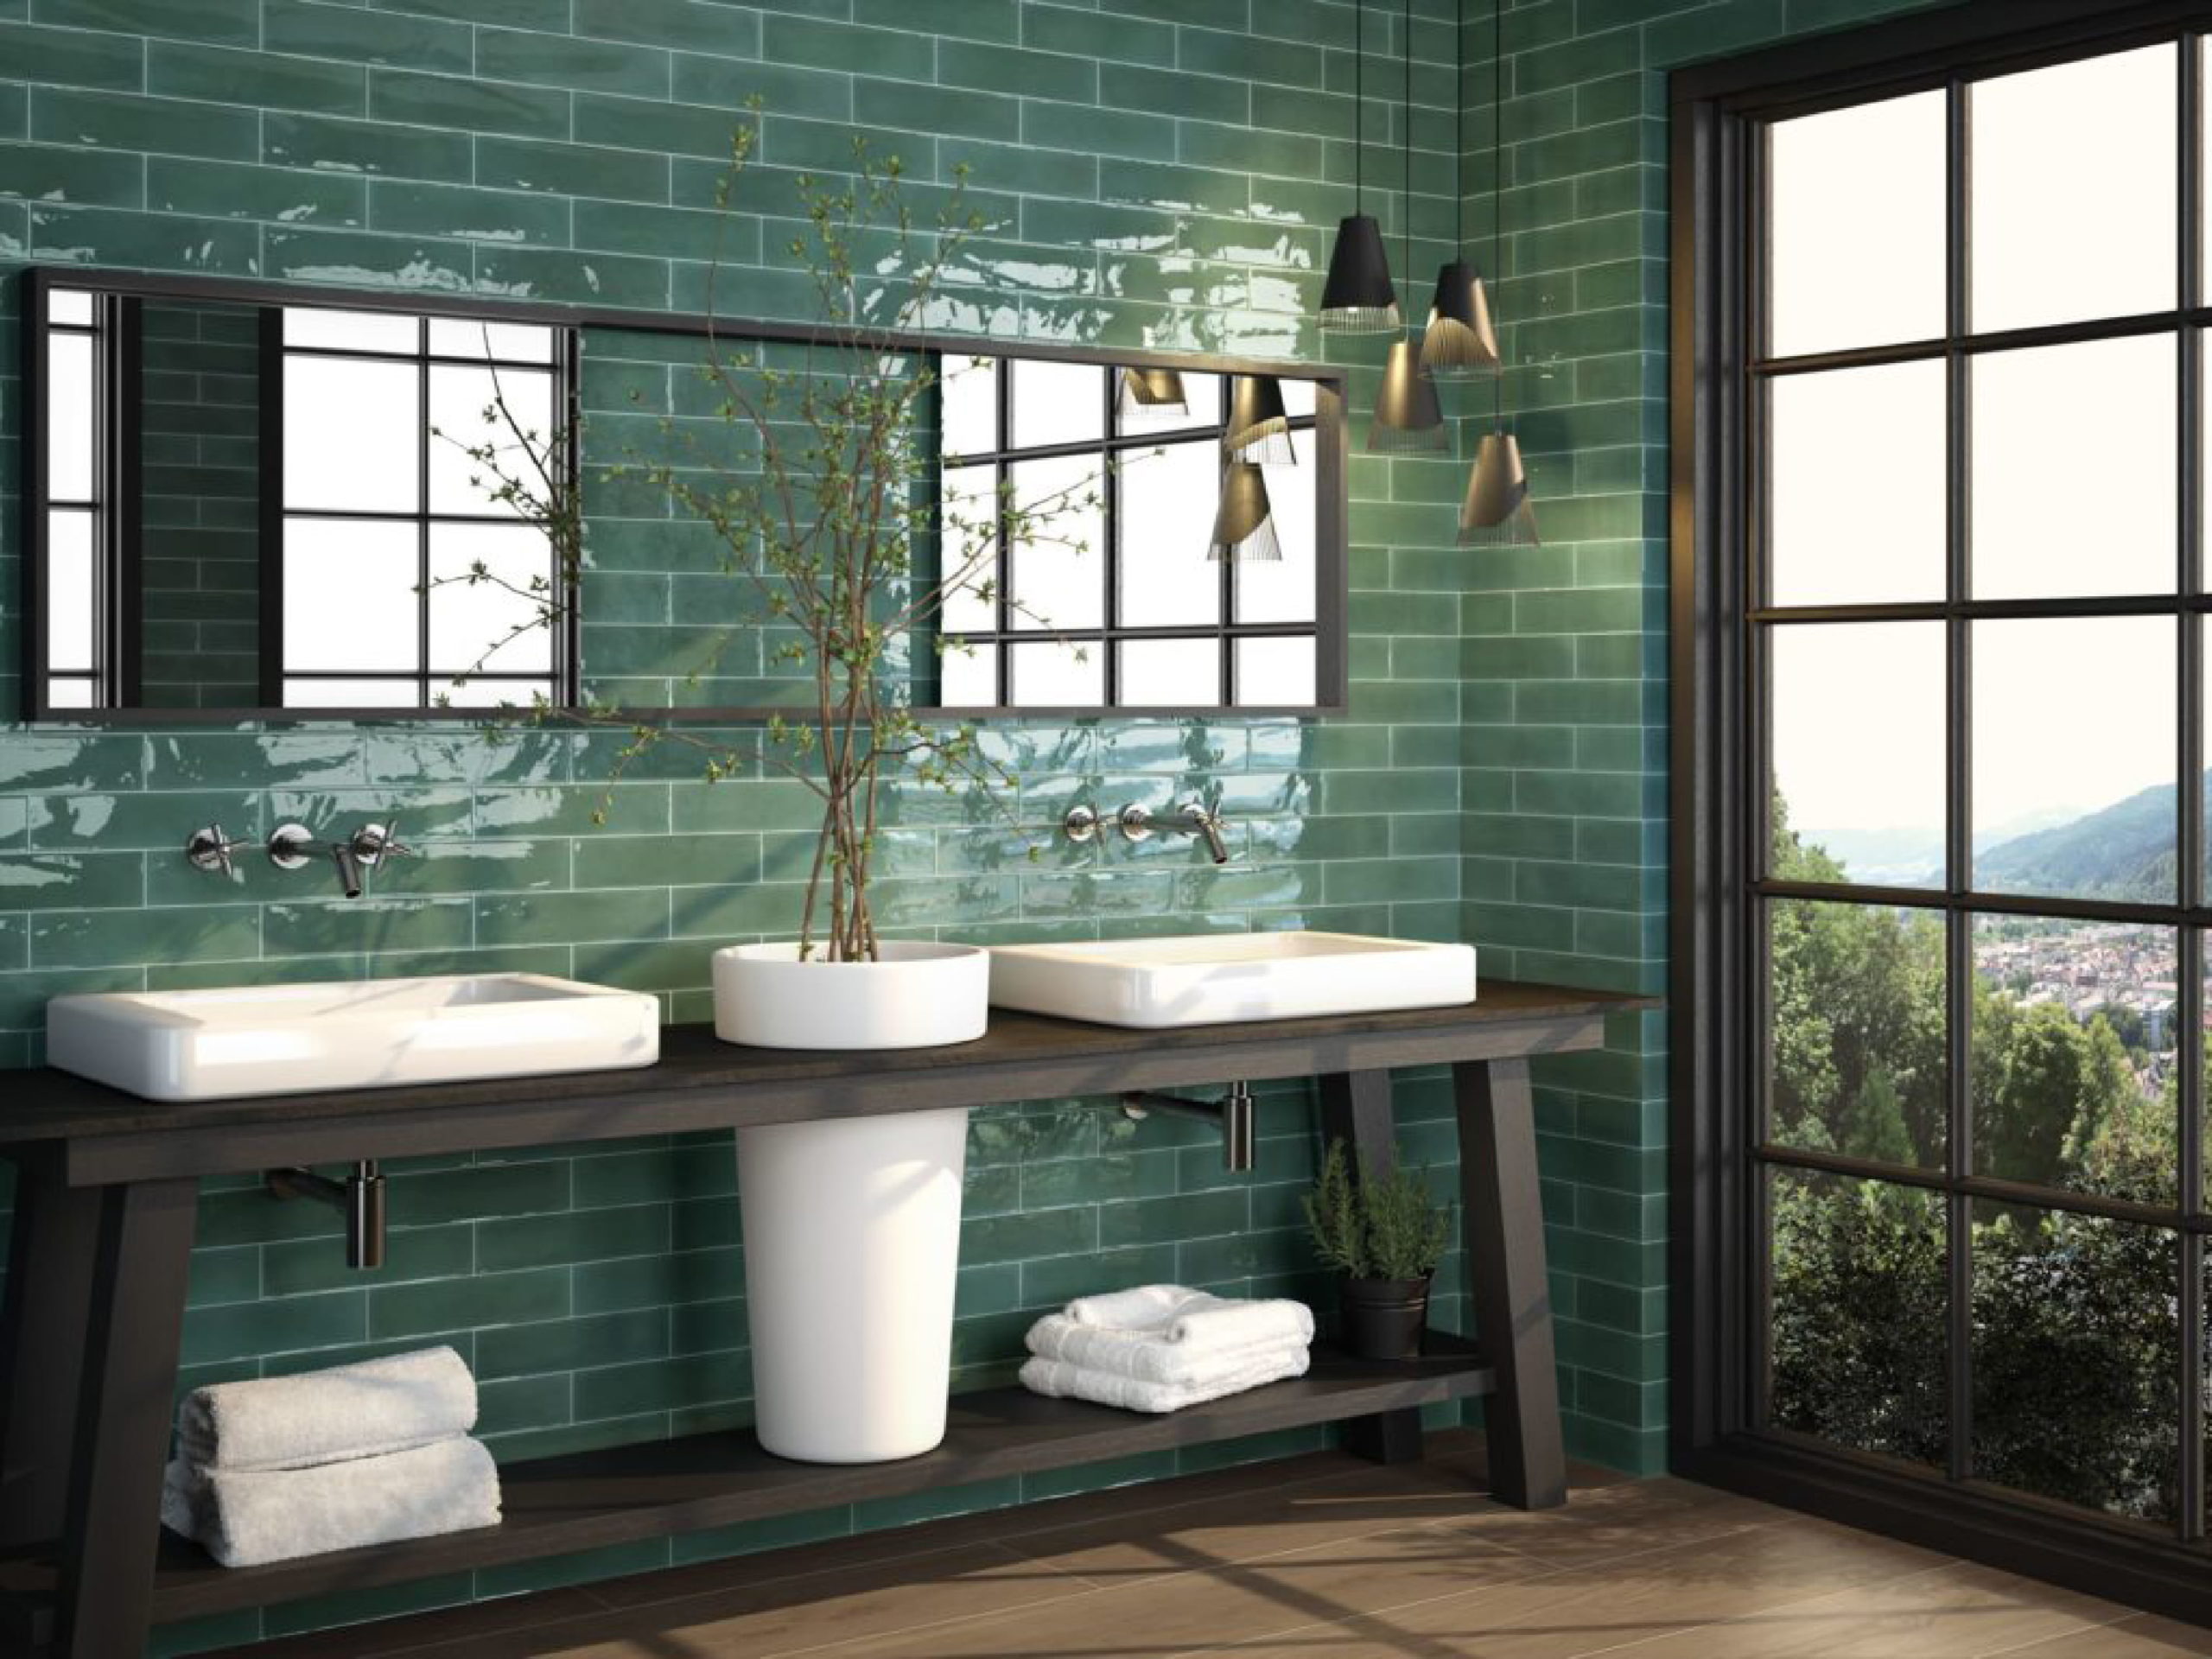
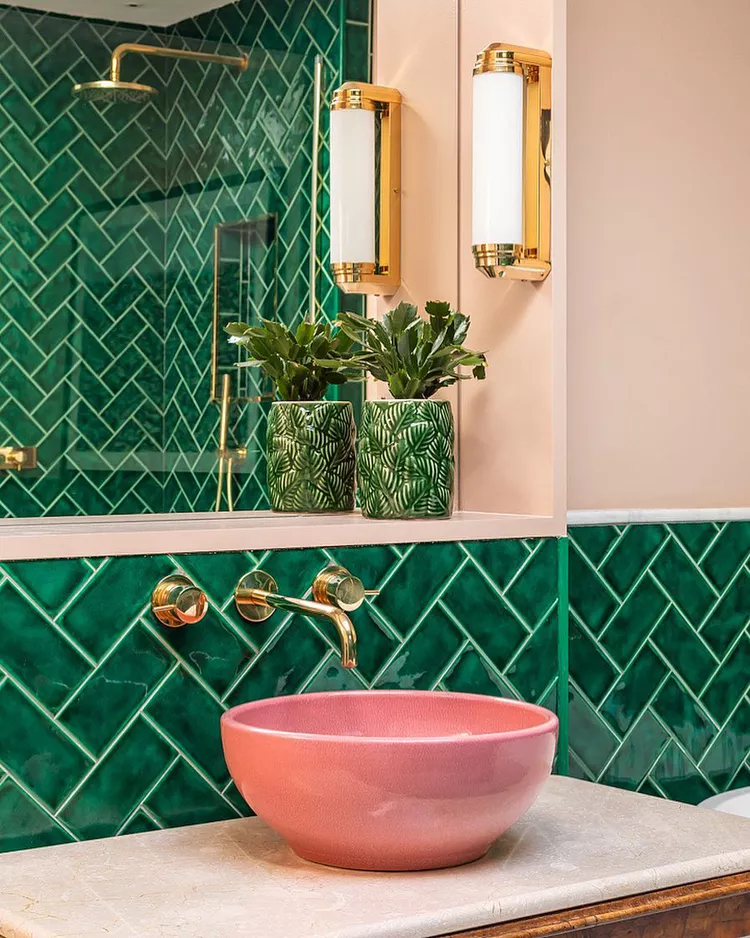
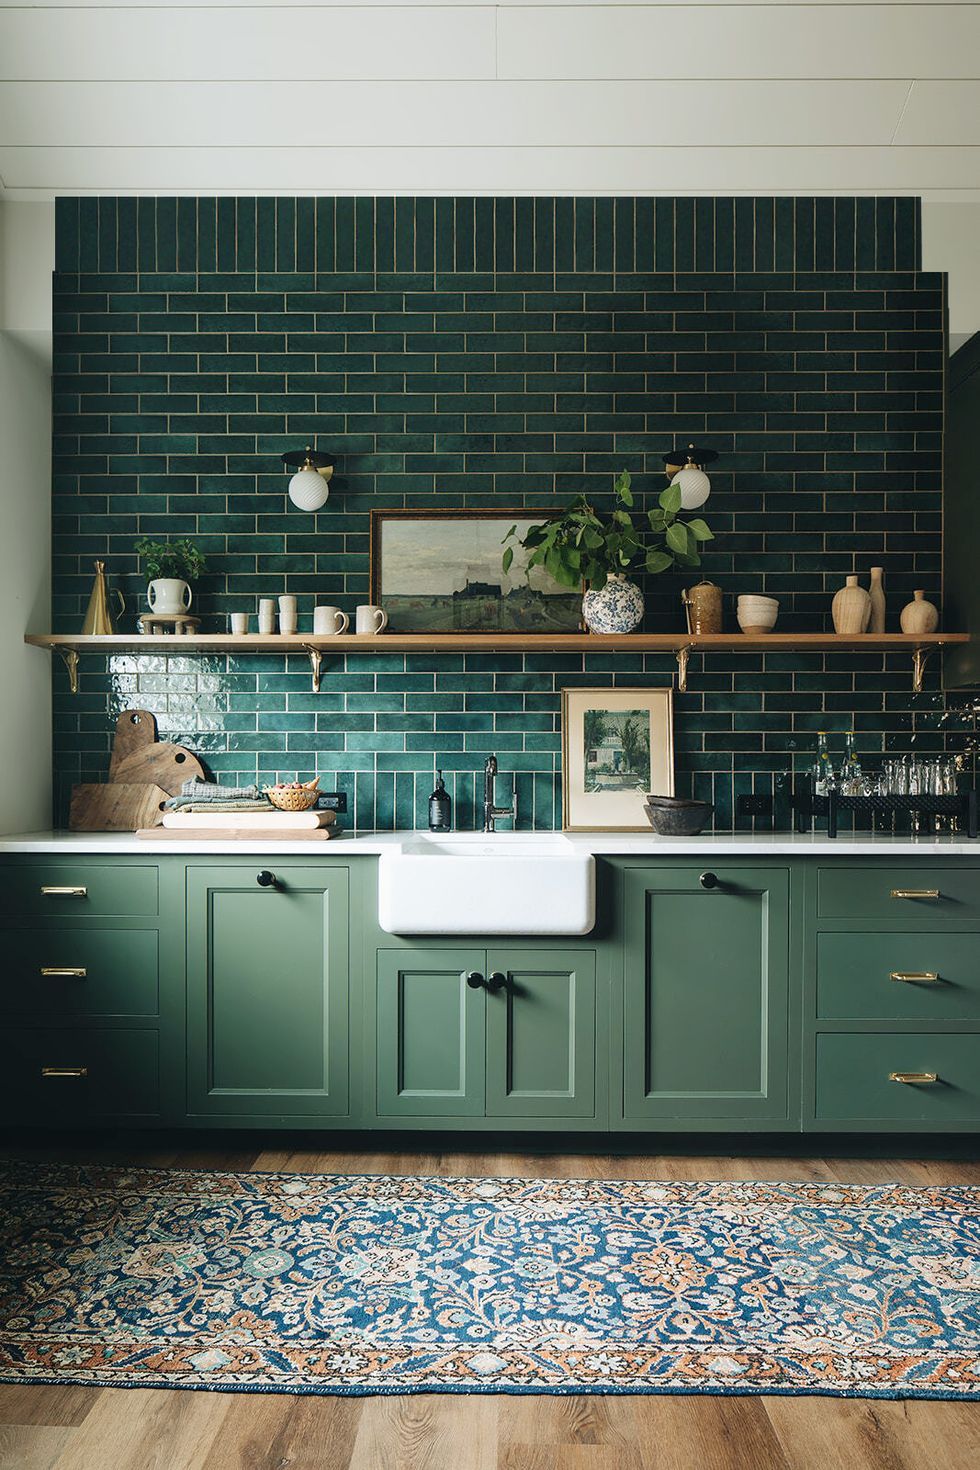
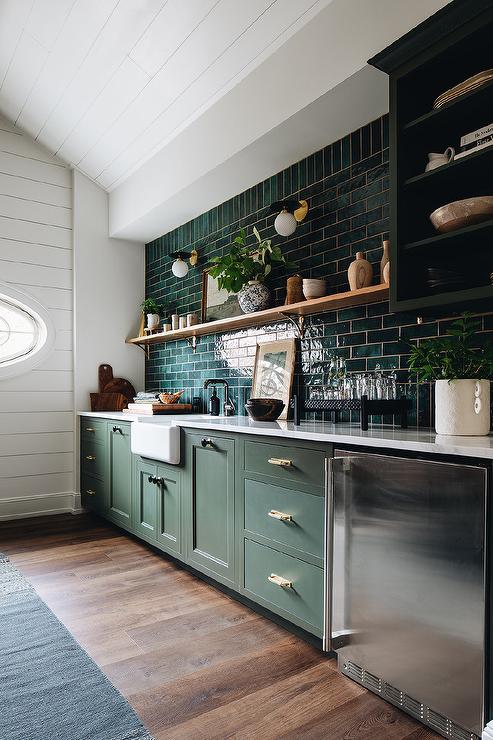
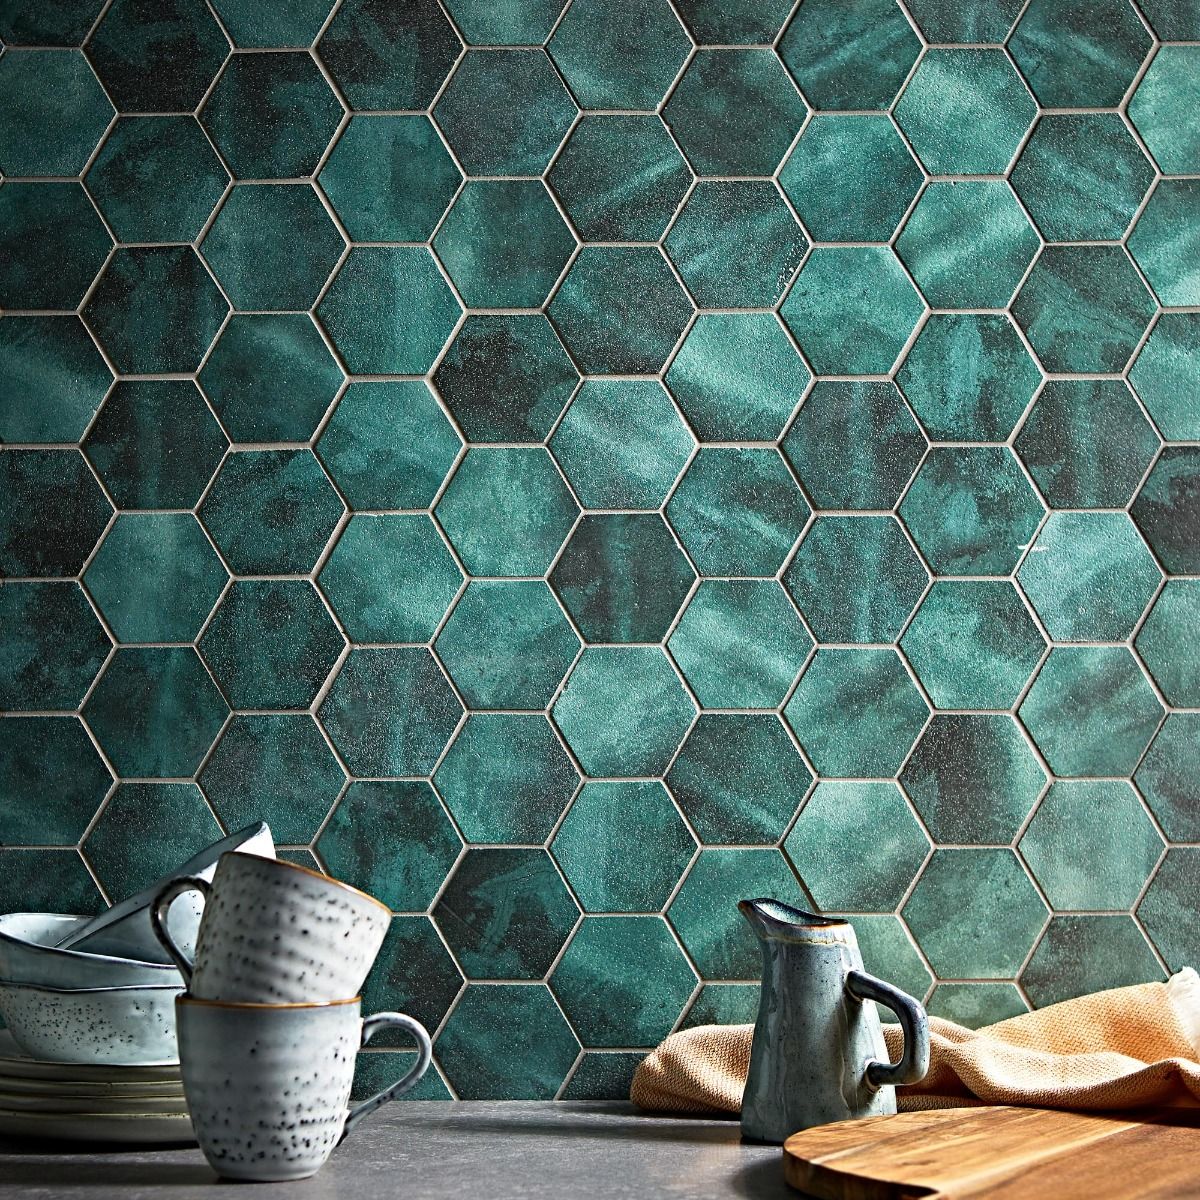
Tile: Textured tiles in emerald green can add depth and visual interest to walls or flooring. Consider using textured tiles in a bathroom or kitchen backsplash to create a stunning focal point.
Brass or Gold: Incorporating brass or gold accents adds a touch of glamour and sophistication. Try incorporating brass or gold light fixtures, hardware, or decor accessories for a touch of elegance.
By pairing emerald green with complementary materials, colours, and textures, you can create a space that is visually stunning, harmonious, and full of personality. Don’t be afraid to experiment and find the combinations that best suit your style and taste!
Emerald Green bathroom ideas
Your bathroom is a place to unwind and recharge after a long day. Adding touches of emerald green can instantly elevate the vibe.
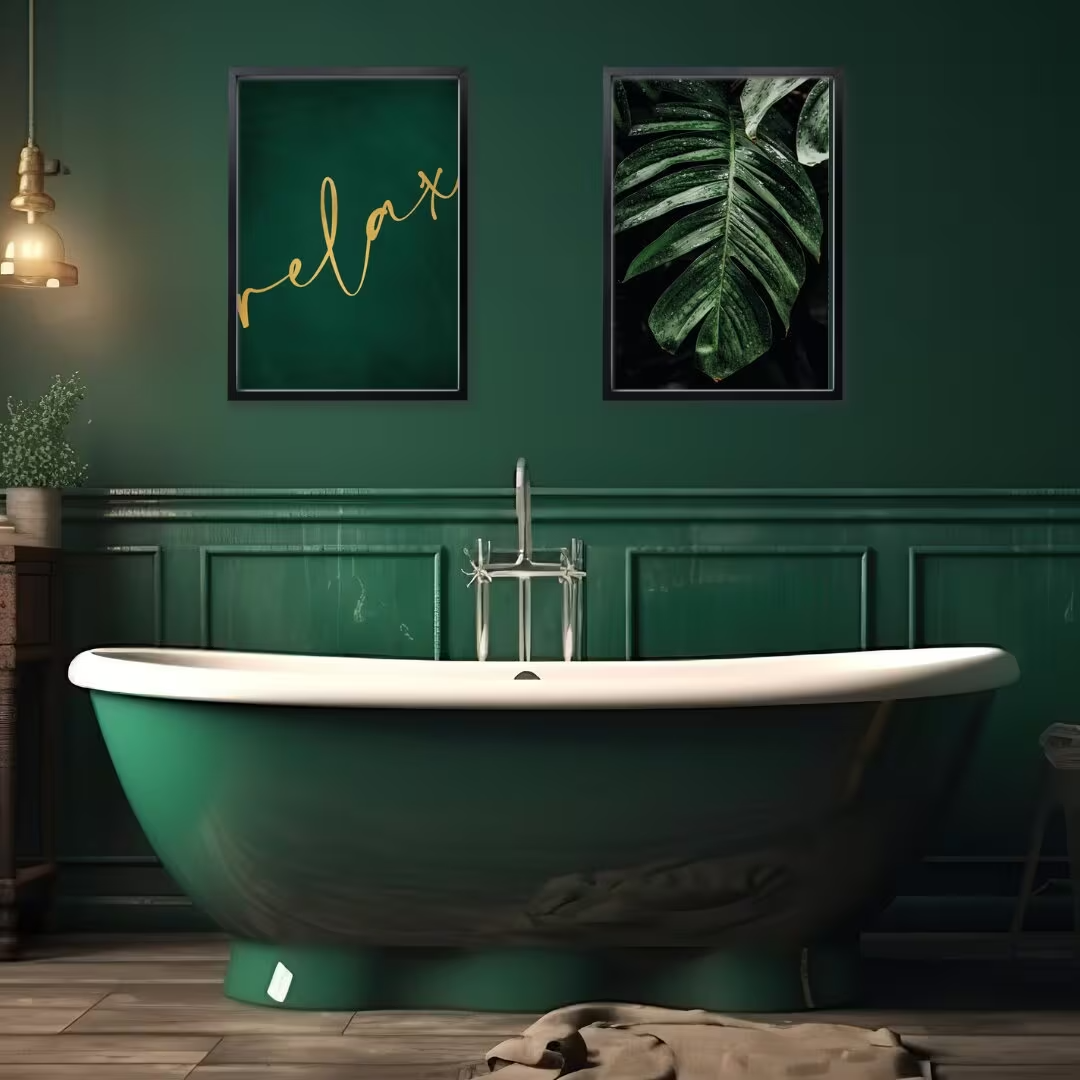
Picture emerald green tiles lining the walls or floors, instantly turning your bathroom into a lavish retreat.
And why not go the extra mile with a statement bathtub for the ultimate in luxurious relaxation?
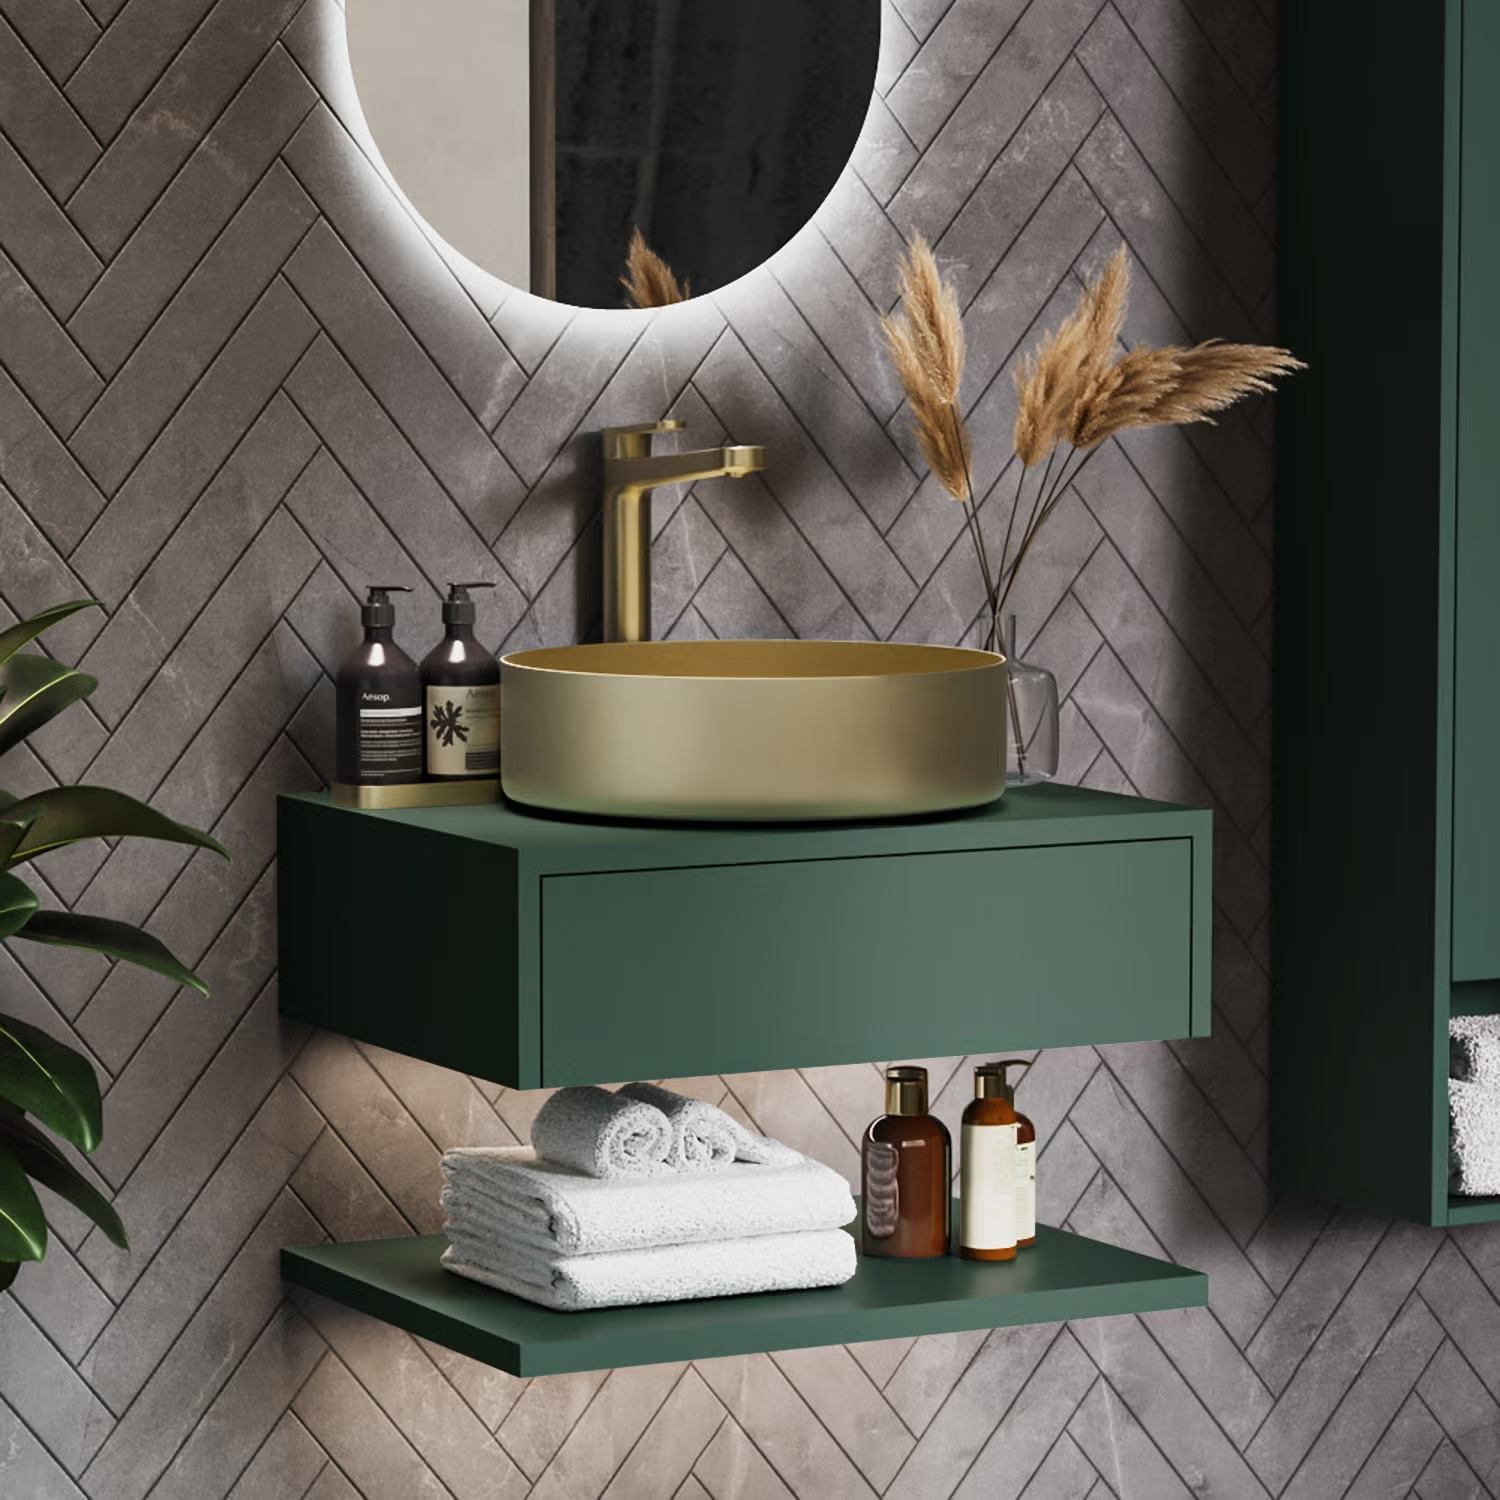
In addition to tiles, you can also finish sleek pedestal sinks or floating shelves in emerald green to bring a modern touch. These fixtures not only look great but also provide handy storage solutions.
To amp up the ambiance, add black or gold accents and mirrors for depth and drama.
Black fixtures like faucets or showerheads can create a striking contrast against the green backdrop.
Adding sage green will tie everything together seamlessly and add a cozy feel to your bathroom.
Whether you’re going all-in with emerald green tiles or just adding pops of colour here and there, the goal is to create a welcoming space that reflects your style and makes you feel at ease. So go ahead, embrace the emerald green trend, and turn your bathroom into a chic retreat that you’ll love spending time in.
Emerald Green kitchen inspiration
When it comes to updating your kitchen, incorporating the lush richness of emerald green can instantly infuse the room with vibrant energy and personality.
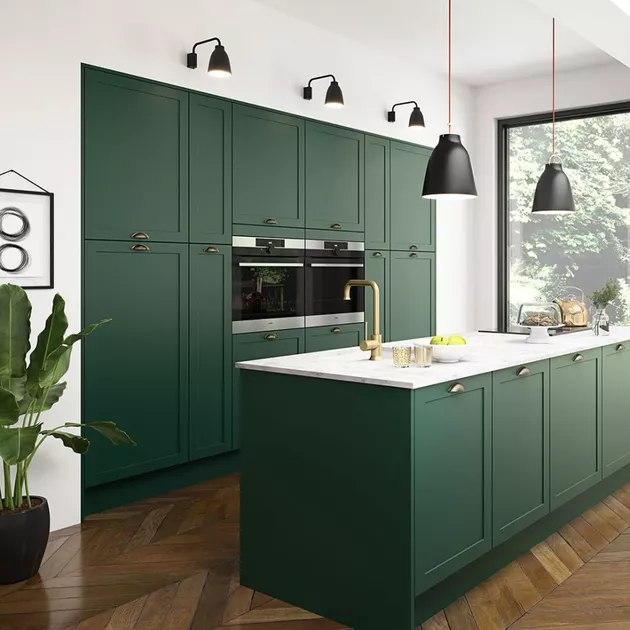
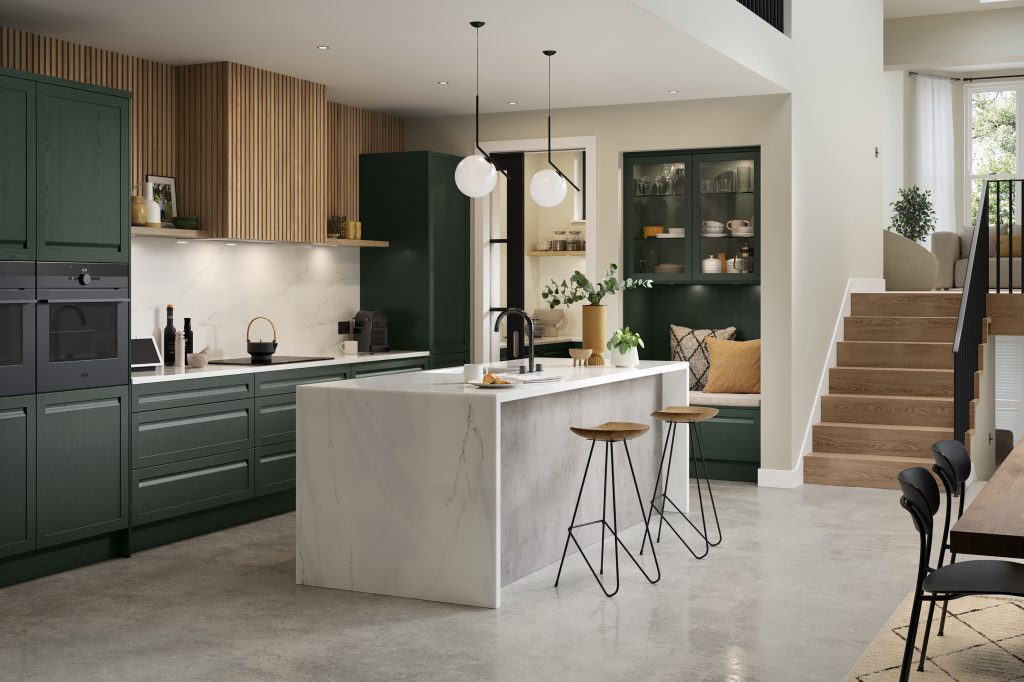
Consider emerald green cabinets or backsplash tiles to infuse the space with colour and personality. These bold choices not only add a pop of colour but also creates a focal point that sets the tone for the entire space.
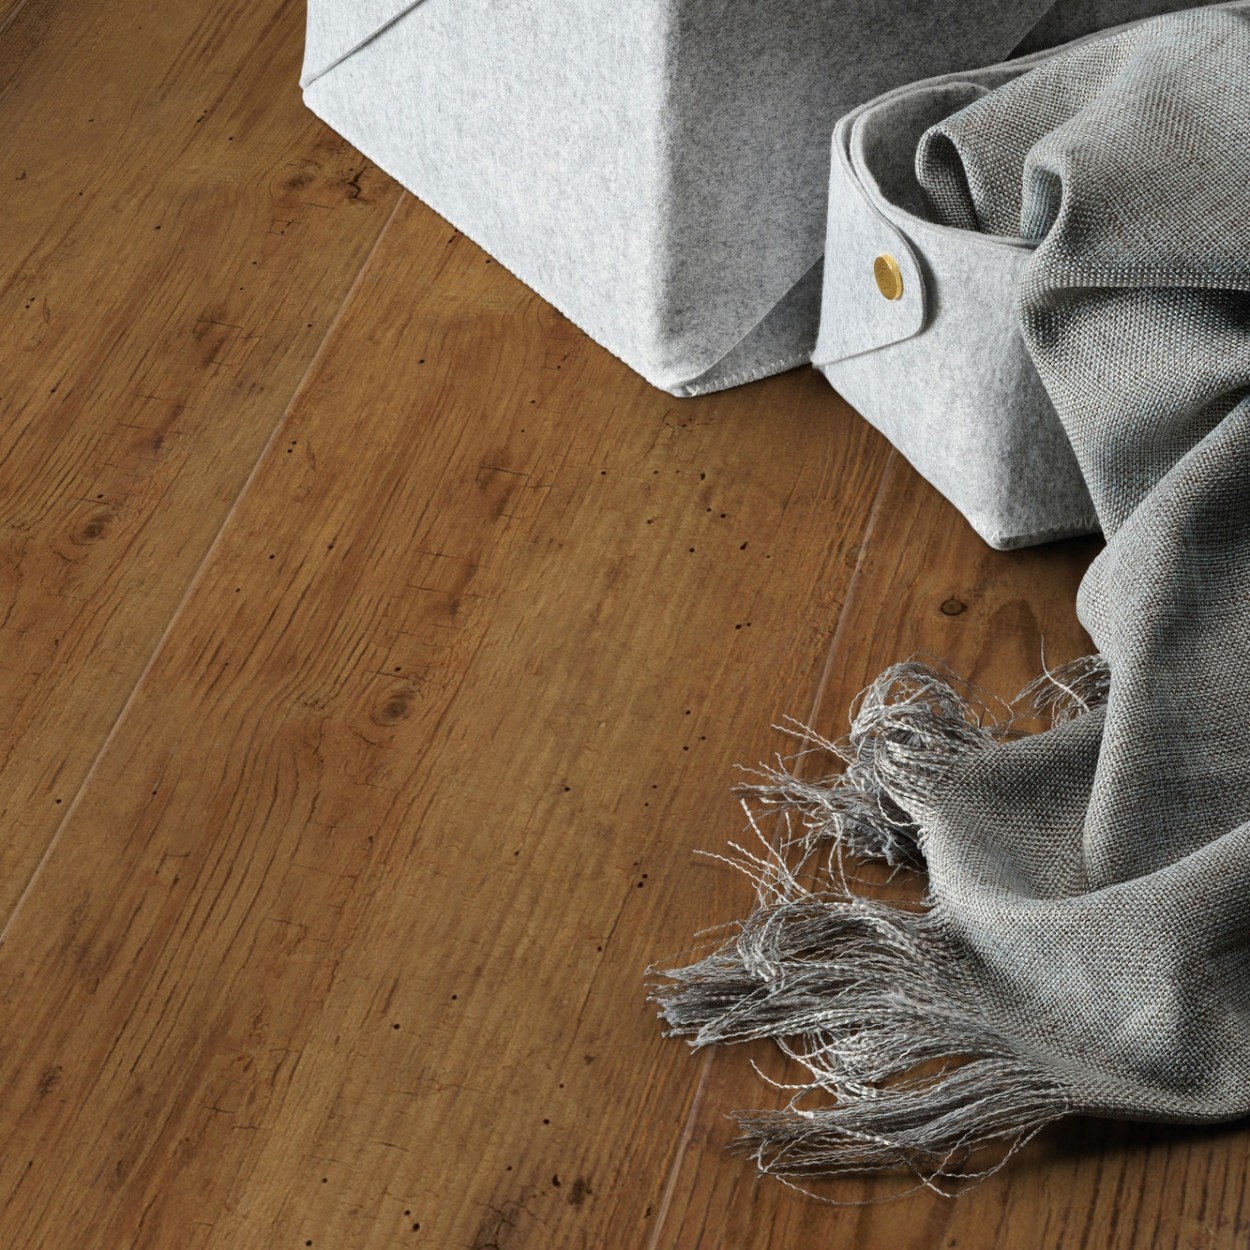
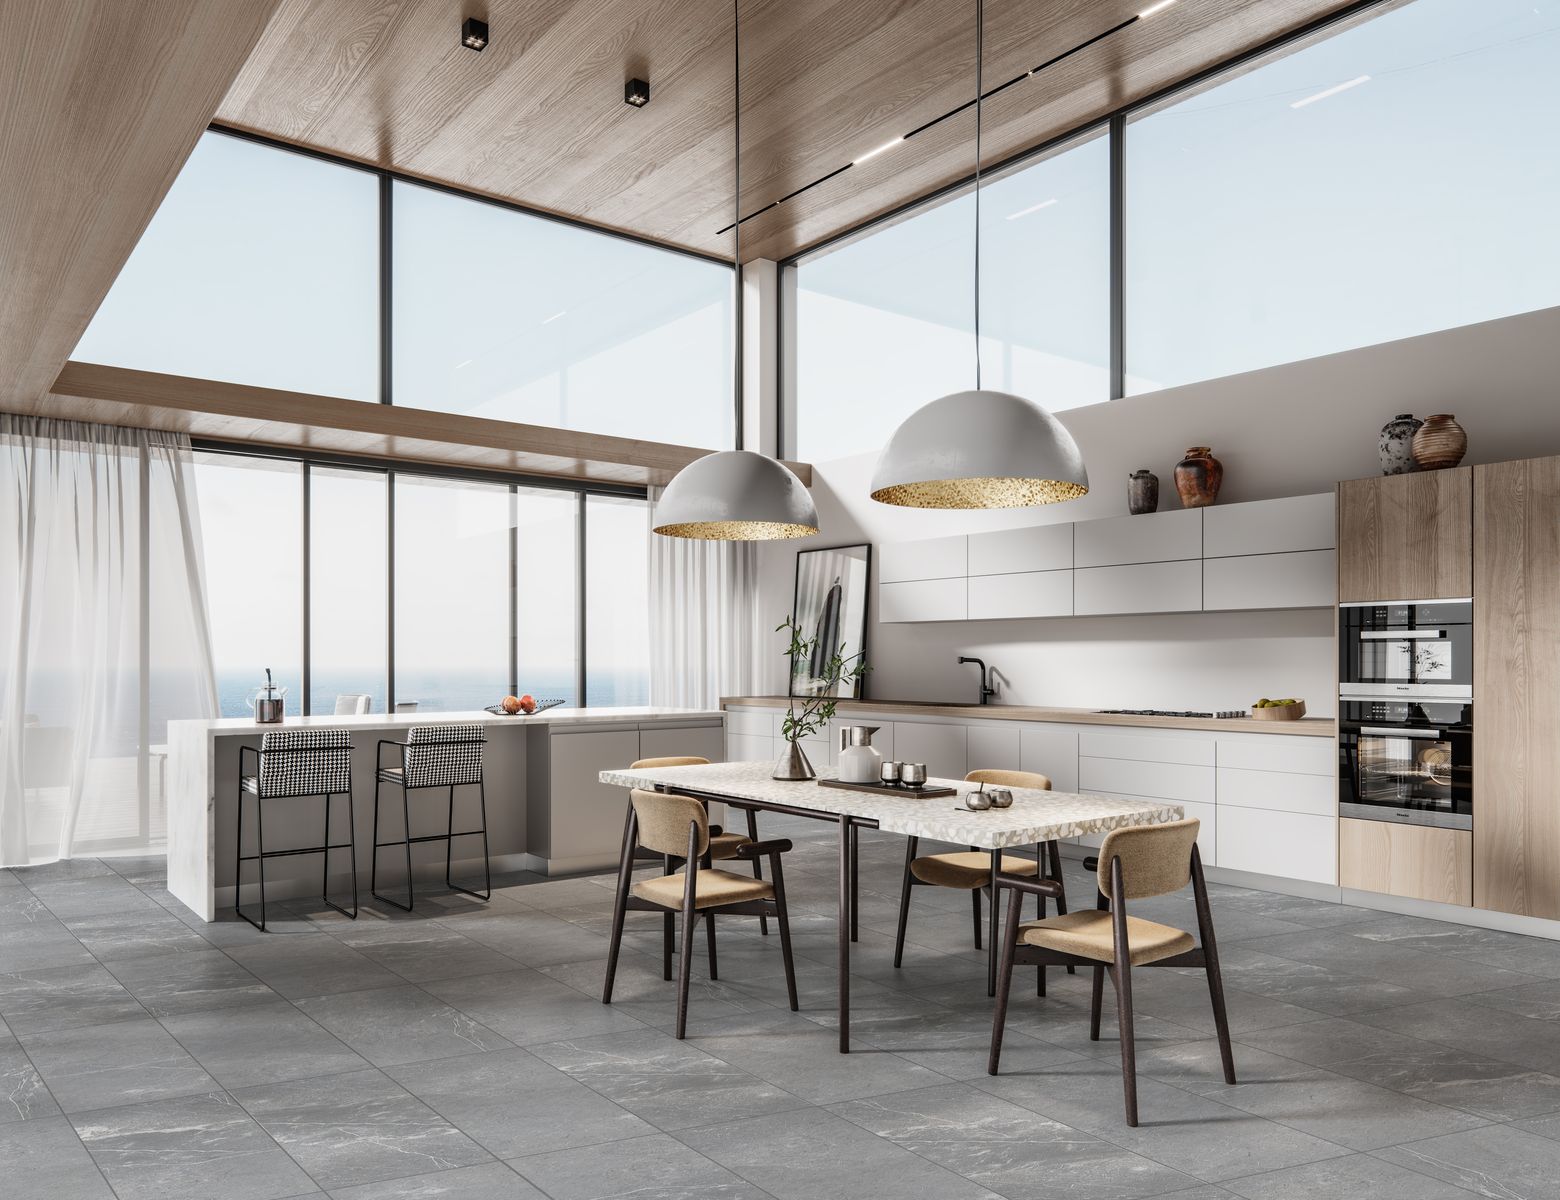
Warm wood flooring can be the perfect combination. Rich wood floors ground the room, providing a natural and timeless backdrop that enhances the beauty of the green. This combination of emerald green and wood creates a harmonious balance, blending modern style with rustic charm.
For those seeking a sleek and contemporary look use stainless steel appliances. The shiny metallic finish of stainless steel contrasts beautifully with the deep hue of emerald green. This creates a striking visual effect that catches the eye. Stainless steel appliances not only bring functionality to the space but also contribute to its overall aesthetic appeal.
And let’s not forget about the countertops – the crowning jewel of any kitchen. Marble countertops are the epitome of luxury, exuding elegance and style that perfectly complement the richness of emerald green. Imagine preparing meals on smooth marble surfaces, basking in the luxurious ambiance of your emerald green kitchen.
By incorporating these elements you can create a kitchen that is both visually stunning and functional. Let your culinary dreams come to life in a space that’s as beautiful as it is inviting.
Incorporating Emerald Green in other spaces
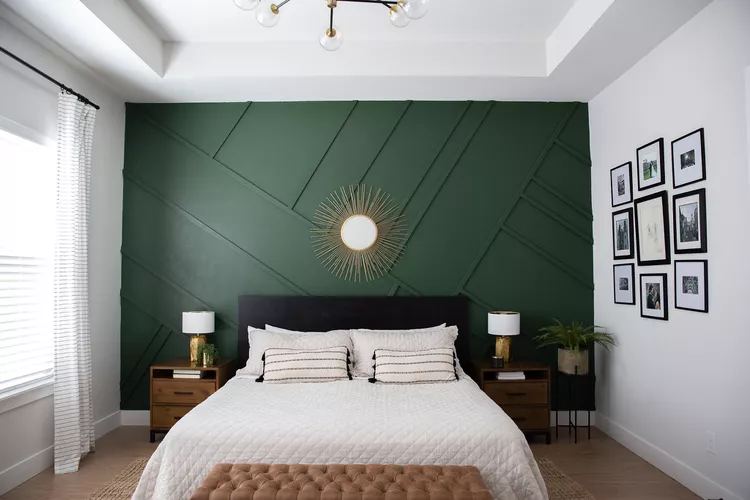
Don’t limit emerald green to just your bathroom and kitchen—bring it into other areas of your home to create a cohesive look.
Accessorize with emerald green accents like cushions, rugs or artwork to tie the colour scheme together.
The emerald green revolution is here to stay, and it’s easy to see why. This timeless trend adds depth, warmth, and sophistication to any home, creating spaces that are both beautiful and inviting. Whether you’re revamping your bathroom, transforming your kitchen, refreshing your living room or bedroom, emerald green is the perfect choice.
Ready to embrace the emerald green revolution? Visit Tiletoria to discover our wide selection and start transforming your home into a luxurious oasis. Got a pinterest moodboard? Bring it along, and our team will work with you to make your vision a reality.
Share your thoughts on the emerald green trend in the comments below and let us know how you’re incorporating it into your own home—we’d love to hear from you!
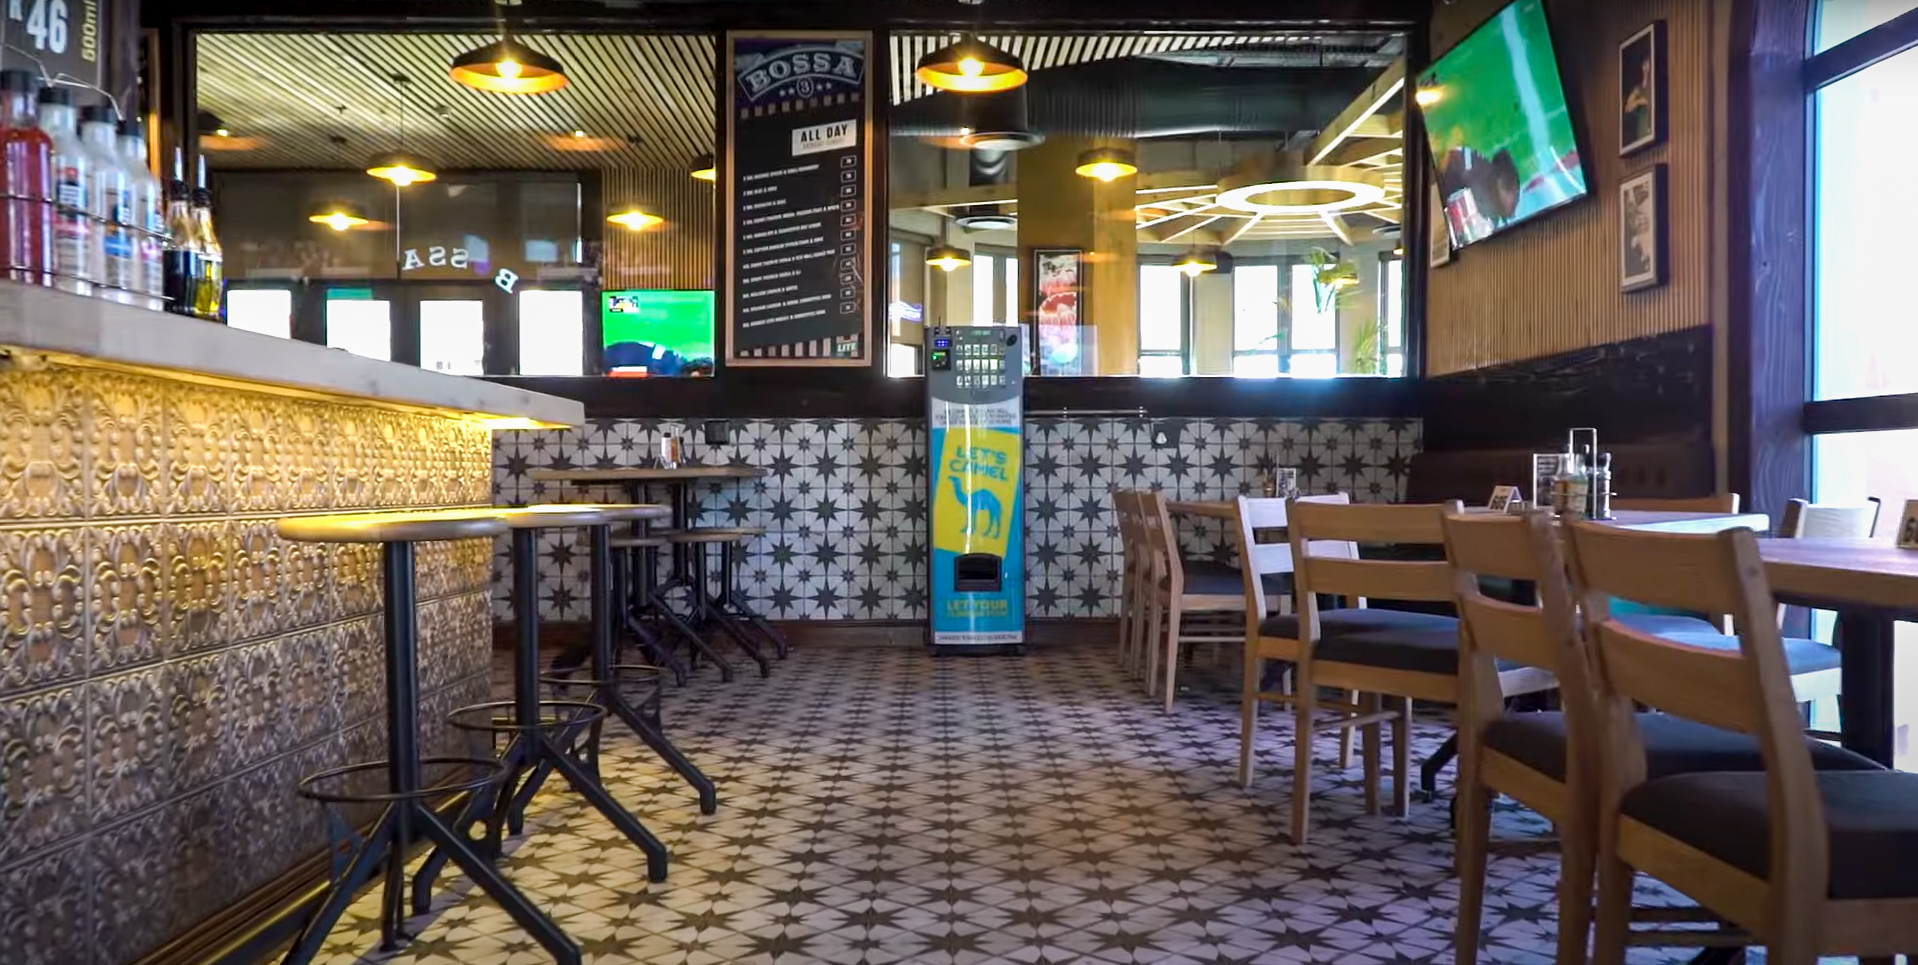
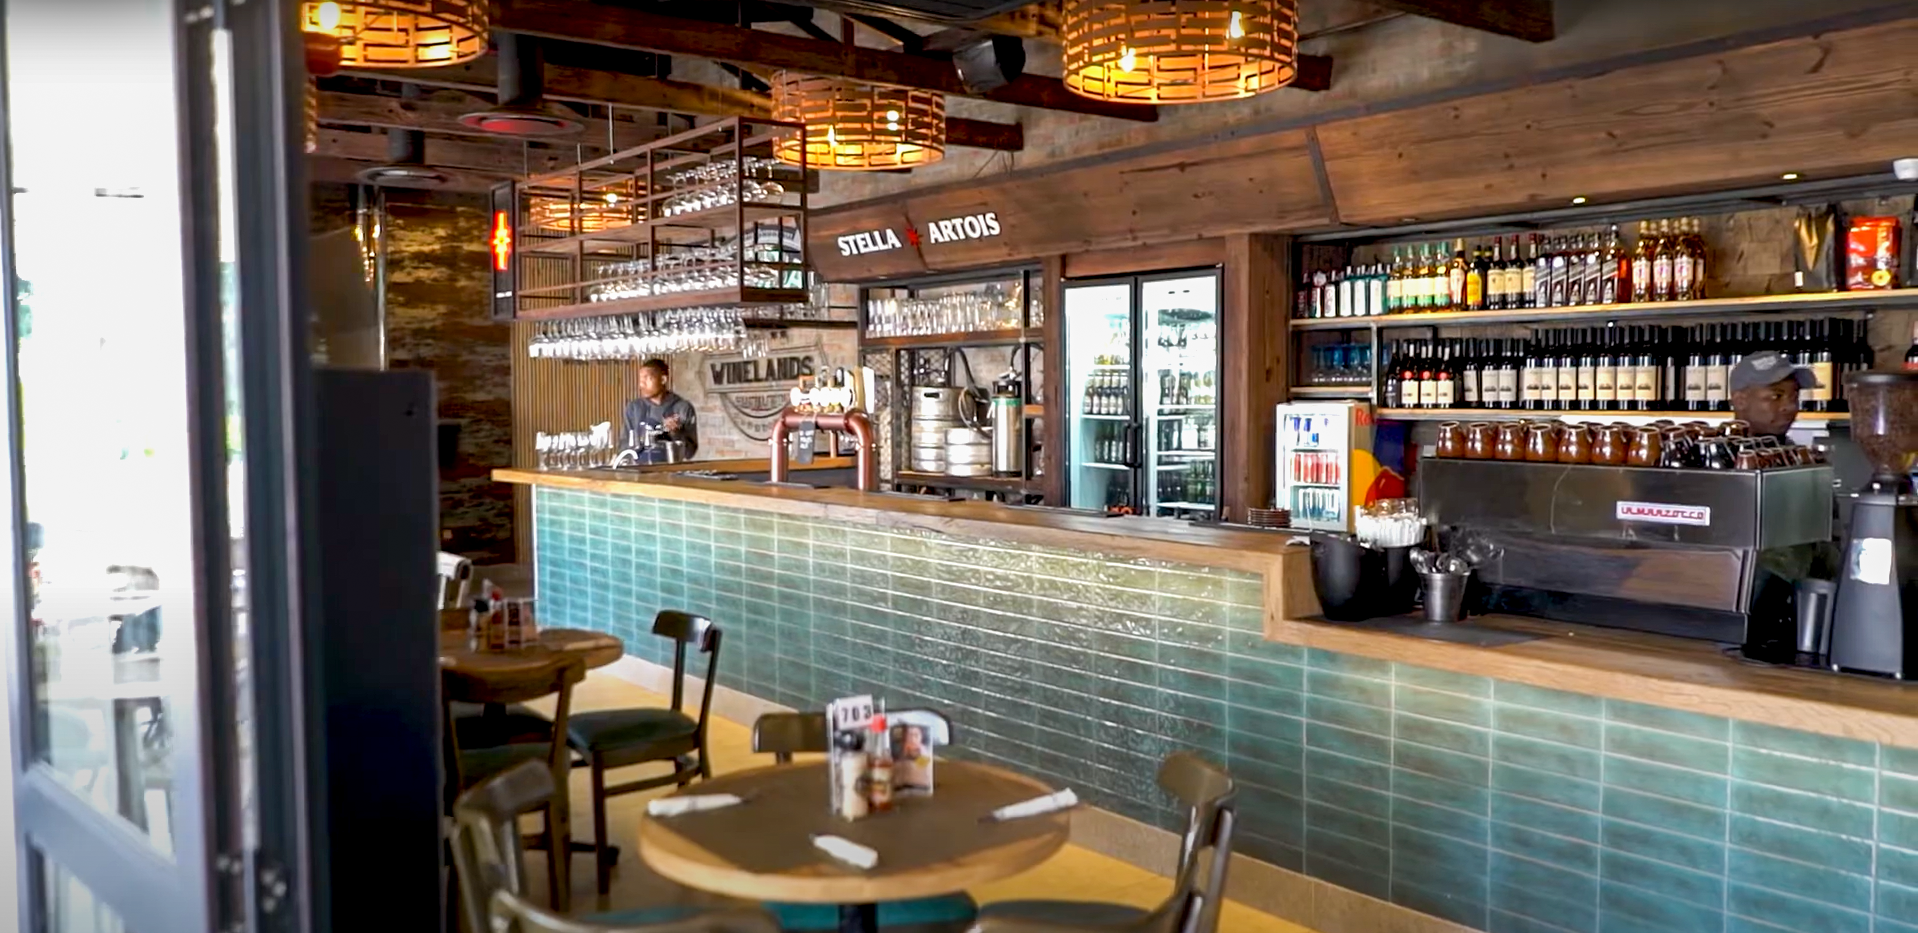
Bossa Restaurants are among the most well-known dining spots in the Western Cape, with 20 successful restaurants opened since their first opening in Paarl in 2002. Known for great food, excellent service, and good times, each Bossa restaurant displays a familiar rustic, modern style. This consistent, inviting atmosphere is thanks to Tiletoria.
Visually, each Bossa restaurant features a theme of warm, timeless, classic colours that create the signature Bossa vibe.
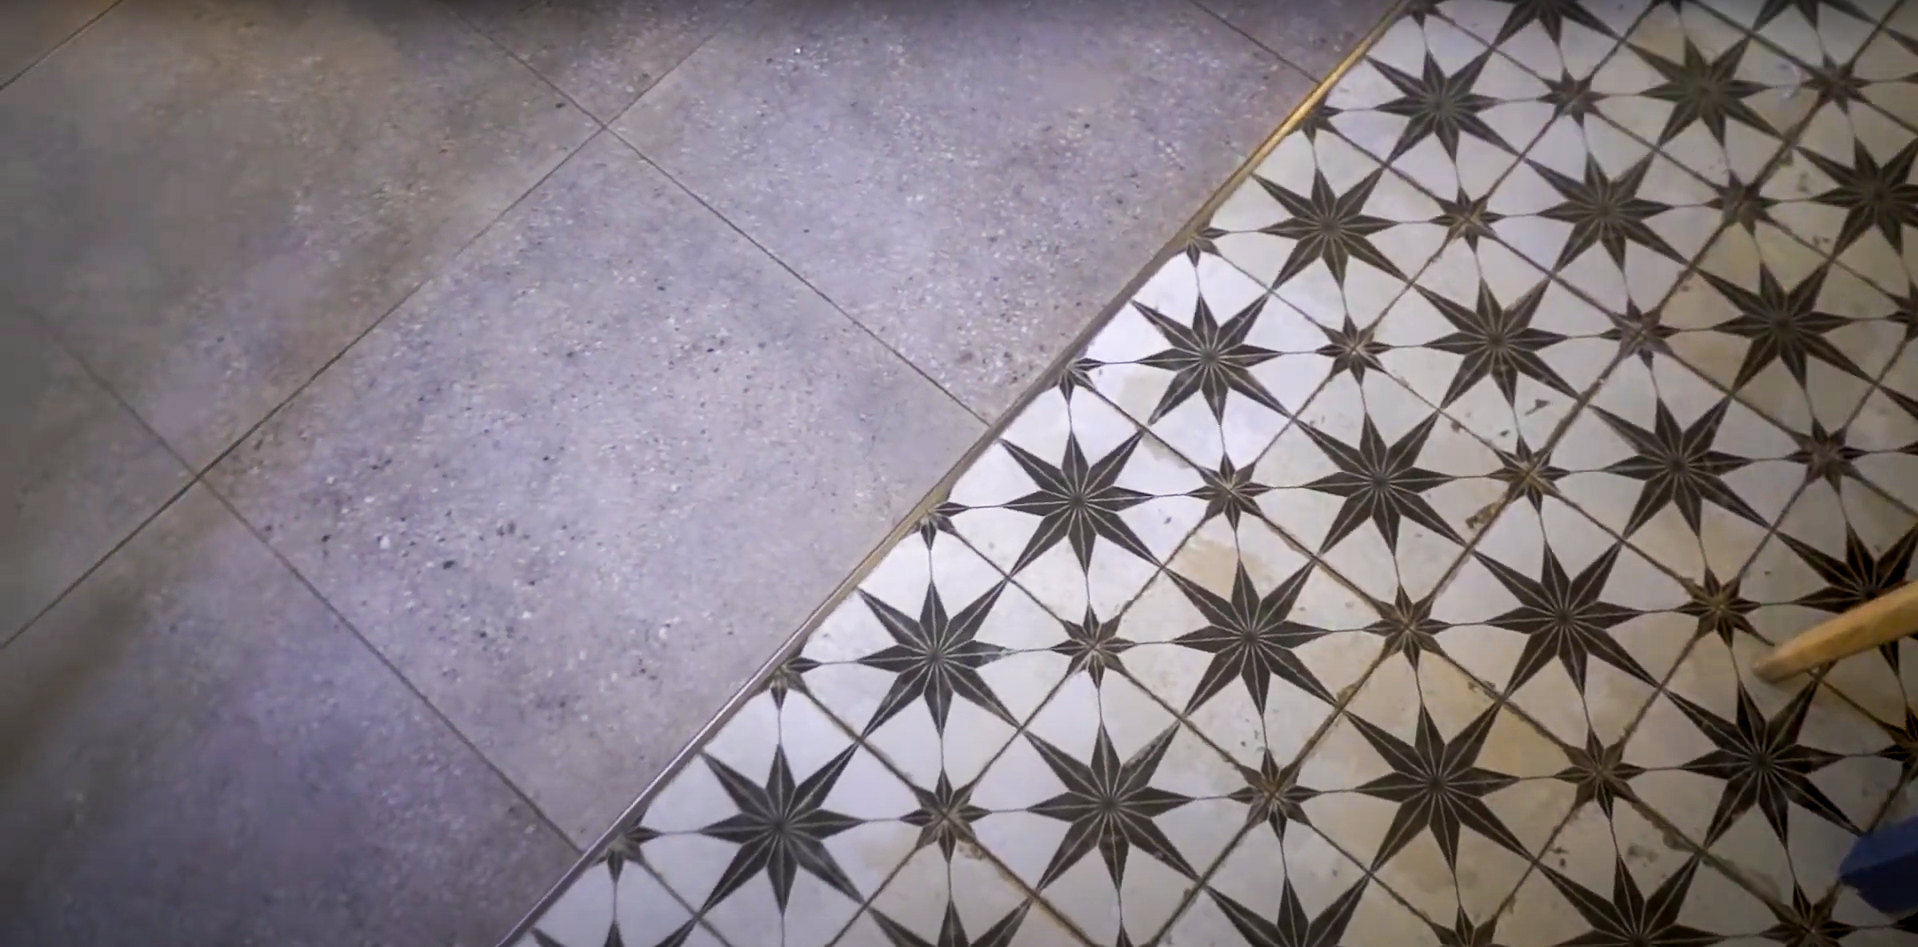
Blending various materials, from vinyl and laminates to porcelain and décor tiles, but it’s not just about the tiles. It’s the attention to detail that brings the final look together, a signature of Tiletoria’s expertise.
When you visit a Bossa restaurant, you can expect great food, great company, and a fantastic ambiance, all enhanced by the stunning décor provided by Tiletoria.
Check out the final reveal of the completed projects at Bossa Meerendal and Bossa Canal Walk:
Are you renovating your home or office space? Perhaps you are building your dream home? If so, you are most likely thinking about flooring.
In this guide, we’ll explore why you should consider Vinyl for your kitchen, bedroom, bathroom, office, living room or business premises. Discover everything you need to know about vinyl flooring, from installation to cleaning, and compare it with wood flooring to help you make the best choice.
Vinyl flooring is a synthetic product made from polyvinyl chloride (commonly called PVC). It mimics the appearance of natural materials like wood, stone, and tile, and is available in options including sheets, tiles and planks. Vinyl flooring offers a durable and stylish alternative at a fraction of the cost. Often compared to laminate flooring, it differs in that it is made from synthetic materials rather than wood, making it a more cost-effective flooring solution.
Increases Home Value: High-quality vinyl flooring can enhance the appeal of your home, adding to its market value.
Easy to Install: With options like peel-and-stick vinyl floor tiles, installation is straightforward and can be a DIY project.
Easy to Clean: Minimal maintenance required; regular sweeping and occasional mopping keep them looking great.
Low Maintenance: Unlike wood flooring, vinyl does not need frequent refinishing or special treatments.
Highly Resistant to Daily Wear and Tear: Most vinyl floors come with a specialized wear layer, making them resistant to scratches and dents.
Heat Conductive: Vinyl flooring works well with underfloor heating systems.
Seamless Look: Provides a seamless and cohesive appearance, enhancing the overall aesthetic of your space.
Cost-Effective: Budget-friendly and long-lasting, saving you money in the long run by reducing the need for replacements.
Range of Styles and Designs: With a variety of styles and designs, you can find vinyl flooring that perfectly matches your taste and decor.
Long-Lasting: If installed correctly and well-maintained, vinyl flooring can last upwards of 20 years, making it a great material for high-traffic areas.
Water Resistant: Vinyl flooring can withstand moisture and liquid spills, making it an ideal option for kitchens and bathrooms.
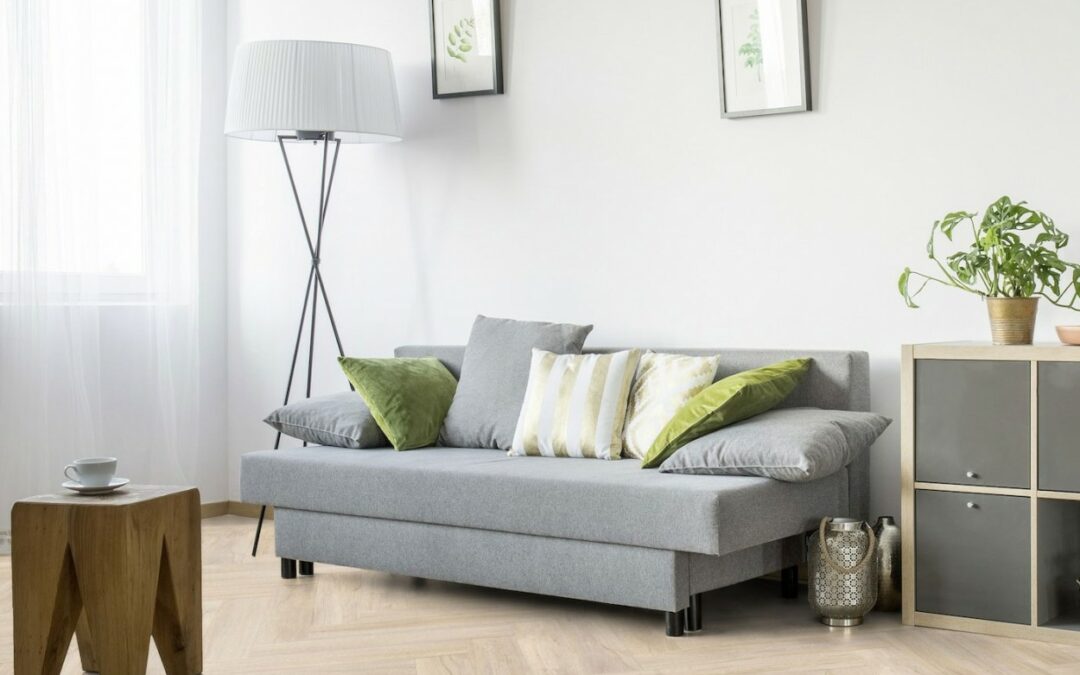
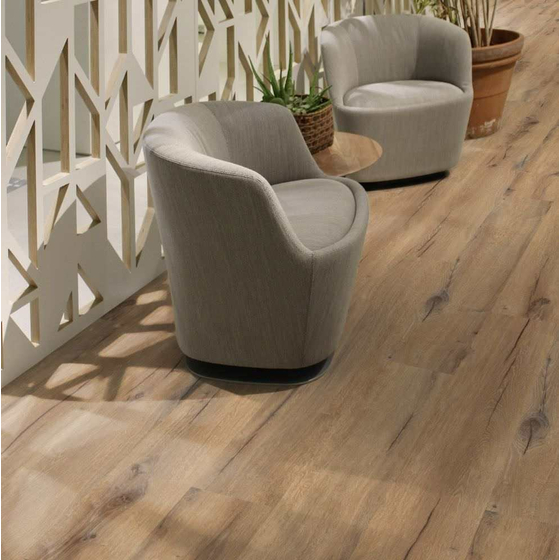
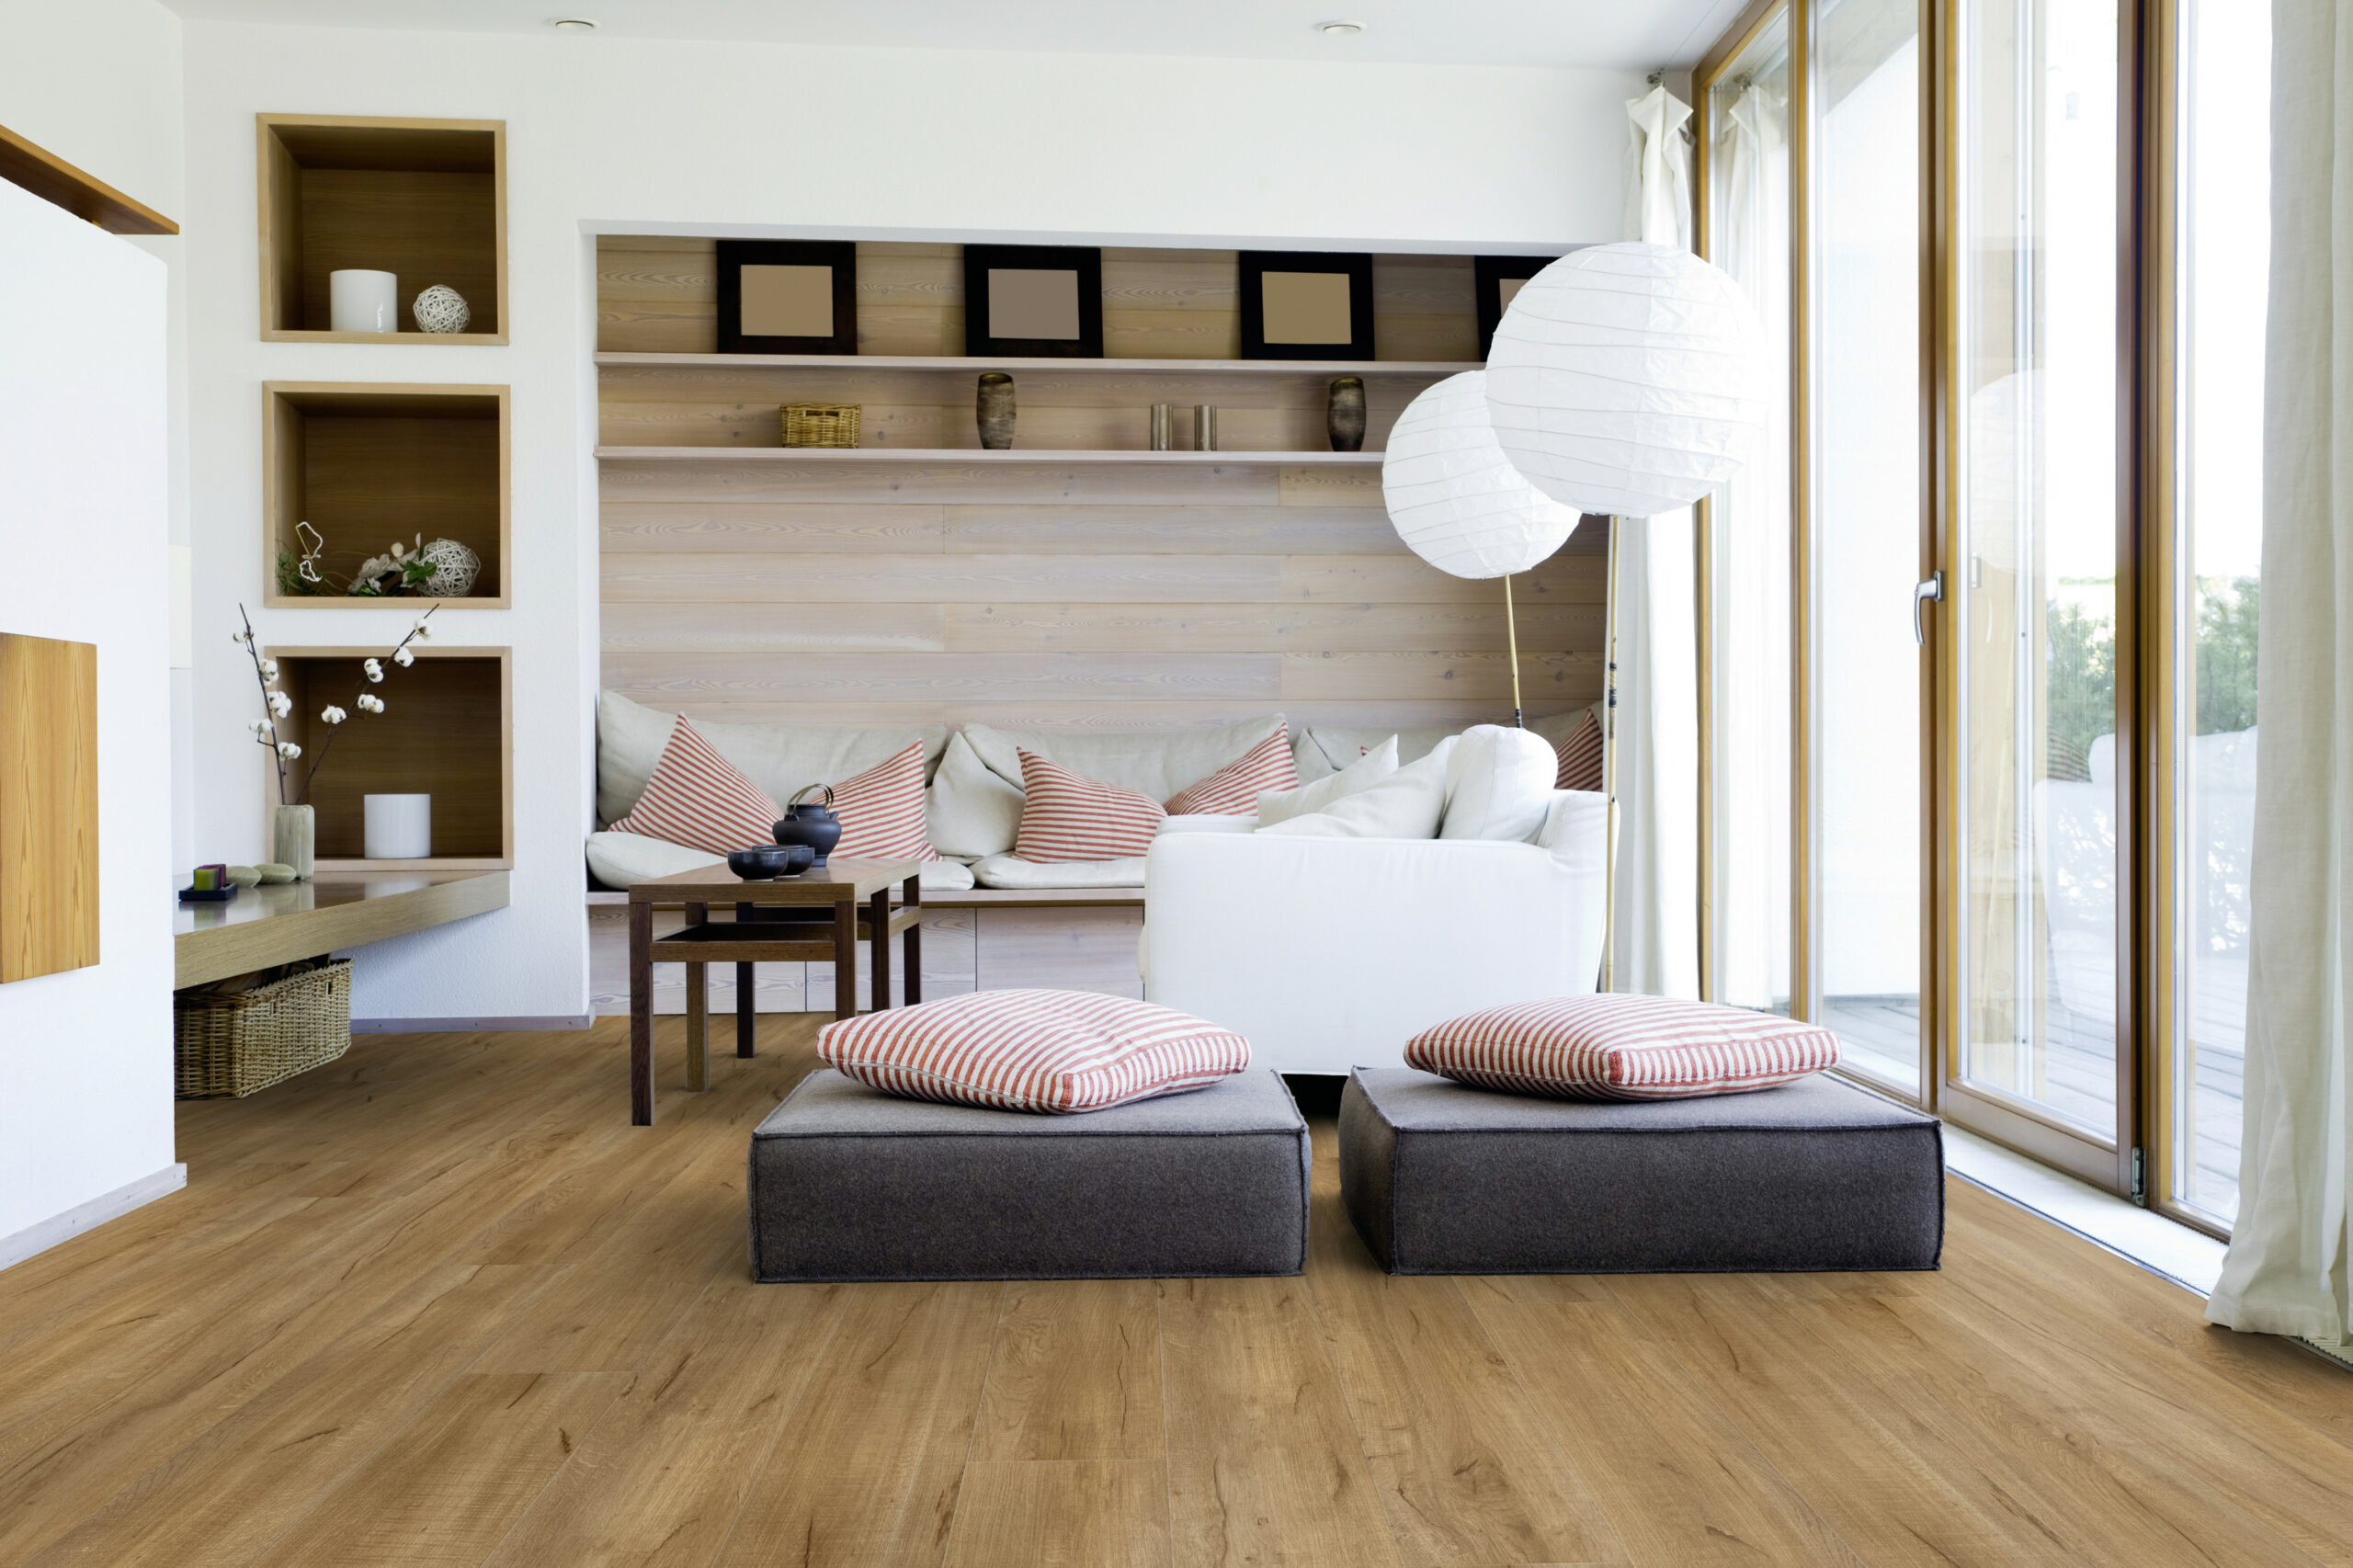
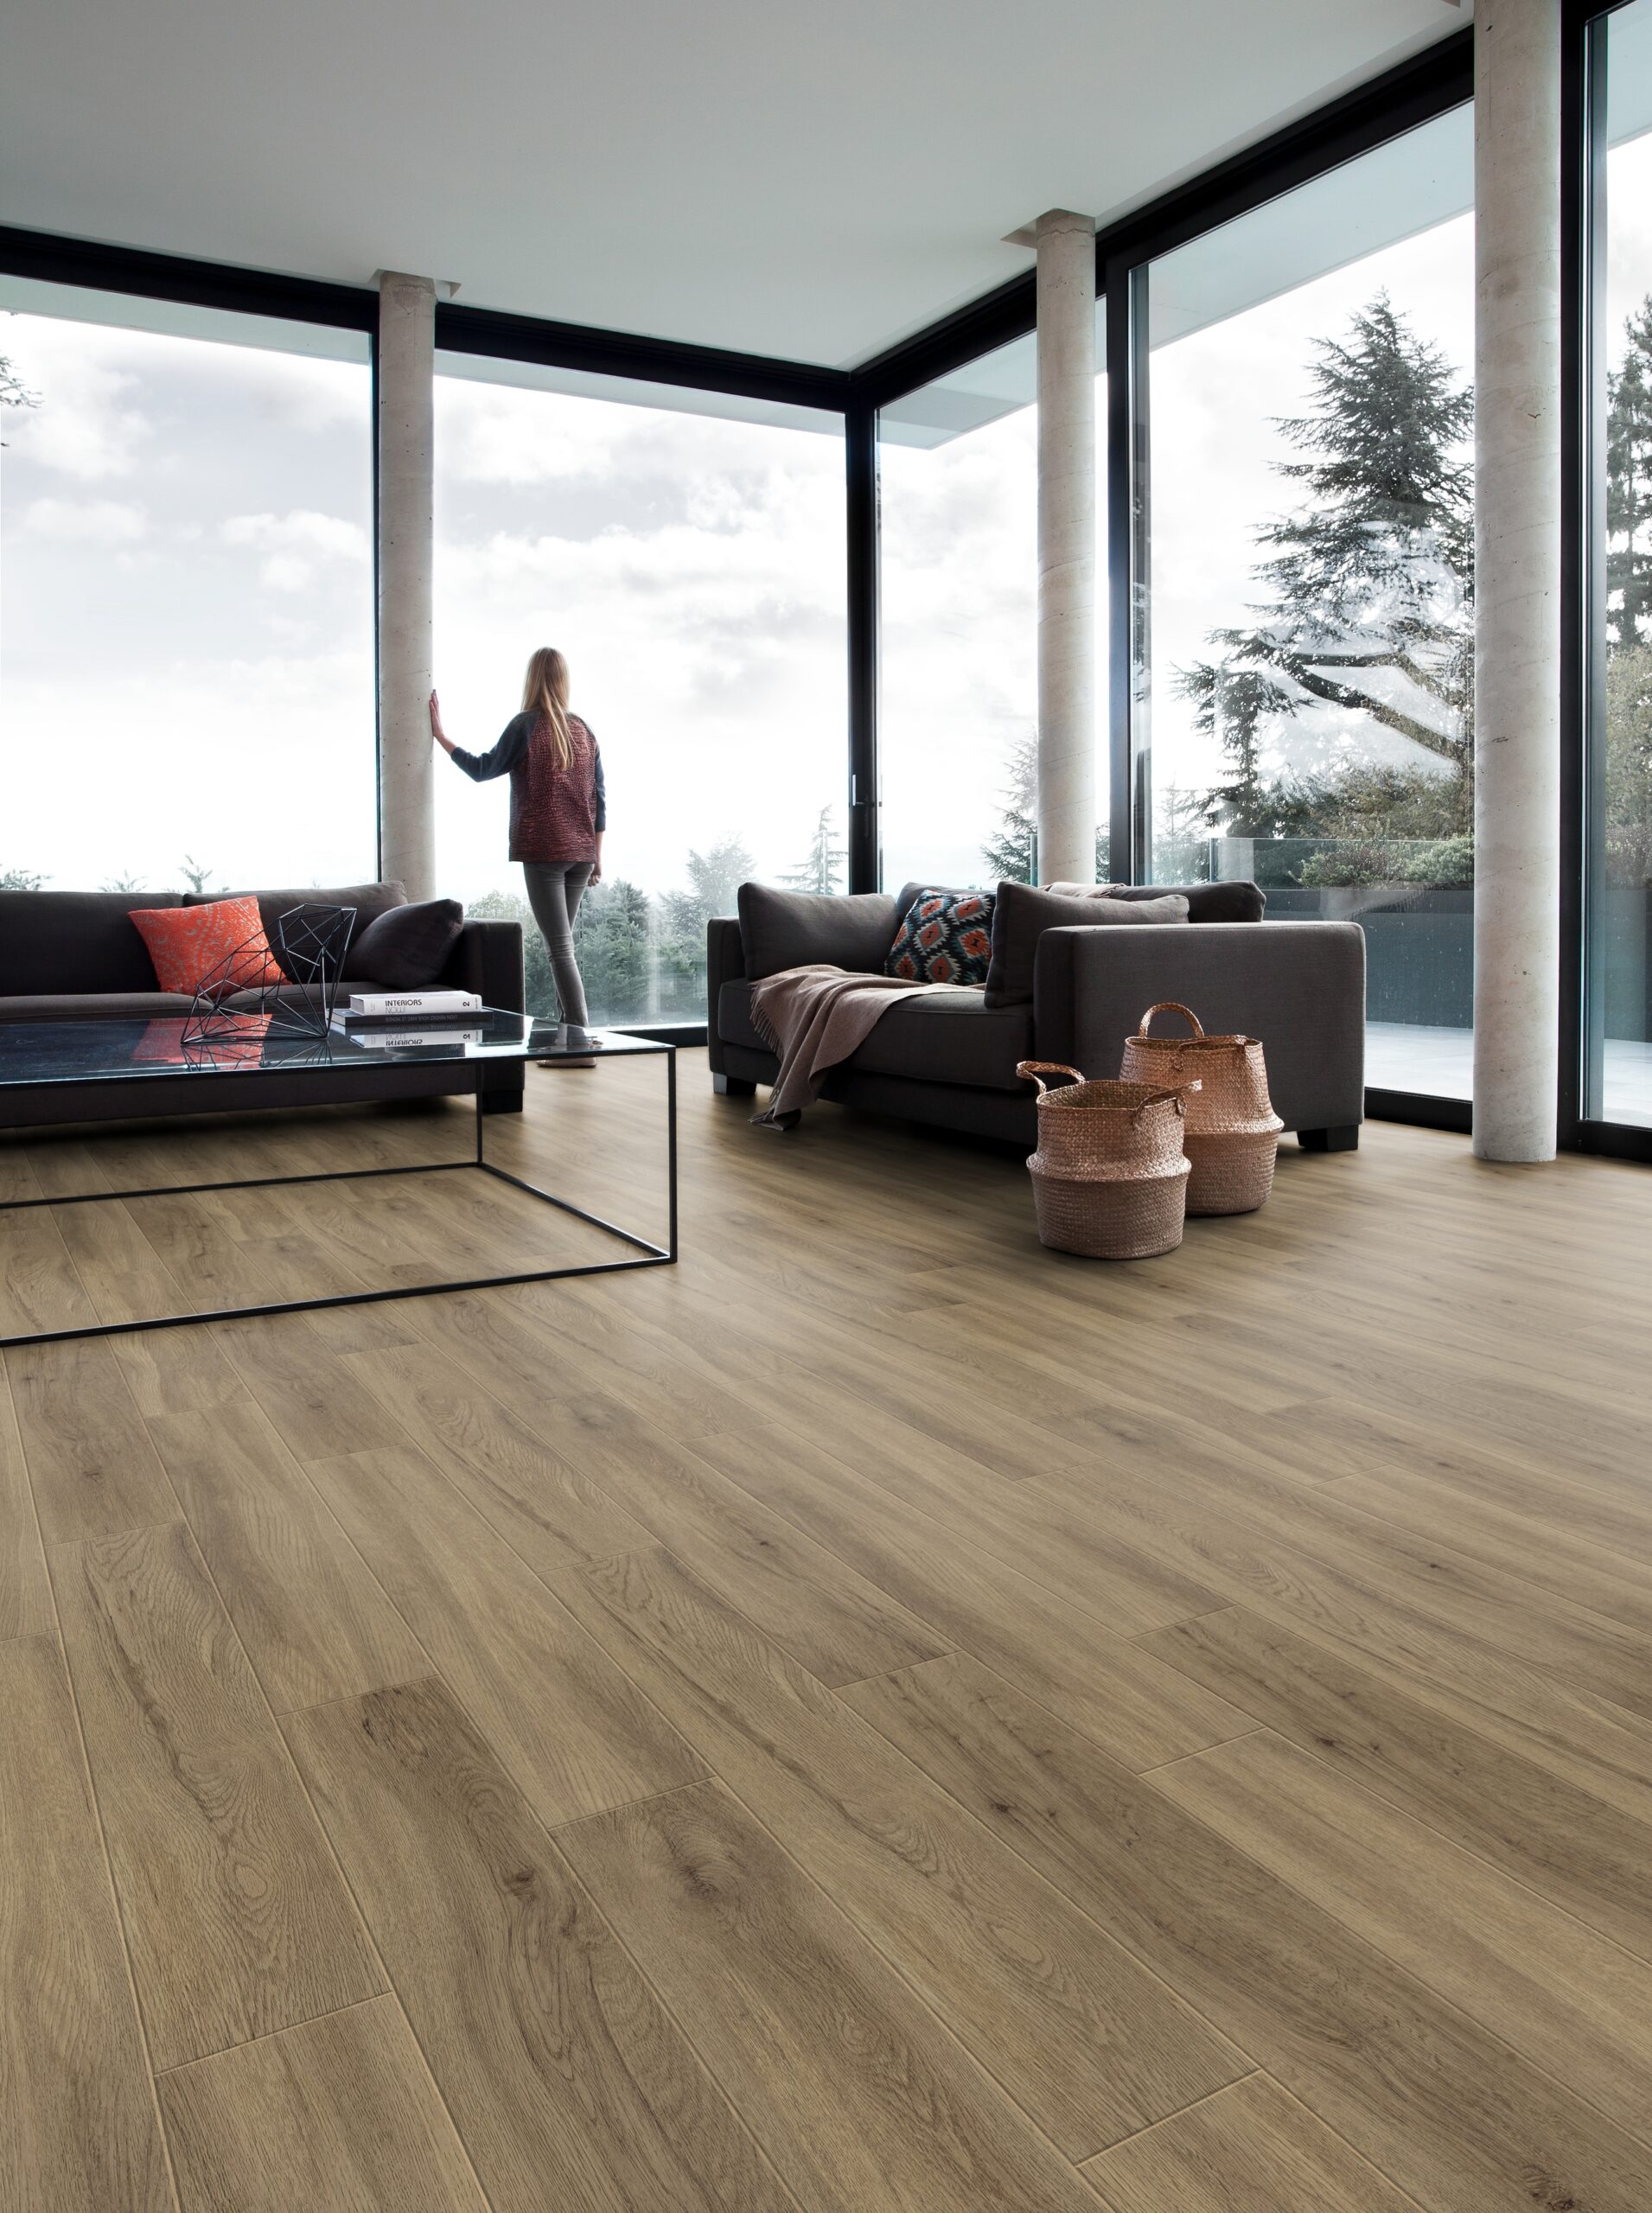
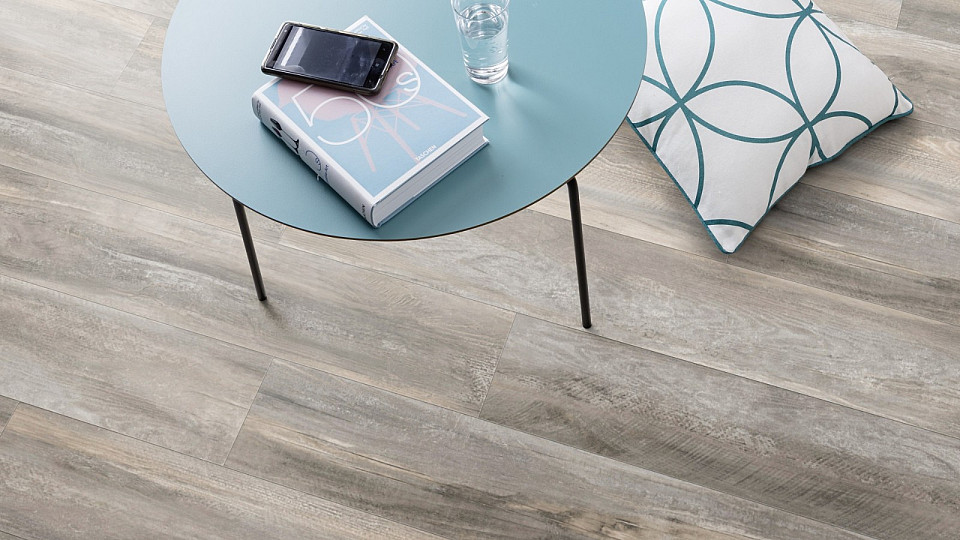
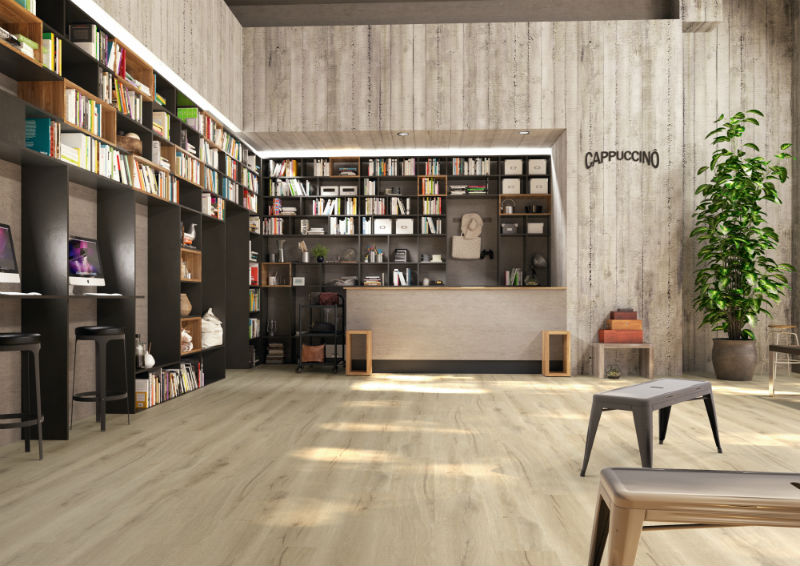
While both vinyl and wood flooring have their benefits, they cater to different needs. Wood flooring, known for its natural beauty and longevity, can add significant value to your home but requires more maintenance and is susceptible to moisture damage. Vinyl flooring, on the other hand, offers a wide range of designs that can replicate the look of wood (wood-look / wooden floor tiles), without the drawbacks.
Installing vinyl flooring can be a DIY project if you follow these steps:
Prepare the Surface: Ensure the subfloor is clean, dry, and level.
Measure and Cut: Measure the area and cut the vinyl to fit, leaving a slight gap for expansion.
Adhere the Vinyl: For peel-and-stick vinyl floor tiles, remove the backing and press firmly onto the floor. For sheet vinyl, apply adhesive as per the manufacturer’s instructions.
Seal the Seams: Use a seam sealer to prevent water from seeping through the gaps.
Vinyl flooring offers an excellent balance of aesthetics, durability, and cost-effectiveness, making it a popular choice for modern spaces. Whether you’re considering an upgrade or a new installation, understanding the benefits and proper maintenance of vinyl flooring will ensure your floors look great and last for years. Compare it with other flooring options to see which best suits your lifestyle and budget, and enjoy the beautiful transformation of your space.
If you haven’t already heard, Tiletoria is currently running an up to 50% OFF SALE on Luxury Vinyl Flooring. Check it out here:
Are you considering upgrading your floors with tiles? Whether you’re looking for durability, easy maintenance, or a refreshed look, tiles can be the perfect solution for you.
But before you dive into your next DIY project or start browsing floor tiles for sale, you might have a few questions. Here are the answers to some of the most frequently asked questions about floor tiles:
Installing tile floors may seem daunting, but it’s actually quite manageable with the right tools and preparation. Here’s a basic overview:
Make sure you have the right tools. For a breakdown of all the tools and accessories you need for a successful tile installation, read our guide here.
Prepare the surface: Ensure it’s clean, flat, and dry.
Lay the tiles: Start in the center of the room and work your way outwards, using spacers to maintain even spacing between tiles.
Apply adhesive: Spread a thin layer of adhesive with a trowel and press the tiles into place. To achieve professional results and create a durable tiled surfaces, read our guide to using adhesives for tiling here.
Grout the tiles: Once the adhesive is completely dry, fill the gaps between tiles with grout and wipe away excess. The tile grout colour you choose to use on your wall or floor plays an important part in the overall room design. Read our guide on how to choose the right grout colour.
For a step by step guide on how to tile put tiles on the floor, read our guide here.
Installing mosaic tiles? We’ll walk you through the steps to install mosaic tiles like a pro here.
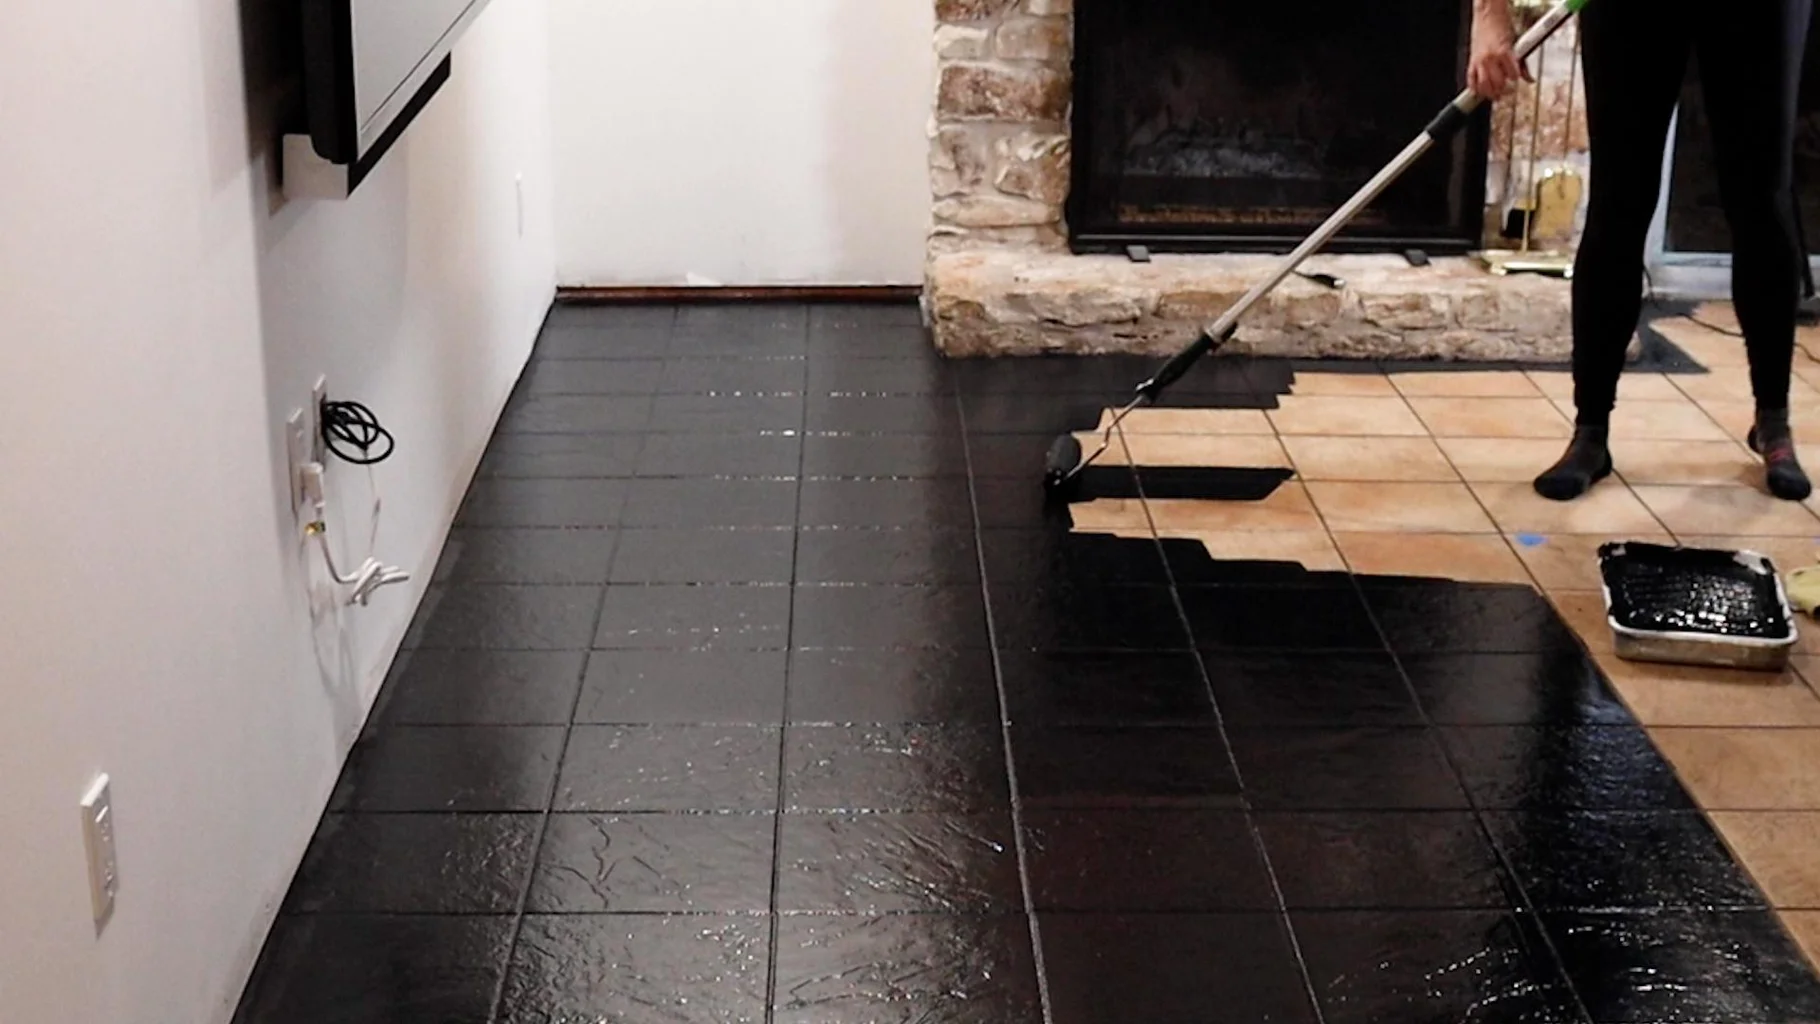
2. Can I paint floor tiles?
The answer is yes- you can paint tiles on the floor to give them a refreshed look and enhance your space! Make sure to clean and prime the tiles before painting, and use a durable enamel paint designed for floors. Proper preparation and sealing are key to ensuring a long-lasting finish.
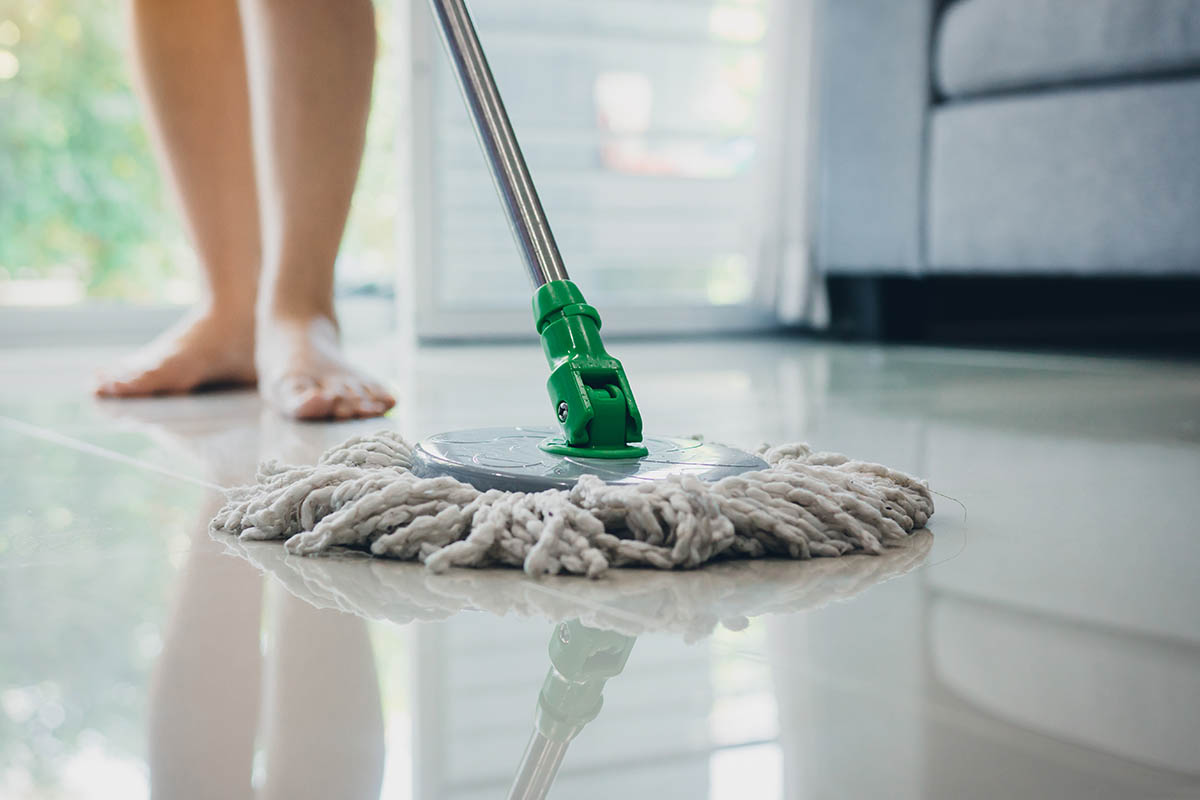
Cleaning porcelain tile floors is easy and simple. Sweep or vacuum regularly to remove dirt and debris. Mop your tiles with clean water and a mild detergent or cleaning solution as needed. Avoid using harsh cleaners or abrasive tools that could scratch your tiles.
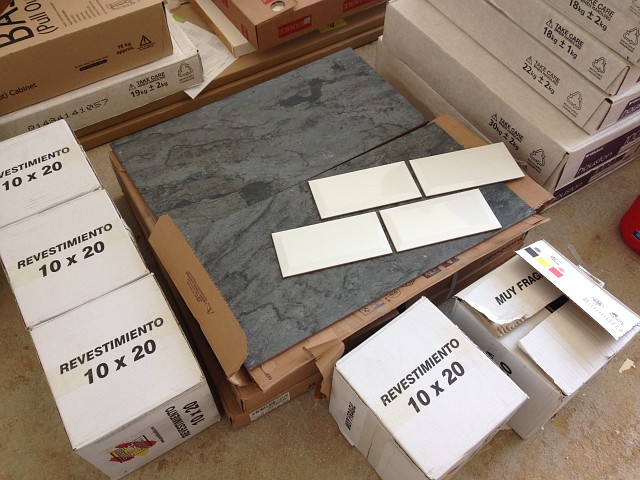
The number of tiles in a box can vary depending on the size and type of tile. Typically, manufacturers will indicate the coverage area on the box. This will allow you to calculate the number of tiles you need based on your floor size.
Calculate how much tile you will need for your project here.
5. What are patterned floor tiles?
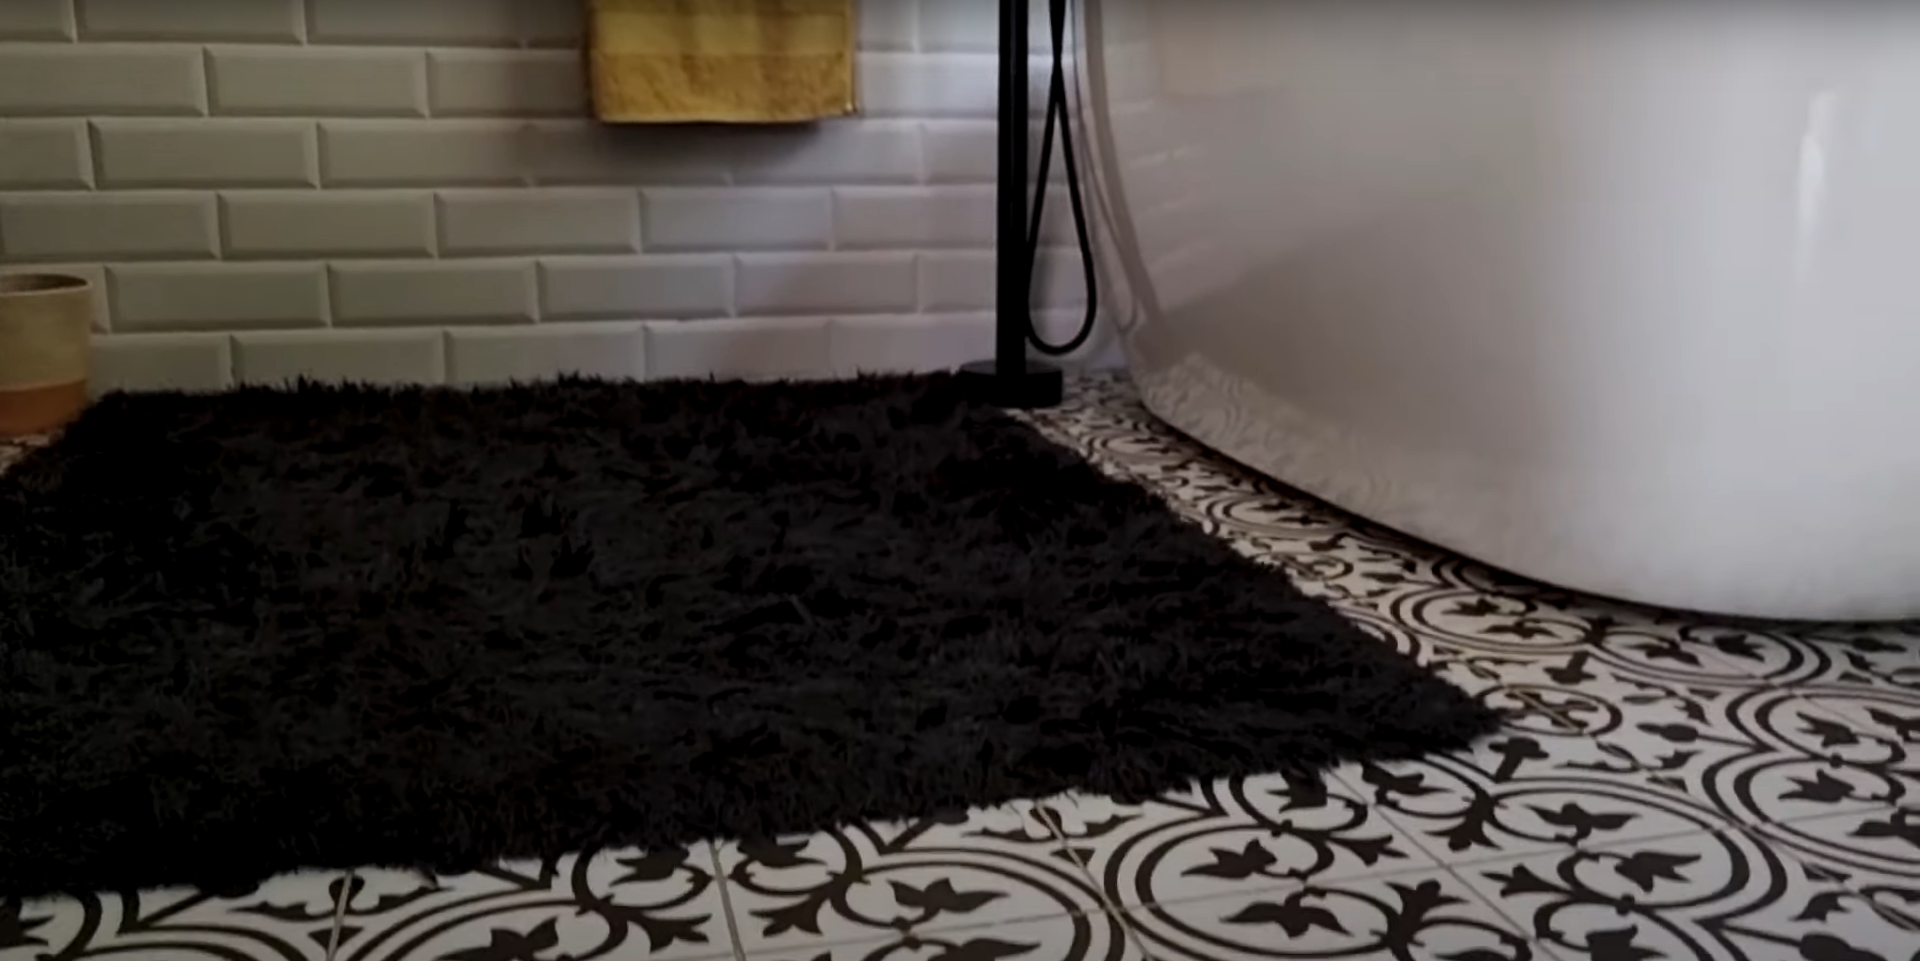
Patterned floor tiles feature decorative designs or motifs that add visual interest to your floors. From geometric patterns to intricate designs inspired by nature, patterned tiles can elevate the style of any room.
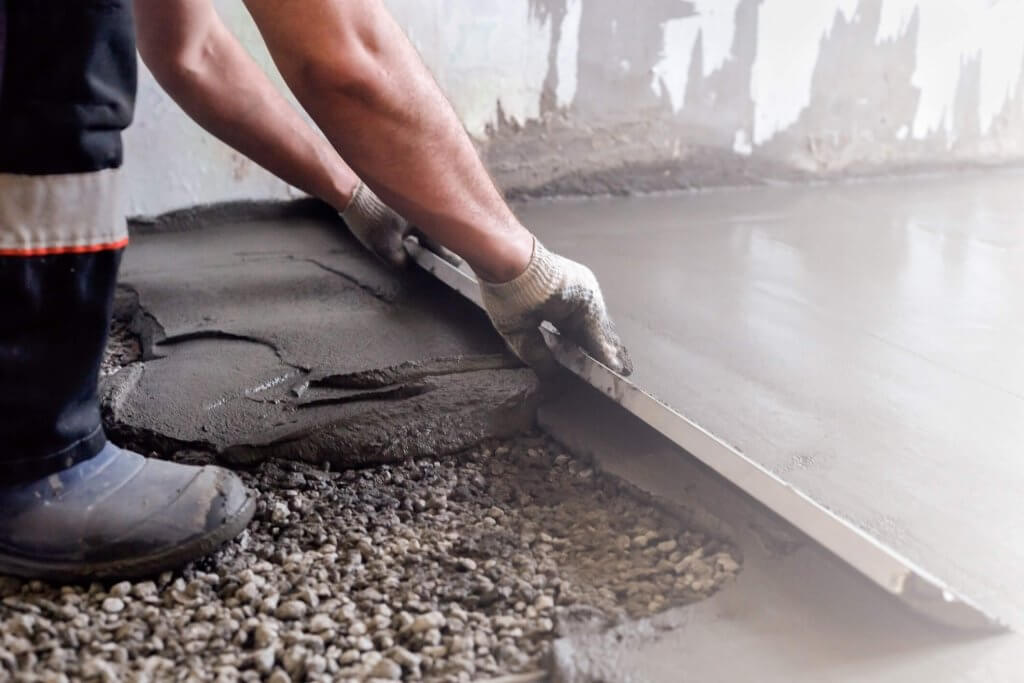
Screeding a floor involves leveling and smoothing the surface to prepare it for tiling. While it’s possible to do it yourself, it requires careful attention to detail and the right tools. Consider hiring a professional if you’re unsure about tackling this task.
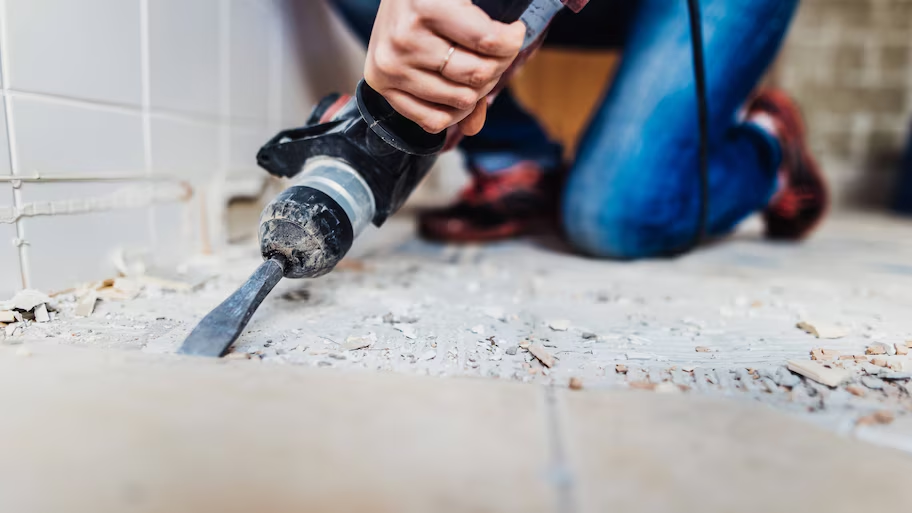
Removing tile floor can be a labor-intensive process. Start by breaking up a tile with a hammer and chisel, then use a pry bar to remove the remaining tiles and adhesive. Take care to protect yourself and your surface during the removal process.
Large format tiles are tiles that are larger in size compared to standard tiles. These tiles typically have dimensions of 1200 x 600mm.
Large format tiles offer a more modern look with fewer grout lines. This makes them easier to install because they cover more space with each tile. Designers often use them in modern design for floors, walls, and countertops to create a clean and open look.
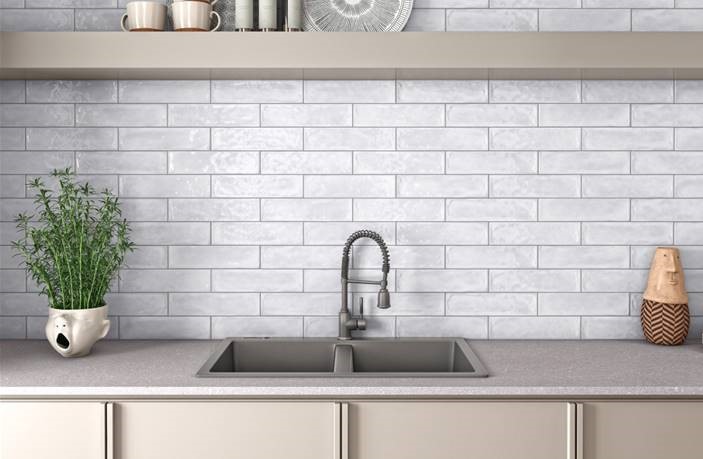
Subway tiles are ceramic tiles that became popular in the early 20th century. They first used them to decorate subway stations in New York City. These tiles are typically rectangular in shape, with dimensions of approximately 300 x 100mm, however, their sizes vary.
Subway tiles are versatile and work well in different spaces, such as kitchen backsplashes, bathroom walls and feature walls. Subway tiles have a timeless and classic appearance that is popular for traditional and modern designs.
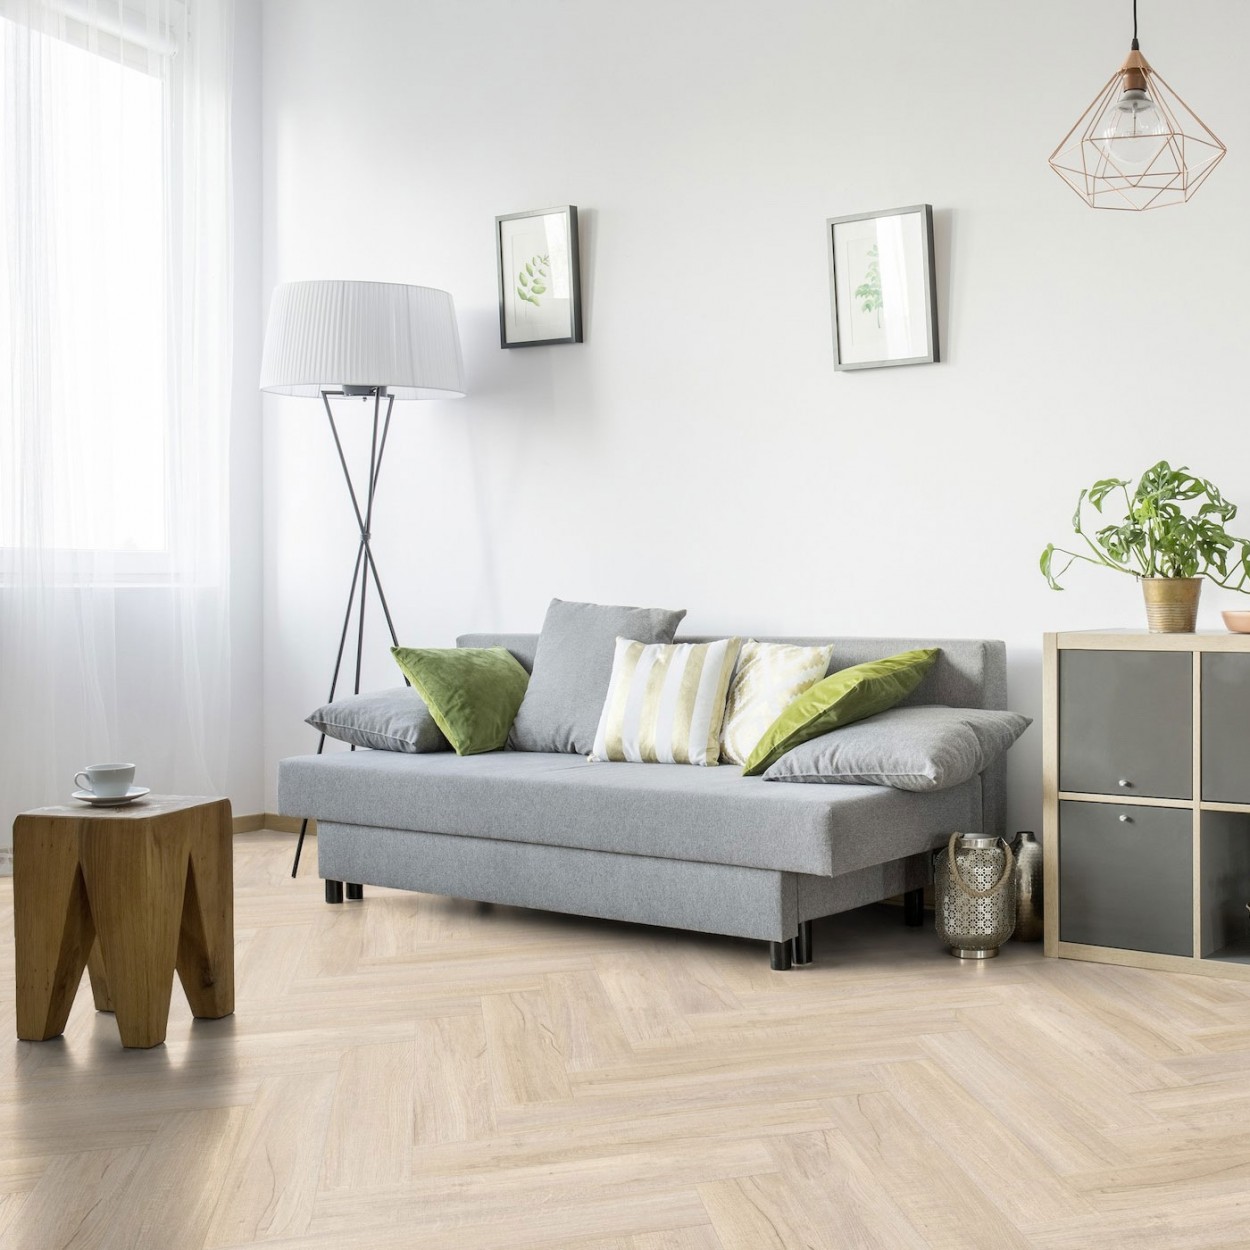
Tile layout patterns are tiles laid in a specific pattern or arrangement. These patterns include classics like herringbone, basketweave, chevron, and diamond. You can also use modern layouts like checkerboard or random offset.
You can create patterns by using tiles that are the same size and shape. You can also mix different sizes, colors, or textures for a unique and custom look. These layouts add visual interest and dimension to floors, creating a dynamic and engaging environment.
Experimenting with tile patterns can enhance the floor tiles design. This applies to kitchens, bathrooms, living areas, and entryways.
Do you have another question about tiles that we haven’t addressed? Stop by your closest Tiletoria showroom and our team will gladly help with any questions you have or leave your questions in the comments!
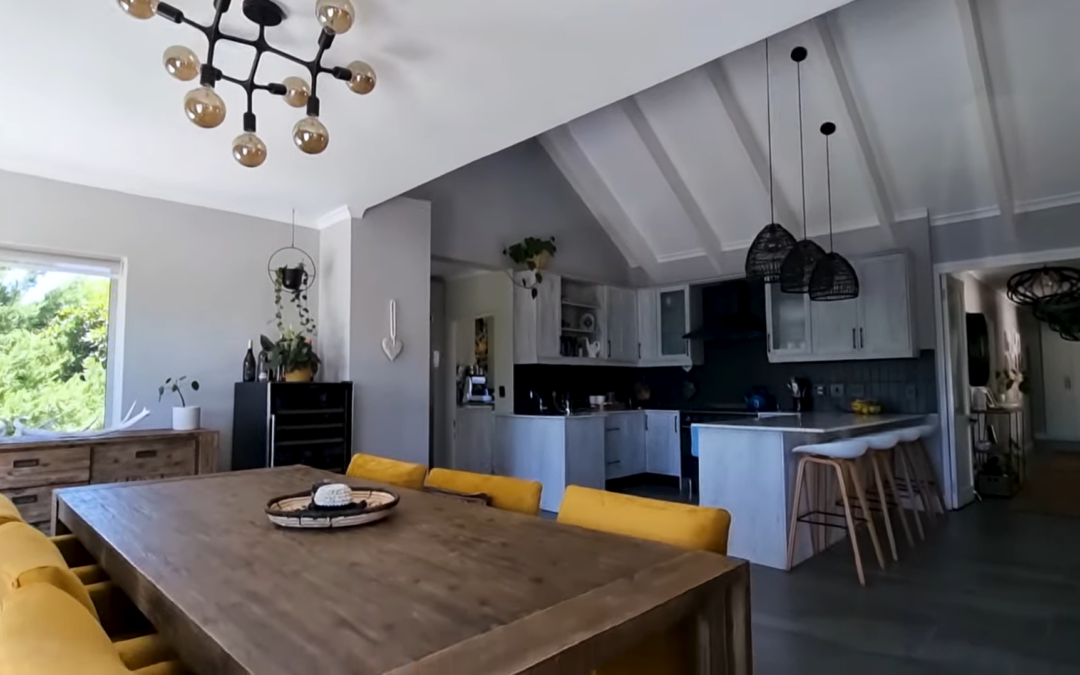
Barry and Sonja Nieuwoudt embarked on a journey to transform their house into a warm and inviting family home. With a vision of natural brown tones, matt black accents, and a touch of green, they sought to create a space where their family could thrive. Their partnership with Tiletoria proved instrumental in realizing their dream.
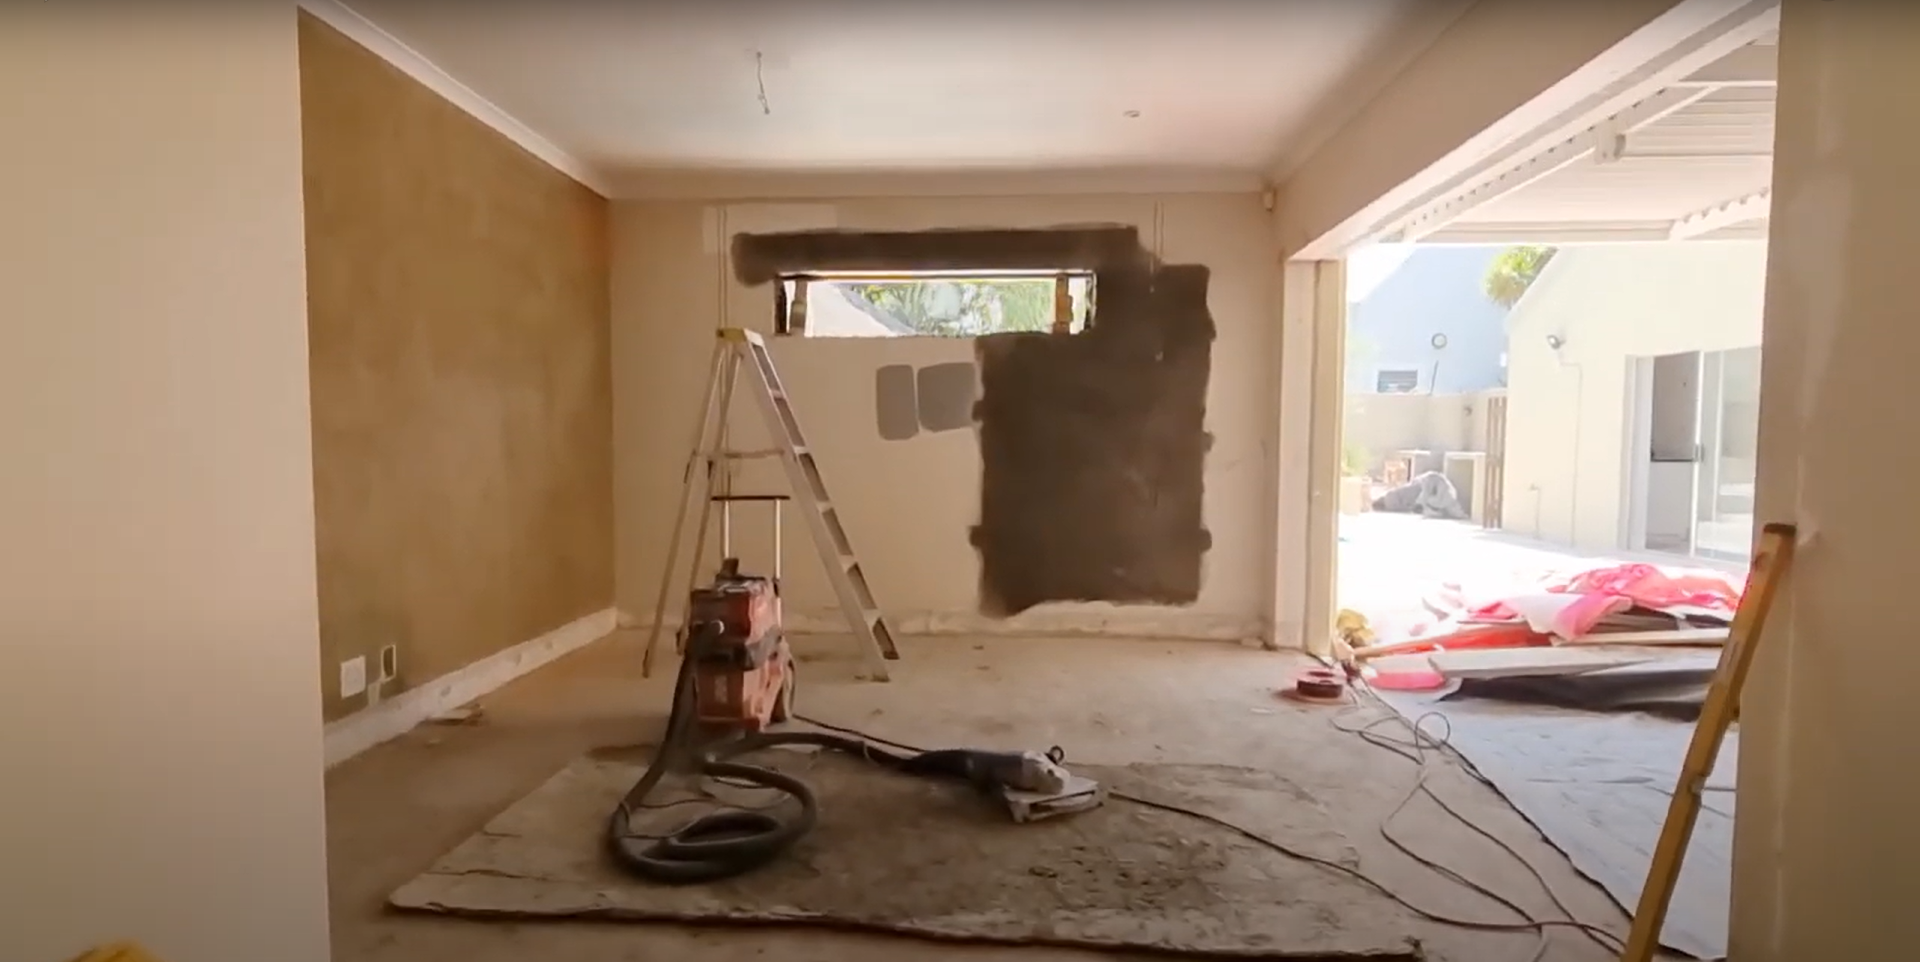
When the project began, the Nieuwoudt home resembled a construction zone, stripped bare and awaiting a miraculous makeover. With a tight deadline of 30 days looming overhead, the pressure was on. However, against all odds, the renovation was completed in just 26 days, a testament to the dedication and expertise of the team involved.
Sonja recalls their experience with Tiletoria fondly, praising Jason for his exceptional service and guidance throughout the tile selection process. Amidst the overwhelming array of choices, Jason’s personalized approach helped the Nieuwoudts find the perfect tiles to bring their vision to life.
The collaboration with Tiletoria extended beyond tile selection, as Sonja and Barry drew inspiration from the Tiletoria showroom and robin sprong wallpapers. These design elements served as the foundation upon which their renovation project flourished, guiding their choices and igniting their creativity.
Despite the chaos that often accompanies home renovations, Sonja and Barry found solace in the unwavering support of their dedicated team. With Tiletoria by their side, they navigated through the challenges with confidence, knowing they were in capable hands.
In the end, the Nieuwoudts emerged victorious, having achieved their goal of crafting a home that not only met their expectations but exceeded them. With stunning tiles adorning their space, they’ve created a sanctuary where cherished memories are made and family bonds are strengthened.
Their journey serves as a reminder that with vision, determination, and the right partners, any renovation project can transform chaos into natural elegance.
Before and after pictures of the renovation project
Mirrors in interior design are versatile decor pieces that add depth, dimension, and reflect personal style to a space. Whether you’re jazzing up your bathroom or sprucing up your living room, finding the right mirror is key. Let’s dive into the mirror maze and uncover the best fit for your home, from size to style and everything in between.
Size Matters: Choosing the right mirror size
First things first: size matters. A large mirror can make even the tiniest room feel spacious and bright. Adding a big mirror is like adding a window when there isn’t one! But don’t count out small mirrors—they’re perfect for functionality, style and leaving additional wall space.
When picking out bathroom mirrors, it’s essential to match its size to the dimensions of your vanity or countertop. Your mirror and vanity design go hand in hand, so keep the overall picture in mind.
A good rule to follow is to position the top a slightly above the tallest person’s eye level. The bottom should provide visibility for shorter individuals.
Mirror Shape: Showcasing Your Style
Round, square, or somewhere in between—your mirror’s shape speaks volumes. Round mirrors soften a room’s edges, while square or rectangular ones scream modern chic. If you’re looking for something unique, consider unusual mirror shapes like teardrops or blobs. Let your personality shine through your mirror choice!
When choosing a mirror shape, remember to think about its orientation too. Horizontal mirrors can make a space look wider, while vertical mirrors can add height.
Lighting: Bright Ideas
Light up your reflection game with a back lit mirror. LED mirrors offer the perfect glow for makeup or just brightening up your space. Plus, they’re energy-efficient—win-win!
Choosing the right light colour and temperature will change the look and feel of your space. Warm lights emit a cozy glow, ideal for creating a relaxed atmosphere. Cool lights provide a crisp, clear glow, perfect for tasks like makeup application or grooming.
Choosing the right light temperature ensures your mirror reflects not only your style but also your desired mood for the space.
Mirror Style: Framing Your Flair
To frame or not to frame? That is the question. Framed mirrors add a touch of class, from ornate to minimalist. Frameless mirrors keep it sleek and chic, perfect for a modern vibe.
Storage: Mirror, Mirror on the Wall, Who’s the Most Functional of Them All?
Need storage? Some mirrors do double duty with built-in shelves or cabinets. Keep your space tidy and stylish—mirrors with perks!
Choosing the right mirror is like finding your style soulmate. It reflects who you are and brightens up your space. So go ahead, explore our mirror collection and let your home shine with the perfect reflection of you!
pricing and stock information displayed on this site will be of the branch you select.
it will remain your default branch until you change it. all prices are inclusive of VAT.