Creating a stylish home doesn’t mean you have to sacrifice eco-friendliness; in fact, the two can go hand in hand. Here’s how you can embrace some of the latest eco-friendly interior design trends to make your home both chic and sustainable.
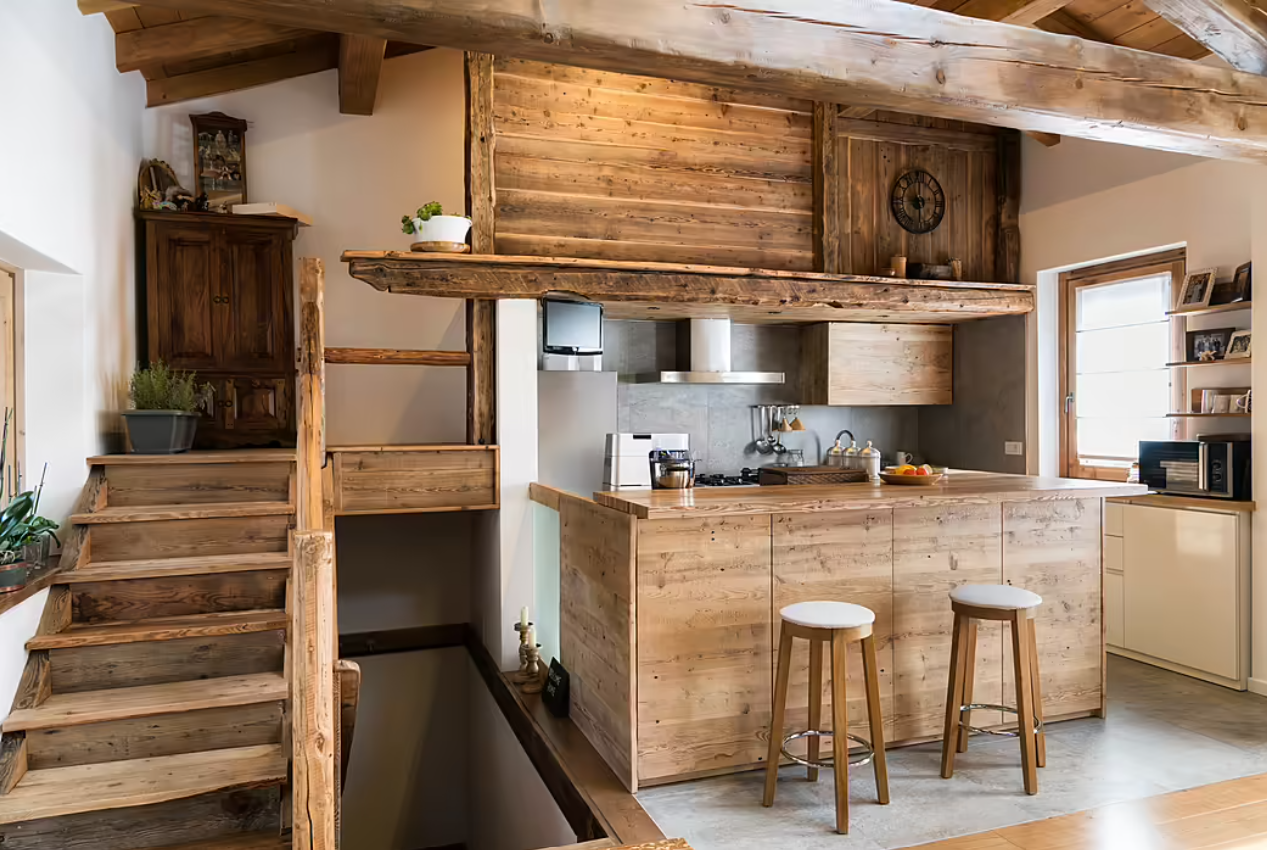
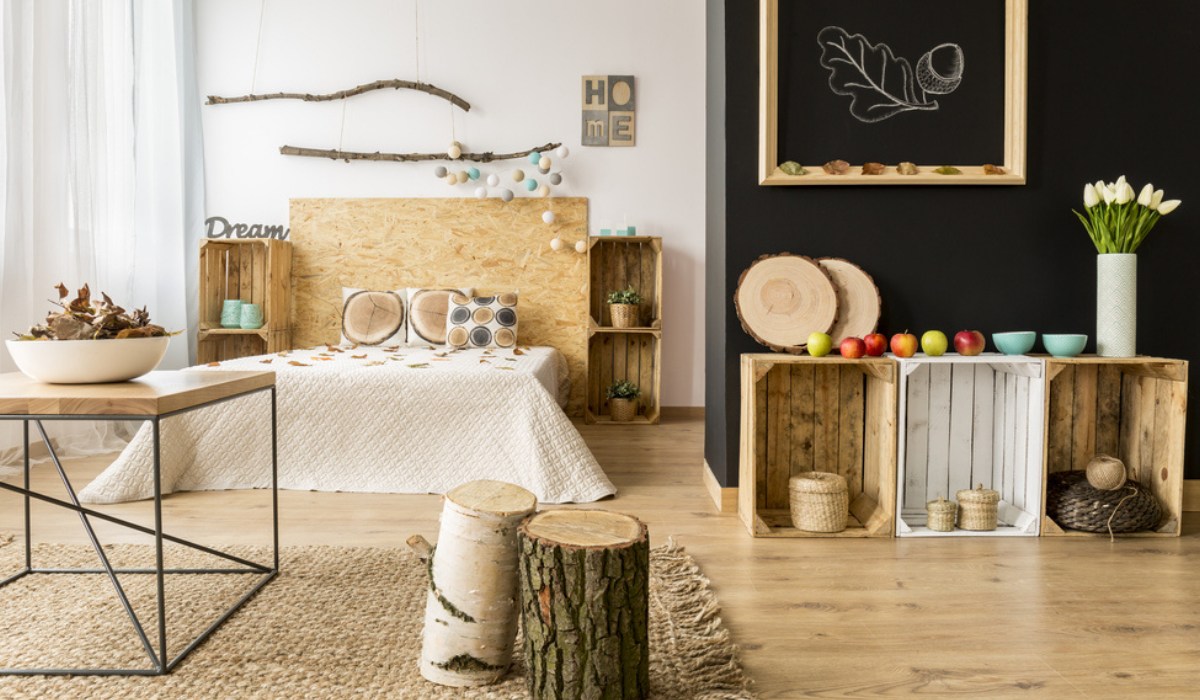
One of the most impactful ways to design sustainably is by choosing materials that are kind to the planet. Reclaimed wood is a great example. Whether you use it for flooring, furniture, or even accent walls, reclaimed wood adds a unique character to your space while keeping perfectly good materials out of landfills. Not only does it look beautiful, but it also tells a story and contributes to reducing waste.
Image Credit: ShutterStock
2. Bring the Outdoors In
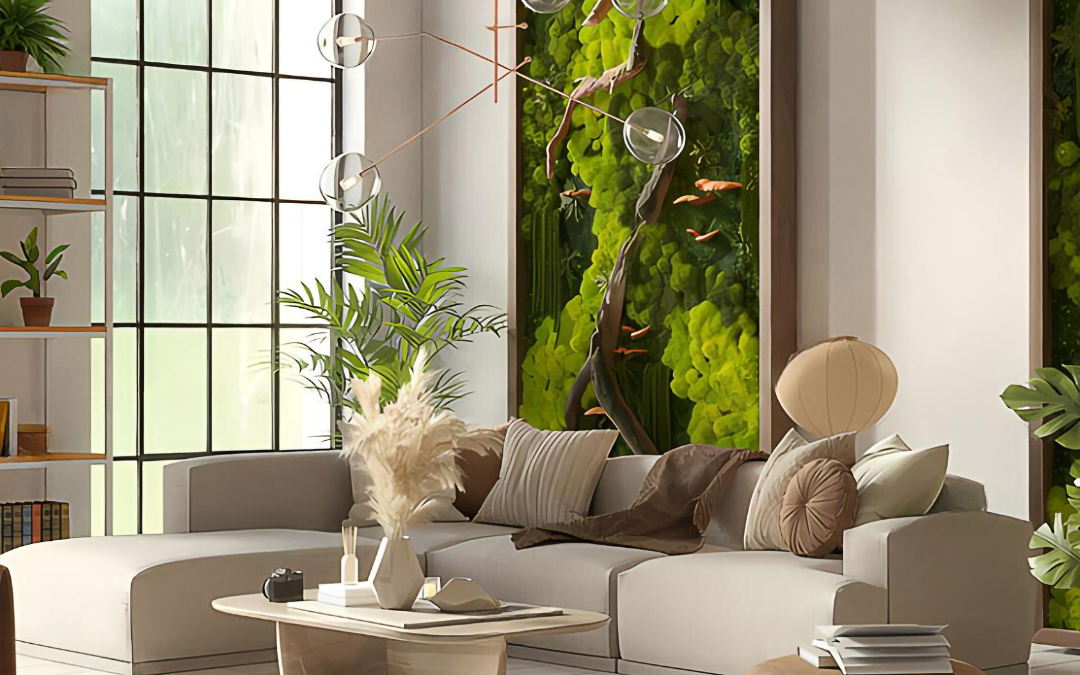
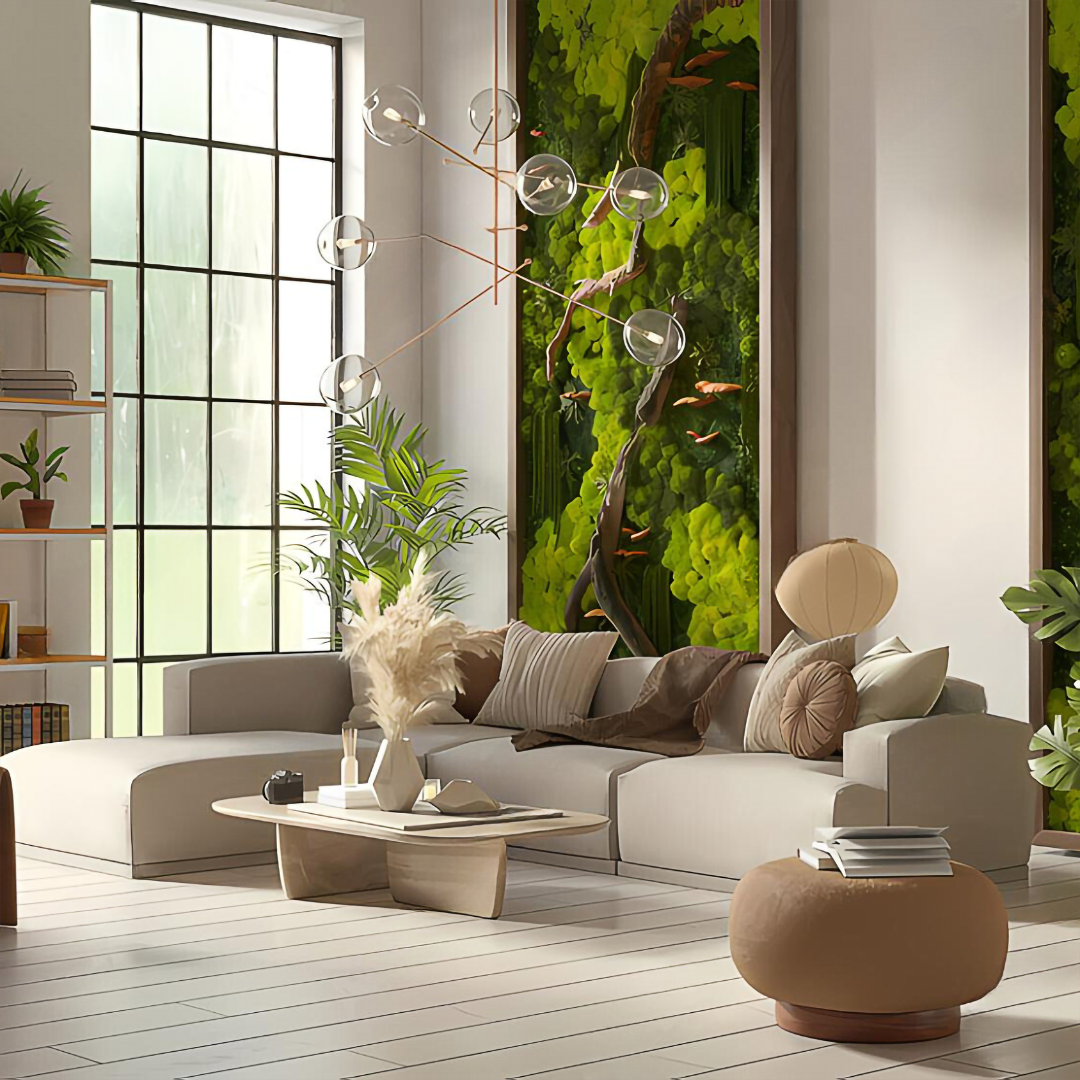
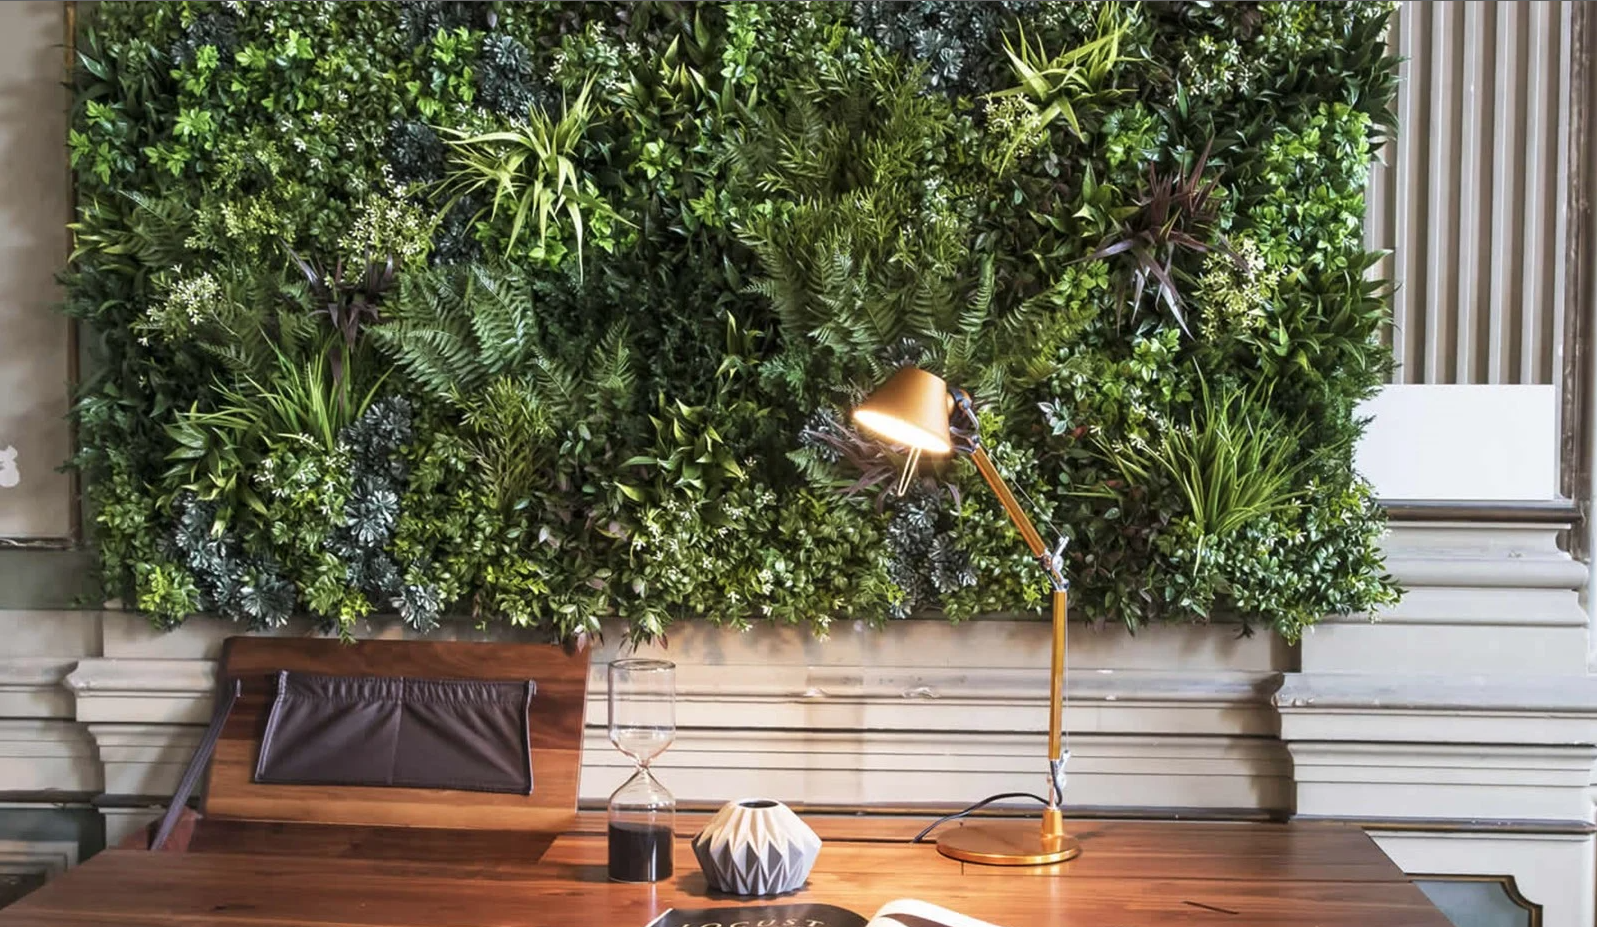
Incorporating plants into your home is another trend that’s both beautiful and beneficial. Plants don’t just add a fresh, natural vibe to your decor—they also purify the air and help reduce carbon dioxide levels. If you want to make a bold statement, consider creating a living wall. This feature isn’t just visually striking; it also helps regulate the temperature and humidity in your home, making it more energy-efficient.
Image Credit: UpScapers
3. Opt for Natural Furniture
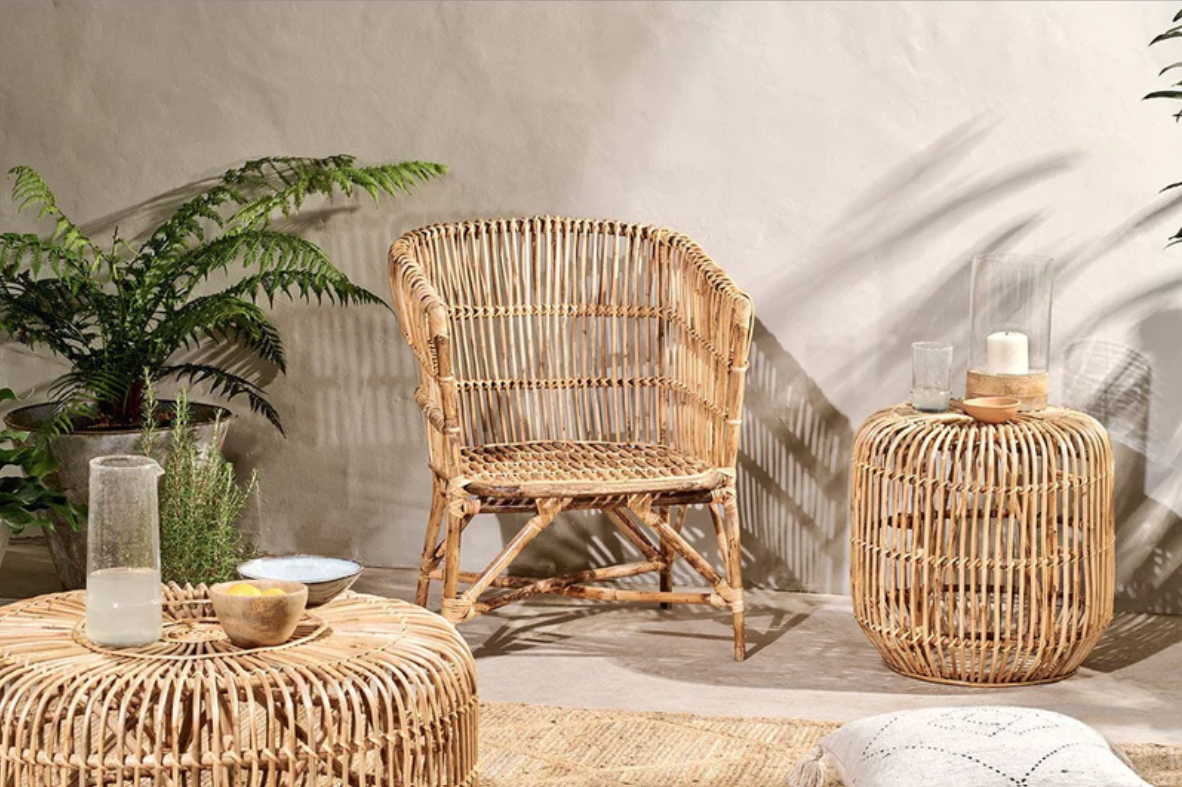
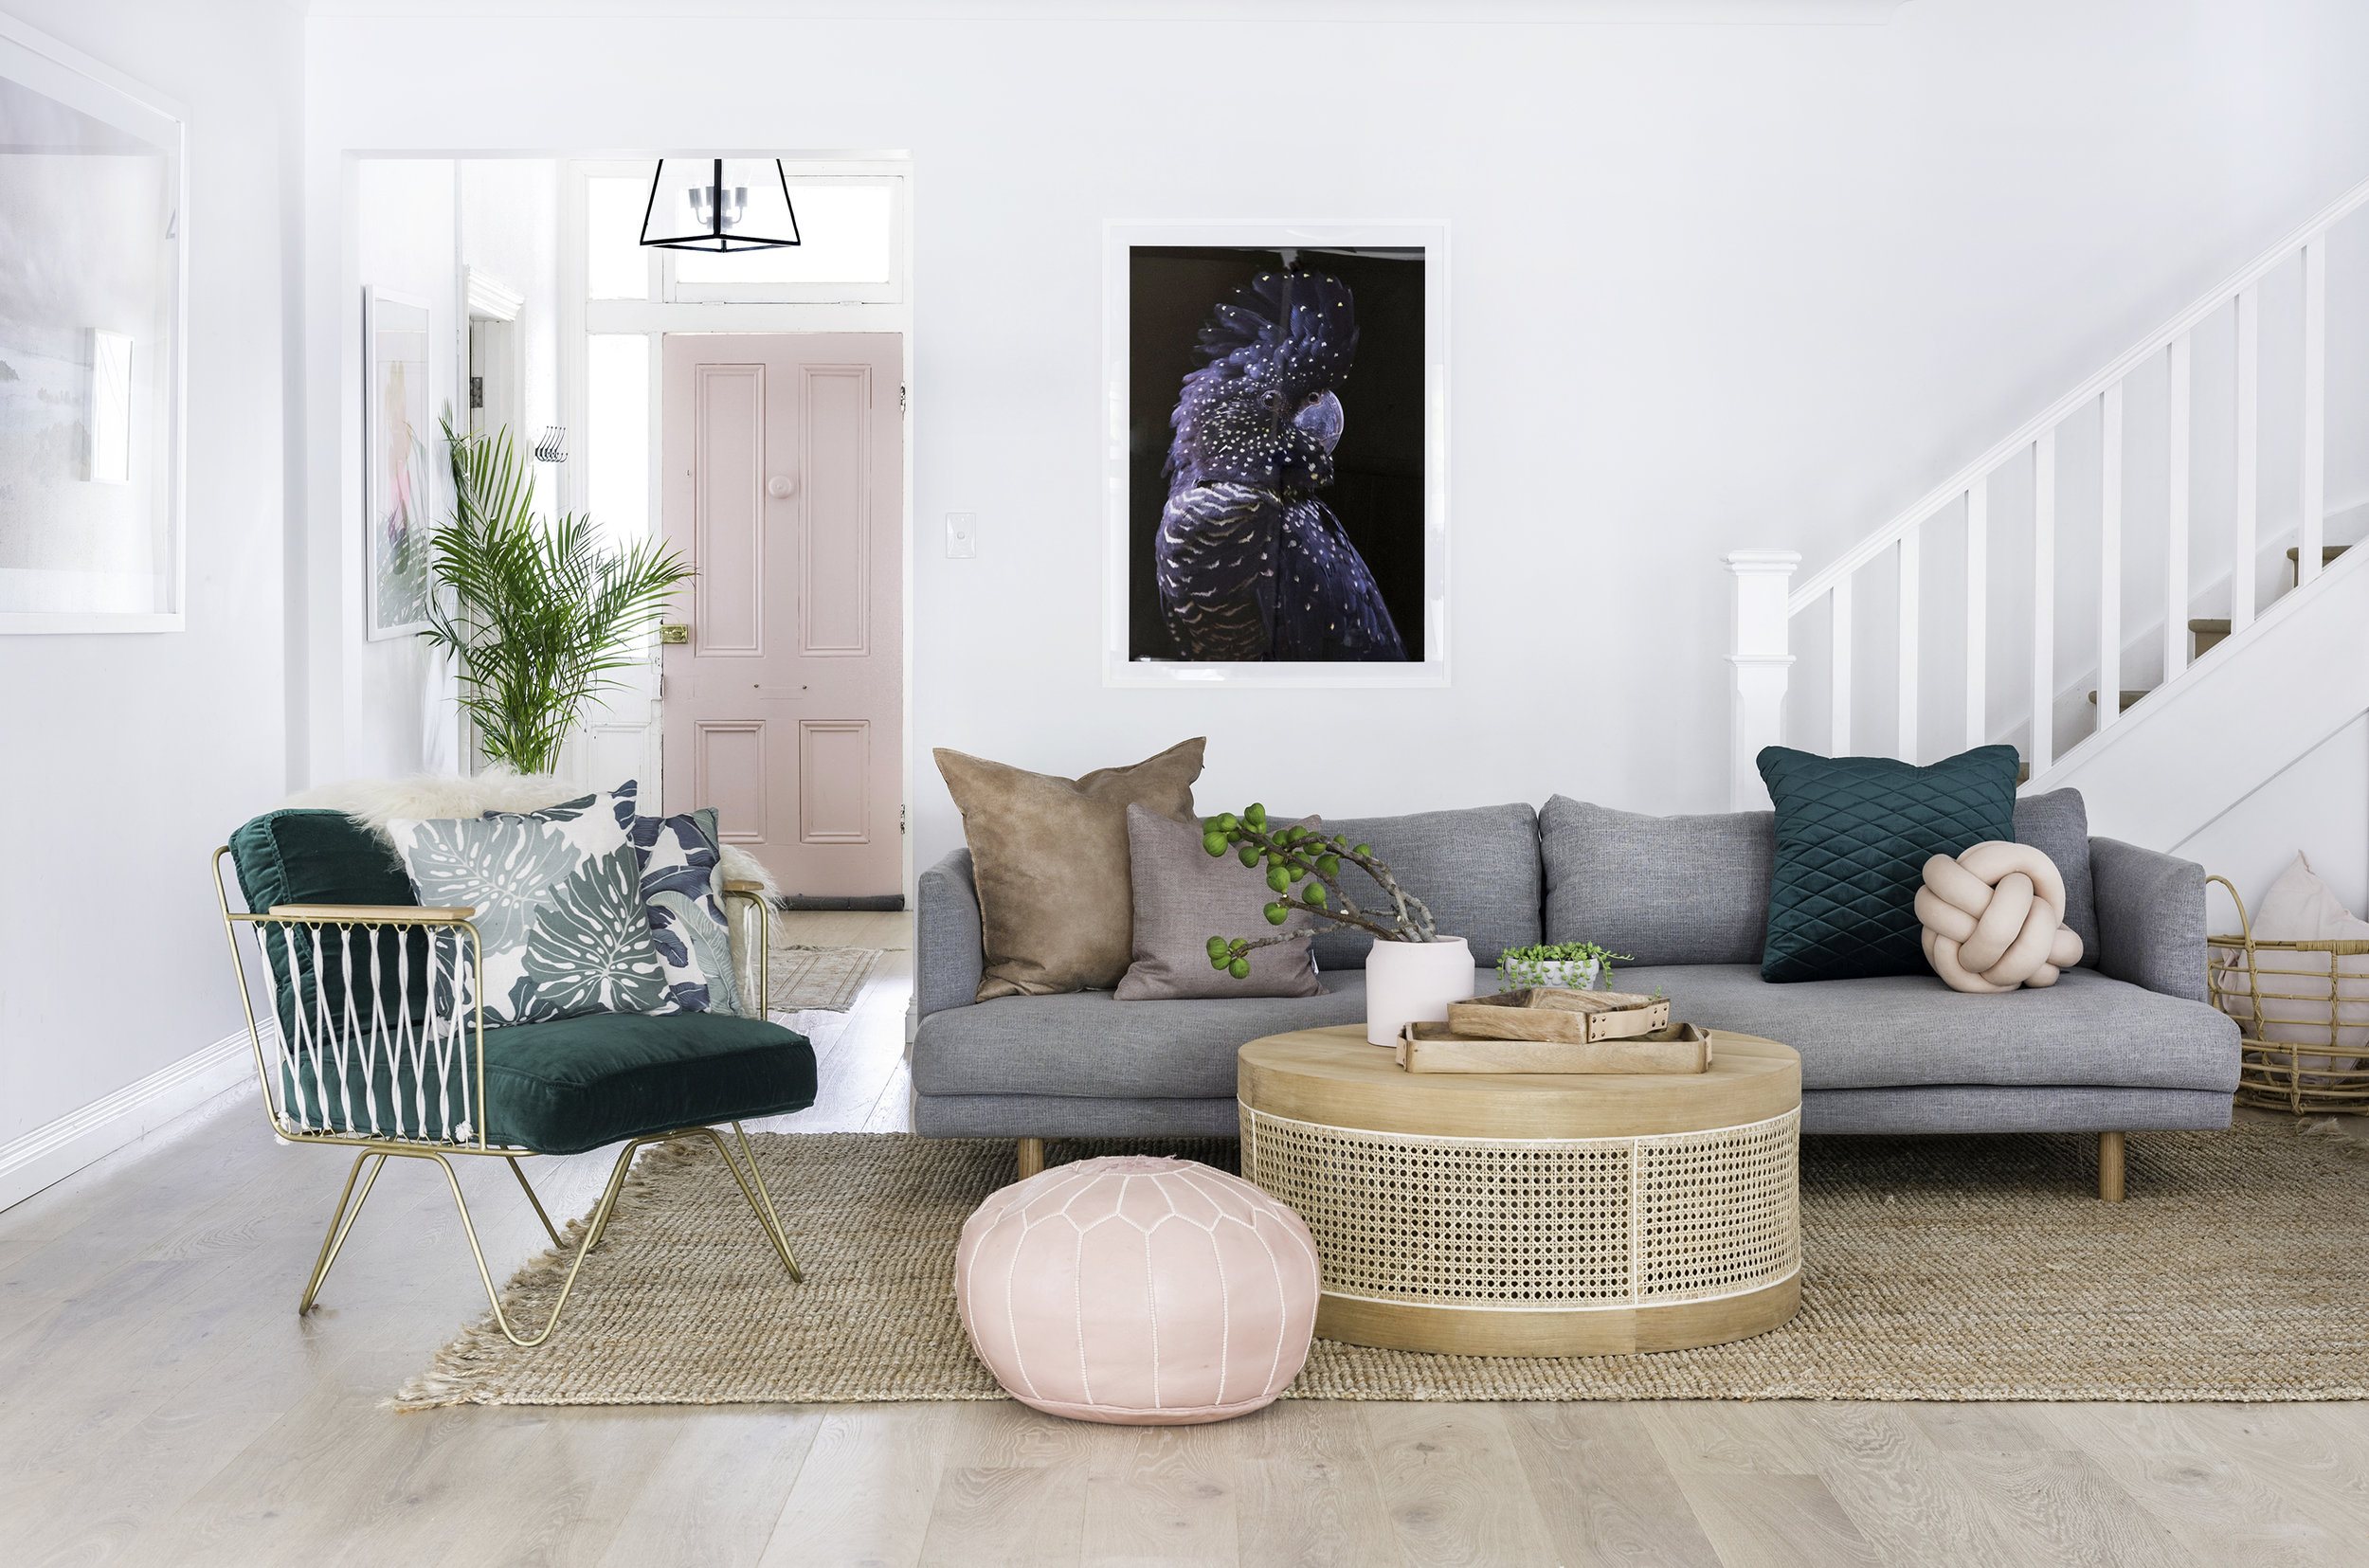
When selecting furniture, consider pieces made from sustainable materials like bamboo or rattan. These materials are not only eco-friendly but also bring a warm, natural feel to your home. Bamboo, in particular, is a fast-growing plant that requires fewer resources to cultivate, making it an excellent choice for sustainable living.
4. Switch to Energy-Efficient Lighting
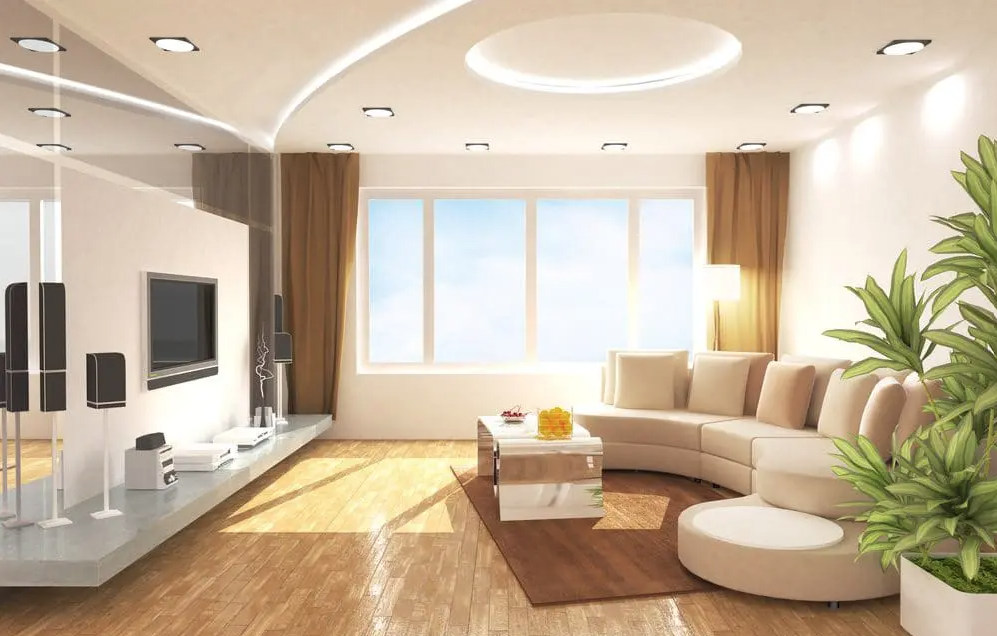
Lighting plays a significant role in both the ambiance and energy consumption of your home. LED lights are a fantastic option as they use less energy and last much longer than traditional bulbs. By making the switch, you’re not only cutting down on your energy bill but also reducing your carbon footprint.
Image Credit: iStock
5. Use Eco-Friendly Paints
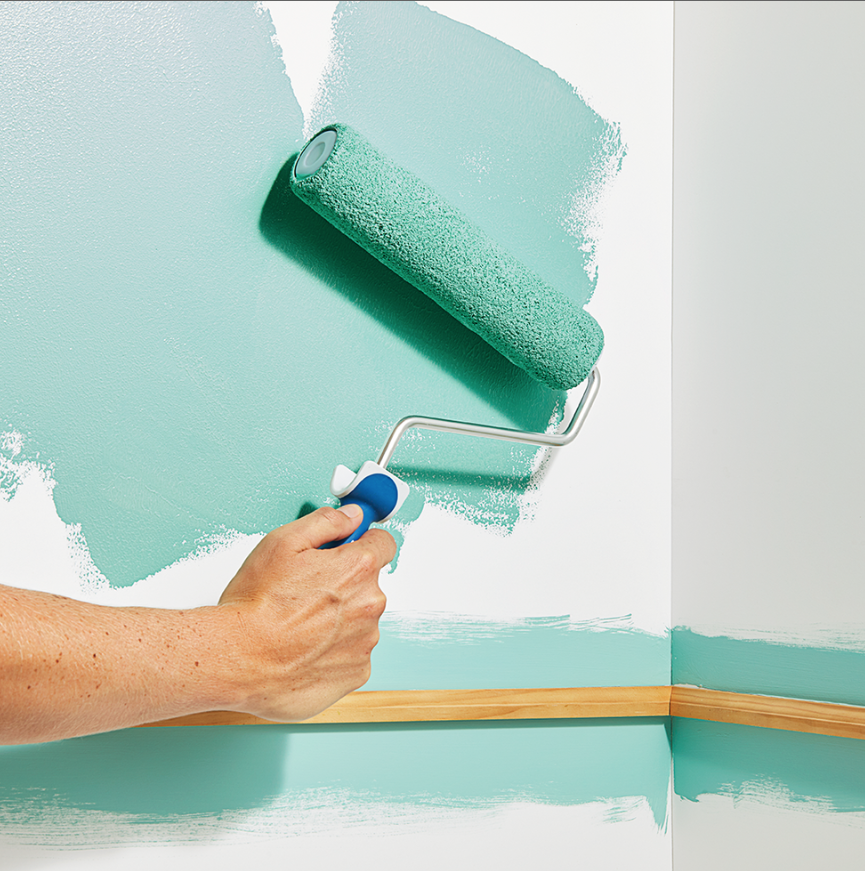
When it comes to painting your walls, opt for non-toxic and eco-friendly paints. These paints are free of harmful chemicals and emit fewer volatile organic compounds (VOCs), making them safer for both your health and the environment. Plus, they come in a wide range of colours, so you don’t have to compromise on style.
6. Get Creative with Upcycling
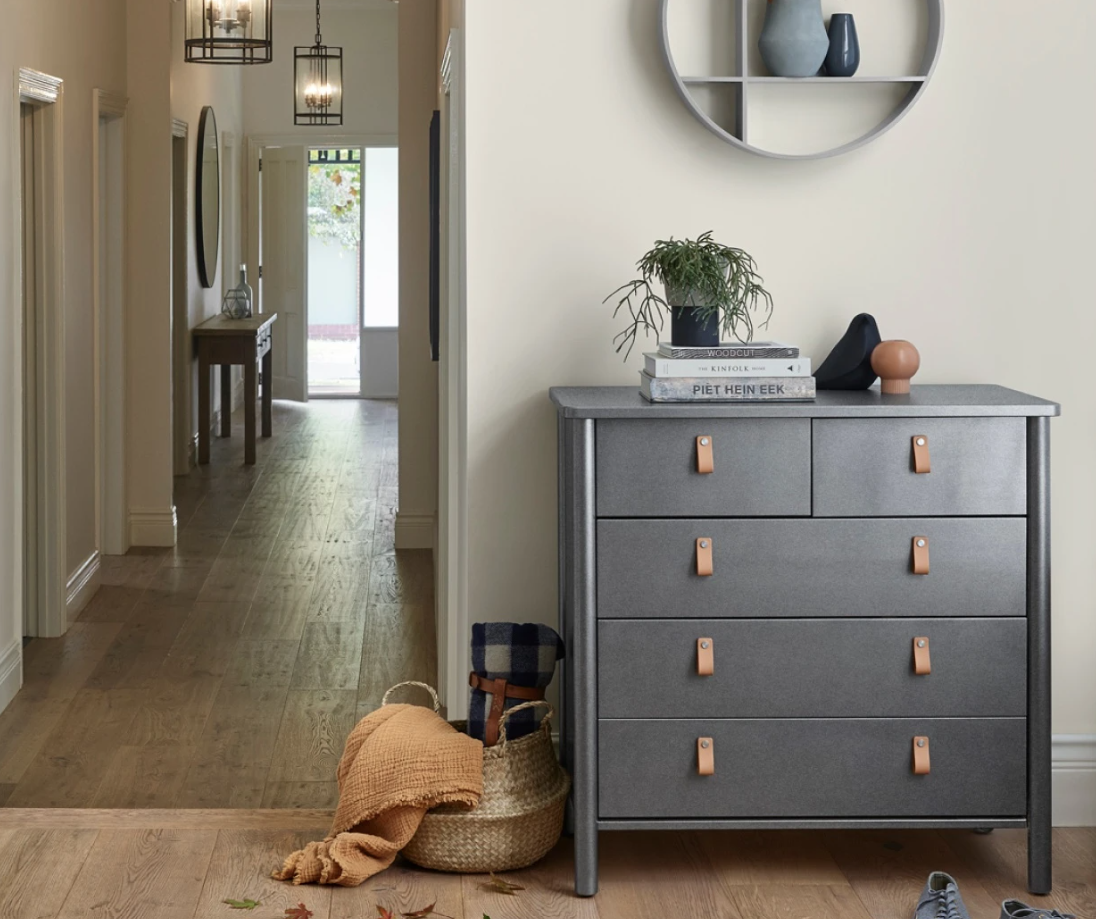
Upcycling is all about giving new life to old items. Instead of throwing things away, think about how you can repurpose them. Old jars can be transformed into chic candle holders, or that set of old sheets can be turned into stylish new curtains. The possibilities are endless, and it’s a great way to add a personal touch to your home while reducing waste.
Image Credit: Dulux
By embracing these eco-friendly interior design trends, you can create a home that’s not only stylish but also kind to the planet. Every design choice we make has an impact, so why not make choices that reflect our commitment to a sustainable future? Let’s all do our part, one beautiful, eco-conscious home at a time.
Prefer to watch?
Ryan and Deon discuss Eco-Friendly Interior Design Trends in the video below:
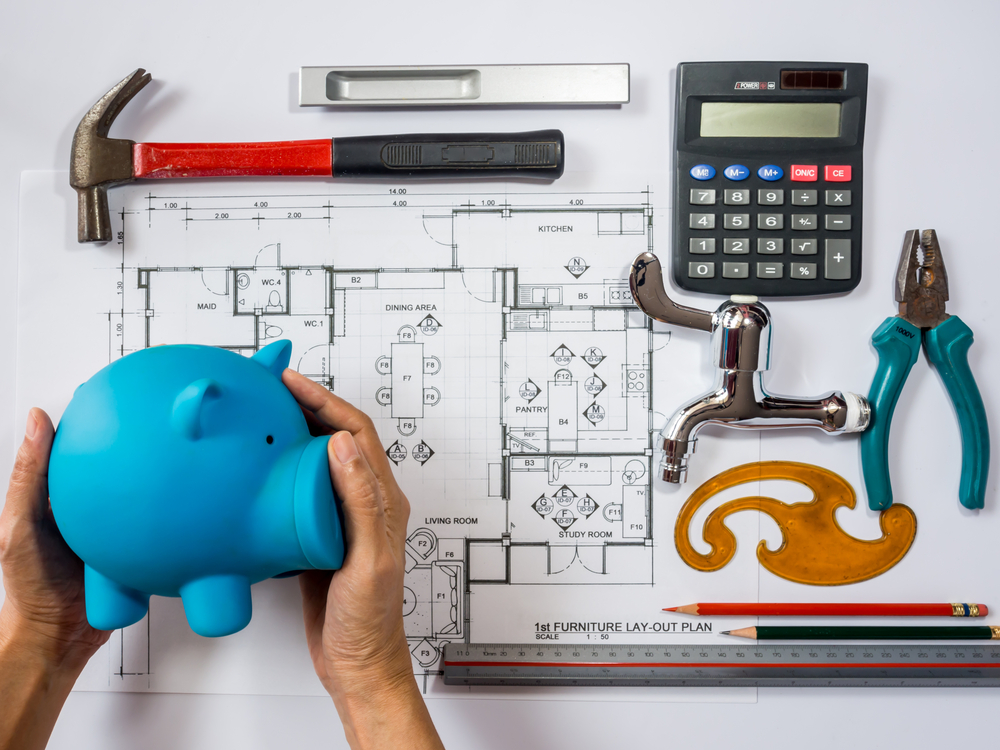
Renovating your home can be both exciting and daunting, especially when you’re working with a tight budget. But with some careful planning and a dash of creativity, you can transform your space without breaking the bank. Here are some practical tips and inspiring ideas to help you get started on your budget-friendly renovation journey.
The first step in any renovation project is setting a clear budget. It’s easy to get carried away with the excitement of revamping your space, but overspending can lead to unnecessary stress down the line. Decide on a budget and make it your mission to stick to it. This will help you stay focused on what’s essential and avoid any financial surprises.
Image Credit: iStock
Prioritize Your Renovation Needs
Once you’ve set your budget, it’s important to prioritize your renovation projects. Focus on the areas that need the most attention, such as fixing any structural or safety issues first. By tackling the most critical areas, you ensure that your home remains safe and functional while staying within your budget.
Image Credit: iStock
DIY to Save on Labor Costs
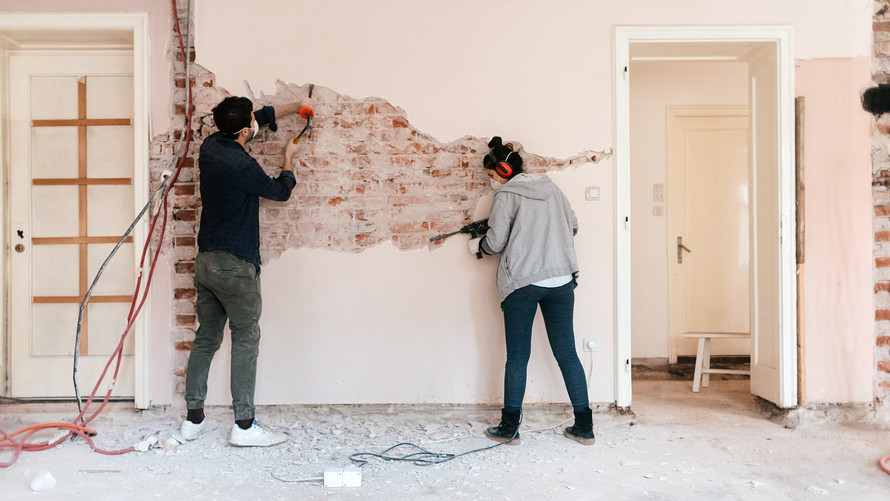
If you have the skills and knowledge, consider doing some of the work yourself. DIY projects can save you a significant amount on labor costs, allowing you to allocate more of your budget towards materials and finishes. Simple tasks like painting, tiling, or even assembling furniture can be done with a bit of time and effort.
Image Credit: iStock
Refresh with Paint and Lighting
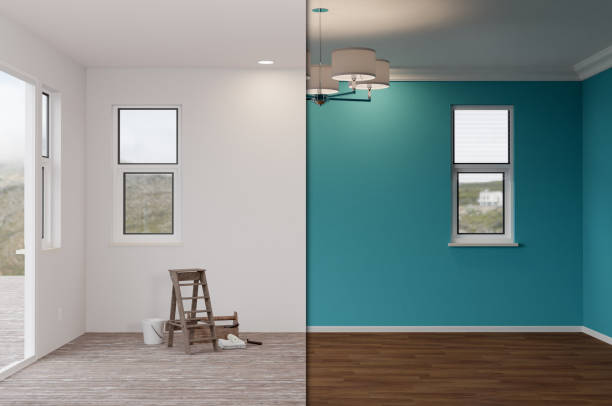
One of the most cost-effective ways to transform a room is by giving it a fresh coat of paint. A new color can completely change the mood and style of a space. Similarly, updating your lighting can have a big impact. Replacing old fixtures with more energy-efficient options or adding a few stylish lamps can brighten up a room without costing a fortune.
Image Credit: iStock
Declutter and Repurpose
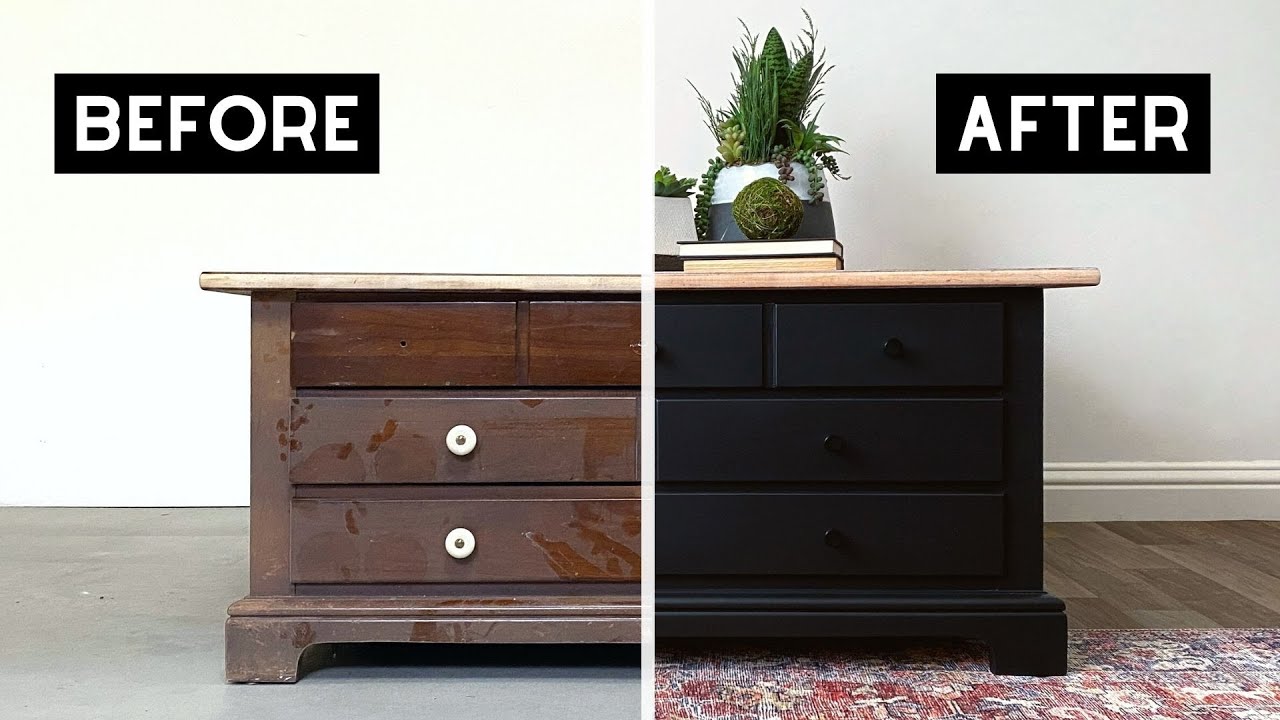
Sometimes, less is more. Decluttering your space can make a huge difference in how it looks and feels. Get rid of unnecessary items and organize what’s left to create a more open and inviting atmosphere. You can also repurpose old furniture and décor. For example, an old dresser can be repainted and turned into a chic bathroom vanity, or outdated furniture can be refreshed with new upholstery.
Image Credit: @arayofsunlight
Shop Smart for Materials
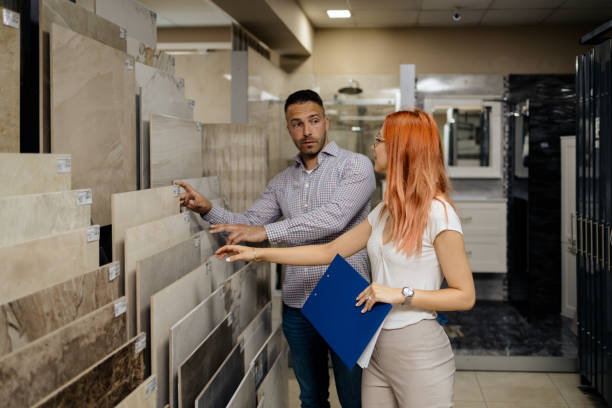
When it comes to buying materials and supplies, shopping around is key. Prices can vary greatly between different stores, so take the time to compare before making any purchases. Look out for sales, discounts, and clearance items to stretch your budget further. We offers amazing specials on flooring and sanitaryware products throughout the year, so be sure to check out our social media pages to stay updated on the latest deals.
Image Credit: iStock
Flooring on a Budget
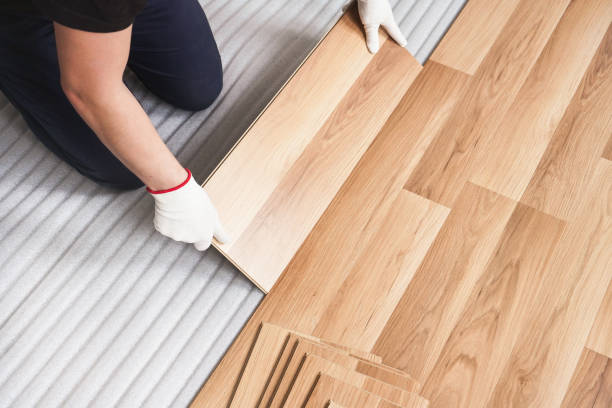
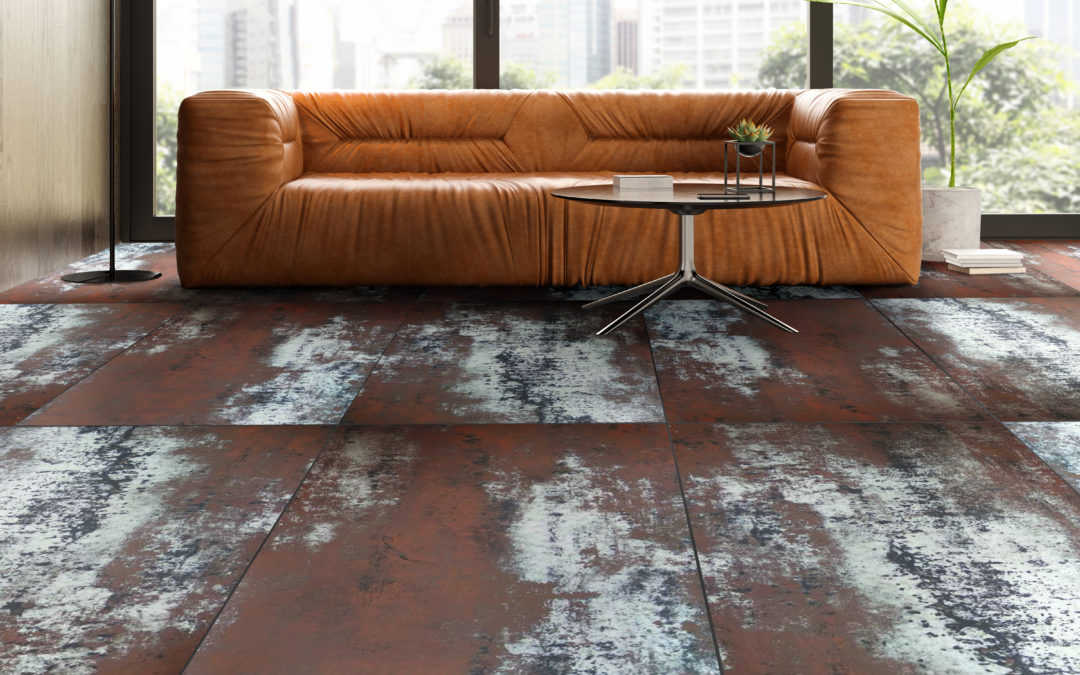
Flooring is another area where you can make a big impact without spending a lot. Laminate flooring is a cost-effective alternative to hardwood, offering a similar look and feel at a fraction of the price. It’s also easy to install yourself. Vinyl flooring is another affordable option, especially for high-moisture areas like bathrooms and kitchens. It’s durable, waterproof, and available in a variety of styles to suit any taste.
Image Credit: iStock
Get Creative with Tiles
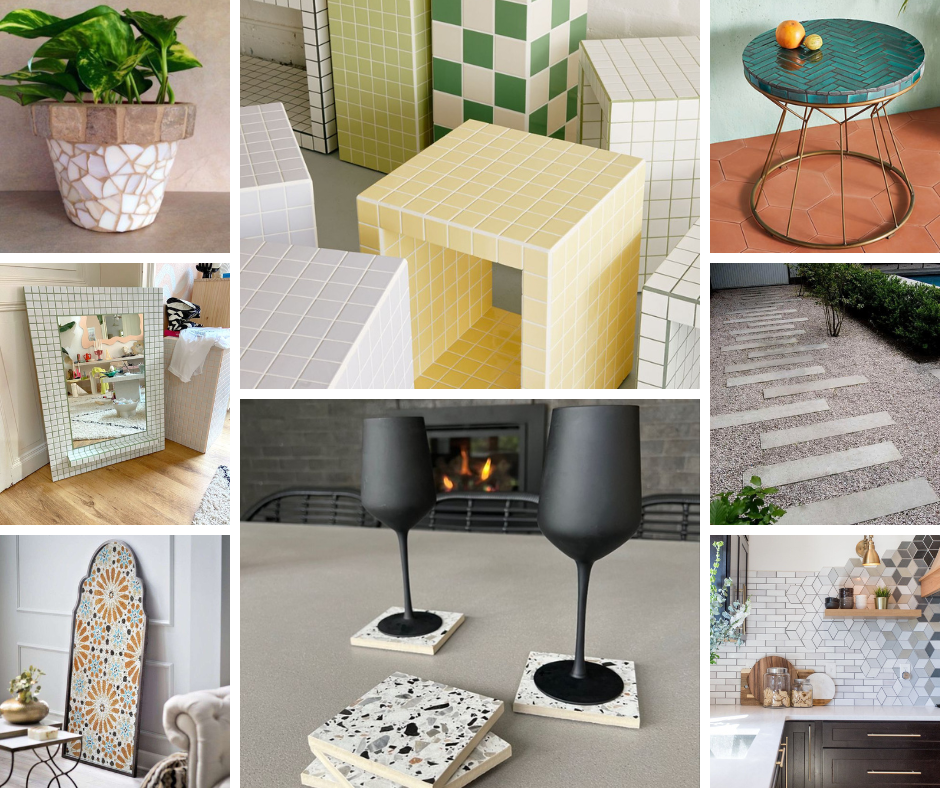
Tiles are a great way to add character to your home, and you don’t need to stick to a single pattern or color. Mixing and matching tiles can create a unique, eye-catching design that’s completely your own. You can even use leftover tiles from other projects to save money. Whether you’re redoing a backsplash, bathroom, or even a floor, tiles offer endless possibilities for creativity. For inspiration on ways to use your leftover tiles check out our blog on Great ways to use your leftover tiles.
DIY Décor and Greenery
Adding personal touches to your home doesn’t have to be expensive. DIY projects like creating your own headboard from old doors or shutters, or making artwork using stencils and paint, can add a unique flair to your space. You can also bring life into your home with plants. Indoor greenery can make a room feel more vibrant, and you can create a simple herb garden or a statement piece with a large plant.
Image Credit: Shutterstock
Embrace Imperfections
Finally, remember that your renovation doesn’t need to be perfect. A little bit of imperfection can add character and charm to your home. Embrace the quirks and personal touches that make your space unique. After all, it’s the love and effort you put into your home that truly makes it special.
Image Credit: Adore Home Magazine
Renovating on a tight budget is all about being resourceful, creative, and enjoying the process. If you’re looking for more practical advice, don’t forget to check out our previous blog on the Top 10 Essential Tips for Renovating Your Home. With these tips, you’re well on your way to transforming your home into a space you’ll love without overspending. Happy renovating!
Prefer to watch?
Ryan and Deon discuss renovating on a tight budget in the 2 part videos below:
When it comes to interior design, tiles do more than just serve a functional purpose. The style of tiles you choose can have a powerful psychological effect, shaping how a space feels and how it’s perceived. In this post, we’re diving into how different tile styles impact our mood and emotions, and how you can use this knowledge to create the perfect atmosphere in your home.
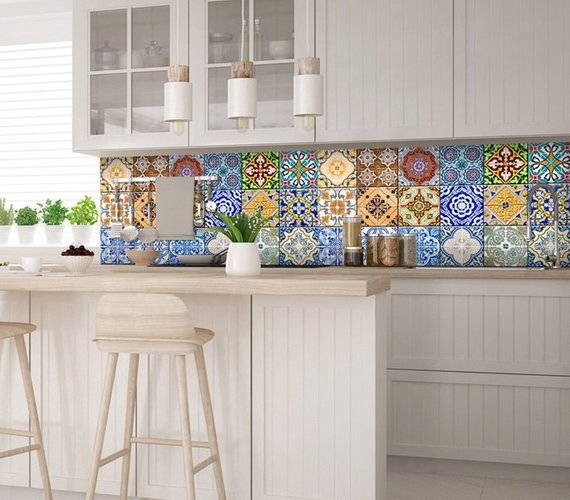
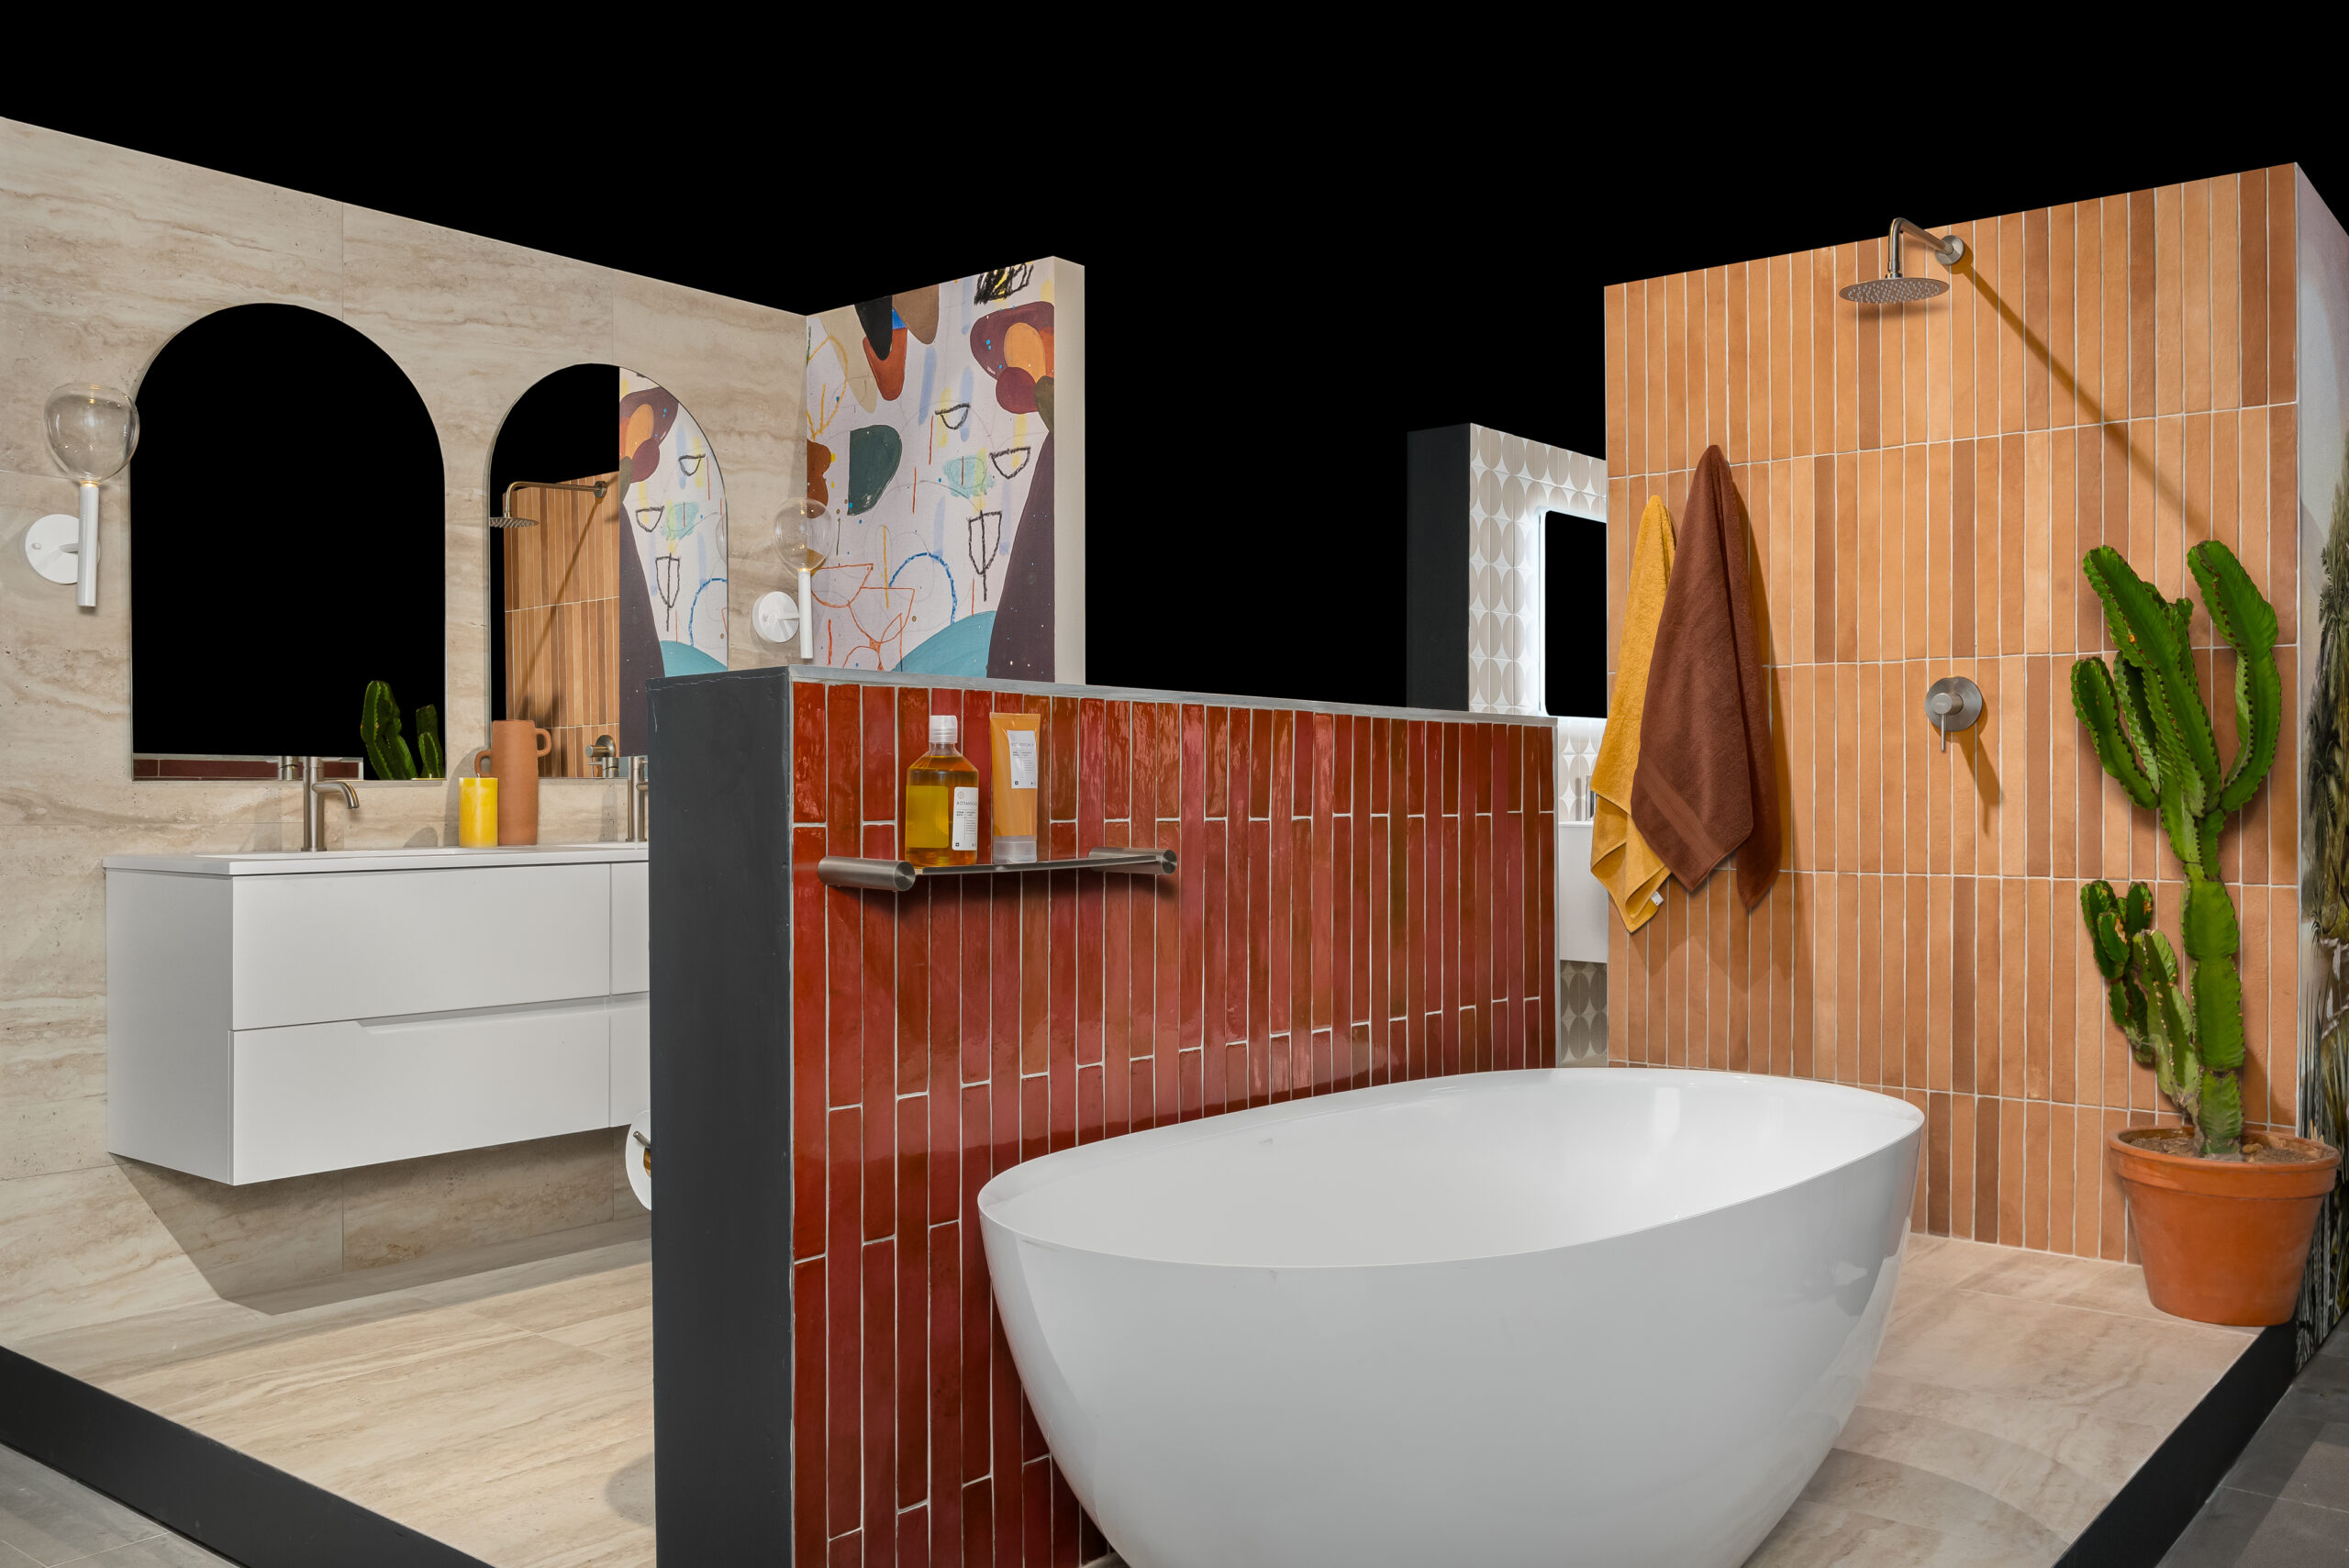
Bold, colourful tiles can inject a space with energy and life. These tiles make rooms feel dynamic, vibrant, and full of personality. If you’re looking to create a space that feels lively, such as a kitchen or a playful bathroom, bold tiles are a fantastic choice. Whether it’s a vibrant backsplash or a patterned floor, these tiles act as a focal point that grabs attention and brings a burst of energy to any room.
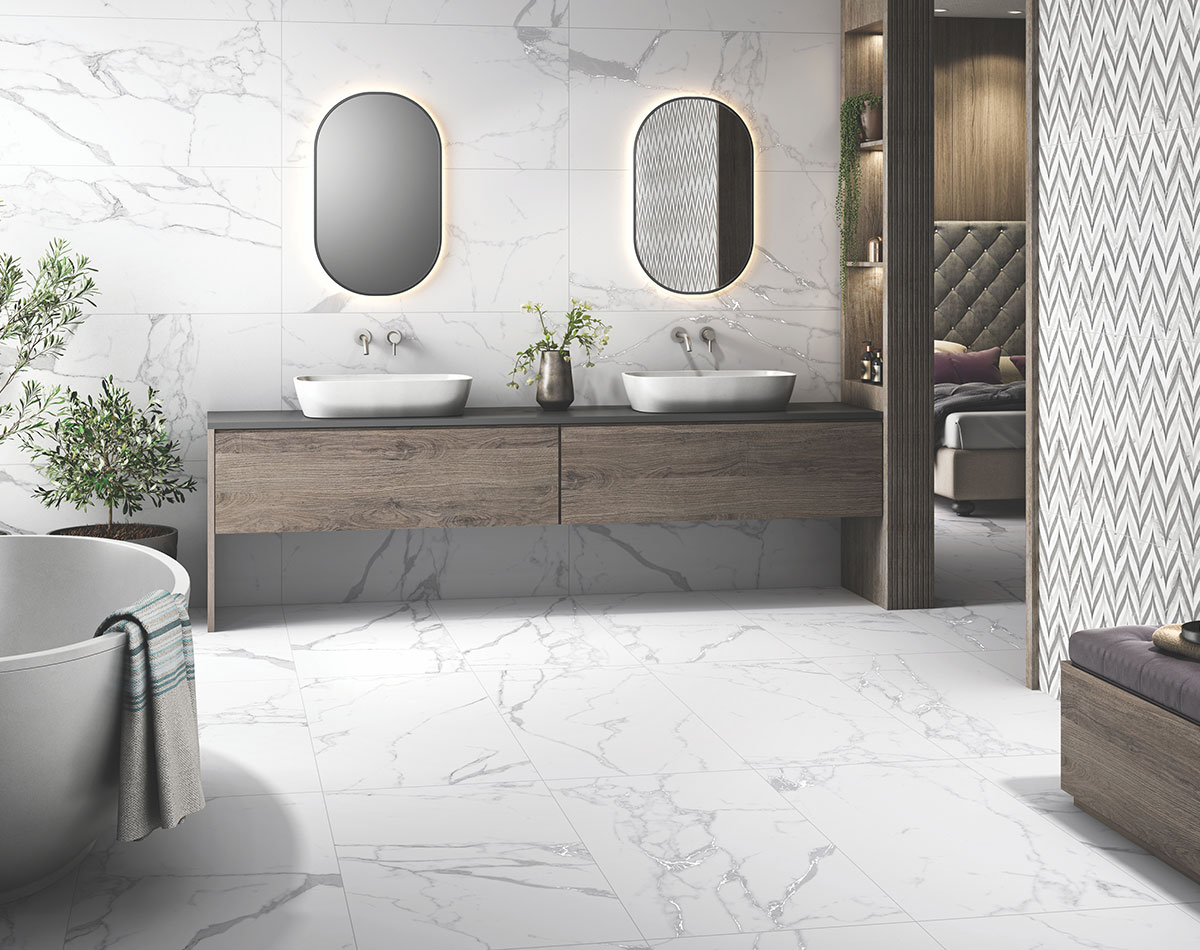
Natural stone tiles like marble and granite are synonymous with elegance. They give off a feeling of calm and serenity, making them ideal for areas where relaxation is key, like bathrooms or meditation spaces. There’s something inherently luxurious about stone tiles, as they connect us to nature and evoke a peaceful, grounded feeling. If you’re after a sense of tranquillity and sophistication, natural stone tiles are the way to go.
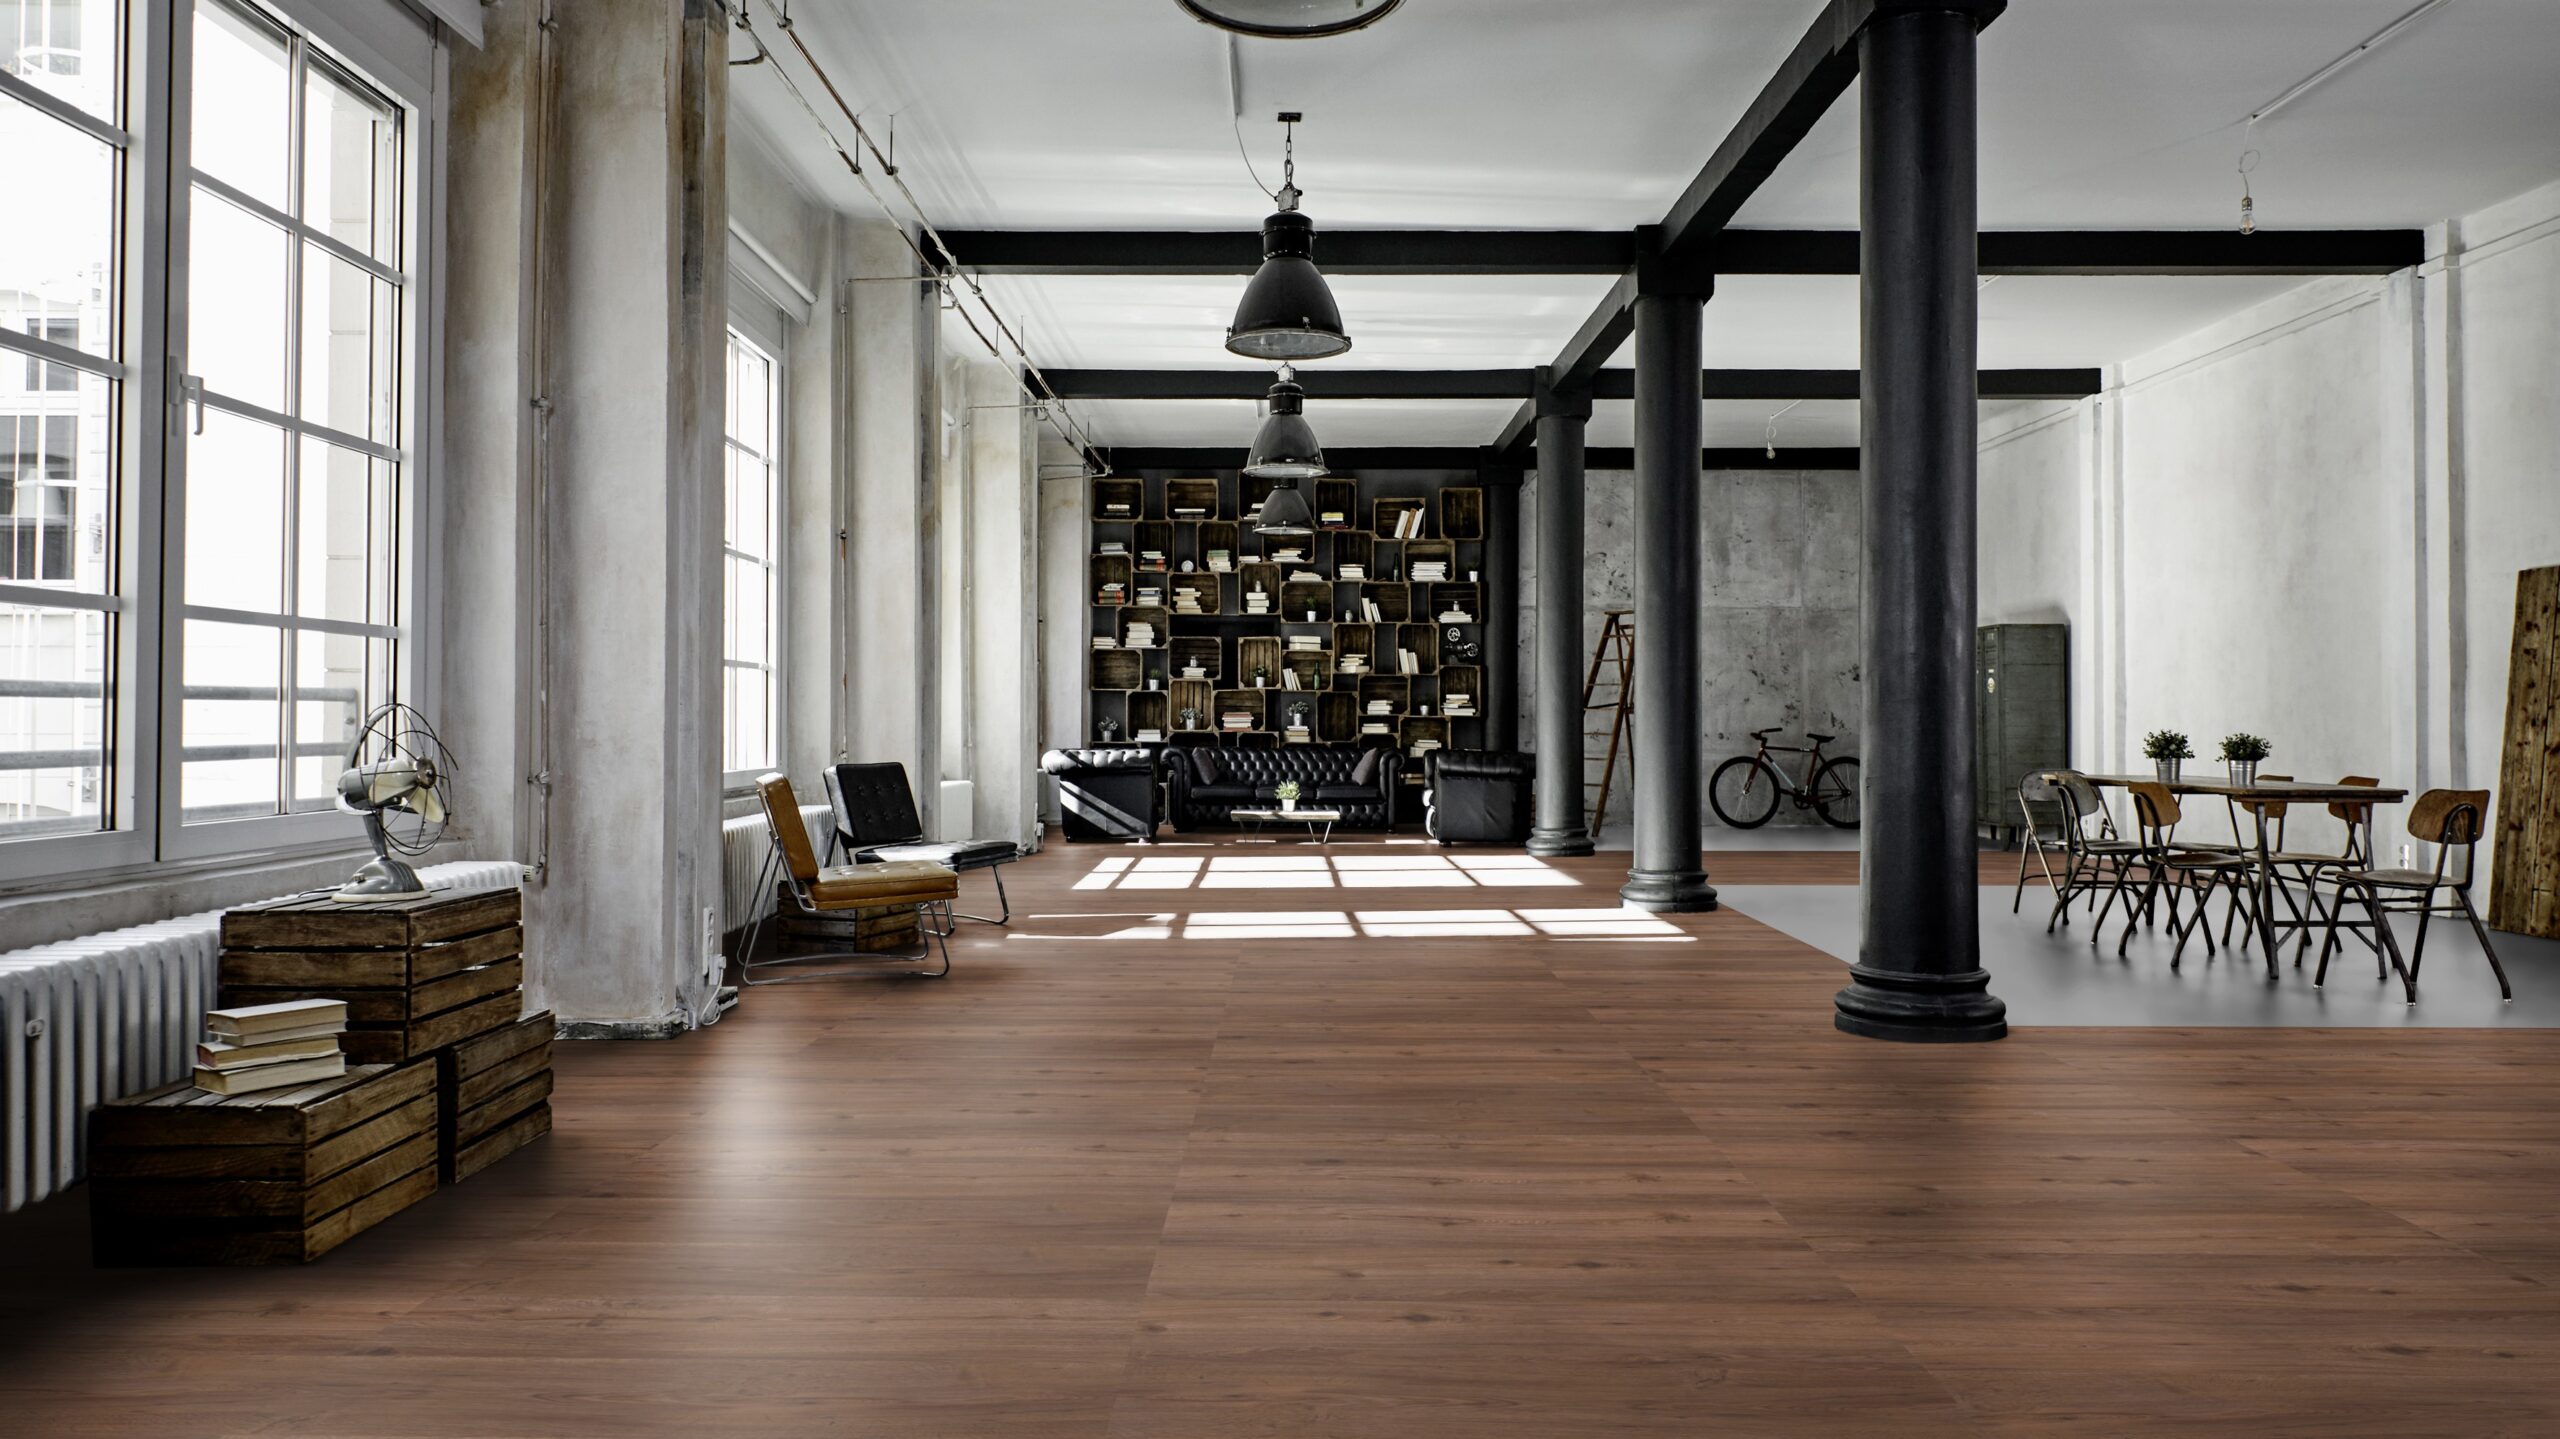
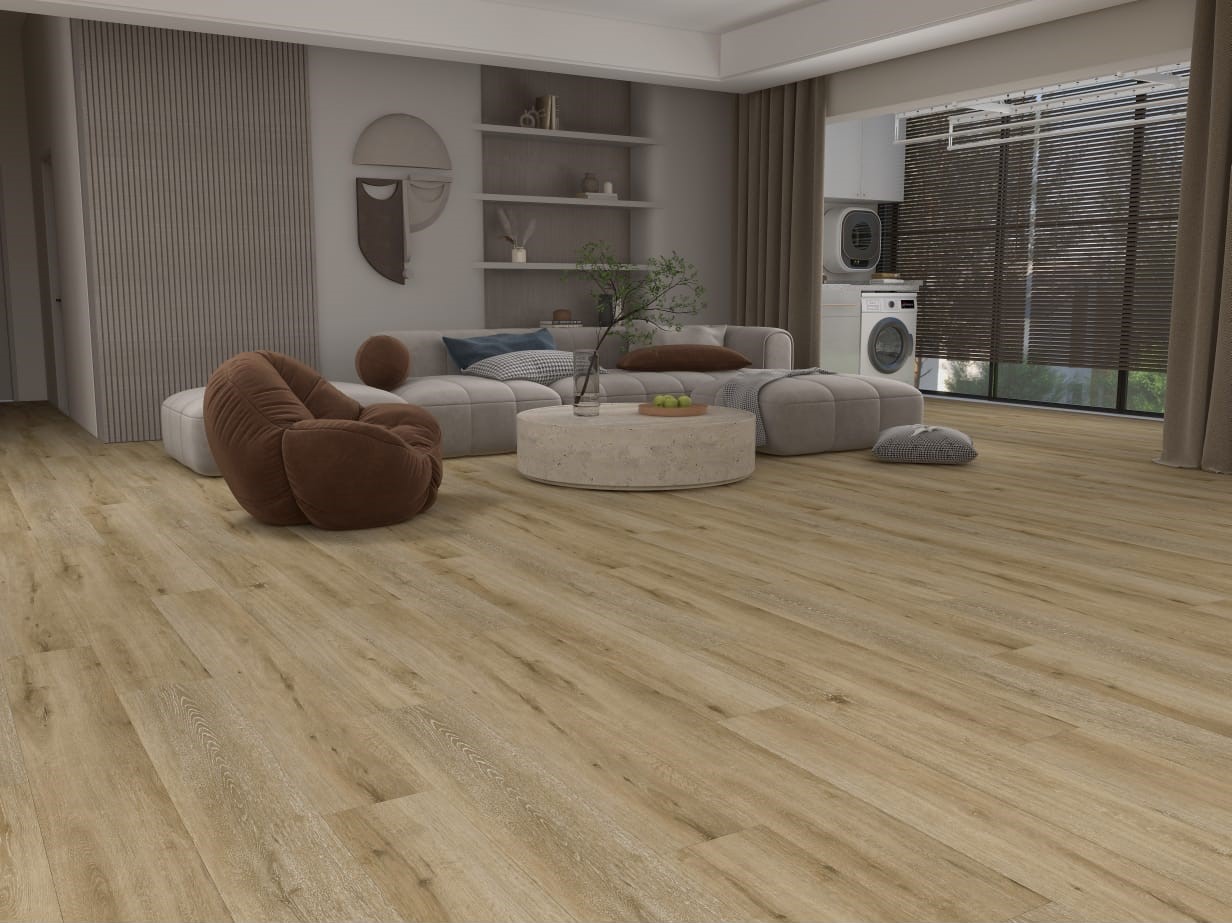
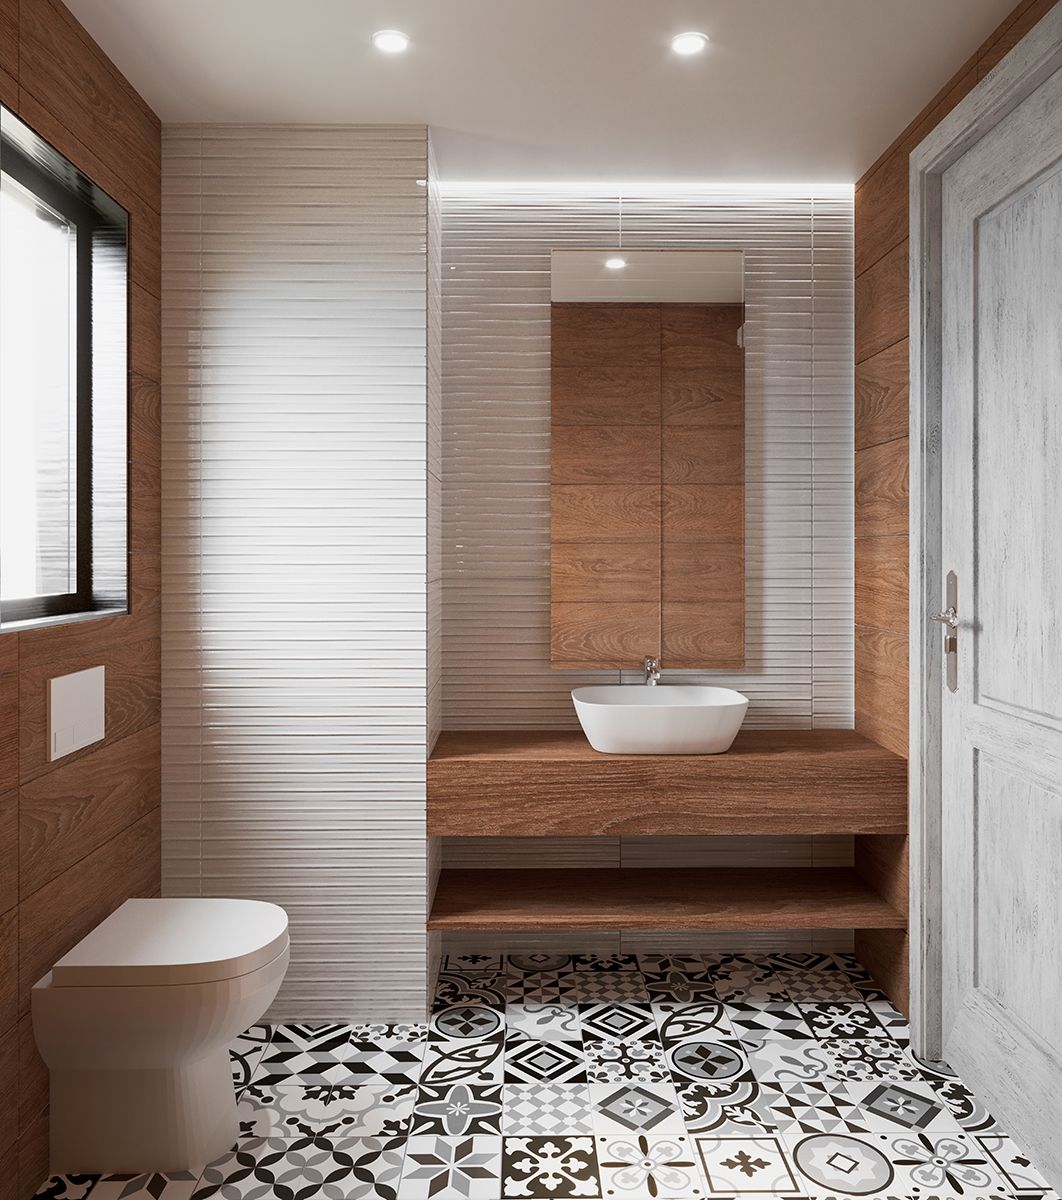
There’s nothing quite like the warmth of wood to make a space feel inviting. Wood-look tiles mimic the appearance of real wood but come with the durability of tile. These are perfect for bedrooms or living rooms where comfort is key. They bring a touch of nature indoors and create a cozy, organic atmosphere that makes any space feel homey and relaxing.
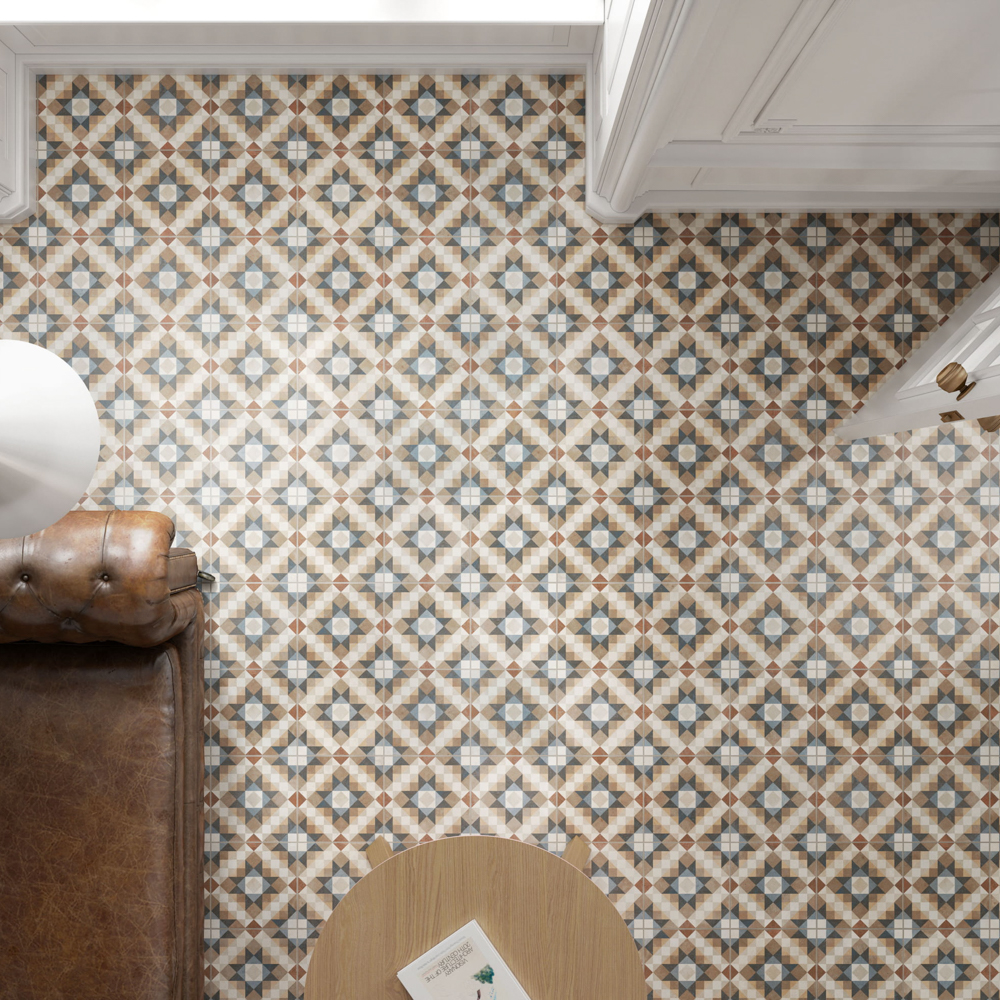
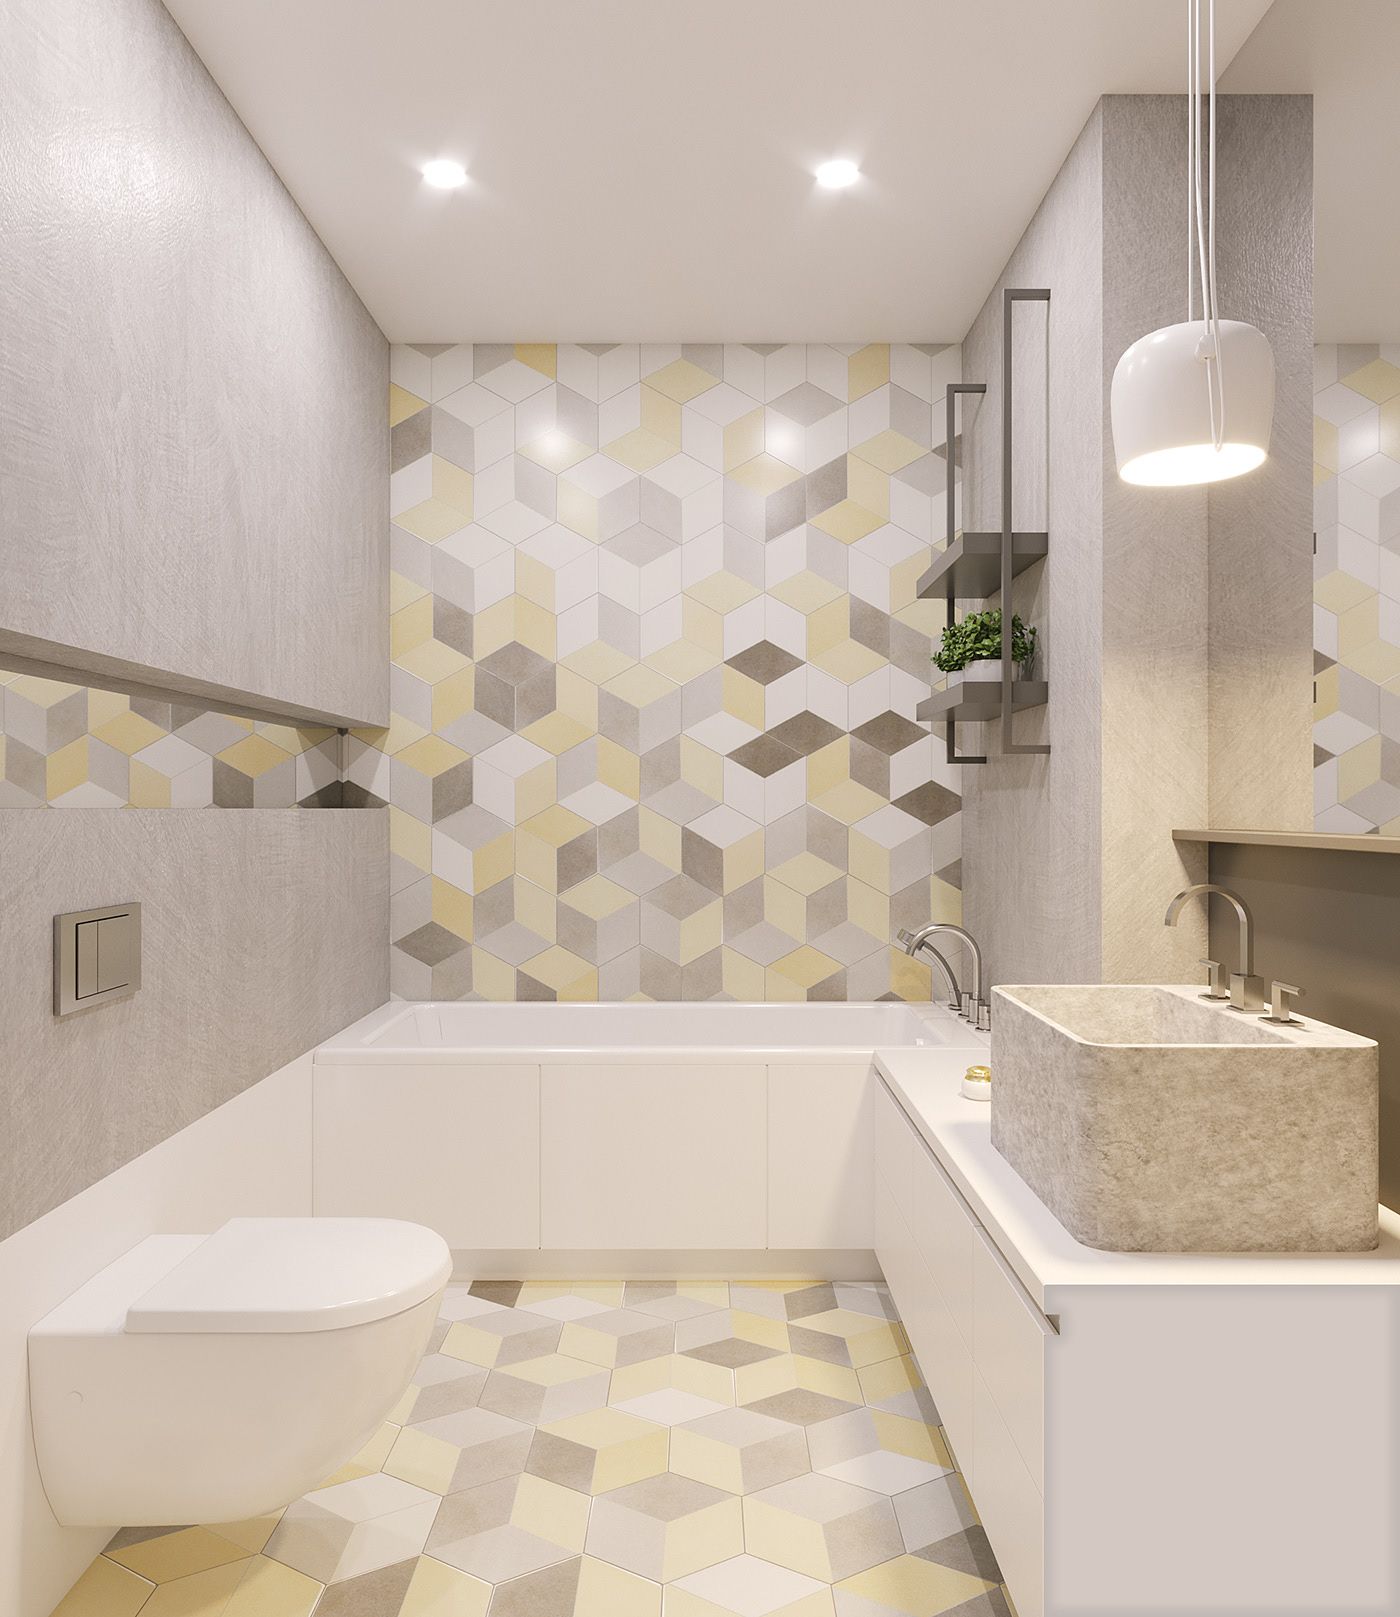
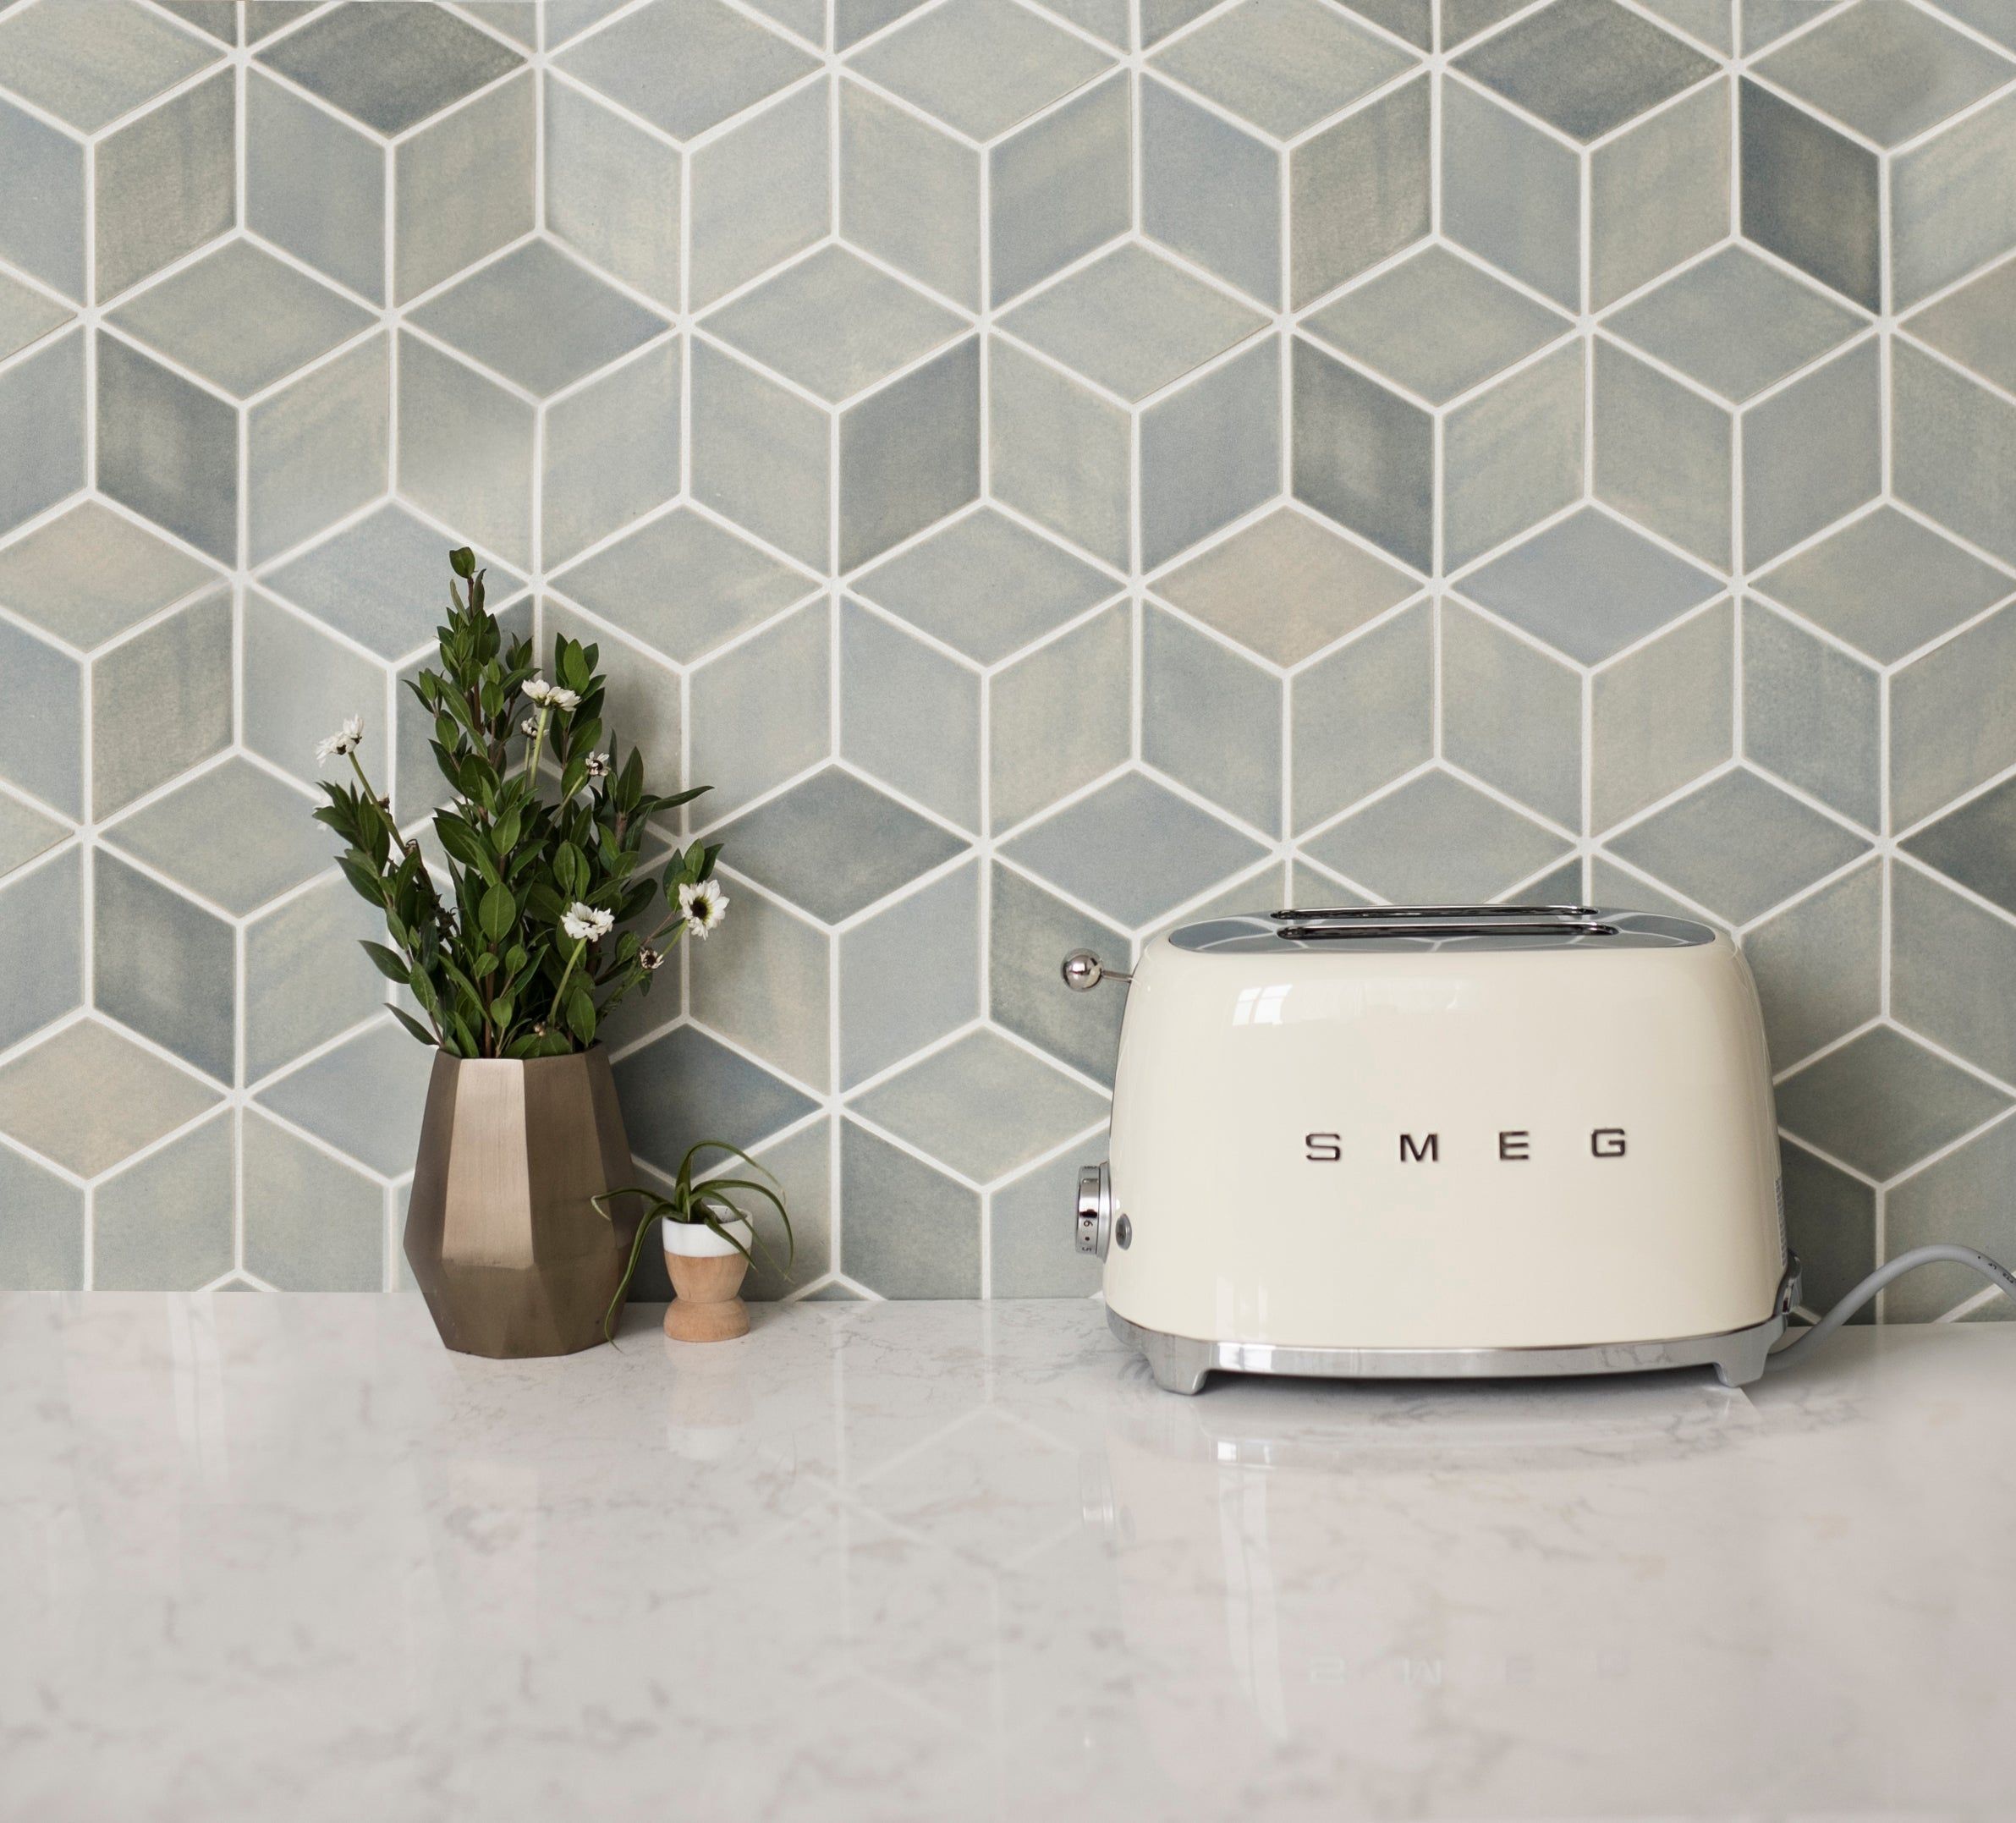
If you’re aiming for a sleek, modern vibe, geometric tiles might be just what you need. With their clean lines and precise shapes, these tiles add a touch of sophistication to any space. Geometric patterns are bold and eye-catching, making them great for kitchens and bathrooms where you want a contemporary, statement look. They evoke a sense of order and structure, adding a modern twist to any room.
Subway Tiles: Timeless and Elegant
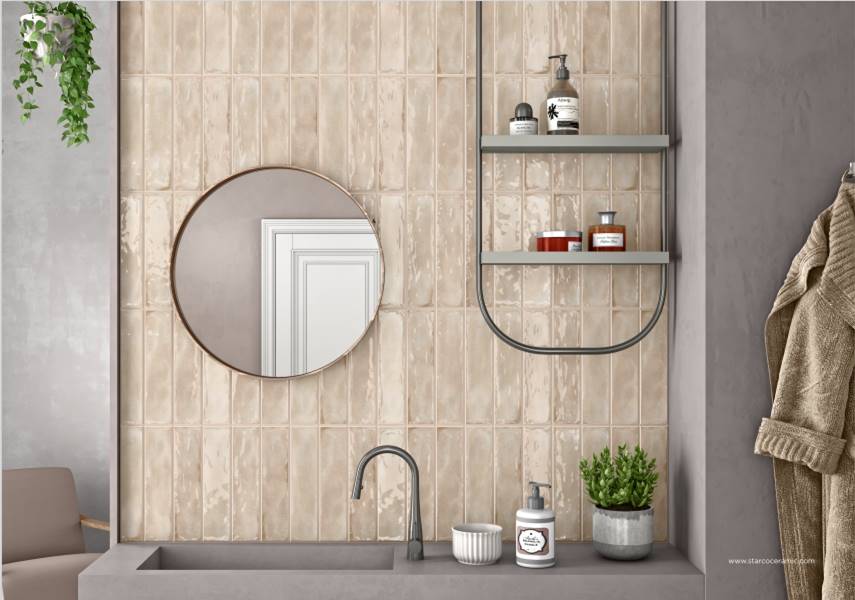
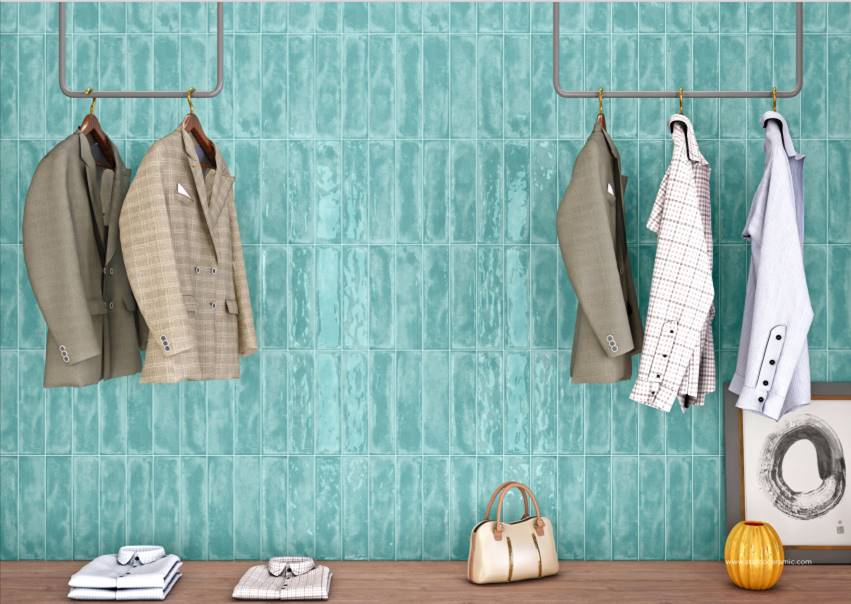
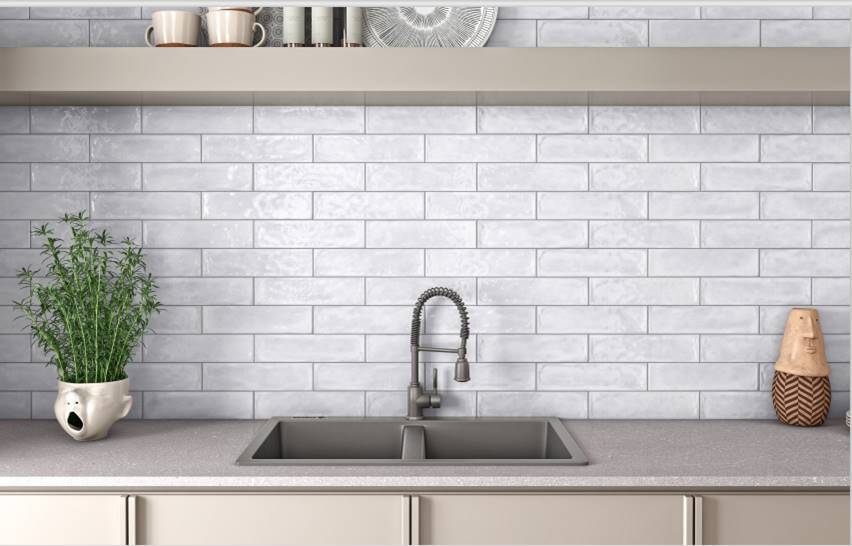
Subway tiles are a classic choice that never goes out of style. Their simple, clean lines bring an air of sophistication to kitchens and bathrooms alike. With their neutral tones and timeless appeal, subway tiles can create a calm and soothing environment, making them perfect for spaces where you want to keep things light and neutral. They also have a nostalgic charm, giving off a warm, comforting feel that never fails to invite.
When it comes to interior design, your choice of tile style can truly transform a space. Whether you’re looking to create a bold, energetic room or a calm, serene retreat, there’s a tile style that can help you achieve the perfect atmosphere. Next time you’re picking out tiles, think about the emotions and feelings you want your space to evoke, and let that guide your decision.
Prefer to watch?
Ryan and Deon discuss The Psychological Impact of Various Tile Styles in the video below:
Ready to explore more? Visit your nearest Tiletoria showroom to discover how the right tiles can bring your interior design vision to life!
Dreaming of a new space for you and your family to create new memories? Renovations are exciting however, the reality is that renovations can be stressful and dangerous without the right precautions! Let’s dive into our top 10 tips to keep in mind before you start your home makeover.
Before you pick up that hammer, consider whether your project is better suited for DIY or if you should bring in a professional. This will depend on the complexity of the renovation project. Keep in mind that if you install equipment or appliances yourself and something goes wrong, many manufacturers won’t honour the warranty unless a licensed pro did the job. This could end up costing you more than you anticipated. A professional contractor can also catch issues you might not notice, like past water damage to your foundation. Save DIY for tasks you’re confident in, and let the pros handle the more complex parts of your renovation.
Tip #2: Have a plan
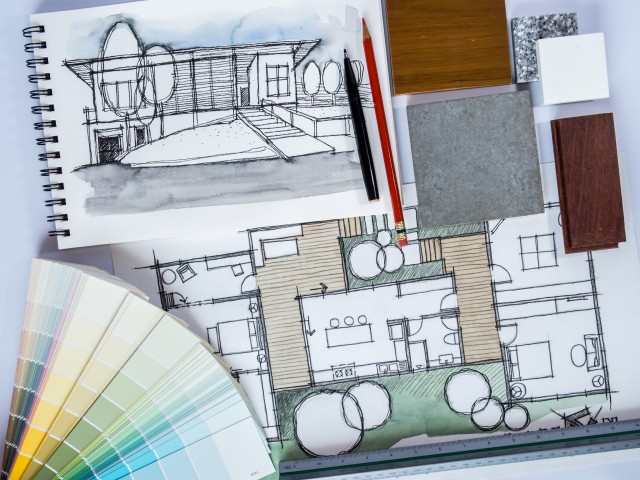
Knowing exactly what needs to be done will help you set a realistic budget and timeline. It’s easy to underestimate costs, so speak with a contractor to get accurate estimates for labour, materials, and any necessary permits.
Pro tip: Always budget extra for unexpected expenses and add some cushion to your timeline for unforeseen delays, like waiting on materials or dealing with unexpected issues like uneven flooring.
Tip #3: Plan Where to Live During Renovation
Renovations can turn your home upside down, so consider where you and your family will stay. If your project affects essential areas like bedrooms or the kitchen, you might need to arrange alternative living arrangements. Whether that’s staying with friends or family, or finding a short-term rental, make sure you’ve got a plan that keeps everyone safe and comfortable.
Tip #4: Understand Building Regulations
If your renovation involves structural changes, you’ll need to get your plans approved before you start. For homes older than 60 years, there might be extra restrictions if your home is considered historic. If you’re just updating things like cupboards, flooring, or bathroom fixtures, you can usually skip the approval process.
Tip #5: Use Proper Protective Gear
Safety first! Ensure everyone on-site has the right protective gear and that the area is clean and easy to navigate. A safe work environment is key to preventing accidents.
Tip #6: Keep Safety Equipment Ready
Check that all household safety items, like fire extinguishers and blankets, are in working order. You want to be prepared in case of an emergency during your renovation.
Tip #7: Wear a Mask
Wearing a mask might stir up some COVID-era flashbacks, but trust us, it’s important! Renovations kick up a lot of dust and allergens, so keeping your mask on is key to protecting your lungs. It might not be the most comfortable, but it’s crucial for keeping your respiratory system safe. If you notice any worsening symptoms, seek medical advice.
Tip #8: Treat Mold
If you spot black mold, treat it immediately with strong bleach or mold-specific paint. For serious cases, it’s best to call in a specialist. Mold can pose significant health risks, so it’s important to deal with it properly.
Tip #9: Turn Off the Electricity
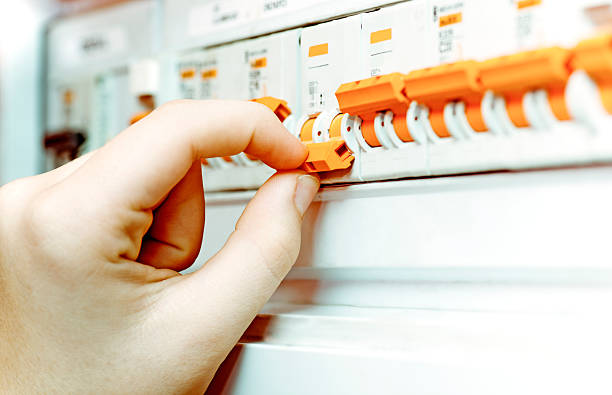
Before working on anything electrical, make sure to turn off the electricity at the circuit breaker. Place a tag on the circuit board to prevent anyone from accidentally turning it back on while you’re working — safety first!
Tip #10: Maintain Your Routine
Renovations can be overwhelming, so it’s important to keep up with your regular routine. Exercise, eat well, and take breaks to maintain your mental health. Also, have a designated spot for everyday items so they don’t get lost in the chaos.
Pro Tip: Be ready to adapt. Unexpected obstacles are part of the renovation process, so stay flexible and consider lower-cost alternatives if needed.
Remember, renovations rarely go exactly as planned, so stay calm and enjoy the journey. For more expert advice, visit your nearest Tiletoria showroom and let the professionals guide you through your next project!
Prefer to watch?
Ryan and Deon discuss renovation tips in the 2 part videos below:
Mixing and matching tiles can add a unique flair to your home, but there are a few guidelines to keep in mind to avoid a visual disconnect. Let’s dive into the general rules for successfully combining different tiles in one space.
Mixing and matching tiles means combining various tile colours and styles within the same space. It’s about creating a cohesive yet dynamic look by using different designs in harmony.
Rule 1: Balance Busy Patterns
Small statement tiles, like mosaic tiles, can create stunning focal points. However, to avoid overwhelming the space, balance these intricate designs with plain tiles. For example, if you have a vibrant mosaic, surround it with single-colour tiles that pick up one of the colours from the mosaic. This allows your statement tiles to shine without competing for attention.
Rule 2: Combine Different Tile Sizes with a Colour Palette
Mixing different tile sizes can create a dynamic and visually appealing pattern. The key is to stick to a similar colour palette. For instance, you can pair large-format tiles with smaller tiles, even hexagonal tiles, as long as they share the same colour family. For example, use white hexagonal tiles on the wall paired with light grey large-format tiles on the floor. This creates a cohesive look with a touch of contrast.
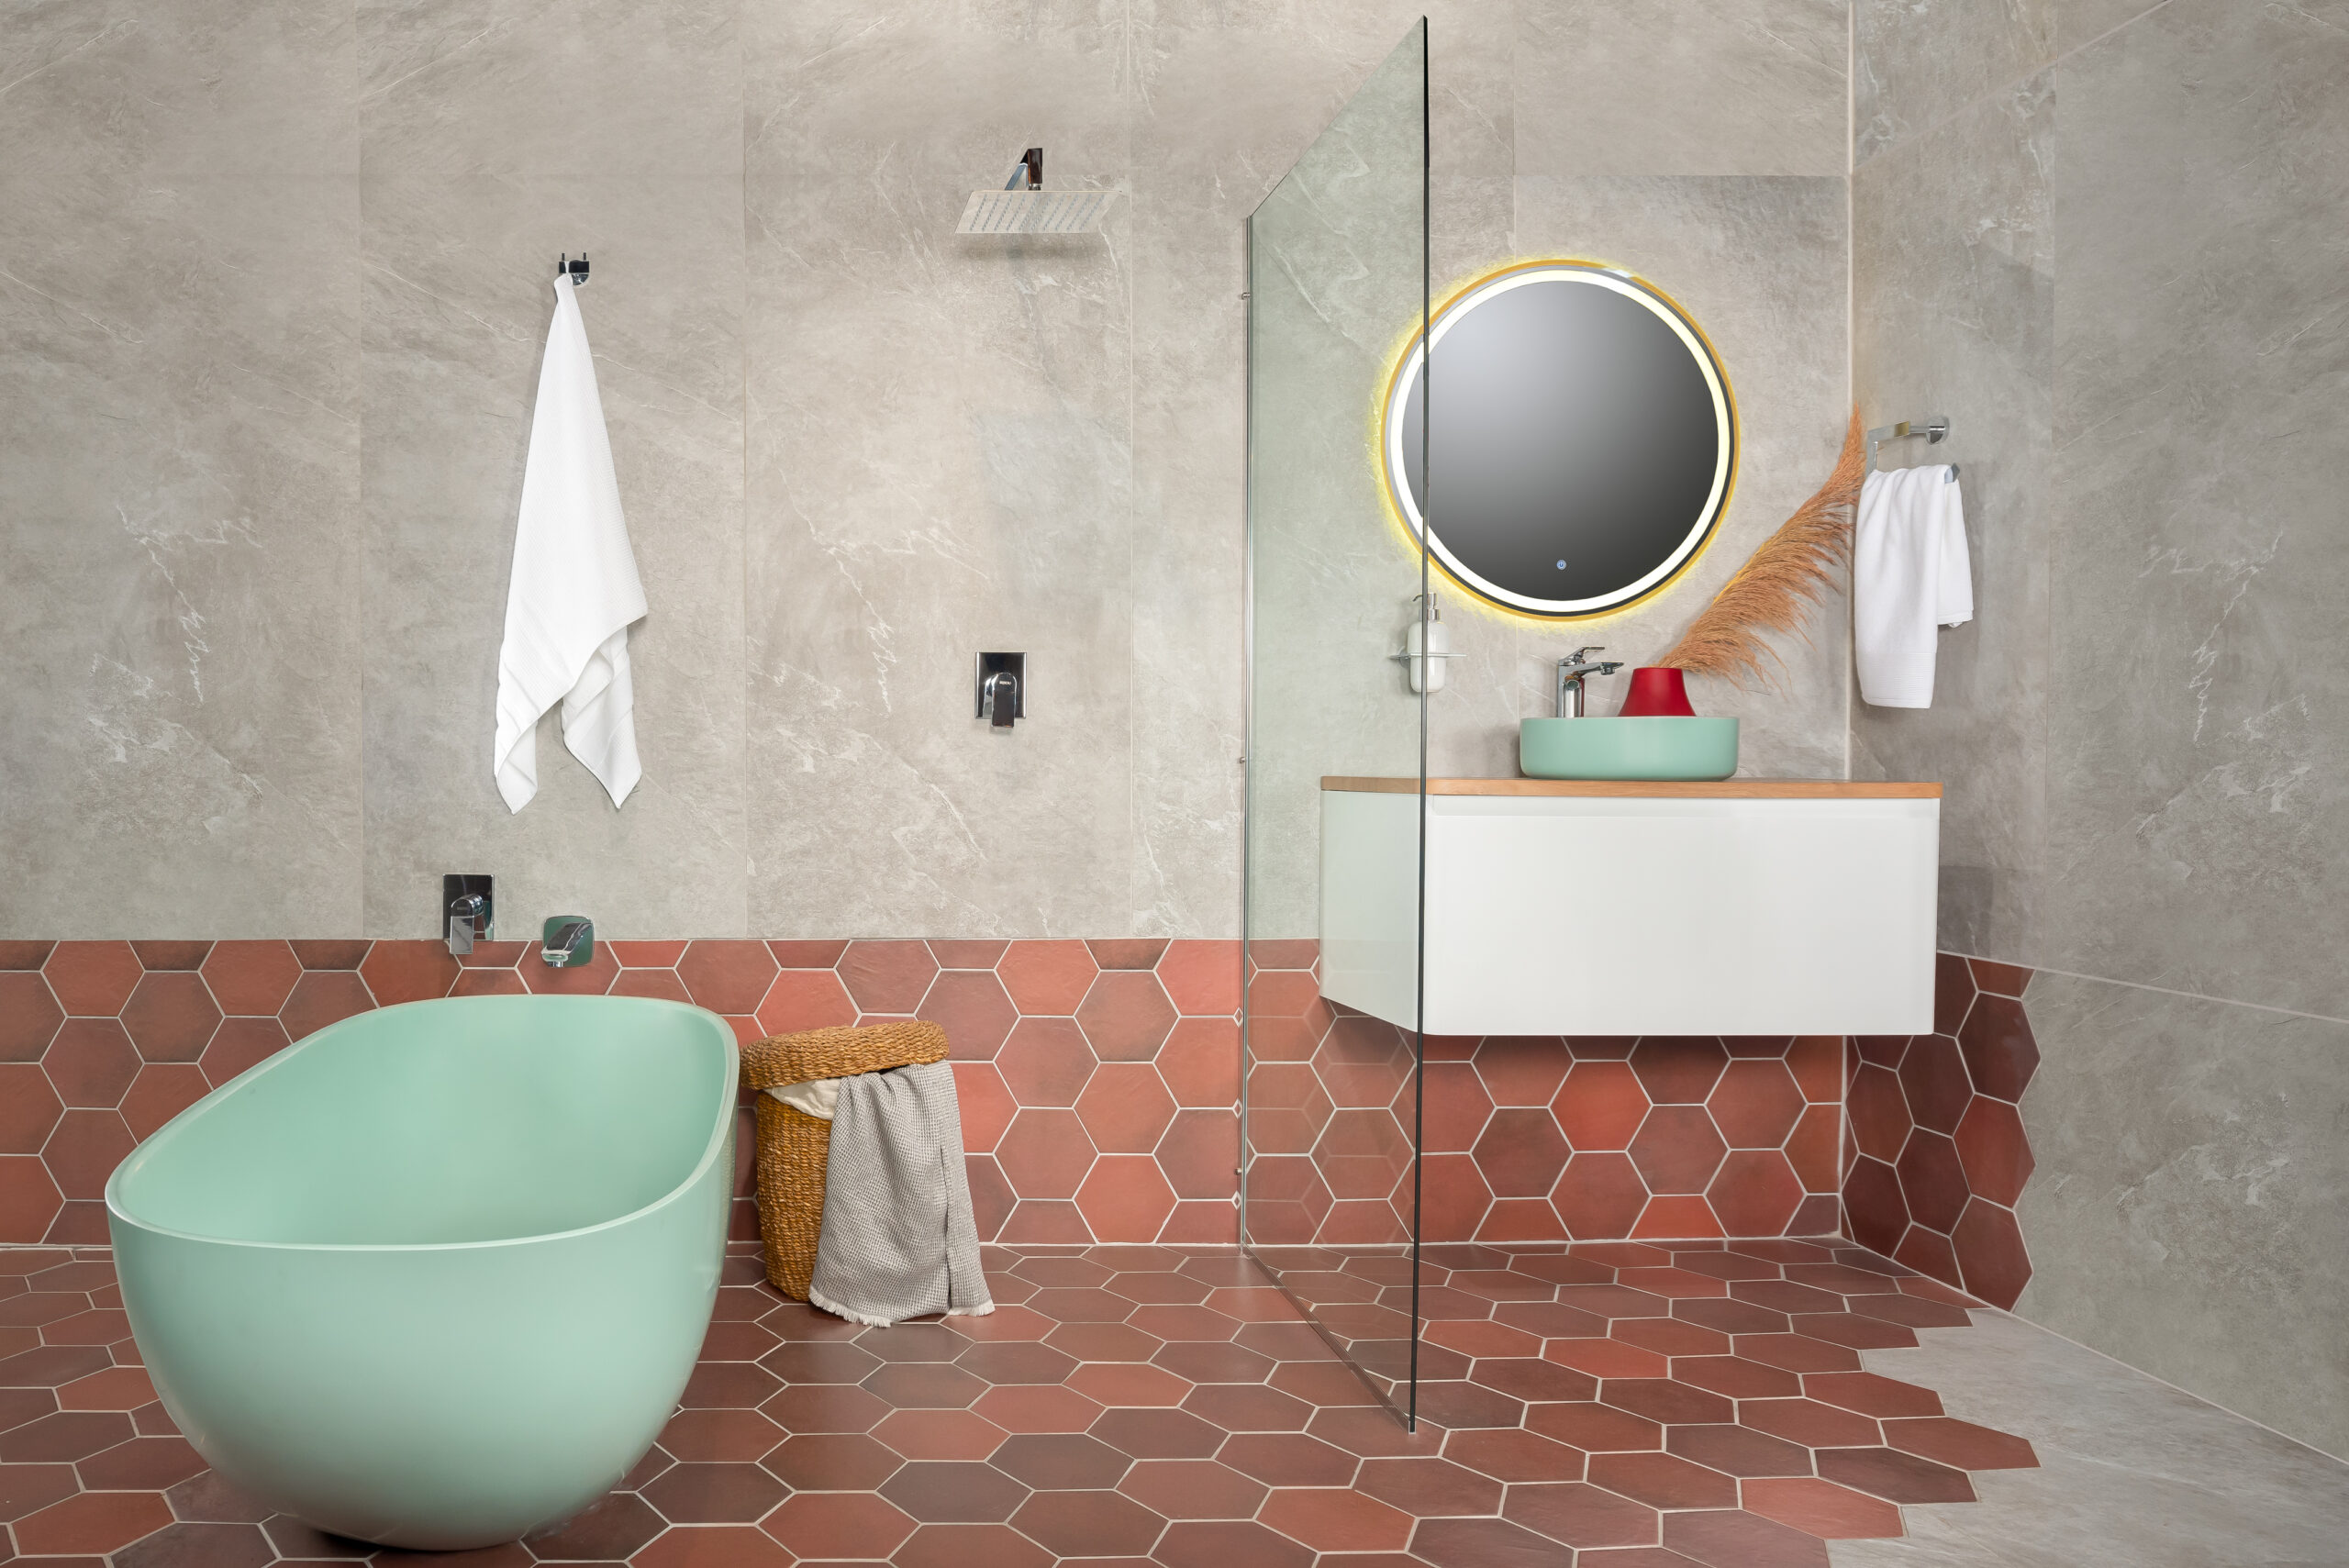
Take this space as an example: large format tiles in a beige hue are paired with terracotta hexagonal tiles. These two differently sized tiles in varying shades of brown complement each other beautifully. You can then add splashes of colour through your features and accessories. Feeling bold? Why not emulate this look with a vibrant blue bath!
Rule 3: Mix Matte and Glossy Tiles
Combining matte and glossy tiles can add depth and dimension to your room. Consider using glossy subway tiles on the walls and matte hexagon tiles on the floor. The contrast in finishes not only adds texture but also a playful touch to the space. Feeling adventurous? For a bold look, you could create a chessboard effect by alternating matte and glossy floor tiles.
Rule 4: Combine Different Tile Styles
If you’re torn between different tile styles, try using two or three styles to create a balanced design. Think about the overall look you want to achieve and choose styles that complement each other. For example, balance busy patterned tiles with plain ones and avoid using patterned tiles throughout the entire room. This ensures the design is visually appealing without being overwhelming.
Don’t be afraid to experiment with different materials like wood, glass, concrete, or marble. Mixing these materials can add texture, depth, and character to your space. The possibilities are endless, so let your creativity run wild!
Need Inspiration?
Have a look at some of our top tile combinations:
Contrasting Colours (Black and White)
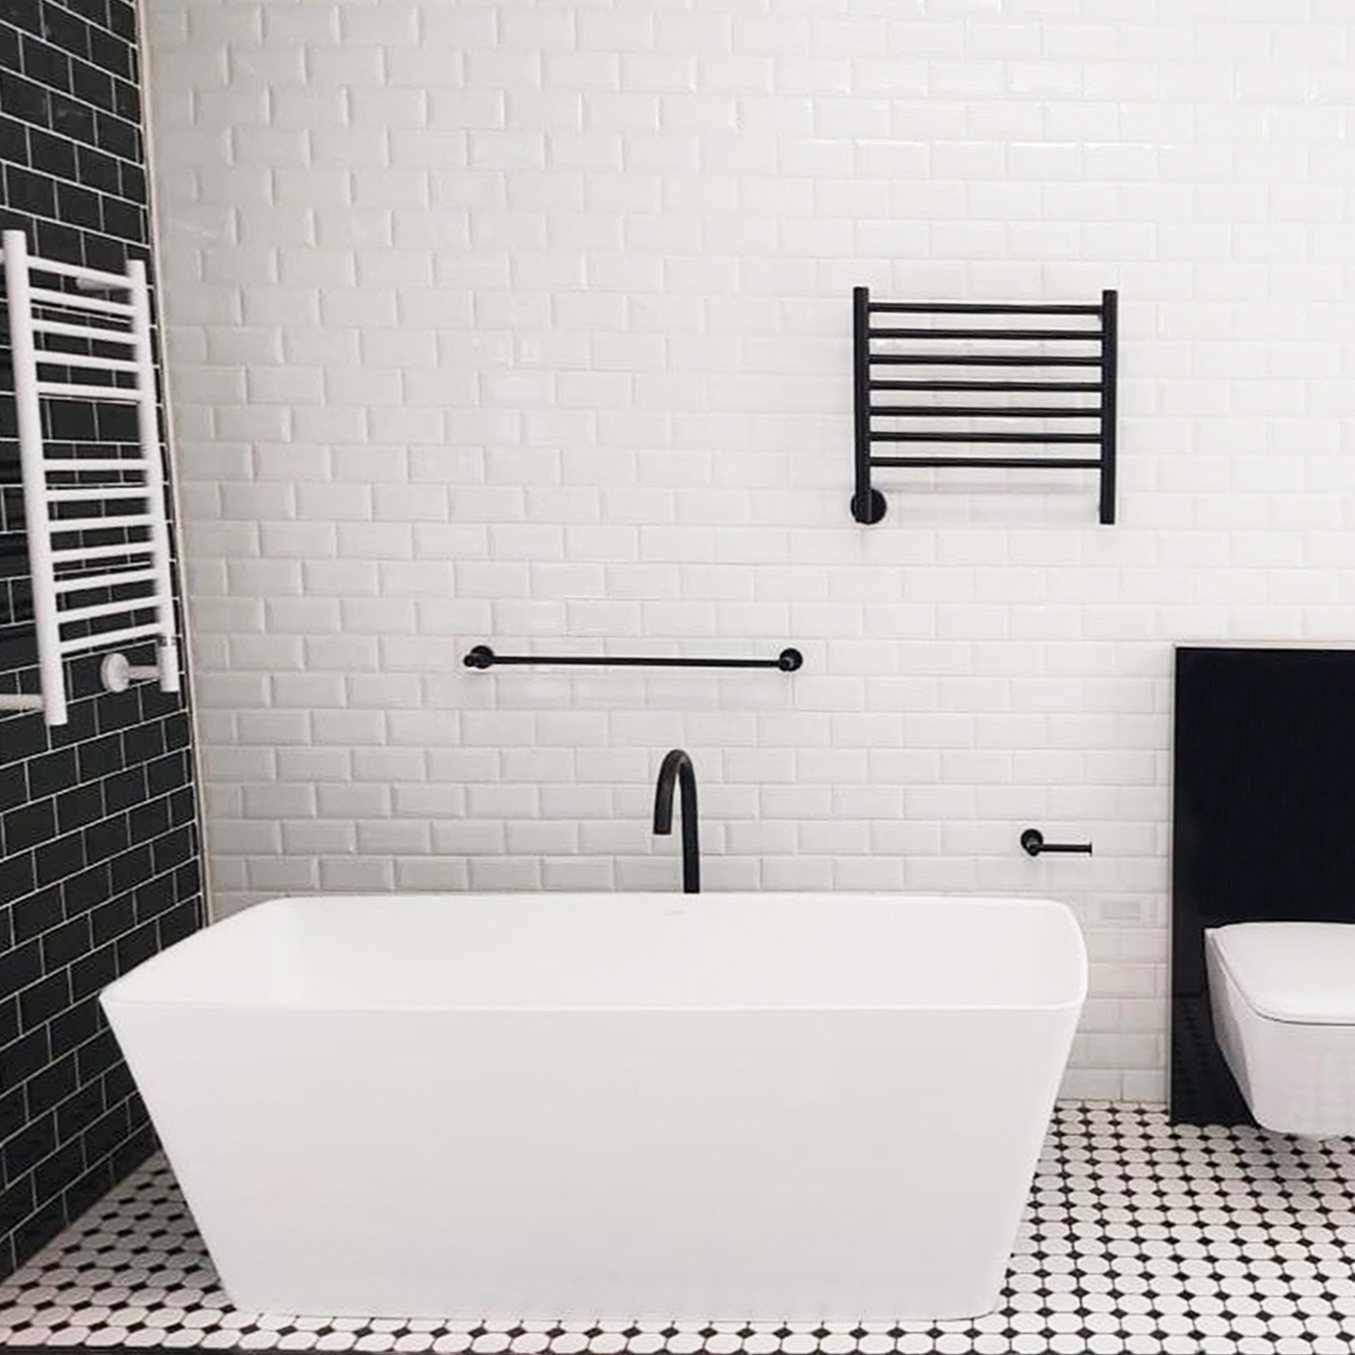
In this space, two tile styles—subway tiles and small hexagonal tiles—are used to create a striking black-and-white contrast. This colour scheme results in a minimalist, balanced room. The bathroom fixtures and accessories also follow the same colour palette, tying the room together seamlessly.
Same Shape, Same Colour Family
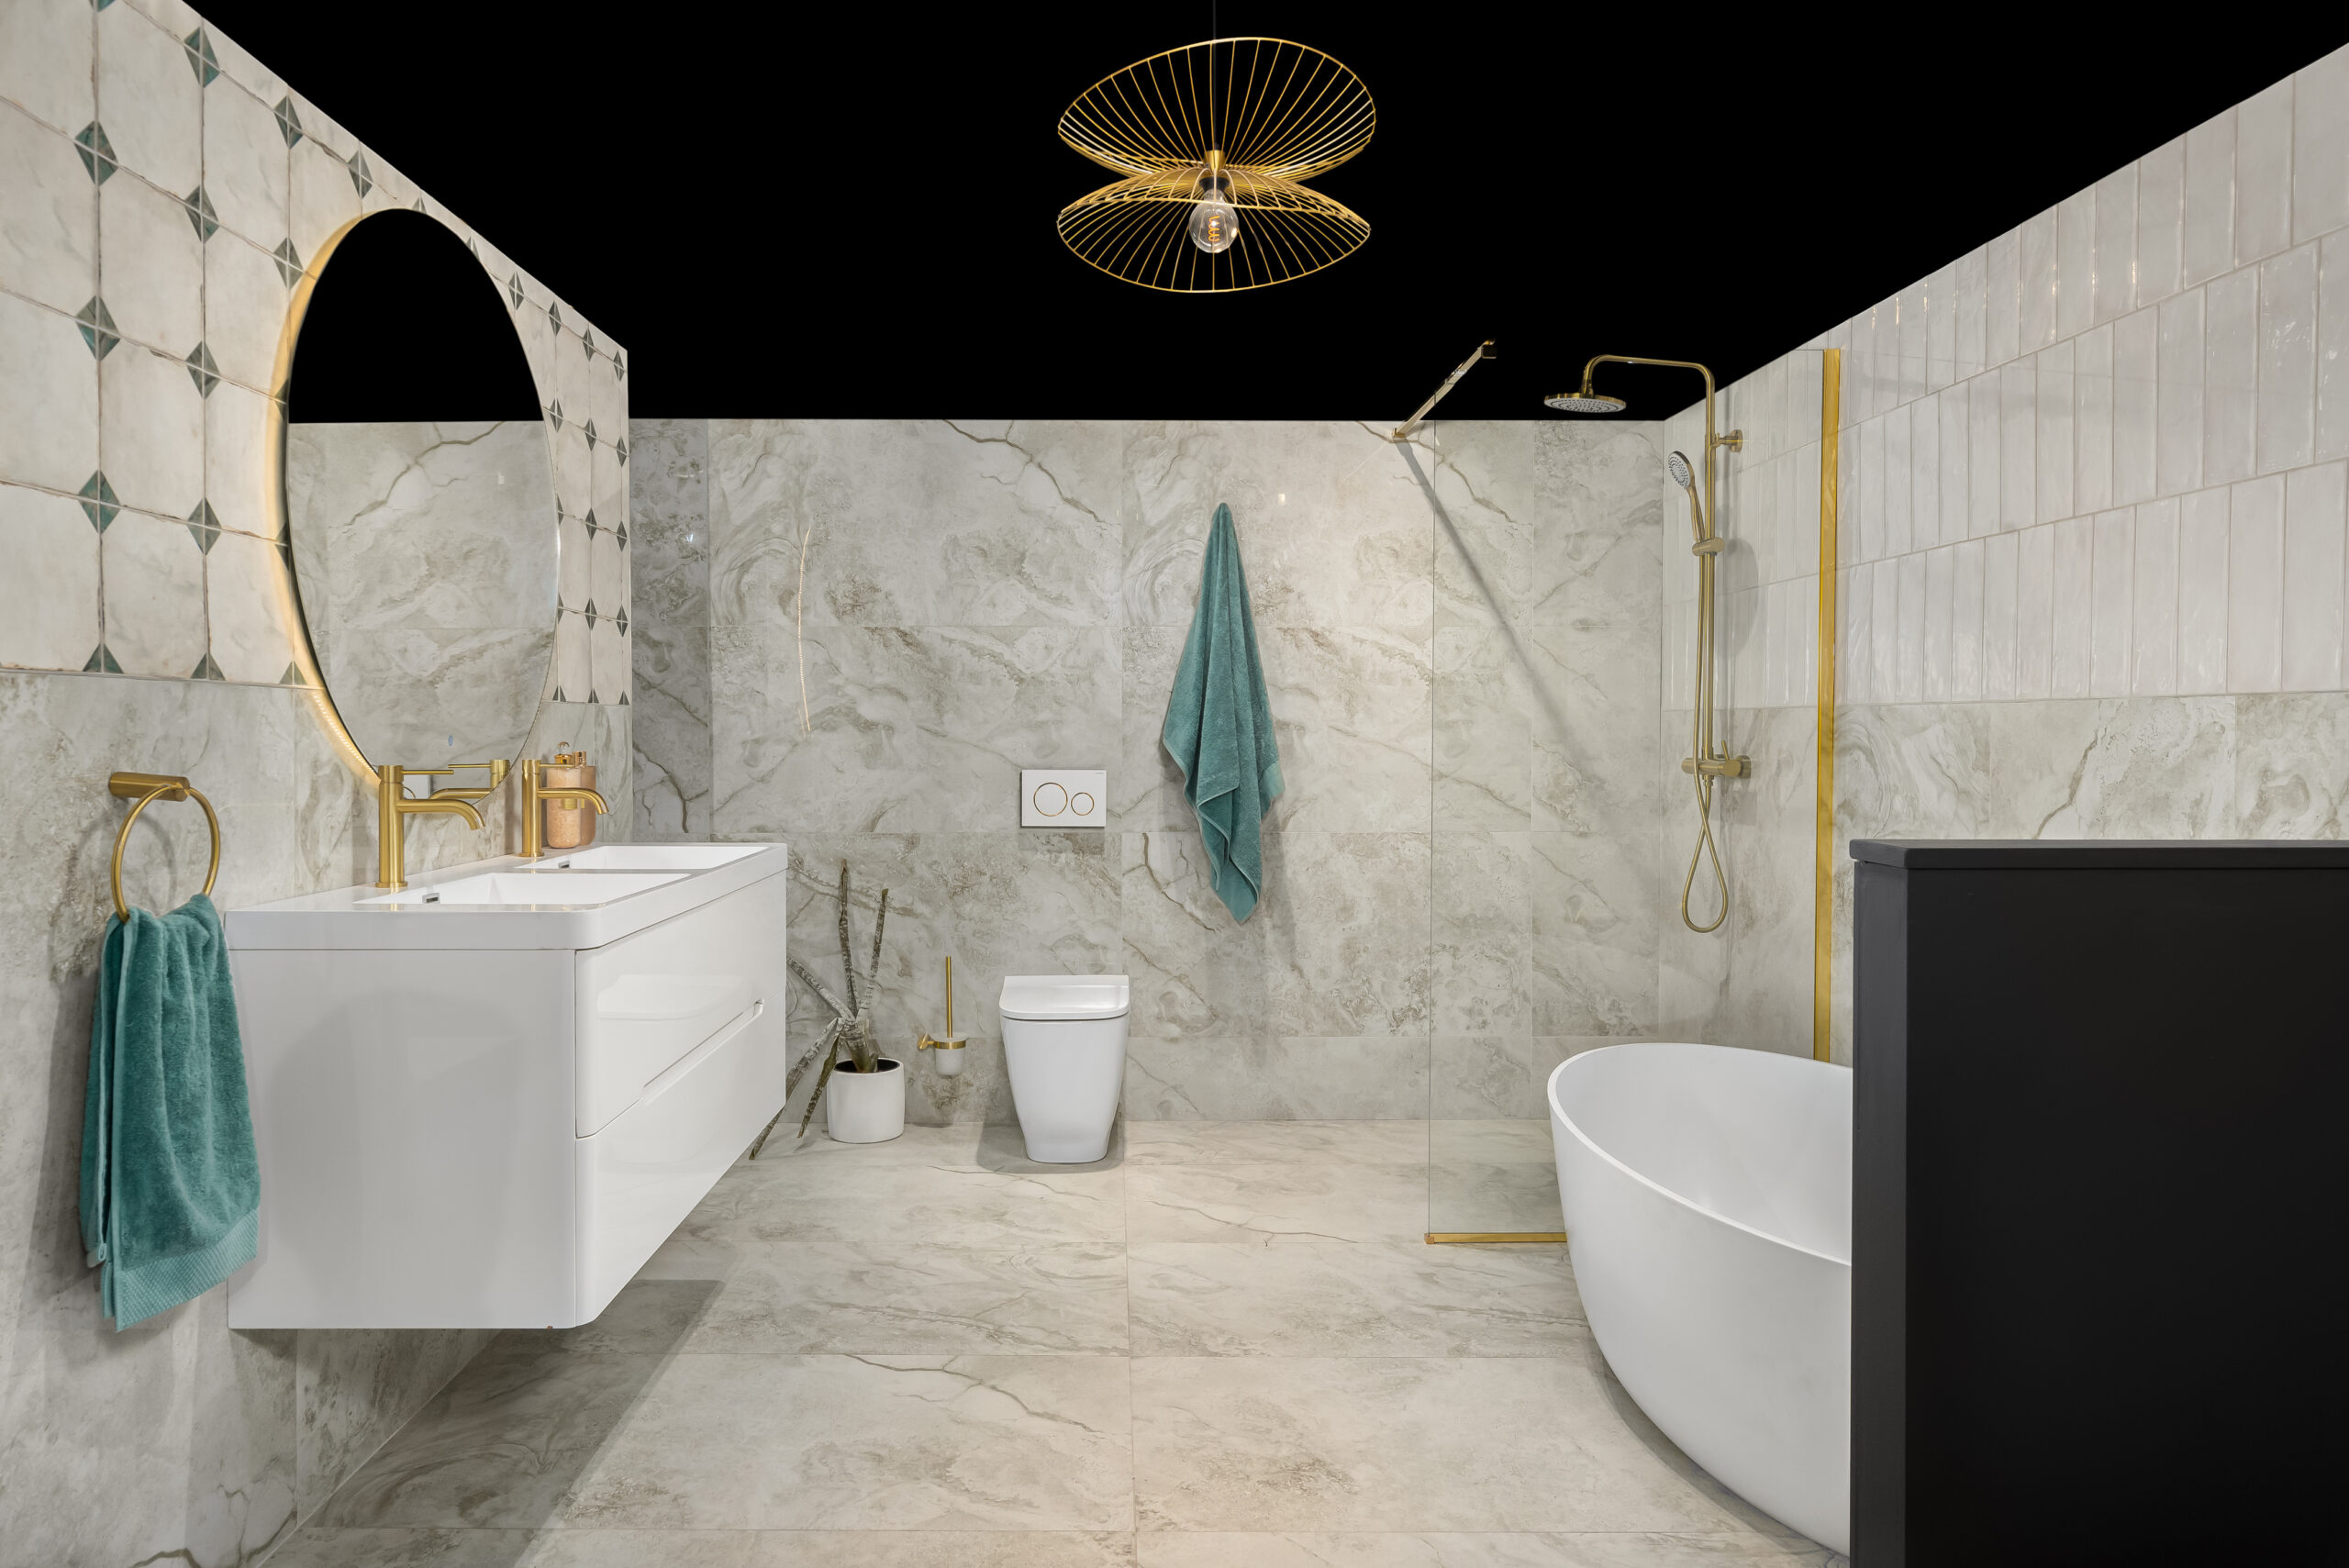
This bathroom showcases subway tiles laid out vertically, adding depth and dimension. The tiles are all within the same colour family, creating a cohesive look. Neutral beige stone tiles are used to bind the space, ensuring a connected and harmonious design.
Same Shape, Different Colours
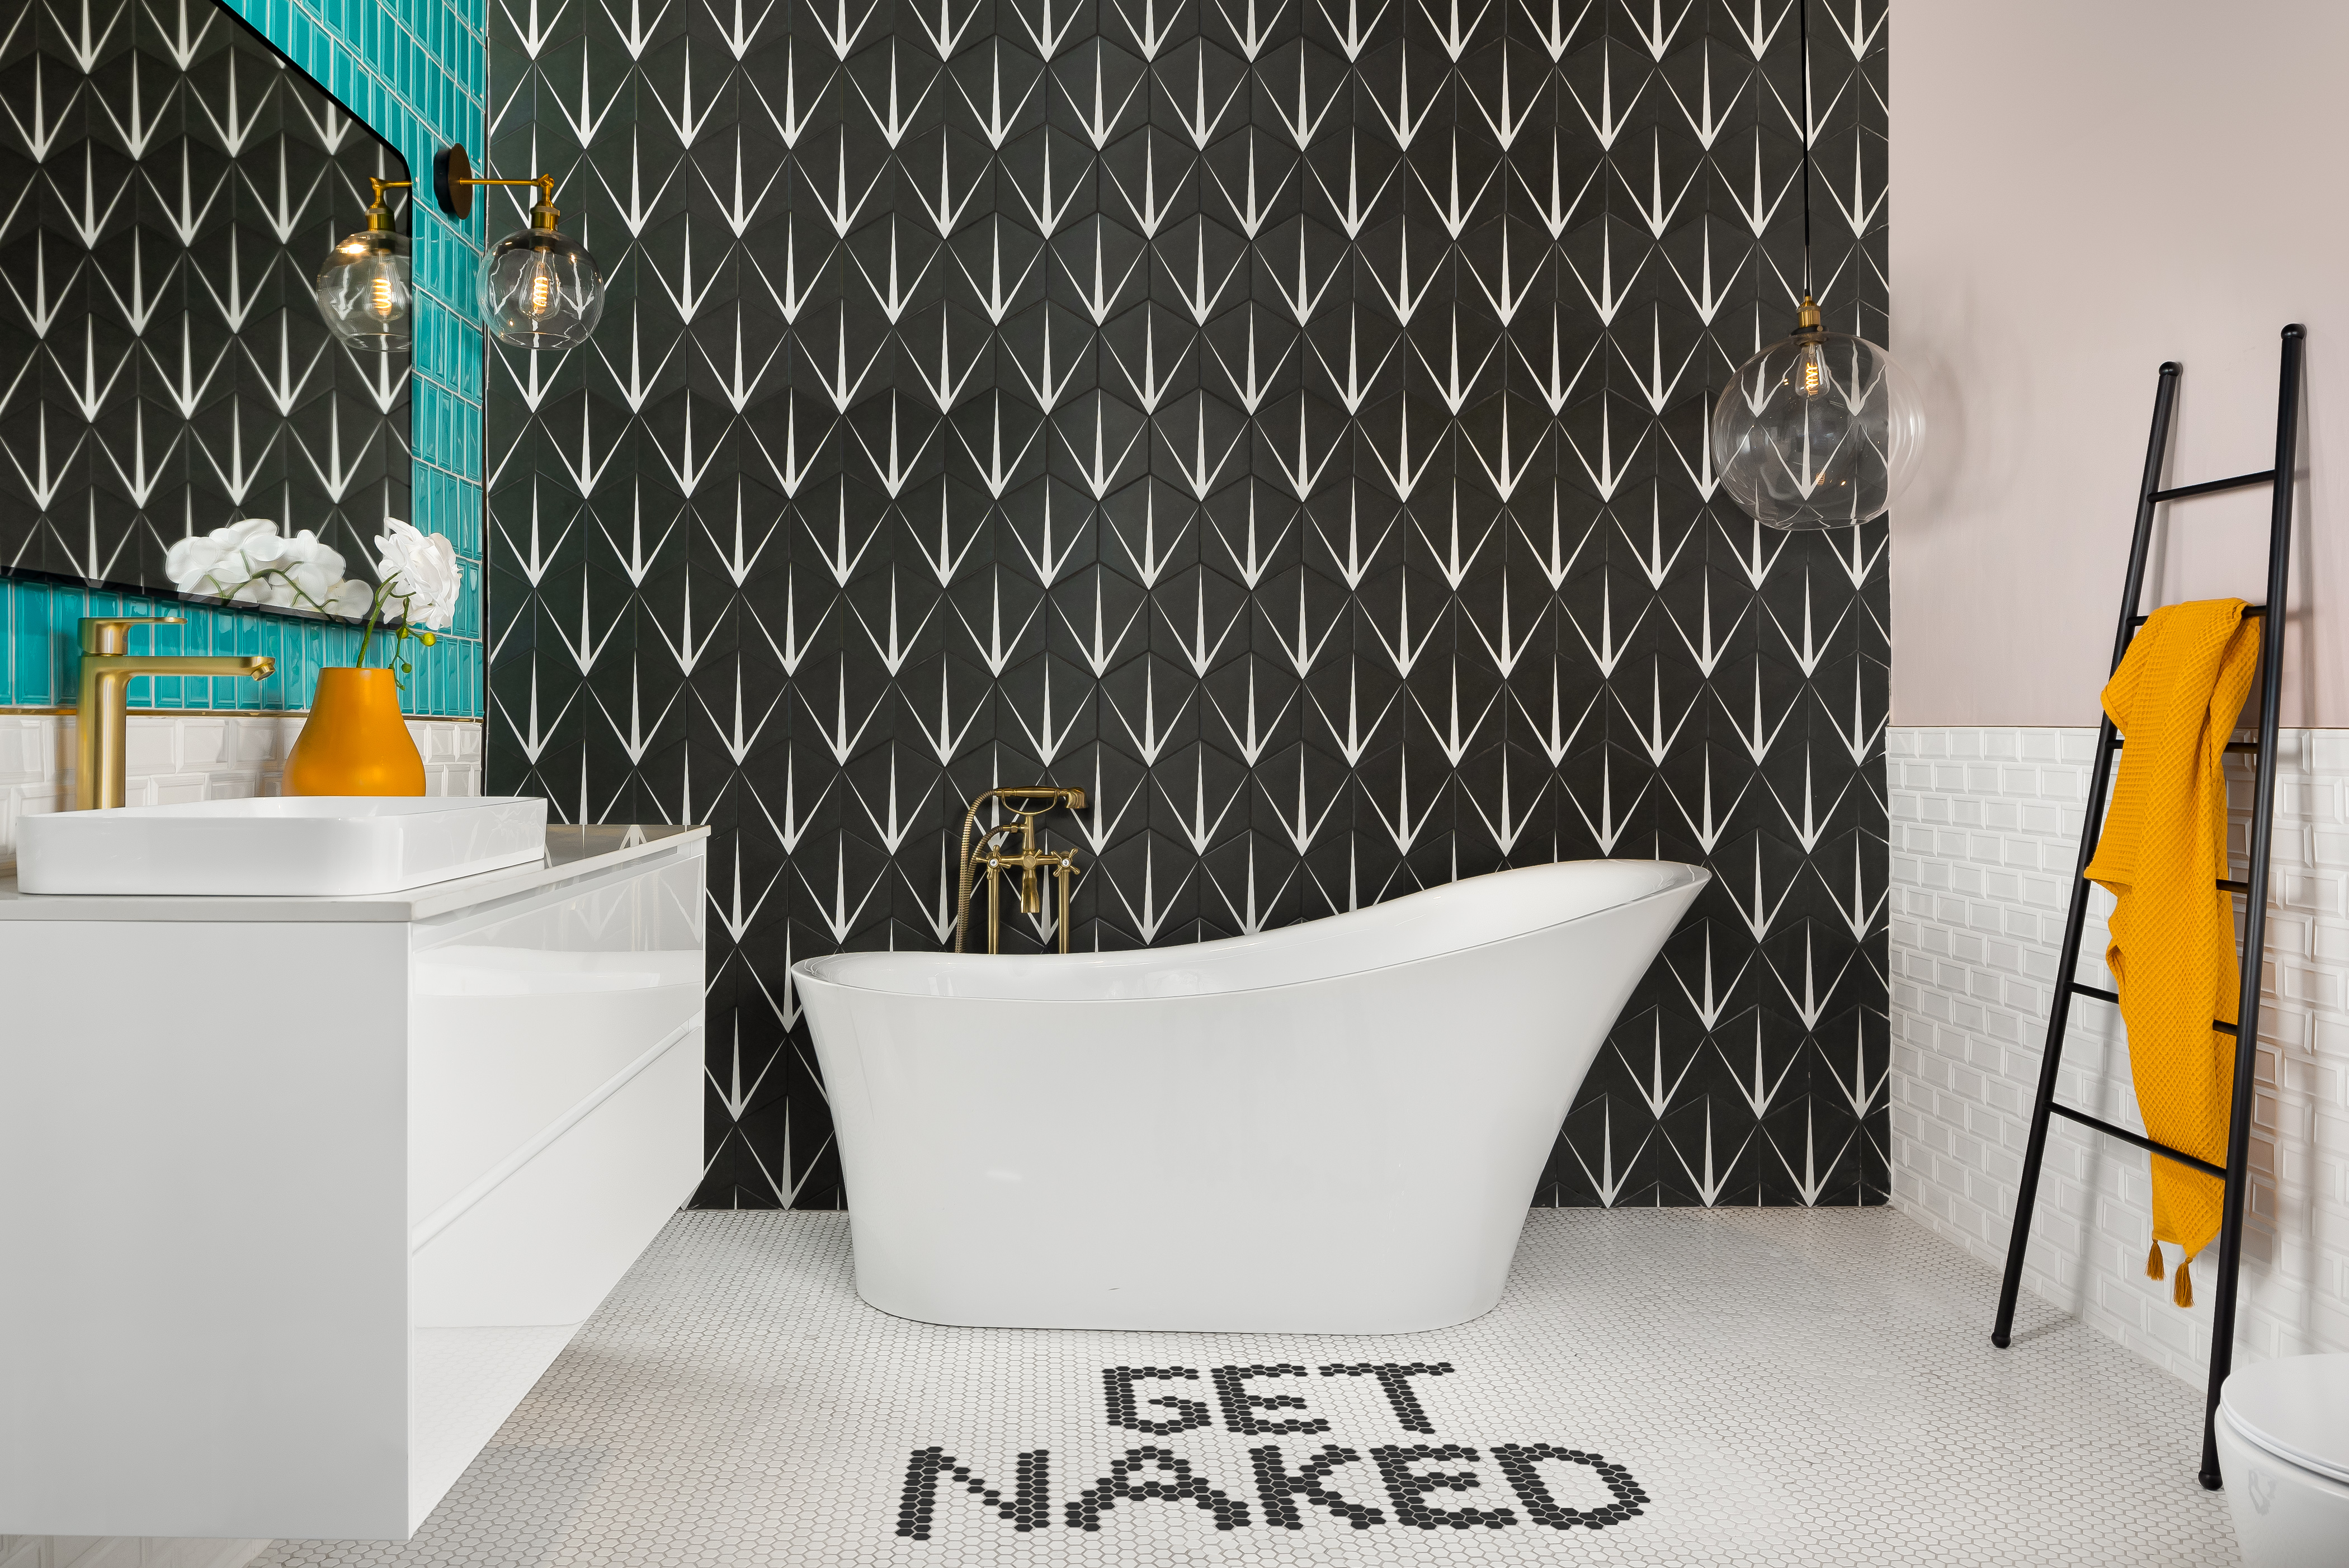
Using the Douglas Jones Punkah collection in Norwegian Red and Green Jade, this design features tiles of the same shape but in different colours to create a playful and vibrant space. Grey marble tiles on the floor break up the colours, allowing the wall tiles to stand out as the focal point.
In this bathroom, a variety of decorative tiles are used on the floor, making it the focal point while simple white tiles are used on the walls. This combination creates a contemporary, clean look despite the intricate floor tile designs.
Prefer to watch?
Ryan and Deon discuss mixing and matching tiles in the video below:
Mixing and matching tiles can seem daunting, but with these guidelines, you’ll be able to create a stunning and unique look in any room.
Feeling inspired but unsure where to start? We can help point you in the right direction! Visit your nearest Tiletoria showroom and let us help you choose the best combinations for your space.
It’s time for a tile upgrade, and let’s be honest, the options can be overwhelming. If you’re after something timeless yet versatile, subway tiles are worth considering. Practical and stylish, subway tiles have evolved in materials, colours, and patterns since their debut over a century ago.
Picture glossy white or black rectangular tiles, often seen in butcheries and restaurants, evoking a vintage New York vibe while exuding cleanliness and hygiene. These tiles get their name from the iconic subway stations, designed to brighten up dark tunnels with their easy-to-clean, light-reflective surfaces. Originally created in a 3×4 rectangle for New York City’s first subway station, subway tiles, also known as Metro tiles, quickly moved from underground to home interiors. Their smooth surface and easy maintenance make them a top choice for kitchens and bathrooms.
The first subway tiles were made of ceramic, but today’s options include ceramic, porcelain, glass, marble, and other stones. Your choice of material will depend on the look and functionality you desire. Once limited to black and white, subway tiles now come in a variety of inspiring colours to spark up any space.
Subway tiles are most popular in kitchens, bathrooms, and utility rooms. They make excellent splashbacks, feature walls, and shower interiors. Thinking about creating the perfect splashback? Check out our detailed guide here.
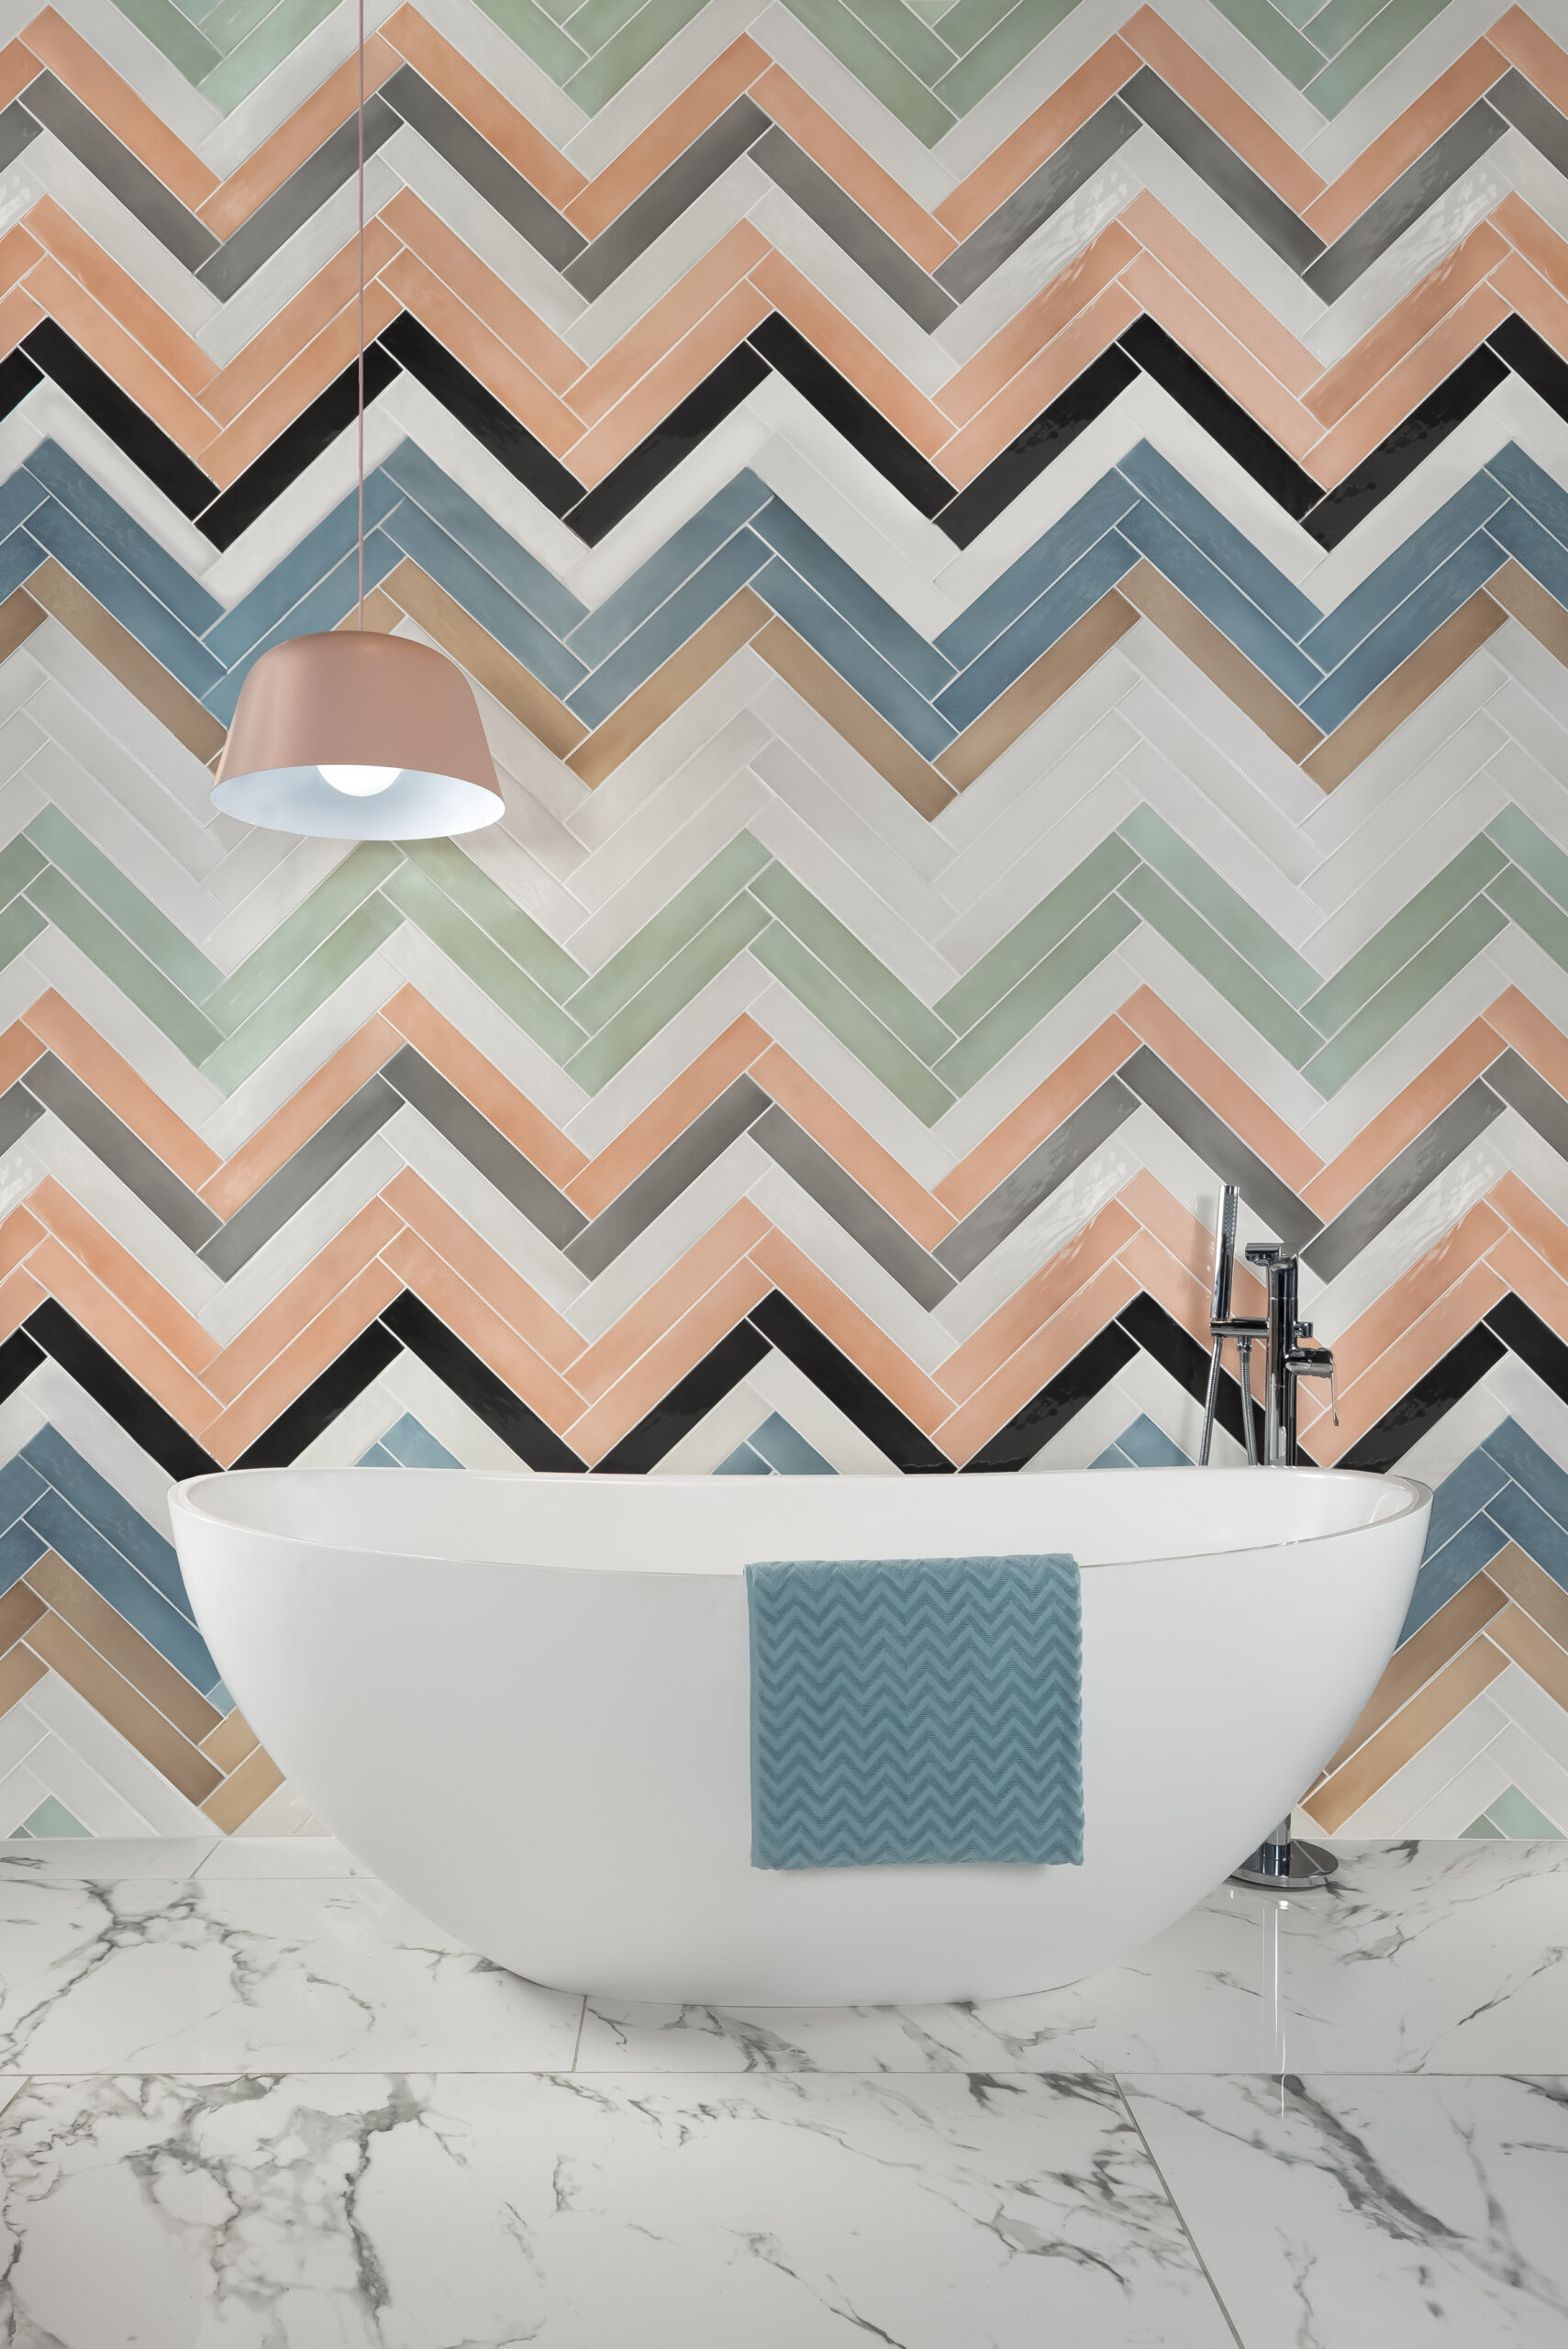
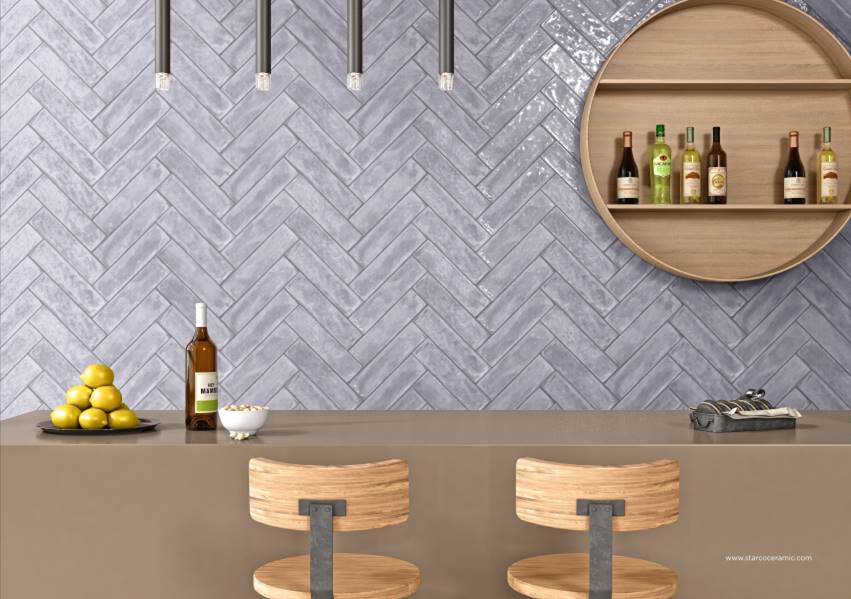
Subway tiles aren’t just easy to clean—they’re also incredibly versatile, being able to be styled in a variety of ways. While the classic brick pattern remains popular, you can break away with herringbone, chevron, or other creative layouts for a modern twist on this American classic. For more layout inspiration, see our blog here.
Grout Colour
Traditional grout colours like white, grey, or black were used to match the tile colour. Nowadays, grout comes in a spectrum of shades. Using contrasting grout, such as black with white subway tiles, creates a striking framed effect. On the other hand, matching grout to the tile colour, like black grout with black tiles, creates a seamless look. Your grout choice depends on the overall aesthetic you want to achieve. Need help choosing grout? Our guide to grout colours is just a click away here.
Ryan and Deon discuss Subway Tiles in the video below:
Subway tiles are here to stay! With an array of colours and layout options available, you’re on your way to designing a feature wall worthy of Broadway. Visit your nearest Tiletoria showroom today or browse our range of subway tiles online.
pricing and stock information displayed on this site will be of the branch you select.
it will remain your default branch until you change it. all prices are inclusive of VAT.