blog, floors, interior design tips, walls
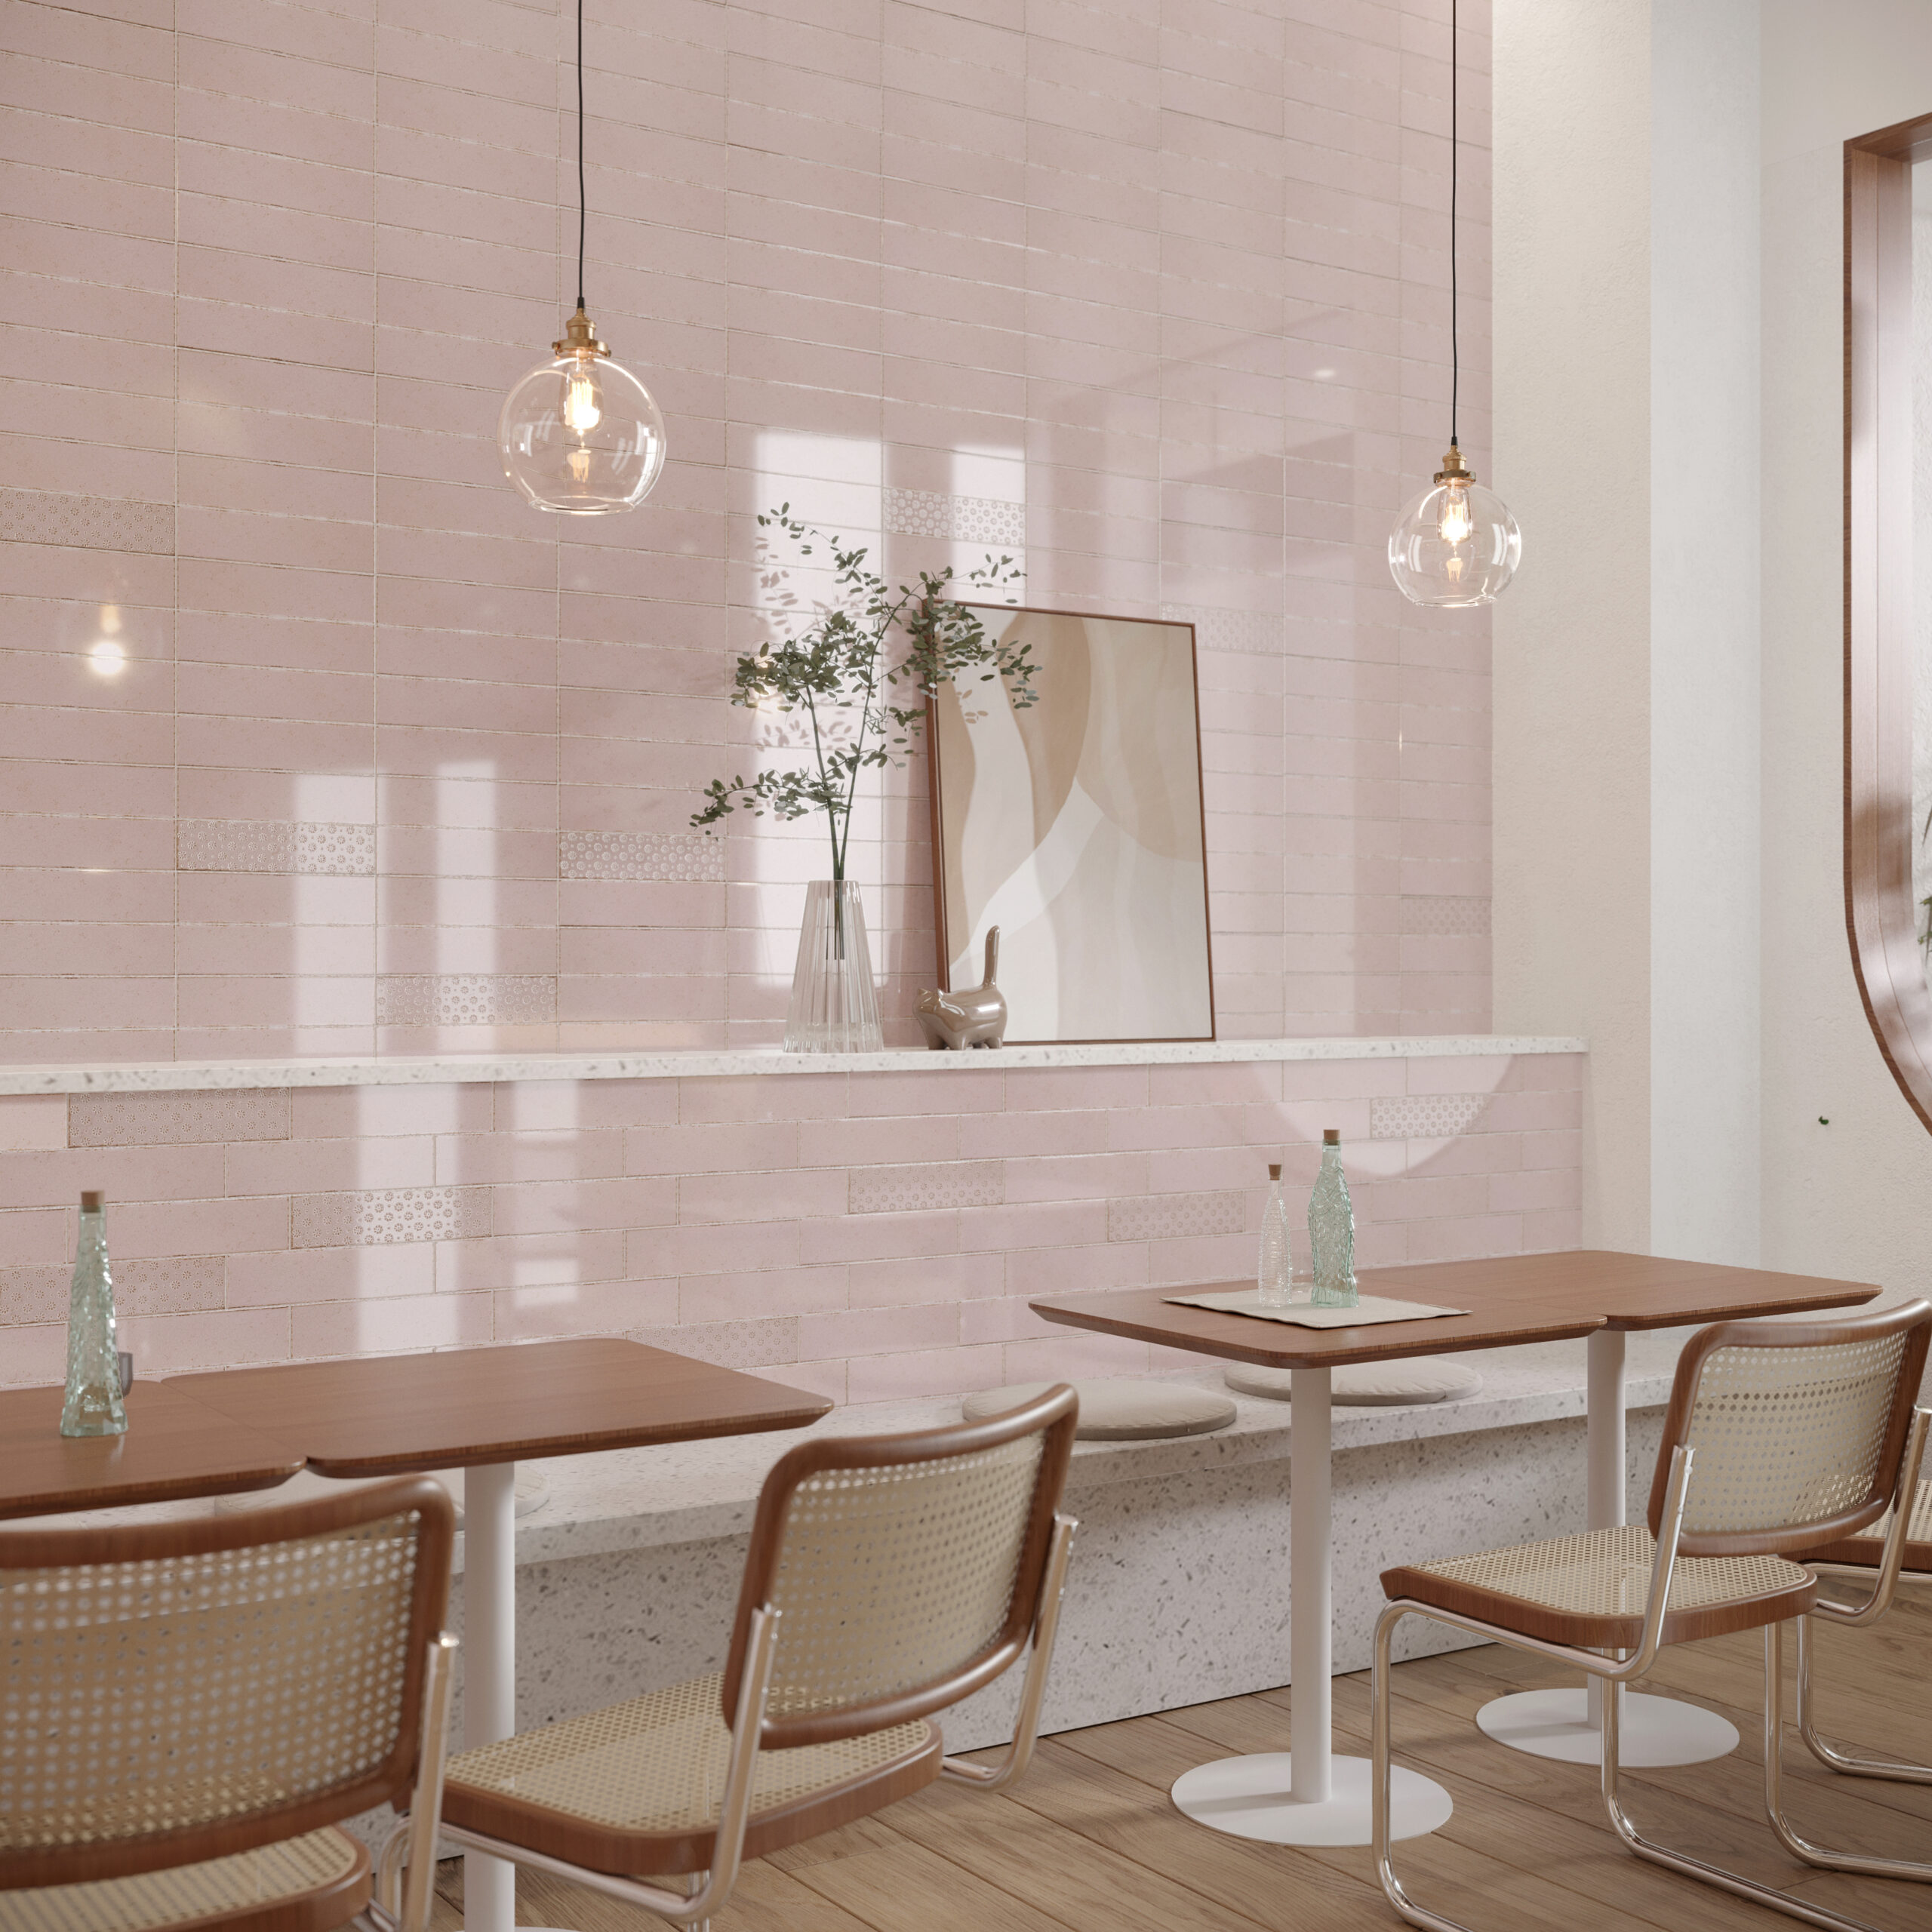
There’s something incredibly satisfying about walking into a space where everything just feels right. Often, you can’t immediately tell why — but your brain knows. More often than not, it comes down to symmetry. Symmetry in interior design plays a powerful role in how we perceive a space. When it comes to tile layouts, symmetrical patterns have a calming effect that makes rooms feel more balanced, welcoming and visually appealing.
Let’s explore why symmetrical tile designs feel so relaxing and how you can use them to create harmony in your home.

Table of Content:
Why Our Brains Love Symmetry
The Role of Symmetry in Tile Design
Spaces That Benefit Most from Symmetrical Tile Layouts
Symmetry Doesn’t Mean Boring
When to Break the Rules
Why Our Brains Love Symmetry
Humans are hardwired to find symmetry pleasing. From nature to architecture, our brains constantly seek order and balance. Symmetrical patterns are easy to process because they give our brains a sense of predictability and stability. In contrast, asymmetrical or chaotic layouts can sometimes feel disjointed or overwhelming.
In psychology, this is known as processing fluency — the idea that the easier something is to understand visually, the more we tend to like it. When tiles are laid in symmetrical, repeating patterns, our minds relax. The space feels more put together, and that ease translates to comfort.
The Role of Symmetry in Tile Design
When planning a tile layout, symmetry can show up in a few different ways:
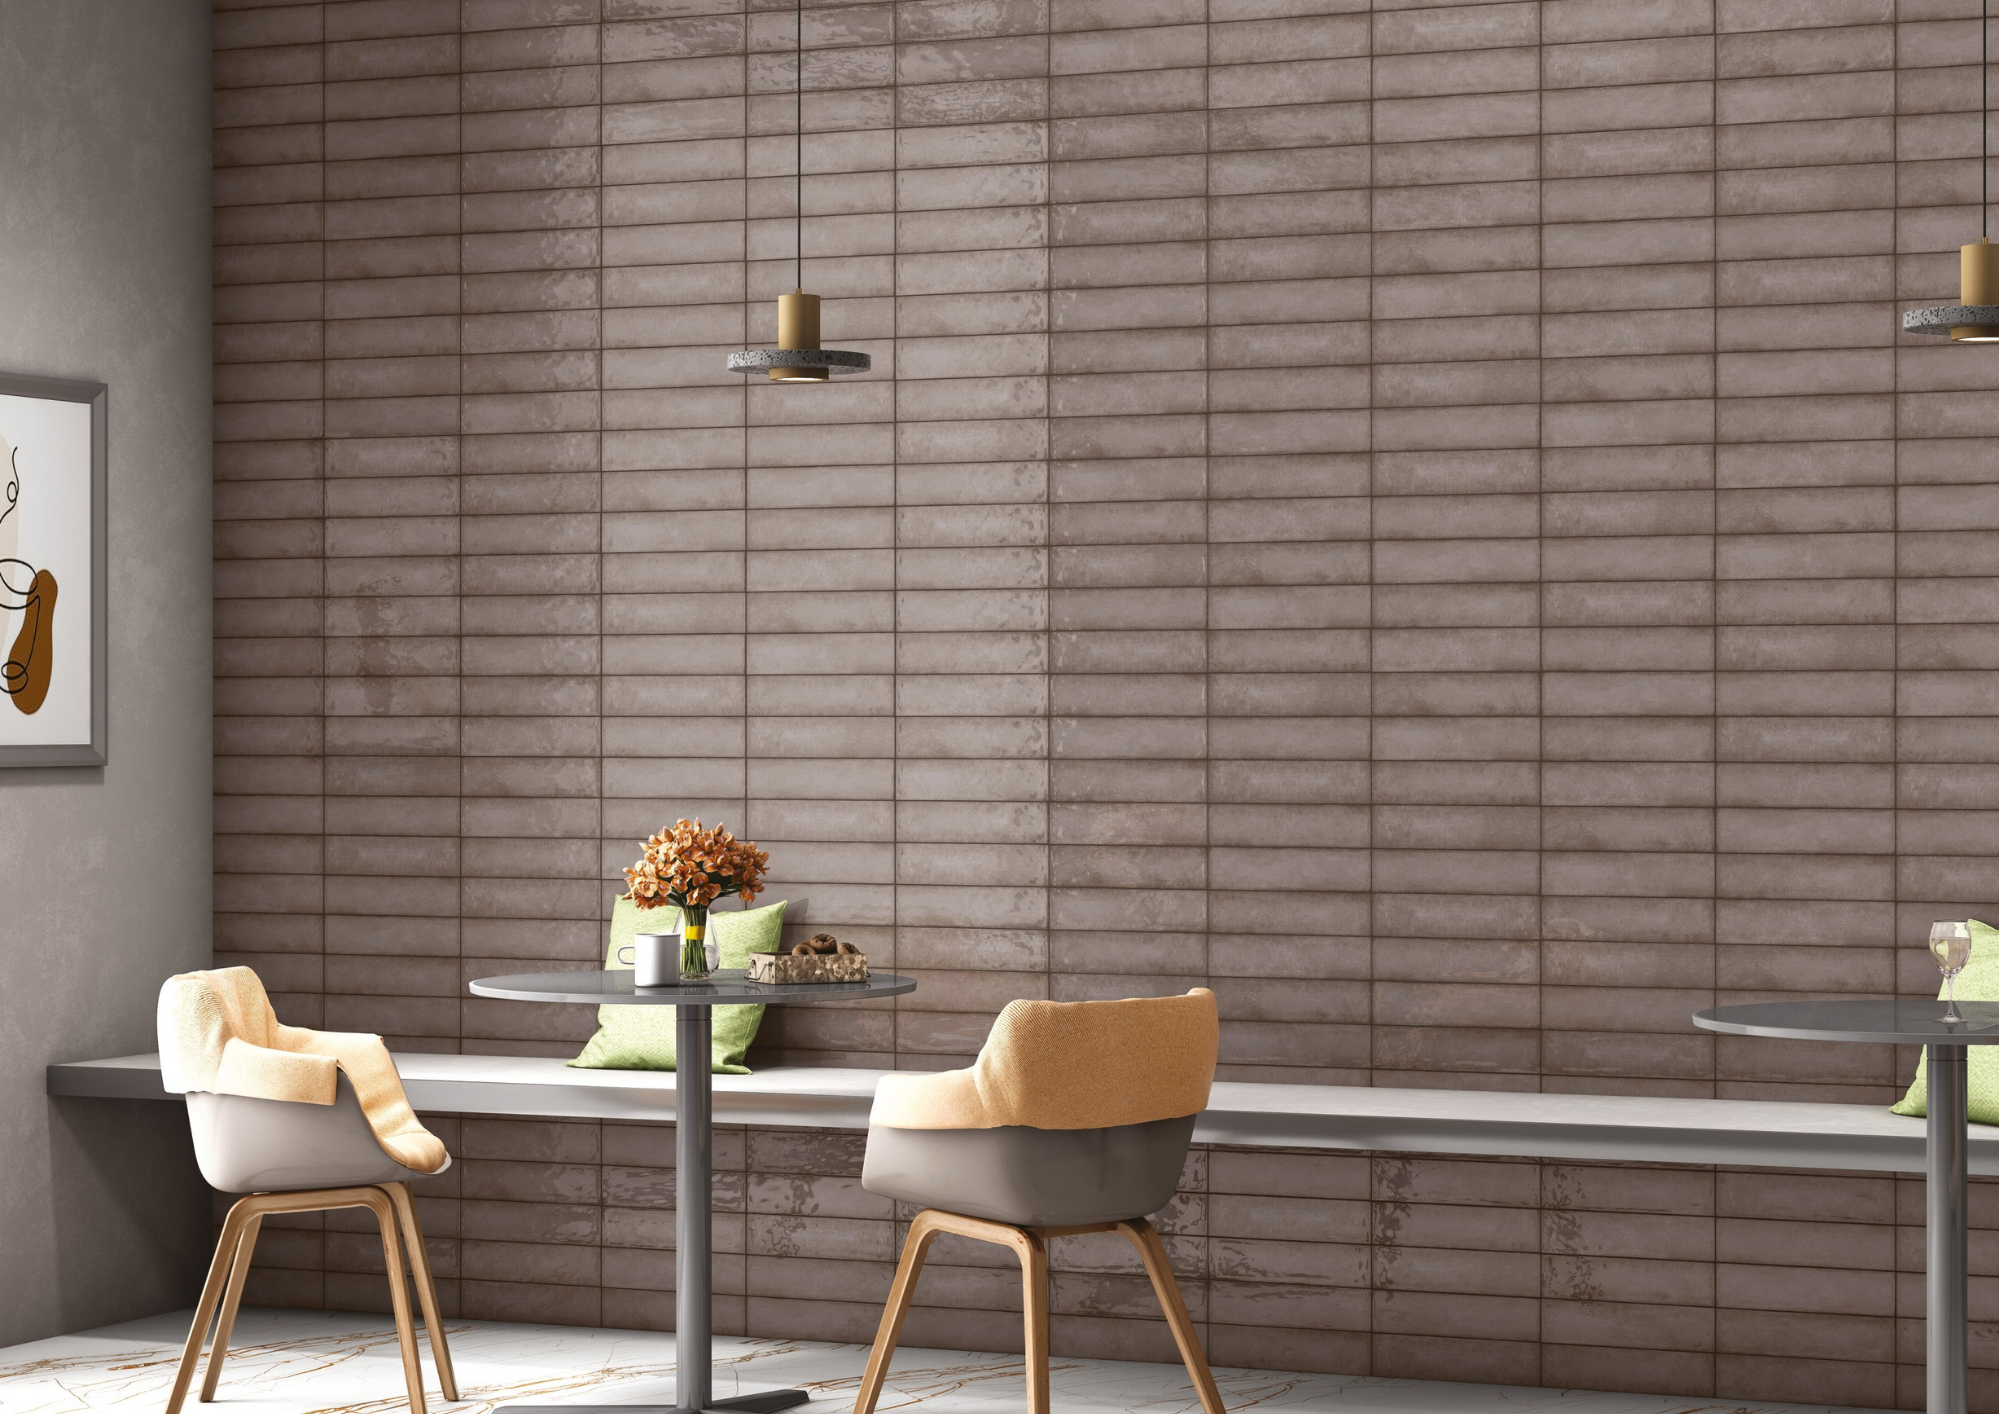
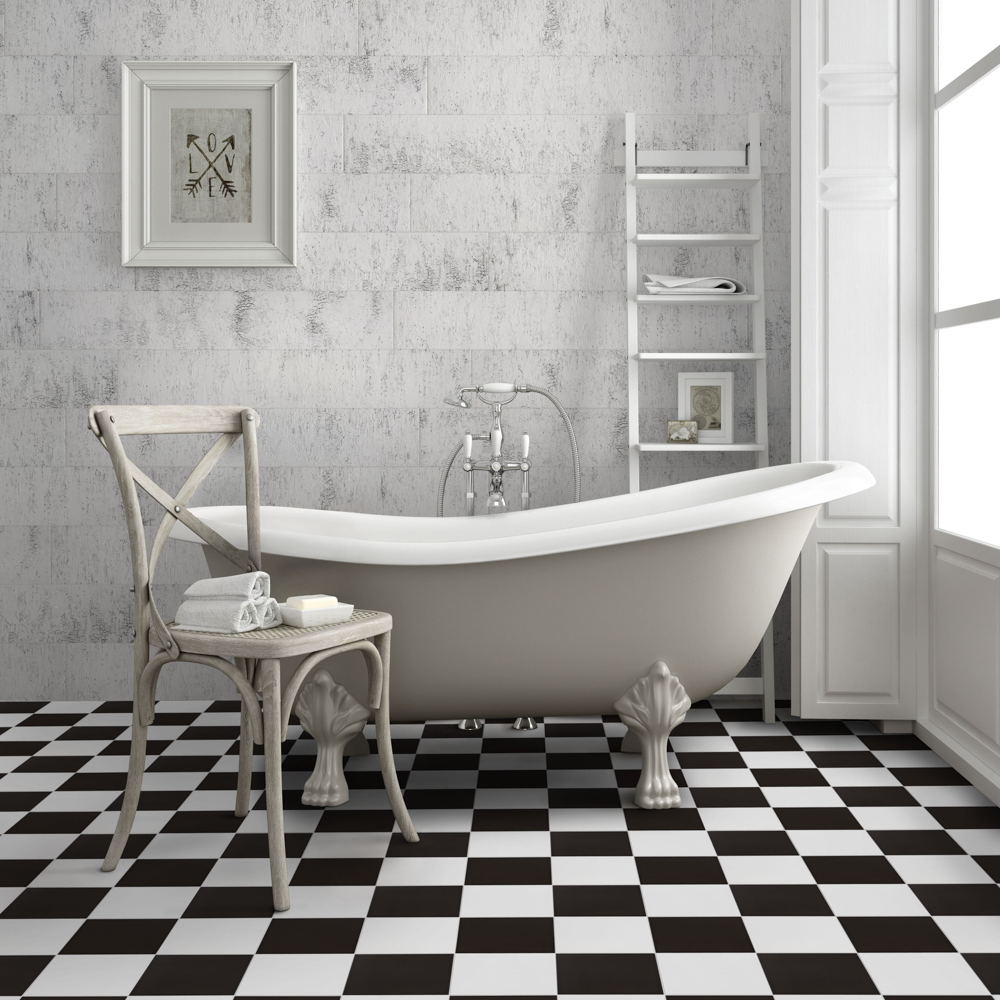
Grid patterns: Classic, clean and simple.
Tiles are lined up in rows and columns, creating a sense of order.
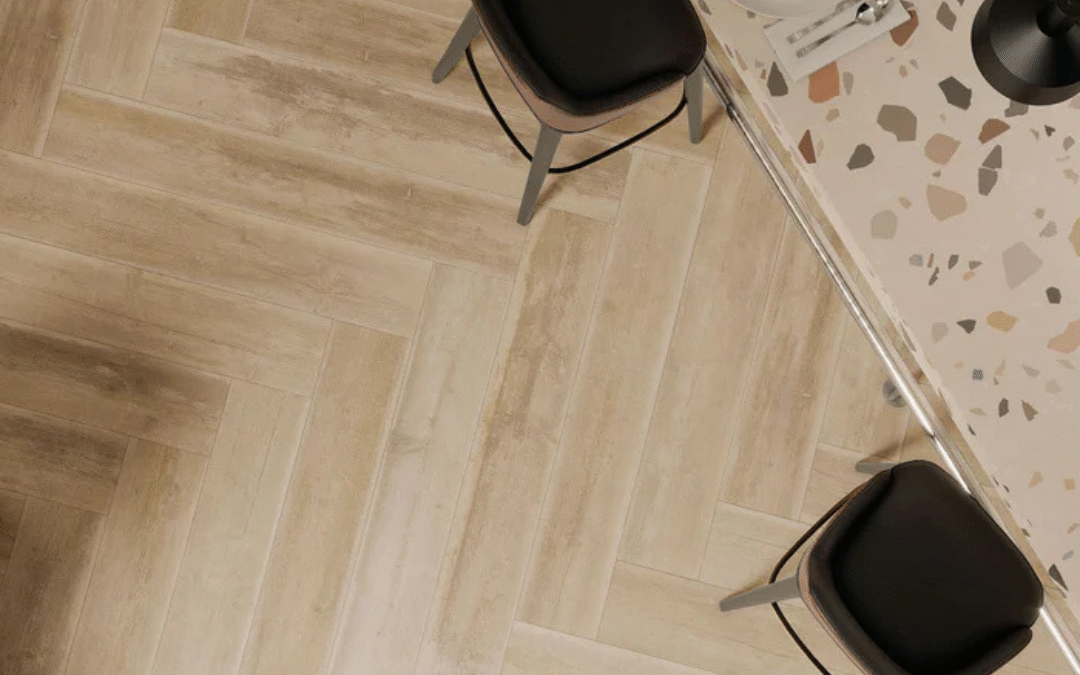
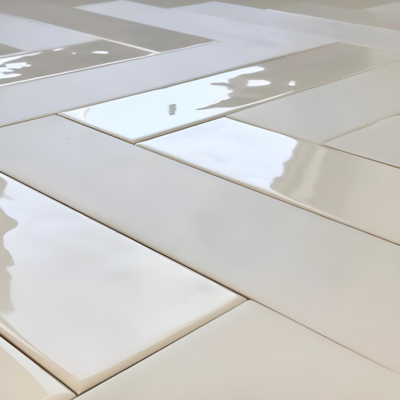
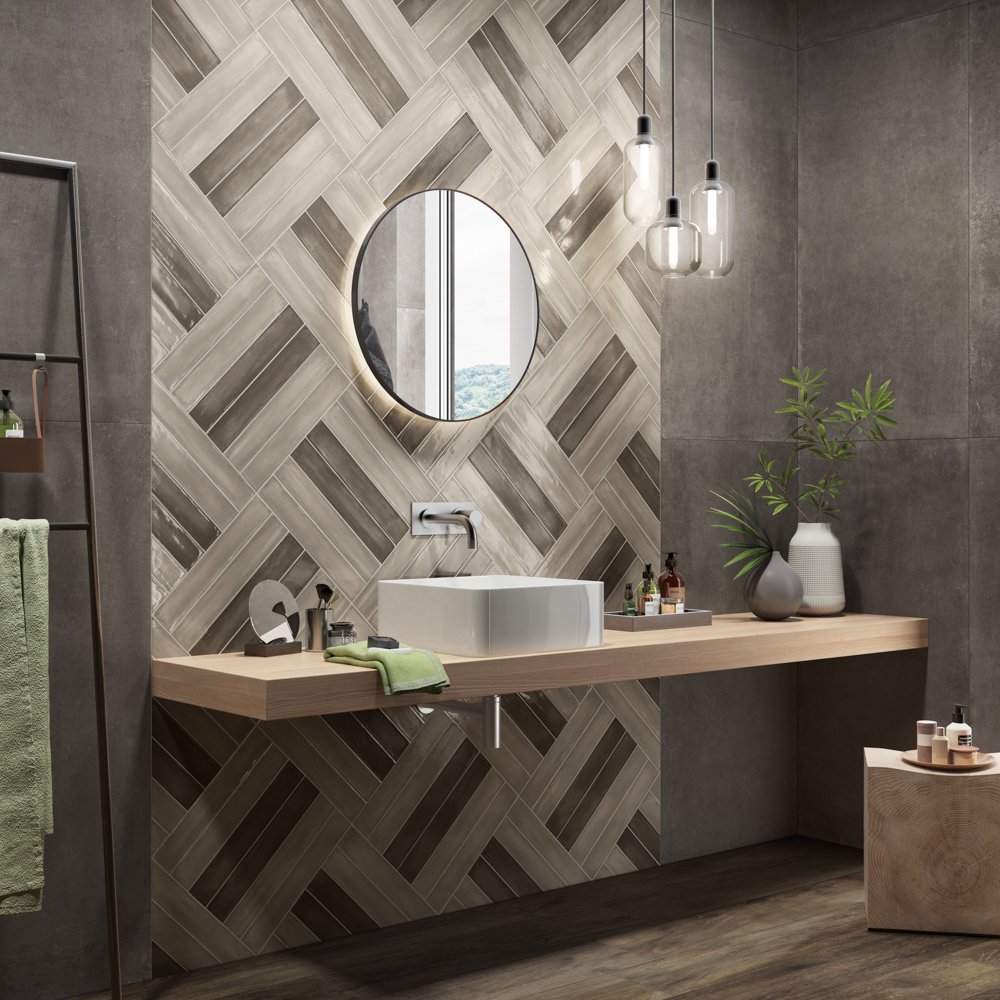
Herringbone and chevron layouts: These offer a dynamic yet balanced feel.
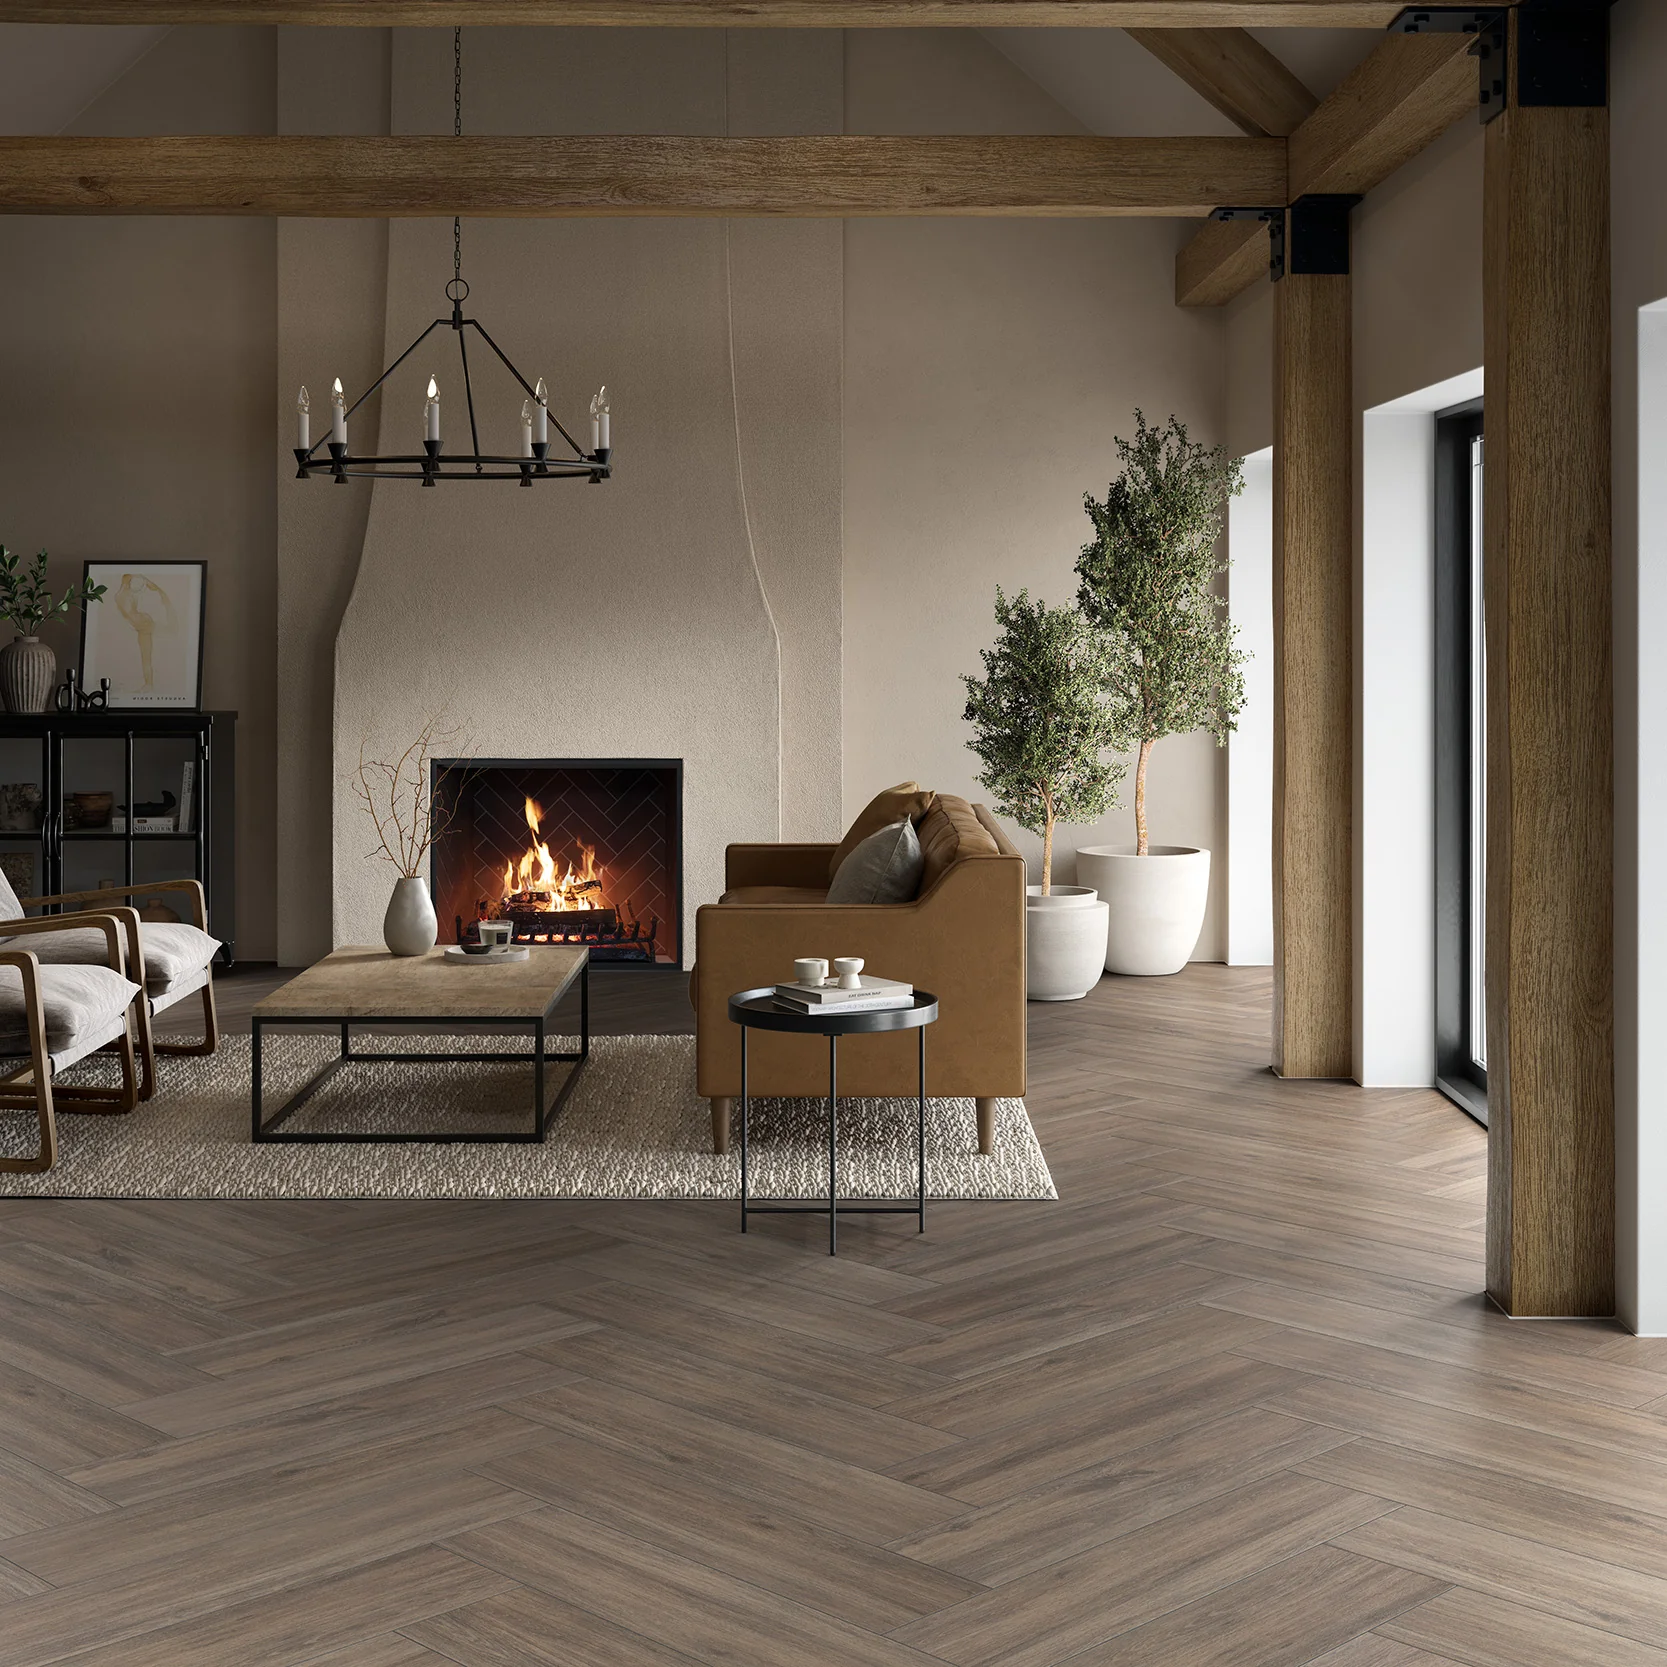
They add interest while still keeping the overall design cohesive.
Mirror layouts
These involve reflecting a pattern on either side of a centre line, which adds elegance and structure to a space.
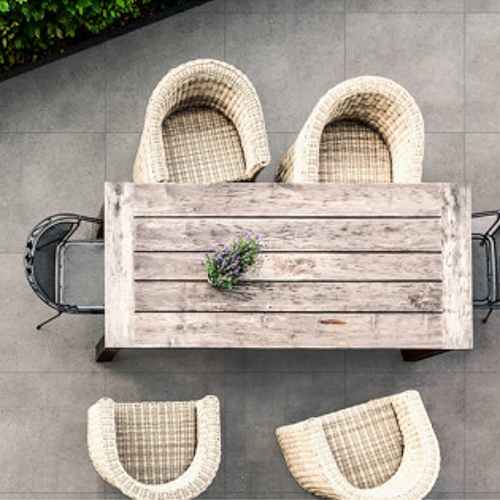
Whether you’re tiling a bathroom, kitchen or outdoor area, symmetrical layouts provide a foundation that feels intentional and soothing.
Spaces That Benefit Most from Symmetrical Tile Layouts
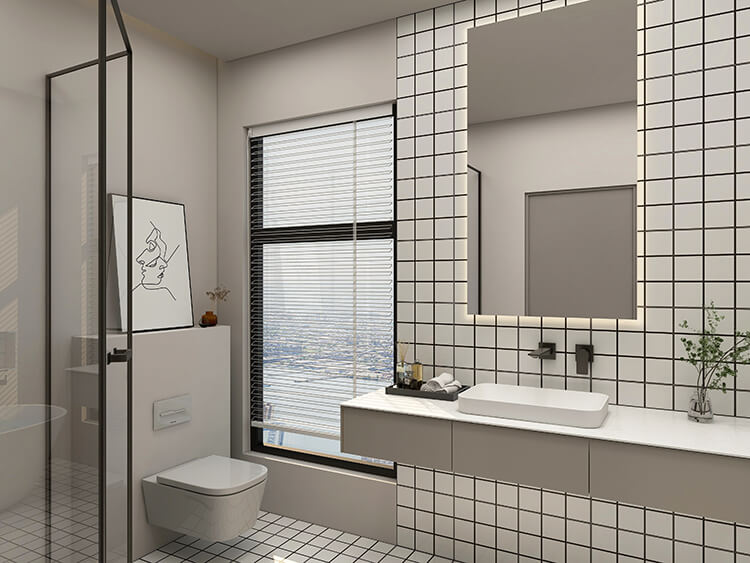
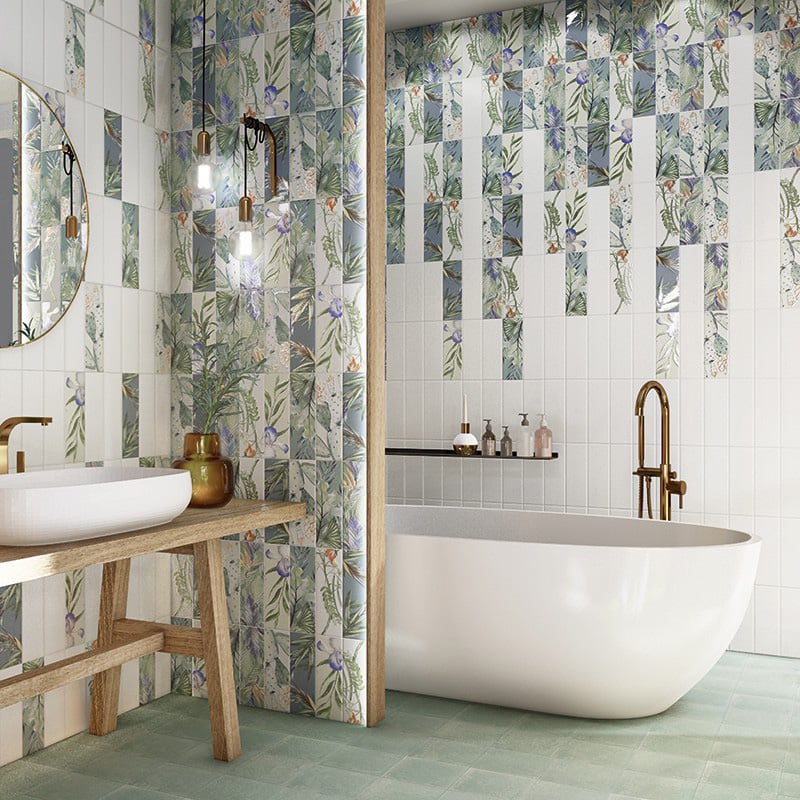
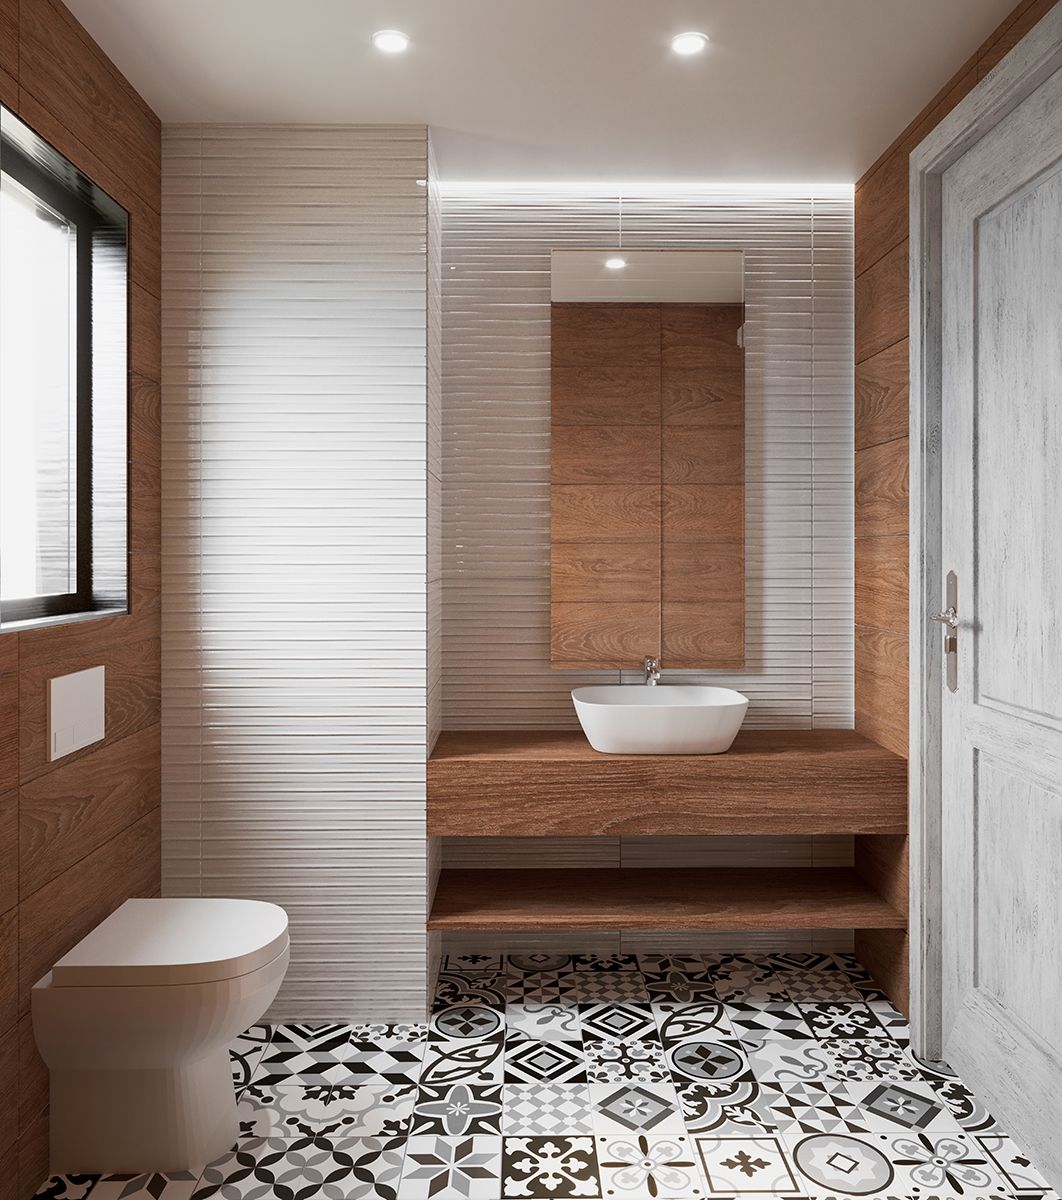
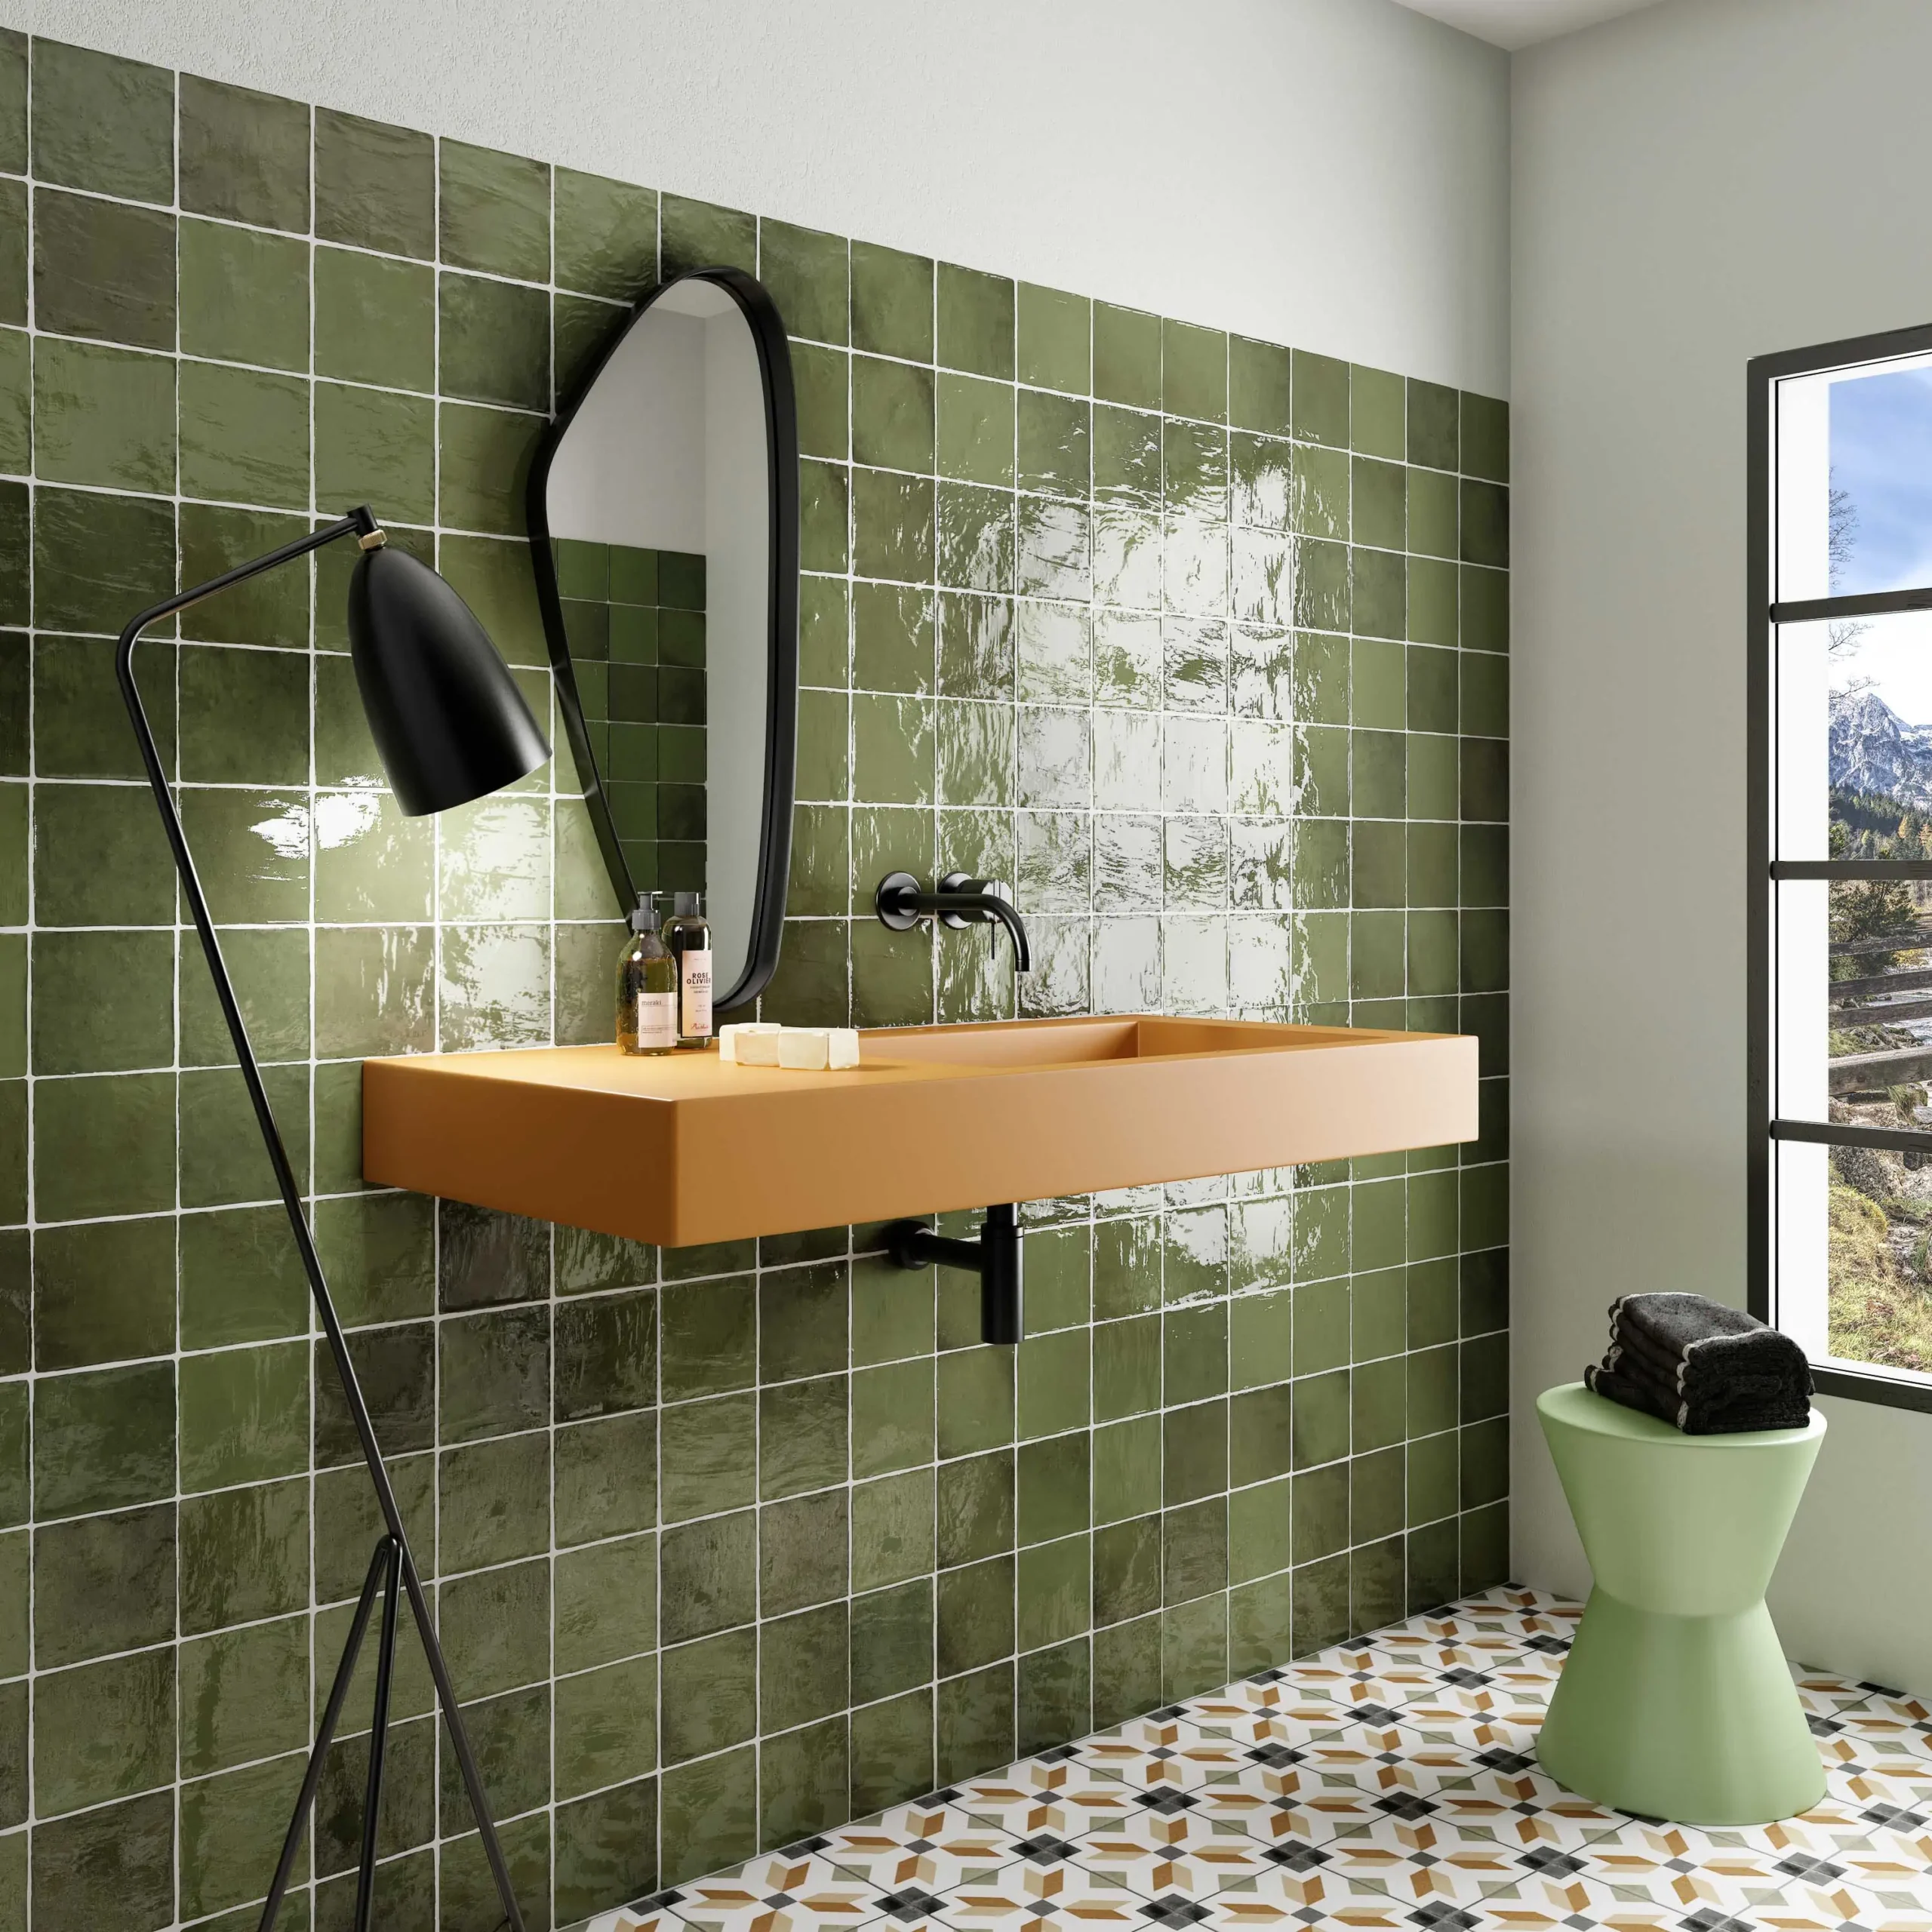
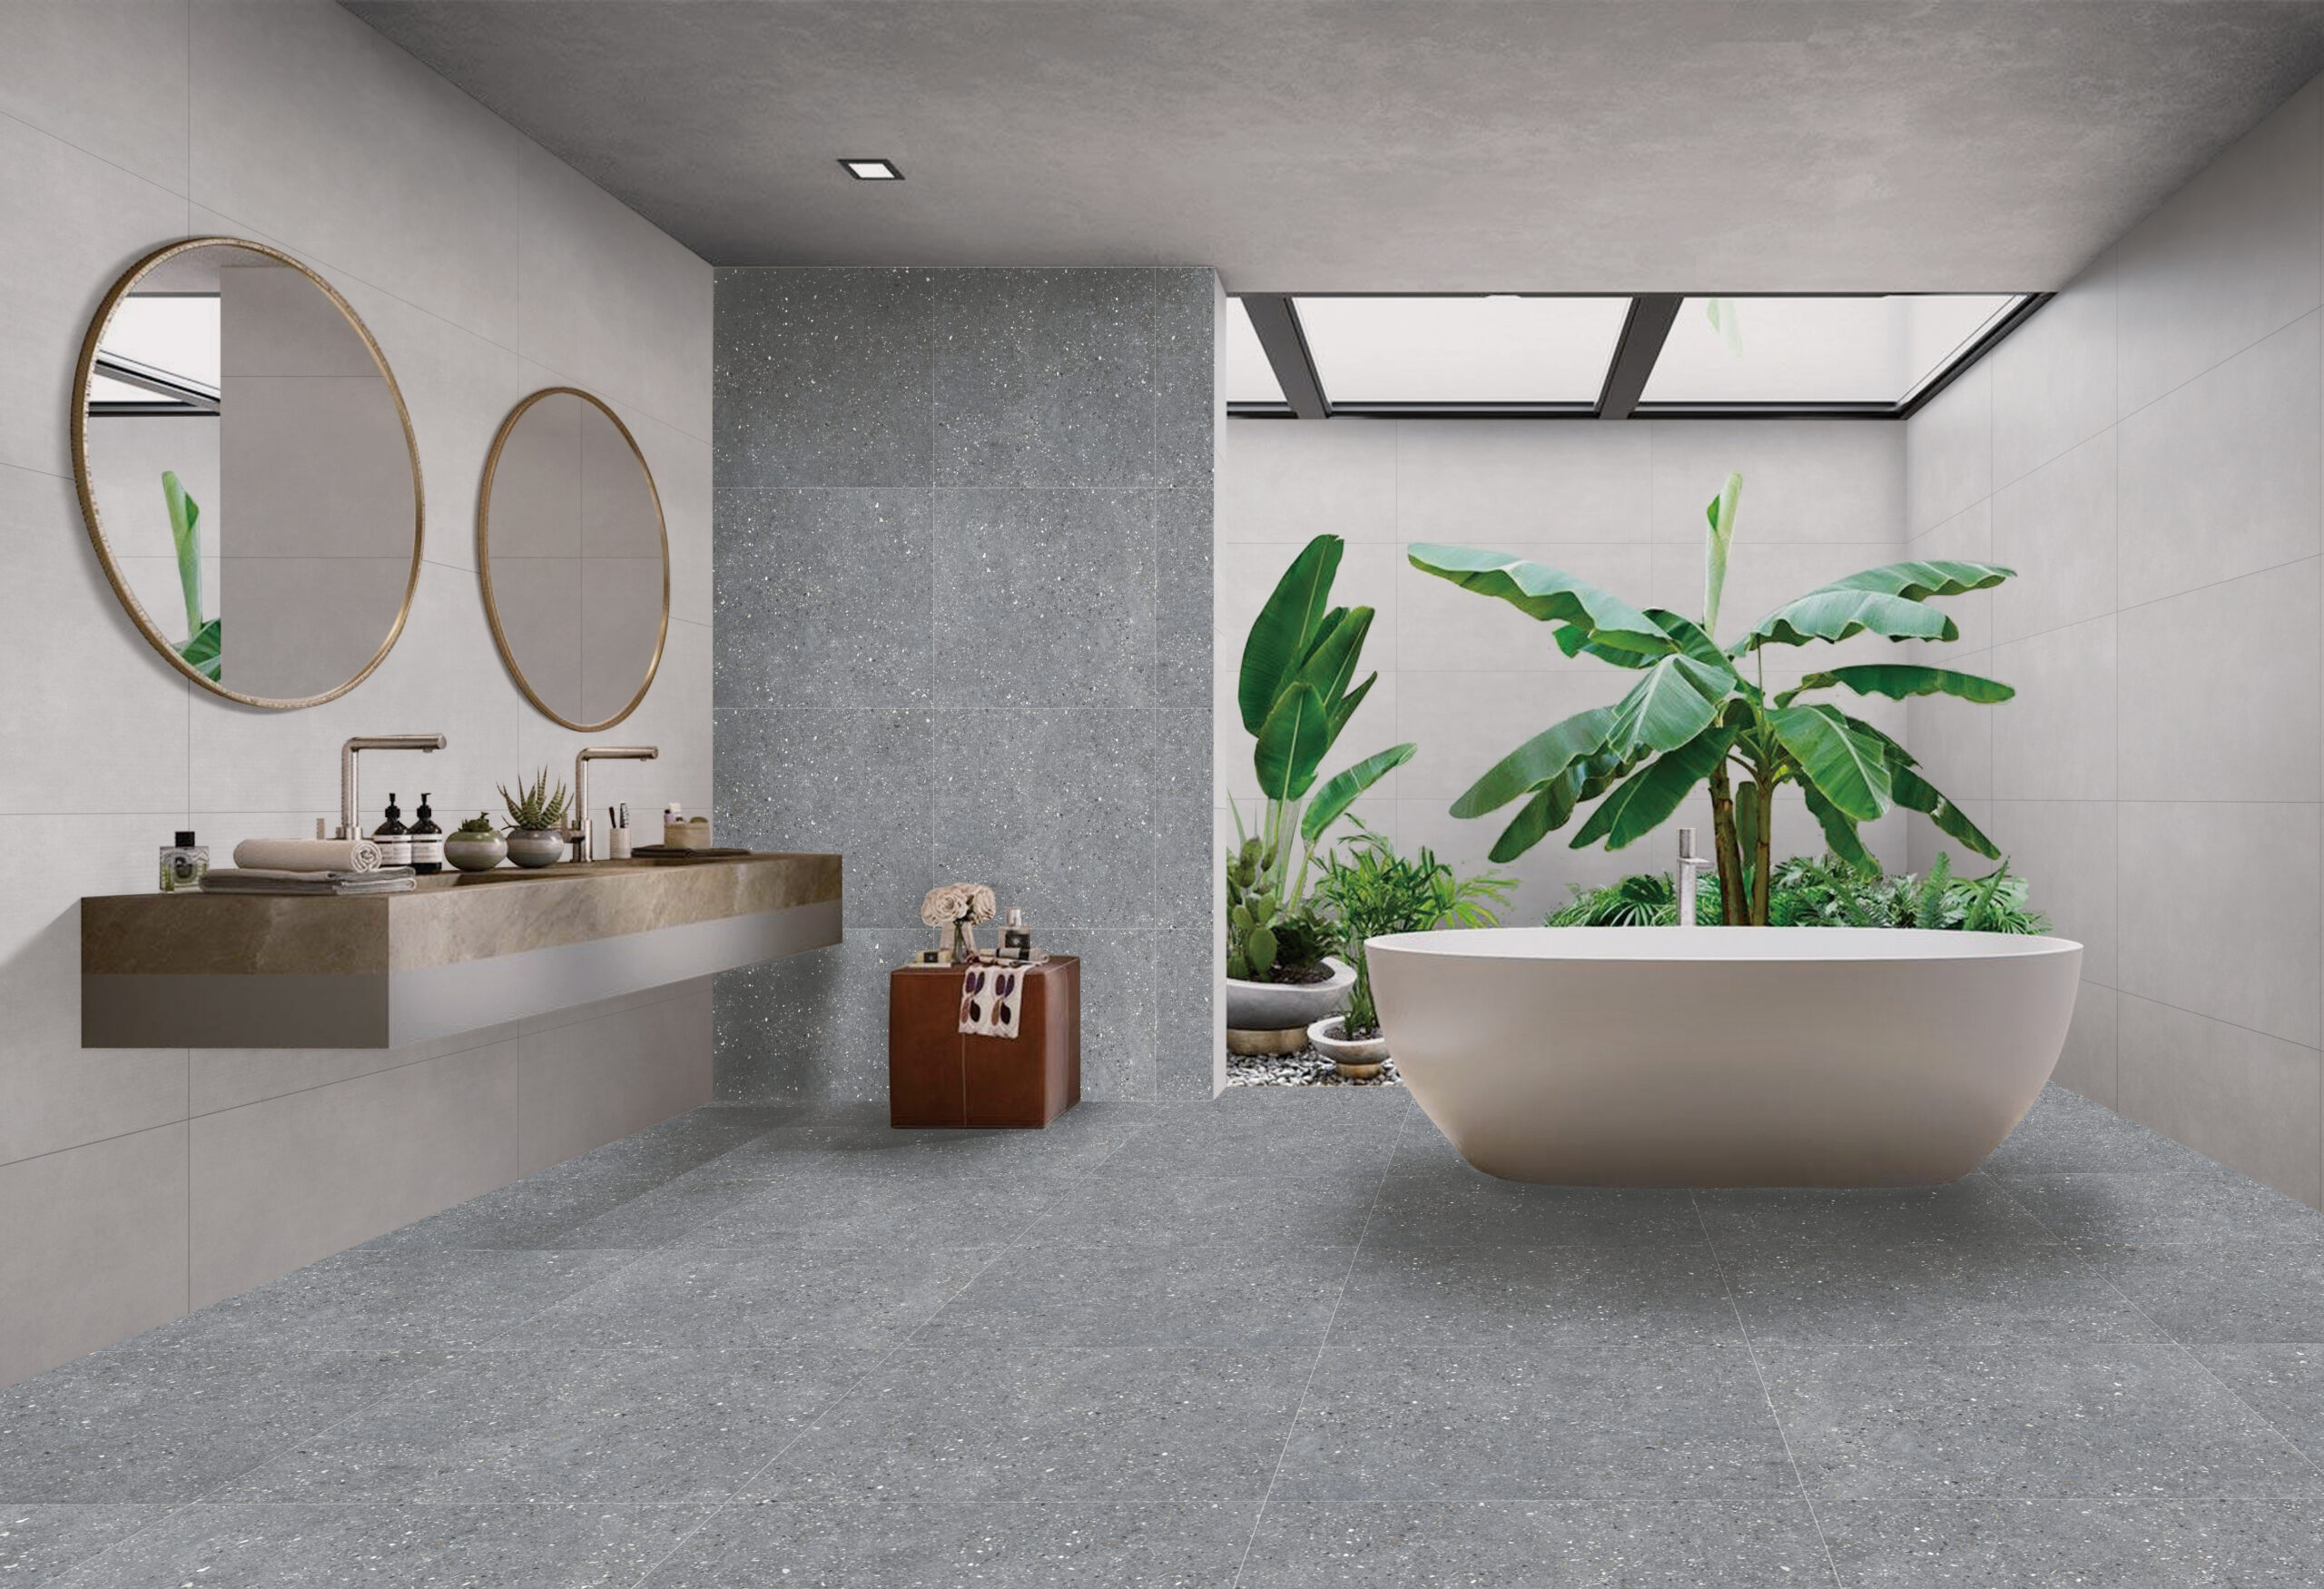
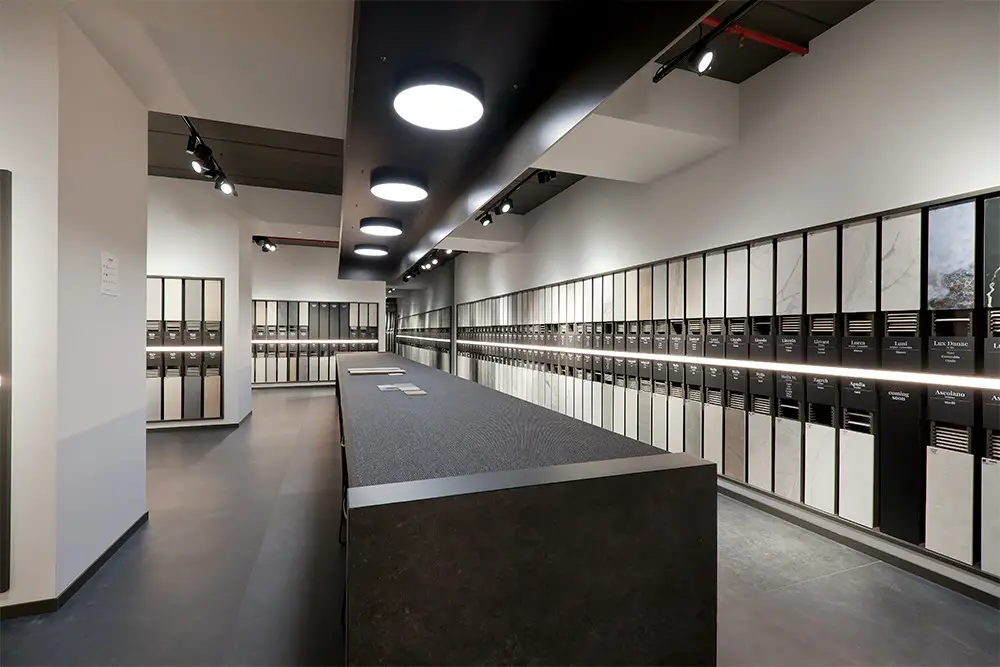
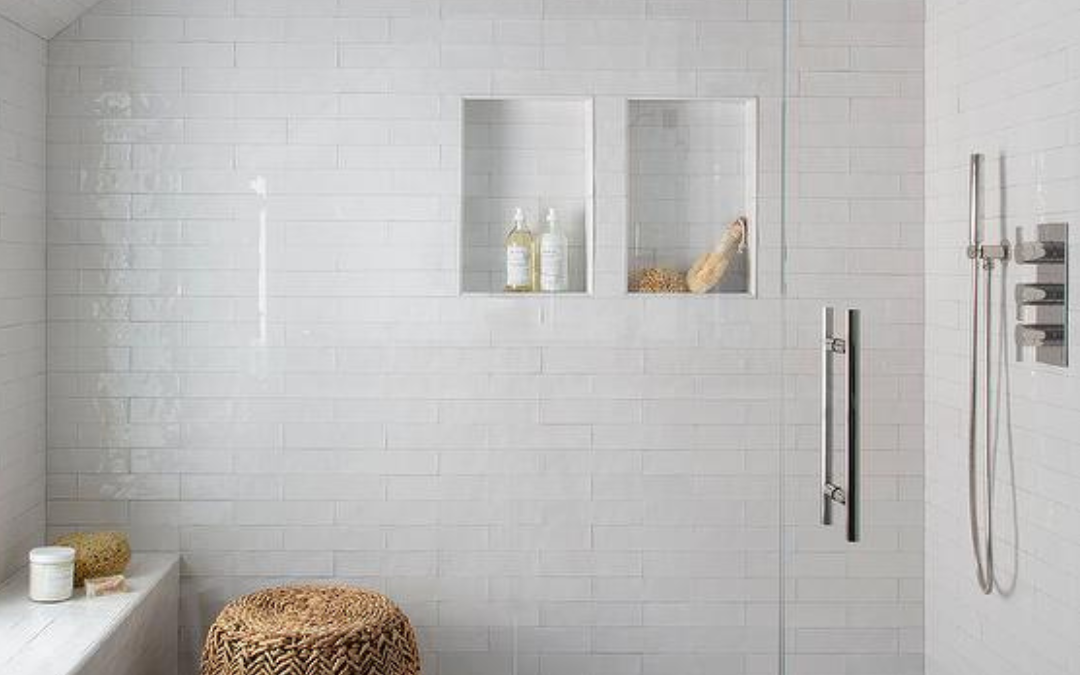
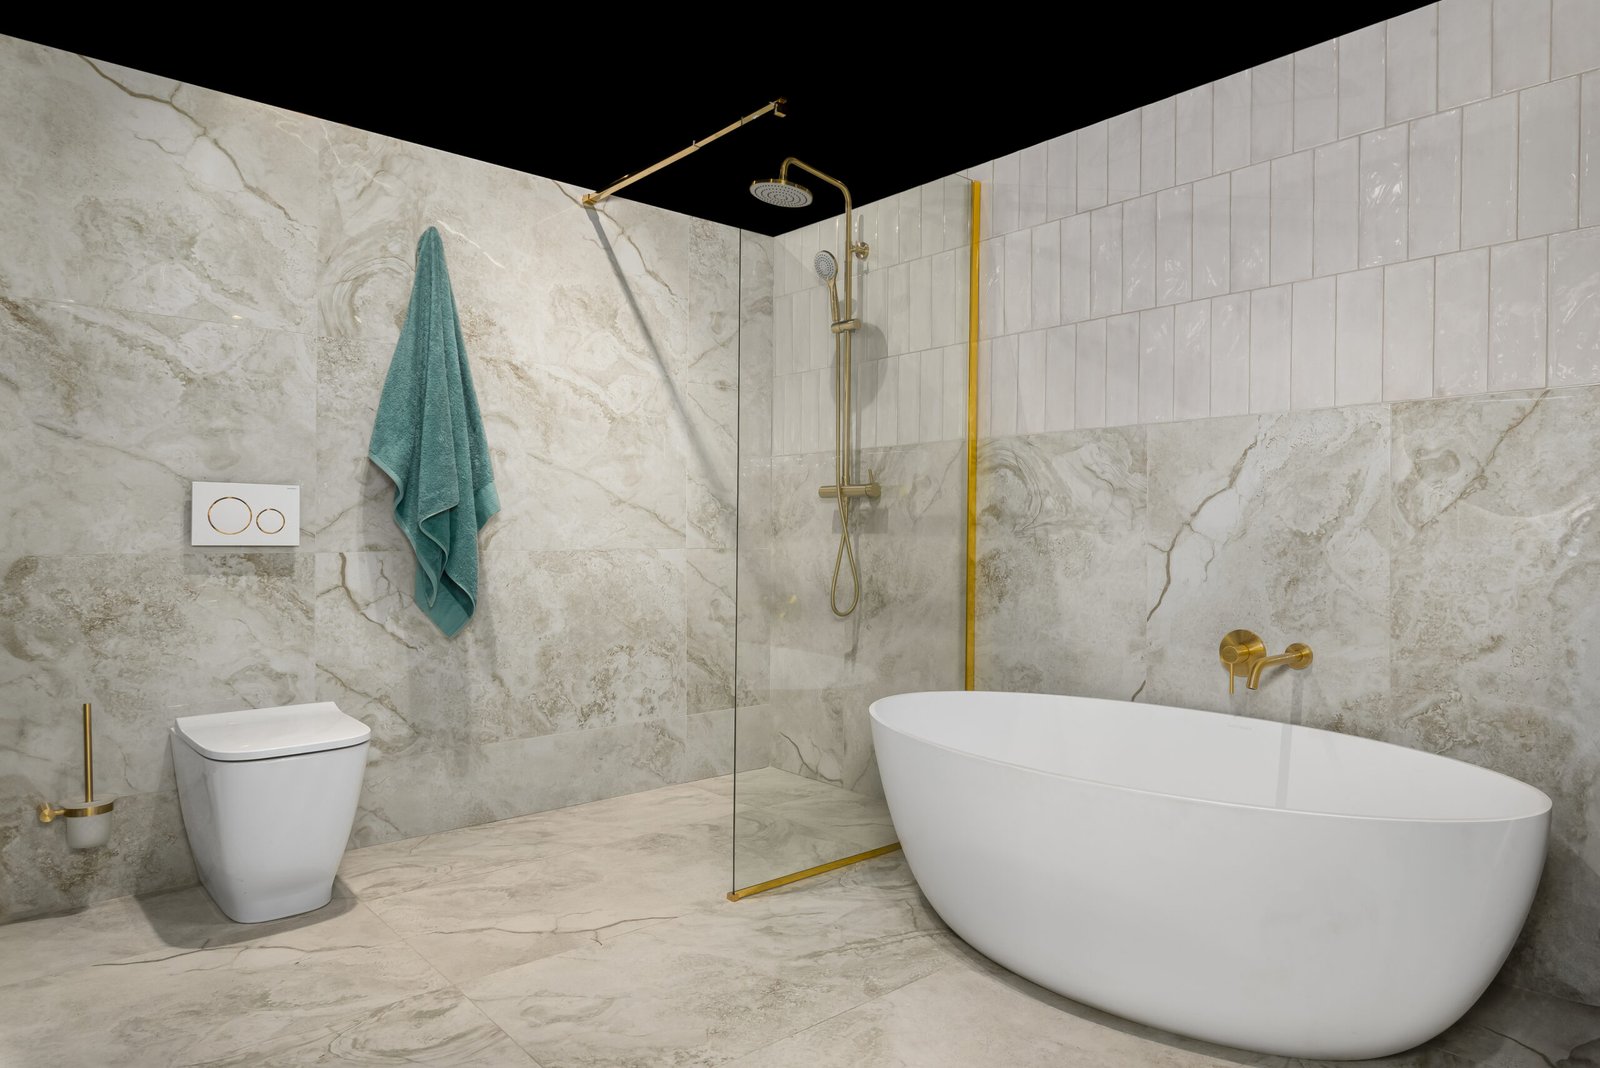
Bathrooms and ensuites
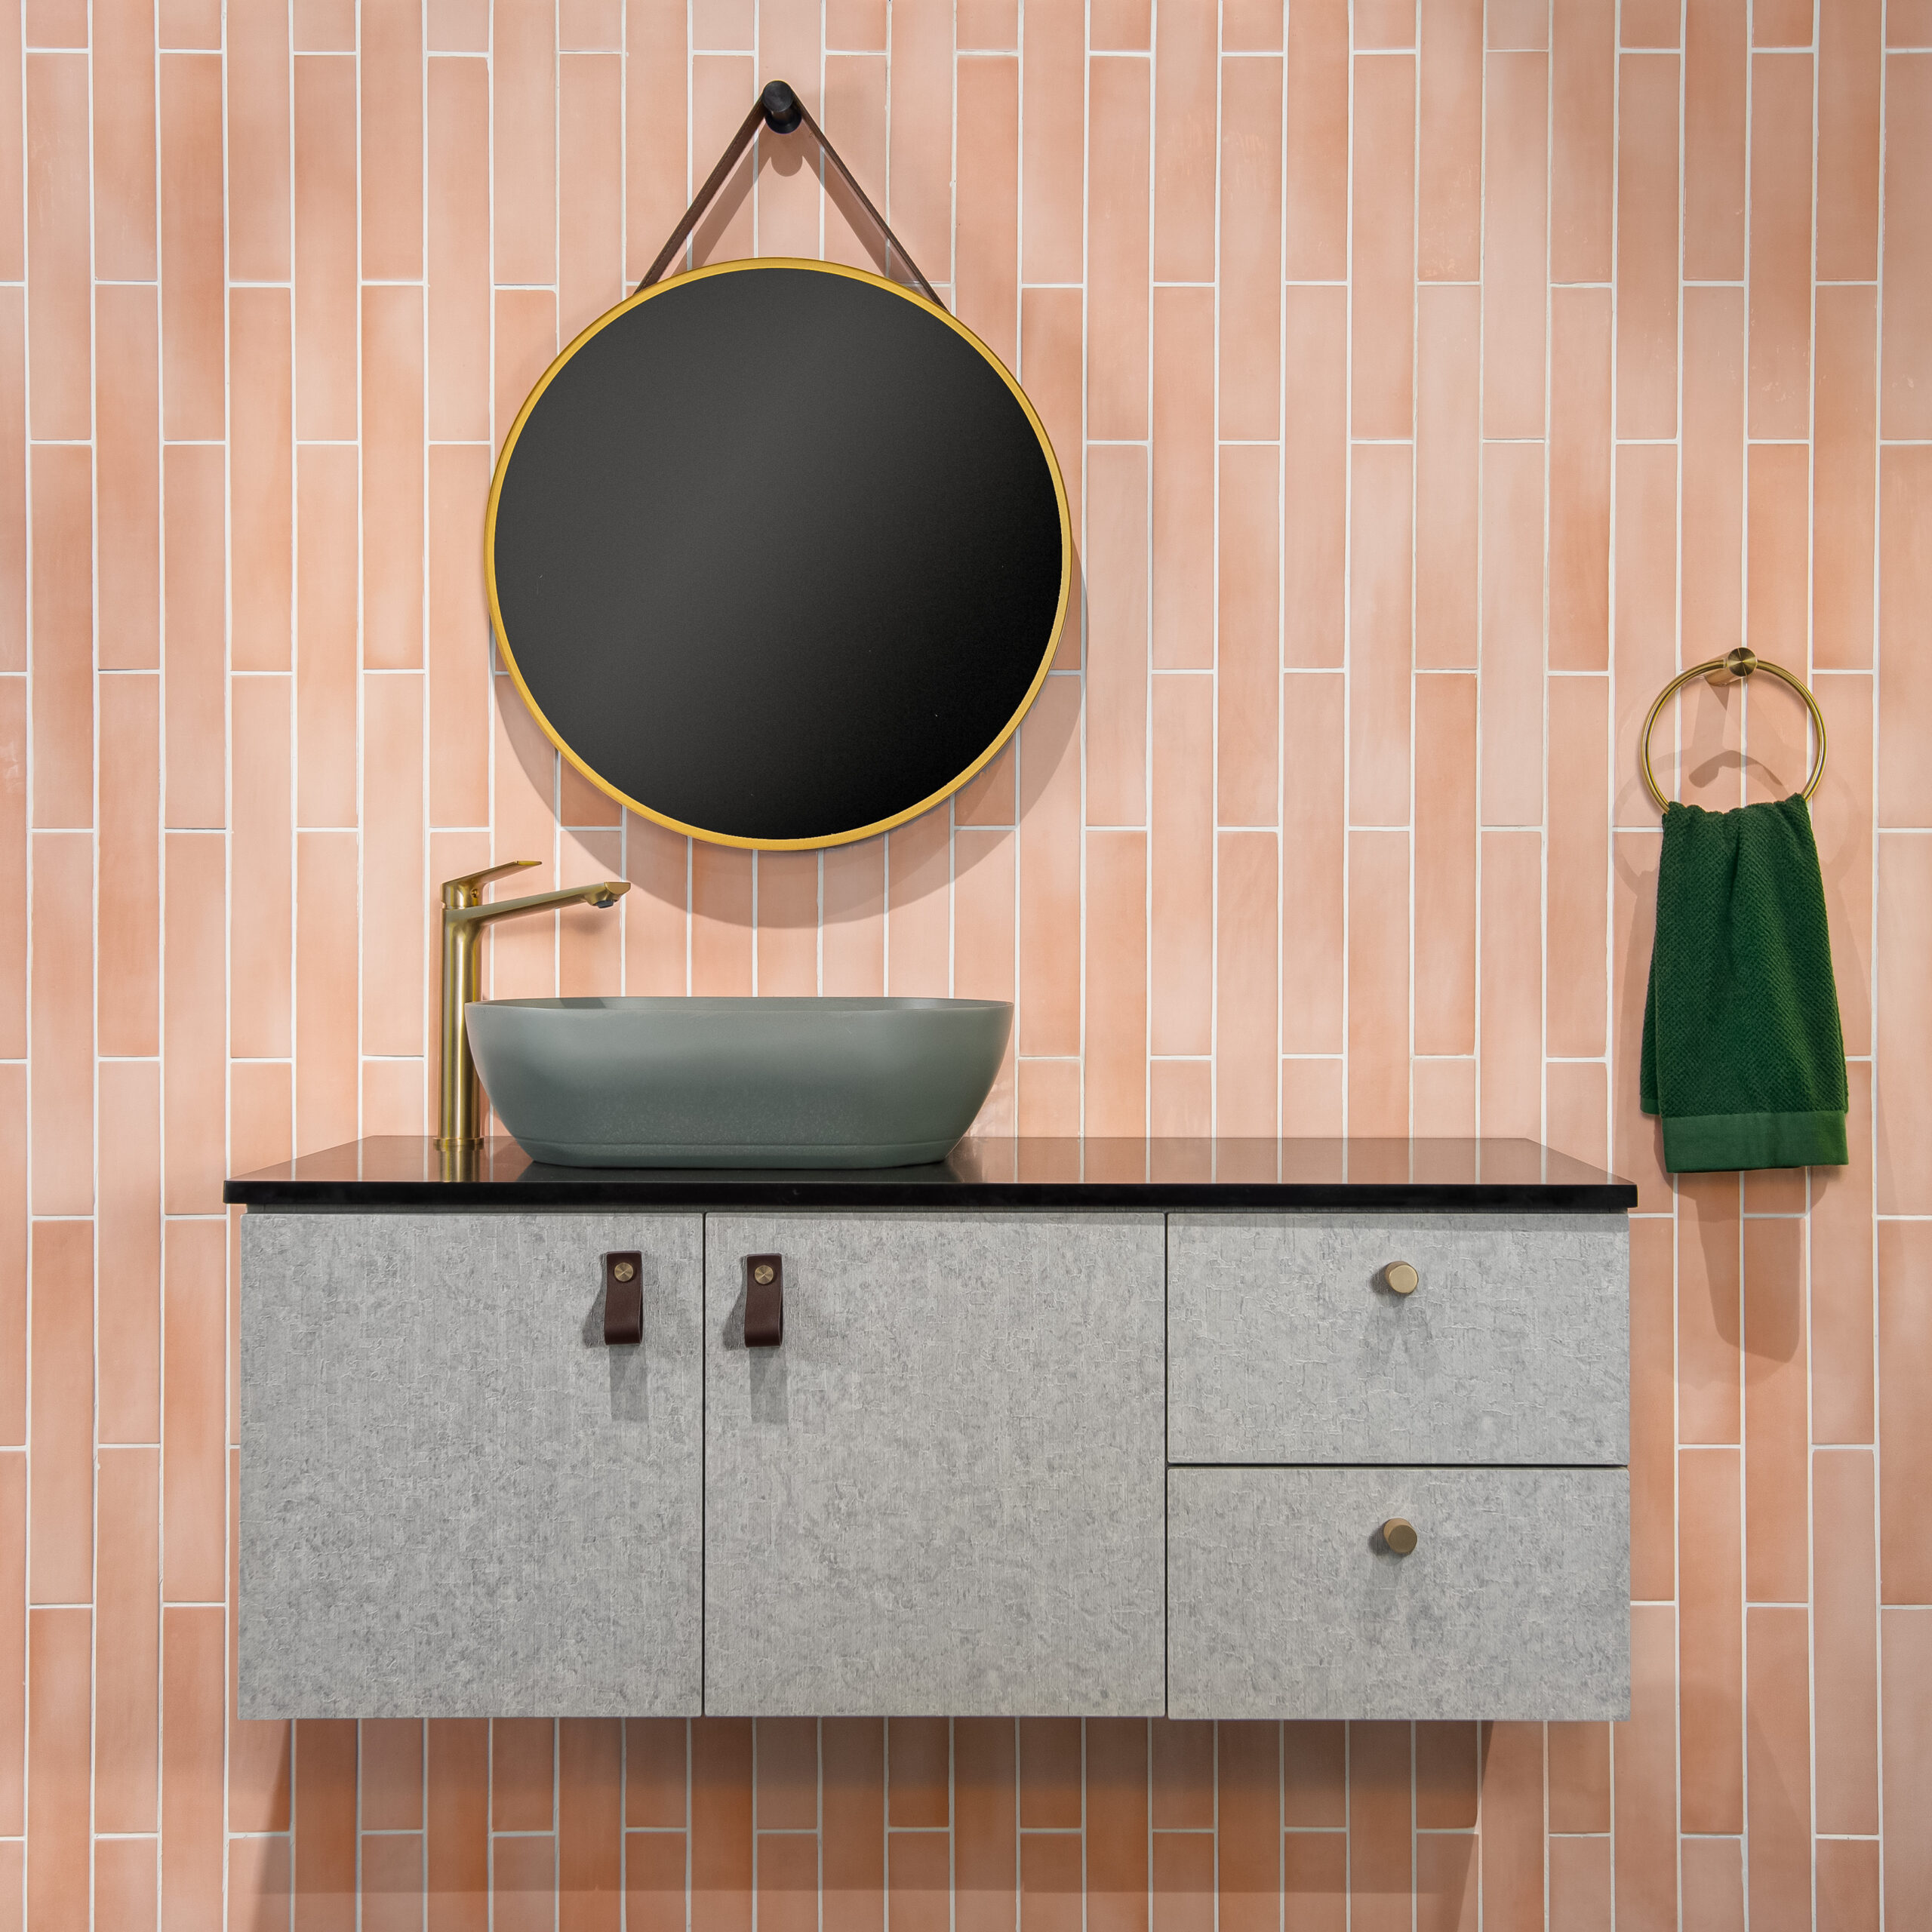
tiletoria, paarden eiland showroom
These are places where people go to unwind and reset. A symmetrical tile pattern in the shower or around the vanity instantly adds to the spa-like vibe.
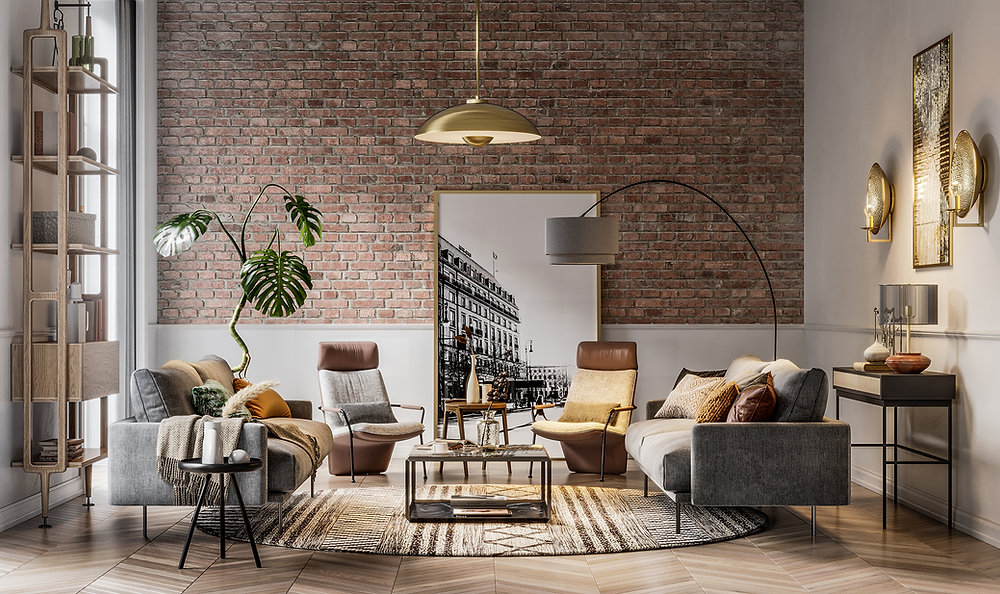
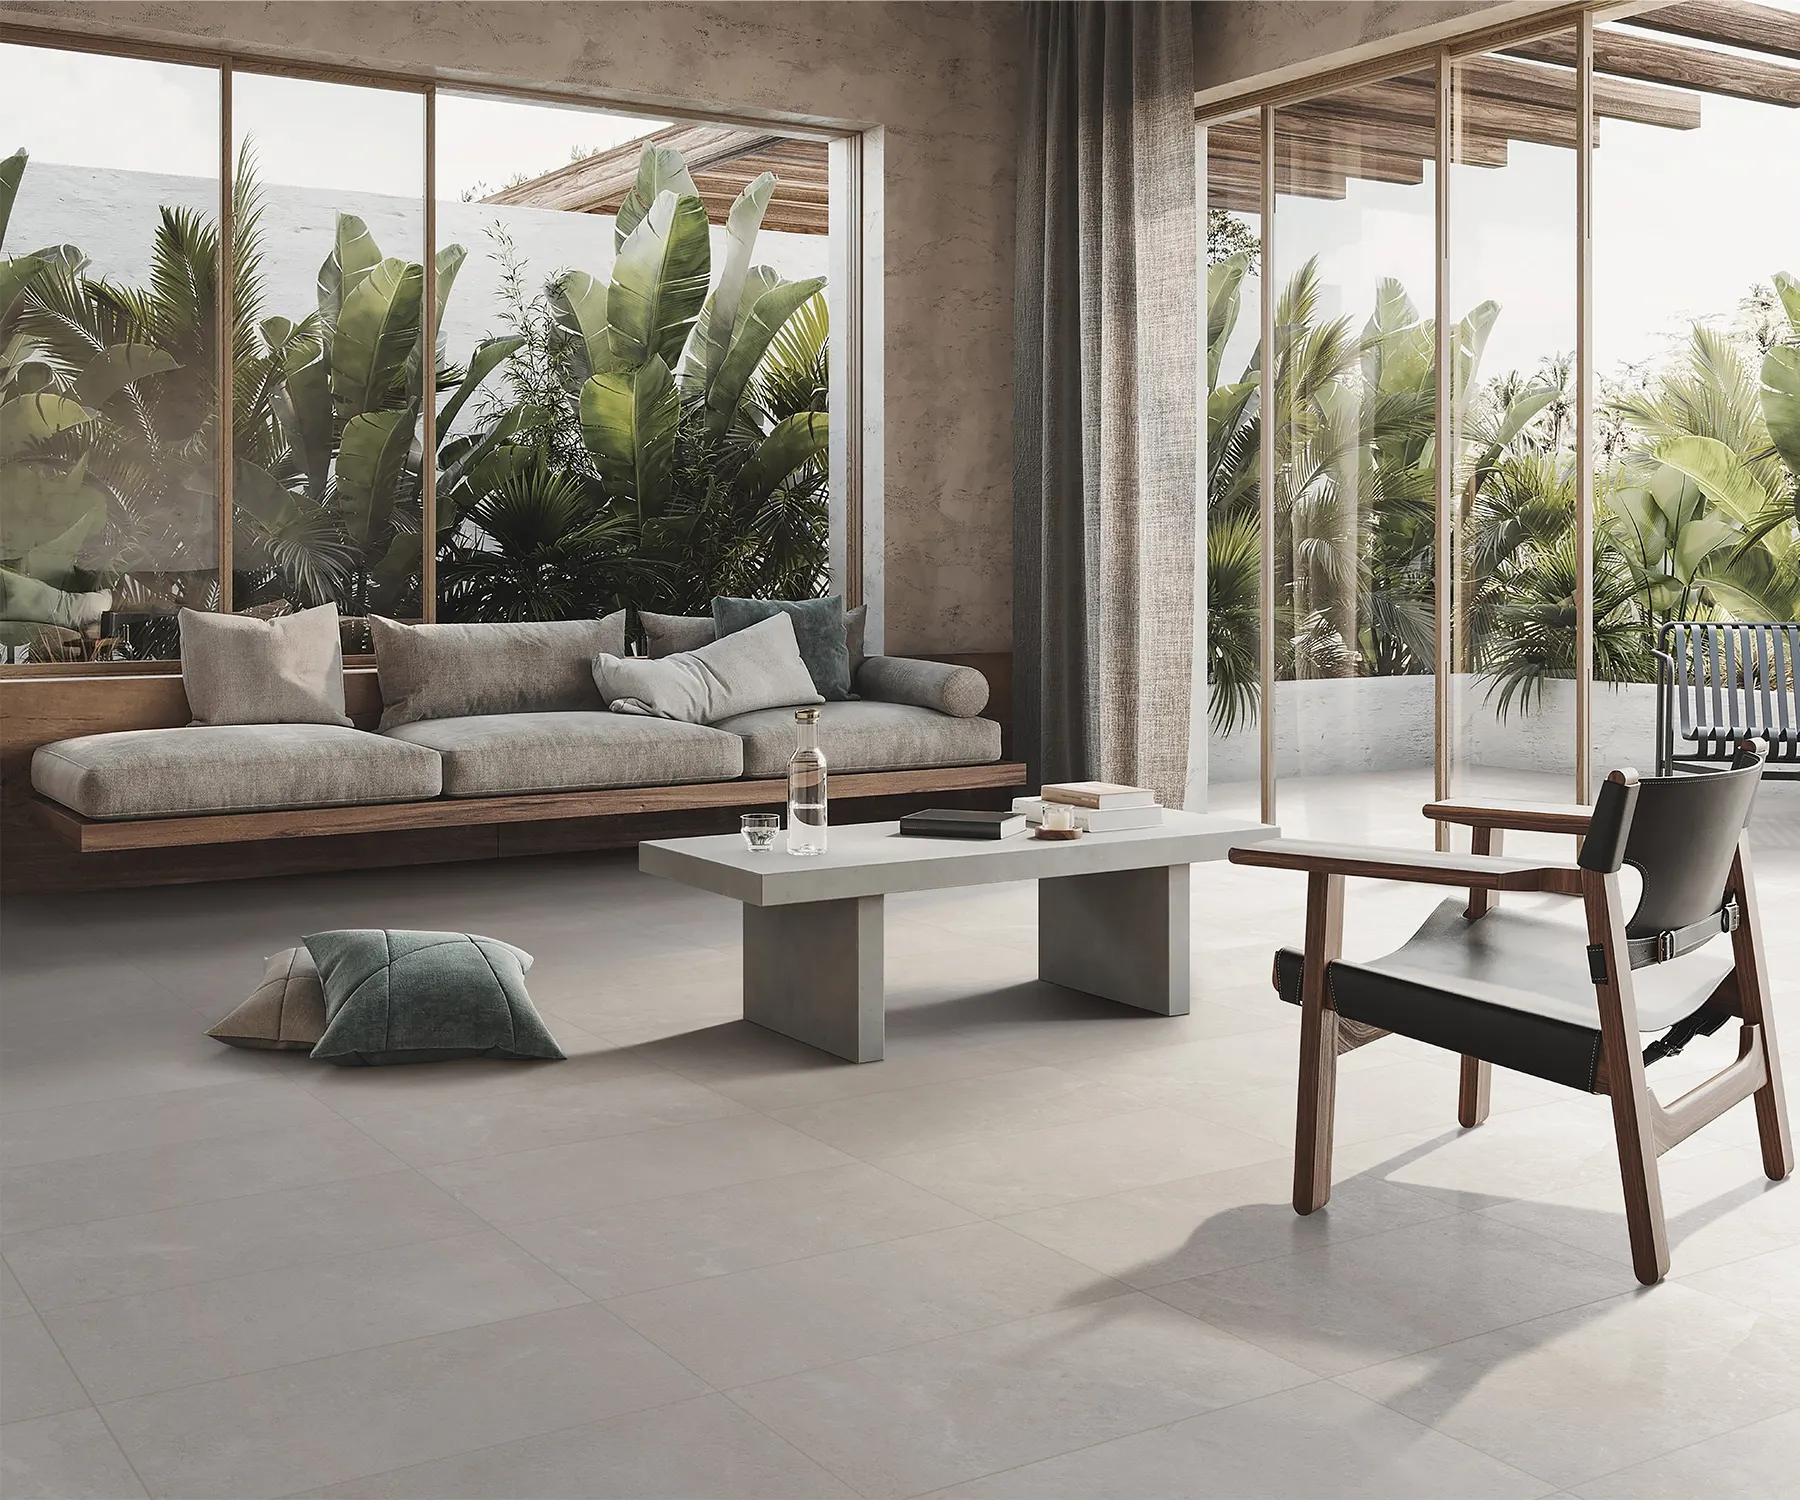
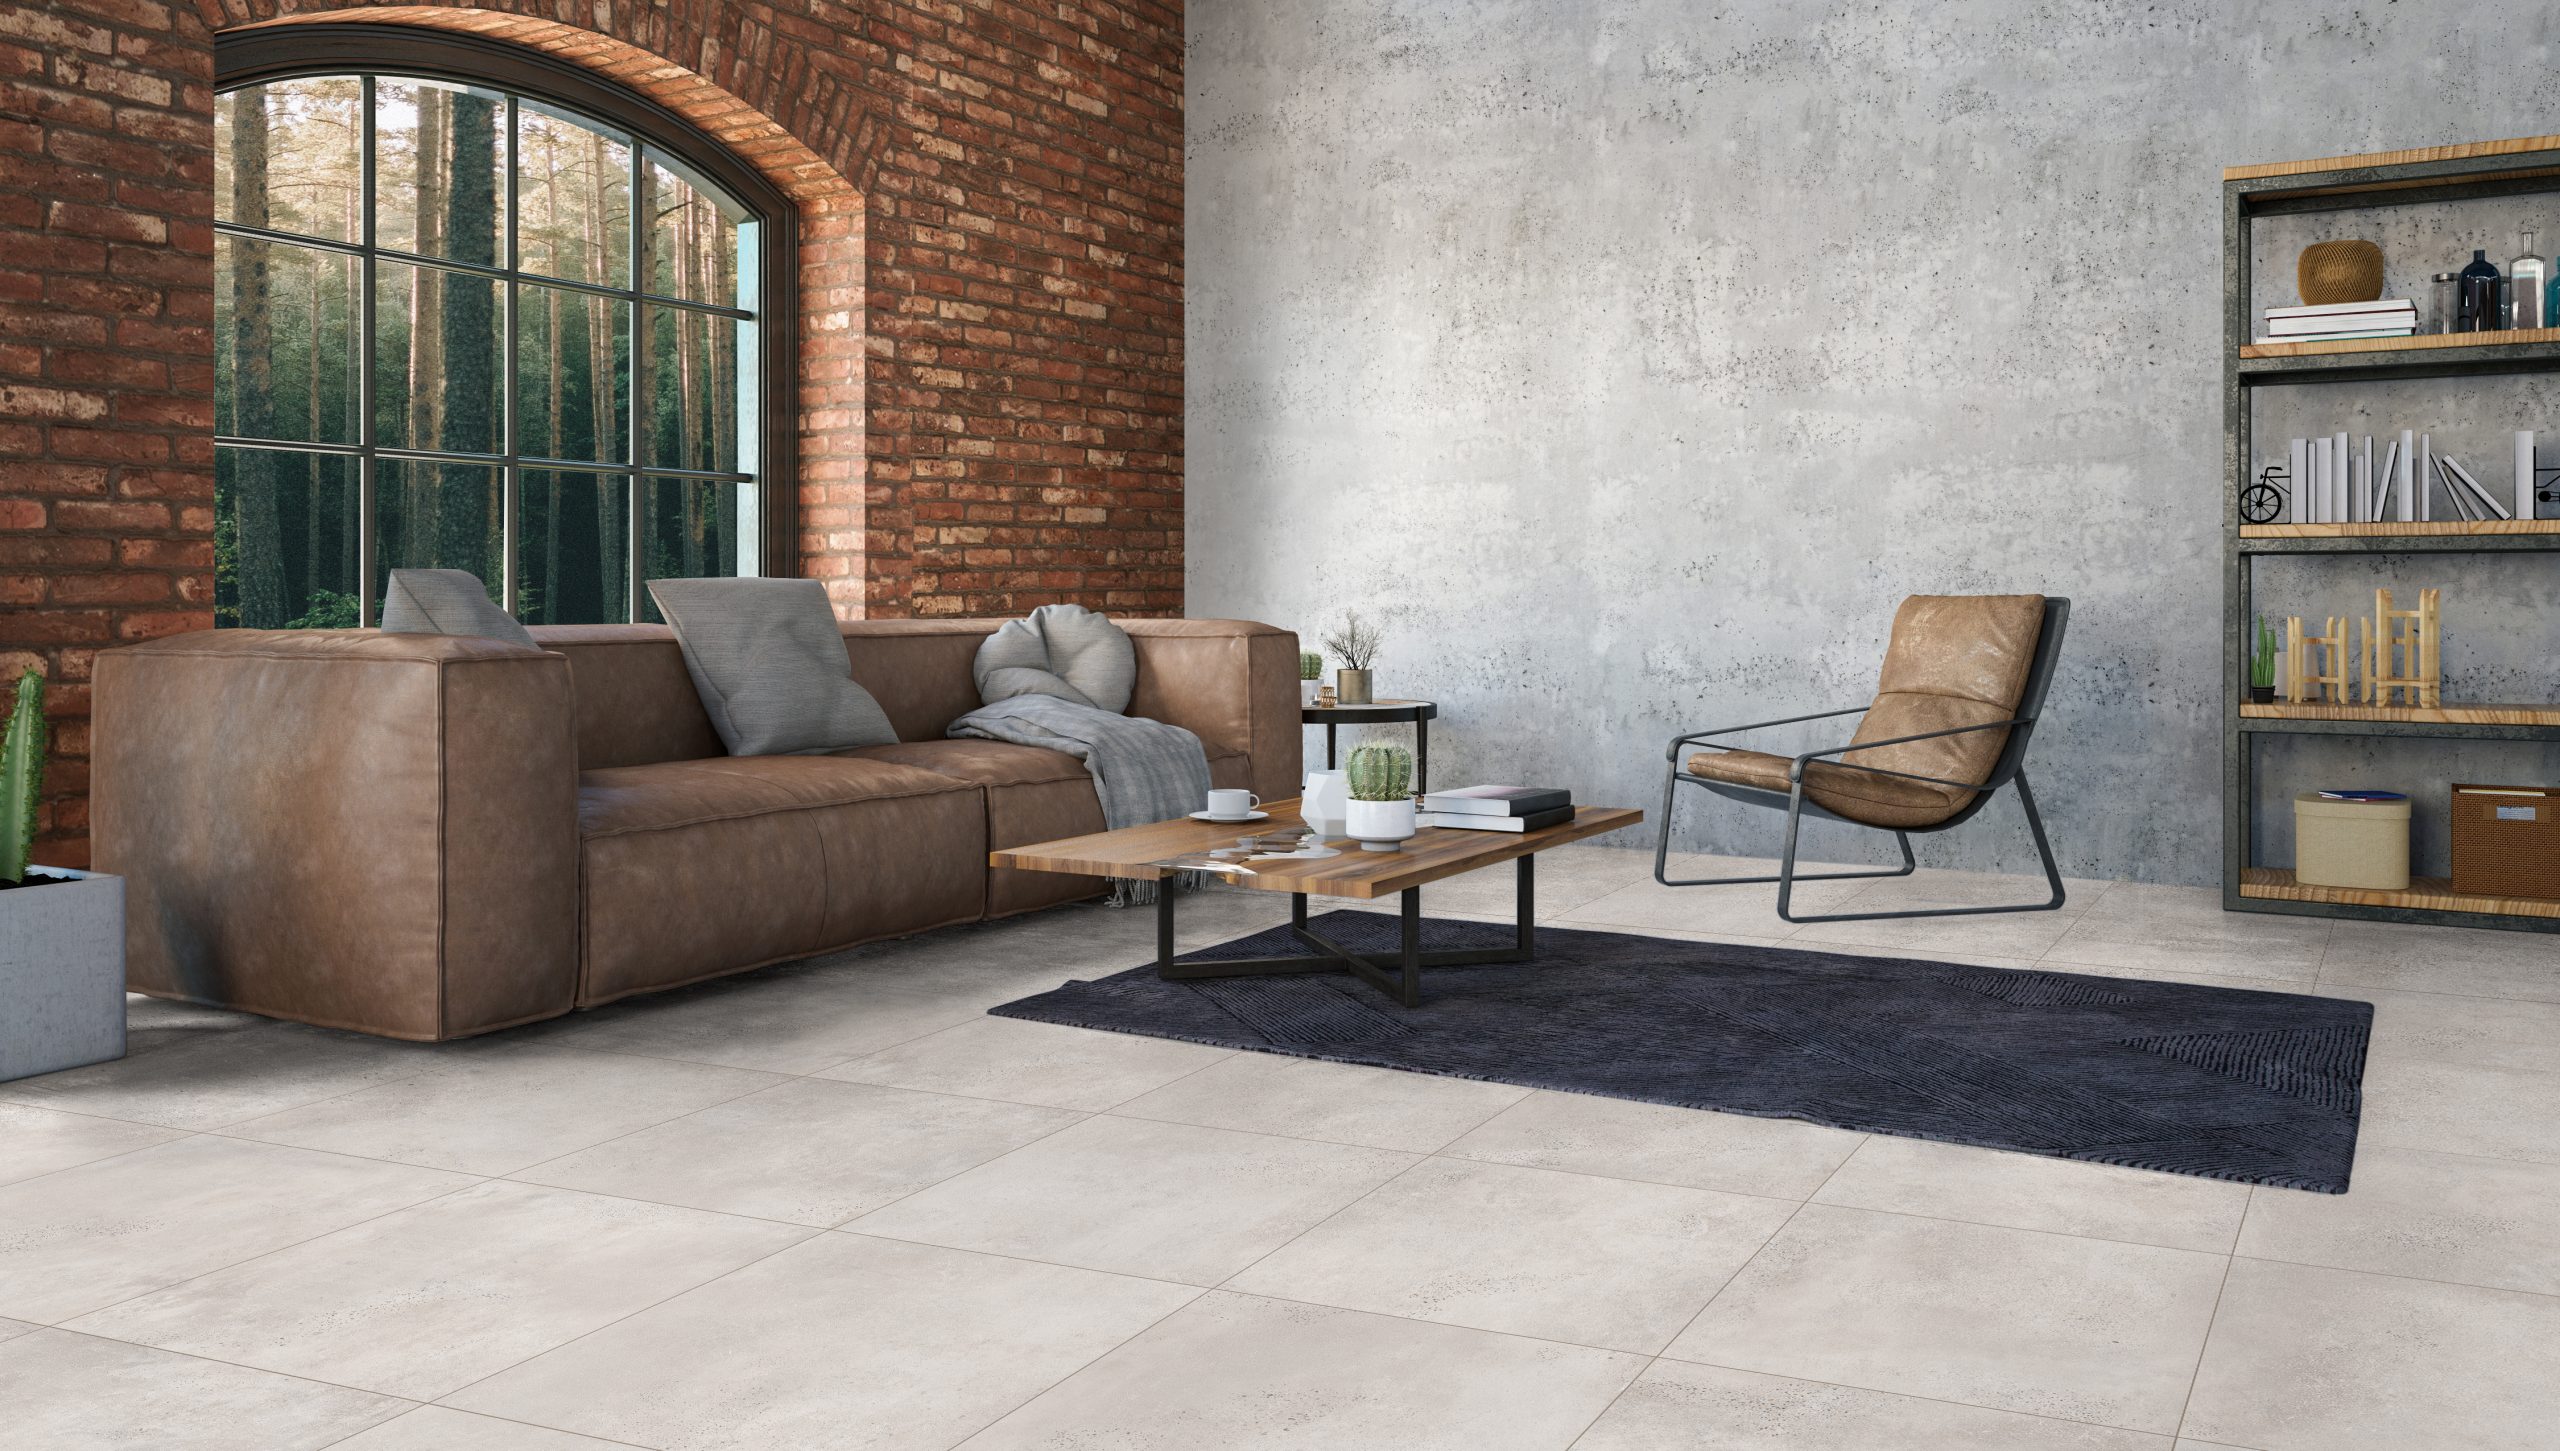
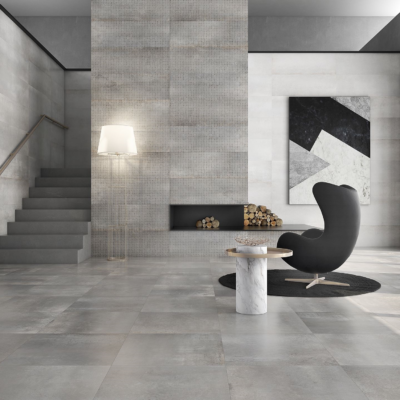
Living areas
Floor tiles laid in a grid or balanced pattern can make an open-plan space feel more grounded and connected.
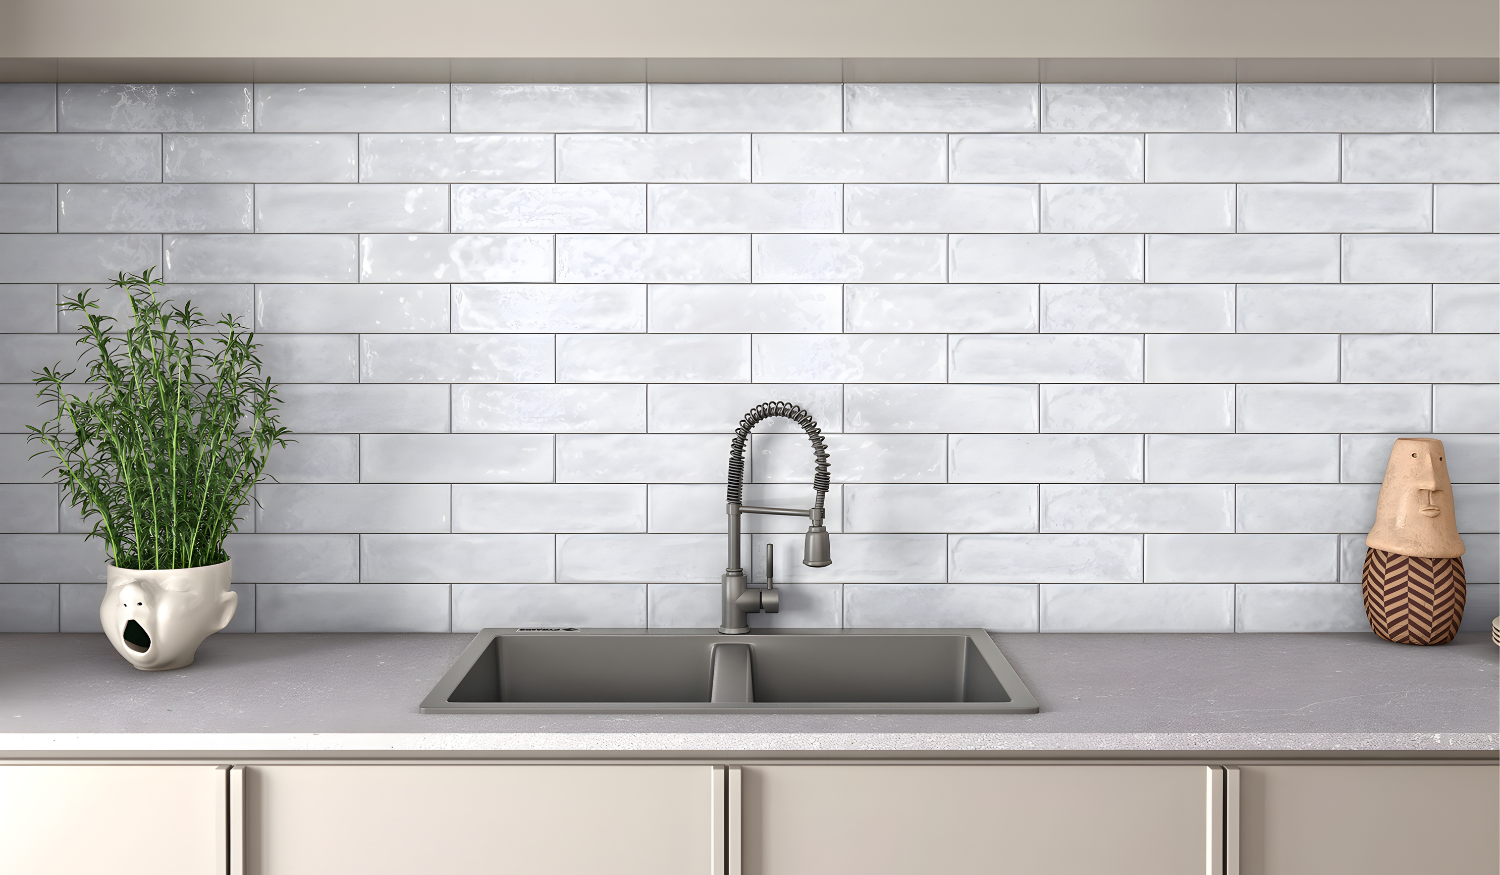
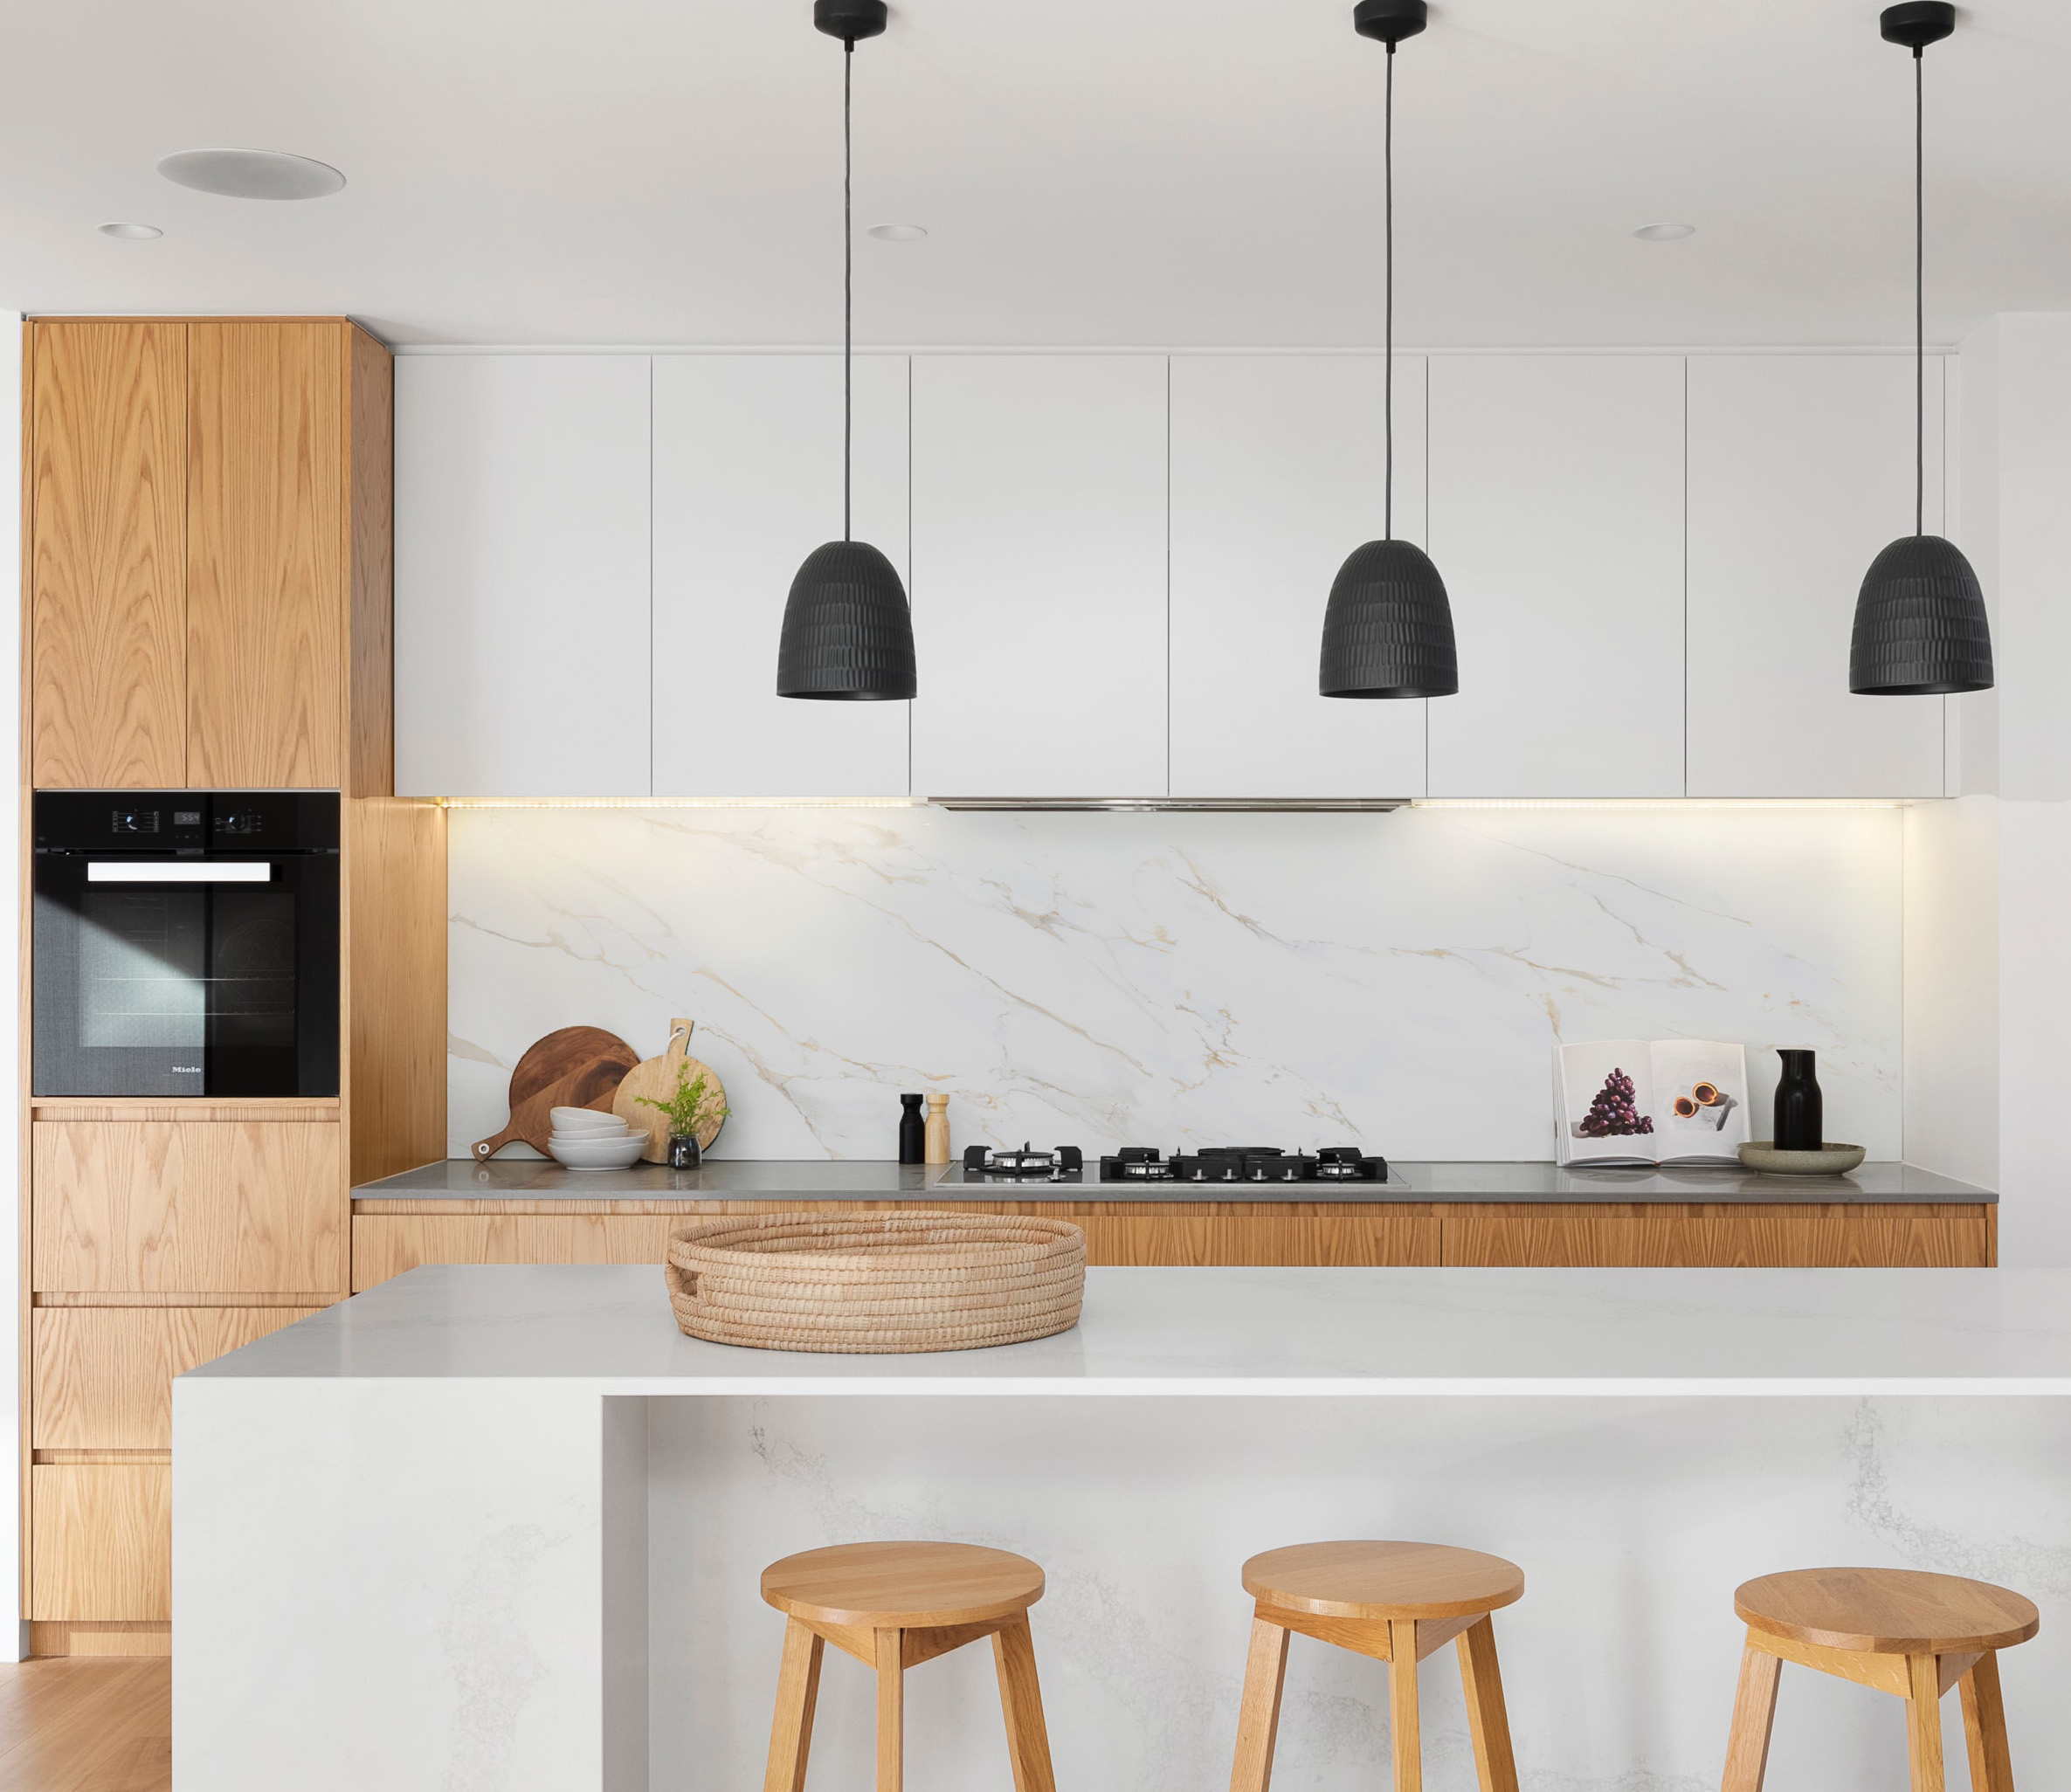
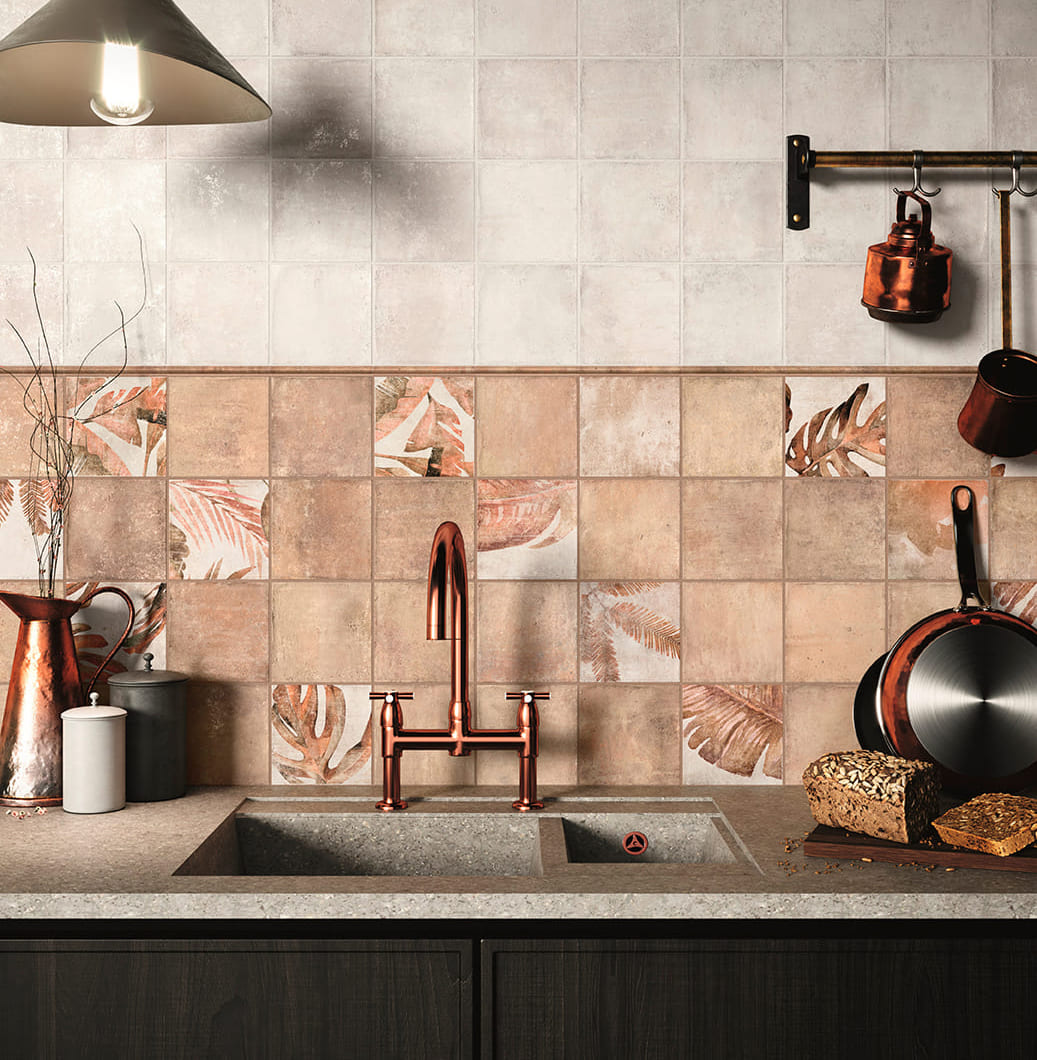
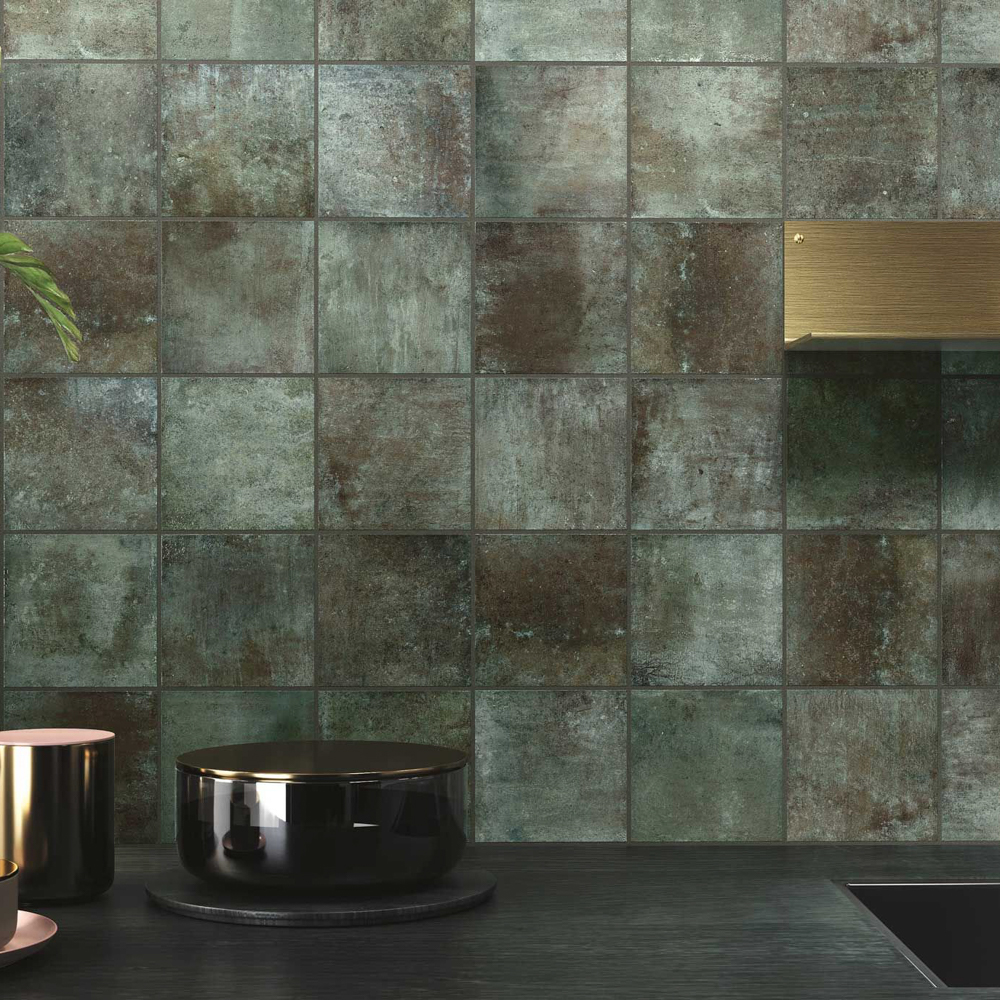
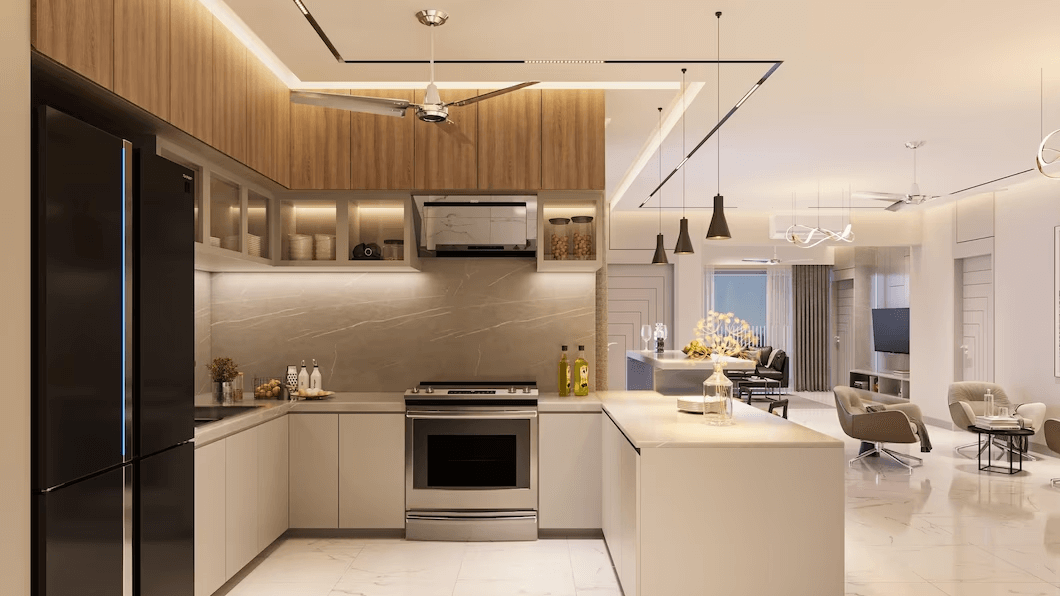
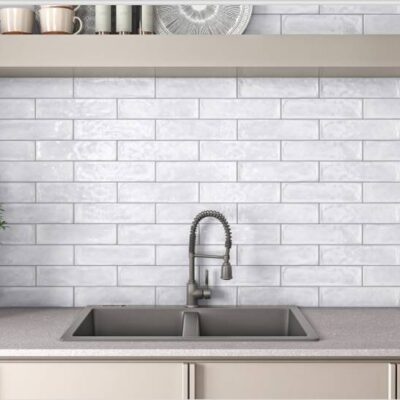
Kitchens
Splashbacks with a symmetrical layout not only look clean but also help small or busy kitchens feel less chaotic.
Symmetry Doesn’t Mean Boring
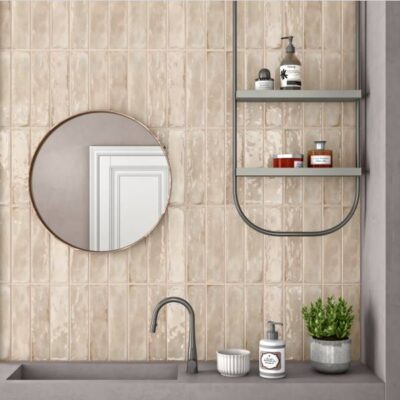
Some people worry that symmetrical designs might look too rigid or predictable. But that’s far from true. You can still play with colour, texture and tile size while keeping the layout balanced.
For example, mix glossy and matte finishes or alternate shades within a grid. You get the structure of symmetry with the personality of a more creative design.
When to Break the Rules
While symmetry brings a calming effect, there’s also beauty in breaking the pattern — strategically. Asymmetrical layouts work well in bold feature walls, artistic mosaics or contemporary interiors where movement and energy are the focus. The key is to balance symmetry and asymmetry throughout your home so that one complements the other.
Symmetry in tile design goes beyond just aesthetics — it taps into how our minds perceive and respond to visual information. By choosing symmetrical tile layouts, you’re creating more than just a pretty space. You’re building an environment that feels peaceful, organised and easy to live in.
If you’re planning a renovation or simply looking to refresh a room, consider how the layout of your tiles could impact the feel of your space. A little balance can go a long way.
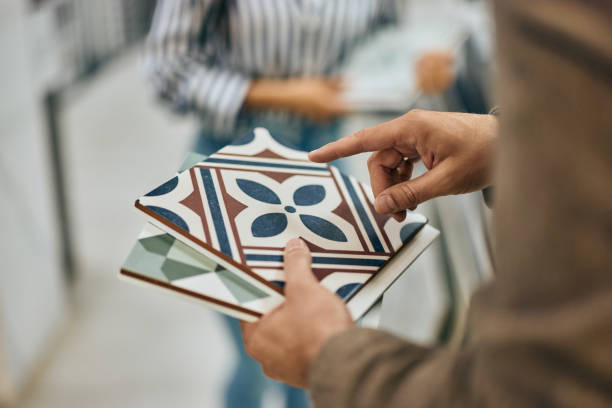
Need help choosing the perfect tile layout?
Visit your nearest Tiletoria showroom or chat with one of our experts for personalised advice. Your dream space starts with the right pattern.
blog, commercial blog, floors, trends, walls
Tiles are a staple in interior design, known for their practicality, versatility and style. But not all tiles are created equal. Some take things to a whole new level — crafted with rare materials, intricate techniques or luxury finishes that turn them into works of art. Curious to know what the most expensive tiles in the world are and why they cost so much? Let’s explore the world of luxury tiles and what makes them truly special.
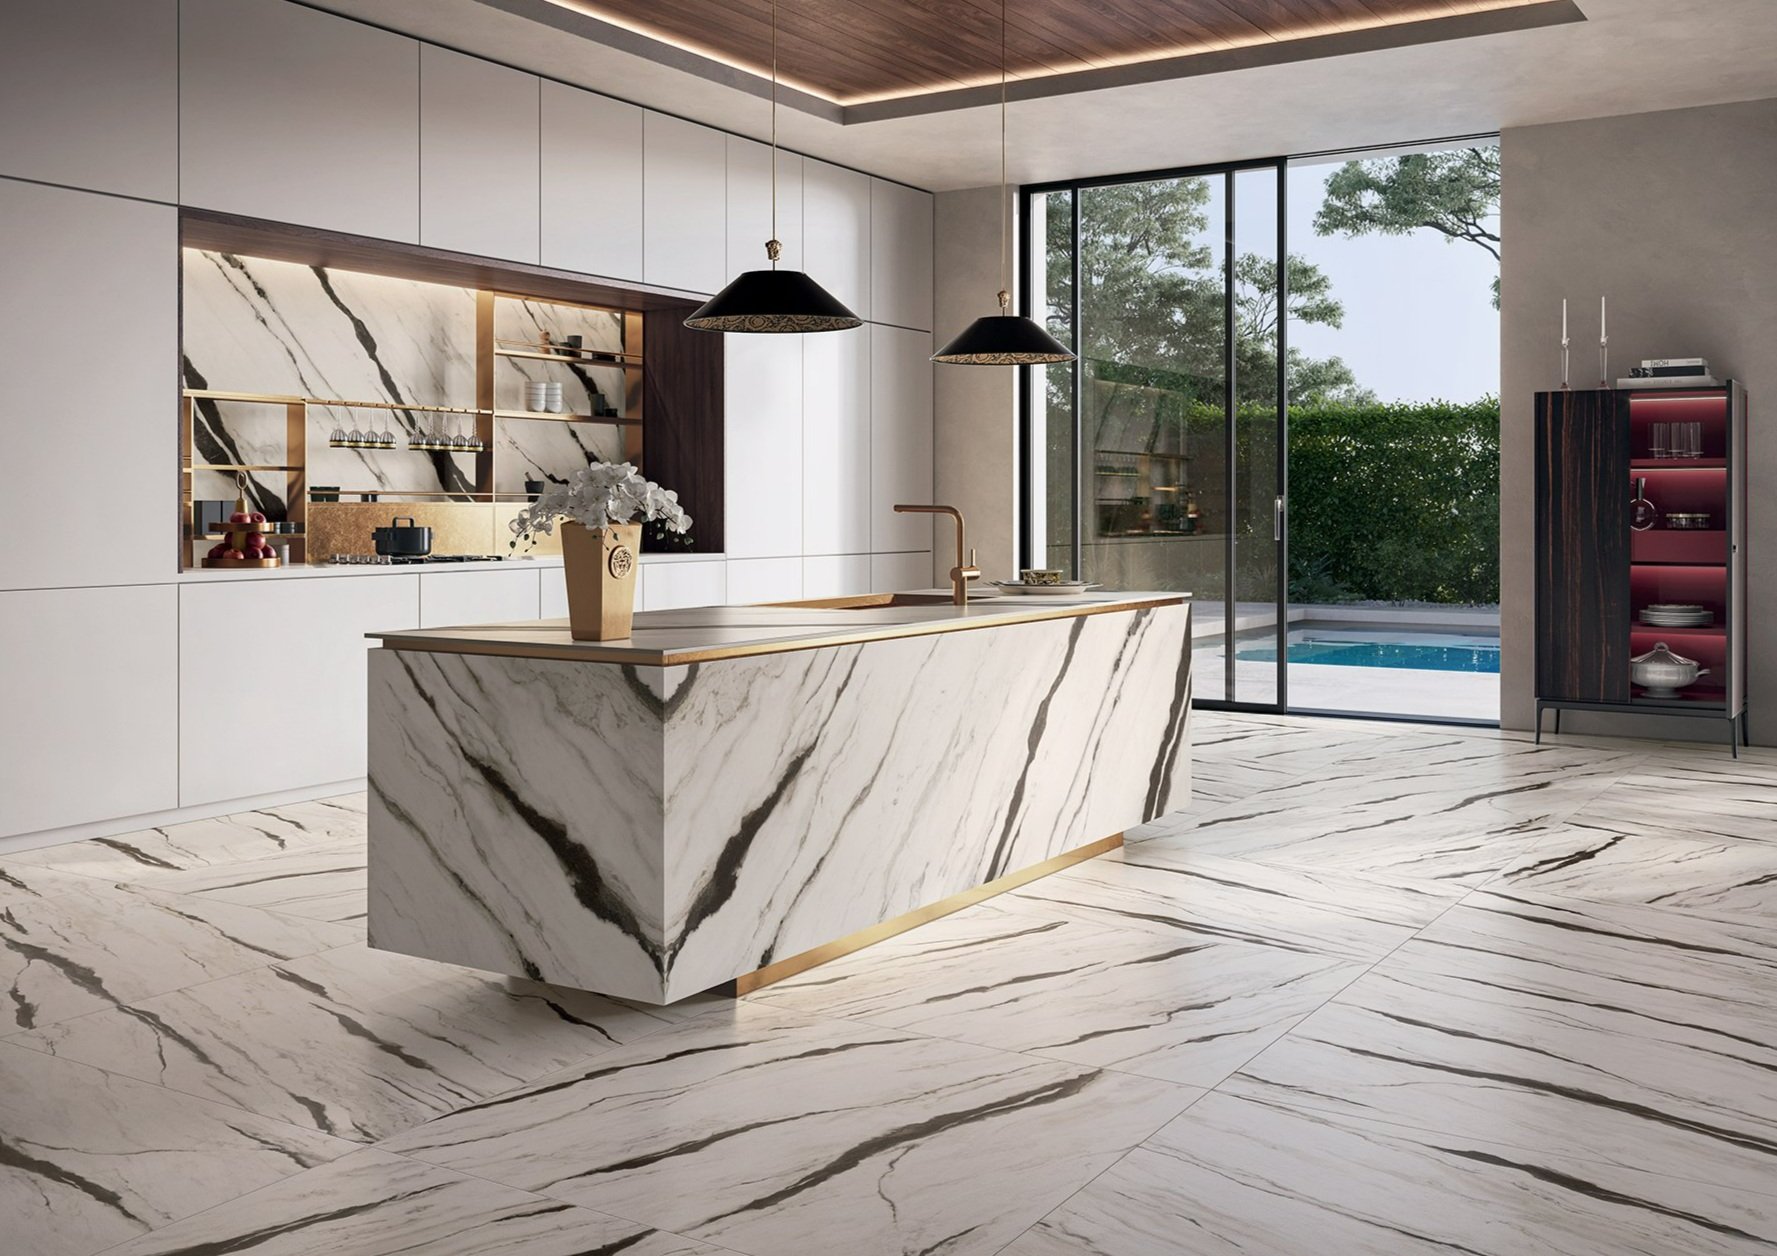
Image credit: versace-tiles.com
Table of Content:
What Makes a Tile Expensive?
Sicis Mosaic Tiles (Italy)
Petra Antiqua Tiles (Italy)
Versace Ceramics
Bisazza Mosaic Tiles
Antique Tiles & Historical Replicas
Are Expensive Tiles Worth It?
What Makes a Tile Expensive?
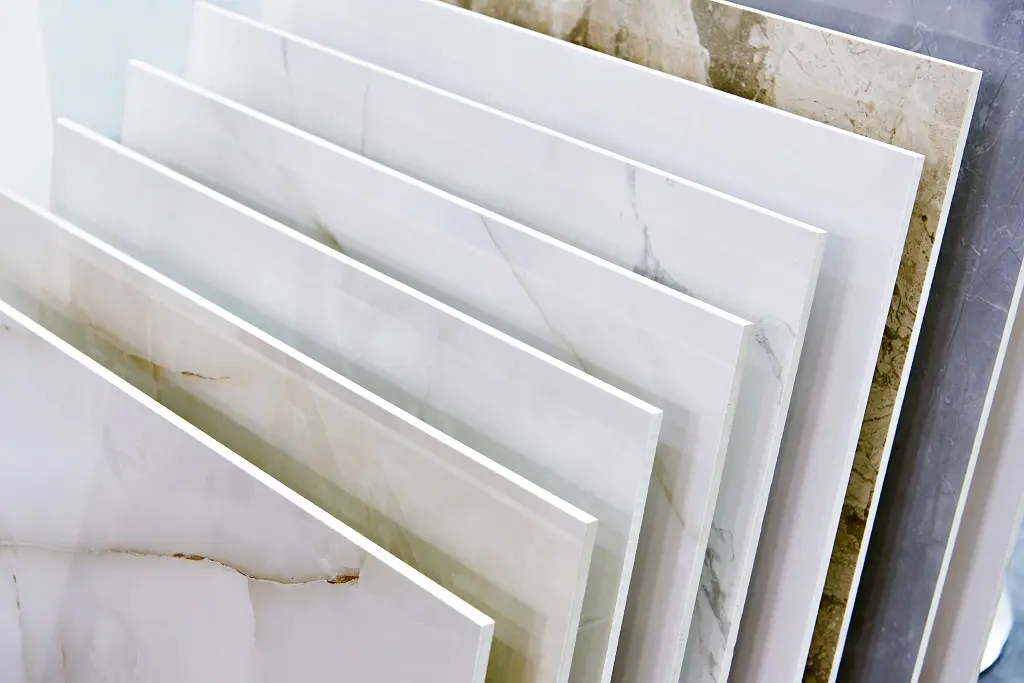
Before we dive into the most luxurious options out there, it’s worth understanding what factors drive up the cost of tiles:
Material
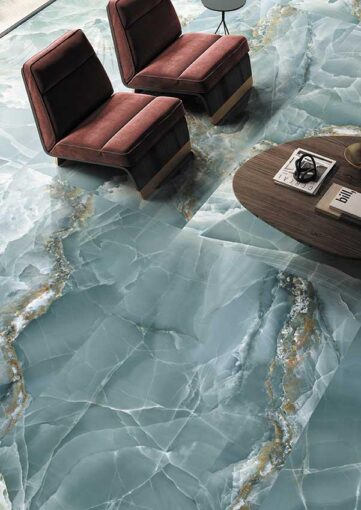
Image credit: tileclub.com
Natural stone like marble, onyx or rare granite tends to cost more than ceramic or porcelain.
Craftsmanship

Image credit: uniquetiles.com
Hand-painted, hand-cut or custom-made tiles involve more labour, which adds to the price.
Brand
High-end brands often carry premium price tags due to reputation, exclusivity and designer collaborations.
Design
Intricate patterns, mosaics or one-of-a-kind styles can raise the cost significantly.
Rarity

Image credit: english-heritage.org.uk
Limited production or hard-to-source materials can make a tile more expensive.
Sicis Mosaic Tiles (Italy)
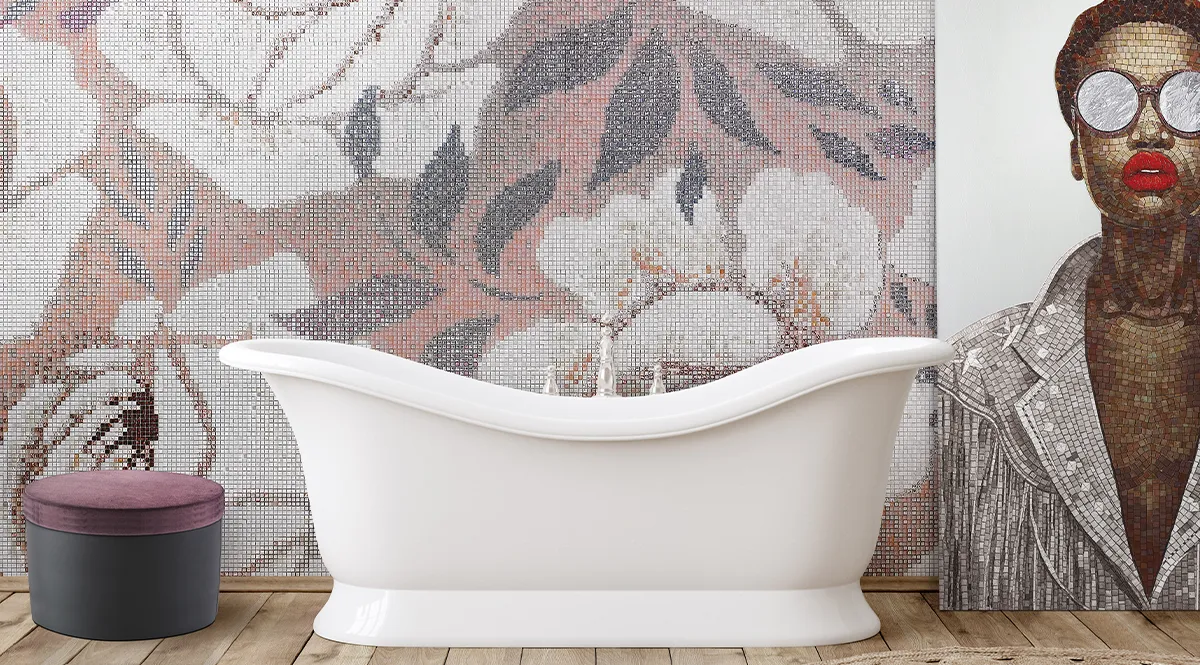
Image credit: sicis.com
Sicis is known for pushing the boundaries of tile design. Their glass mosaics are often found in luxury hotels and palaces. Some of their collections feature hand-cut tiles made from gold leaf glass or smalti, which is a high-quality Venetian glass. Each mosaic can be fully custom designed, making it both exclusive and eye-wateringly expensive.
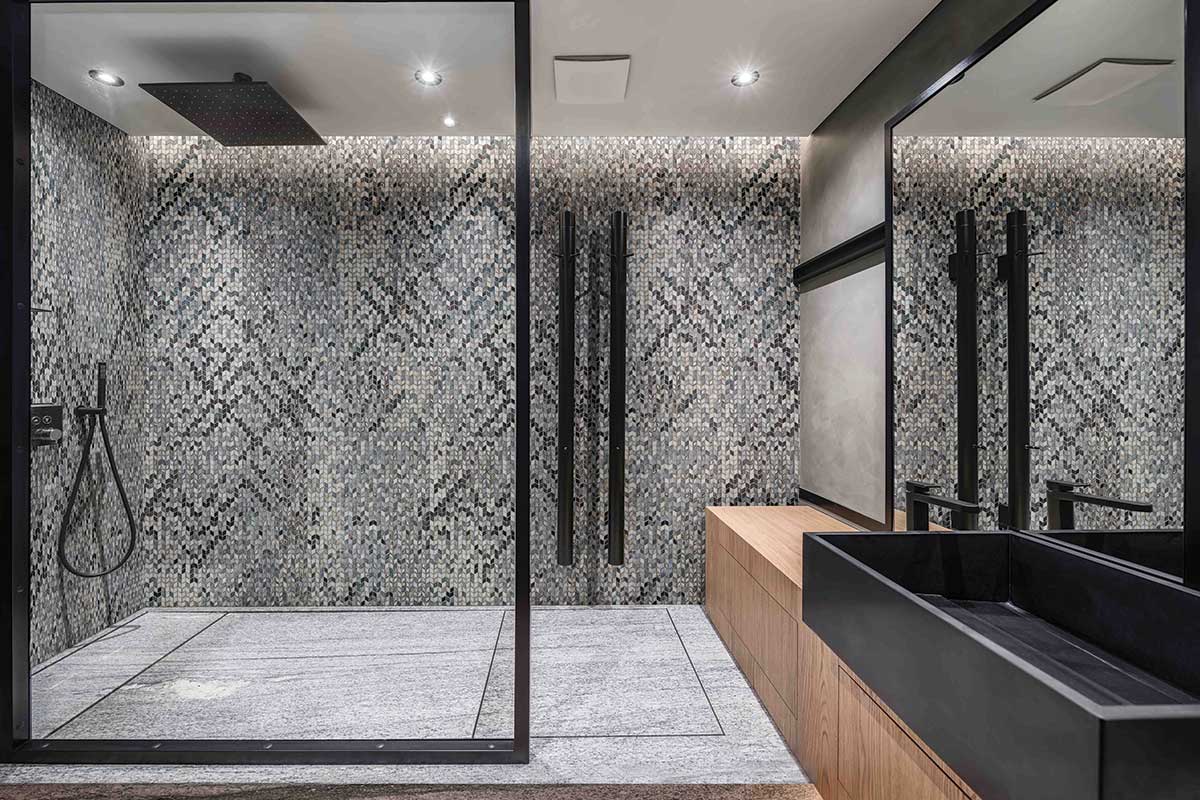
Image credit: mgsarchitecture.in
Why it’s special: Sicis blends art with craftsmanship, offering bespoke pieces that are just as much about personal expression as they are about design.
Petra Antiqua Tiles (Italy)
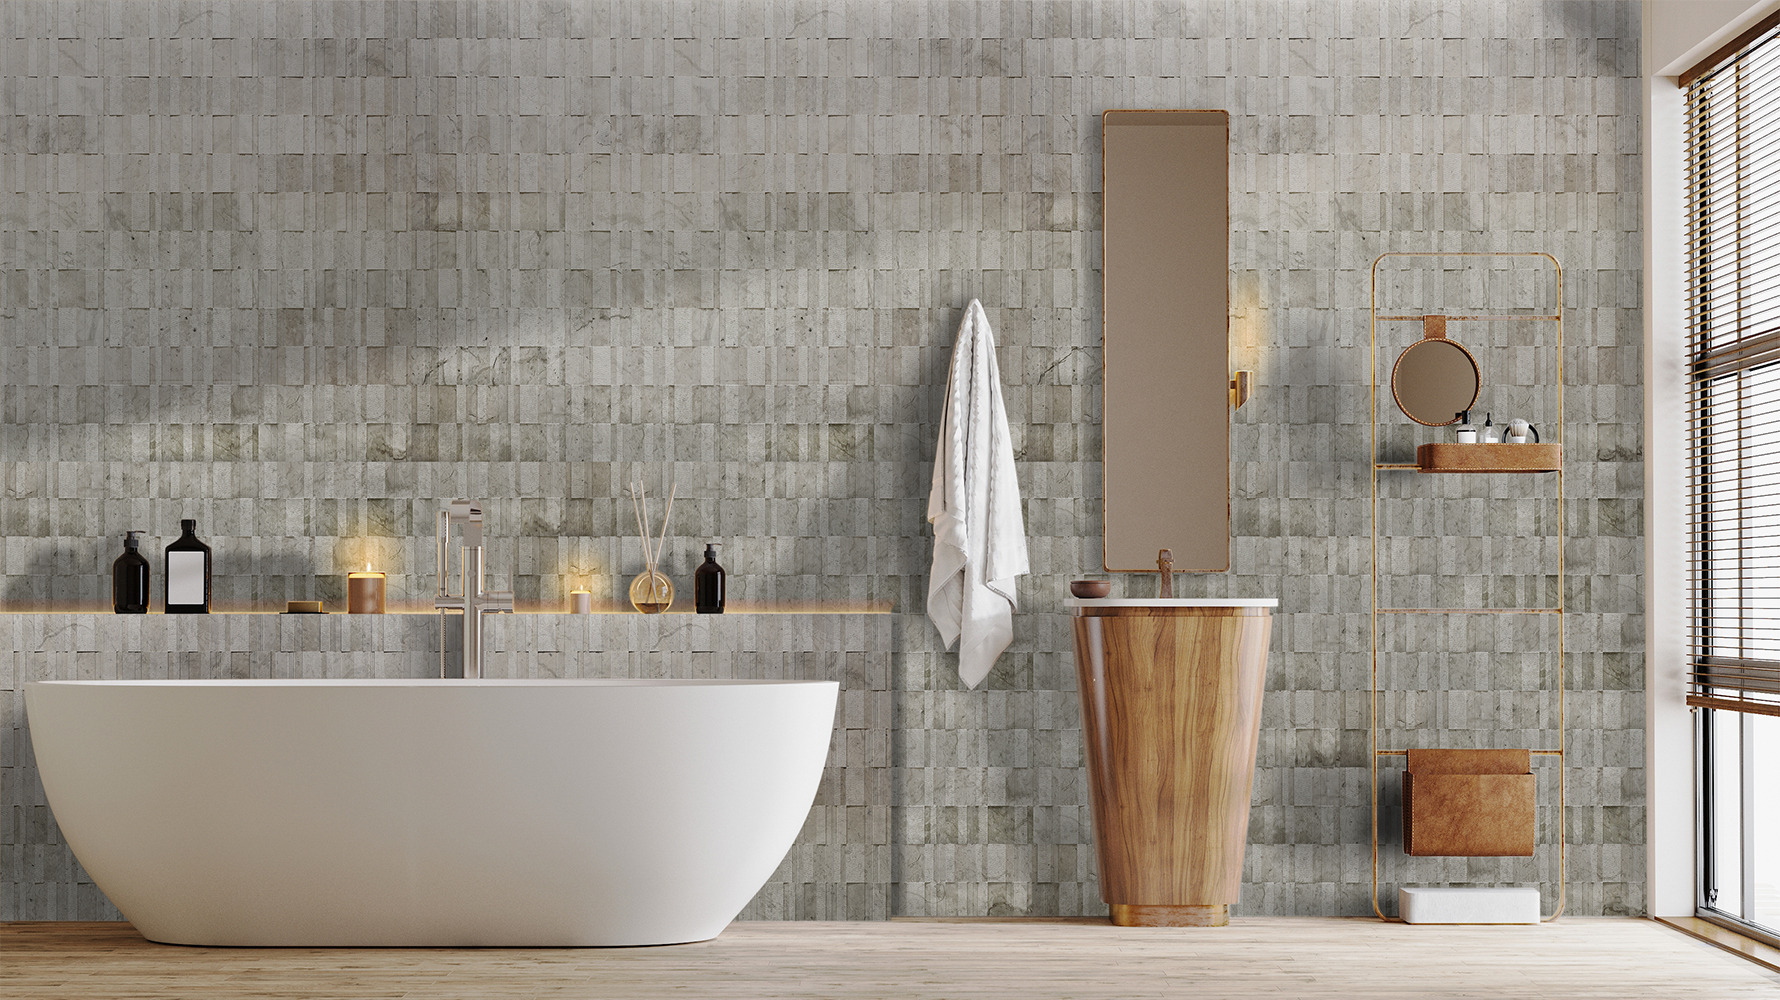
Image credit: petraantiqua.com
Petra Antiqua creates high-end stone tiles with a focus on carving and inlays. Their luxury tiles feature precious metals like gold, silver or platinum embedded into natural stone. These tiles are often used in high-end residential and commercial spaces where opulence is key.
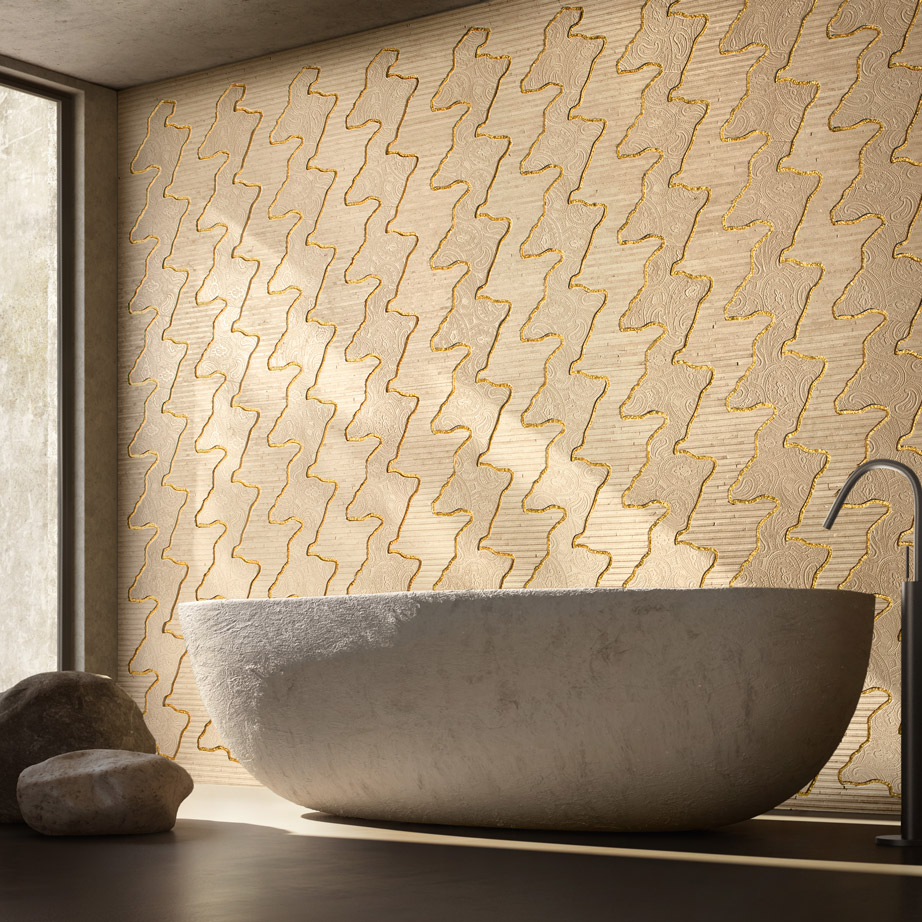
Image credit: casamiauae.com
Why it’s special: The combination of centuries-old stoneworking traditions with modern design makes every tile feel like a collectible piece.
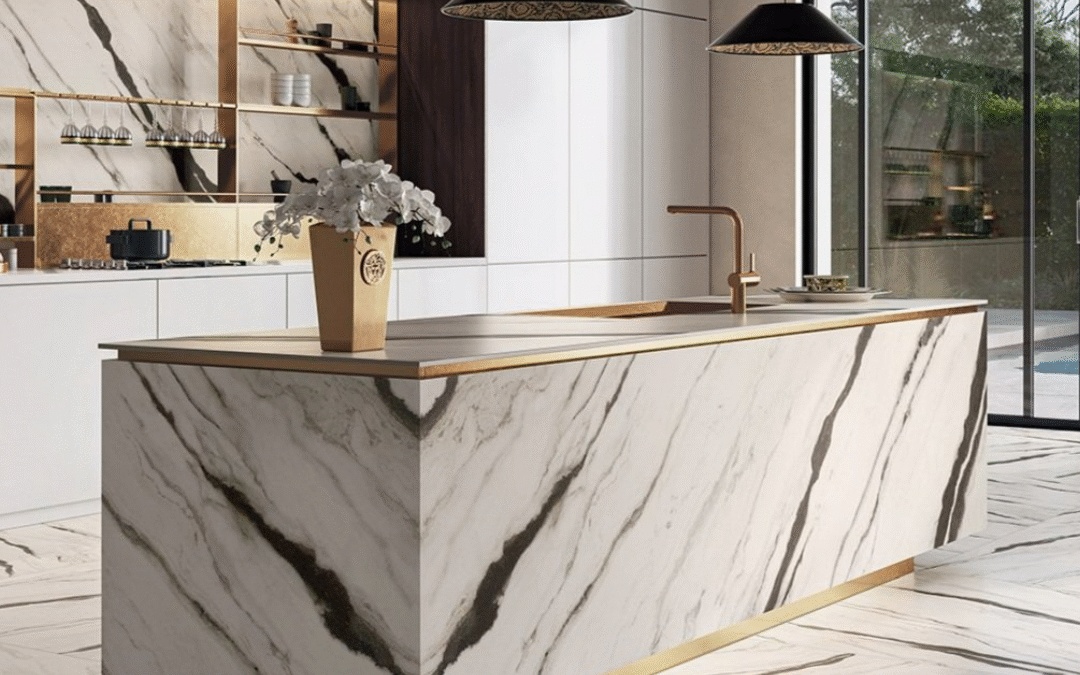
Versace Ceramics
Image credit: versace-tiles.com
If you want glamour underfoot, Versace Ceramics is the ultimate indulgence. Created by the iconic fashion house, these tiles blend traditional Italian craftsmanship with bold, elegant design. Think ornate gold accents, intricate patterns and polished finishes.
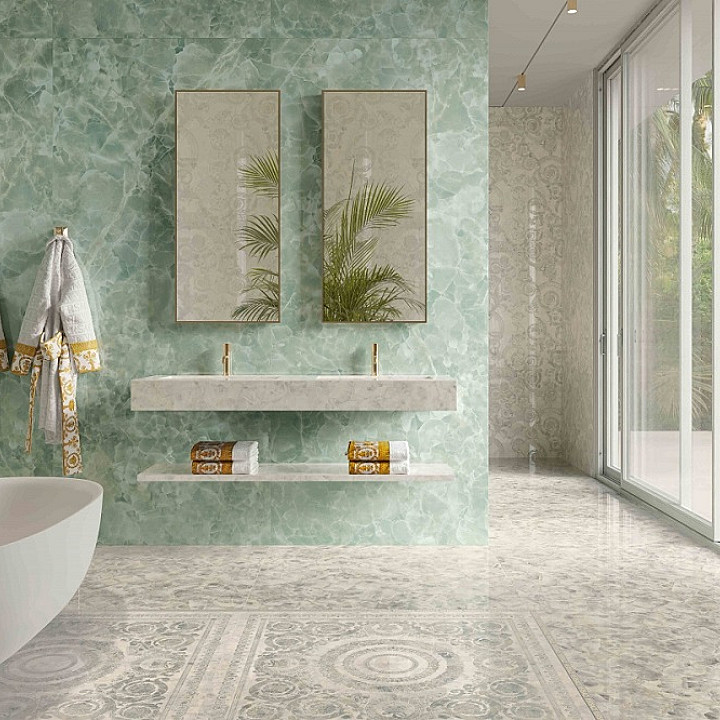
Image credit: versace-tiles.com
Why it’s special: These tiles make a statement and elevate interiors with a distinct designer edge that only Versace can bring.
Bisazza Mosaic Tiles
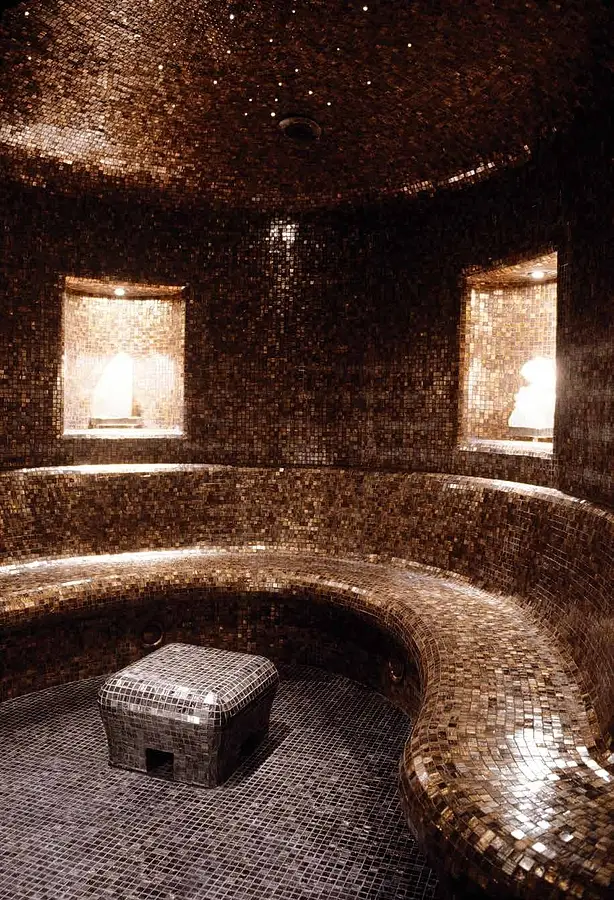
Image credit: tile.expert
Bisazza is a leader in the luxury mosaic market, offering dazzling tile designs that range from classic to contemporary. Some collections feature 24-karat gold or platinum leaf layered inside the glass. Used in boutique hotels, yachts and luxury homes, Bisazza tiles are known for their artistic flair.
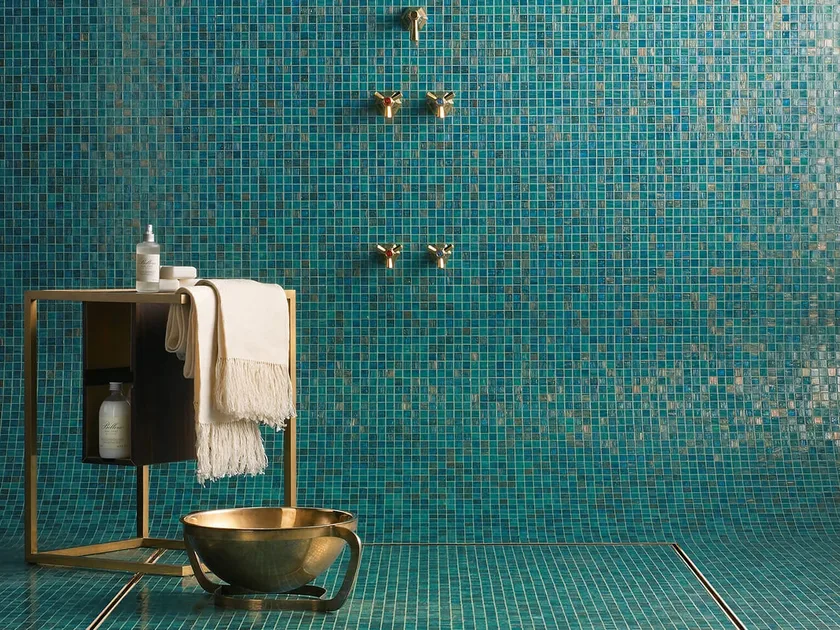
Image credit: archiproducts.com
Why it’s special: Each tile is a fusion of innovation and style, crafted to catch the eye and reflect light in stunning ways.
Antique Tiles & Historical Replicas
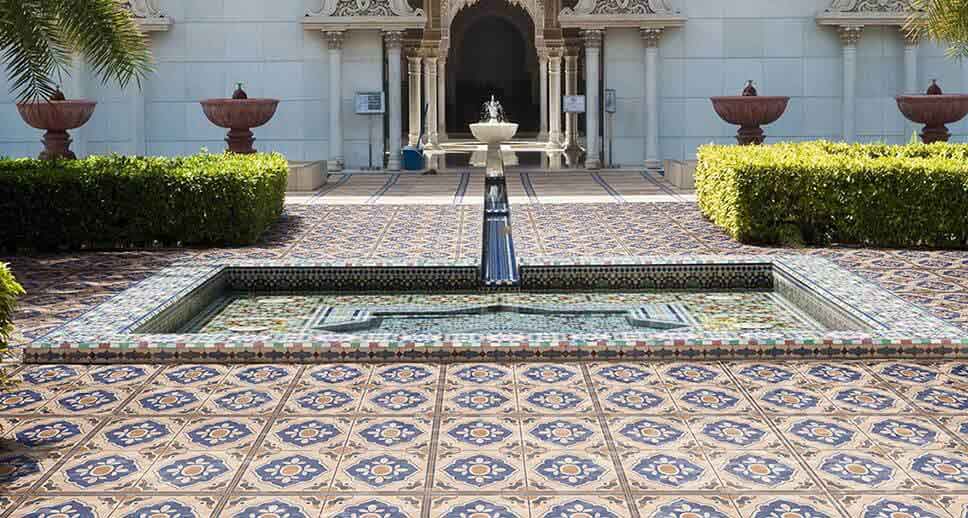
Image credit: somanyceramics.com
Sometimes, the most expensive tiles are not new at all. Authentic antique tiles from centuries-old buildings, especially Moroccan Zellige or Spanish Majolica, can sell for thousands. Their historical value, age and intricate craftsmanship make them highly sought-after by collectors and designers.
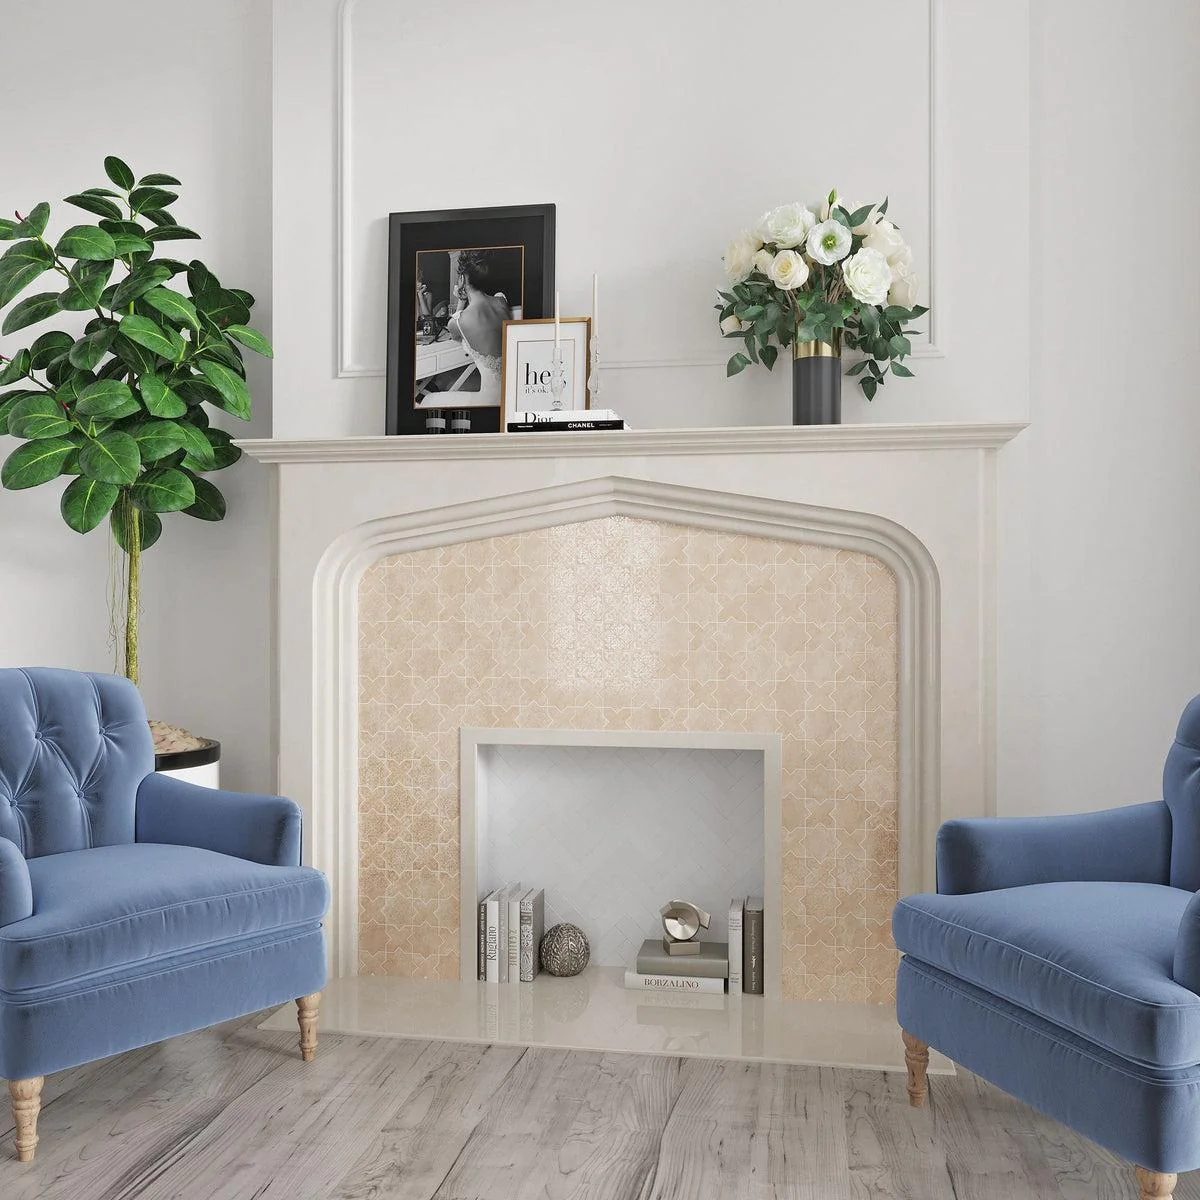
Image credit: tileclub.com
Why it’s special: These tiles tell a story. Owning one is like owning a piece of design history.
Are Expensive Tiles Worth It?
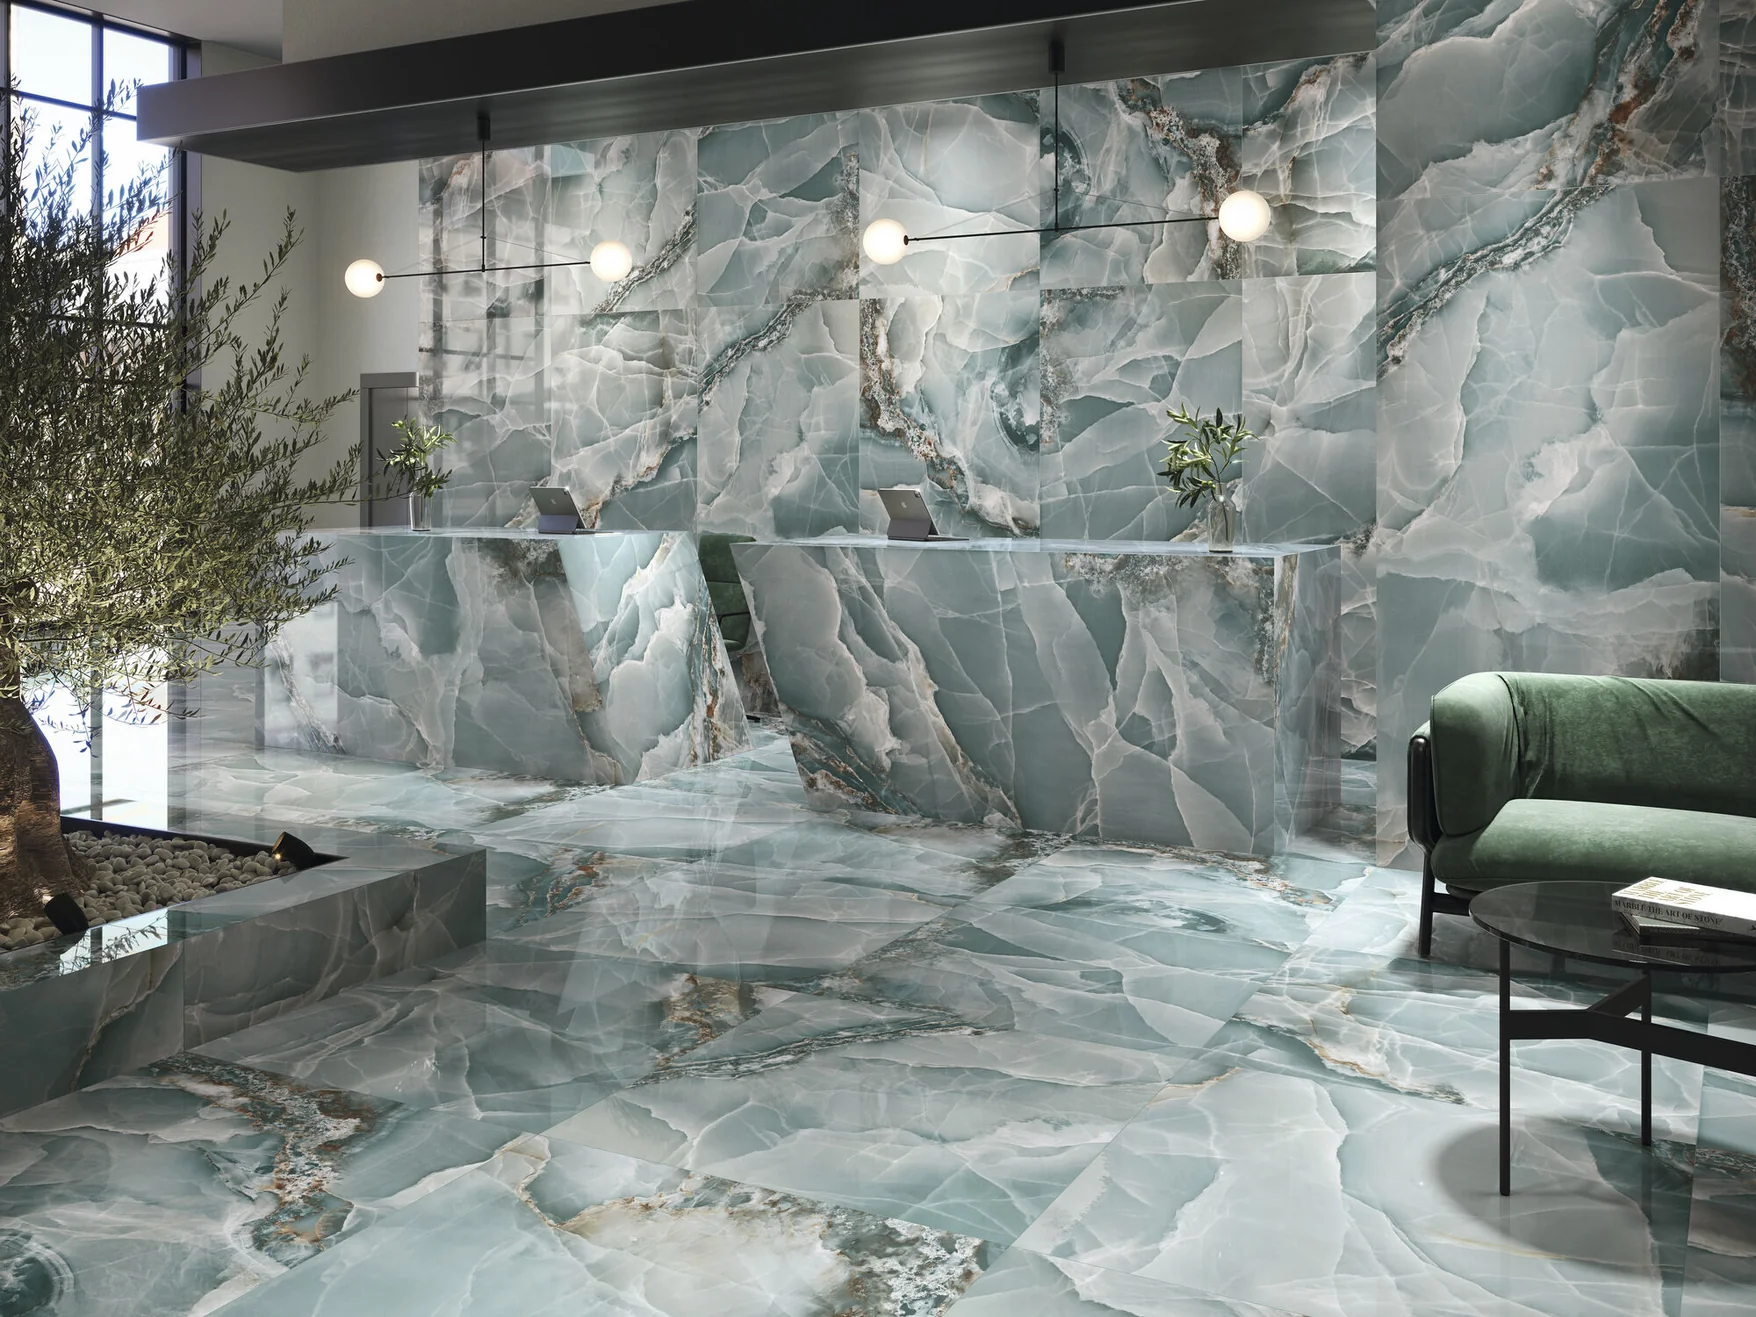
Image credit: elite-tiles.com
For most people, luxury tiles are an investment in beauty, durability and exclusivity. They often become the focal point of a room, elevating a space from ordinary to extraordinary. Whether you’re designing a high-end bathroom, a statement kitchen splashback or a bespoke feature wall, expensive tiles can be well worth the cost if you want something truly unique.
From shimmering mosaics to hand-carved stone, the world’s most expensive tiles offer more than just surface appeal. They represent craftsmanship, luxury and individuality. While they may not be for every budget, they’re certainly inspiring and can guide your choices even when you’re working with more affordable options.
Looking to elevate your space with tiles that turn heads? Explore Tiletoria’s premium tile collections for inspiration and discover the perfect fit for your next design project.
blog, floors, trends, walls
When you think of tiles, you probably picture them on kitchen splashbacks or bathroom floors — but what about the ceiling? That’s right — tiling your ceiling is becoming one of the hottest interior design trends right now. It’s bold, creative and offers a fresh way to add texture, pattern and drama to your home. If you’re after a design statement that turns heads and sparks conversation, this trend might just be for you.
Let’s take a closer look at why ceiling tiles are making a stylish comeback and how you can incorporate them into your space.

Image credit: decorpad.com
Table of Content:
Why Tile the Ceiling?
Best Rooms for Ceiling Tiles
Choosing the Right Tiles for the Ceiling
Installation Considerations
Low-Maintenance and Long-Lasting
Why Tile the Ceiling?
Traditionally, ceilings have been left plain, painted white and largely forgotten. But with more homeowners and designers pushing creative boundaries, ceilings are finally getting the attention they deserve. Tiling your ceiling adds an extra layer of interest and elegance that transforms a room from basic to beautiful.
Here’s why it’s catching on:
Creates a focal point
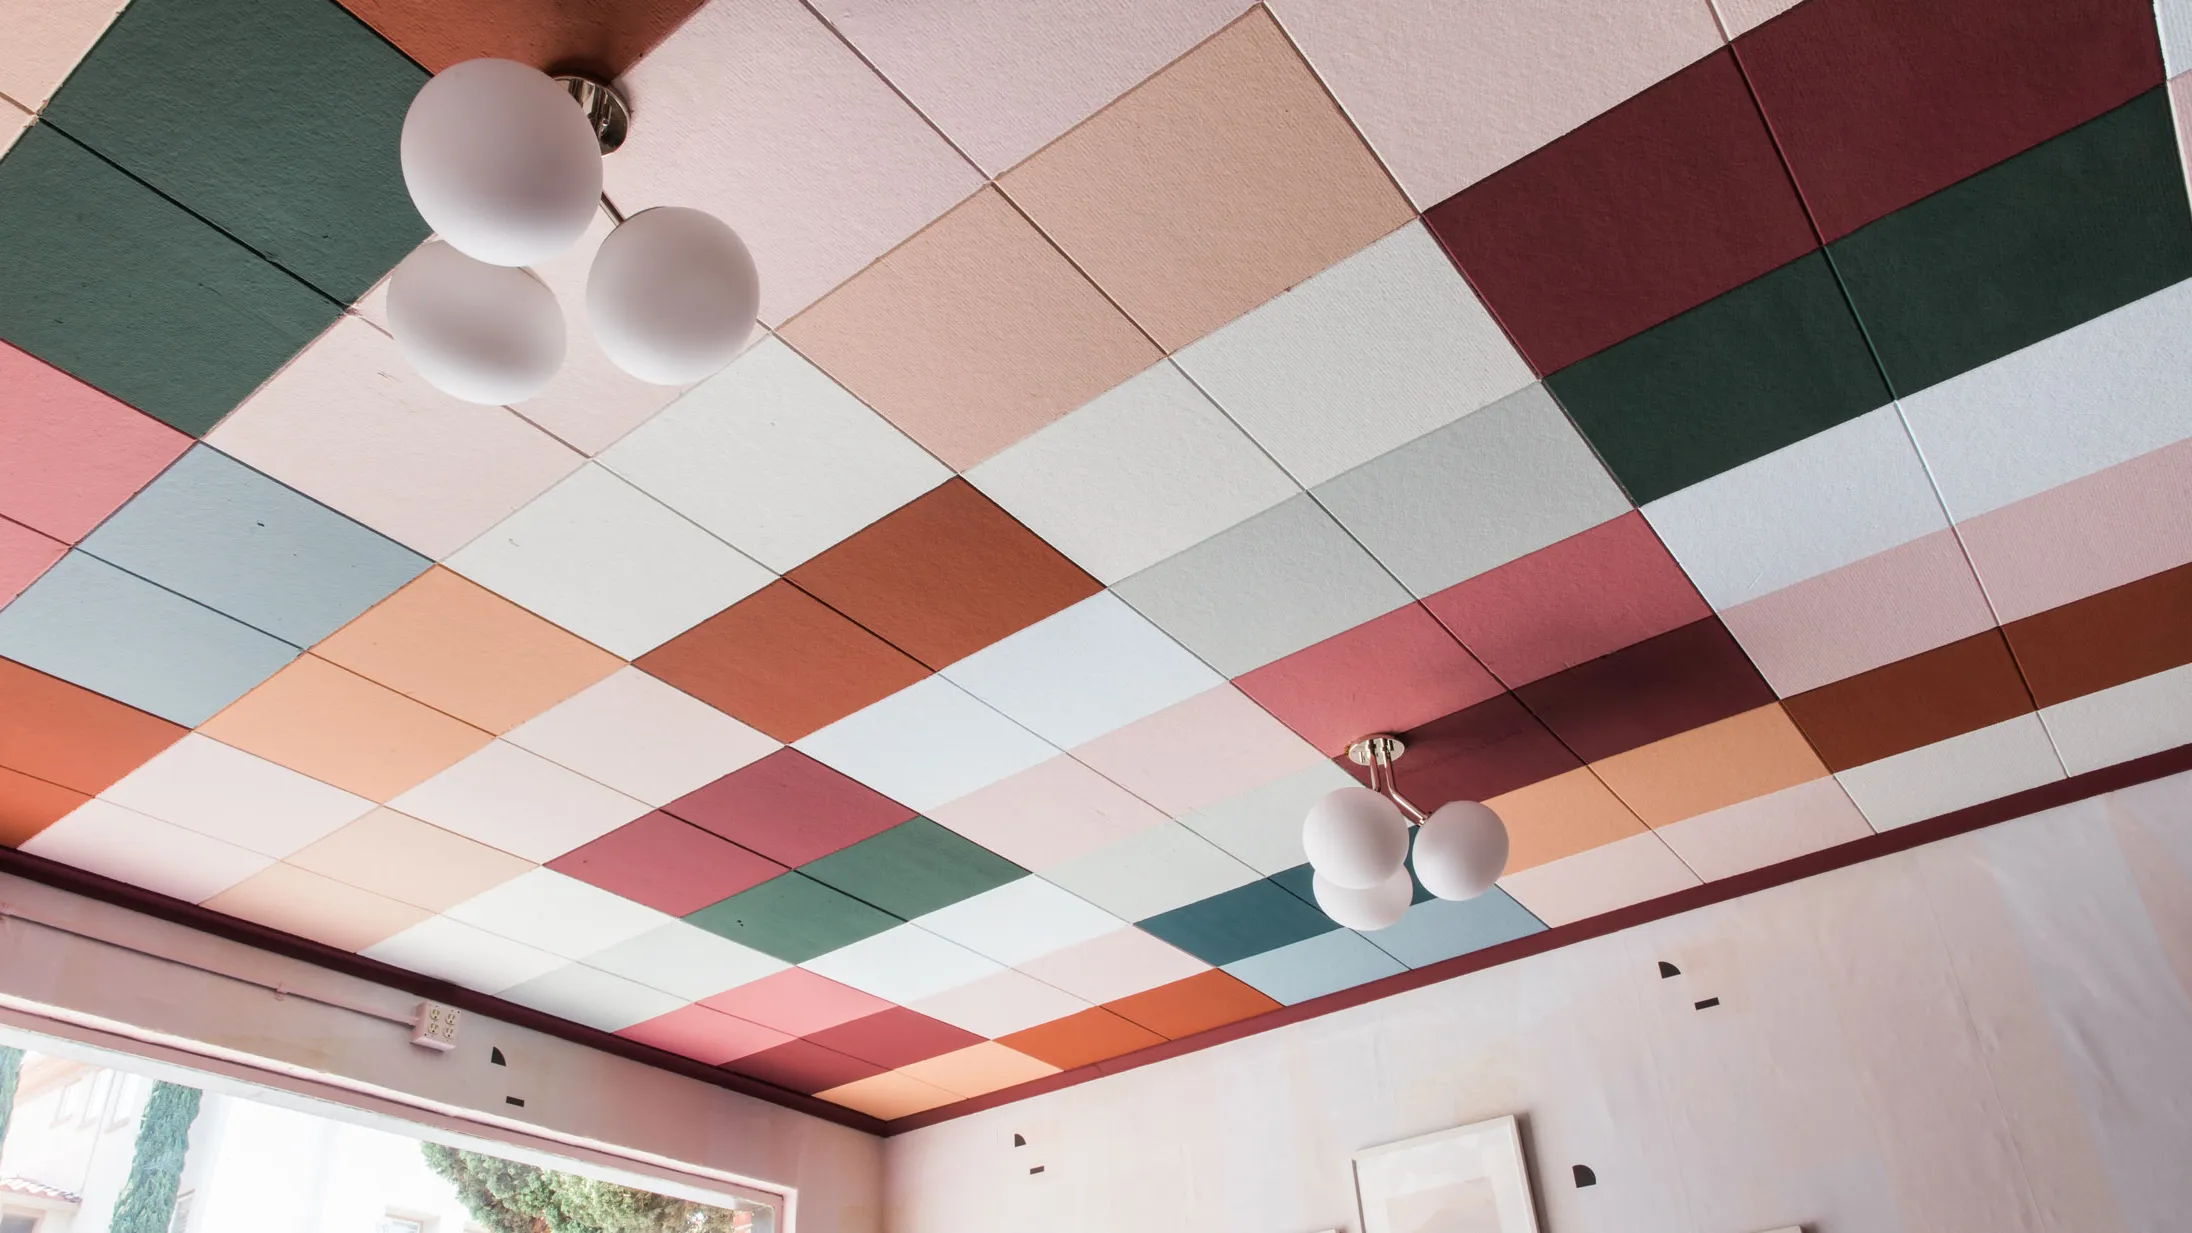
Image credit: architecturaldigest.com
A tiled ceiling instantly draws the eye upward, making the space feel more curated and considered.
Adds texture and depth
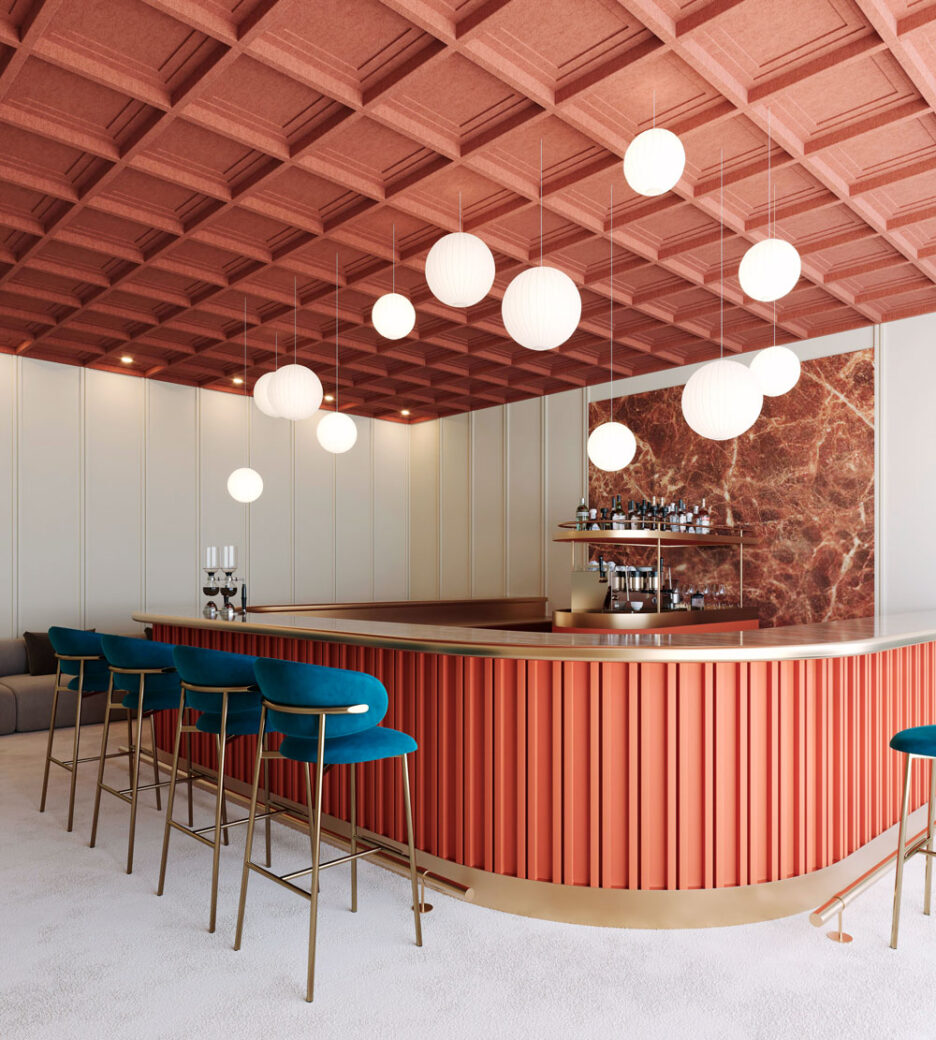
Image credit: mixinteriors.com
Especially in rooms with high ceilings, tiles can bring warmth, character and balance to the overall design.
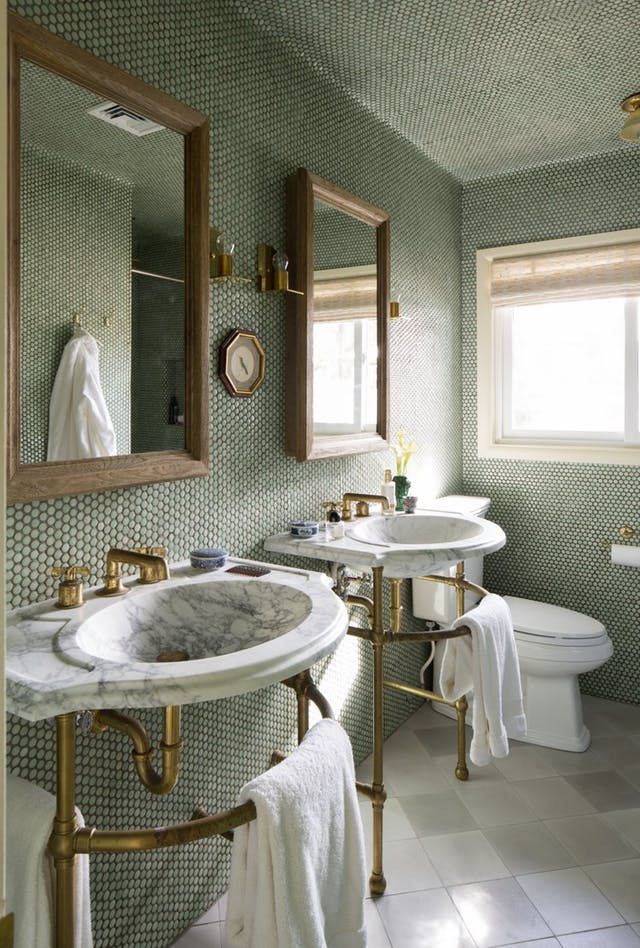
Elevates small spaces
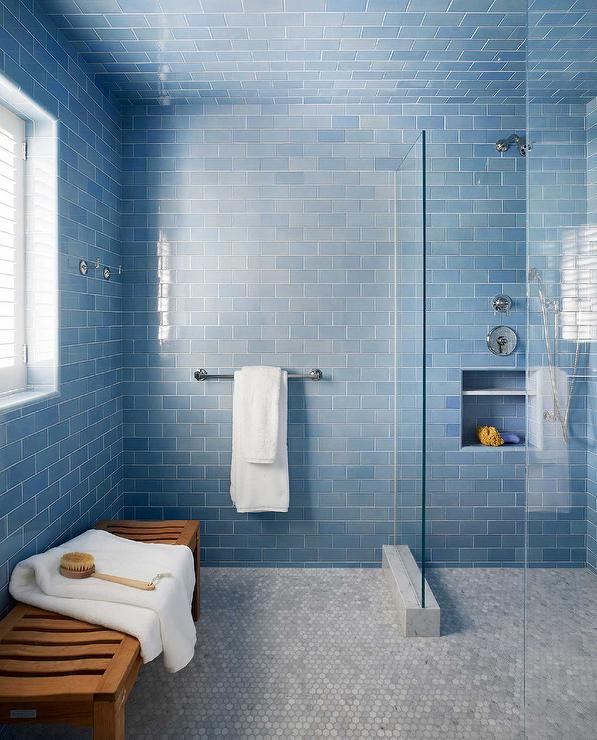
Image credit: decorpad.com
Powder rooms, entryways and other compact areas benefit from this unexpected twist.
Best Rooms for Ceiling Tiles
Not every room will suit a tiled ceiling, but when done right, it can completely change the vibe of a space. Here are a few areas where ceiling tiles really shine:
Bathrooms
Tiling the ceiling in your shower or above a freestanding bath not only looks stunning but also offers practical water resistance.
Kitchens
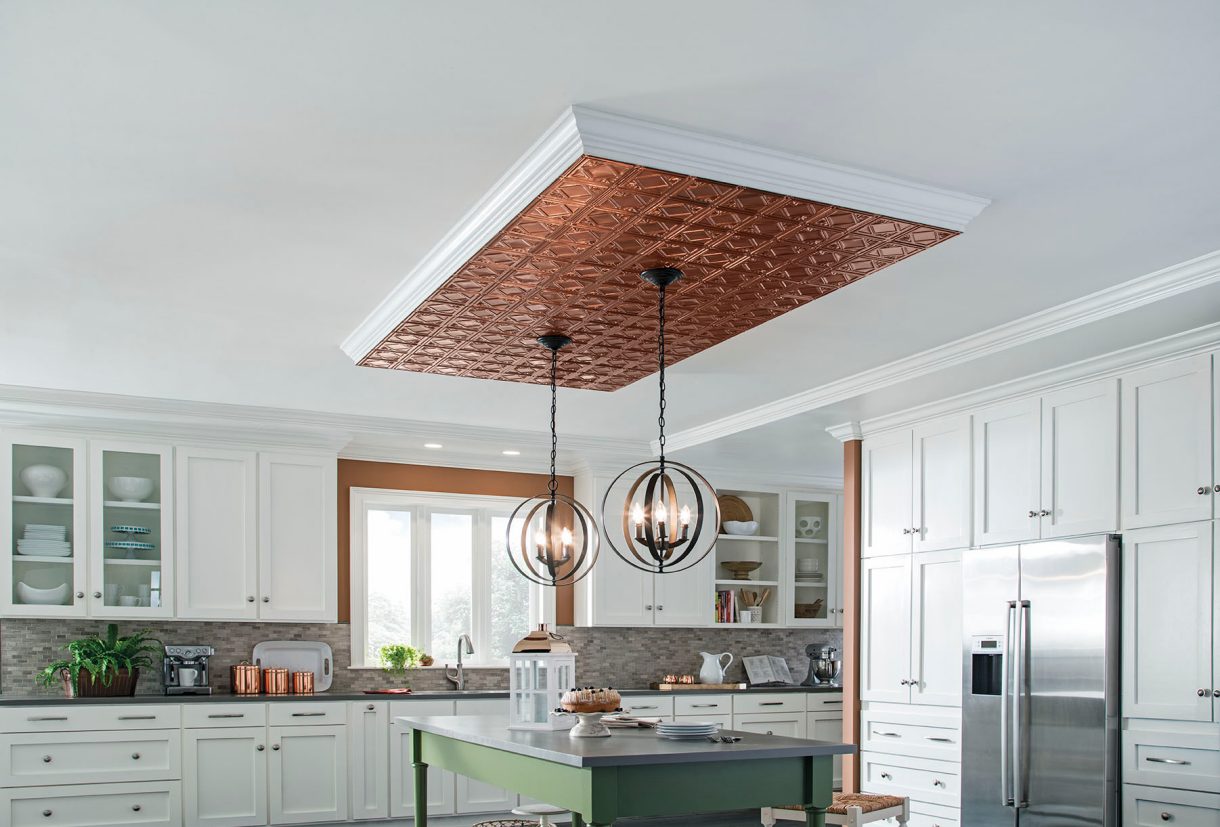
Image credit: armstrongceilings.com
A tiled ceiling above a kitchen island or in a scullery can create a sophisticated look and tie in with splashbacks or countertops.
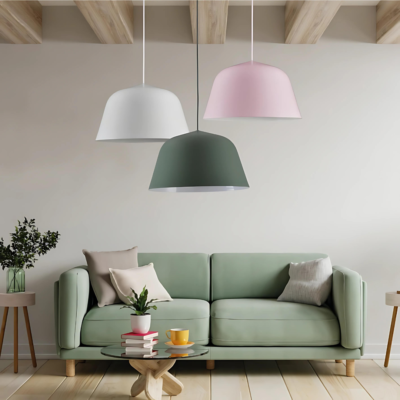
Living Rooms
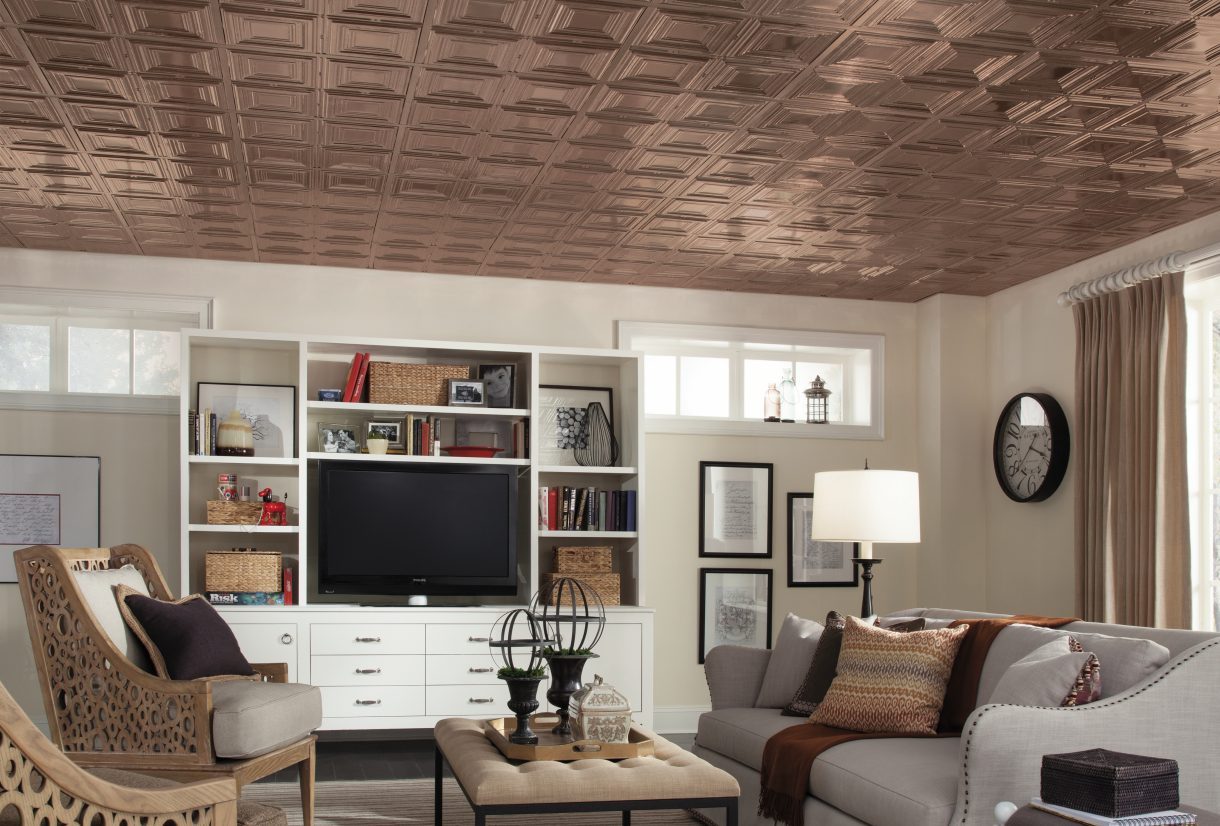
Image credit: armstrongceilings.com
Add elegance and texture with patterned or neutral tiles on the ceiling, paired with minimalist lighting for a luxe finish.
Entrances & Hallways
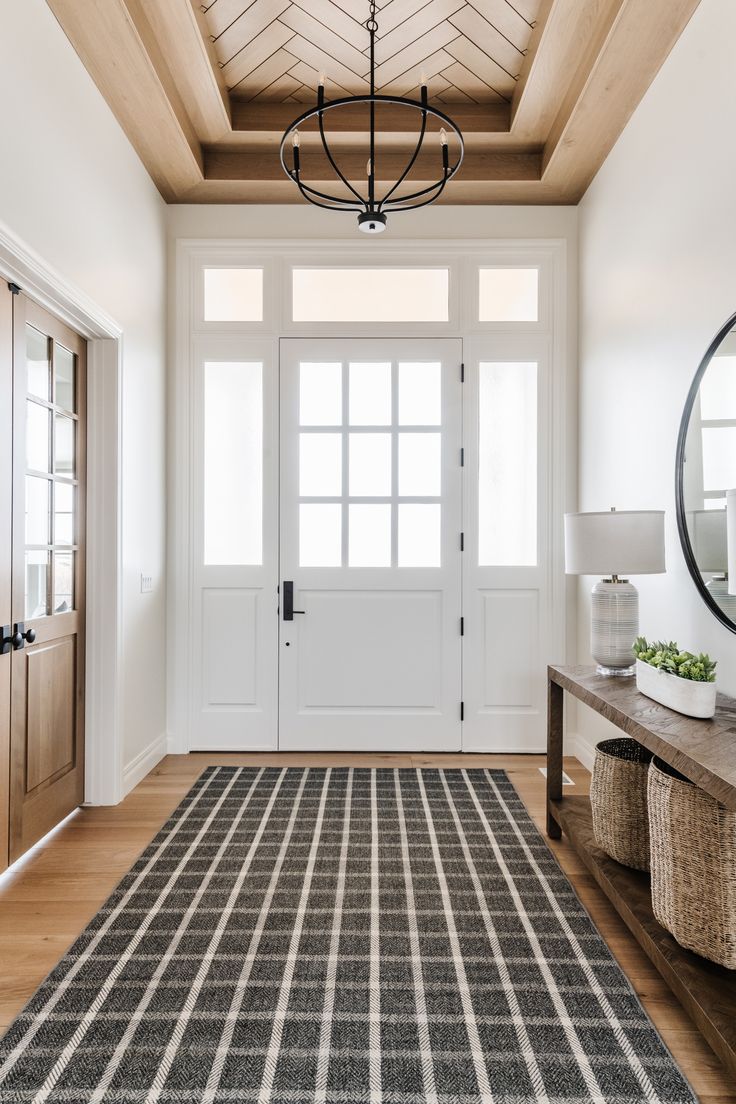
Image credit: houzz.com
First impressions count, and a tiled ceiling in your foyer or hallway sets a tone of luxury from the moment guests walk in.
Choosing the Right Tiles for the Ceiling
Not all tiles are created equal — especially when they’re going overhead. Here are a few tips when choosing tiles for your ceiling:
Go lighter
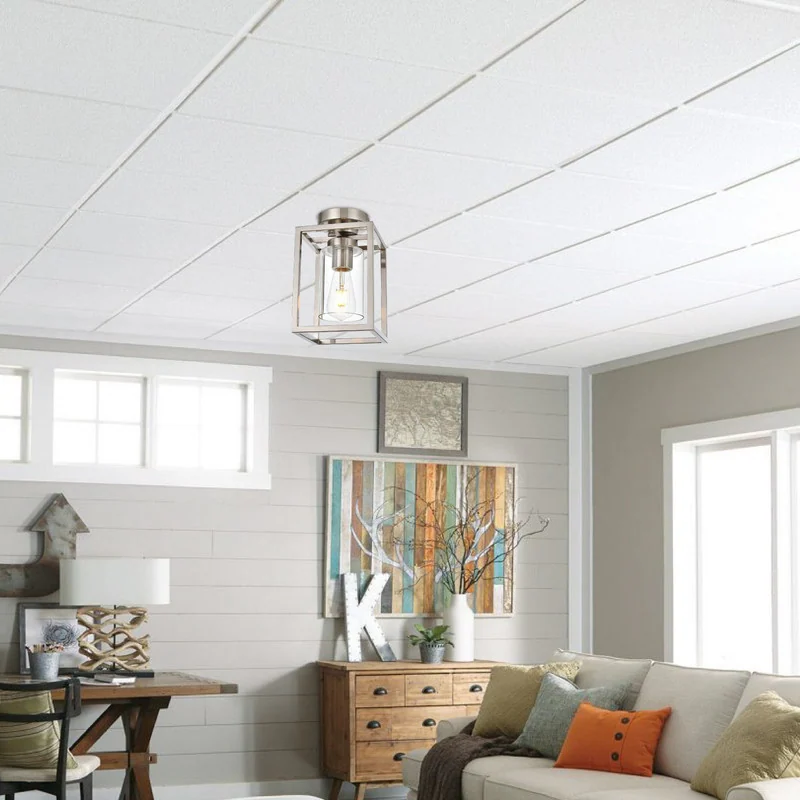
Image credit: bedbathandbeyond.com
Large, heavy tiles might be risky. Opt for lighter porcelain or ceramic tiles where possible.
Think texture
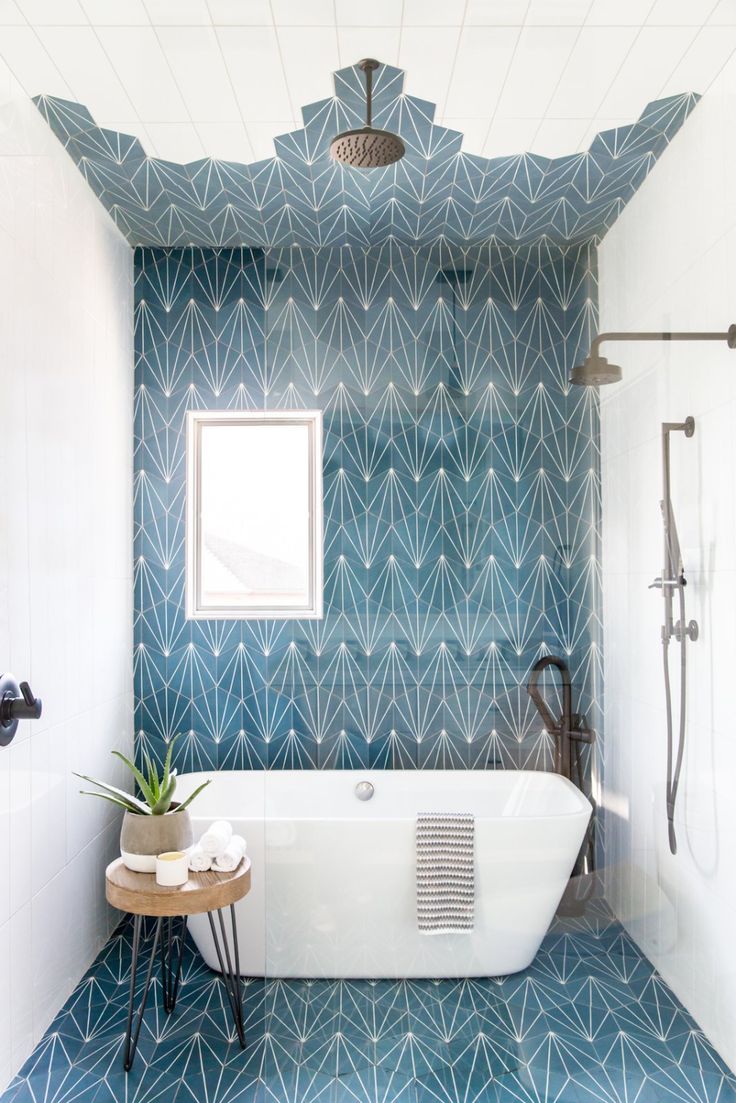
Image credit: houzz.com
3D or textured tiles can really make a statement but be careful not to go overboard in smaller rooms.
Stick with neutrals
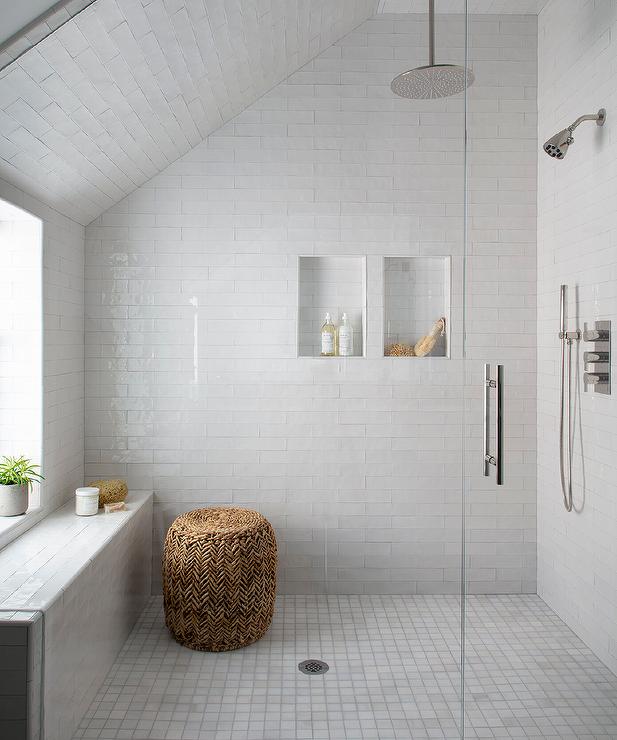
Image credit: decorpad.com
If you’re worried about commitment, soft tones and neutral shades keep things elegant without being overpowering.
Gloss vs. matte
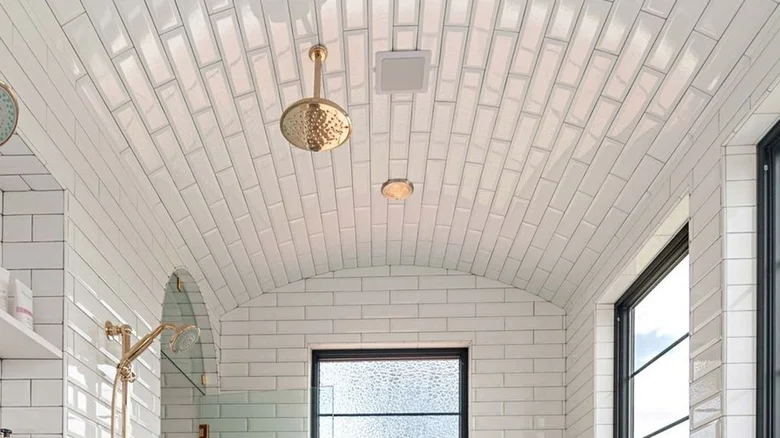
Image credit: housedigest.com
Glossy tiles reflect more light, which can help brighten a space, but matte tiles create a softer, more modern feel.
Installation Considerations
Tiling a ceiling requires a little more planning than walls or floors. Here are a few things to keep in mind:
Use a professional installer
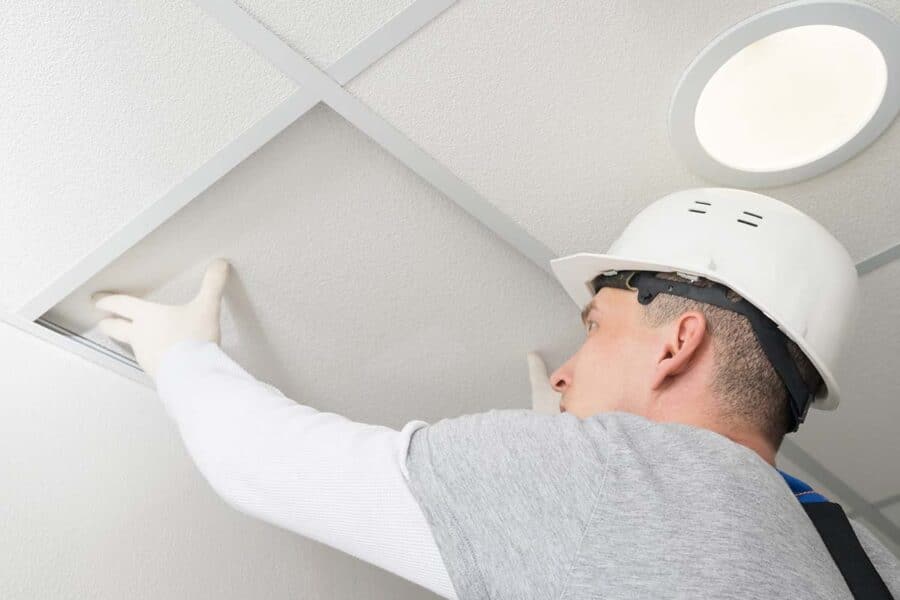
Precision is key. Uneven tiles or poor adhesion can become a safety hazard.
Check structural integrity

Make sure your ceiling can support the weight of the tiles and adhesive.
Waterproofing
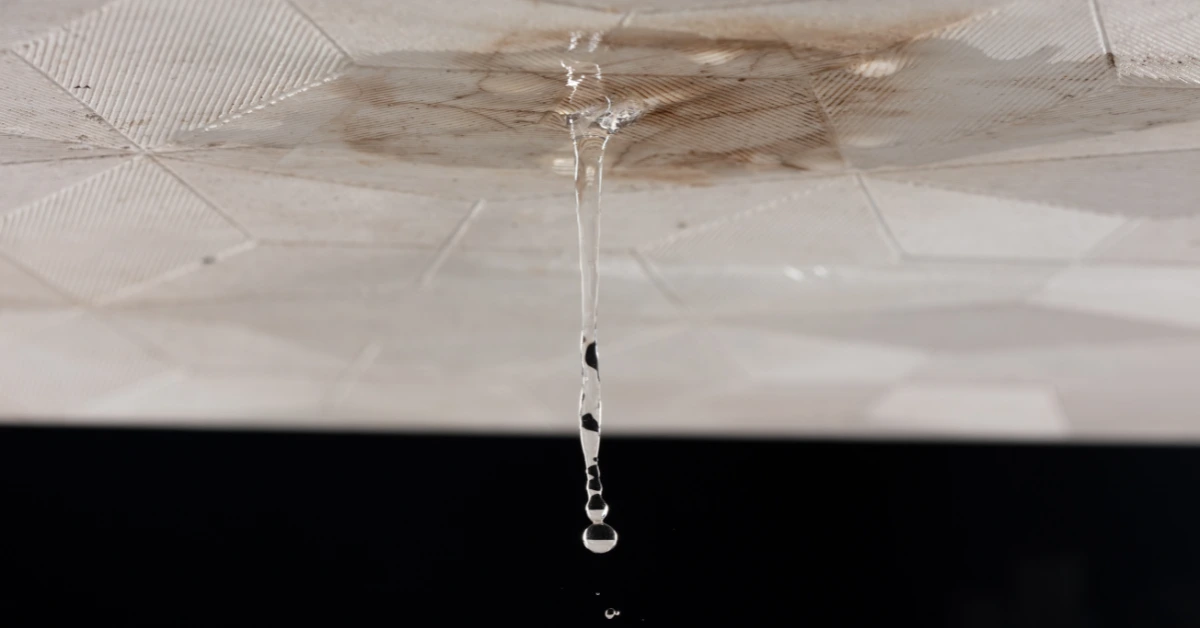
In bathrooms or kitchens, proper sealing is essential to prevent moisture damage.
Low-Maintenance and Long-Lasting
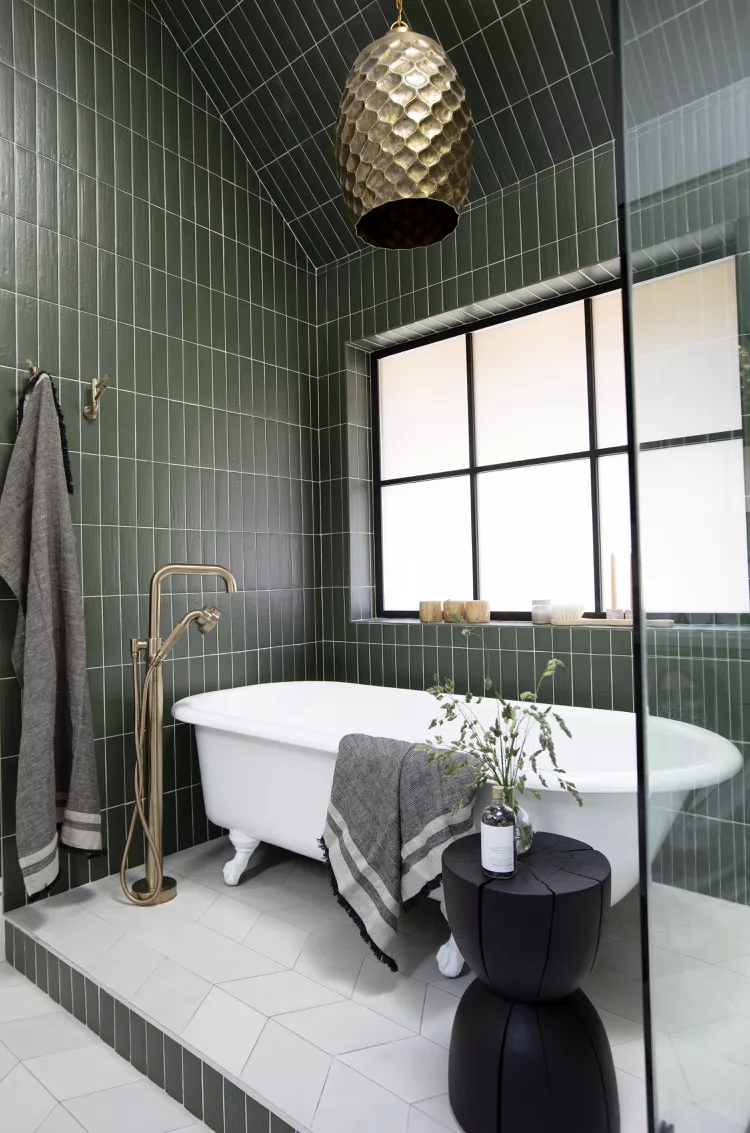
Image credit: thespruce.com
One of the biggest perks of ceiling tiles? They’re incredibly low maintenance. Unlike painted or plastered ceilings, tiles are easy to clean, durable and resistant to mould and mildew — making them perfect for moisture-prone areas.
If you’re ready to break the mould and embrace something bold, tiling your ceiling could be your next home improvement project. It’s a modern, functional way to add character and style to any space while also reaping the benefits of durability and easy maintenance.
Whether you’re planning a full renovation or just looking to update a single room, ceiling tiles might just be the statement finish you’ve been searching for.
Ready to explore your options? Visit Tiletoria for a wide range of ceiling-friendly tiles that can take your interiors to new heights — literally.
blog, floors, walls
When choosing tiles for your home, you might focus on colour, texture and size — but have you considered how lighting affects your tiles appearance? The right lighting can enhance the beauty of your tiles, while poor lighting can make them look dull or even change their colour. Before making your final choice, it’s important to understand how lighting impacts your tiles and how you can use it to your advantage.
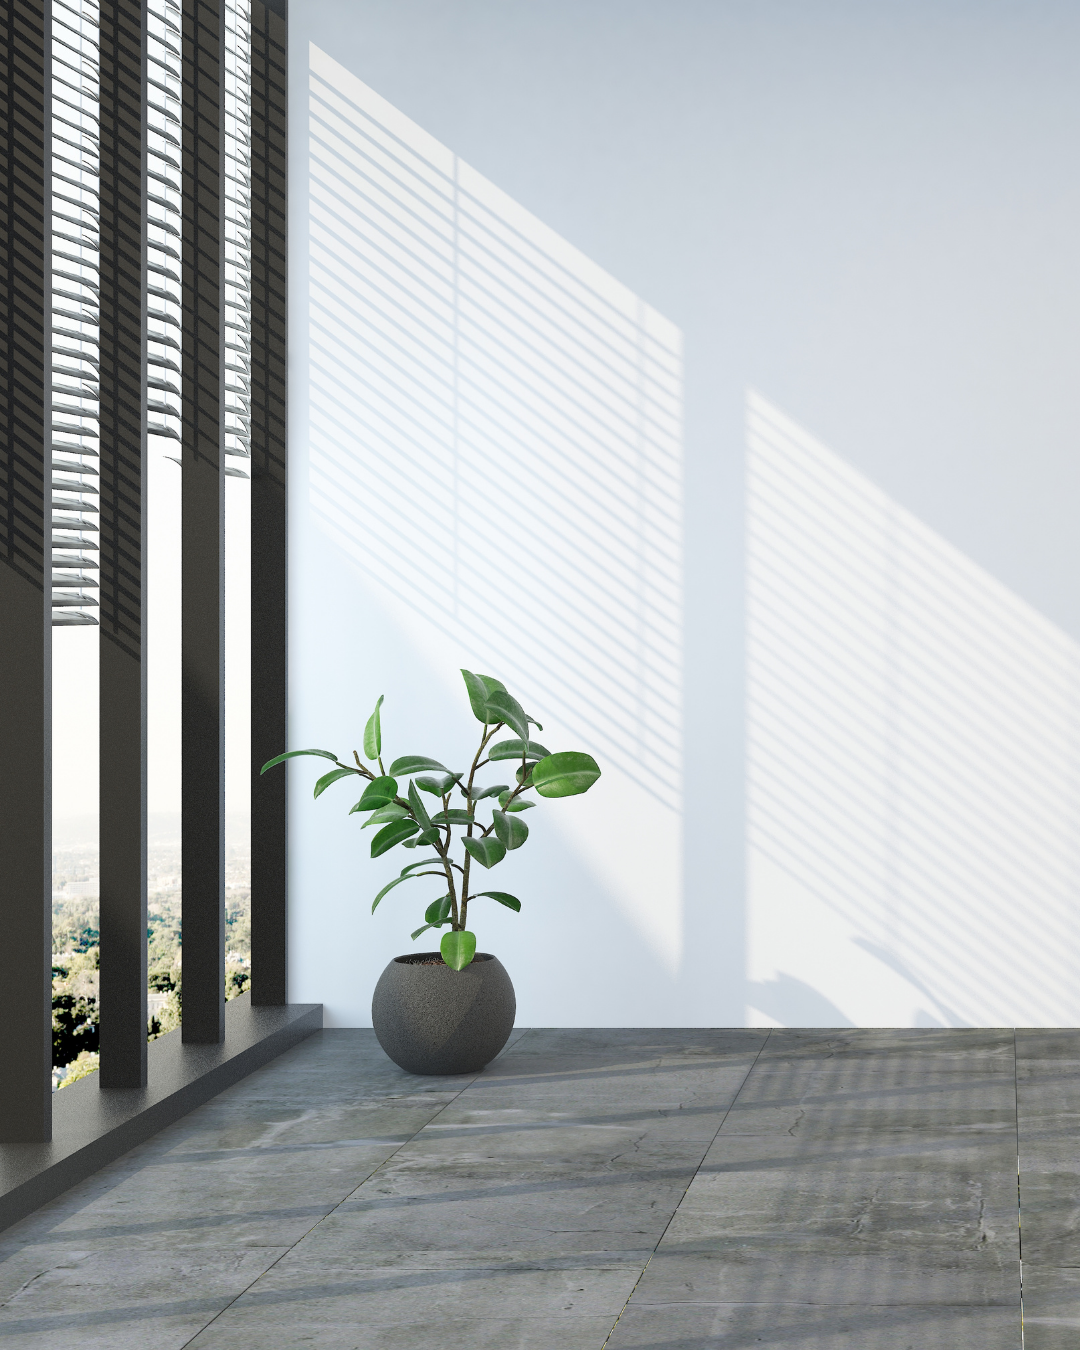
Table of Content:
How Different Lighting Affects Tiles
Tile Finishes and Lighting Effects
Tips for Choosing the Right Tiles Based on Lighting
How Different Lighting Affects Tiles
Whether it’s the natural light streaming in through windows or the artificial lighting you choose, each type of light interacts differently with tile colours, textures and finishes. Understanding these effects will help you make the right choice for your space.
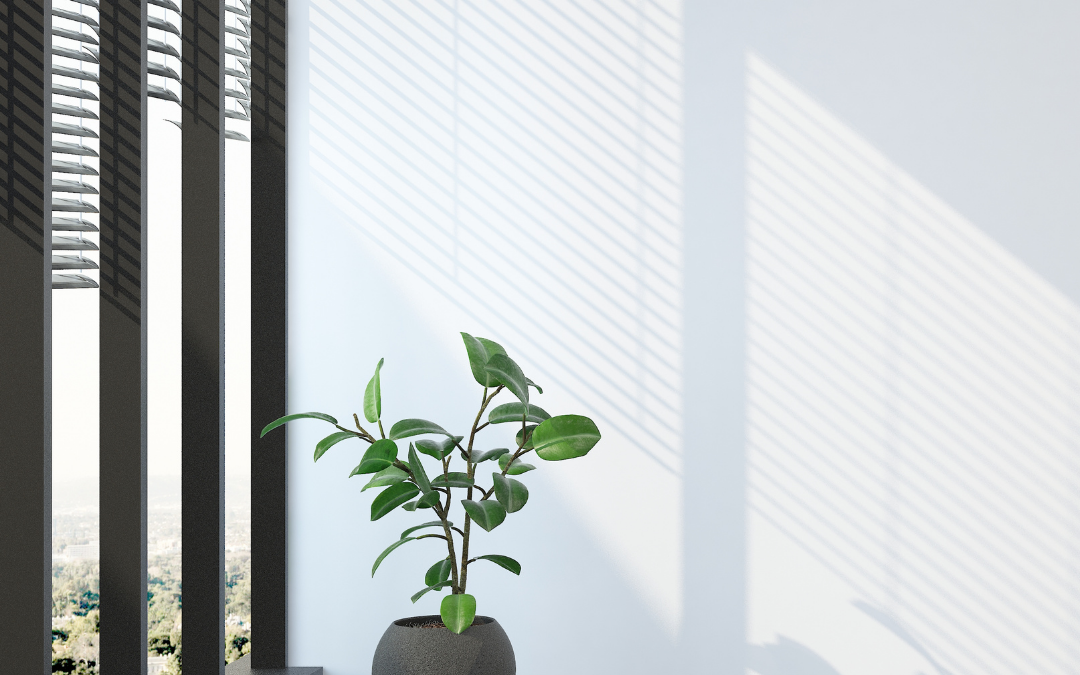
Natural Light: Bringing Out True Colours
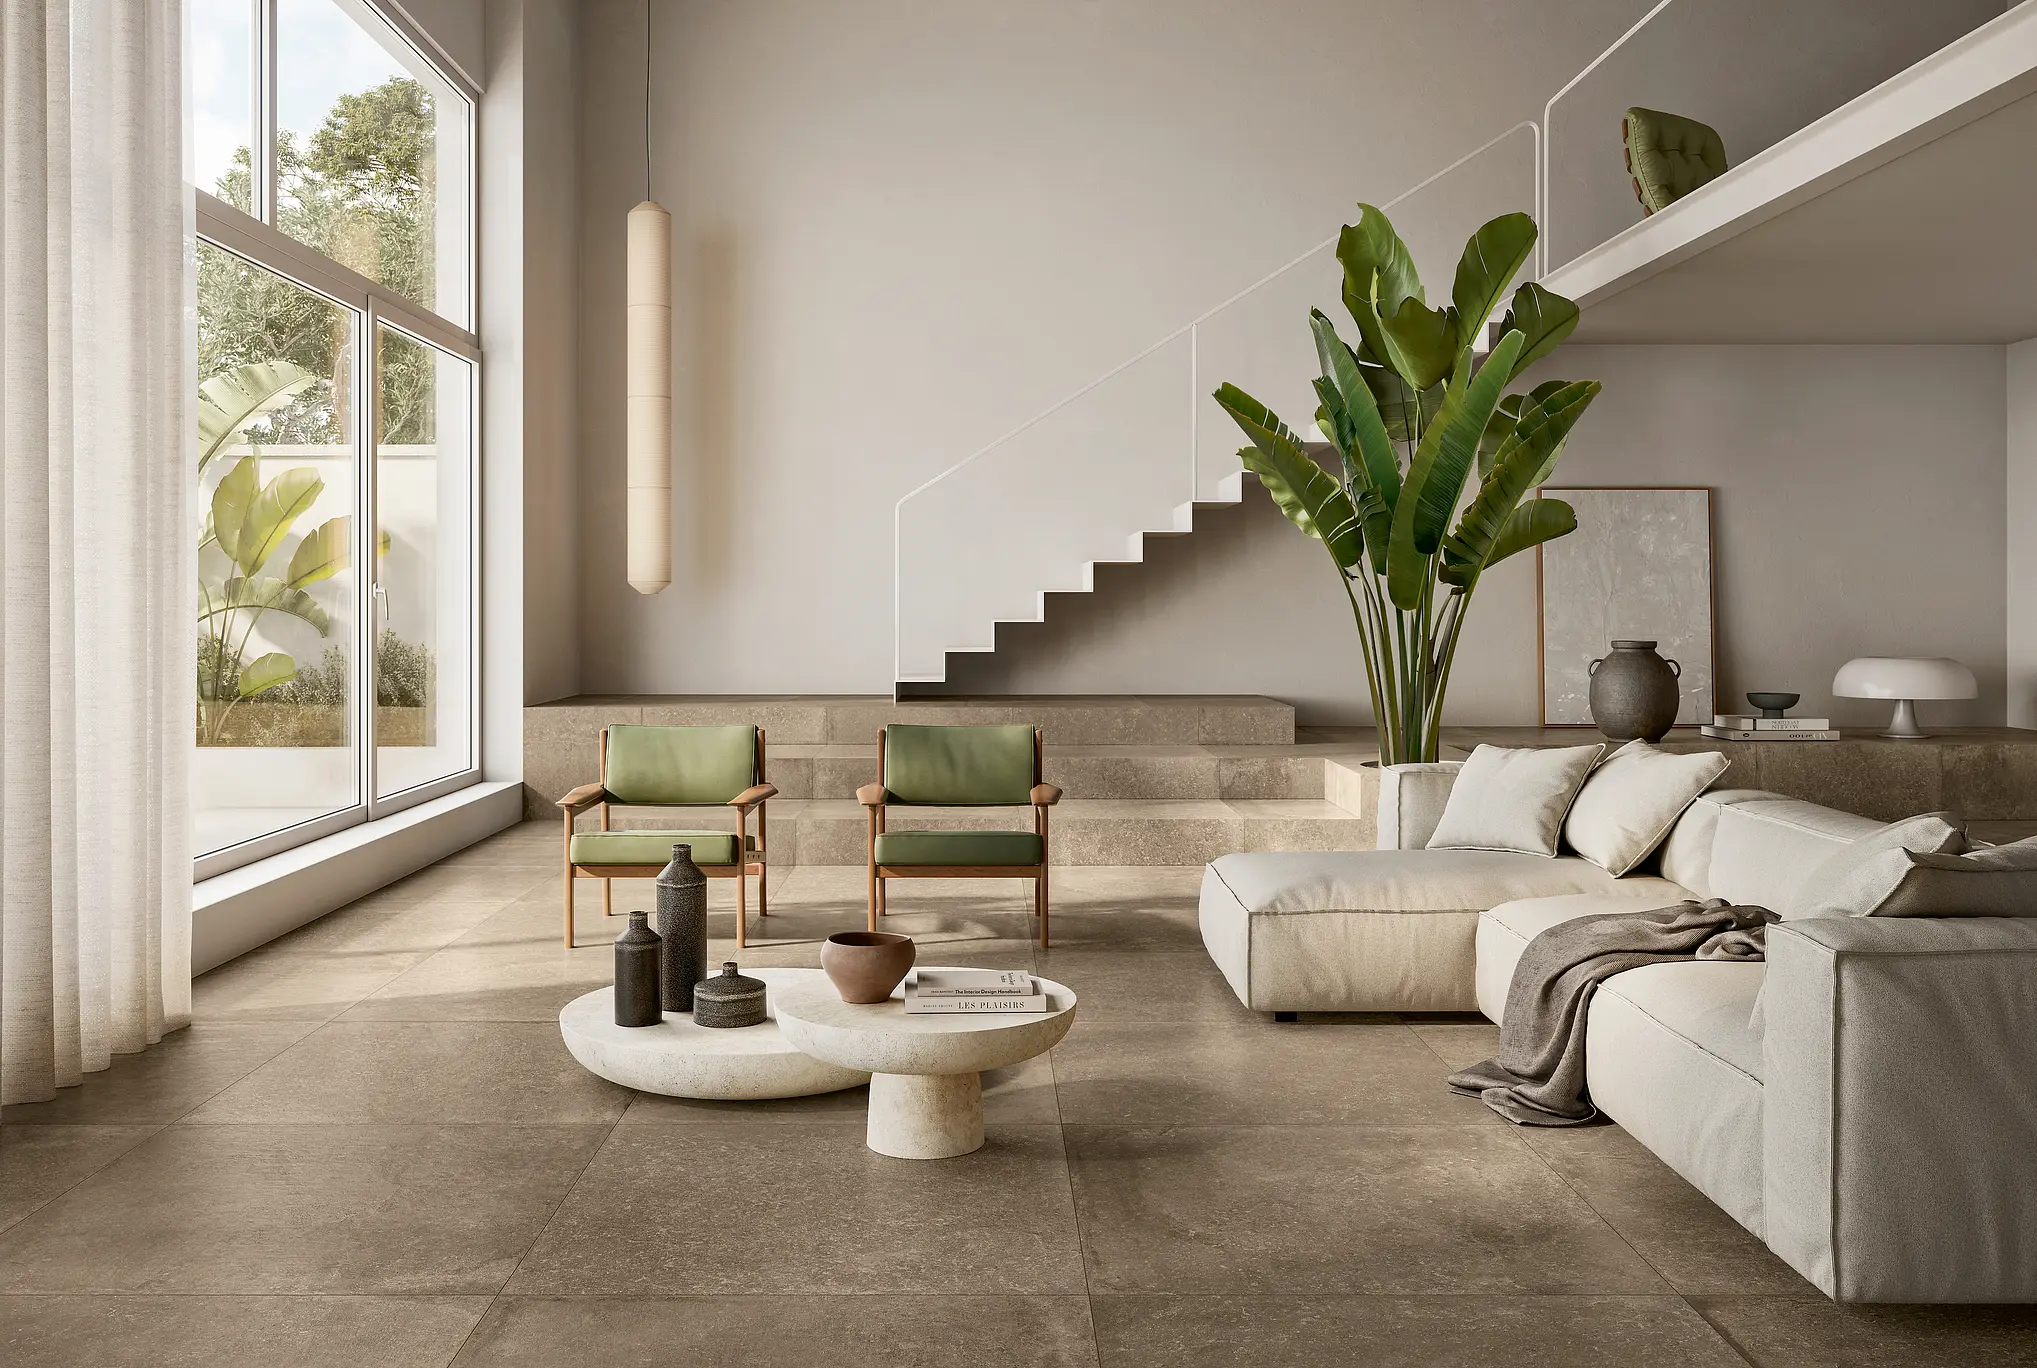
image credit: casa39
Natural light has a major influence on how tiles appear in a space. The way sunlight filters into a room throughout the day can highlight subtle undertones, making tiles look different in the morning, afternoon, and evening. Large windows, skylights and glass doors allow natural light to highlight the true tones of your tiles. However, be aware that direct sunlight can create glare on glossy tiles and make some colours appear warmer or cooler depending on the time of day.
Artificial Lighting: Setting the Mood
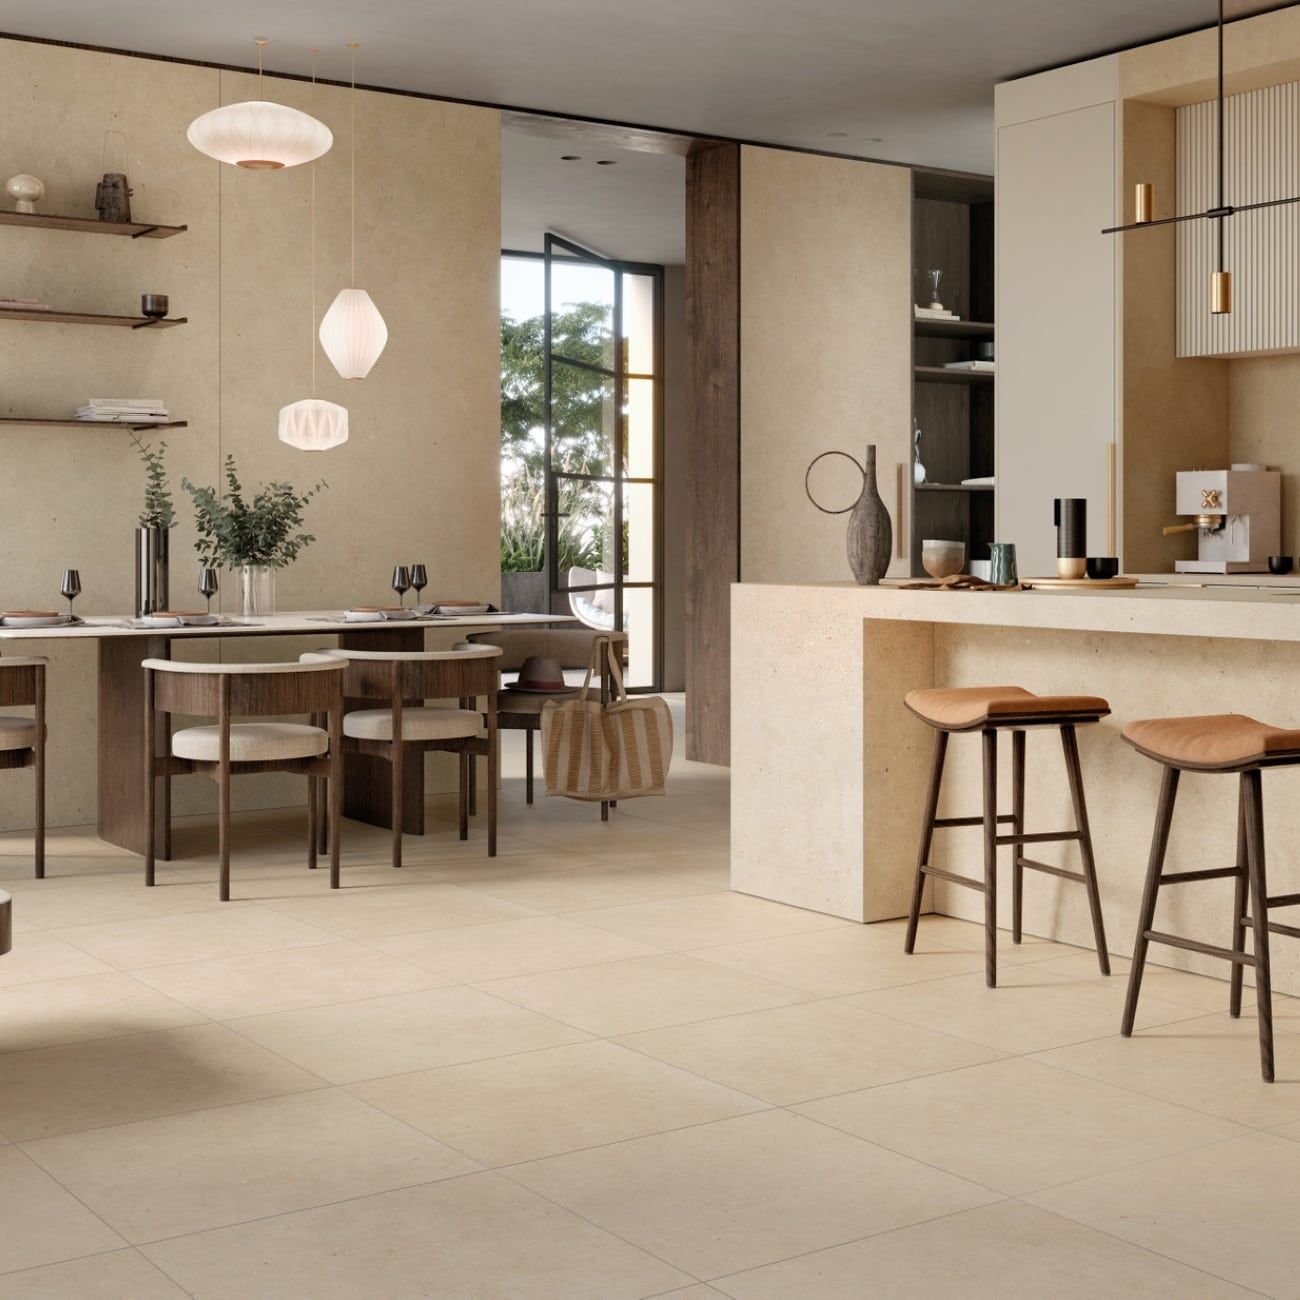
image credit: casa39
Artificial lighting plays a crucial role, especially in rooms with limited natural light. Different types of bulbs create different effects:
Warm White Bulbs
Add a cosy, yellowish tone, perfect for living spaces and bathrooms.
Cool White Bulbs
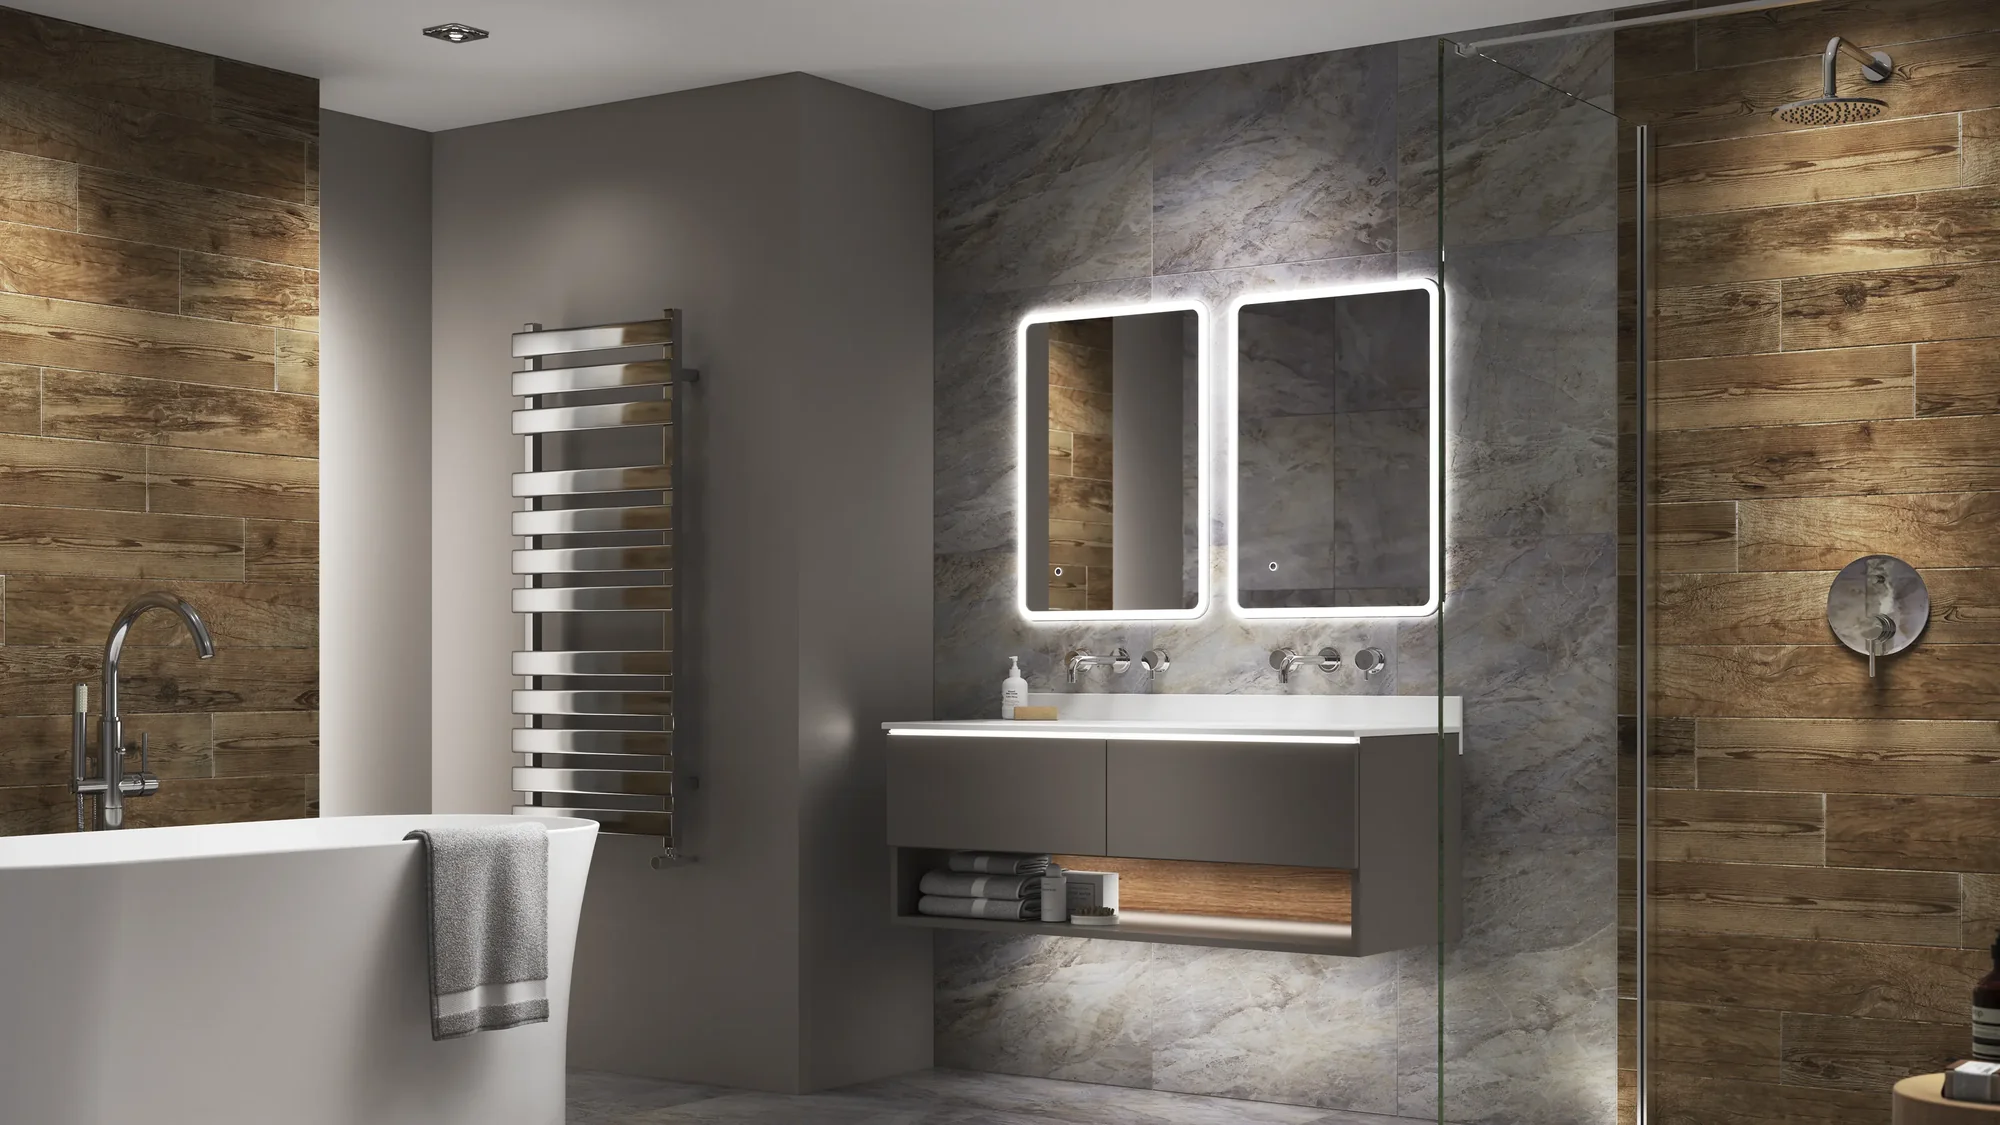
image credit: sensiolighting.com
Enhance crisp, modern looks, ideal for kitchens and bathrooms with neutral-toned tiles.
Daylight Bulbs
Mimic natural light and showcase tile colours accurately, making them a great choice for showrooms or well-lit kitchens.
Tile Finishes and Lighting Effects
The finish of your tiles plays a key role in how they interact with light. Whether you want a bright, reflective space or a soft, elegant feel, choosing the right tile finish can enhance the overall look of your room. Here’s how different finishes respond to lighting.
Glossy Tiles: Reflective and Bright
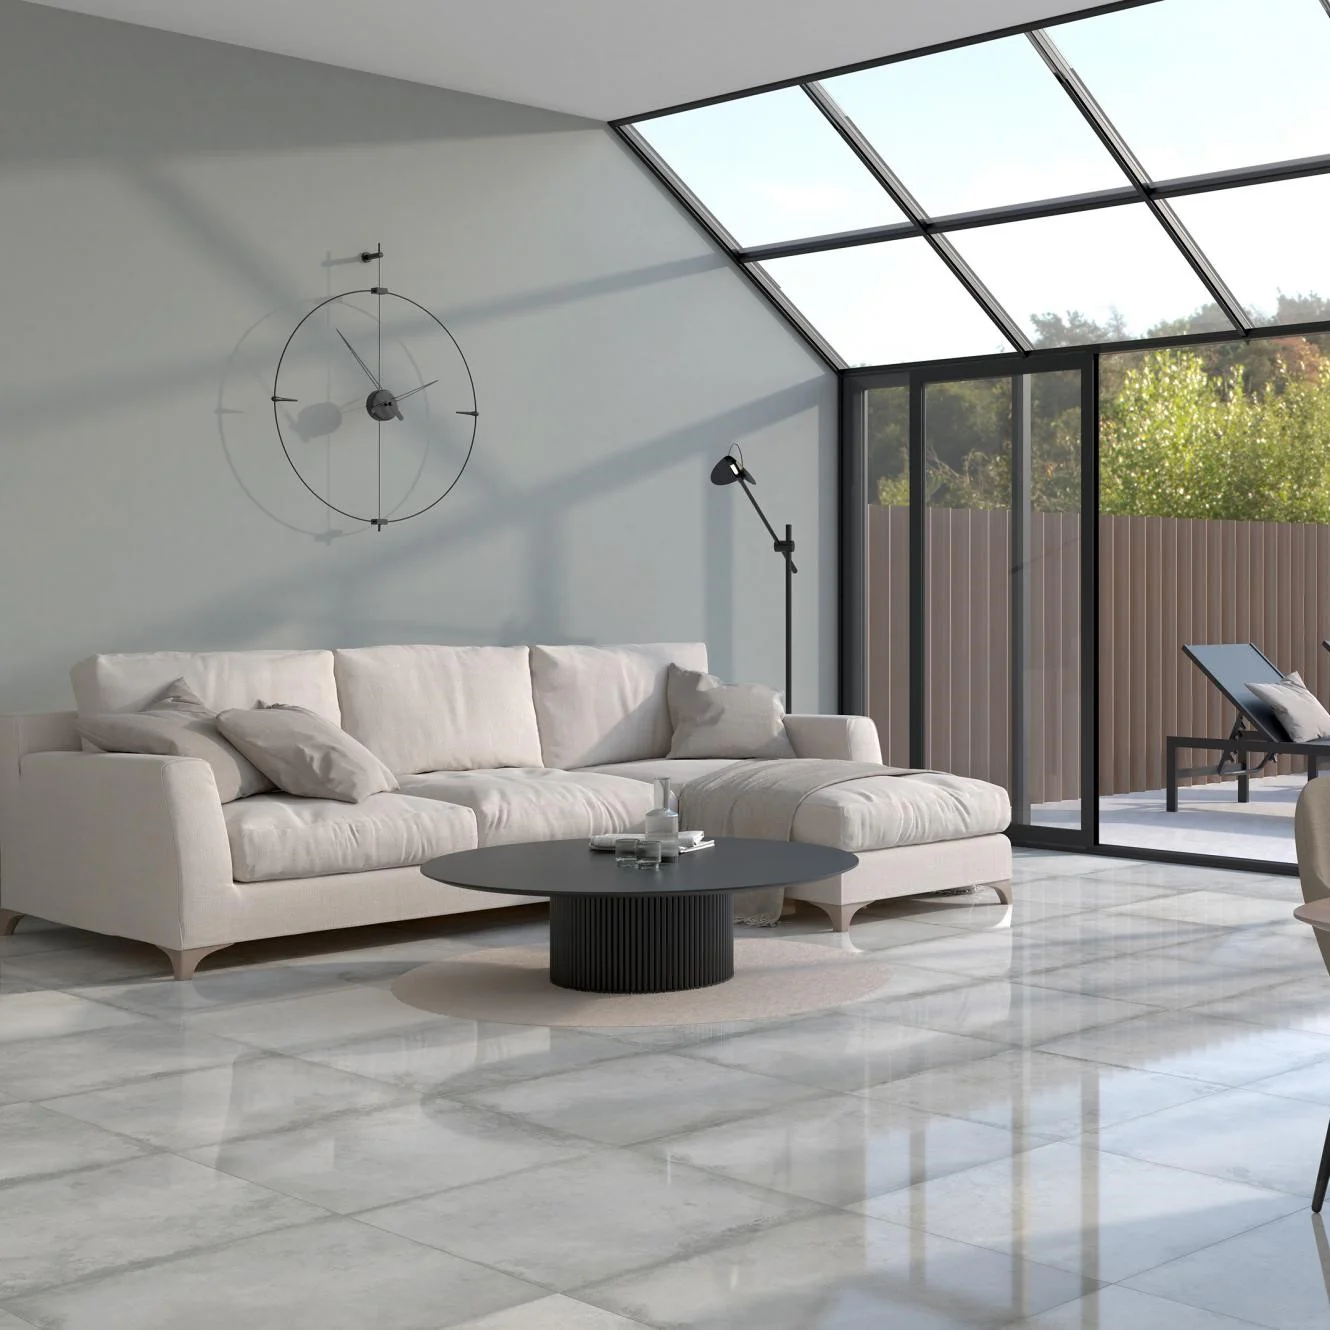
image credit: decobella
Glossy tiles bounce light around the room, making spaces feel bigger and brighter. However, they can also highlight imperfections and water spots, especially under harsh lighting.
Matte Tiles: Soft and Elegant
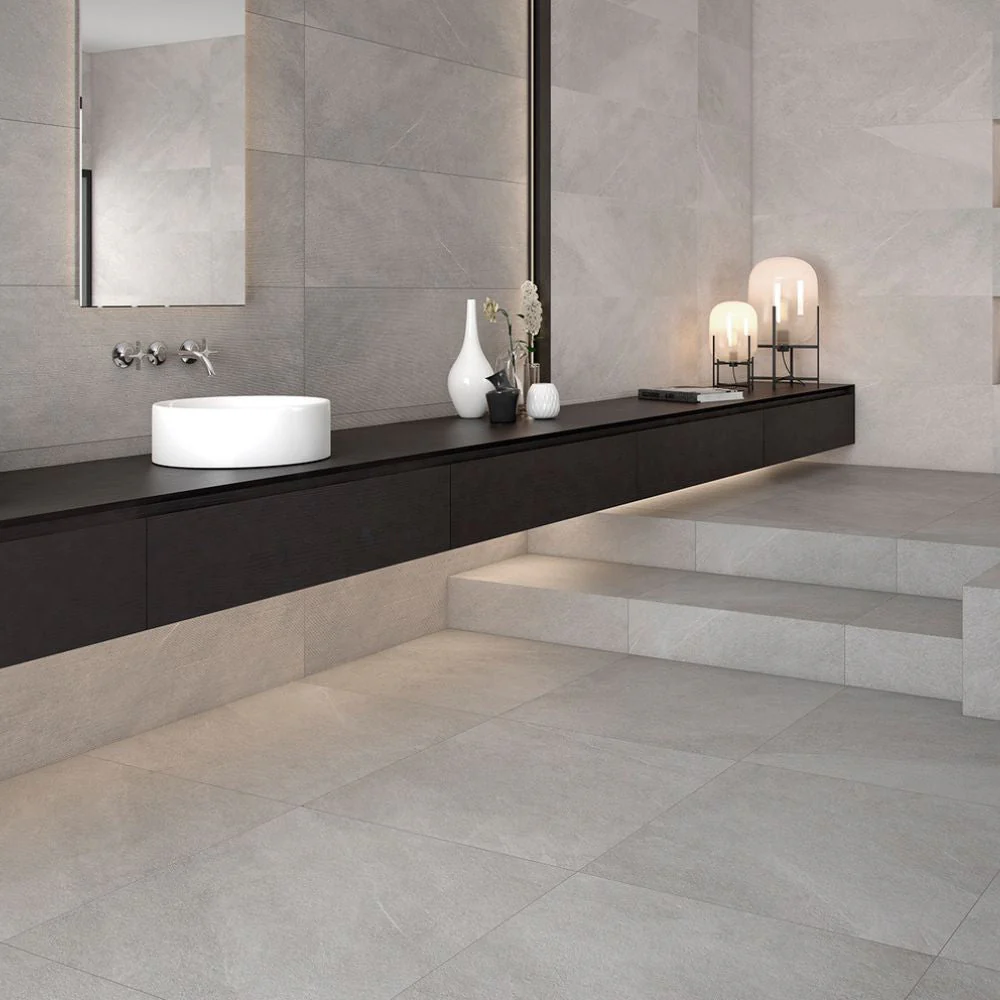
image credit: roccia
Matte tiles absorb light, reducing glare and creating a softer, more sophisticated look. They work well in areas with bright artificial lighting, as they prevent excessive reflections.
Textured Tiles: Depth and Shadows
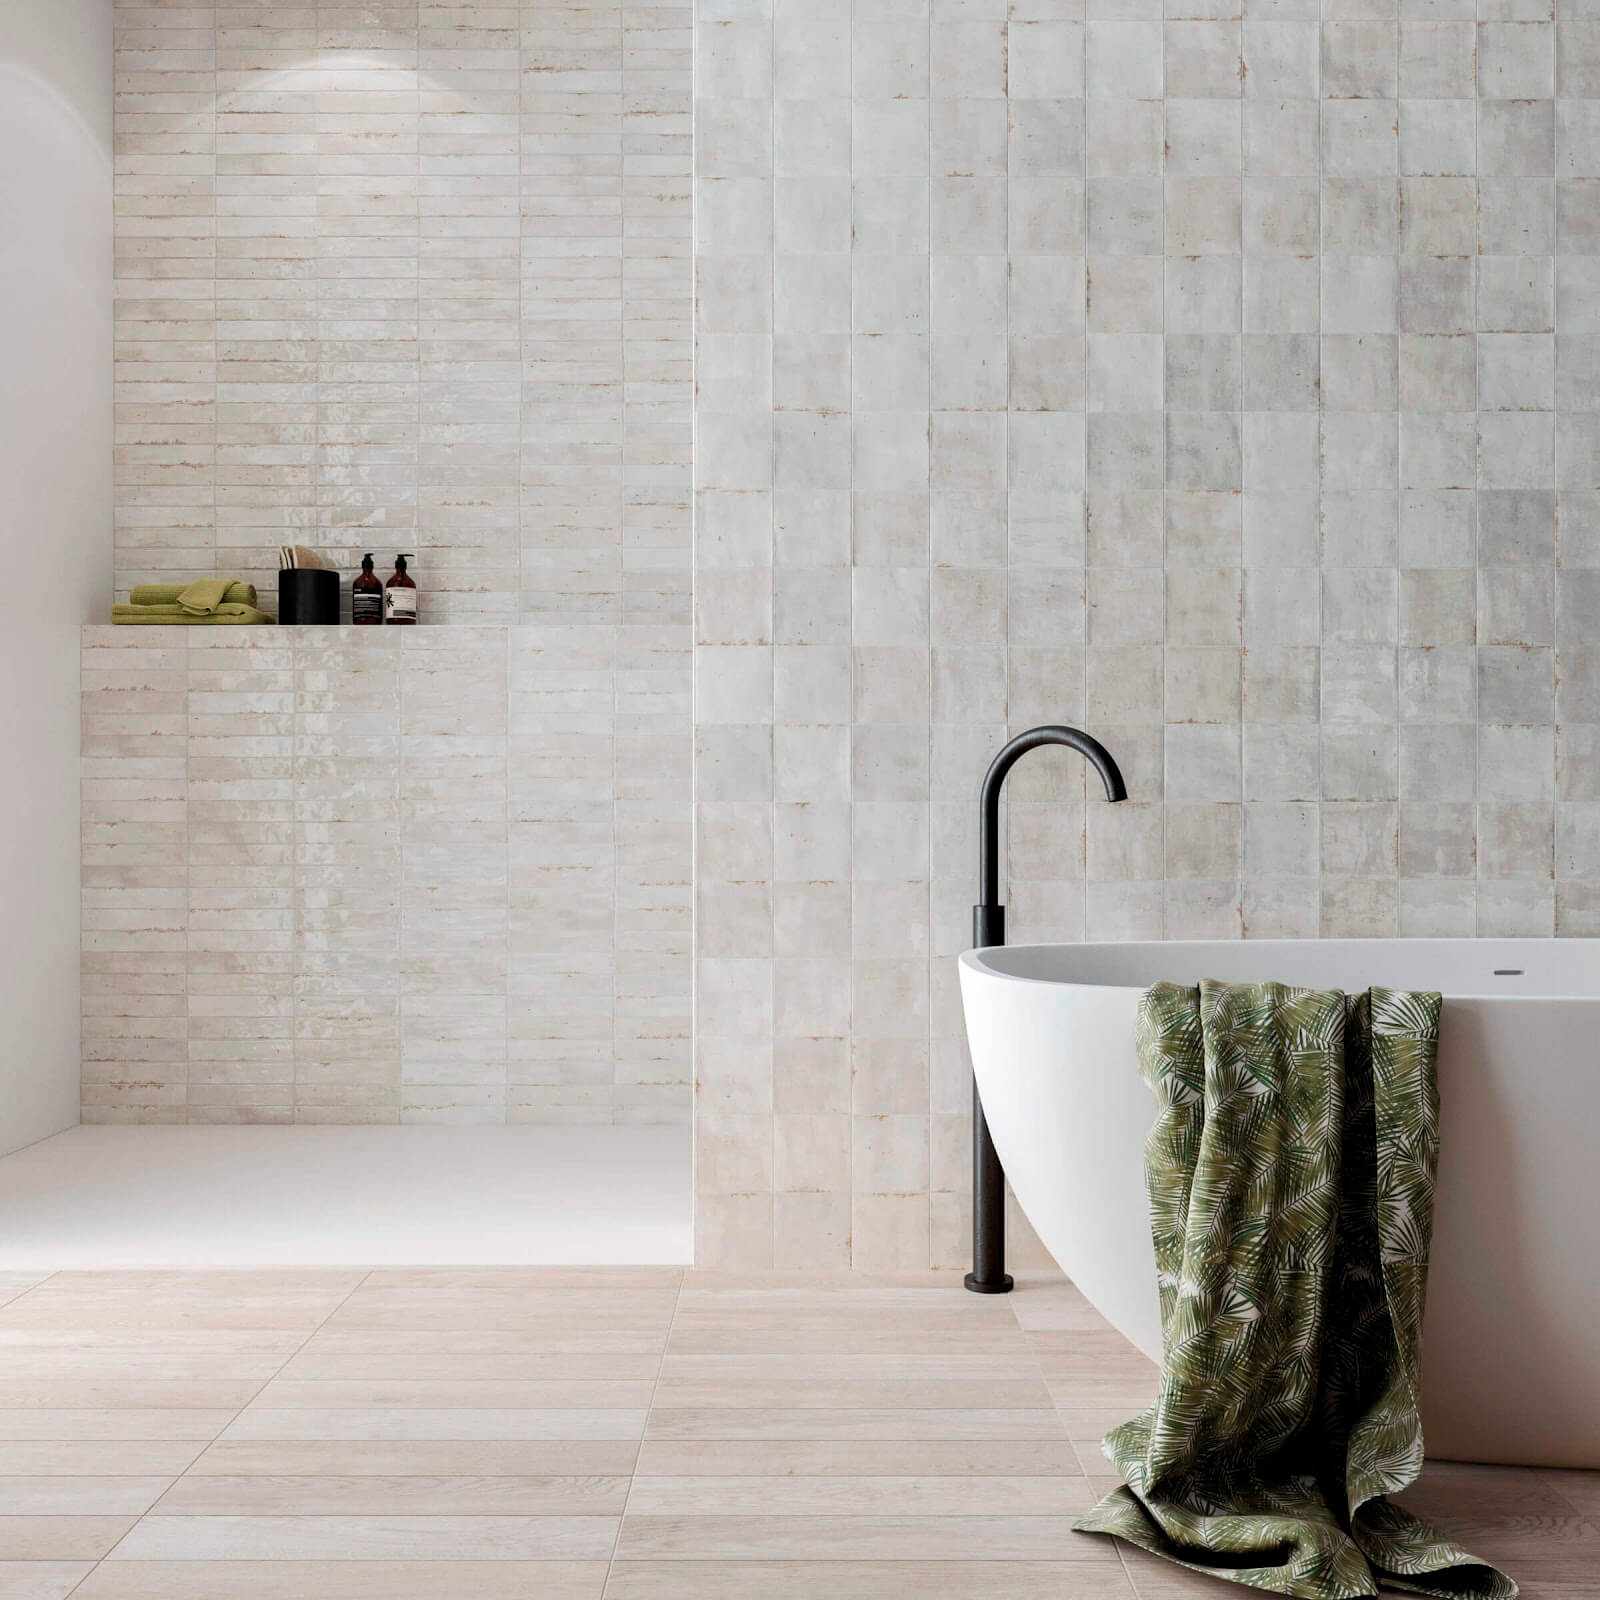
image credit: whytile.com
Lighting can emphasise the depth and patterns of textured tiles, creating dramatic shadows and highlights. This is particularly useful in feature walls or decorative areas.
Tips for Choosing the Right Tiles Based on Lighting
Lighting can dramatically change the way tiles look in a space, so it’s important to choose wisely. Here are some practical tips to help you select tiles that will look their best under different lighting conditions.
Test Samples in Different Lights
Before making a decision, view tile samples under natural light, artificial lighting and evening conditions to see how they change.
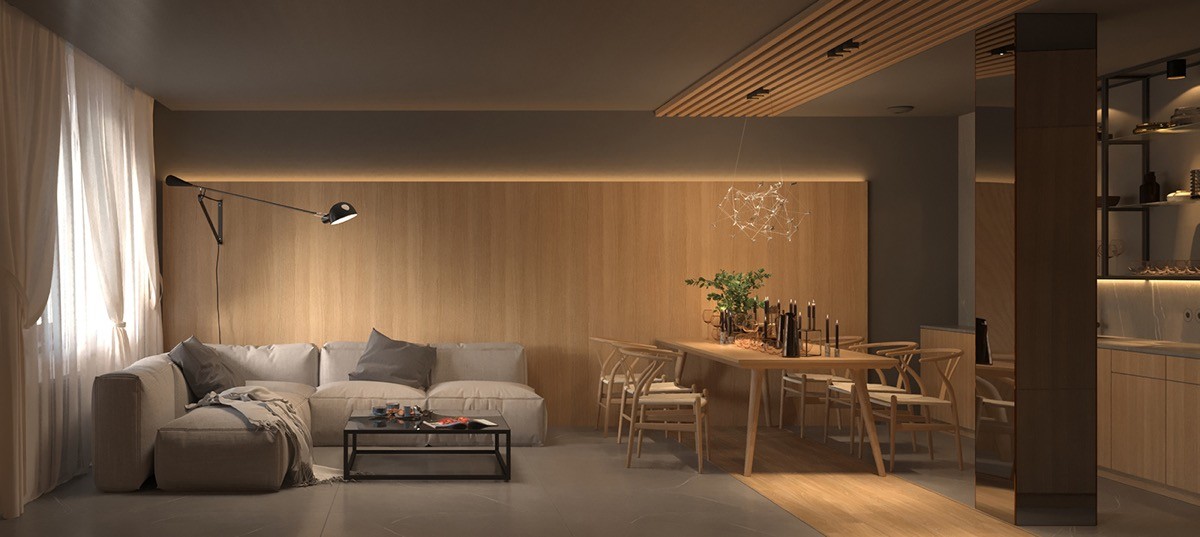
Consider the Room’s Function
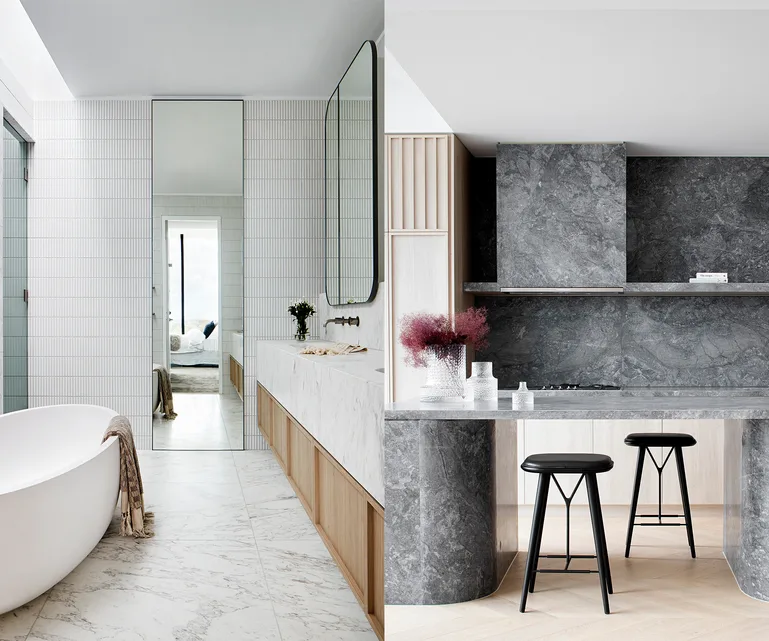
image credit: homestolove.com
Bright lighting works well in kitchens and bathrooms, while softer lighting is better suited for living rooms and bedrooms.
Balance Reflection and Absorption

image credit: tilesnstone.com
If your space has strong lighting, matte tiles may help soften the effect, while glossy tiles can brighten up a dimly lit room.
Use Accent Lighting for Impact
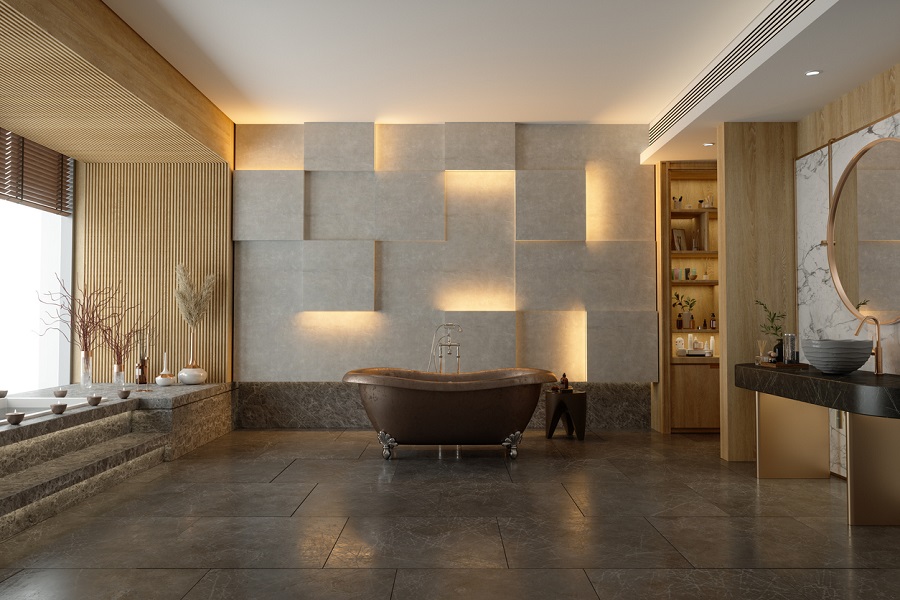
image credit: teammax.uk.com
Spotlights and LED strips can enhance tile textures and colours, especially in bathrooms and kitchens.
Lighting plays a huge role in how your tiles will look once installed. By considering both natural and artificial lighting, as well as tile finishes, you can create the perfect atmosphere in your home. Before making your final tile selection, test them under different lighting conditions to ensure they look just as good in your space as they do in the showroom.
Looking for tiles that will look stunning in any lighting? Visit Tiletoria to explore our wide range of tiles that shine in every setting!
blog, floors, walls
When you think of tiles, your mind probably jumps straight to kitchens and bathrooms. But did you know that tiles can add style, durability and practicality to almost any room in your home?
Whether you’re looking to make a statement or add a touch of functionality, tiles are a versatile choice that go far beyond splashbacks and shower walls. Here are some unexpected places to use tiles in your home that will elevate your space while ensuring long-lasting beauty.
Table of Content:
Living Room Feature Walls
Bedroom Accent Walls & Headboards
Hallways & Entryways
Staircases with Style
Outdoor Entertainment Areas
Laundry Rooms That Shine
Statement Ceilings
Home Offices & Study Nooks
Built-In Shelving & Nooks
Fireplace Surrounds & Hearths
Living Room Feature Walls
Why settle for plain painted walls when you can create a stunning feature with tiles?
Textured tiles, stone cladding or even large-format porcelain tiles can add depth and interest to your living room. A tiled feature wall behind your TV or fireplace creates a striking focal point and requires minimal maintenance compared to wallpaper or painted surfaces.
Bedroom Accent Walls & Headboards
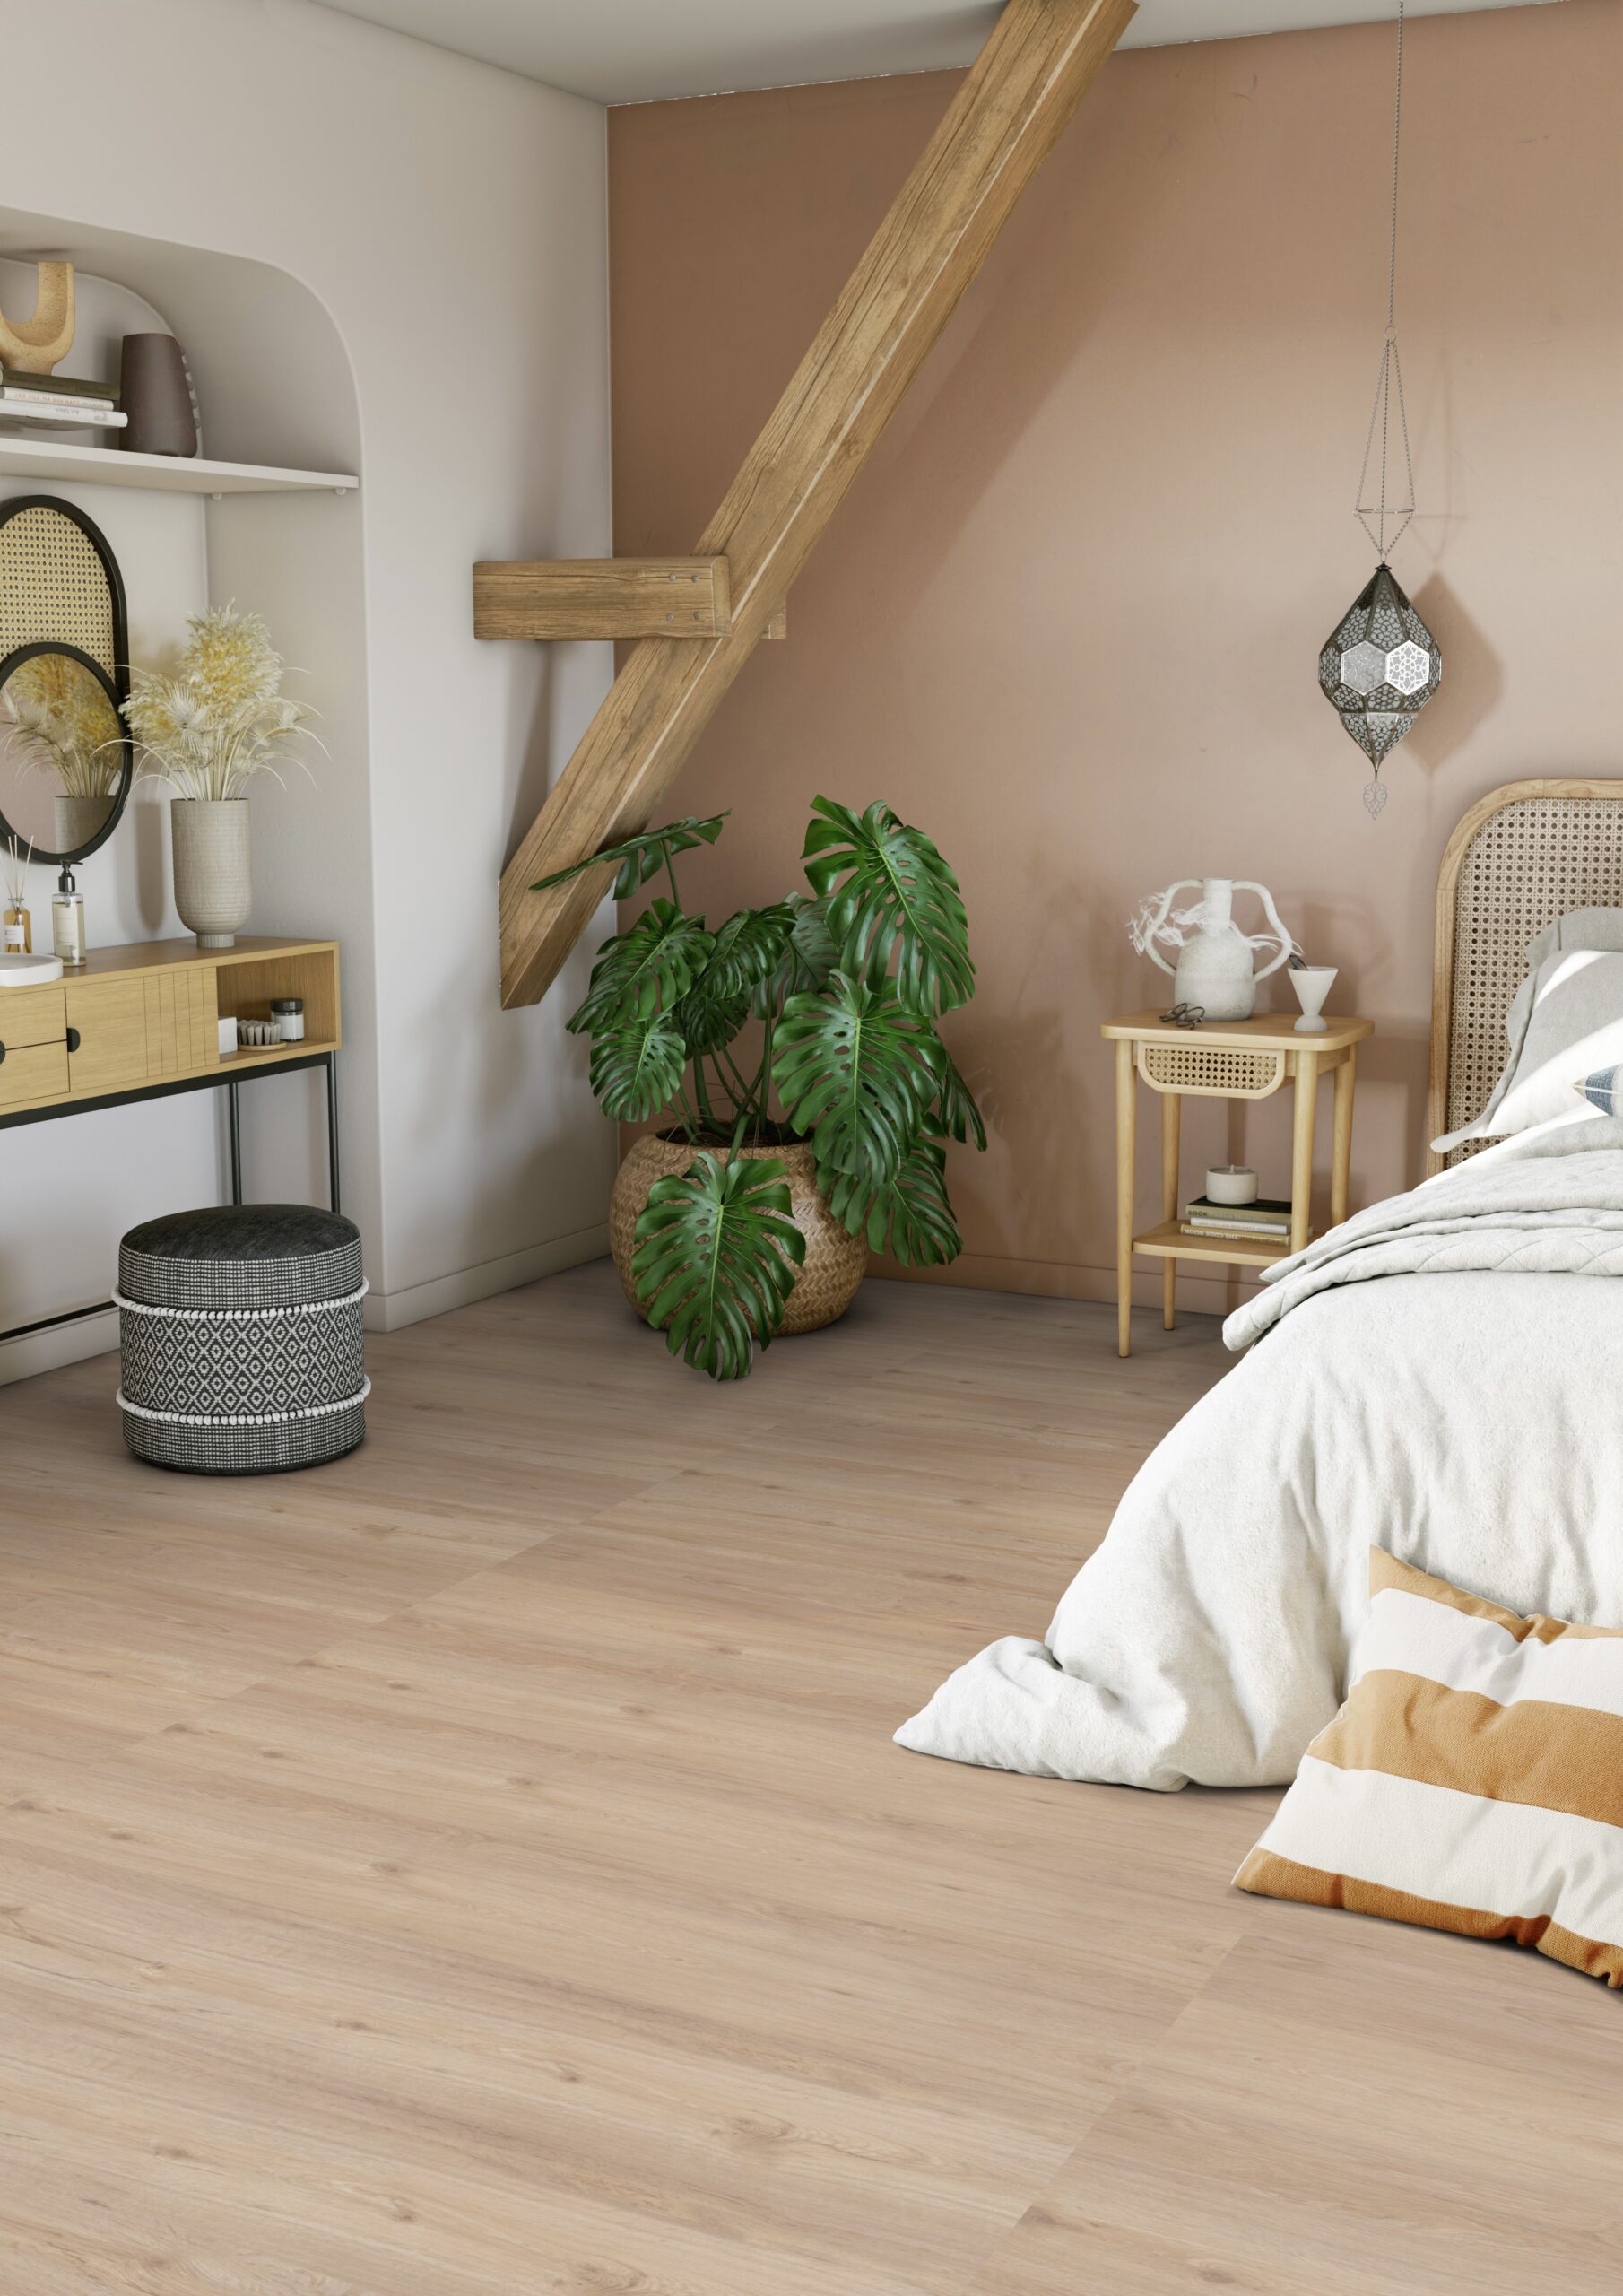
Tiles in the bedroom? Absolutely! Use decorative tiles or geometric mosaic patterns as a headboard alternative. This not only adds a unique design element but also keeps your headboard area easy to clean — perfect for allergy sufferers who want to avoid dust-collecting fabric options. Not a fan of tiles for the bedroom? Consider using vinyl or laminate flooring for a warm and stylish alternative.
Hallways & Entryways
Your hallway or entryway sets the tone for your home, so why not make a lasting impression with tiles? Patterned floor tiles or even wall cladding can make a dramatic entrance while being far more durable than traditional flooring materials. Porcelain or ceramic tiles are ideal for high-traffic areas, resisting wear and tear better than carpet or wood.
Staircases with Style
Tiled stair risers are a growing interior design trend. You can add intricate Moroccan patterns, sleek modern finishes or even classic subway tiles to bring personality to your staircase. Plus, tiles are easy to wipe clean, making them a practical choice for busy households.
Outdoor Entertainment Areas
If you love hosting guests, extend your indoor aesthetic outdoors with tiles. Porcelain or ceramic slip-resistant tiles are perfect for patios, outdoor kitchens and braai areas. They’re weather-resistant, easy to maintain and create a seamless indoor-outdoor flow.
Laundry Rooms That Shine
Laundry rooms often get overlooked in home design, but they deserve just as much attention as any other space. Moisture-resistant tiles on the floor and walls will help protect against spills and humidity while giving the space a polished, clean look. Opt for light-coloured or patterned tiles to brighten up this often small and functional space.
Statement Ceilings
Want to take your home’s design to the next level? Tiling a ceiling might seem unconventional, but it’s a game-changer for spaces like dining rooms, sunrooms or even bathrooms with high humidity. Metallic or textured tiles can create a luxe, eye-catching feature that elevates your space instantly.
Home Offices & Study Nooks
Tiles aren’t just for wet areas — they work beautifully in home offices too! A tiled splashback behind your desk or an accent wall with stylish geometric tiles can enhance focus and creativity. Plus, tiles are easy to clean, making them a great choice for workspaces.
Built-In Shelving & Nooks
Whether it’s a bookshelf, recessed shelving in the living room or a cosy reading nook, adding tiles to the back of built-in shelves creates depth and texture. Glass, mosaic or even decor tiles can make these overlooked areas pop.
Fireplace Surrounds & Hearths
Heat-resistant and low-maintenance tiles are a perfect choice for fireplace surrounds. Whether you go for a modern, minimalist style with large-format tiles or a traditional look with intricate ceramic designs, tiling around your fireplace enhances both its beauty and durability.
Tiles aren’t just for kitchens and bathrooms — they’re a design powerhouse that can transform any room in your home. Whether you’re looking to make a bold statement or add a touch of elegance, incorporating tiles in unexpected places can elevate your home’s style and create a space that’s truly unique!
Looking for the perfect tiles to bring your vision to life? Explore our wide range of high-quality tiles for every space in your home!
bathroom, blog, floors, kitchen, outdoor, walls
Tiles are a crucial element in any space, offering both functionality and aesthetics. Whether you’re renovating a kitchen, bathroom or an entire home, selecting the right tiles can significantly impact the overall look and durability of your space. Here are the key factors to consider before making your purchase.
Table of Content:
Tile Material:
Ceramic
Porcelain
Natural Stone
Glass
Vinyl & Laminate
Location & Purpose:
Floors
Walls
Bathrooms & Kitchens
Outdoor Areas
Tile Size
Large-format tiles
Small tiles
Subway tiles
Finish:
Glossy Tiles
Matte Tiles
Textured Tiles
Colour & Pattern:
Light-coloured tiles
Darker shades
Patterned tiles
Neutral tones
Tile Grading & Durability:
Grade 1
Grade 2
Grade 3 & Above
Slip Resistance
Budget & Maintenance Cost
Installation & Tile Layout
Availability & Lead Time
Final Thoughts: Choose Wisely for Long-Term Satisfaction
Tile Material: Finding the Right Fit
Tiles come in various materials, each with its own advantages and ideal applications:
Durable and budget-friendly, perfect for walls and light-traffic areas.
Dense, water-resistant, and ideal for high-traffic areas and outdoor spaces.
Ceramic vs. Porcelain Floors – whats the difference? Find out here.
Natural Stone
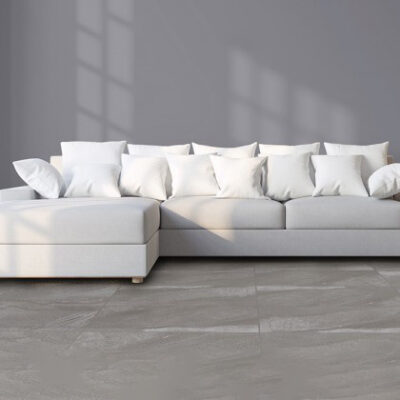
concreta white matt 600 x 600 mm
Offers a unique, organic look but requires regular sealing.
Glass

Great for decorative splashbacks but not ideal for high-impact areas.
Cost-effective and easy to install, suitable for various applications.
Read our blog on Vinyl vs. Laminate Flooring to determine the right choice for your home.
Location & Purpose
Where Will It Be Installed? Different areas require different types of tiles:
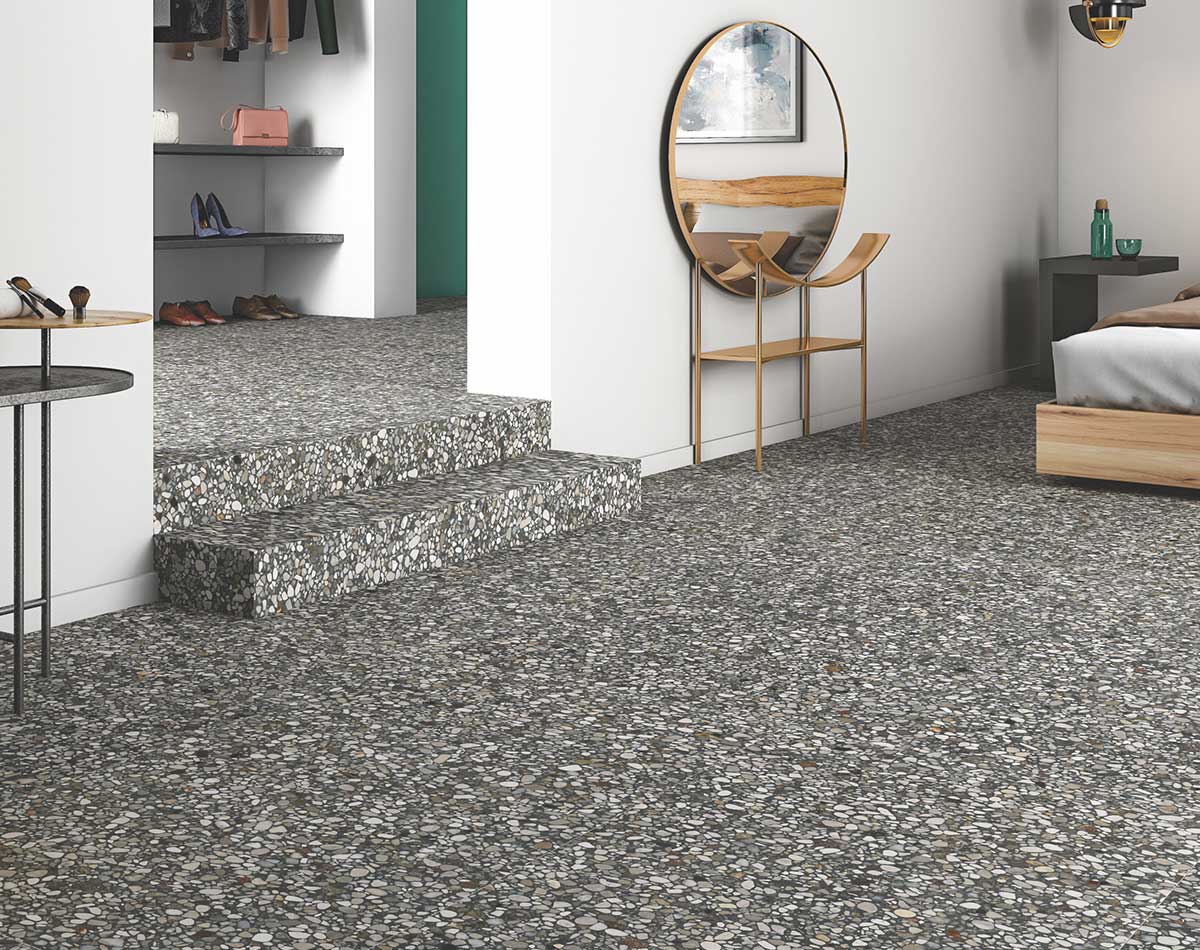
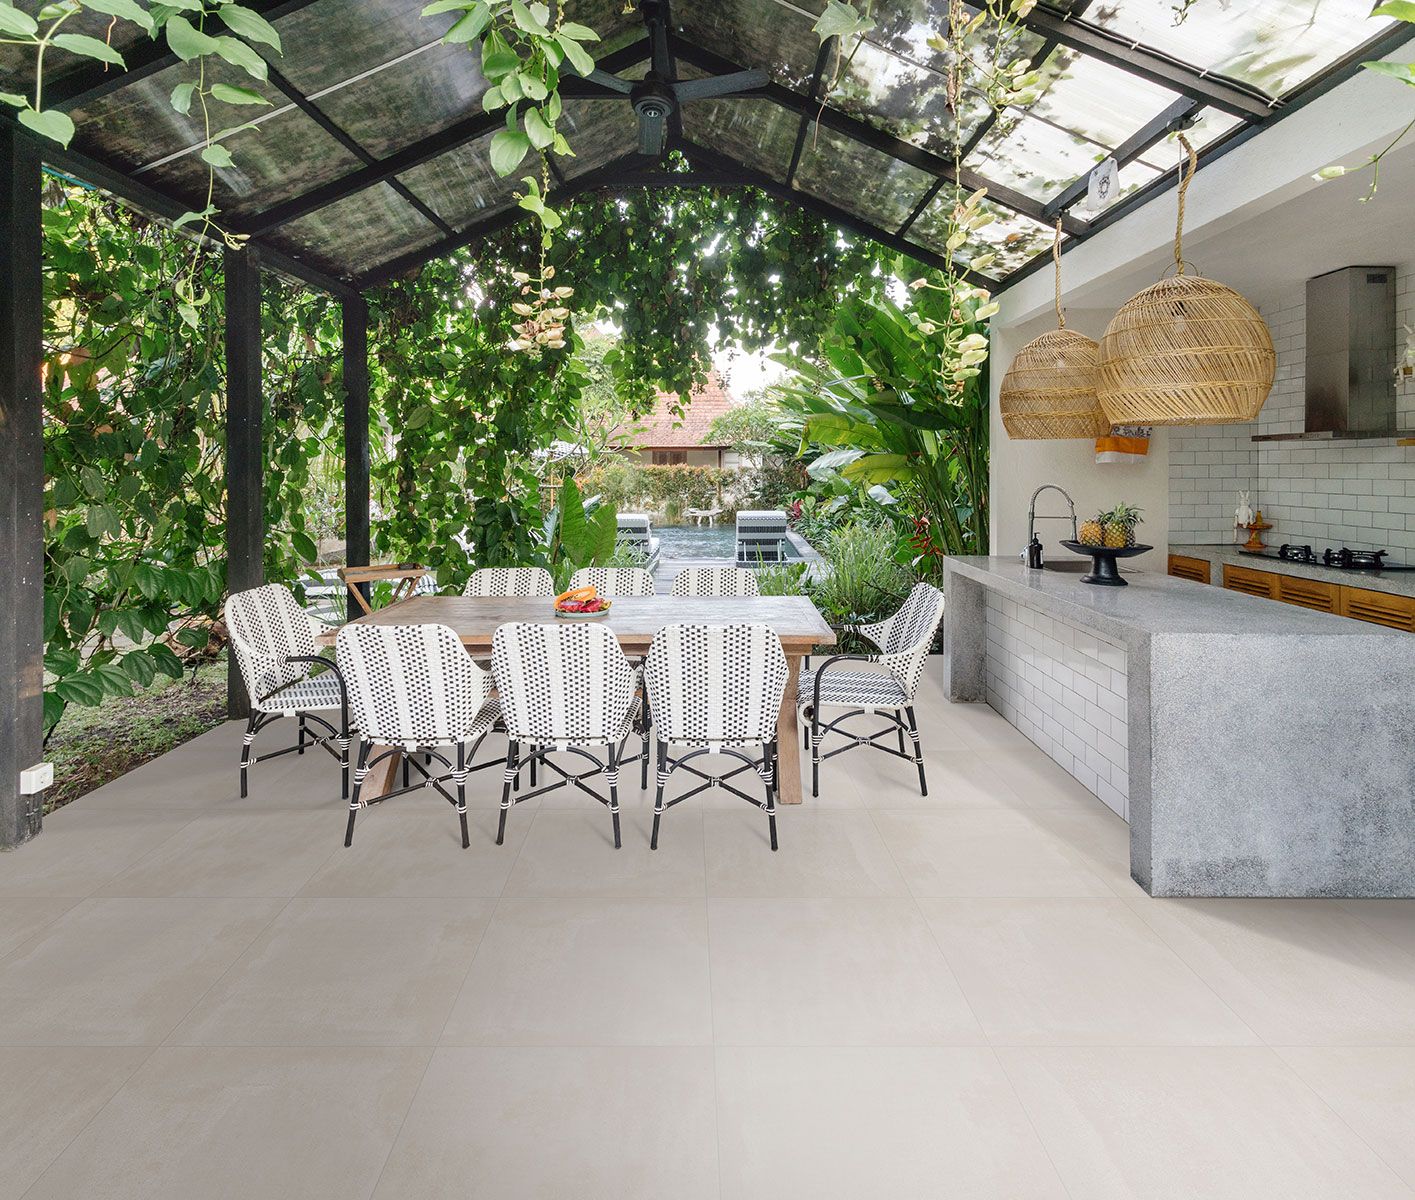
terrazzo mystery matt 600 x 1200 mm
Opt for slip-resistant, durable tiles with a high PEI (Porcelain Enamel Institute) rating.
Lighter tiles are easier to install and maintain.
Choose water-resistant tiles like porcelain or glass.
Slip-resistant, textured tiles prevent slipping and can withstand harsh weather.

So, you’ve decided that tiling is the perfect option for your latest project, but how do you decide which tiles are best suited for each room of your home? Read our blog on How to Choose Tiles by Room for a room-by-room guide.
Tile Size
Small or Large Format? The size of your tiles can influence the perception of space:
Large-format tiles
Large-format tiles create a seamless, modern look and reduce grout lines.
The Pros and Cons of Using Large Format Tiles for your home.
Small tiles

Small tiles are great for intricate designs and detailed areas like splashbacks.
Explore how to choose the perfect tiles for your splashback here.
Subway tiles remain a timeless choice for walls and feature areas.
Subway Tiles: A Timeless Trend, find out why subway tiles are worth considering.
Finish
Glossy, Matte or Textured? The finish of a tile affects both aesthetics and practicality:
Glossy Tiles
Glossy Tiles reflect light, making spaces appear larger but can be slippery.
Matte Tiles
Matte Tiles offer a subtle, sophisticated look and are slip-resistant.
Gloss vs. Matte tiles: What’s the difference? – find out here.
Textured Tiles
Textured Tiles are ideal for wet areas to prevent slipping and add depth to designs.
Colour & Pattern: Setting the Tone
Choosing the right colour and pattern enhances your space:
Light-coloured tiles
Light-coloured tiles create an airy, spacious feel.
Darker shades
Darker shades add warmth and sophistication.
Patterned tiles
Patterned tiles or decor tiles add character and work well as accents.
Neutral tones
Neutral tones offer versatility and longevity in design.
Colour has the power to completely transform a space, influencing both its appearance and atmosphere. Discover how your colour selection can impact your mood, how to choose the perfect palette, and how to enhance your space with colour here.
Tile Grading & Durability
Tiles are graded based on quality and durability:
Grade 1
Best for walls, not recommended for floors.
Grade 2
Suitable for residential floors with light foot traffic.
Grade 3 & Above
Ideal for high-traffic areas, both residential and commercial.
Slip Resistance
Safety First! For wet areas like bathrooms, kitchens and outdoor spaces, choose tiles with a high slip-resistance rating (R10 or higher) to prevent accidents.
Budget & Maintenance Cost
Budget
Set a budget and compare prices to find tiles that fit within your range.
Maintenance
Consider how much upkeep your tiles require; some materials need sealing, while others are low-maintenance.
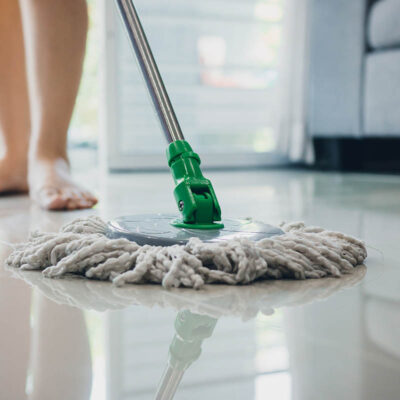
Not sure how to clean and maintain your tiles? Here’s a step-by-step guide!
Installation & Tile Layout
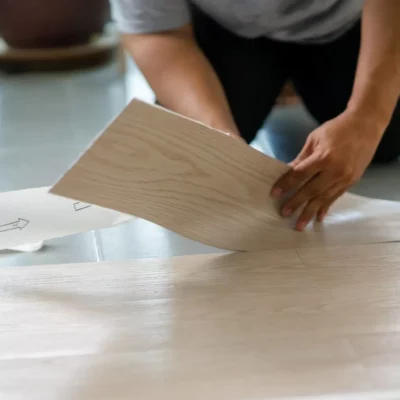
Check if your chosen tile requires professional installation or if it’s DIY-friendly.
lacche bruno ceramic
Plan the tile layout before purchase to ensure you buy the correct quantity and minimise wastage.
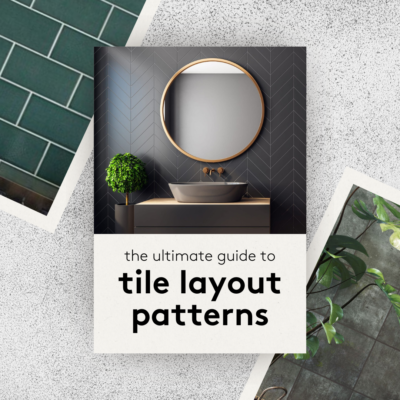
Check out our Ultimate Guide to Tile Layout Patterns.
Availability & Lead Time
Ensure your selected tile is in stock or has a reasonable delivery time, especially if you have project deadlines.
Final Thoughts: Choose Wisely for Long-Term Satisfaction
Purchasing tiles is an investment in both style and functionality. By considering these key factors, you’ll be able to choose the perfect tiles that suit your space, needs and budget.
Visit your nearest Tiletoria showroom for expert advice and a wide selection of high-quality tiles to bring your vision to life!