blog, floors, walls
Nothing ruins a beautiful space faster than poor tile installation when it comes to renovating your home. Uneven surfaces, crooked lines or loose tiles not only look bad but can also lead to long-term damage and expensive repairs. Learning how to spot poor workmanship early can save you time, money and frustration.
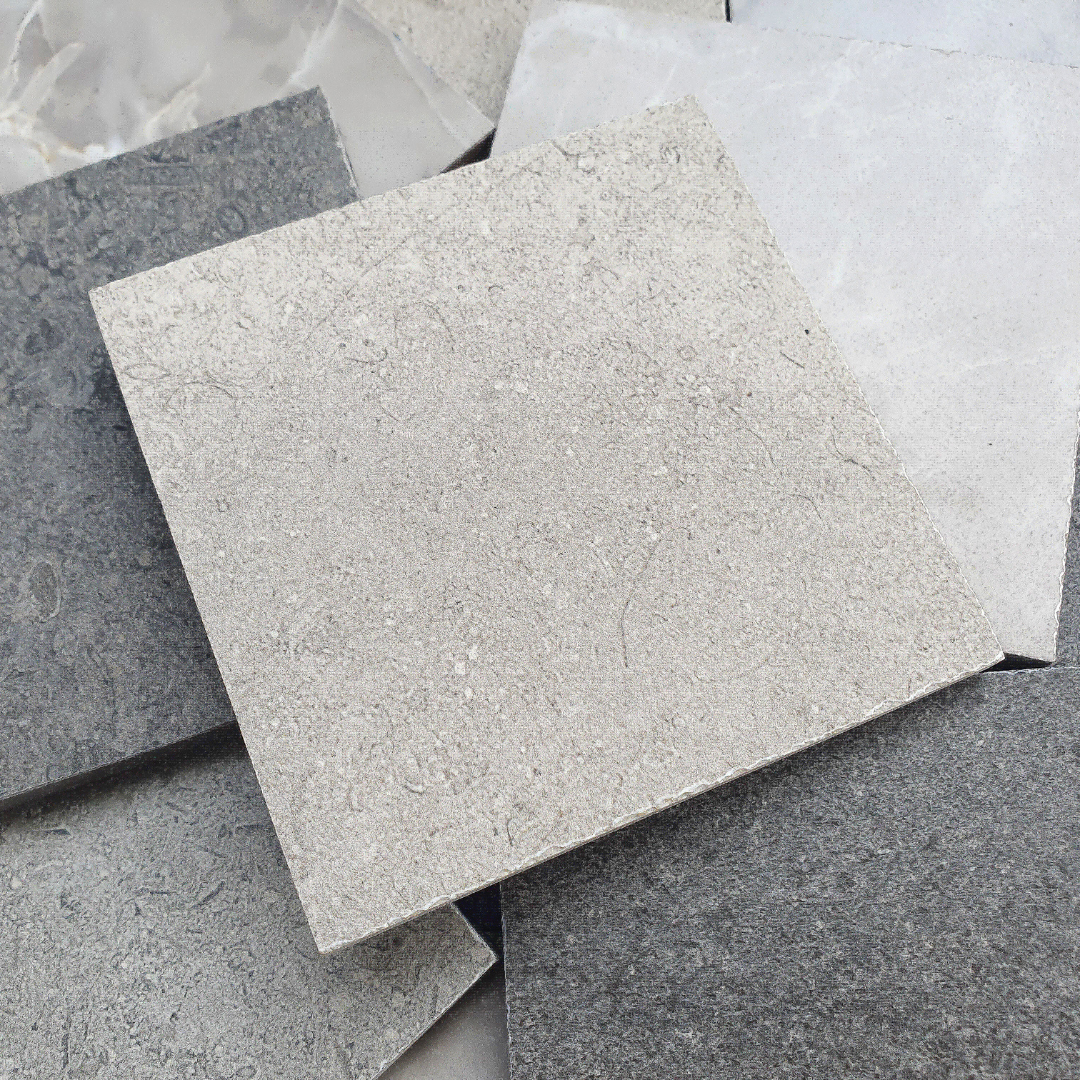
Table of Content:
Common Signs To Watch Out For
Why Poor Tile Installation Happens
How to Fix Poor Tile Installation
Preventing Tile Problems in the Future
Browse our range of affordable installation essentials
Common Signs To Watch Out For
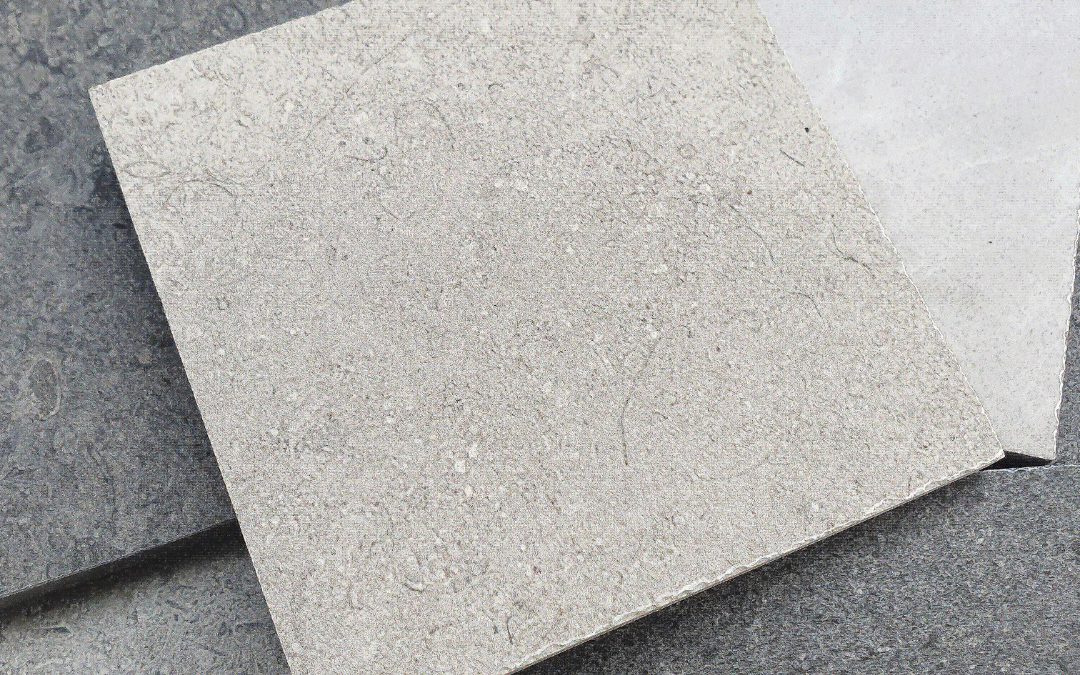
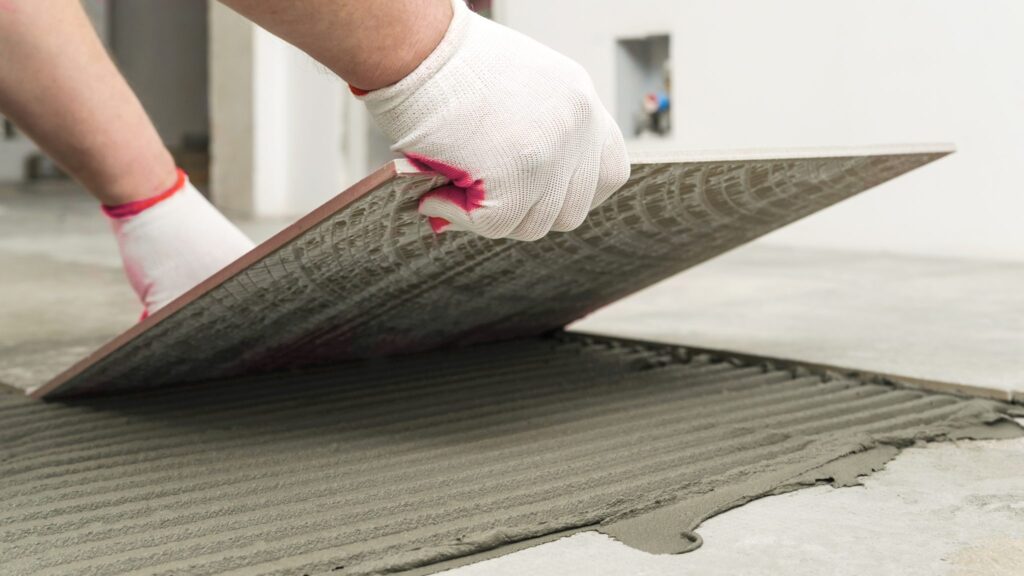
The first thing to look out for is uneven or misaligned tiles. When tiles aren’t properly spaced or level, it’s usually a sign that the installer rushed the job or didn’t prepare the surface correctly. You might notice inconsistent grout lines or tiles that slope slightly when you run your hand across them.
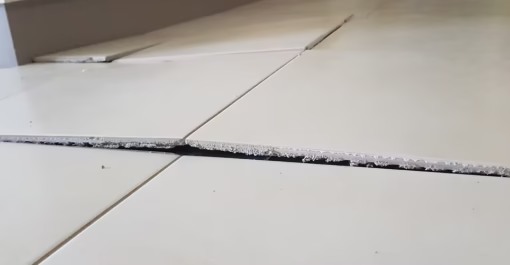
Another clear indicator of poor tile installation is hollow-sounding tiles. Tap gently on the surface — if it sounds hollow, it means there are air pockets underneath due to insufficient adhesive coverage. Over time, these tiles may crack or pop loose.
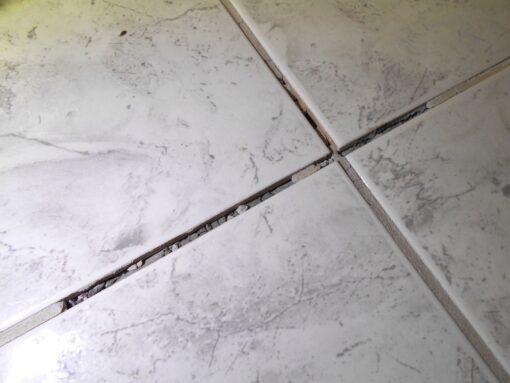
Finally, check the grout. Cracked, crumbling or discoloured grout is often a sign that the tiles weren’t sealed correctly or that low-quality grout was used.
Why Poor Tile Installation Happens
Most tile issues come down to poor preparation. When the subfloor or wall isn’t level, tiles will naturally sit unevenly. Using the wrong adhesive or skipping primer can also cause problems later on.
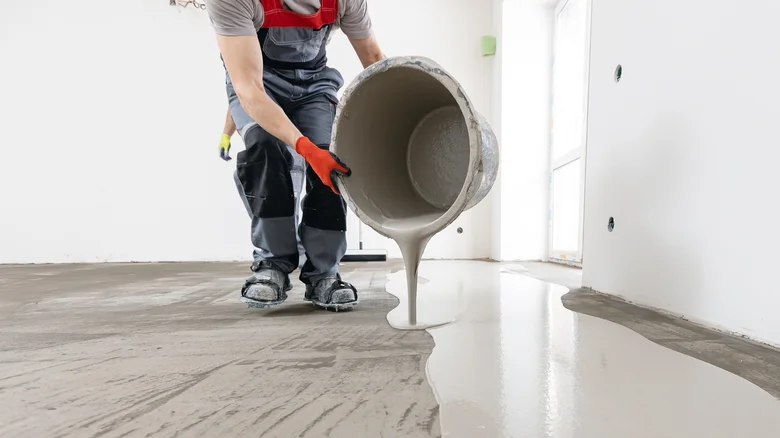
Rushing the job is another common cause. Tile installation requires patience, precision and drying time between each step. When installers skip these stages, the result may look fine at first but quickly deteriorates.
How to Fix Poor Tile Installation
If you’ve spotted issues, don’t panic. The first step is identifying how severe the problem is. For small fixes — such as uneven grout or loose edges — re-grouting or replacing a few tiles might do the trick. Make sure to clean the area thoroughly before reapplying adhesive or grout to ensure it bonds properly.

For bigger issues, such as widespread hollow tiles or major alignment problems, you might need to remove and reinstall the affected sections. In this case, it’s worth calling in a professional tiler who can assess the damage and provide a proper solution.
Preventing Tile Problems in the Future
The best way to avoid poor results is by hiring experienced professionals who know what they’re doing. Always check previous work, read reviews and ask about the installation process. Reliable tilers will take the time to prepare the surface, use quality materials and apply the correct techniques.
If you’re attempting a DIY project, make sure you follow the manufacturer’s guidelines for adhesives, spacers and grout. Don’t rush — take your time to plan your layout, level your surfaces and let everything dry fully before moving on to the next step.
Want to avoid future tile problems? Read our blog “tile tutorial: 7 reasons your floor tiles crack (& how to prevent it)” here for expert tips and practical solutions.
Poor tile installation doesn’t just affect how your home looks — it impacts durability, functionality and even safety. By learning to spot the warning signs early, you can fix small issues before they turn into costly problems. Whether you’re tackling it yourself or hiring a professional, attention to detail is key to achieving a finish that lasts for years.
Browse our range of affordable installation essentials
bathroom, blog, floors, interior design tips, kitchen, walls
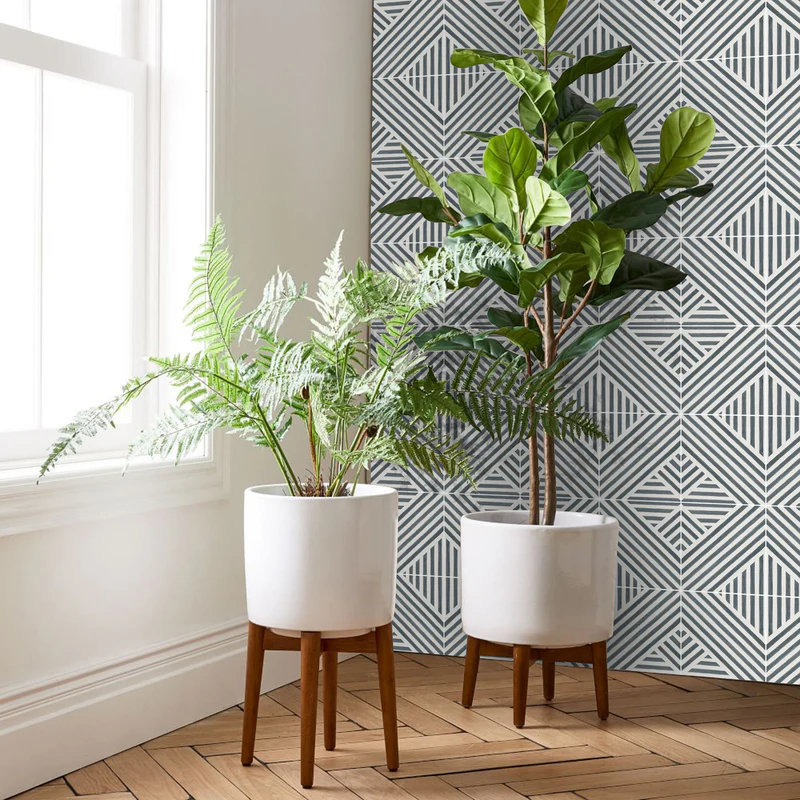
A calm home is something many of us want, especially when life outside feels busy and overwhelming. The good news is that the right choice of tiles and colours can do more than just decorate your space. They can shape how you feel every day. By using colour psychology and thoughtful tile selections, you can design rooms that feel peaceful and balanced.
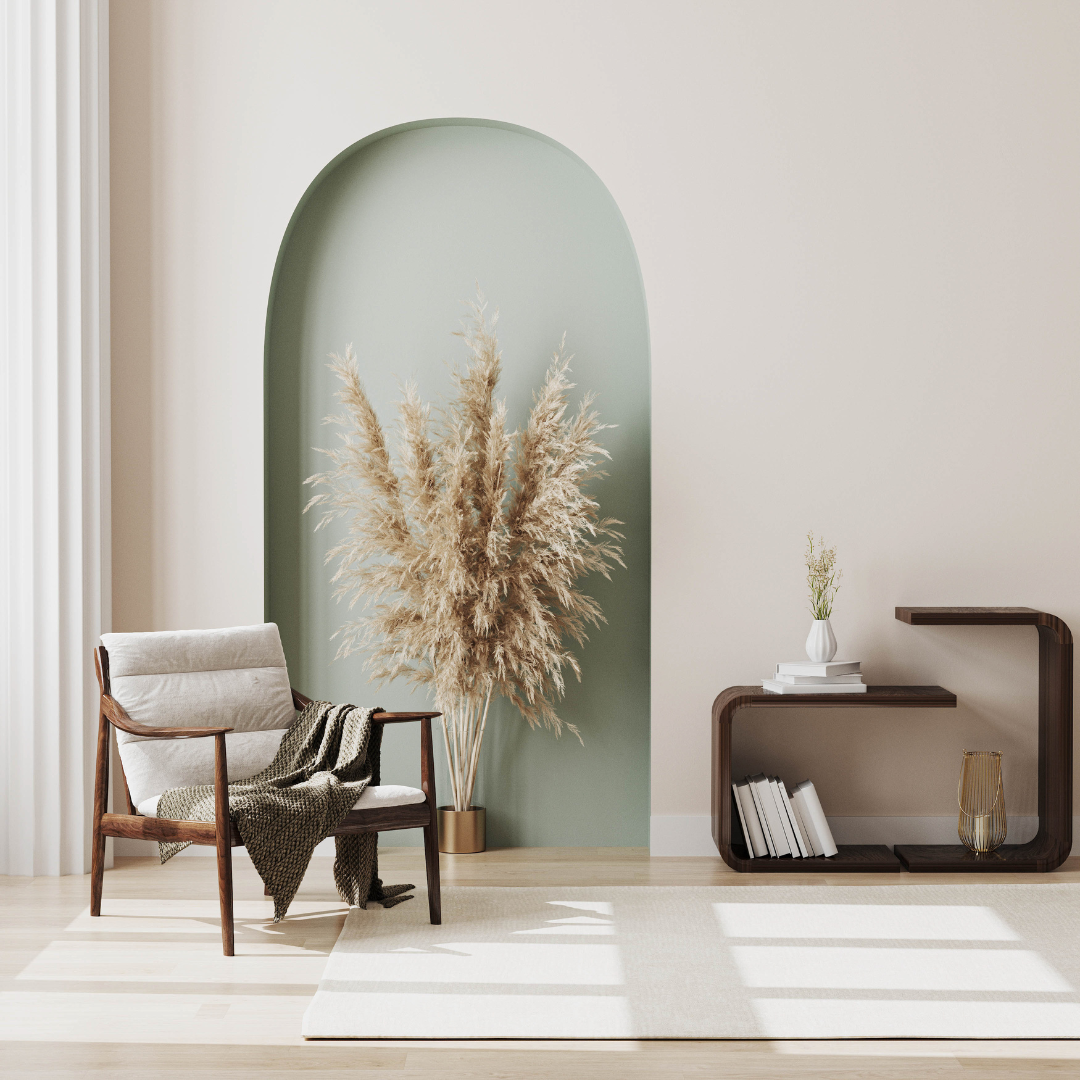
Table of Content:
Why Colour Psychology Matters in Your Space
Choosing Tiles for a Calm Home
Soft Neutrals to Build Balance in a Calm Home
Bringing Nature Indoors with Green and Earthy Tones
Using Blue for Calm and Relaxation
How to Tie It All Together: Creating a Calm Home
Why Colour Psychology Matters in Your Space
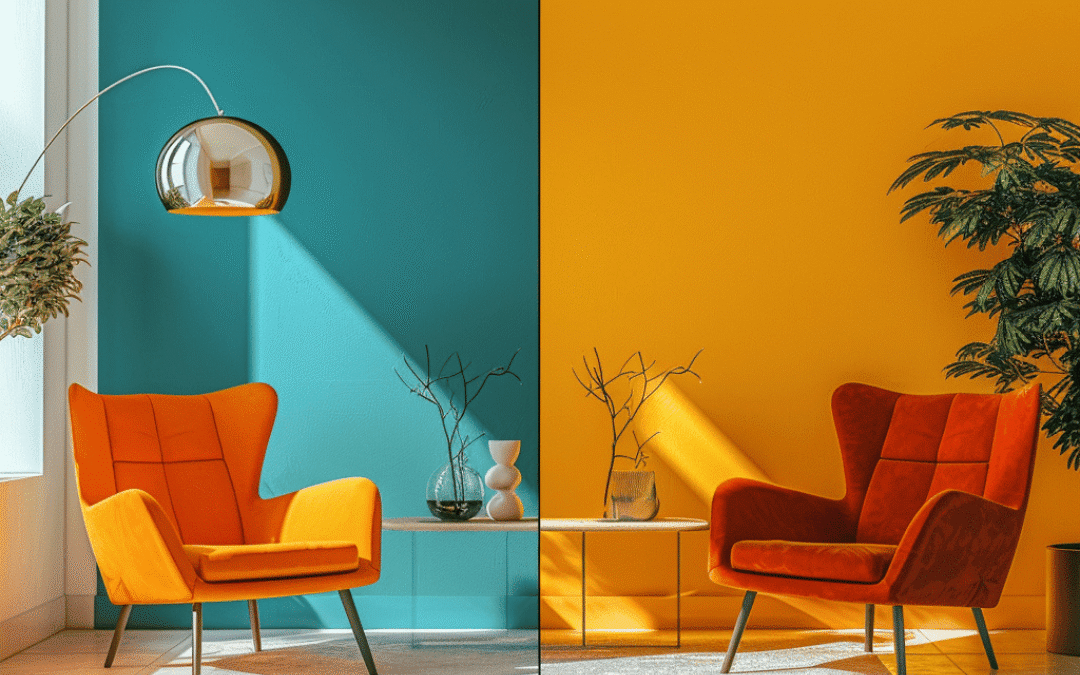
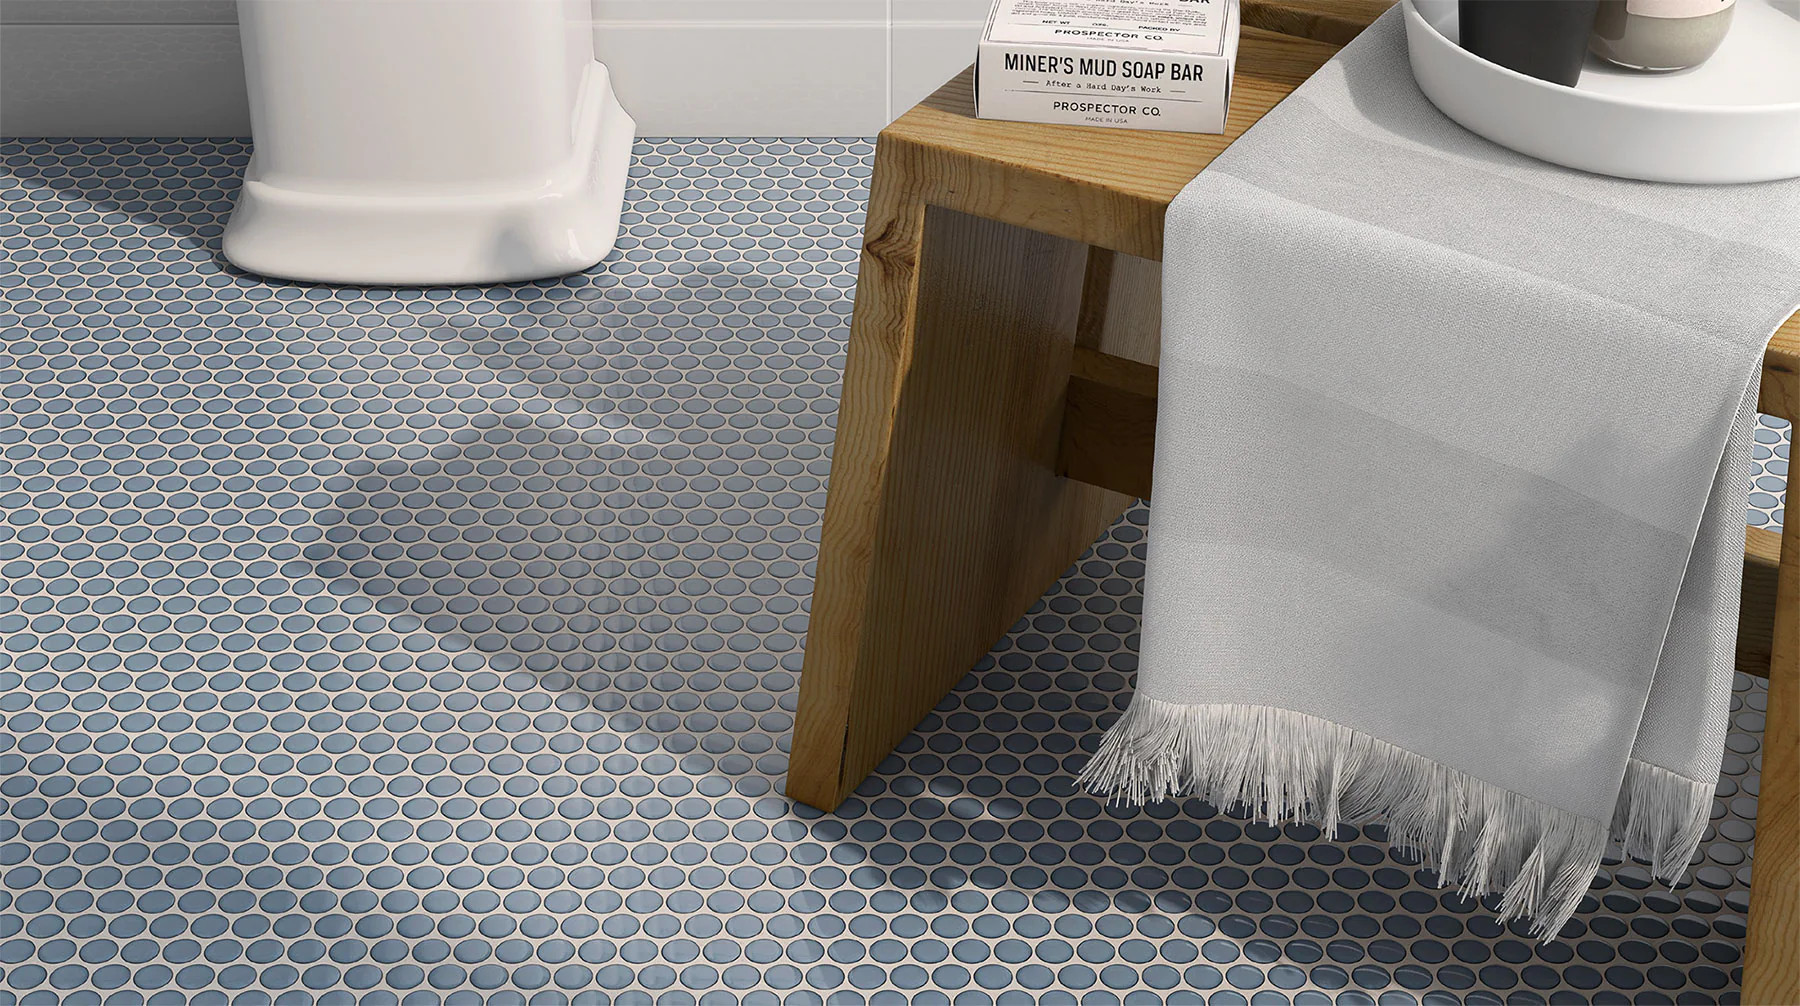
Colours affect mood in ways we often don’t notice. Warm tones like reds and oranges energise while cooler shades like blue and green create relaxation.
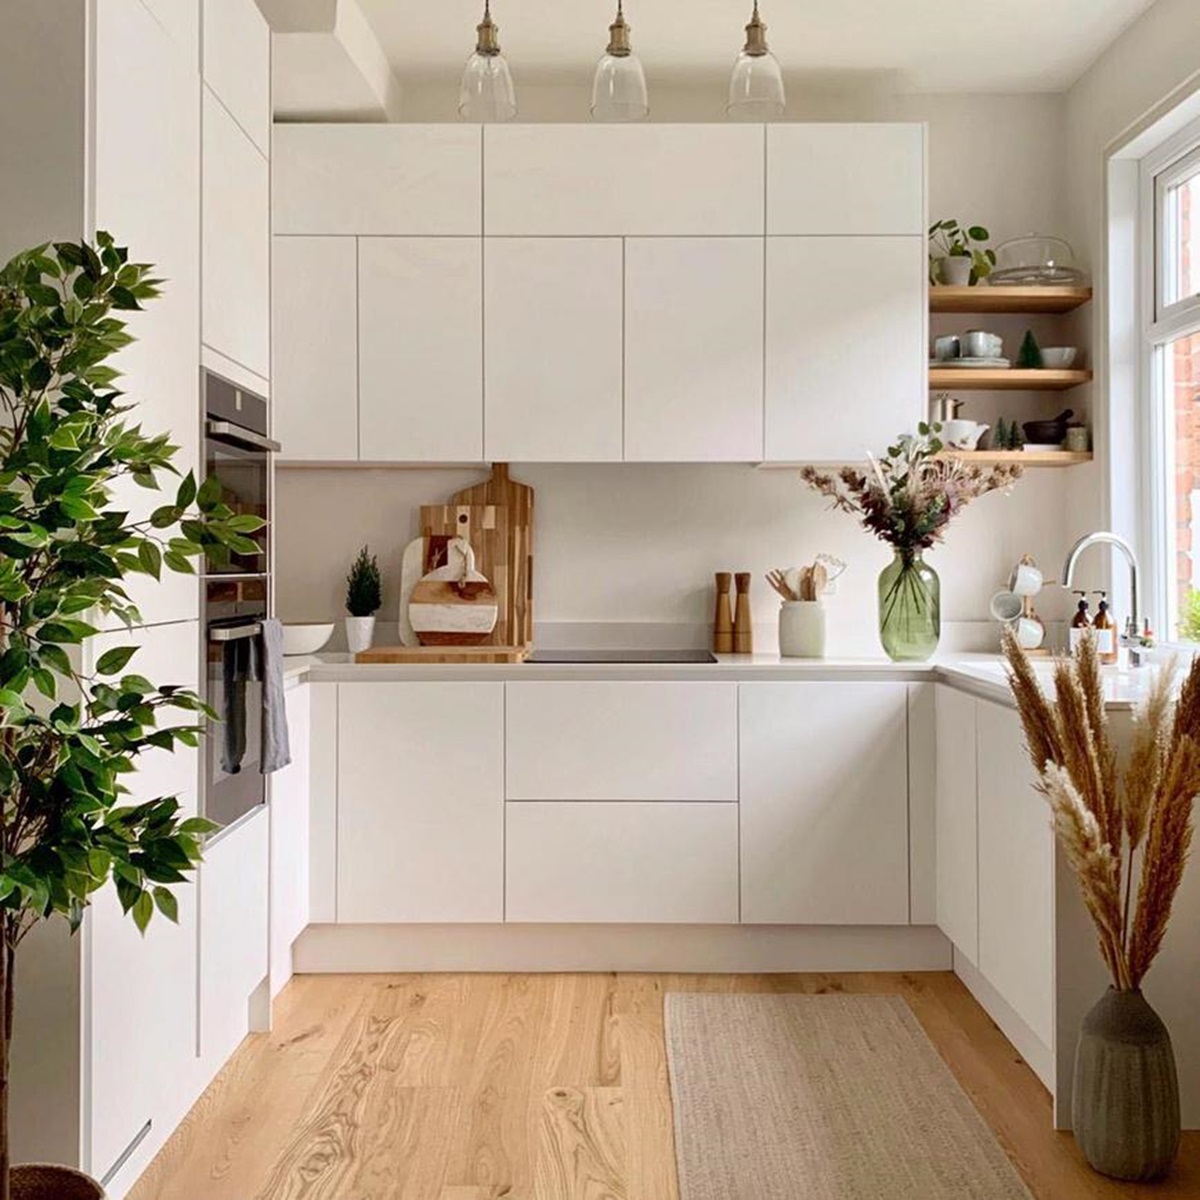
In your home, colour psychology helps set the tone for how each room feels. For example, a soothing bathroom with soft blues can make mornings less rushed while a kitchen with fresh whites and light neutrals can feel clean and uncluttered.
Choosing Tiles for a Calm Home
Tiles are more than just a practical choice. They set the backdrop for your rooms and influence the atmosphere.
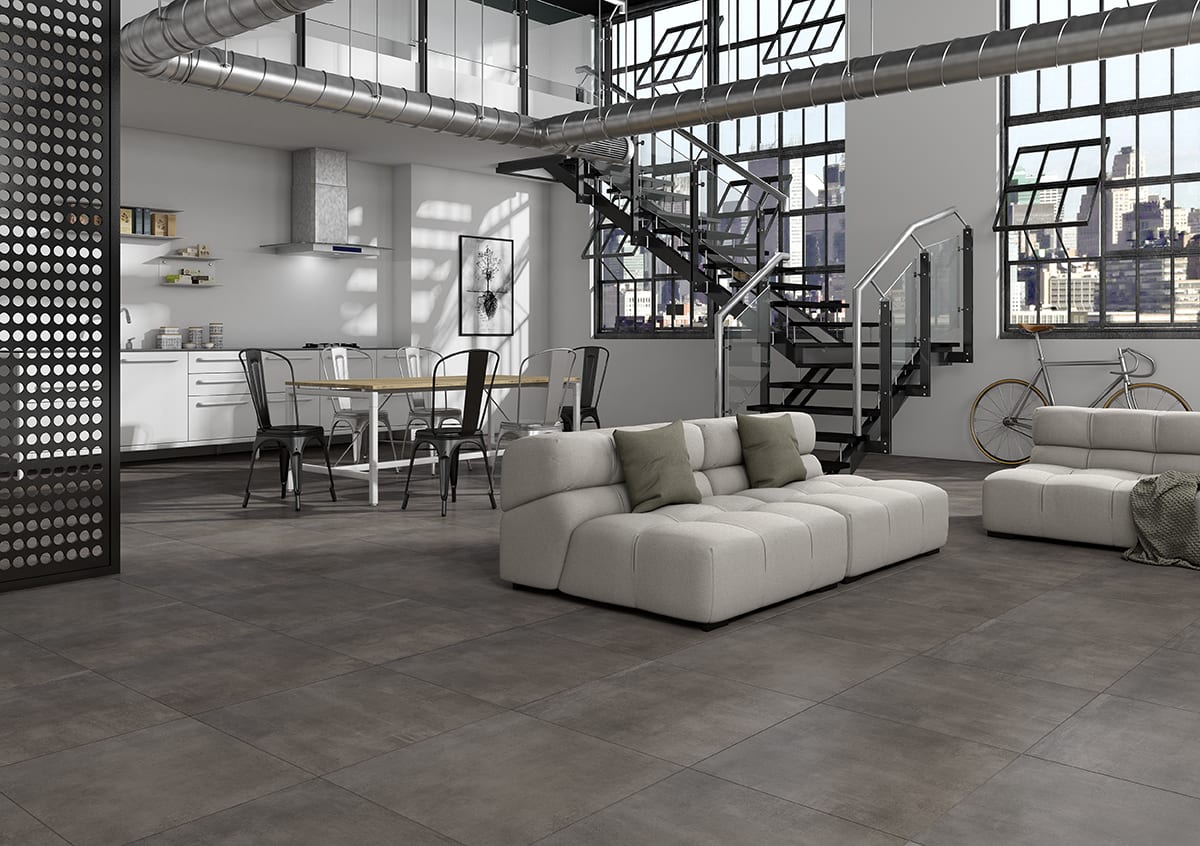
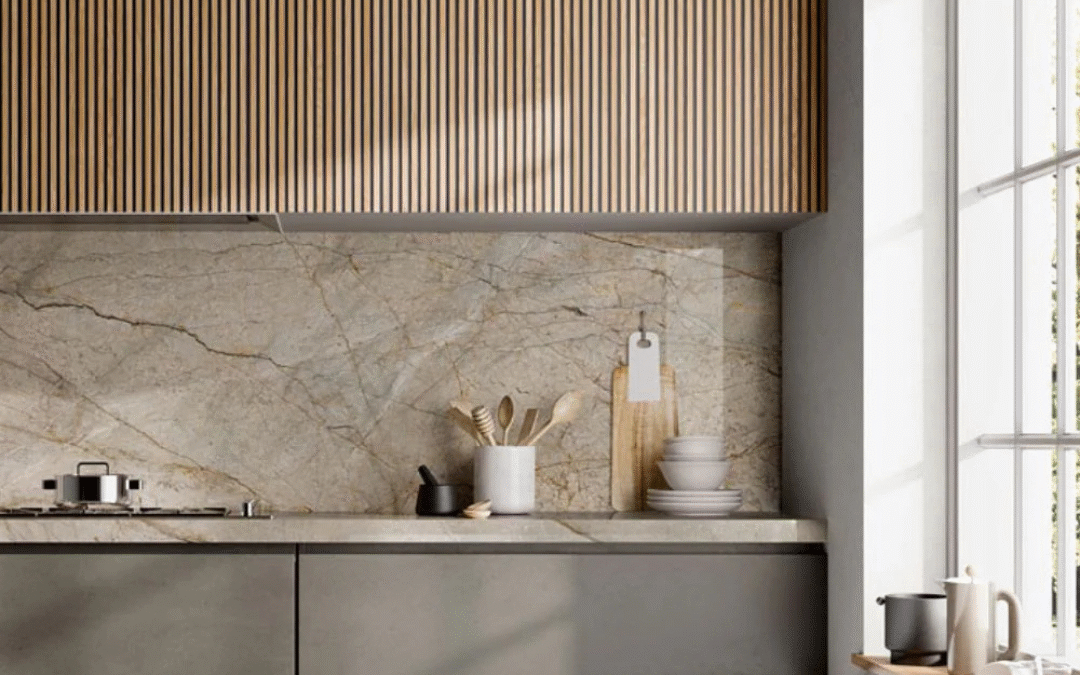
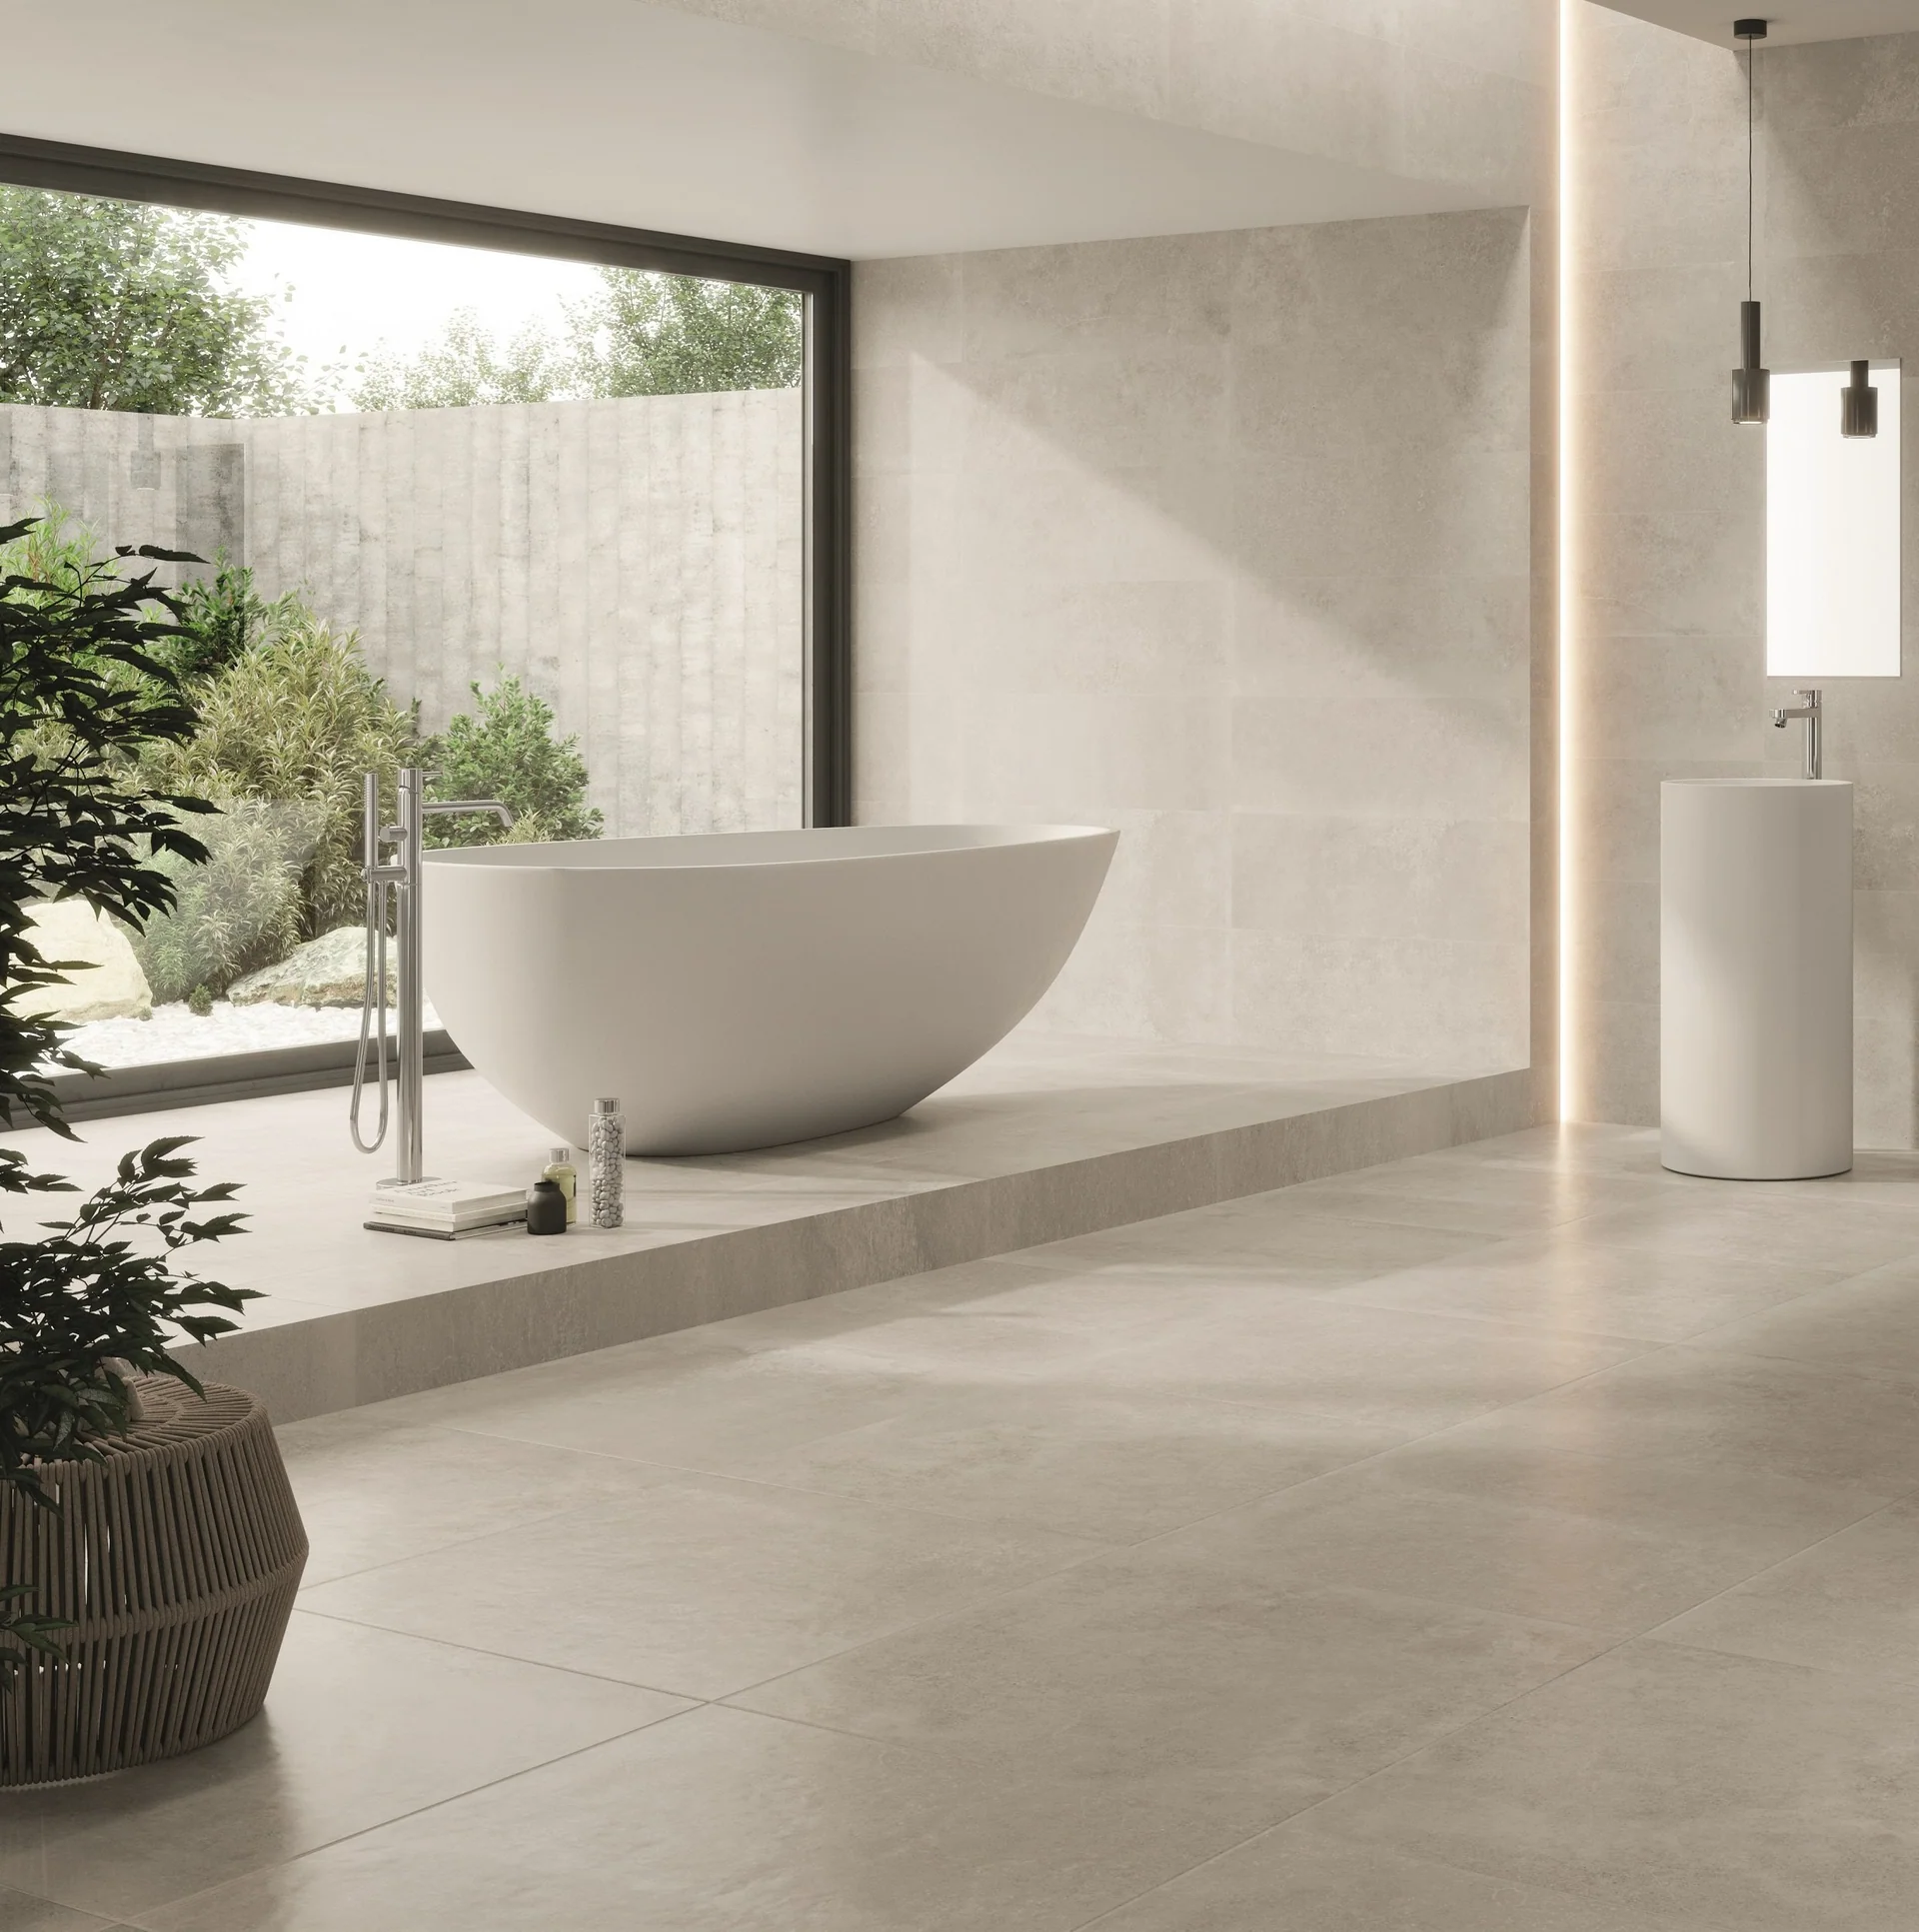
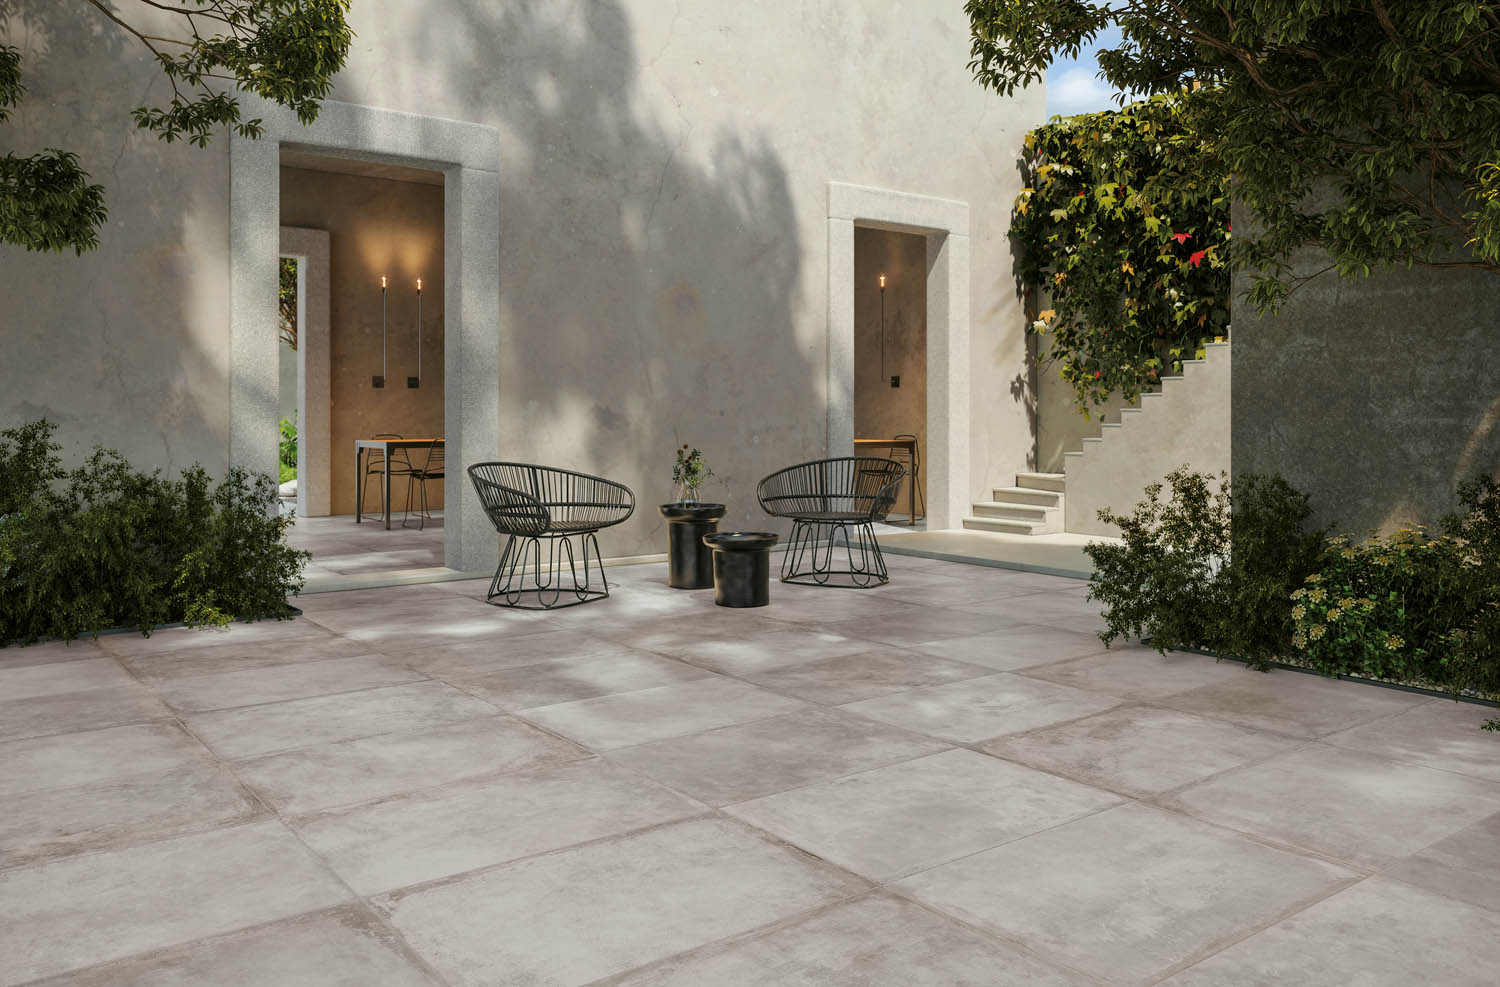
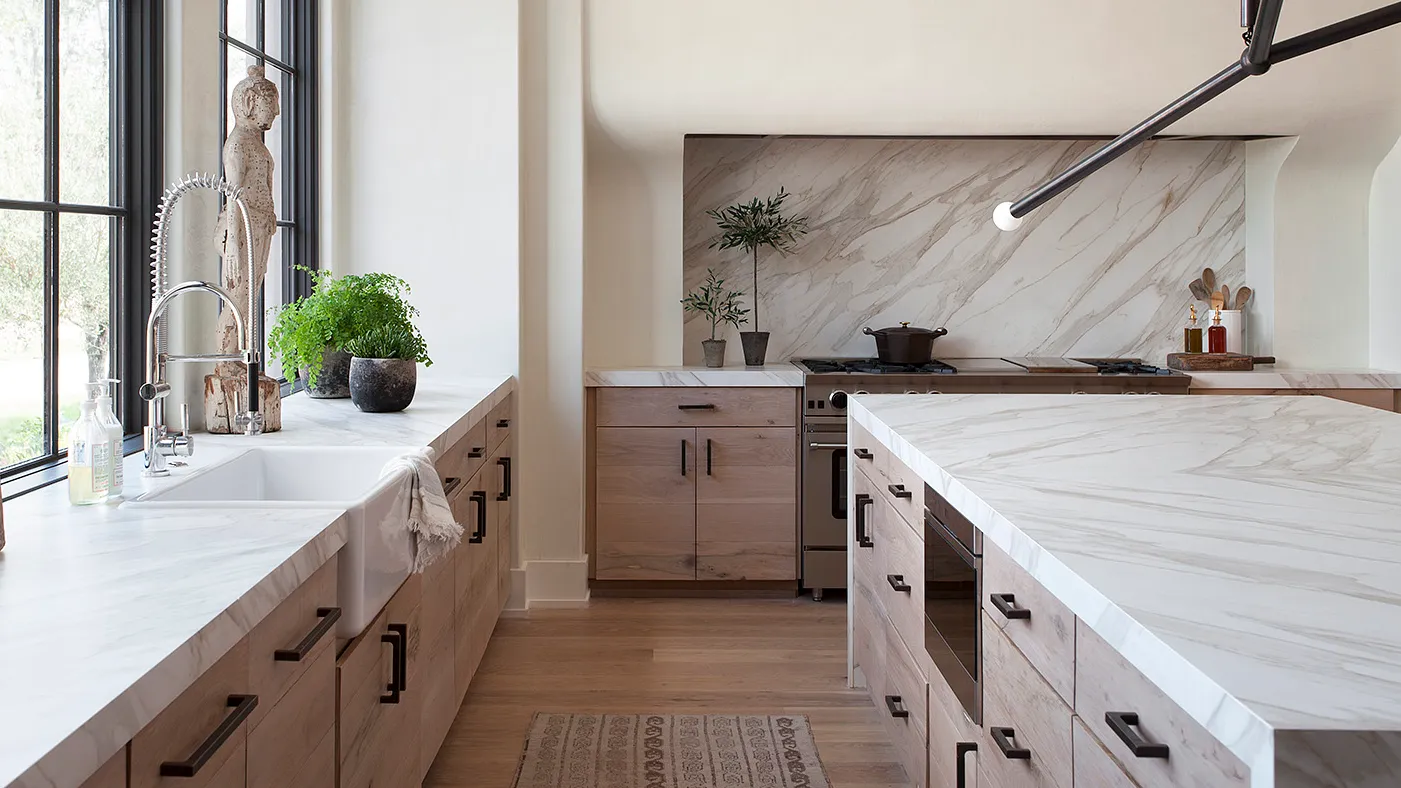
Large format tiles in neutral shades reduce visual clutter and create a seamless flow.
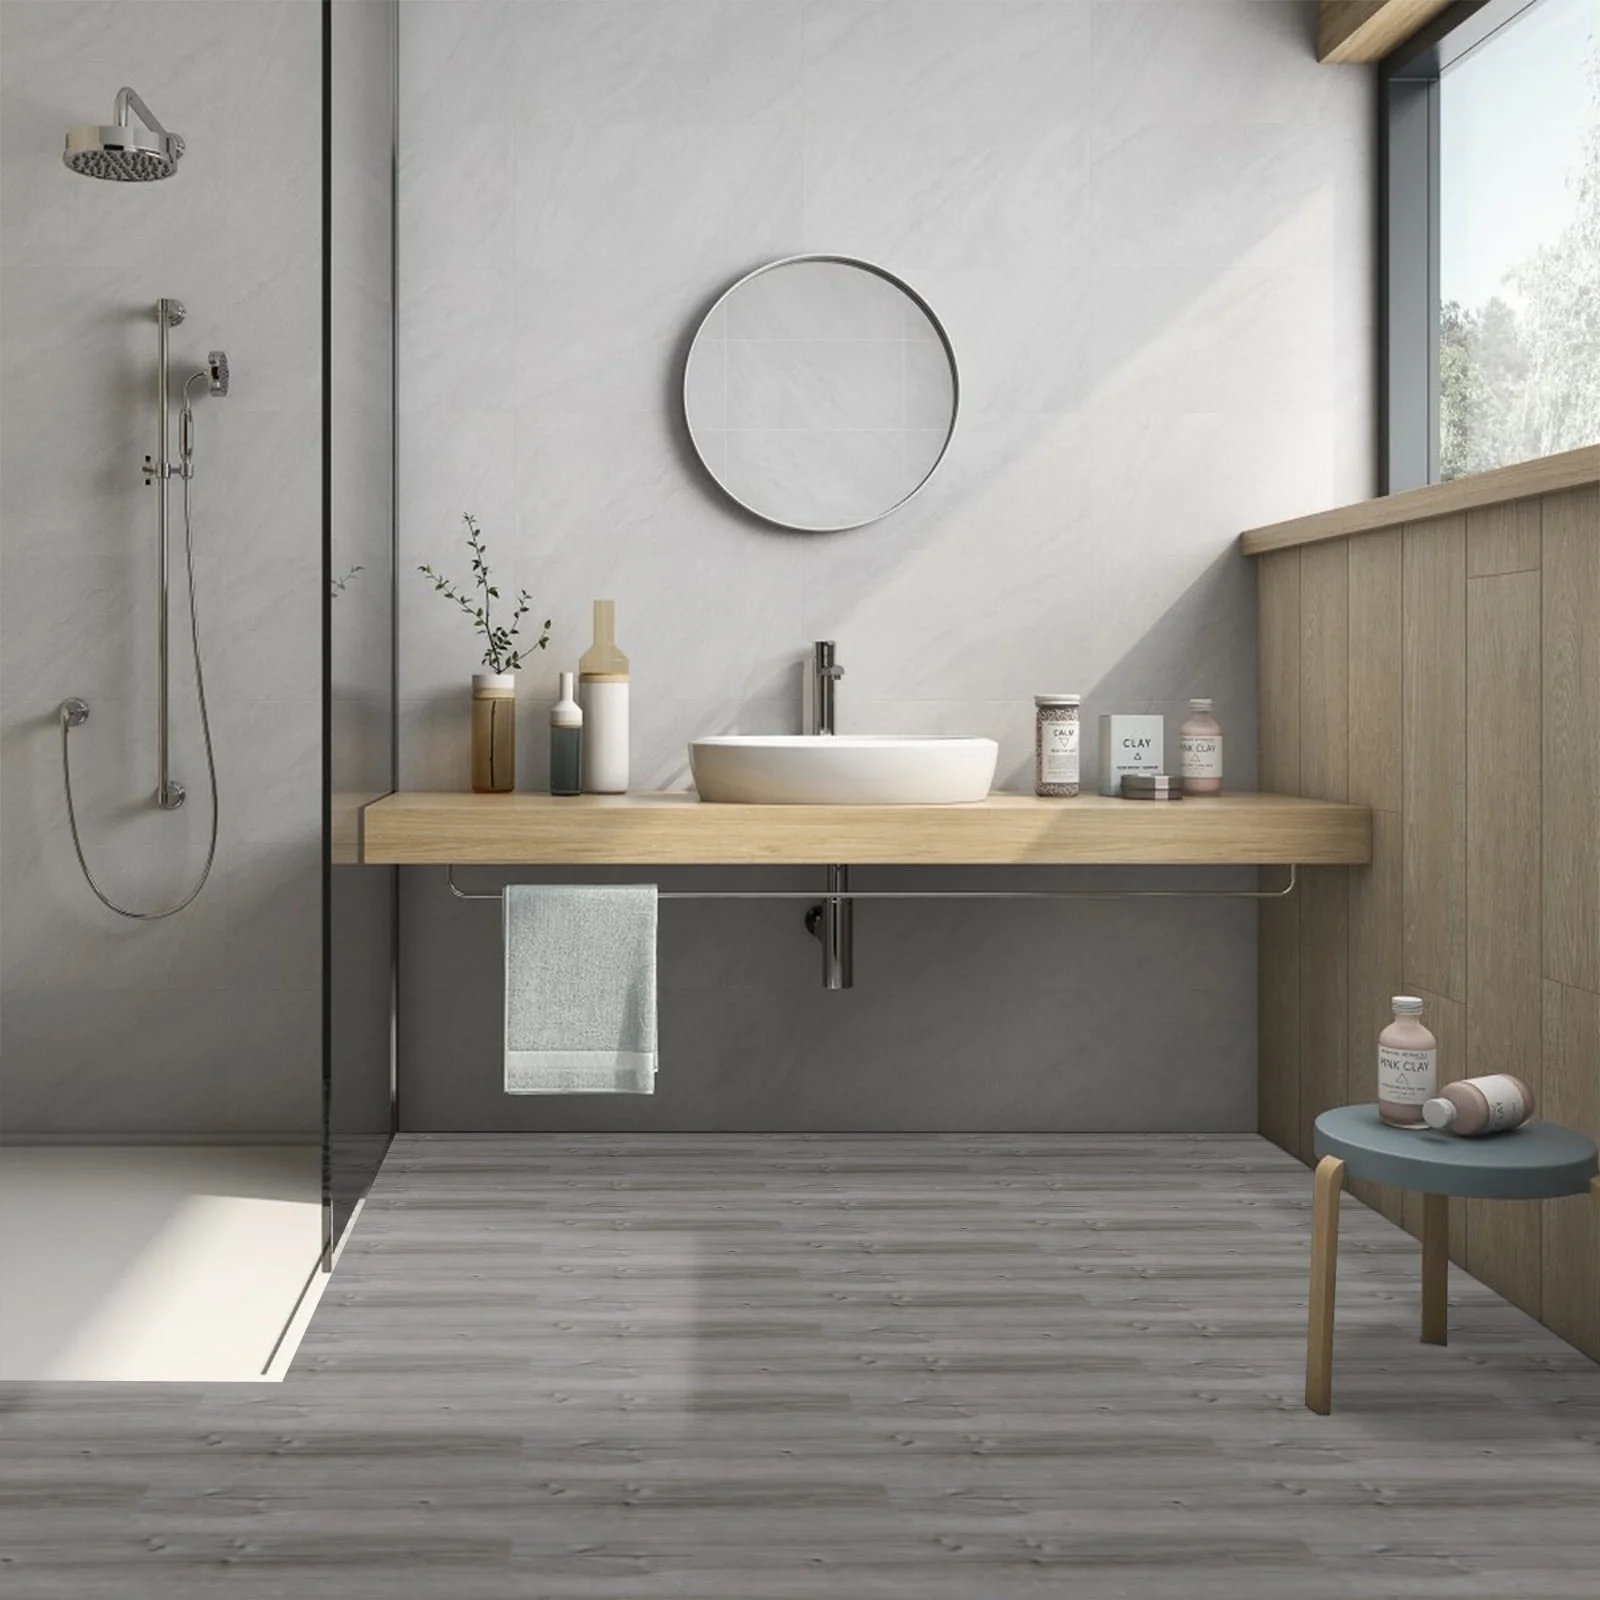
Textured tiles in soft stone or wood-look finishes add warmth and a natural element.
Slip resistant tiles in light tones are also great for bathrooms and outdoor areas where safety and calm living go hand in hand.
Soft Neutrals to Build Balance in a Calm Home
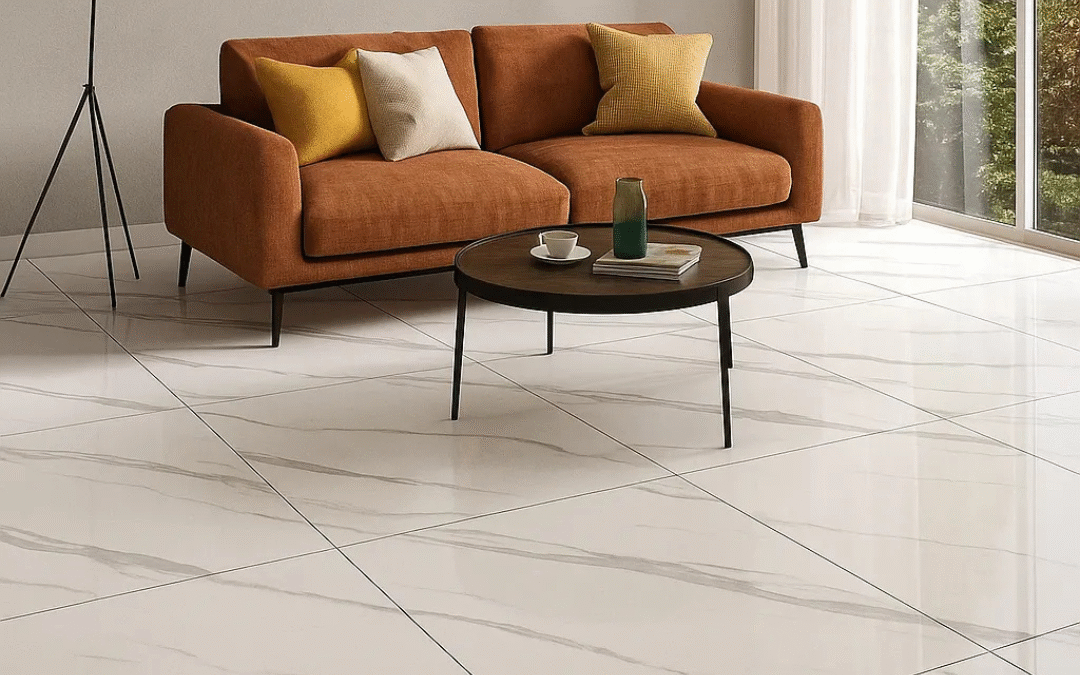
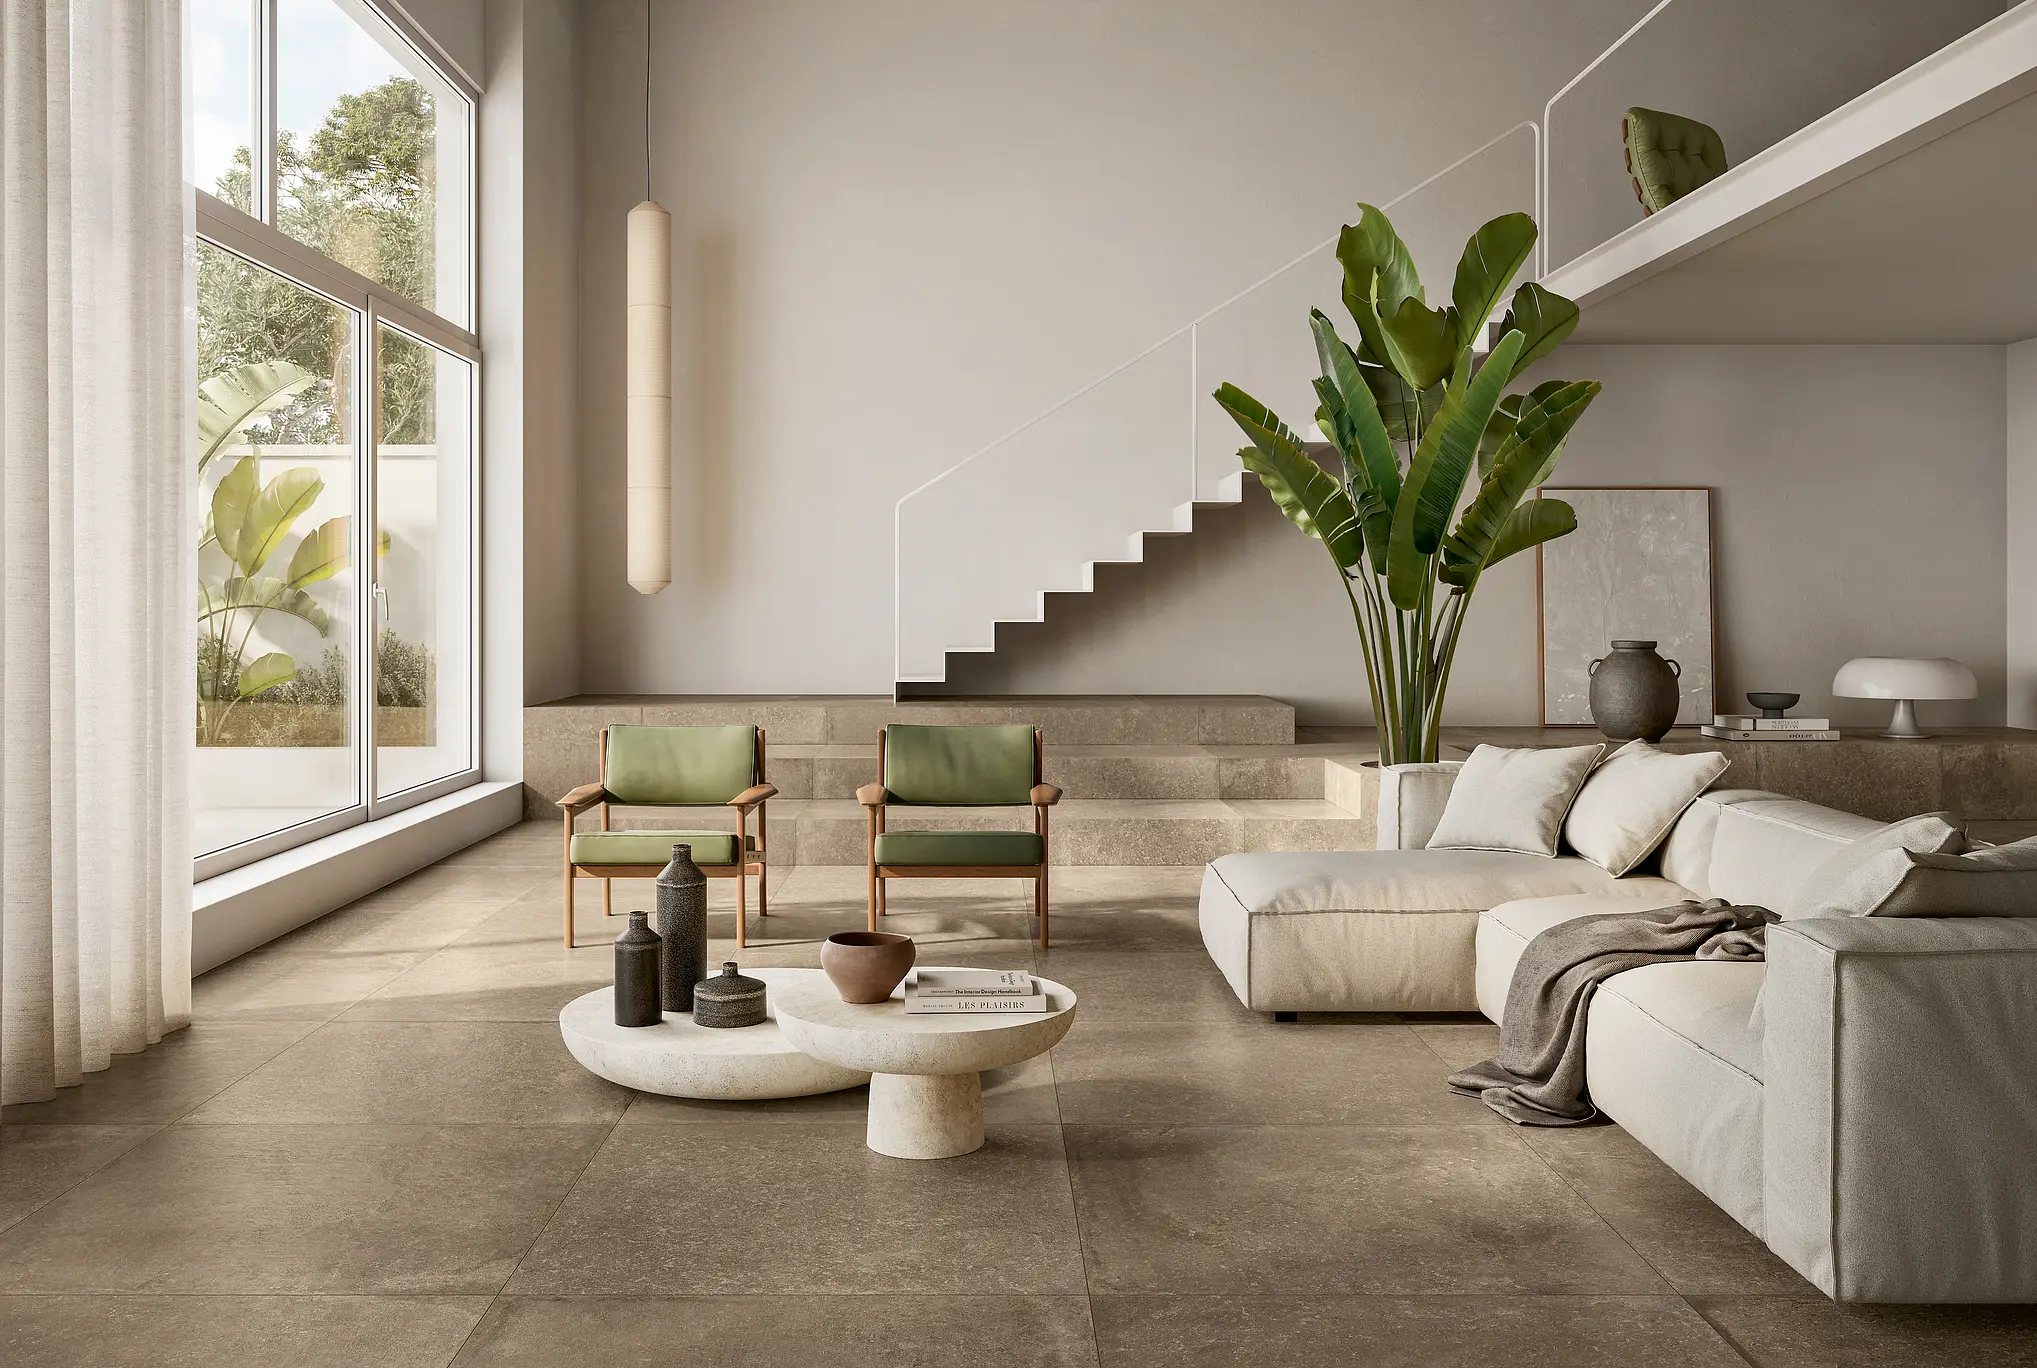
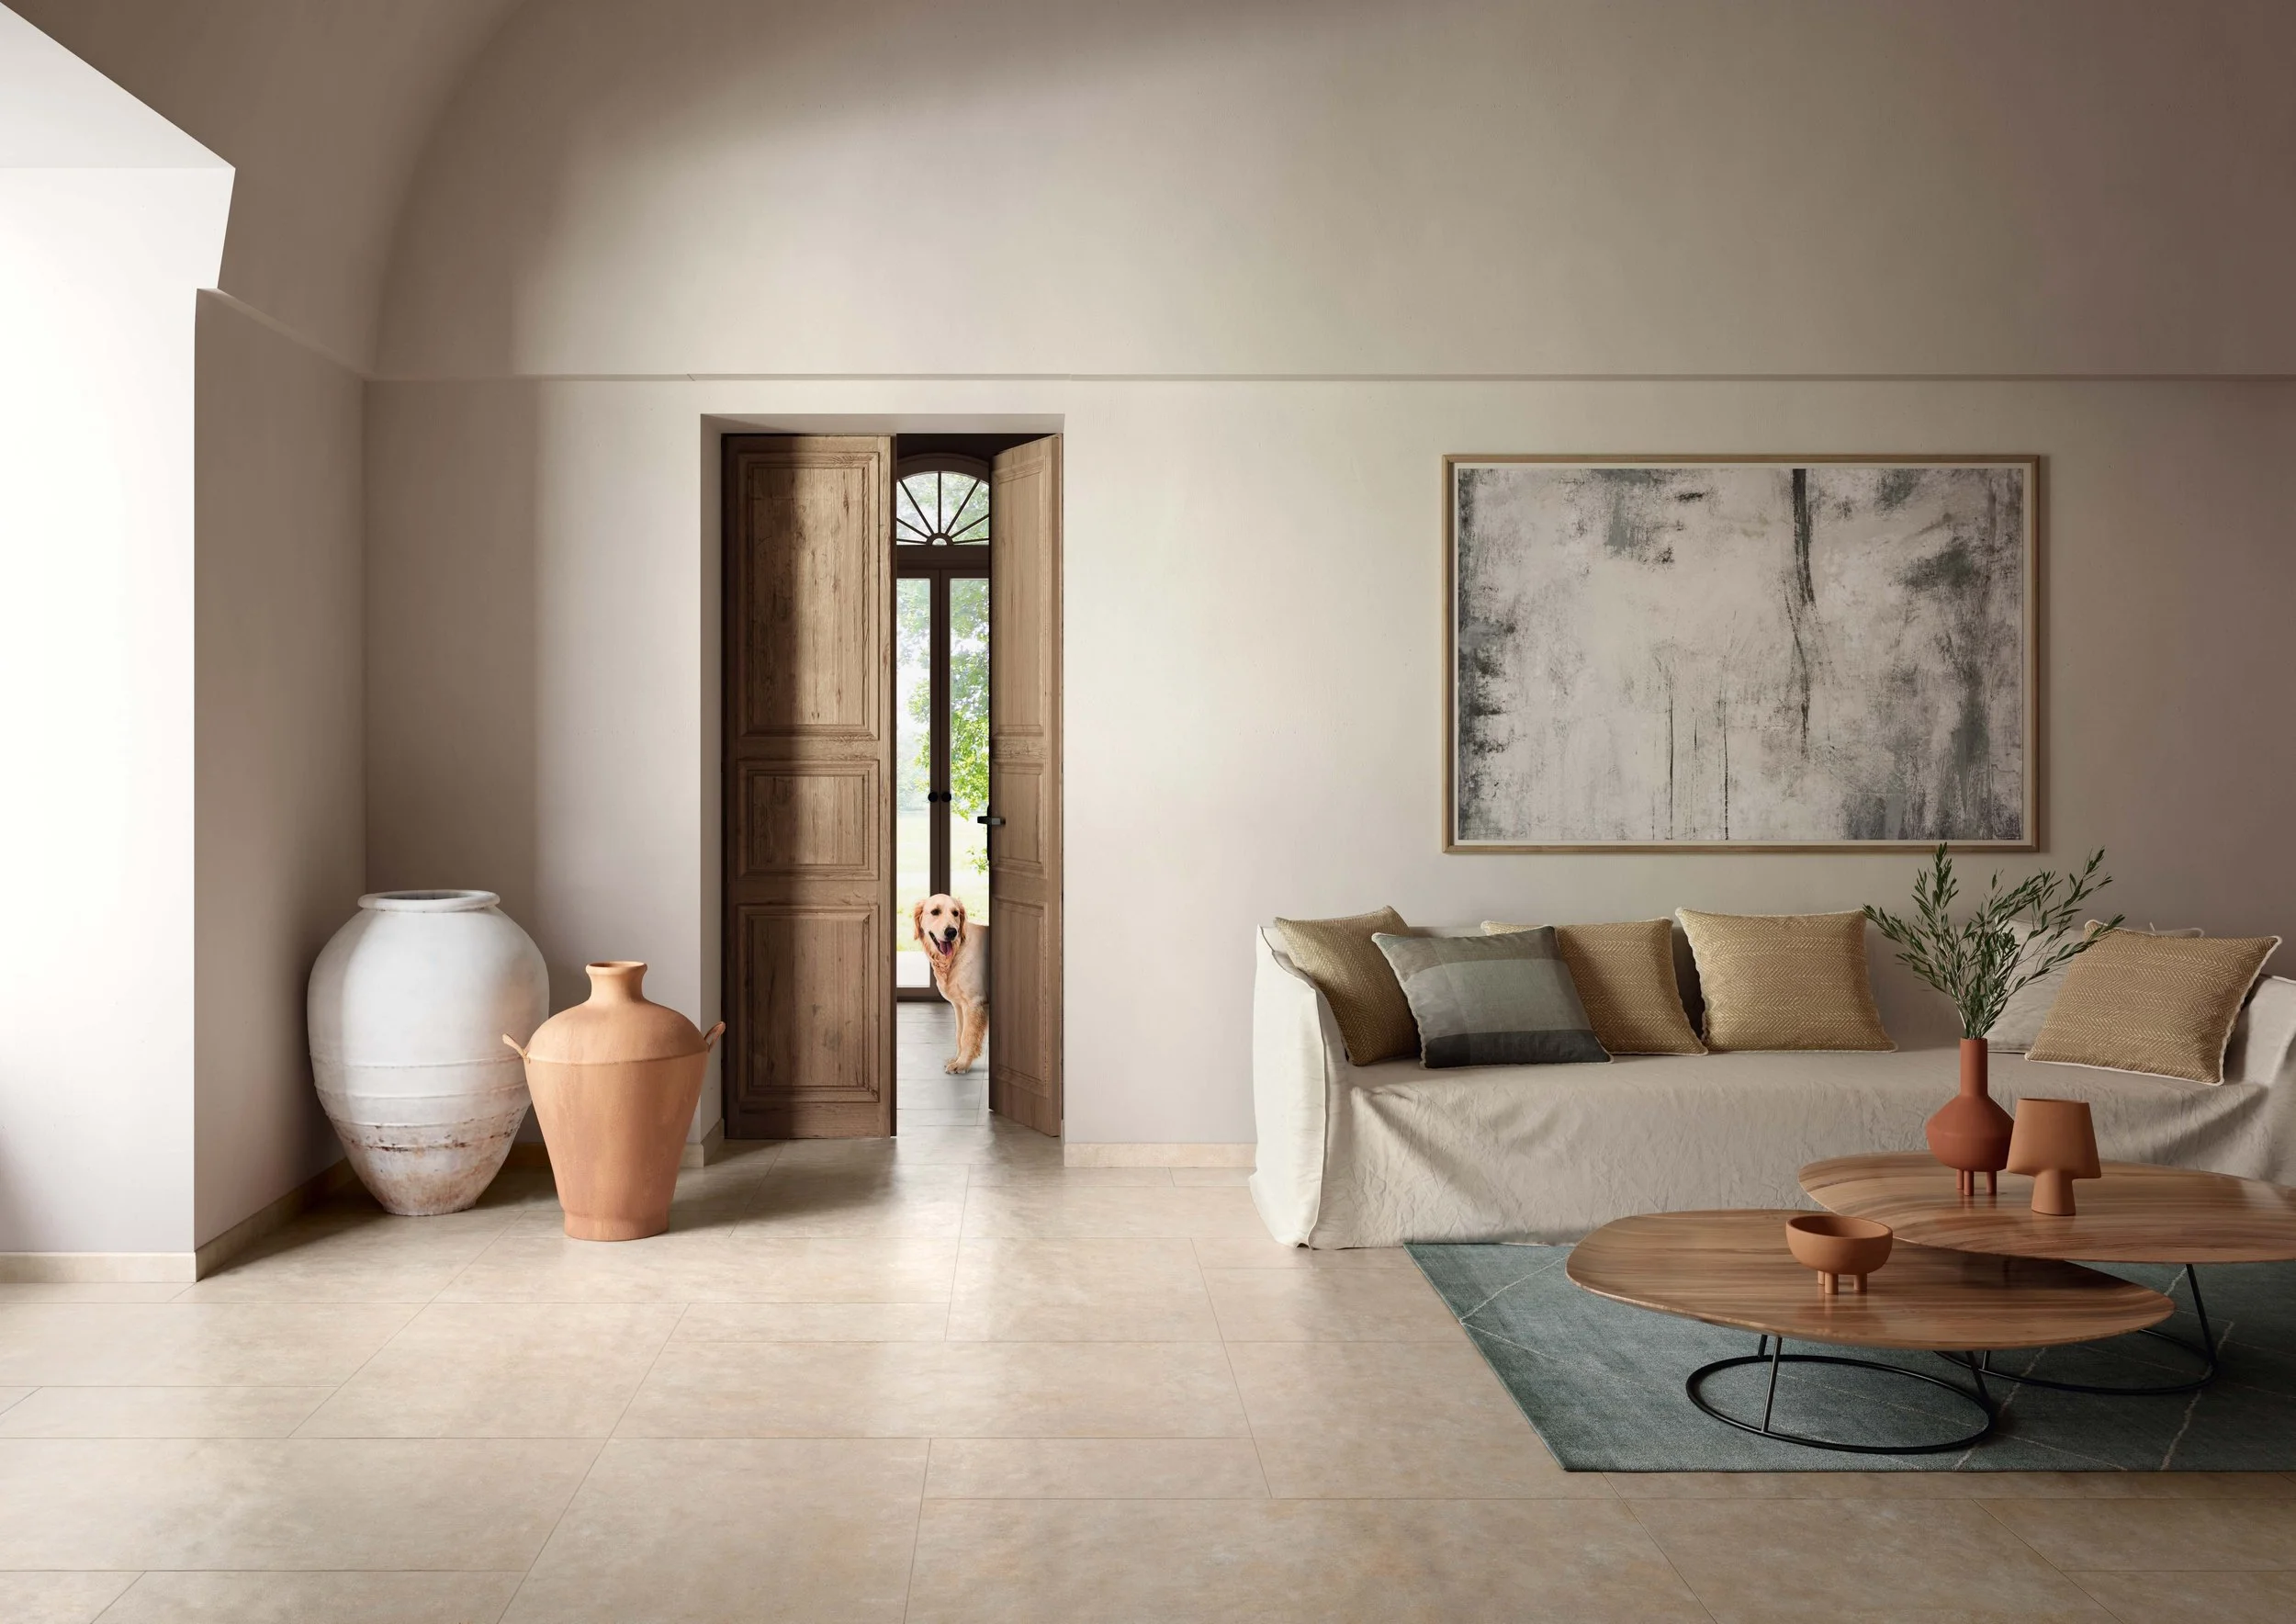
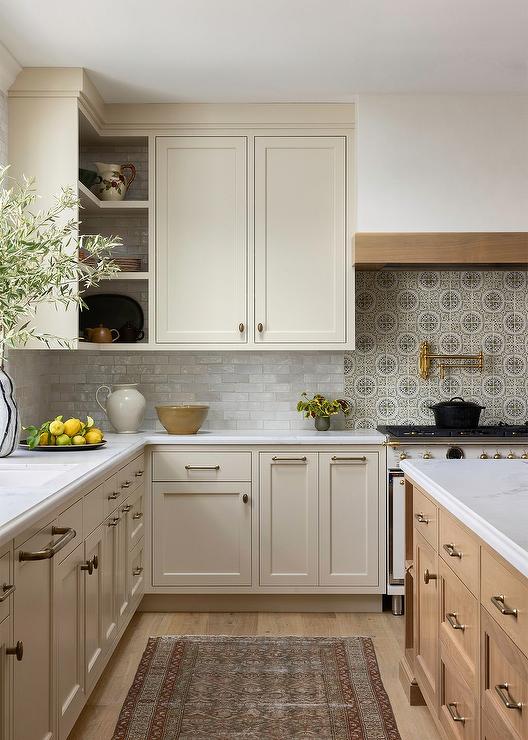
Neutral colours work well when you want a balanced and inviting home. Shades like beige, cream and warm grey are timeless and calming.
Using these colours on floor tiles or wall tiles helps ground your space.
Once you have a neutral base you can layer in subtle accents with décor pieces or mosaic tiles for texture without overwhelming the room.
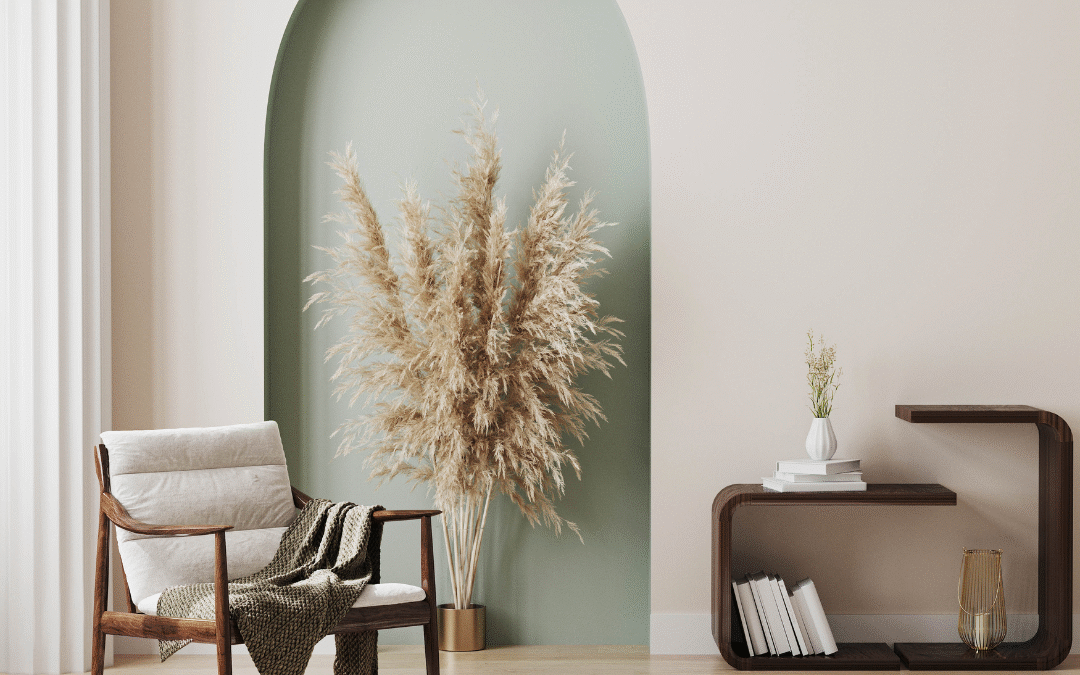
Bringing Nature Indoors with Green and Earthy Tones
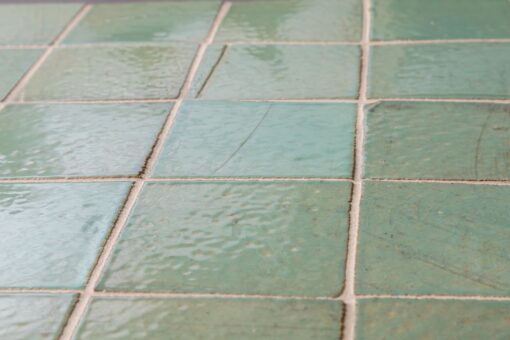
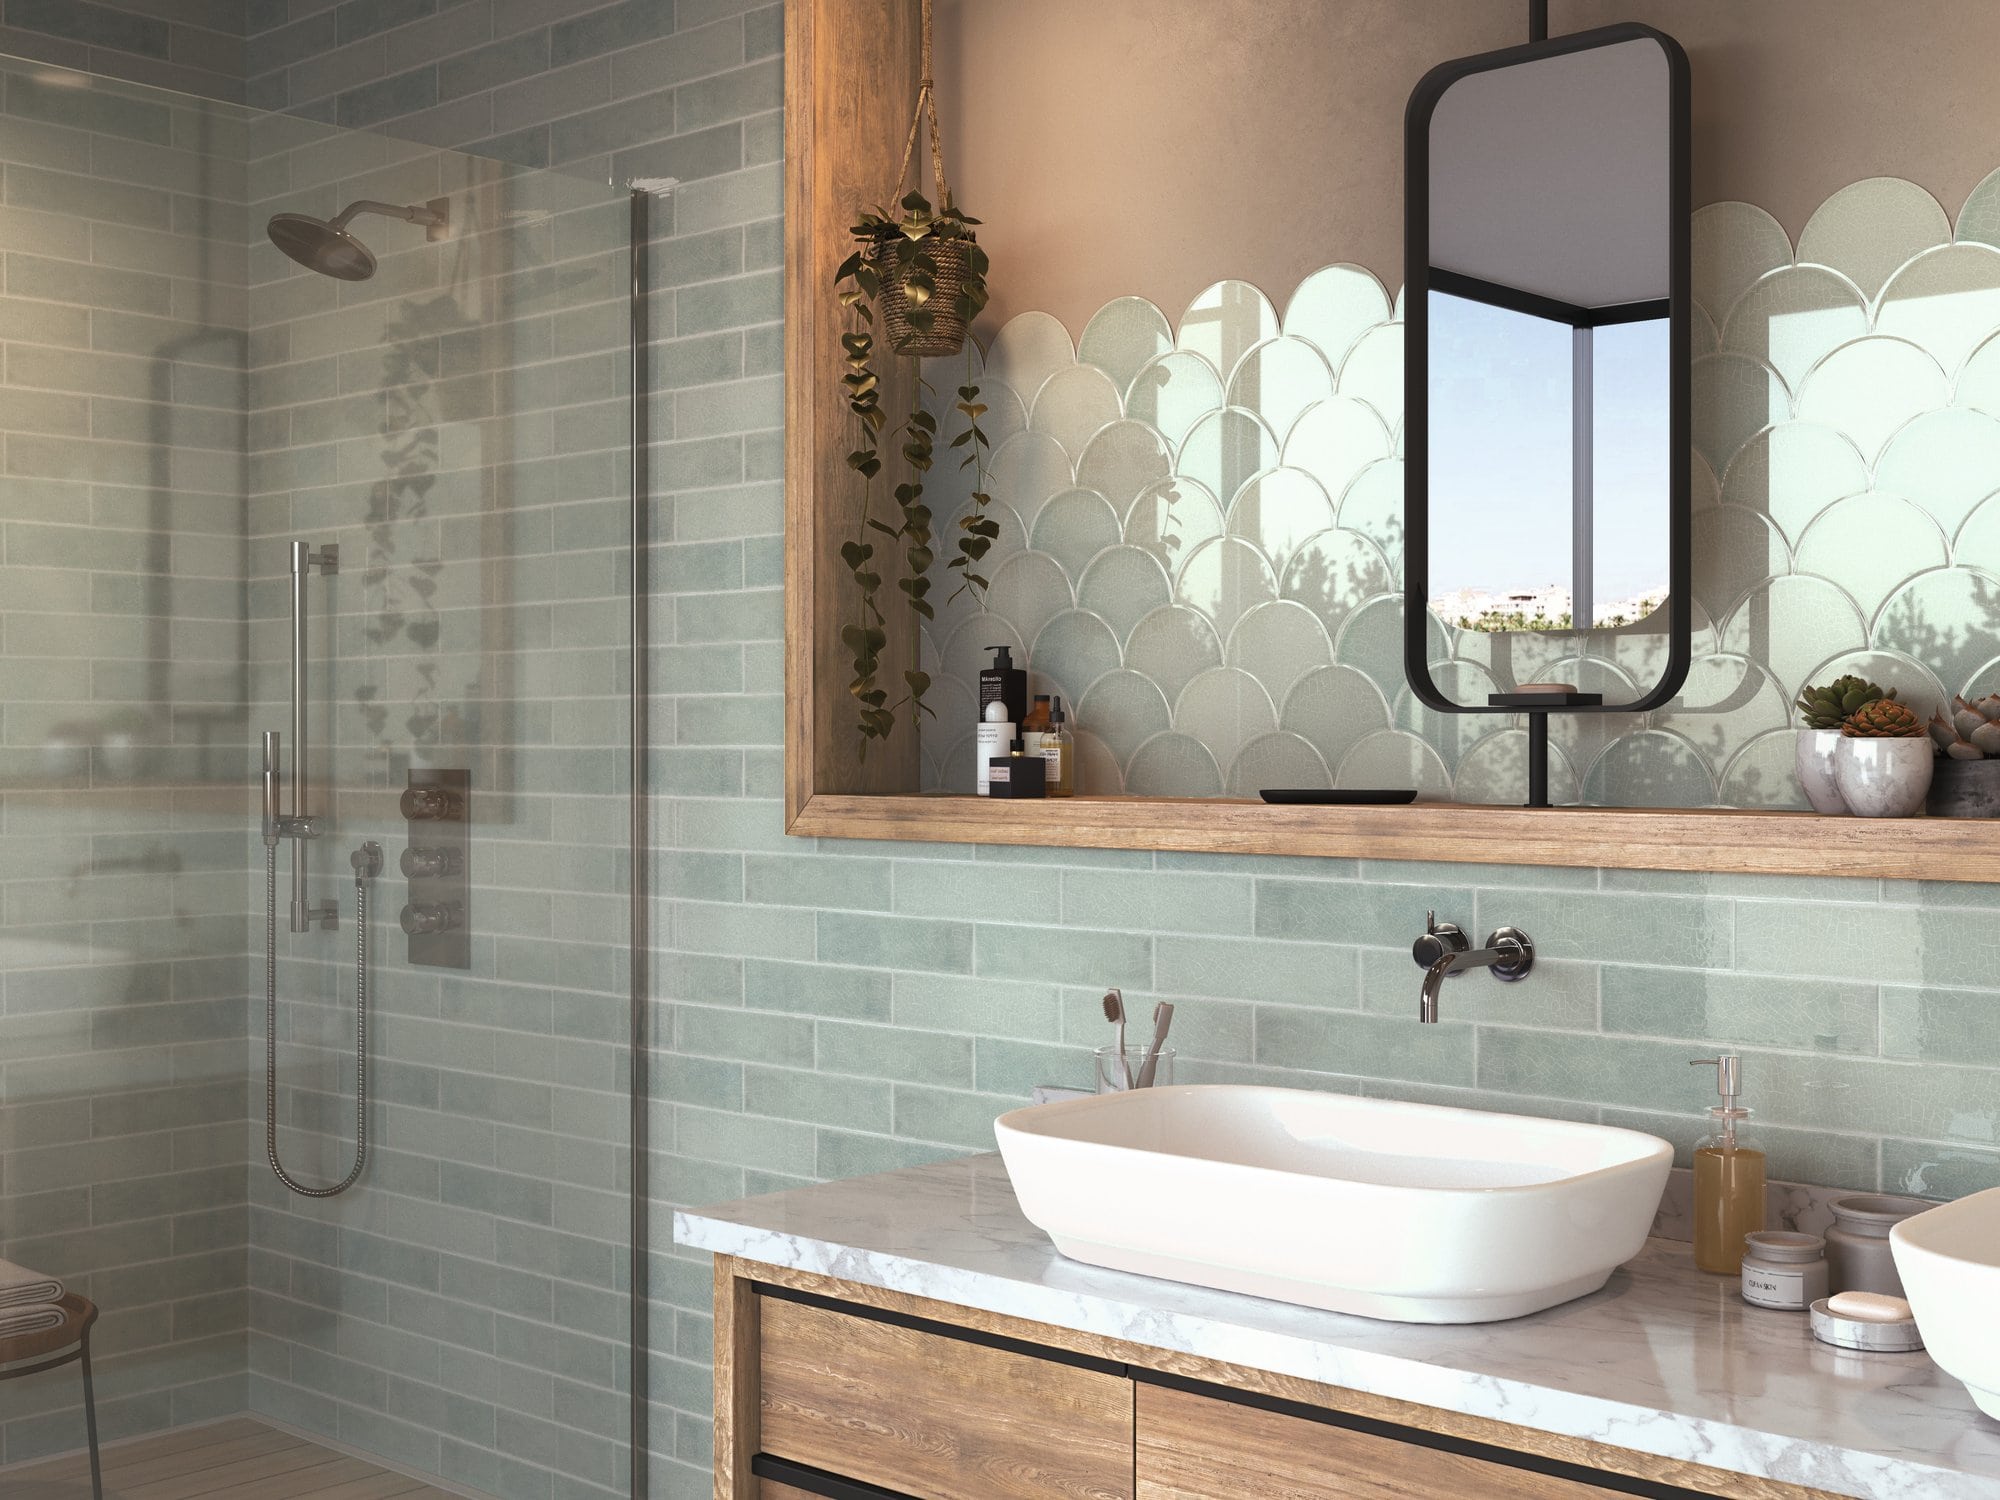
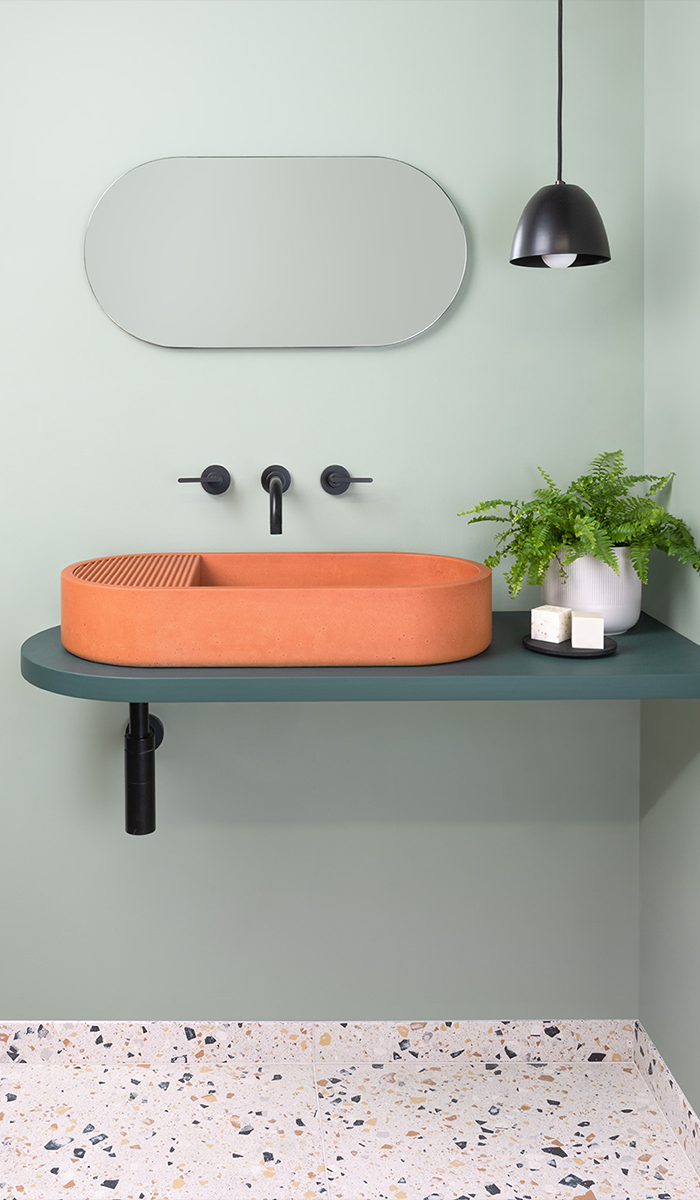
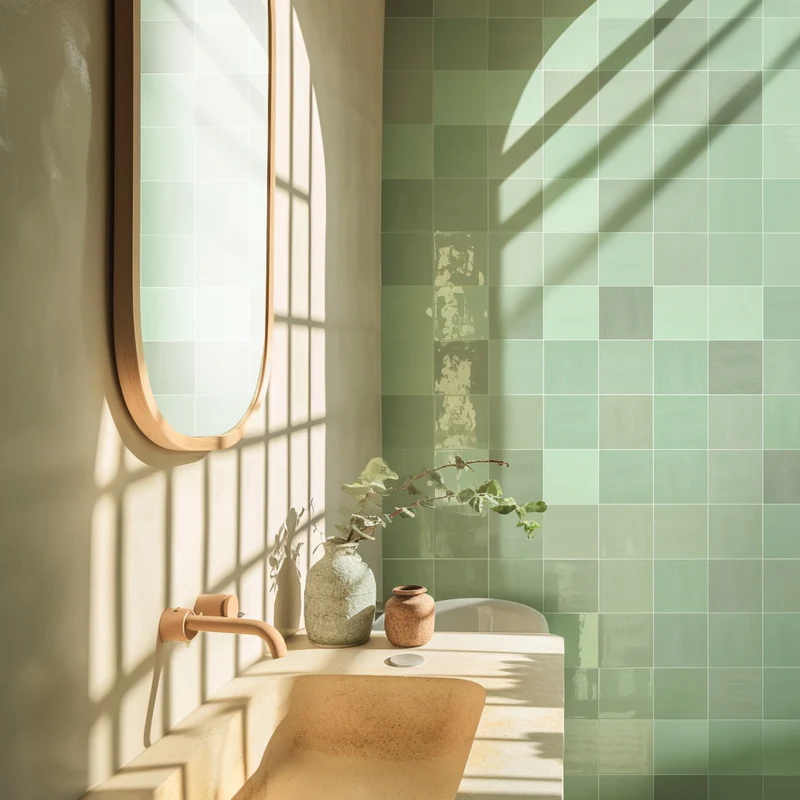
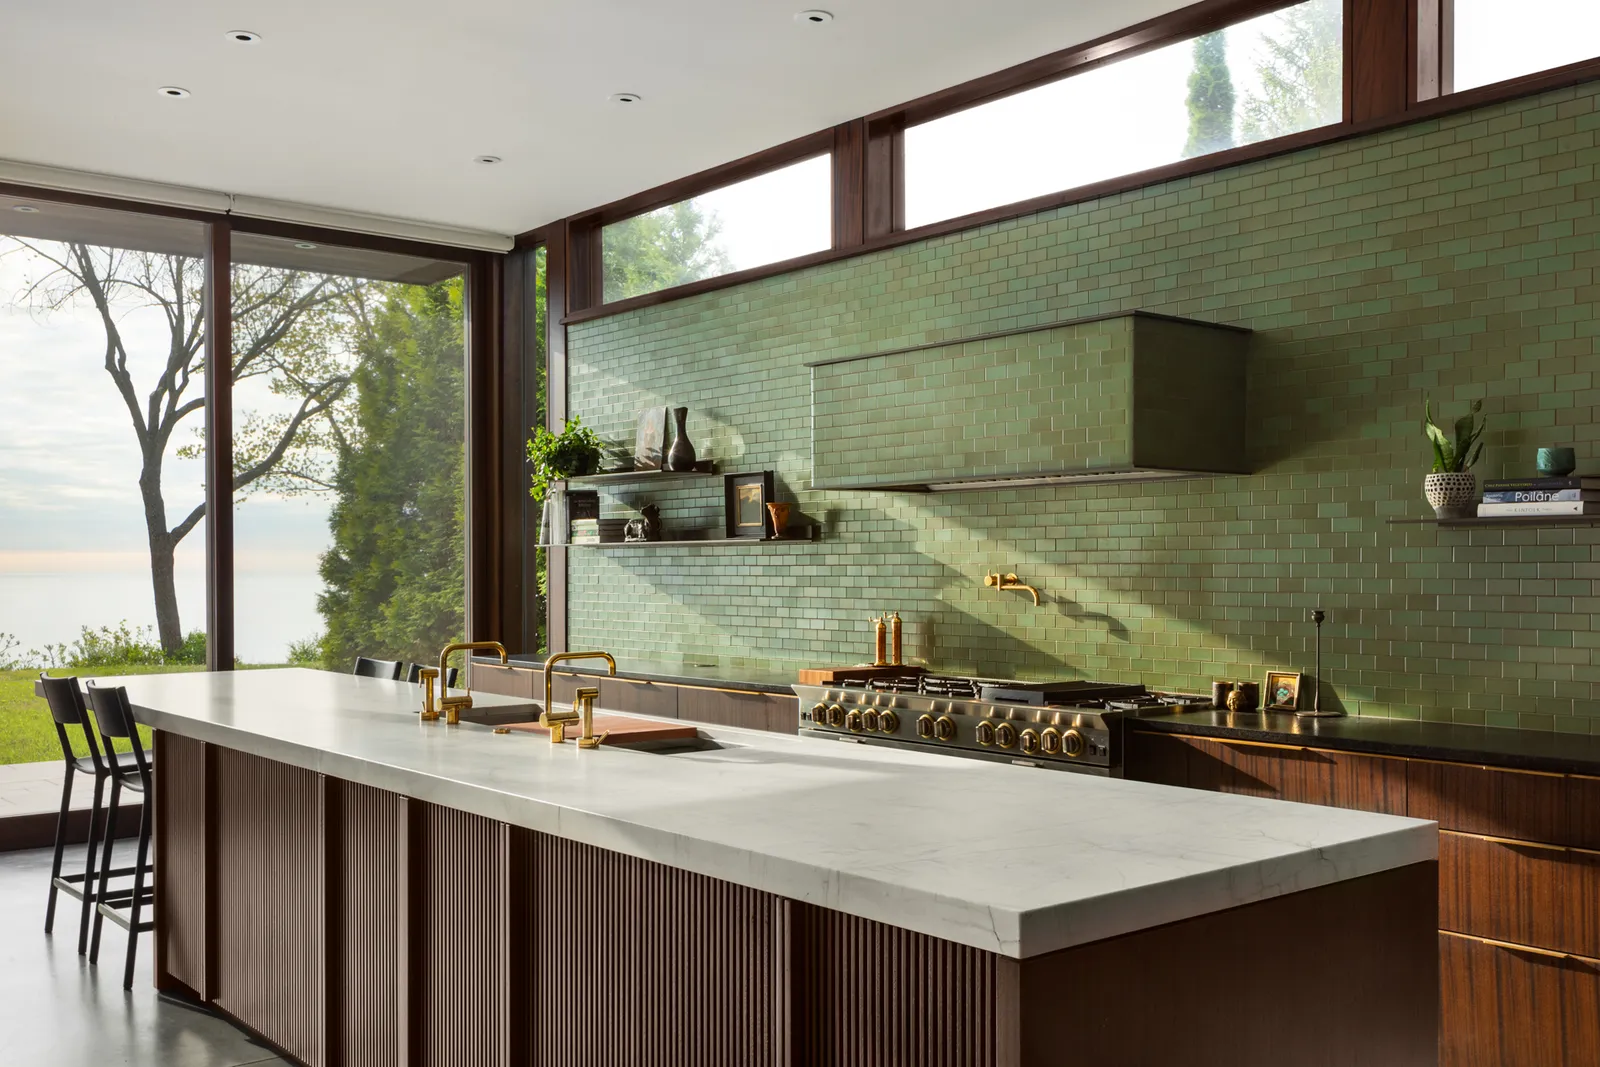
Green is strongly linked to renewal and harmony which makes it a great choice for a calm home.
Olive or sage green wall tiles in a bathroom or kitchen can instantly refresh the space.
Earthy terracotta or sand-coloured floor tiles are another way to connect your interiors to nature and give a grounding effect.

These tones work especially well in outdoor areas or open-plan living spaces.
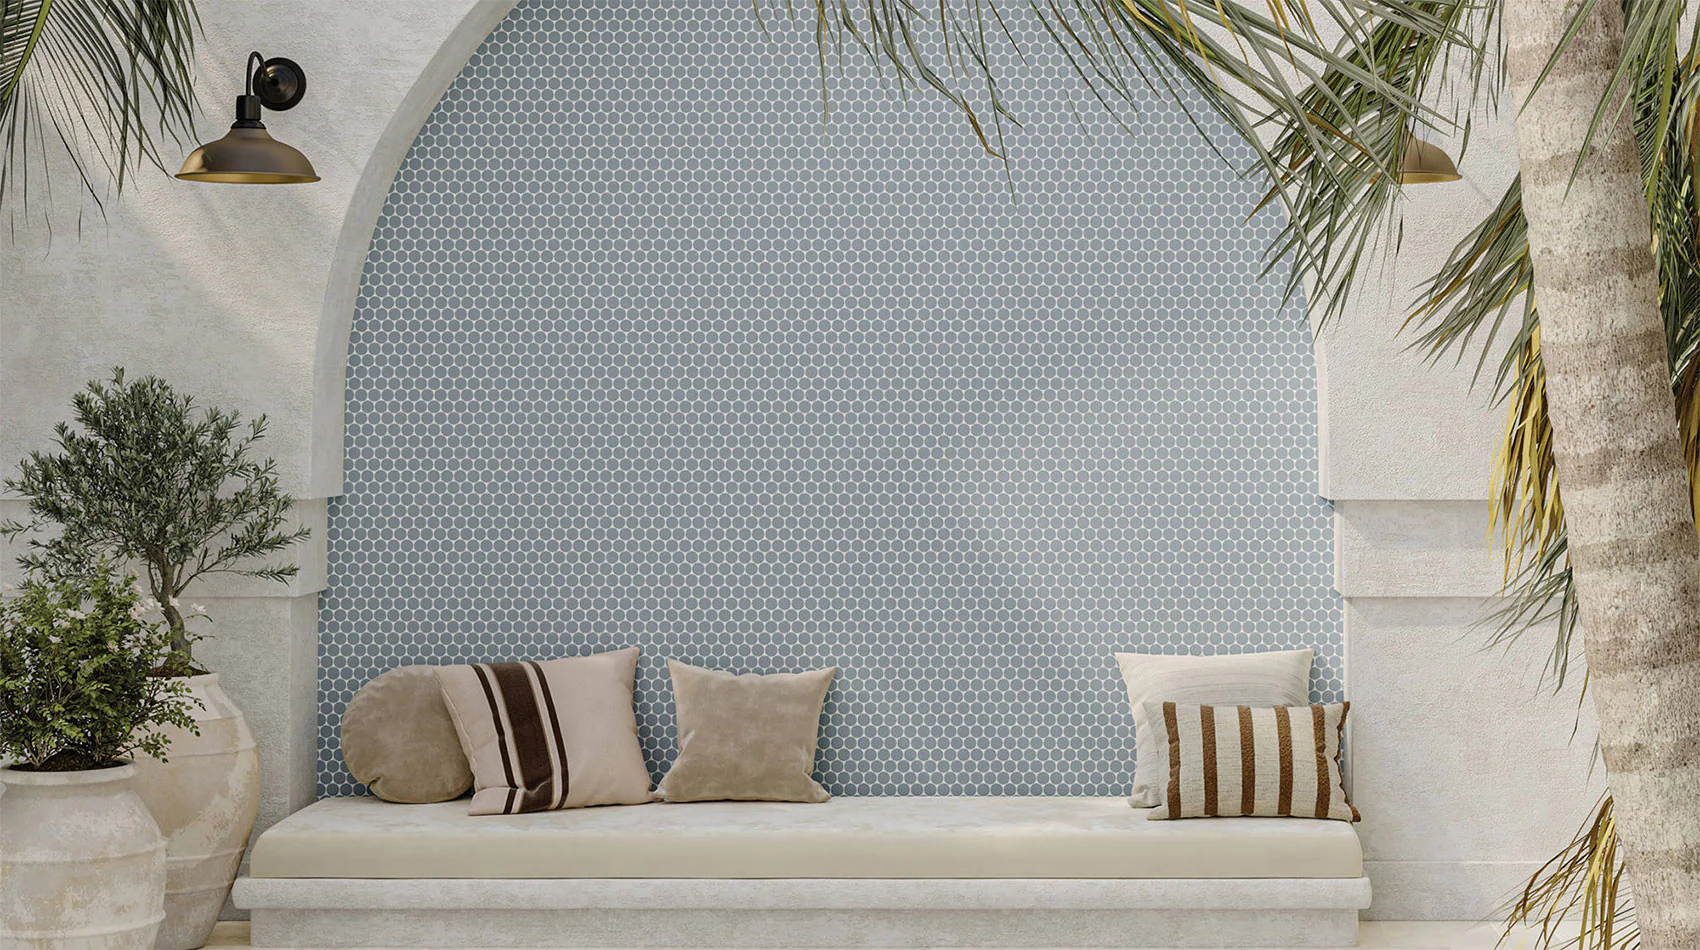
Using Blue for Calm and Relaxation
Blue is one of the most calming colours in psychology. Soft sky blue or muted navy tiles create a sense of serenity, especially in bedrooms and bathrooms.
A blue splashback in the kitchen or a feature wall in mosaic tiles can also make a subtle but soothing statement.
How to Tie It All Together: Creating a Calm Home
Creating a calm home with tiles and colour psychology is about balance. Start with a clear vision for each room. Use tiles as your foundation and layer in colours that support the feeling you want. Neutrals for grounding, blues for relaxation and greens for harmony all work together to create a home where you feel at ease.
blog, floors, interior design tips, walls
Spring colour palettes have the power to transform any room and bring fresh energy into your home. After months of dull winter tones, spring is the perfect time to brighten your space with colours that feel uplifting and new. Whether you’re updating your tiles, painting your walls or adding new accessories, spring is the perfect season to experiment with fresh colours.
Table of Content:
Why Spring Colour Palettes Work So Well
Fresh Neutrals with a Twist
Pastel Spring Colour Palettes
Bold Spring Shades
Mixing Patterns with Spring Colour Palettes
Simple Ways to Update Your Home
How to Bring It All Together
Why Spring Colour Palettes Work So Well
Spring brings longer days, warmer weather and more natural light. Lighter colours reflect that energy, making rooms feel bigger and more inviting. Think of soft pastels, warm neutrals and bold accents inspired by nature. Using these tones in your home can instantly lift your mood and create a space that feels balanced and stylish.
Fresh Neutrals with a Twist
Neutral tones are a great starting point for any spring colour palette. Soft beige, creamy white and light grey create a calming foundation that feels timeless. Once you’ve set this base, you can layer in brighter accents through cushions, rugs or wall art to bring energy into the space. The mix of neutral backdrops with splashes of colour keeps your home modern, light and welcoming. For added depth, pair these tones with textured finishes such as wood or natural stone-look tiles. Fresh neutrals work beautifully in kitchens and living rooms where you want a relaxed yet stylish atmosphere.
Pastel Spring Colour Palettes
Pastels are a classic choice for spring because they’re light, airy and versatile. Soft pinks, mint greens and powder blues look stunning in bathrooms and bedrooms. You can use pastel wall tiles as a feature or bring in pastel tones through décor such as cushions, rugs, wallpaper or even kitchen accessories. Pastels also pair beautifully with white or light grey flooring, making them easy to layer into existing spaces.
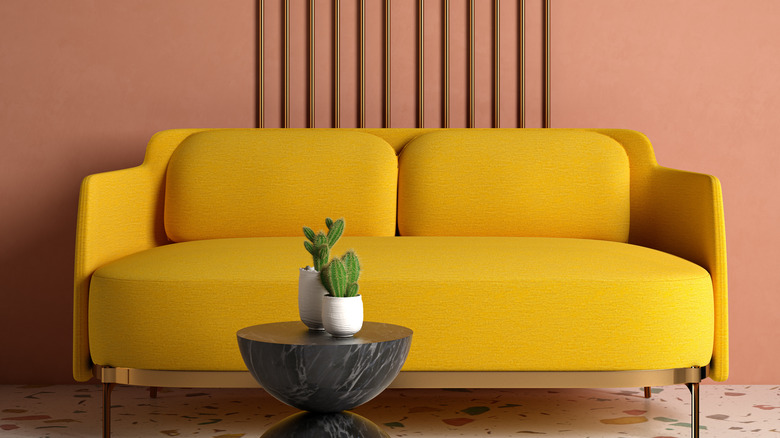
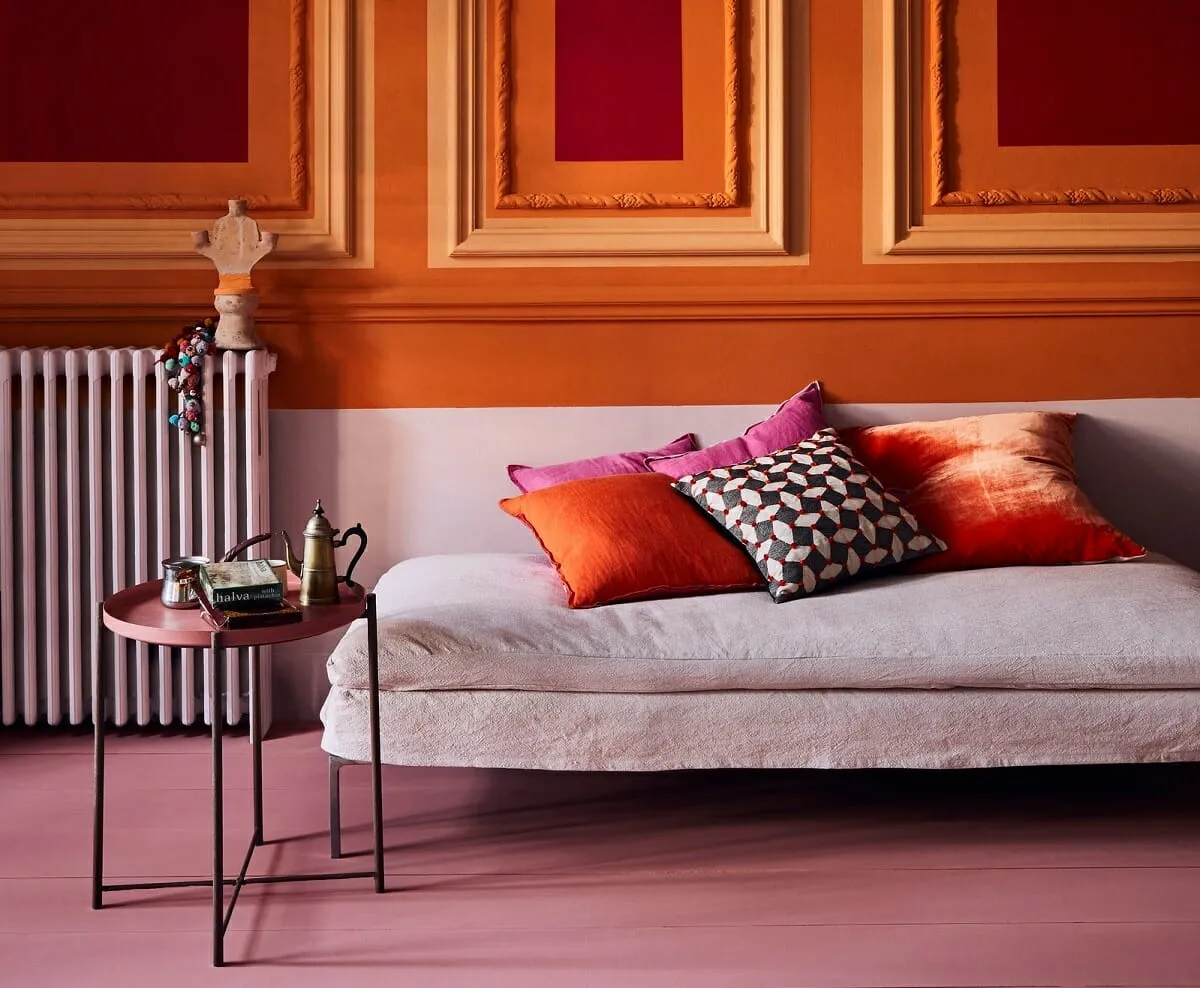
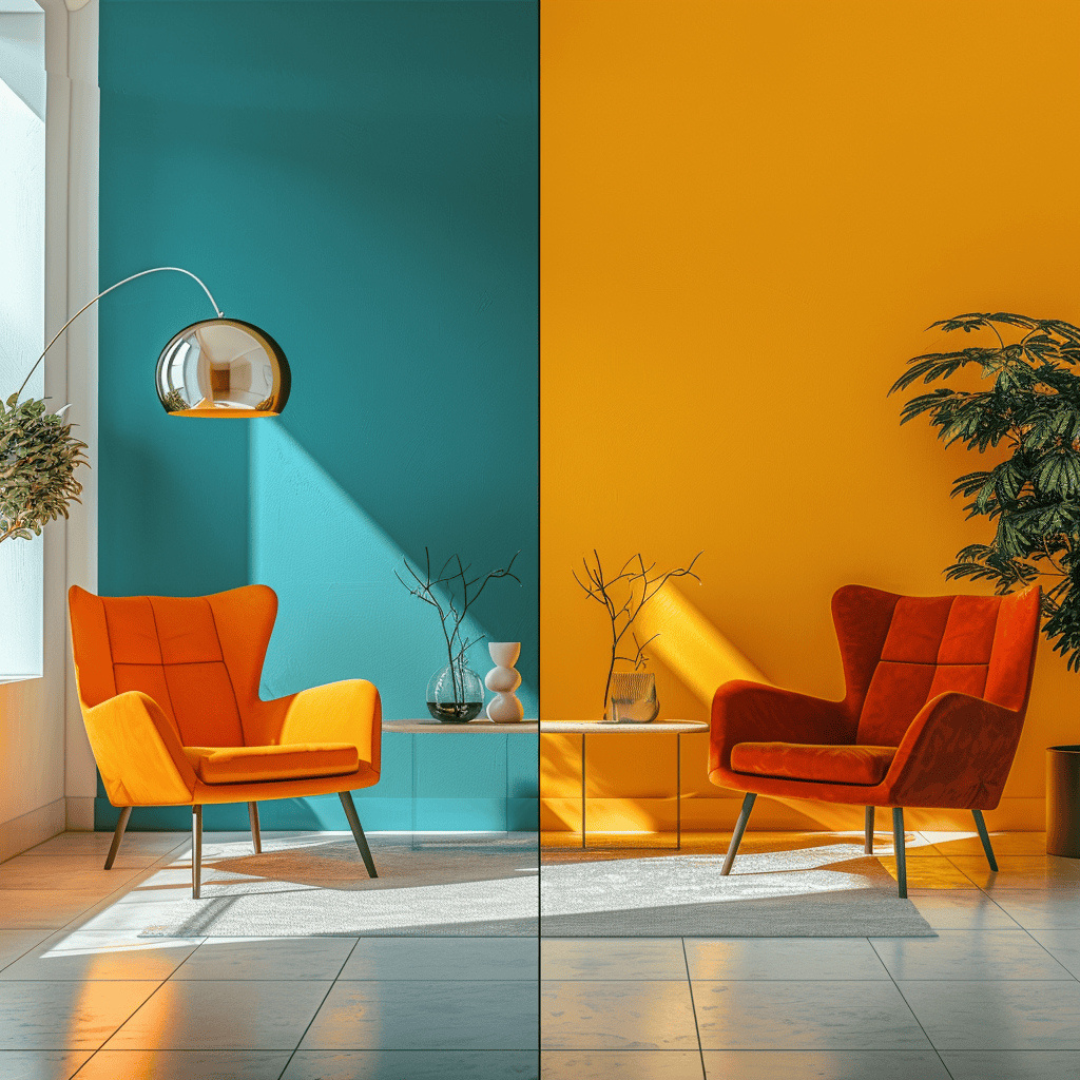
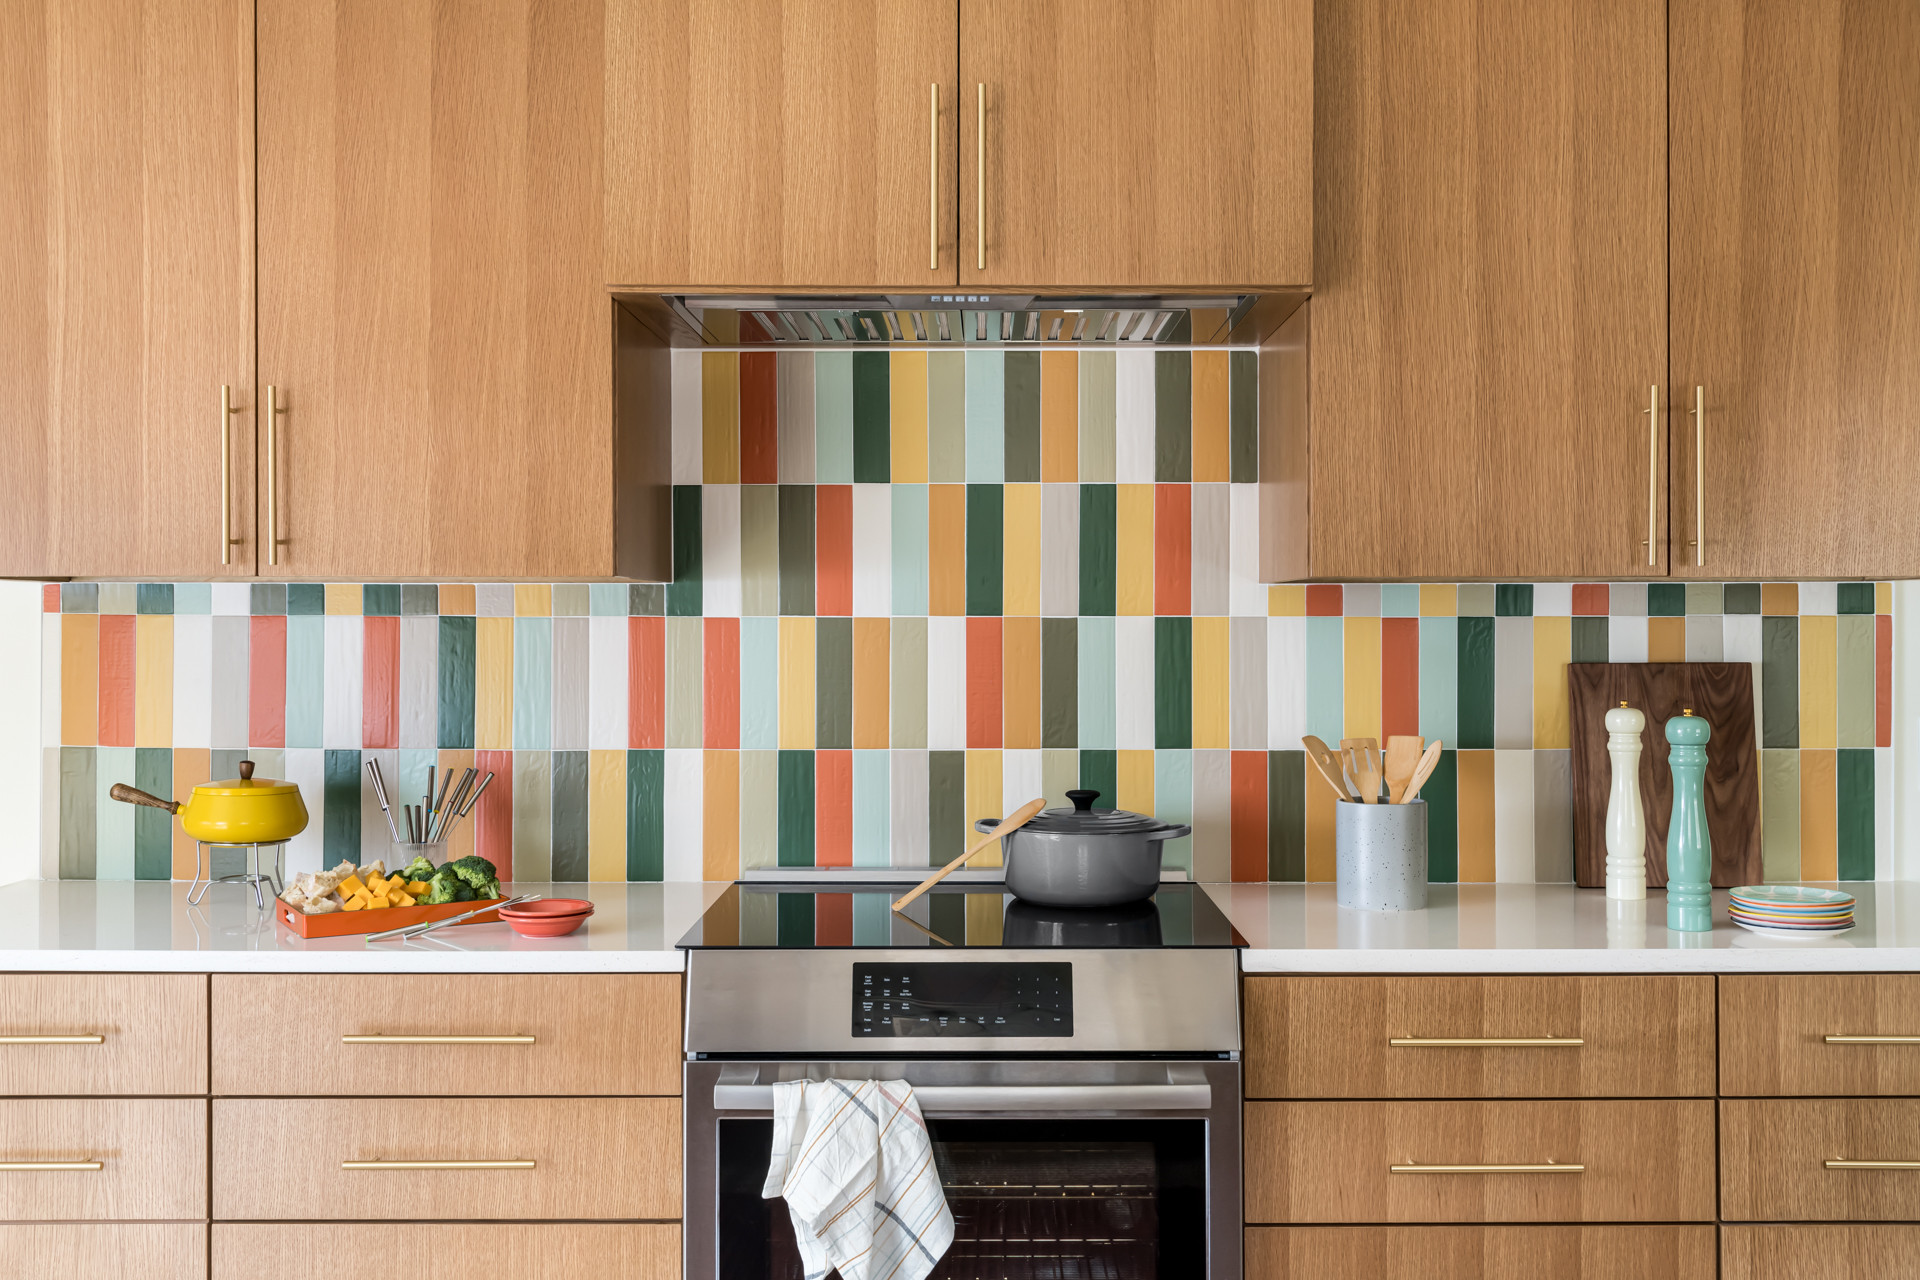
Bold Spring Shades
Not every spring colour scheme needs to be soft. Bright accents like yellow, coral or turquoise can energise a space without overwhelming it. Consider adding a bold splashback in the kitchen or a feature wall in the living room. You can even use colourful mosaic tiles to create unique patterns that feel playful yet sophisticated. These accents work best when balanced with neutral or pastel backgrounds.
Nature-Inspired Shades
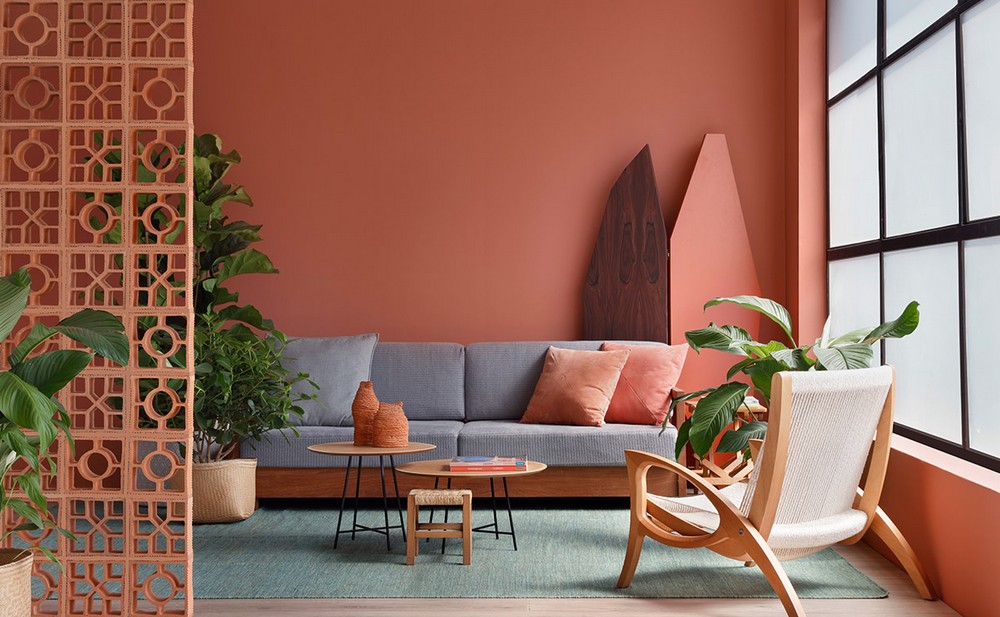
Bringing the outdoors in is one of the biggest interior trends, and spring is the ideal time to embrace it. Think leafy greens, earthy terracotta or ocean blues. These colours connect your home to nature and create a sense of calm. Outdoor spaces also benefit from this palette — slip-resistant tiles in earthy shades can turn your patio or pool area into a natural extension of your home.
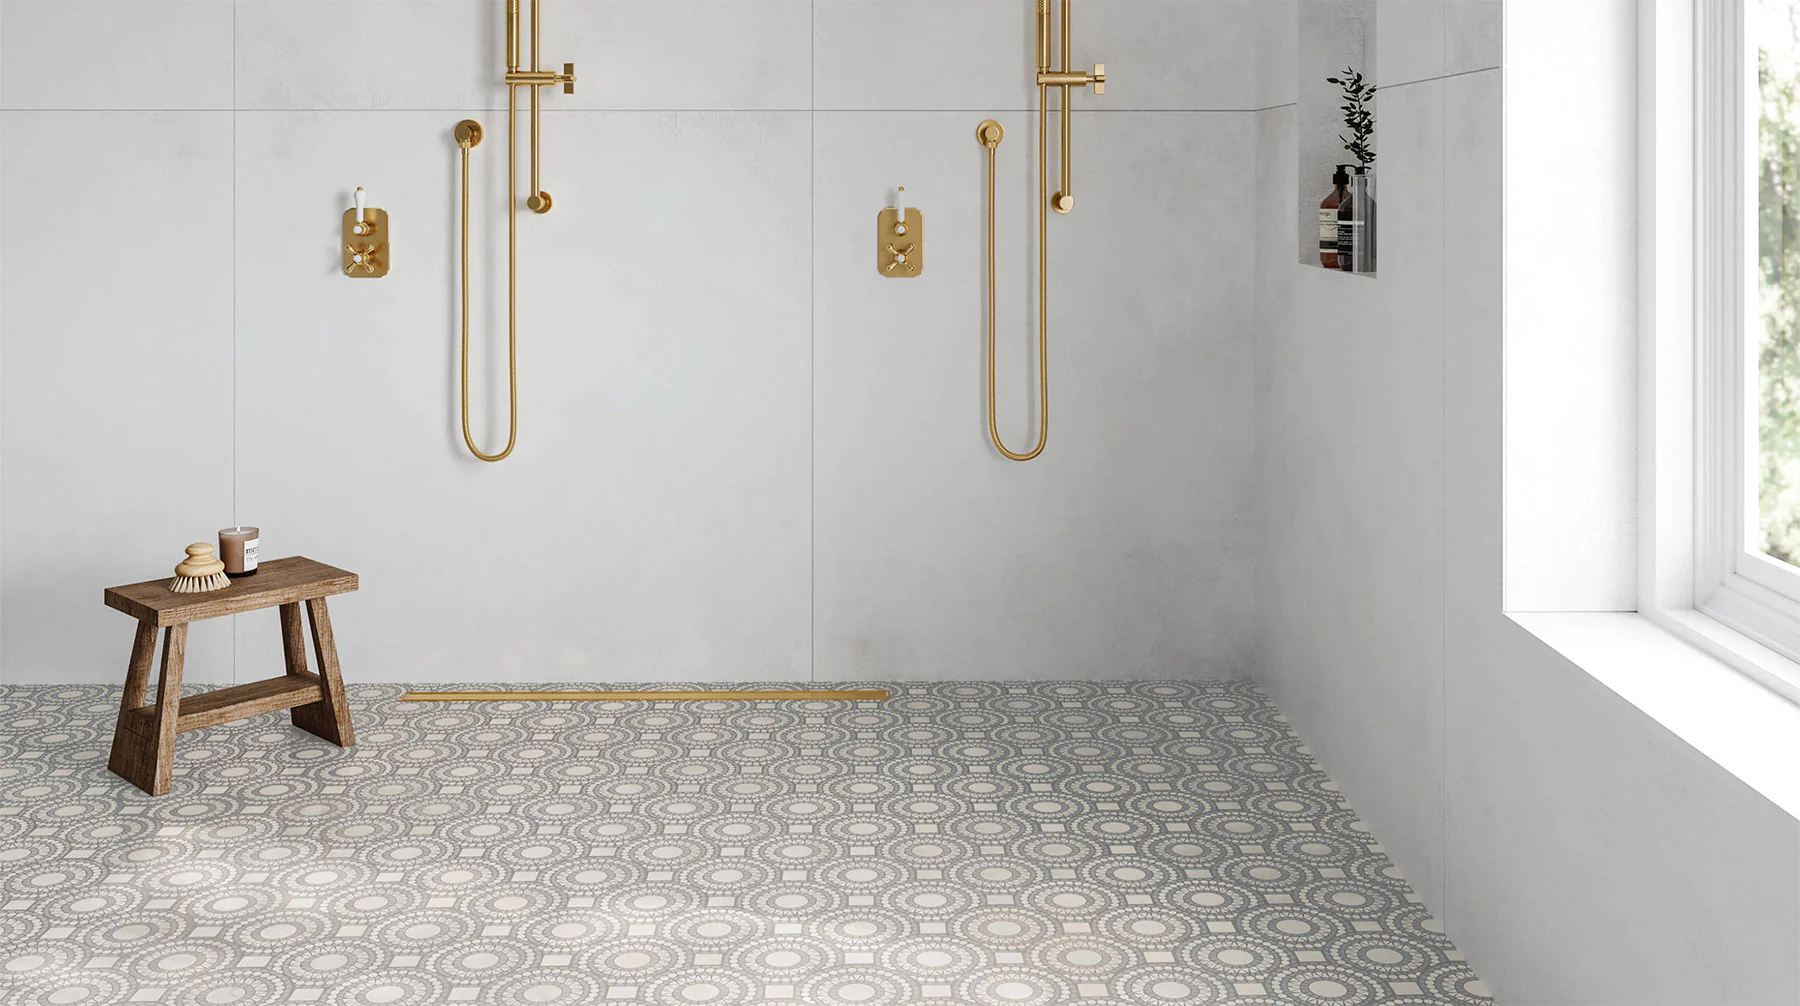
Mixing Patterns with Spring Colour Palettes
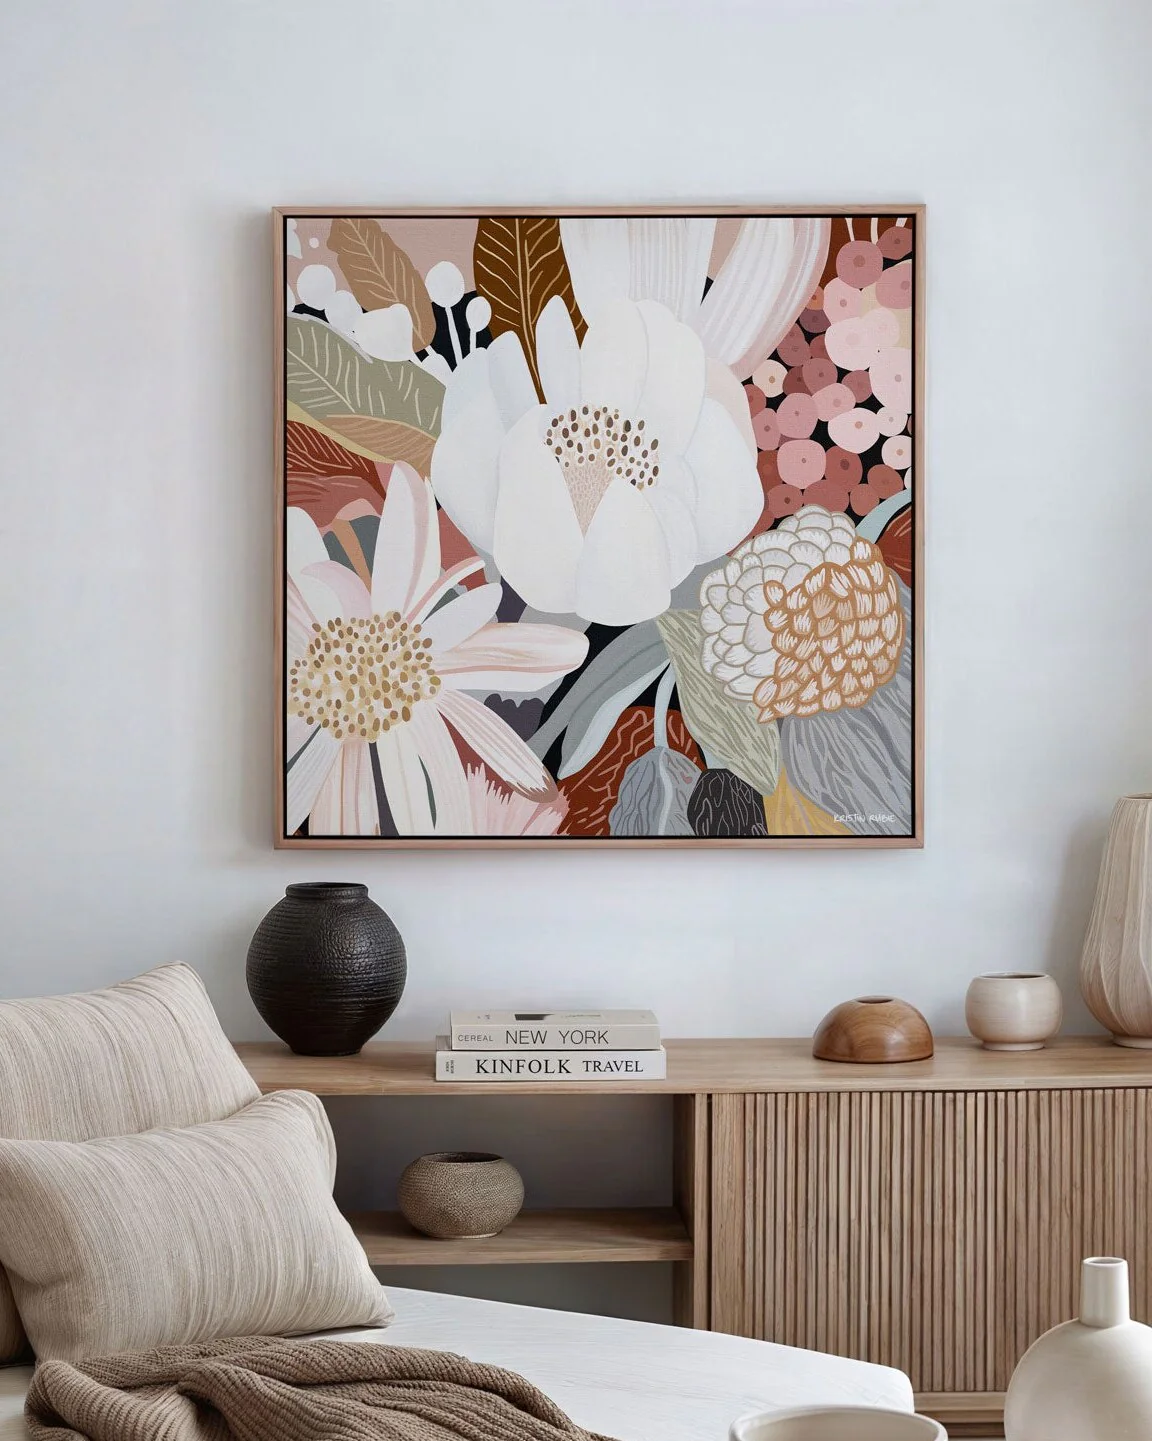
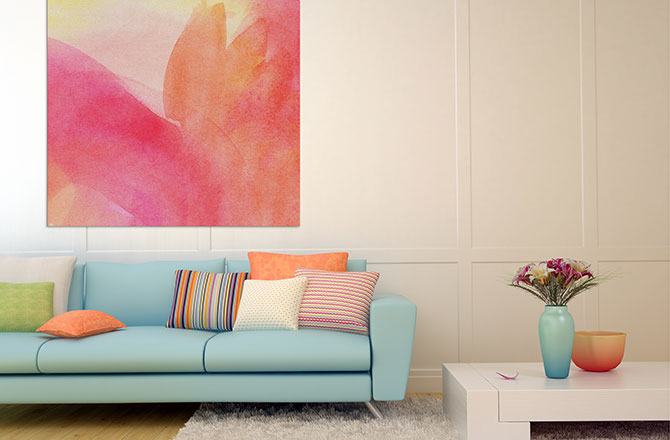
Image credit: havenprints.com.au
Patterns are an easy way to show off your spring colour palette. Floral prints, soft stripes and geometric shapes look great when paired with seasonal colours. Try patterned cushions or a statement rug to tie your palette together. Patterns bring movement into a room and make the colours feel more dynamic.
Simple Ways to Update Your Home
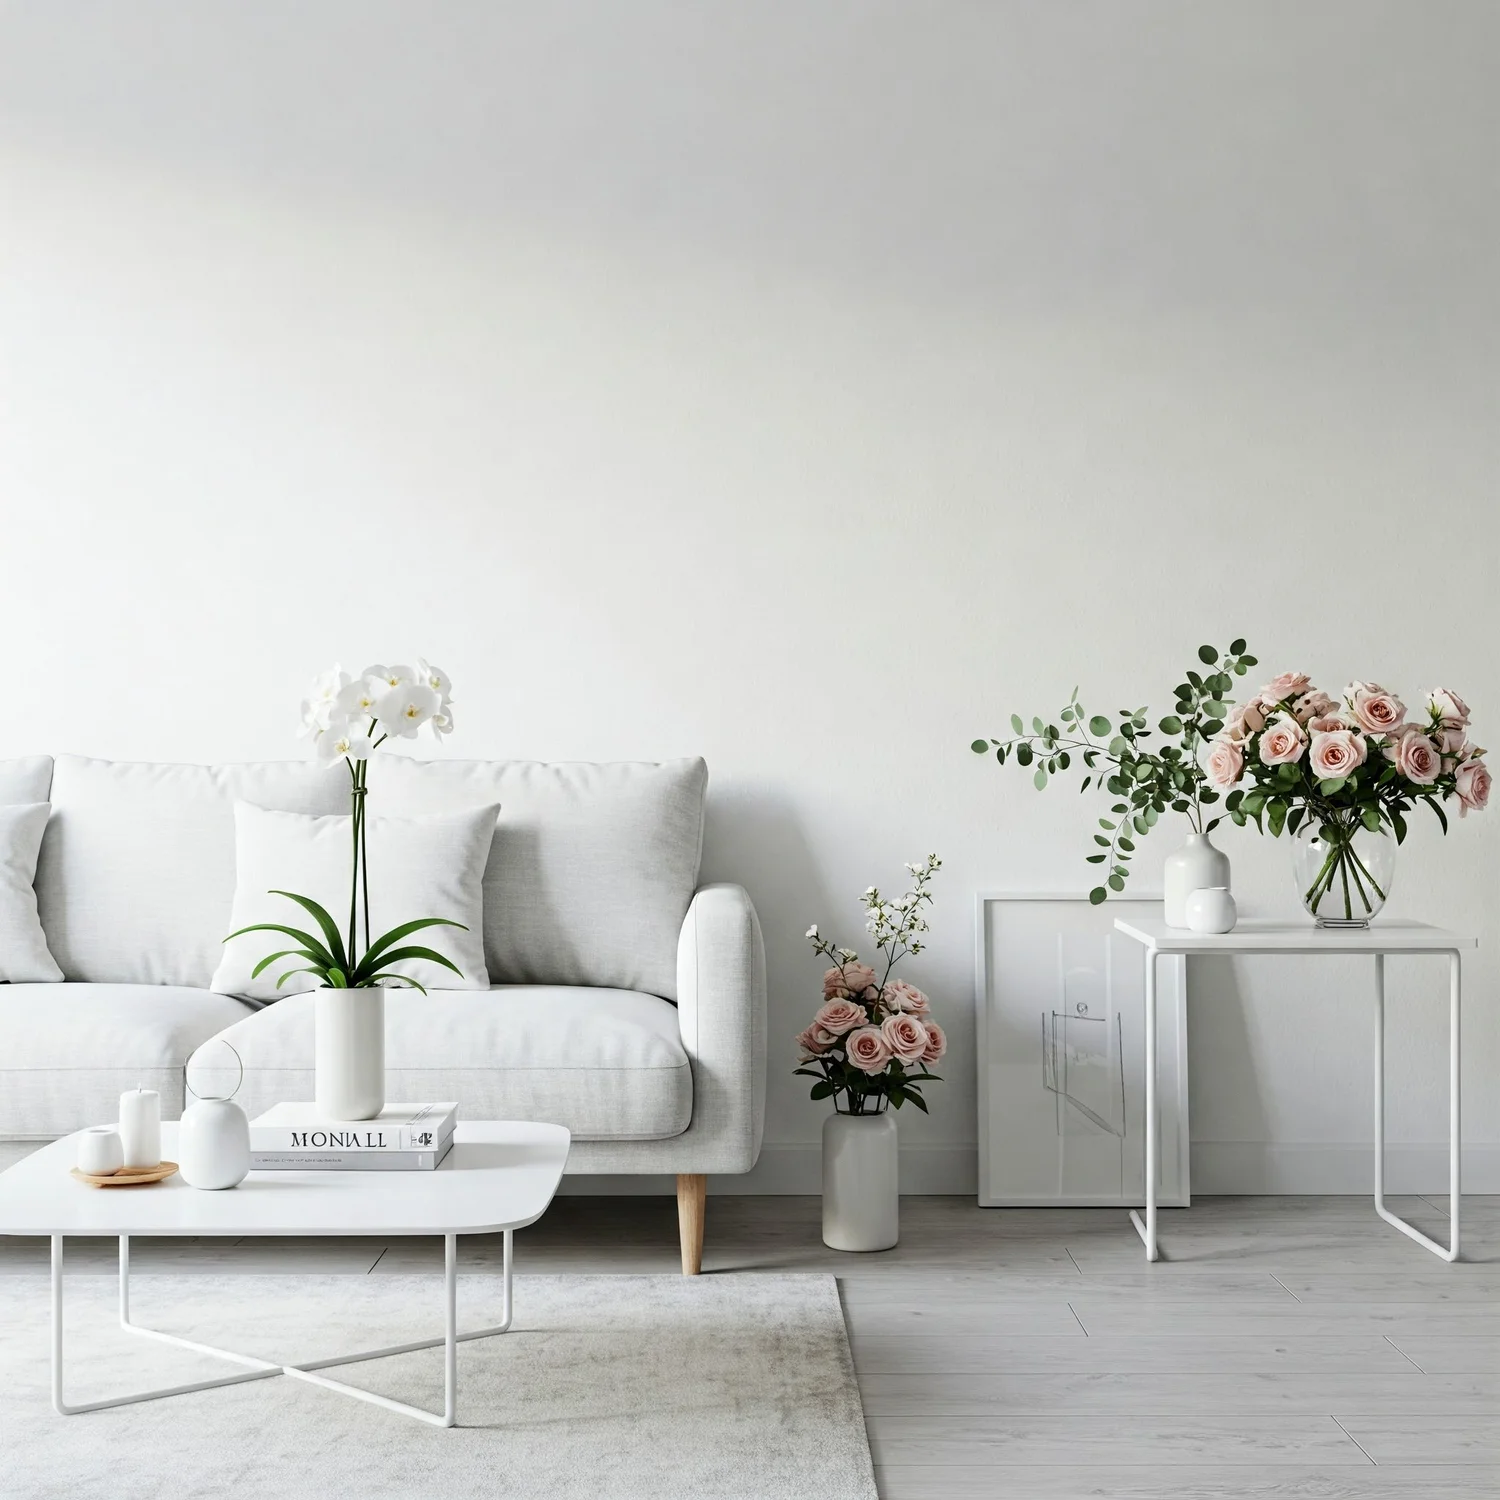
Image credit: lorddecor.com
You do not need to repaint every wall to enjoy the benefits of spring colours. Small changes can have a big impact. Swap out heavy winter curtains for light linen ones, add pastel cushions to your sofa or place colourful flowers in a neutral vase. These small updates refresh your space and make it feel instantly brighter.
How to Bring It All Together
When working with spring colour palettes, the key is balance. Choose a base shade for your main surfaces like floors and walls, then add layers of colour through tiles, accessories and furniture. If you’re unsure where to start, focus on one room and build from there. Bathrooms and kitchens are great spaces to experiment with colour because tiles make a big impact.
blog, floors, walls
When it comes to transforming your space, picking the right tiles makes all the difference. If you’re deciding between the top tile choices for homes in Gauteng and Cape Town, it helps to know which styles work best in each location. Climate, lifestyle and design trends all play a role in helping you make the perfect choice for your home.
Table of Content:
Top Tile Choices for Homes in Gauteng
Top Tile Choices for Homes in Cape Town
Choosing the Right Tile for Your Home
Top Tile Choices for Homes in Gauteng
Gauteng’s climate is generally warm with dry, cooler winters and summer thunderstorms. Homes in this region benefit from tiles that can handle fluctuating temperatures and the occasional splash of water.
Porcelain tiles
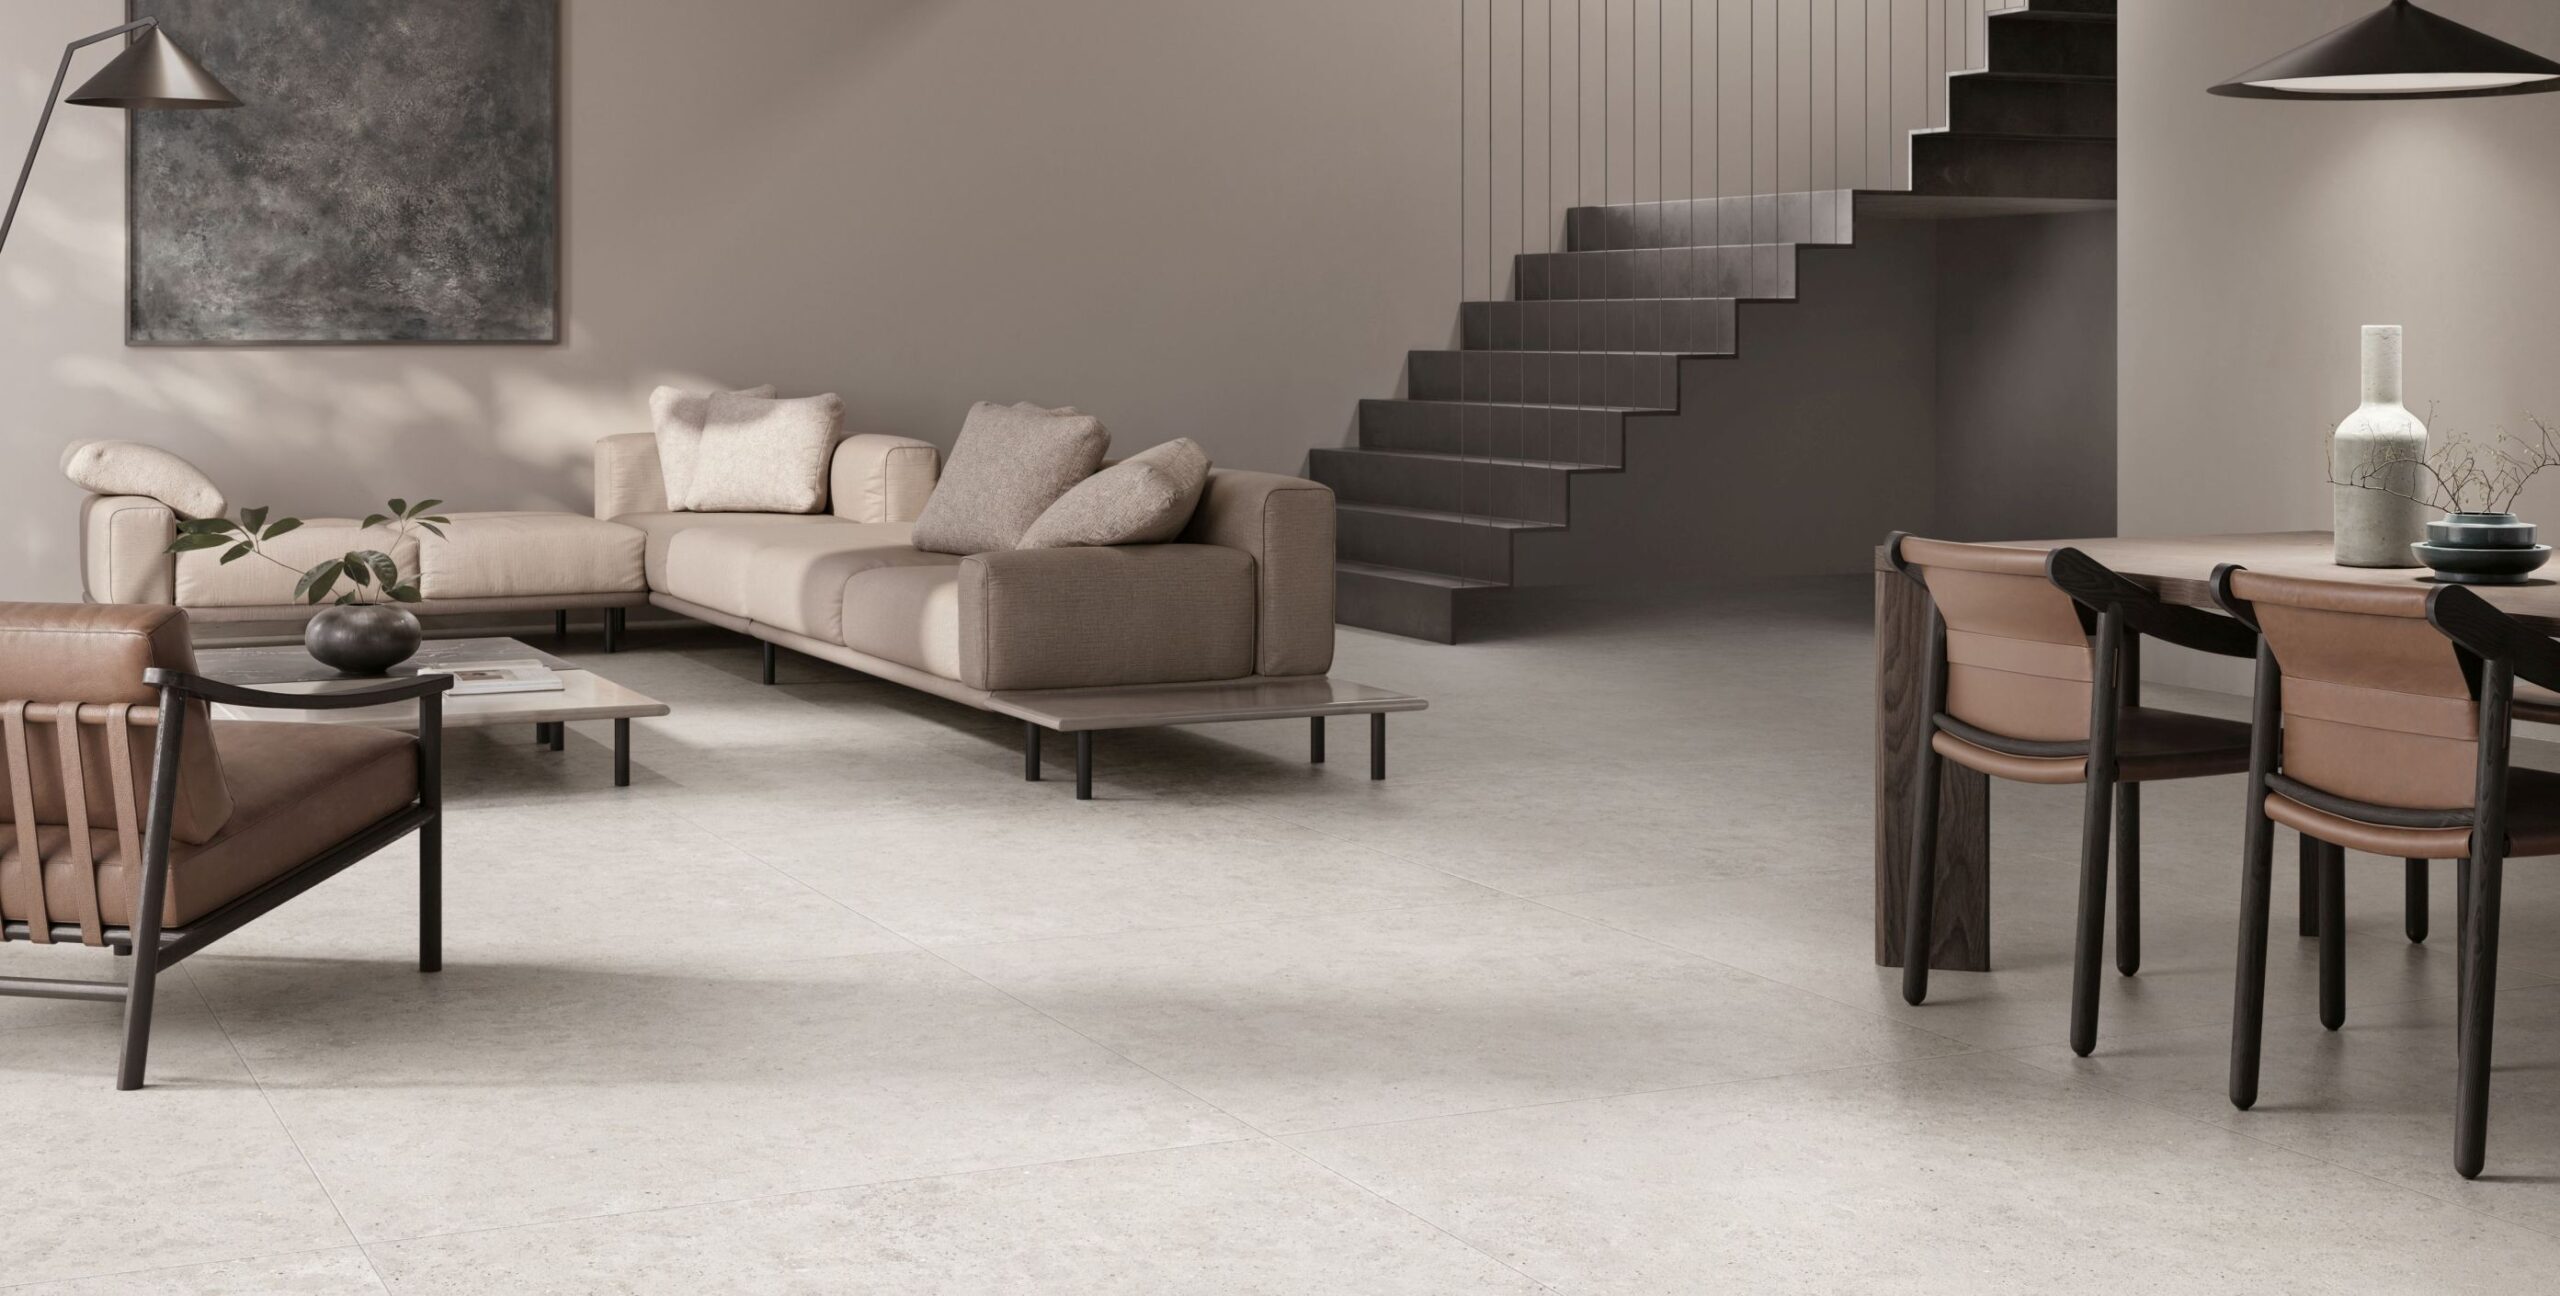
Porcelain tiles are strong, durable and low maintenance, making them perfect for high-traffic areas. They handle Gauteng’s temperature swings without cracking and are available in a wide range of designs and styles to match any décor.
Wood-look tiles
Wood-look tiles give the warm aesthetic of timber without the maintenance issues caused by fluctuating temperatures.
Polished ceramic tiles
Ceramic tiles are affordable, easy to clean and ideal for kitchens and bathrooms. Their water-resistant properties make them a practical option for busy family homes.
Gauteng homes often lean toward modern finishes with neutral colours and sleek designs, making these top tile choices both practical and stylish.
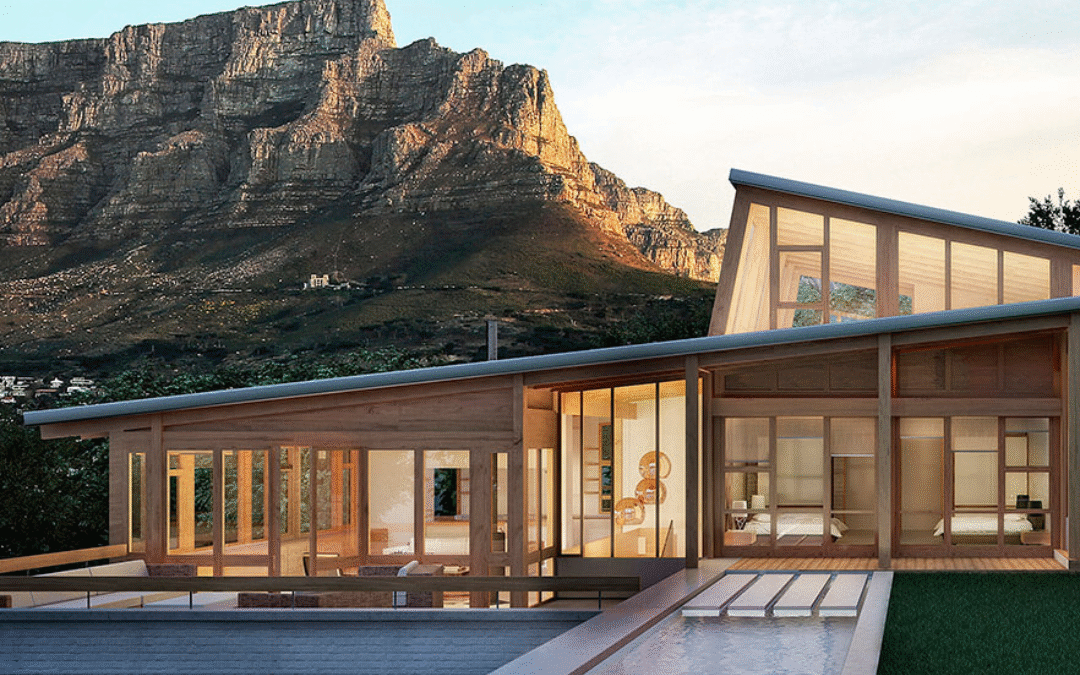
Top Tile Choices for Homes in Cape Town
Cape Town’s coastal climate brings a mix of humidity, sea air and cooler winters. This means you need tiles that can stand up to moisture and remain slip-resistant.
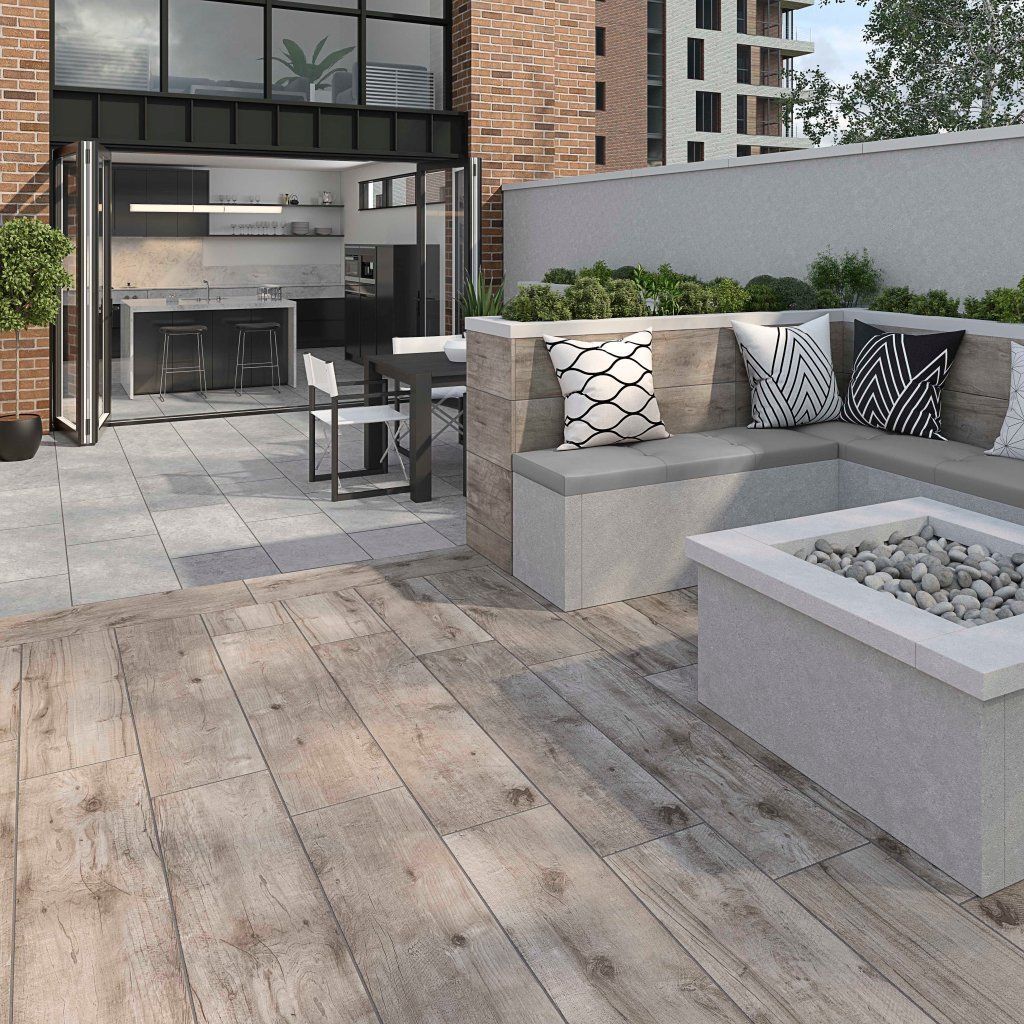
Slip-resistant porcelain tiles
With Cape Town’s rainy winters, non-slip tiles are essential for outdoor patios, pool areas and even bathrooms to prevent accidents in damp conditions.
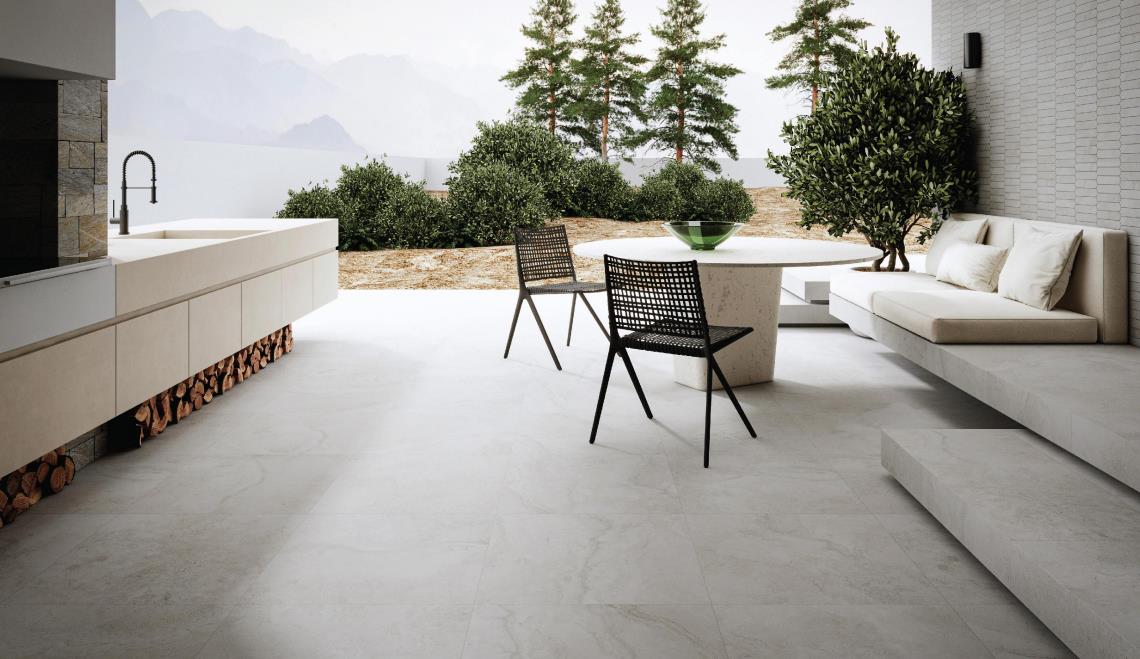
Natural stone tiles
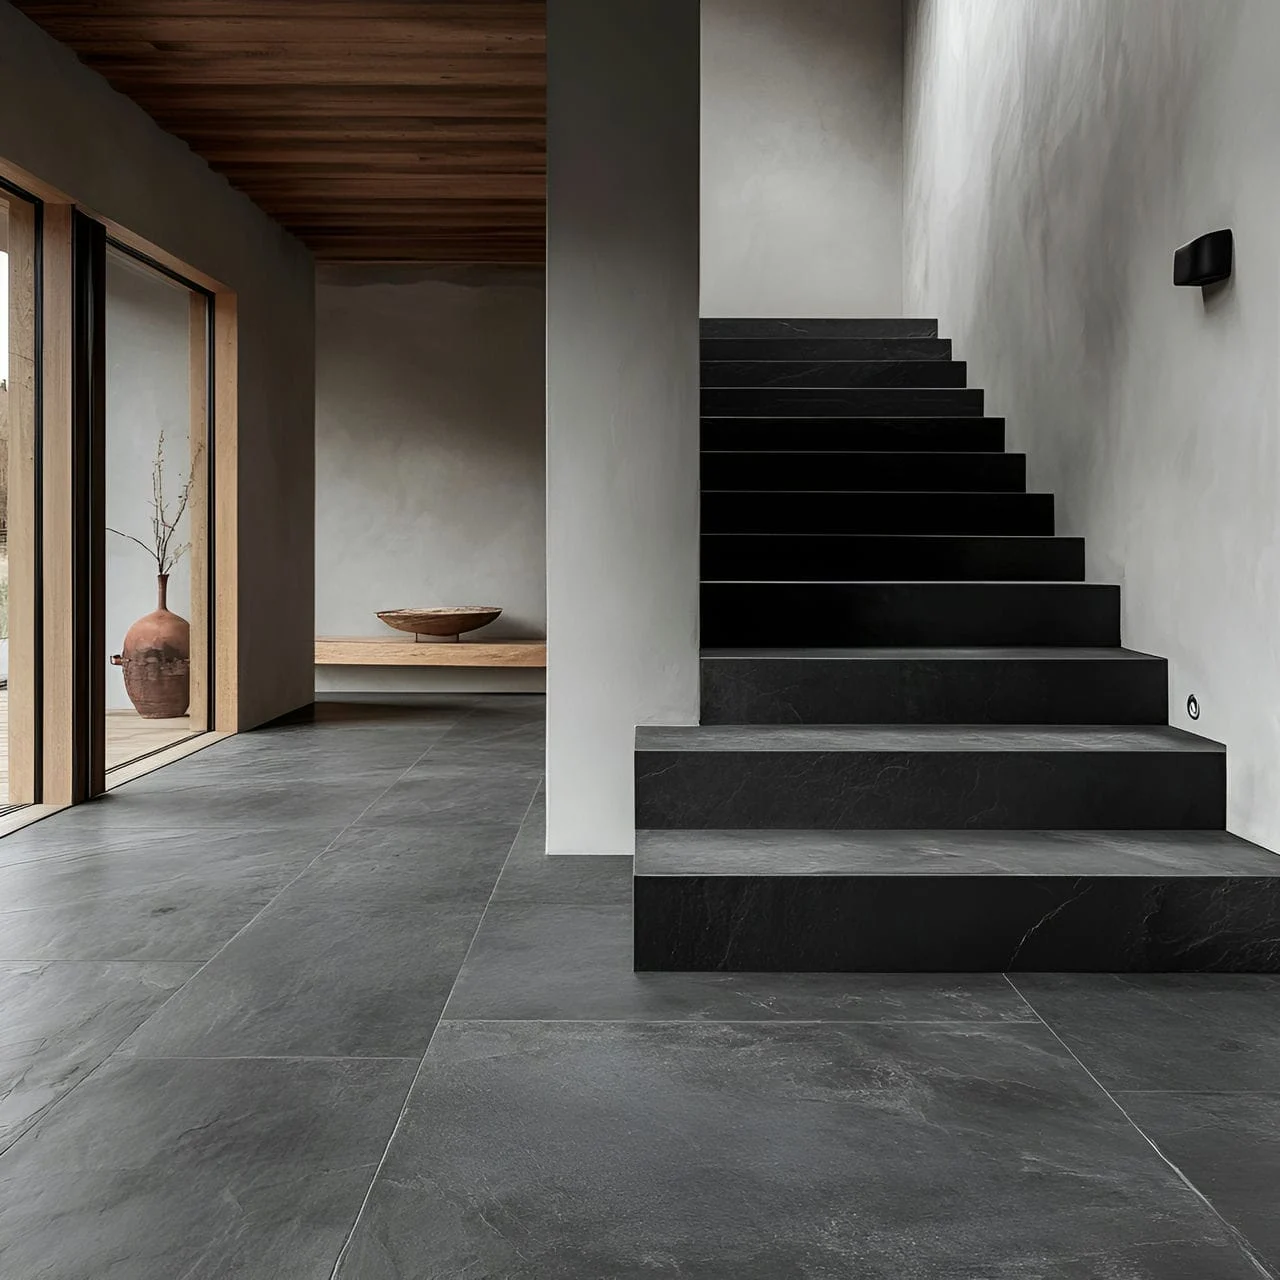
Natural stone tiles like slate, travertine or granite or concrete look tiles work beautifully in Cape Town’s coastal style homes, offering a textured, organic look that fits the natural surroundings. They’re perfect for adding a touch of luxury to bathrooms, outdoor patios and living spaces. However, it’s important to note that they may require sealing for protection against moisture.
Matt finish ceramic tiles
Matt ceramic tiles reduce glare from the strong Cape sunlight and are great for open-plan spaces with large windows.
Cape Town interiors often reflect a relaxed coastal vibe, so these top tile choices combine functionality with that light, airy style.
Choosing the Right Tile for Your Home
While both regions share the need for durable, attractive flooring, the best way to choose is to consider your home’s environment and your lifestyle. For Gauteng homes, durability and temperature resistance are key. For homes in Cape Town, the focus should be on moisture resistance and a design that complements your home’s coastal charm.
Choosing the right tiles is more than just about looks. It’s about finding the perfect balance between beauty, durability and climate suitability. Whether you live in bustling Gauteng or scenic Cape Town, these top tile choices will help you create a home that’s as practical as it is stylish.
Visit one of our showrooms in Johannesburg, Cape Town or KwaZulu-Natal to explore the best options for your home and get expert advice tailored to your needs.
blog, floors, walls
Renting your space doesn’t mean you have to live with dull floors or outdated kitchen splashbacks. With the right tiles and clever workarounds, you can refresh your home without upsetting your landlord or risking your deposit. Whether you want to add a bit of personality to your bathroom, kitchen or living area, there are renter-friendly tile solutions that let you style your space your way.
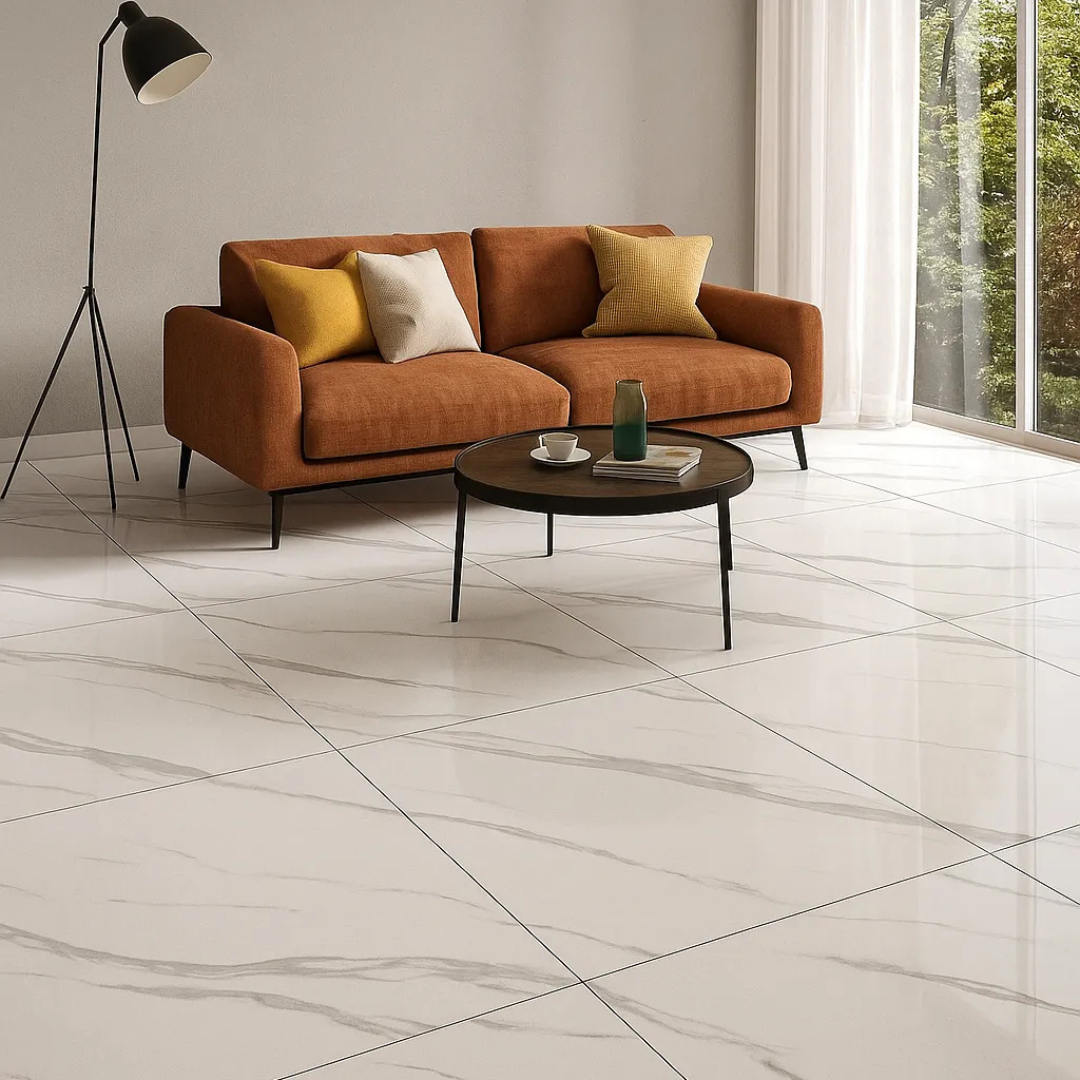
Table of Content:
Why Renters Need Flexible Tiles & Flooring Solutions
Peel-and-Stick Tiles: Your Best Friend
Removable Vinyl Tiles for Floors
Tile Rugs: A Trendy, Damage-Free Fix
Temporary Grout Pens and Tile Stickers
Speak to the Experts
Why Renters Need Flexible Tiles & Flooring Solutions
Unlike homeowners, renters need design choices that are easy to install, temporary and non-damaging. Most landlords won’t allow permanent changes like ripping out existing tiles or using adhesives that can’t be removed. That’s where peel-and-stick tiles, removable vinyl flooring and other non-permanent options come in.

These alternatives offer a smart way to personalise your space while still keeping things simple when it’s time to move out.
Peel-and-Stick Tiles: Your Best Friend
Peel-and-stick tiles are one of the most popular choices for renters. They’re affordable, easy to install and don’t require any tools. You simply peel off the backing and stick them directly over existing tiles or smooth surfaces.
You can use them for:
Kitchen backsplashes
Bathroom walls
Accent walls in the living room
Look for moisture-resistant peel-and-stick options if you’re using them in humid areas like bathrooms.
Removable Vinyl Tiles for Floors
Vinyl tiles are perfect for covering up tired or stained floors. You’ll find them in a range of designs, from realistic wood grain to bold geometric patterns. They’re thicker and more durable than peel-and-stick wall tiles, and most don’t need adhesive – they simply float over the existing floor.
These are ideal for:
Rental kitchens
Bathroom floors
Studio apartments with worn-out flooring
Bonus: many vinyl tiles are waterproof and easy to clean, making them as functional as they are stylish.
Browse our range of Vinyl Flooring
Tile Rugs: A Trendy, Damage-Free Fix
If you’re dealing with carpet or uneven flooring, a tile rug might be your best bet. These are made using interlocking vinyl or foam tiles that mimic ceramic patterns but don’t require adhesives. They’re especially popular for creating a tiled “zone” in open-plan spaces.

Think entryways, under coffee tables or even as a stylish solution under your home desk setup.
Temporary Grout Pens and Tile Stickers
Already have tiles but hate the colour or grout lines? Tile stickers and grout pens can breathe new life into old installations. These are renter-friendly hacks that let you transform the look of your tiles without removing them.
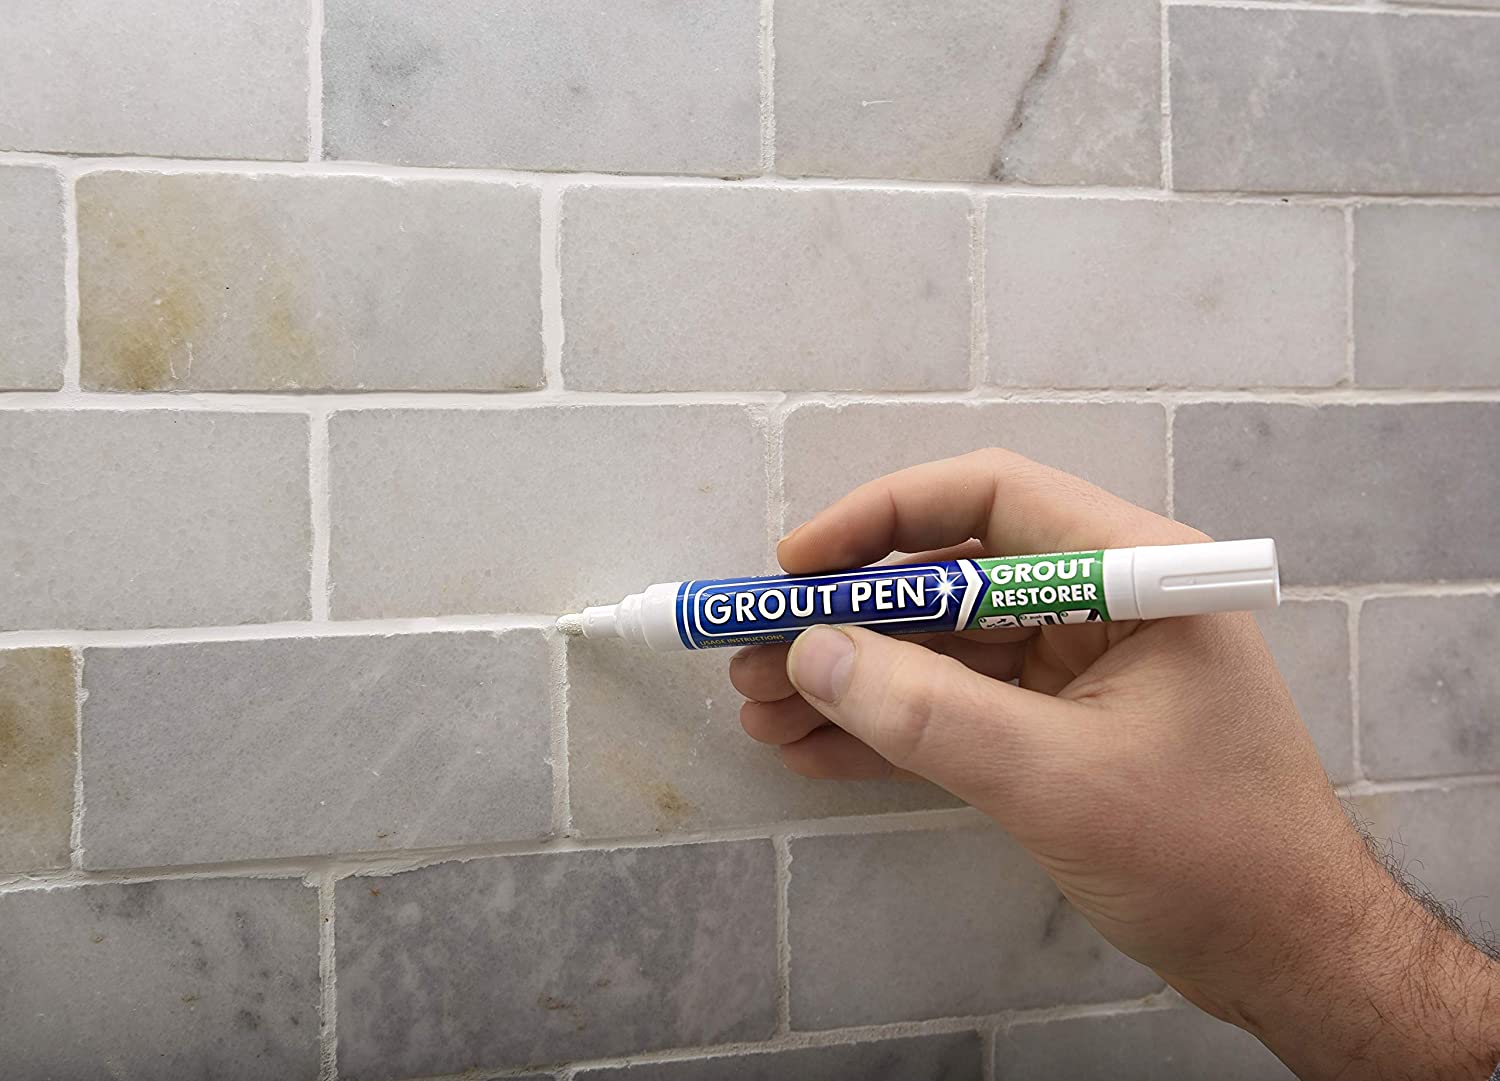
Use grout pens to freshen up yellowed grout or match it to your style. Add tile stickers to individual tiles to create a custom pattern or pop of colour.
Important Tips Before You Begin
-
Always test a small area first to make sure the product comes off cleanly
-
Check your lease to confirm what’s allowed in terms of temporary updates
-
Save all original packaging so you can reverse the update before moving out if needed
Speak to the Experts
If you’re not sure which tile solution is right for your rental, pop into one of our showrooms in Cape Town, Johannesburg or Durban. Our team is happy to guide you through easy, stylish options that suit your space and your lease terms.
Ready to refresh your rental? Visit Tiletoria for smart tile solutions that are as flexible as they are beautiful. Whether you’re after removable tiles, design advice or inspiration, we’ve got what you need.
bathroom, blog, floors, kitchen, walls
When done right, statement tiles can elevate your home from ordinary to unforgettable. But there’s a fine line between bold and overwhelming. If you’re dreaming of eye-catching patterns or vibrant colours, the key is balance.
In this blog, we’ll explore how to use statement tiles in a way that feels stylish, not chaotic.
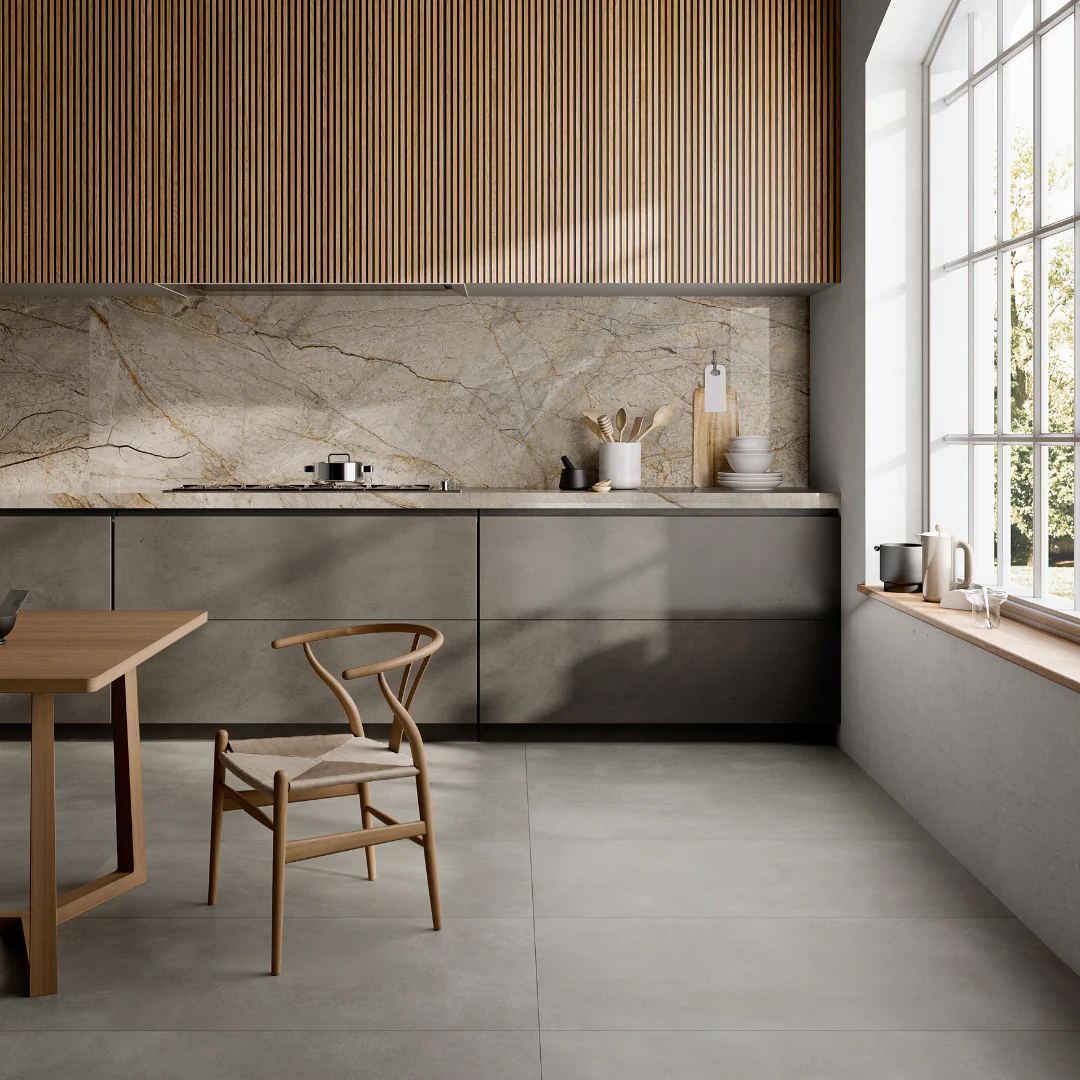
Table of Content:
What Are Statement Tiles?
Choose One Focal Point
Pair with Neutrals
Stick to a Colour Palette
Use Statement Tiles in Smaller Areas
Balance Patterns with Solids
Let Lighting Do the Talking
What Are Statement Tiles?
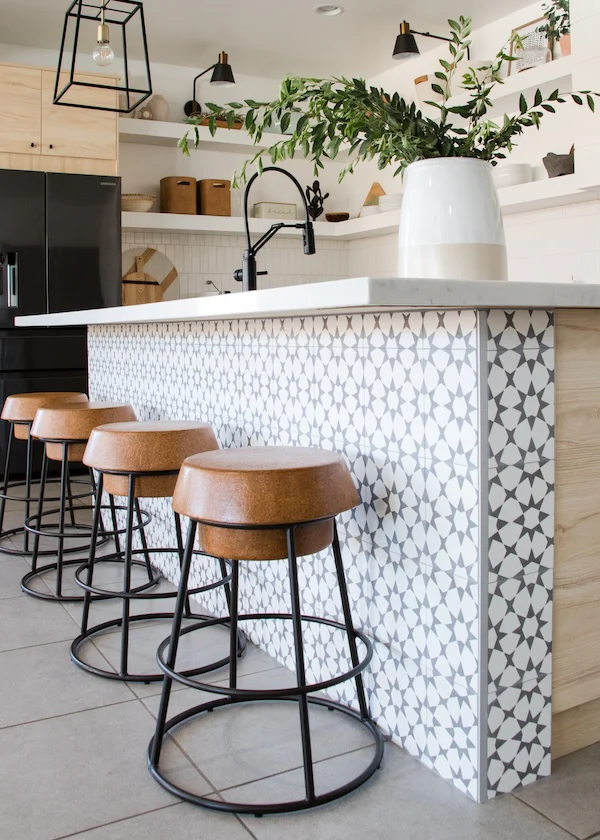
Statement tiles are tiles that draw attention. Think bold patterns, striking colours, unique shapes or textured finishes. They’re designed to be the focal point of a space — whether it’s a bathroom wall, a kitchen splashback or an entryway floor.
Choose One Focal Point
ribbons shiny 300 x 600 mm
The golden rule? One statement at a time. If you go big on the floor, keep your walls neutral. If your kitchen splashback steals the show, choose simpler cabinets and counters. This keeps the space feeling intentional rather than cluttered.
Try this: Use a bold patterned tile behind your stove or basin, and pair it with plain tiles around it. This lets the statement tile shine without competing for attention.
Pair with Neutrals
Statement tiles love a neutral companion. Whites, greys, beiges and earthy tones help tone things down and give your eyes a place to rest. By pairing your bold tile with a subtle backdrop, you let its beauty stand out without overpowering the space.
Bonus tip: Natural materials like wood or matte finishes can complement bold tiles beautifully.
Stick to a Colour Palette
Even the loudest tile can work if it fits your overall colour scheme. Whether you’re working with cool tones, warm hues or monochrome, make sure your statement tile ties in with other elements in the room — like your cabinetry, textiles or accessories.
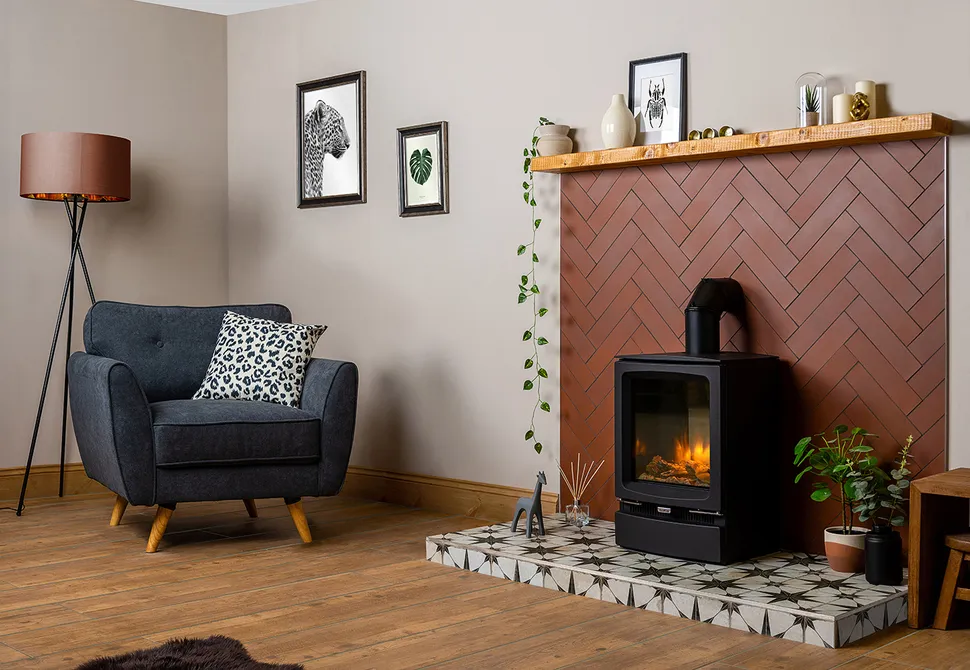
Use Statement Tiles in Smaller Areas
Sometimes less really is more. Think about using statement tiles in smaller zones like:

A fireplace surround
These pockets of personality are perfect for playing with bold design without going overboard.
Balance Patterns with Solids

If your tile has a busy design, balance it with plain, solid colours. On the other hand, if your statement tile is a single bold colour, balance it with simple textures or shapes. This helps maintain a sense of calm and structure.
Let Lighting Do the Talking
Lighting can either soften or highlight a statement tile. Soft, ambient lighting can make a bold tile feel more inviting. On the flip side, directional lighting can spotlight textures and patterns for extra drama — just make sure it suits the mood you’re after.
Statement tiles are a brilliant way to bring life and personality into your space. With the right planning, you can enjoy bold, beautiful design without overwhelming the room. Start small, choose your focal point and let your tiles do the talking.
Need help choosing the perfect statement tile?
Visit your nearest Tiletoria showroom or explore our curated tile collections online — we’ve got bold options for every taste and style.


