blog, floors, how to articles, woodlook
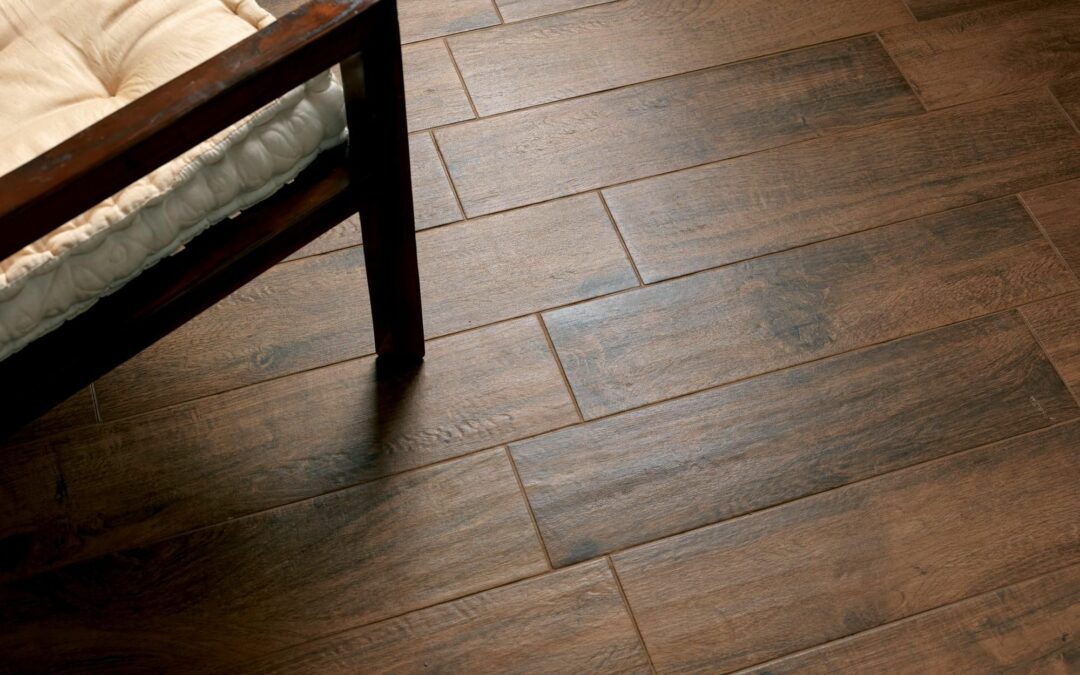
Wood-look tiles bring warmth and nature into our space, with their rich textures and rustic feel. They are a popular choice because they provide a neutral colour pallet from which to design any space desired. There is more hesitation towards using natural hardwood floorings, as they pricey, not eco-friendly, and have the ability to scratch and stain. Wood look ceramic and porcelain tiles combine the natural beauty of wood with the practicality, durability and affordability of tiles.

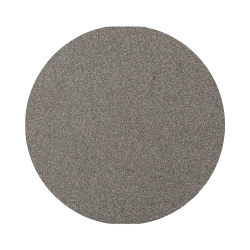
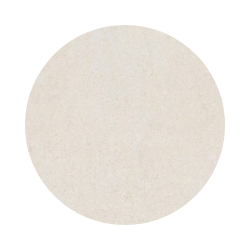
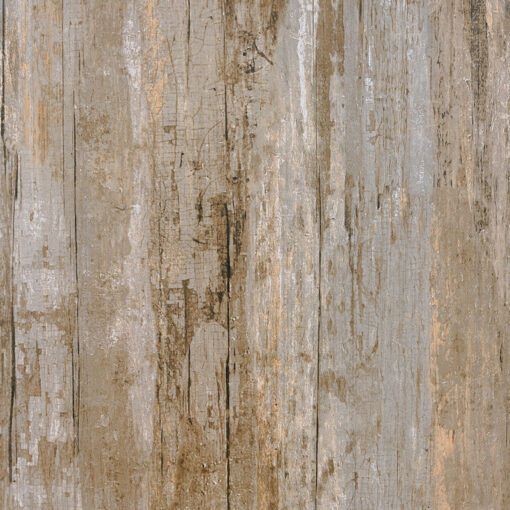
Left: Nebraska Meadow Porcelain Tile
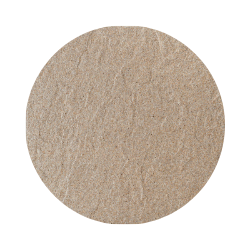
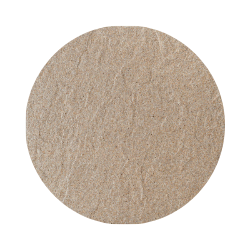
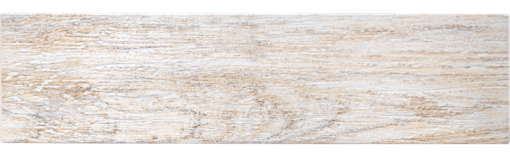
Left: Nebraska Tundra Porcelain Tile
Lets first get an understanding of how wood-look tiles are made
Professional grade ink-jet printing technology is used, which prints the look of wood onto the surface of ceramic or porcelain tiles. This is how these tiles look exactly like wood, mimicking the wood grain and coming in an array of different colours, textures and finishes.
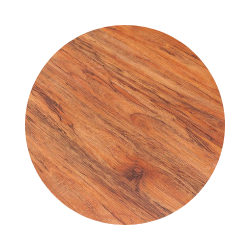
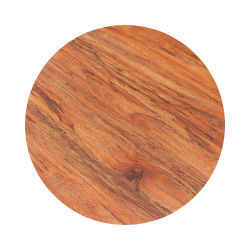
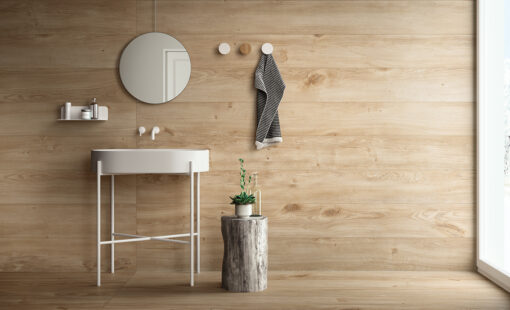
Above: Arteak Pino Porcelain Tile
Where to use wood-look tiles
Wood look tiles are suitable for both walls and floors. Due to wood look tiles being porcelain and ceramic tile bases, these offer the advantage of being moisture and water-resistant, making them ideal for all areas of a home including; outdoors, bathrooms and kitchens.
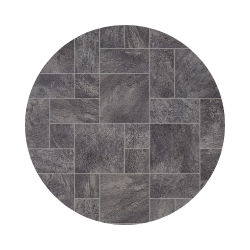
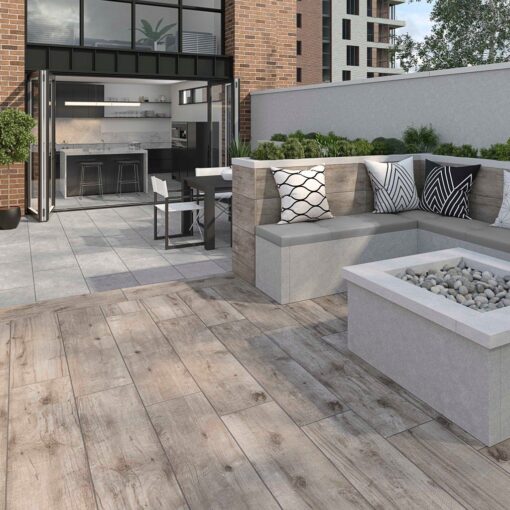
Above: Komi Natural Rectified Woodlook Tile
A matt glazed finish offers a more slip resistant installation. Porcelain wood look tiles are ideal for the patio, as porcelain is more resistant to water than ceramic. They also have the aesthetic appeal of wood without the needed maintenance, such as sanding, and sealing required with real wood decking.
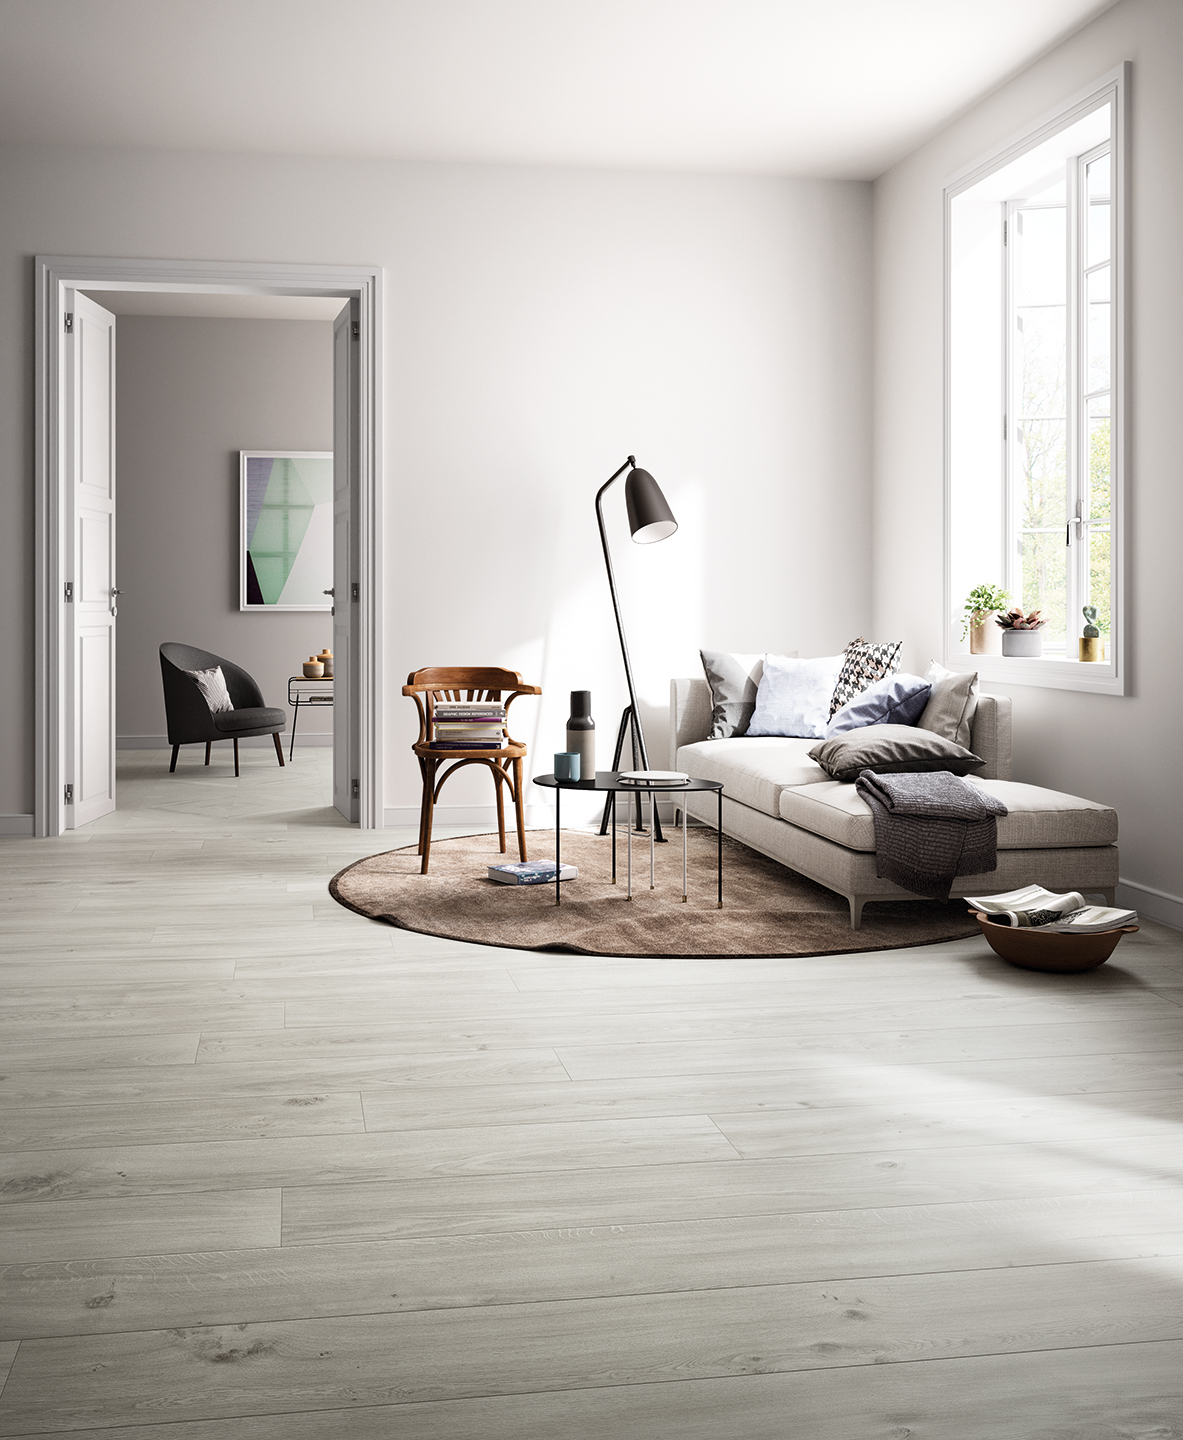
A unified look in your home is easy to achieve, by laying the same wood look tiles throughout. There’s no need to confine it to wet areas like kitchens and bathrooms, as it can work equally well in the living room or bedroom.
Now we will look at some inspiration on how to style and incorporate wood-look tiles into your home:
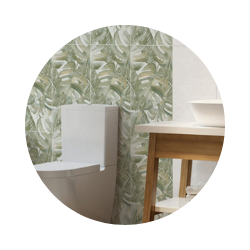
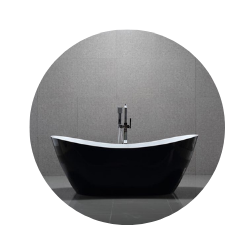
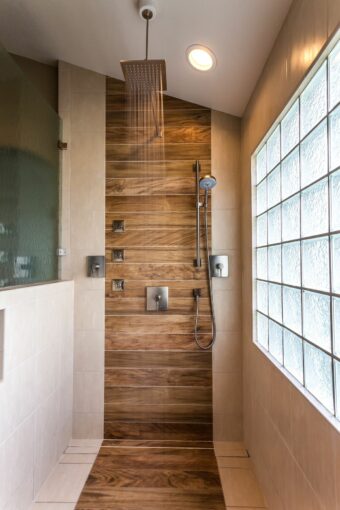
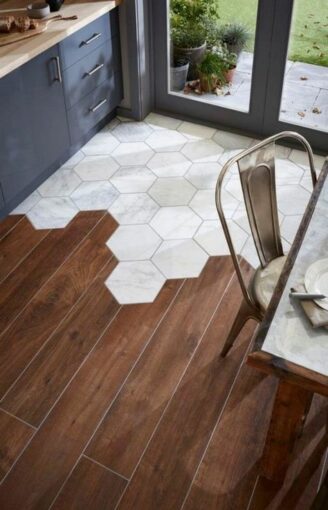
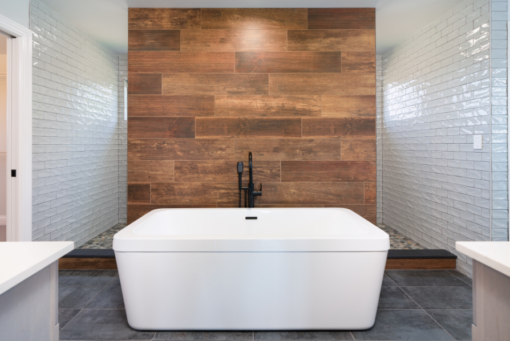
Wood look ceramic tiles can be used on both the floor and an accent wall to create a dramatic look and make a bold statement.
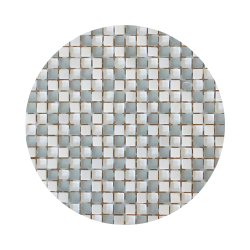
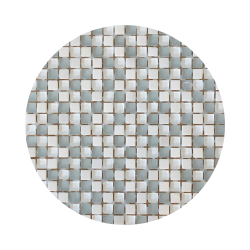
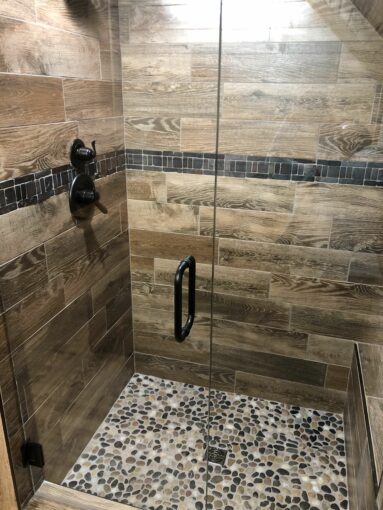
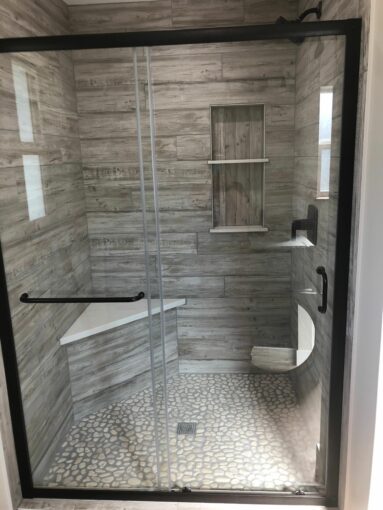
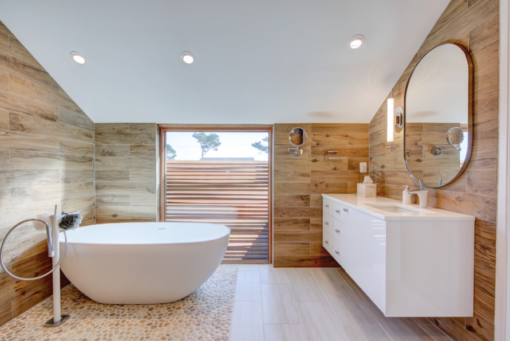
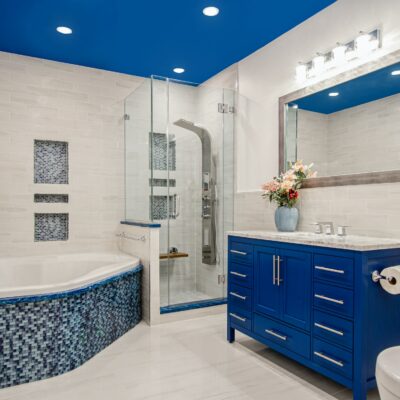
Working with tile means that you can very easily mix and match different tile sizes or types to create an interesting space, for example these two bathrooms below where wood look tiles are incorporated with pebble mosaic tiles.
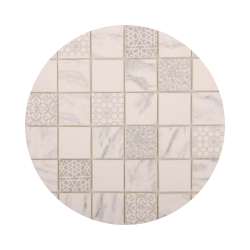
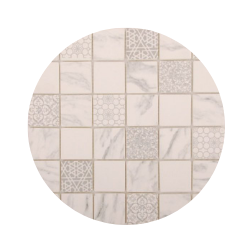
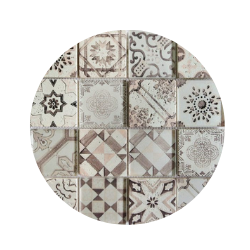
For an on-trend look, wood-effect tiles can be incorporated with decorative tiles. Colours and textures that contrast, are a perfect pairing.
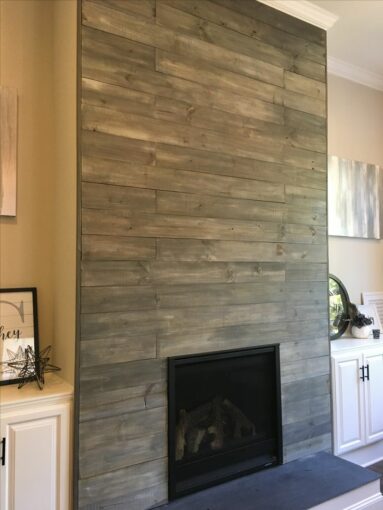
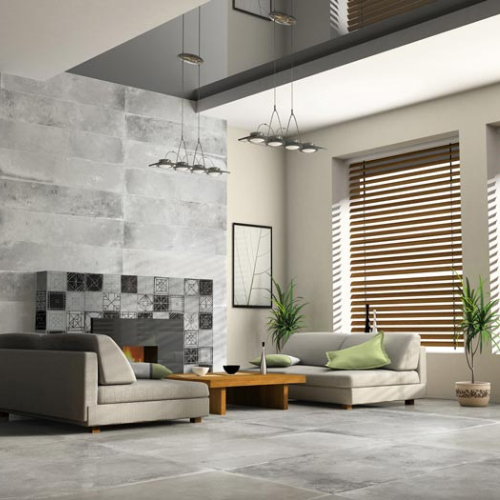
Creating a fireplace feature using wood look tiles is a great way to add warmth to your space and to turn a fire place into an attention-grabbing design feature in the living room.
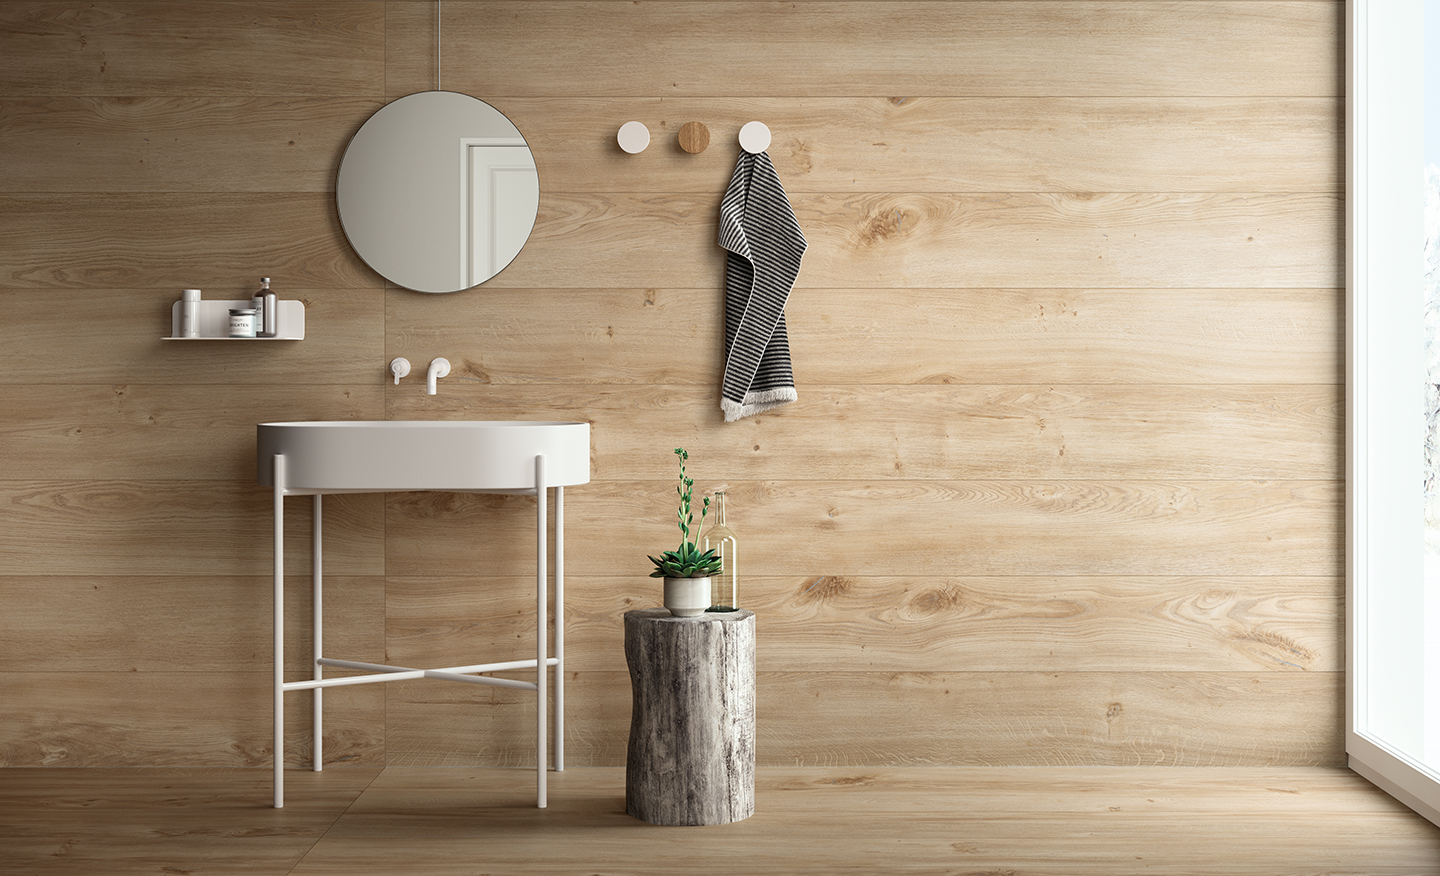
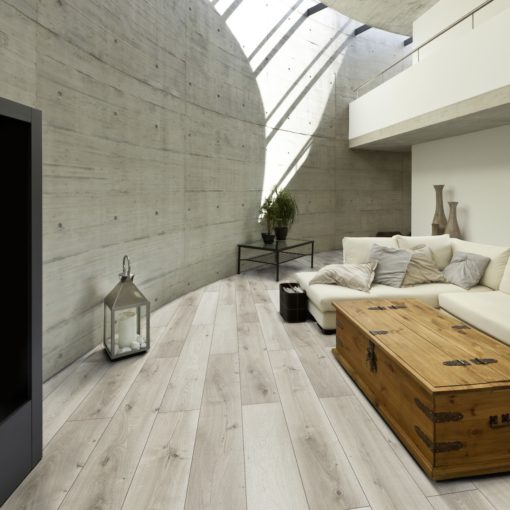
Using wood look tiles in a room does not mean you have to use the same tiles throughout. Different shades of wood look tiles can be incorporated into one space as pictured below, with a more earthy tone used on the walls and a lighter ash tone used on the floors.
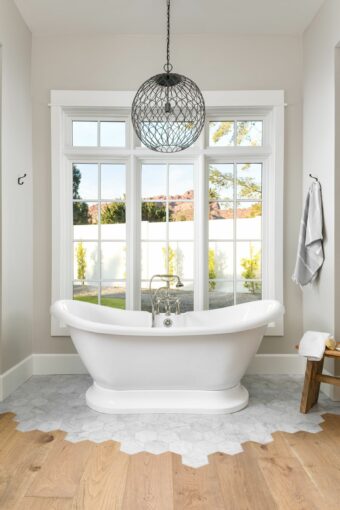
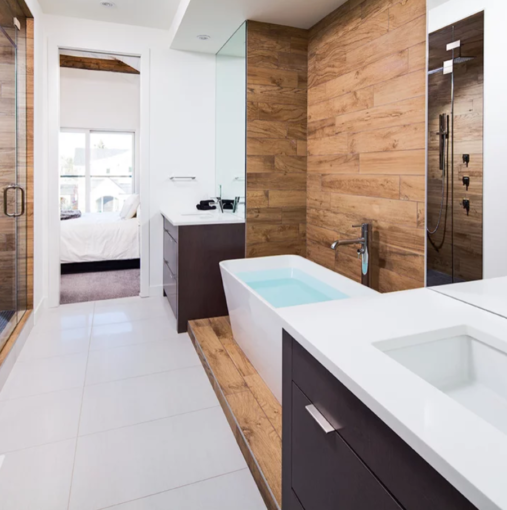
In the below pictures we can see how wood look tiles have been used to create statement walls in the bath and shower sections of the bathroom only. This is a great way to draw attention to a specific space in your bathroom, give your space that extra pop, as well as a trendy but homey feel.
The availability of wood-look tiles has opened an array of design options. With wood-look tiles, you get the best of both worlds; the warmth of wood without the maintenance or other challenges of using real wood.
You can learn more about wood look tiles from the experts by visiting one of Tiletoria’s showrooms.
blog, commercial blog, floors, walls
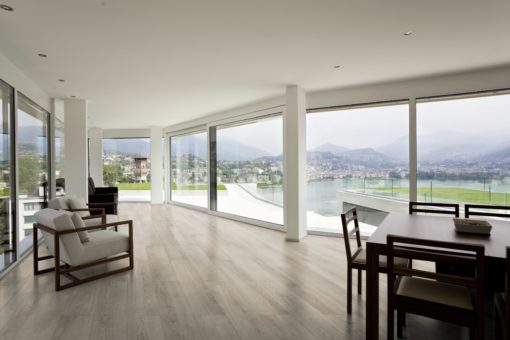
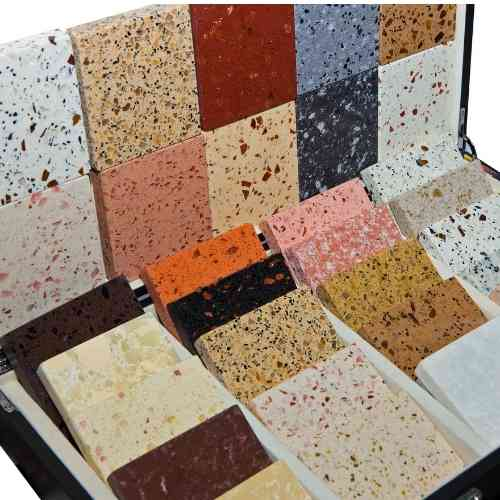
Choosing the size of the tiles for residential space is a critical design decision since it affects how large the room is perceived to be as well as setting the mood of the place… cozy, cool, spacious, and busy? If your customer has a small space or a large space, what are the best sizes to choose from? Should you advise smaller tiles to marry with the size of a tiny space? Will large tiles automatically make things look larger? It’s not entirely cut and dried but it depends upon your circumstances and the room itself.
While it will certainly help in deciding by offering samples, sometimes it’s difficult for a customer to picture exactly what those tiles will look like in the home. The amount of natural light, the location of their fixtures and fittings, ceiling heights, and available wall space- all play a role in how the finished space will look. It’s generally good advice to purchase tiles of a size relative to the amount of space. So, a really large area, say an open plan kitchen or dining room, can probably handle really large format tiles or planks which will lengthen the room in the direction of the planks (like the image above). If it’s a medium size bathroom, a medium-sized tile will generally be suitable. The tiniest of guest bathrooms may look best with smaller, even mosaic-style tiles.

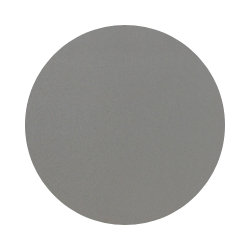
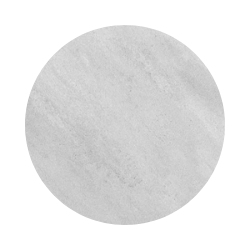
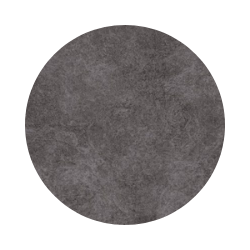
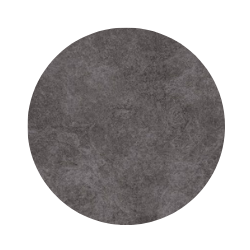
Right: adagio light grey porcelain
However, one thing to bear in mind is grout lines, as these will make an impact on the final result and whether the space will look smaller or larger. The more grout lines you have, the busier your wall or floor will look and this may tend to make a smaller space look even more restricted. It may be good to go with a medium-sized tile instead to reduce that grid-like appearance that results from grout lines and give the illusion of a larger space.
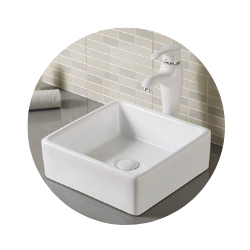
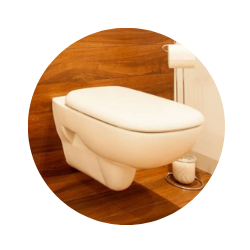
On the other hand, a smaller bathroom, for instance, might have some difficult angles which means, practically speaking, a larger tile is going to need more cuts to fit around those items. If the toilet is located quite close to the shower, for instance, those tiles running along both may require more work than using a smaller tile that will fit better around them.
One thing that will make a room look larger is to use a grout color that is similar to the color of the tiles. This will then make that grid appear less noticeable and the tiles will look more seamless.
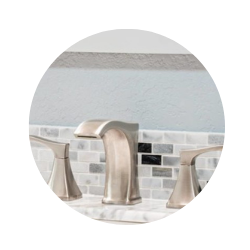
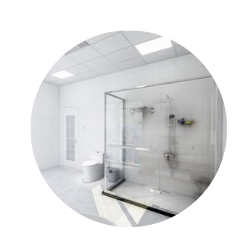
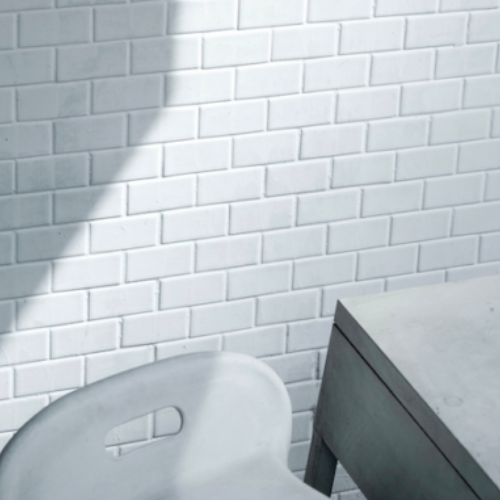
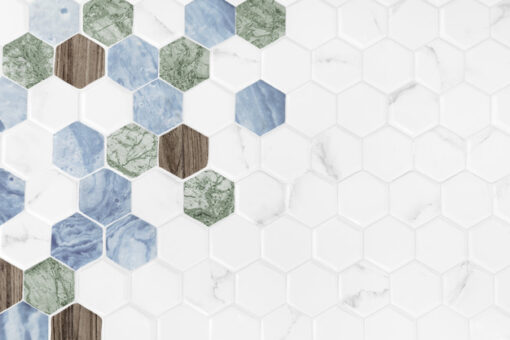
 One area you can usually get away with smaller tiles is inside a shower cubicle. More grout lines mean better traction and less slipping, so choosing a small or mosaic tile for this area with a larger tile in the rest of the space is a good idea.
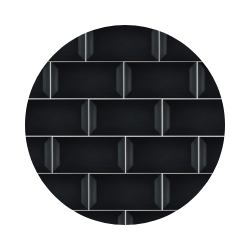
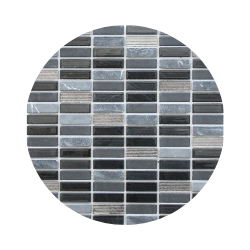
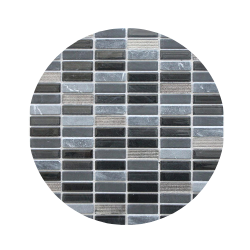
Left: brick glass mosaic
Whatever your project requires, our knowledgeable Tiletoria sales team are eager to assist you. Please contact your closest showroom to find the perfect size tiles for your renovation.

blog, floors, woodlook
Keen to switch up your flooring but not sure whether vinyls or laminates are most suitable for your space? Let’s explore some of their properties to help you decide which one is your perfect fit!
Vinyls vs Laminates:
Vinyl and laminate flooring offers a sleek and modern touch to your space.
Vinyl is made from plastic, making it extremely waterproof. This is ideal for rooms that are prone to moisture such as kitchens and bathrooms. Laminate floors are produced from synthetic materials that create the appearance of wooden floors, therefore offering the aesthetic of hardwood floors on a budget.
Vinyl is a better option if you’re looking for more water-resistant flooring, durability and a longer lifespan. Laminate flooring, on the other hand, is believed to be more stylish and comfortable on your feet, however, it is not waterproof and having water sit on these floors for a prolonged period of time can result in serious damage. It also does not last as long as vinyl flooring.
Both types of floors are simple to clean and maintain and require a simple sweep, mop or vacuum when necessary. If you require a form underlayment in order to install laminate flooring or choose to install vinyl sheeting, you may need to call on the help of professionals. However, both types of flooring come in planks that lock together, meaning it has the potential to be a DIY project as well.
Generally, laminate flooring can be found at a lower price point than vinyl flooring, however, both are considered budget-friendly compared to other types of flooring.
Shop our range of vinyls and laminates
blog, floors, walls
With the world becoming increasingly health conscious and equipped against germs, it’s important to consider all potentially harmful factors in your home to protect your family. Naturally, your flooring selection makes up a large portion of it. Rest assured, tiles are one of the most hygienic surfaces you could find!
Tiles are glass-like/ vitreous floors, making them an ideal wall and floor covering for places such as hospitals and commercial kitchens. They have a very low water absorption and are almost completely waterproof unlike other surfaces such as carpets, wood and even concrete. Naturally, water can contain viruses, bacteria, fungi, etc. The glass-like surface means virtually nothing can penetrate the surface and the low absorption rate means tiles do not absorb water, even from underneath.
Therefore, from a hygiene perspective, porcelain tiles (less than 0,5% water absorption) followed by glazed ceramic tiles (less than 3%) are the best. The key advantage of tiles is that they are quick and easy to clean as they can simply be disinfected and can withstand chemical and acids or alkalis. If you need advice on what to use to clean your tiles, check out our blog article called How To Clean Your Tiles.
The weak point, however, is in the tile grouting. Grout is more porous than tiles and is the inevitable starting point for fungal growth in particular. Grout, therefore, requires special attention; the fewer grout lines, the better. For this reason, large format tiles have become increasing popular as they require smaller grout lines.
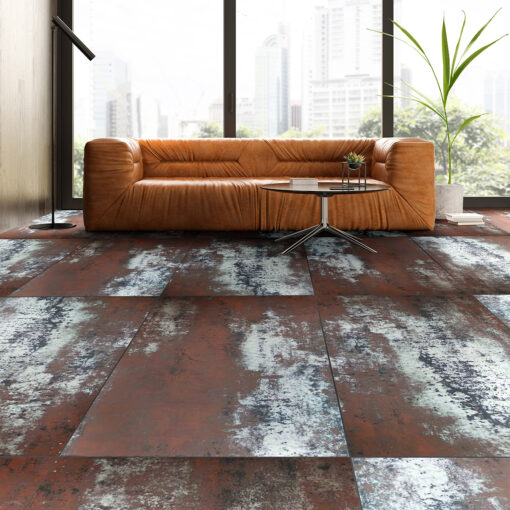
A large format tile is considered to be square or rectangular in shape with the length of at least one edge greater than 600mm (nominal) or a facial area greater than 3500cm² (nominal). You can check out our range of large format tiles on our website. Interior designers love the near-seamless effect this creates, and they’ve made good use of these sophisticated tiles in hotels, restaurants and shopping malls. Sometimes, they use bold and dramatic large format tiles to really make a statement like these unique metallic bronze matt porcelain (600 x 1200 mm) tiles.
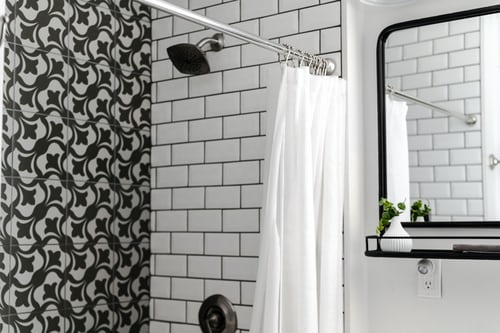
Since bacteria and fungi flourish in warm and wet conditions, bathrooms are particularly prone to these harmful germs. Ensure that wet areas in your home are dried/ ventilated after use to reduce the chances of germs flourishing and being spread.
Pop down to your nearest showroom to shop our range of beautiful porcelain and ceramic tiles.
blog, floors, how to articles, walls
How to clean your tiles for long term durability
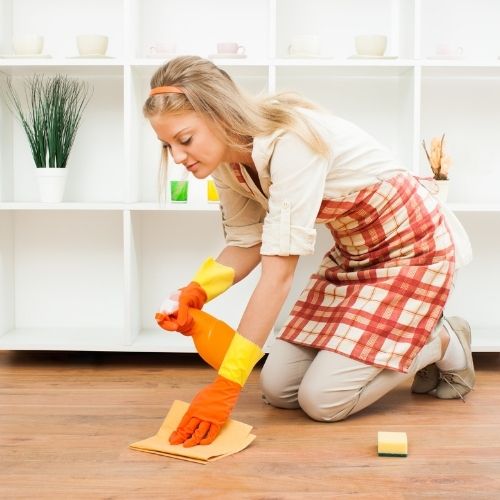
The tiles you choose to install in your home are an investment and require the necessary care as any other part of your space. Naturally, certain tile materials will require specific kinds of cleaning materials and techniques. Just as you wouldn’t use a scouring pad to wash plastic items, you wouldn’t use certain cleaning materials and detergents on certain tiles. Ideally, your tiles should be cleaned regularly (both wet and dry cleaning), at least once a week to keep your floors looking crisp. From keeping your floors stain-free to your grout looking fresh, here are the best ways to clean different types of tiles.
How To Clean Ceramic and Porcelain Tiles
Tiles made from these materials are rather durable and do not require a huge amount of effort to get into tip-top shape.
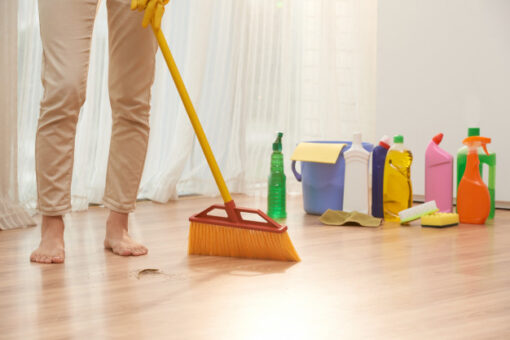
1. Sweep up any loose dirt and dust: Before doing any type of cleaning or polishing, make sure you’ve got an empty surface to work with. Sweep or vacuum your tiles right before you clean them (naturally, doing this well in advance means dirt and dust will pile up on your floors again). Be wary of the type of vacuum cleaning tool you use to make sure it won’t scratch the surface of your tiles.
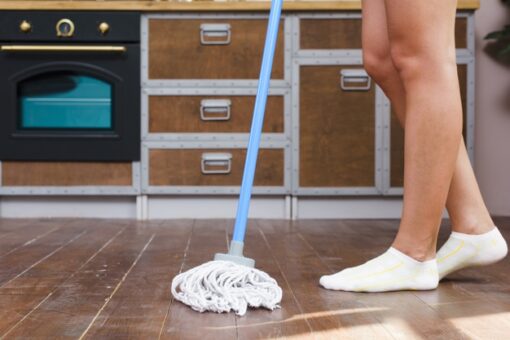
2. Choose the correct mop to work with: Clean your tiles with a mild detergent/ floor cleaning agent and opt for a chamois mop over a sponge one as sponge mops tend to push any dirt into the grout lines and make the cleaning process more of a challenge. Make sure your water is swapped out if dirty as dirty water will leave a cloudy film over your tiles.
3. Get rid of any soap residue: If your tiles still have any film or hazy residue on them even after washing, it’s most likely due to the soap or detergent you have been using. A simple way to remove this and keep your tiles looking shiny would be to use fresh lemon juice. This is only appropriate for use on ceramic and porcelain tiles but avoid using it on stone tiles as this could damage them.
4. Spot the stains: Should you encounter any pesky stains whilemopping, give it that area a little more TLC and use the most appropriate cleaner. In this case, using a smaller soft sponge and wiping by hand should be most effective.
5. Dry your tiles: Allowing your floors to air-dry will most likely result in them having water spots from the washing. Dry your tiles with a clean and lint-free cloth straight after washing by dragging it under your foot across them.
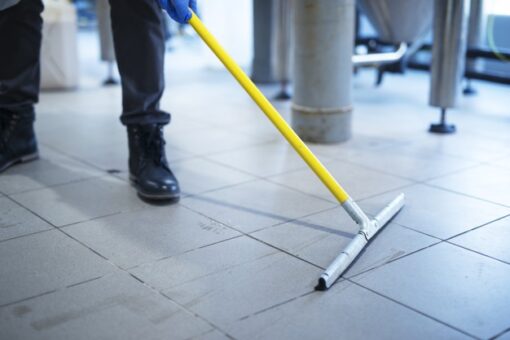
How To Clean Resilient Tile Floors
Resilient tiles are those made from materials like rubber, vinyl and linoleum which generally require less maintenance. Vinyl tiles are one of the easiest kinds to maintain as you can simply sweep or vacuum up any existing dirt without any hard labour required. Avoid using any abrasive cleaning materials on this surface as it will cause damage, simply mop with water and vinegar or a cleaning solution made specifically for vinyl floors.
How to Clean Tile Grout
Clean grout makes the biggest difference when it comes to keeping your tiles looking fresh. It easily traps dirt, meaning it doesn’t take much for your tile grout to become crusty. A simple way to keep it looking clean would be to create a quick, easy and inexpensive DIY paste with baking soda and water. Simply rub it into the stained grout, let it settle for a couple of hours then scrub it with a stiff nylon brush, perfect for getting into all the nooks and crannies. You can use a silicone-based grout that’s best applied 10-14 days after the grout it applied to keep the stains away.
If you need advice on how to clean your flooring, our friendly staff are always available to assist you at your nearest Tiletoria showroom.
blog, floors, walls
When purchasing tiles for your space, it’s advisable to always account for an extra 10% in the event of any future uses. There are many reasons you could need a replacement tiles such as cracks and discoloration, and unfortunately certain tiles stop being produced and you’ll have to find a suitable substitute if you wish to renew your tile/s.

Finding the best match for your existing tiles can be tricky, but with the following tips, you’ll be one step closer to making your space feel complete again.
1. Check your storage for extra tiles
When initially purchasing your tiles, you were most likely advised to get an extra 10%, so have a look around your home/ your storage areas for any extra tiles you may have forgotten. Places like your garage, tool-shed or even behind large appliances and cabinets are your best bet. The spars may have just been left behind by the tiler/ person who DIY-installed.
2. Get a sample piece matched
If you don’t have any luck finding spares of your original tiles, your next best option would be to take a sample of your tile to your local storeroom and have a salesperson check if there are any leftovers of the range or if there is another tile that would be a good match.
3. Scan the internet
If you have any information about the tile manufacturer or design number, do a little digging on the internet to see if you get your hands on some of the discontinued tiles. You never know what you might find.
4. Repurpose your existing tiles
If all of the other options don’t work out for you, try removing tiles from under permanent fixtures such as fridges, large cabinets, dishwashers, etc. where possible. If they can be carefully removed, it may be worth adding them to more visible spots where your tile has cracked.
Need to replace a discontinued tile? Visit your nearest Tiletoria showroom and one of our friendly sales assistants will help you along the way.