


Technical Tile Training: Part 1
Looking to learn more about tiling or brush up on your existing knowledge? Our technical cheat sheet has got you covered.
Different firing temperatures
Naturally, different tile finishes are “fired” at different temperatures in the kiln.
- Ceramic is “fired” in the kiln between 600 and 800 degrees.
- Porcelain is “fired” in the kiln between 1093 and 1300 degrees.
Porcelain tiles reach vitrification at 1093˚c in accordance to EN/I.S.O. standard.
- At lower temperature tiles would be rated as ceramic.
- A tile may be called porcelain if it absorbs less than 0.5% water by volume as per ISO standard.
- In terms of the South African Standard SANS 13006:2003, a “Porcelain Tile” with a water absorption around 1% falls into the “Glazed Porcelain” category “Bib”.
Why Fire the clay?
- The process of firing drives out water and hardens the clay while transforming some of the molecules in the paste into a form of low-order glass. The molten glass fills up the spaces between the clay particles.
- The process is known as vitrification, which is a name for turning something into glass.
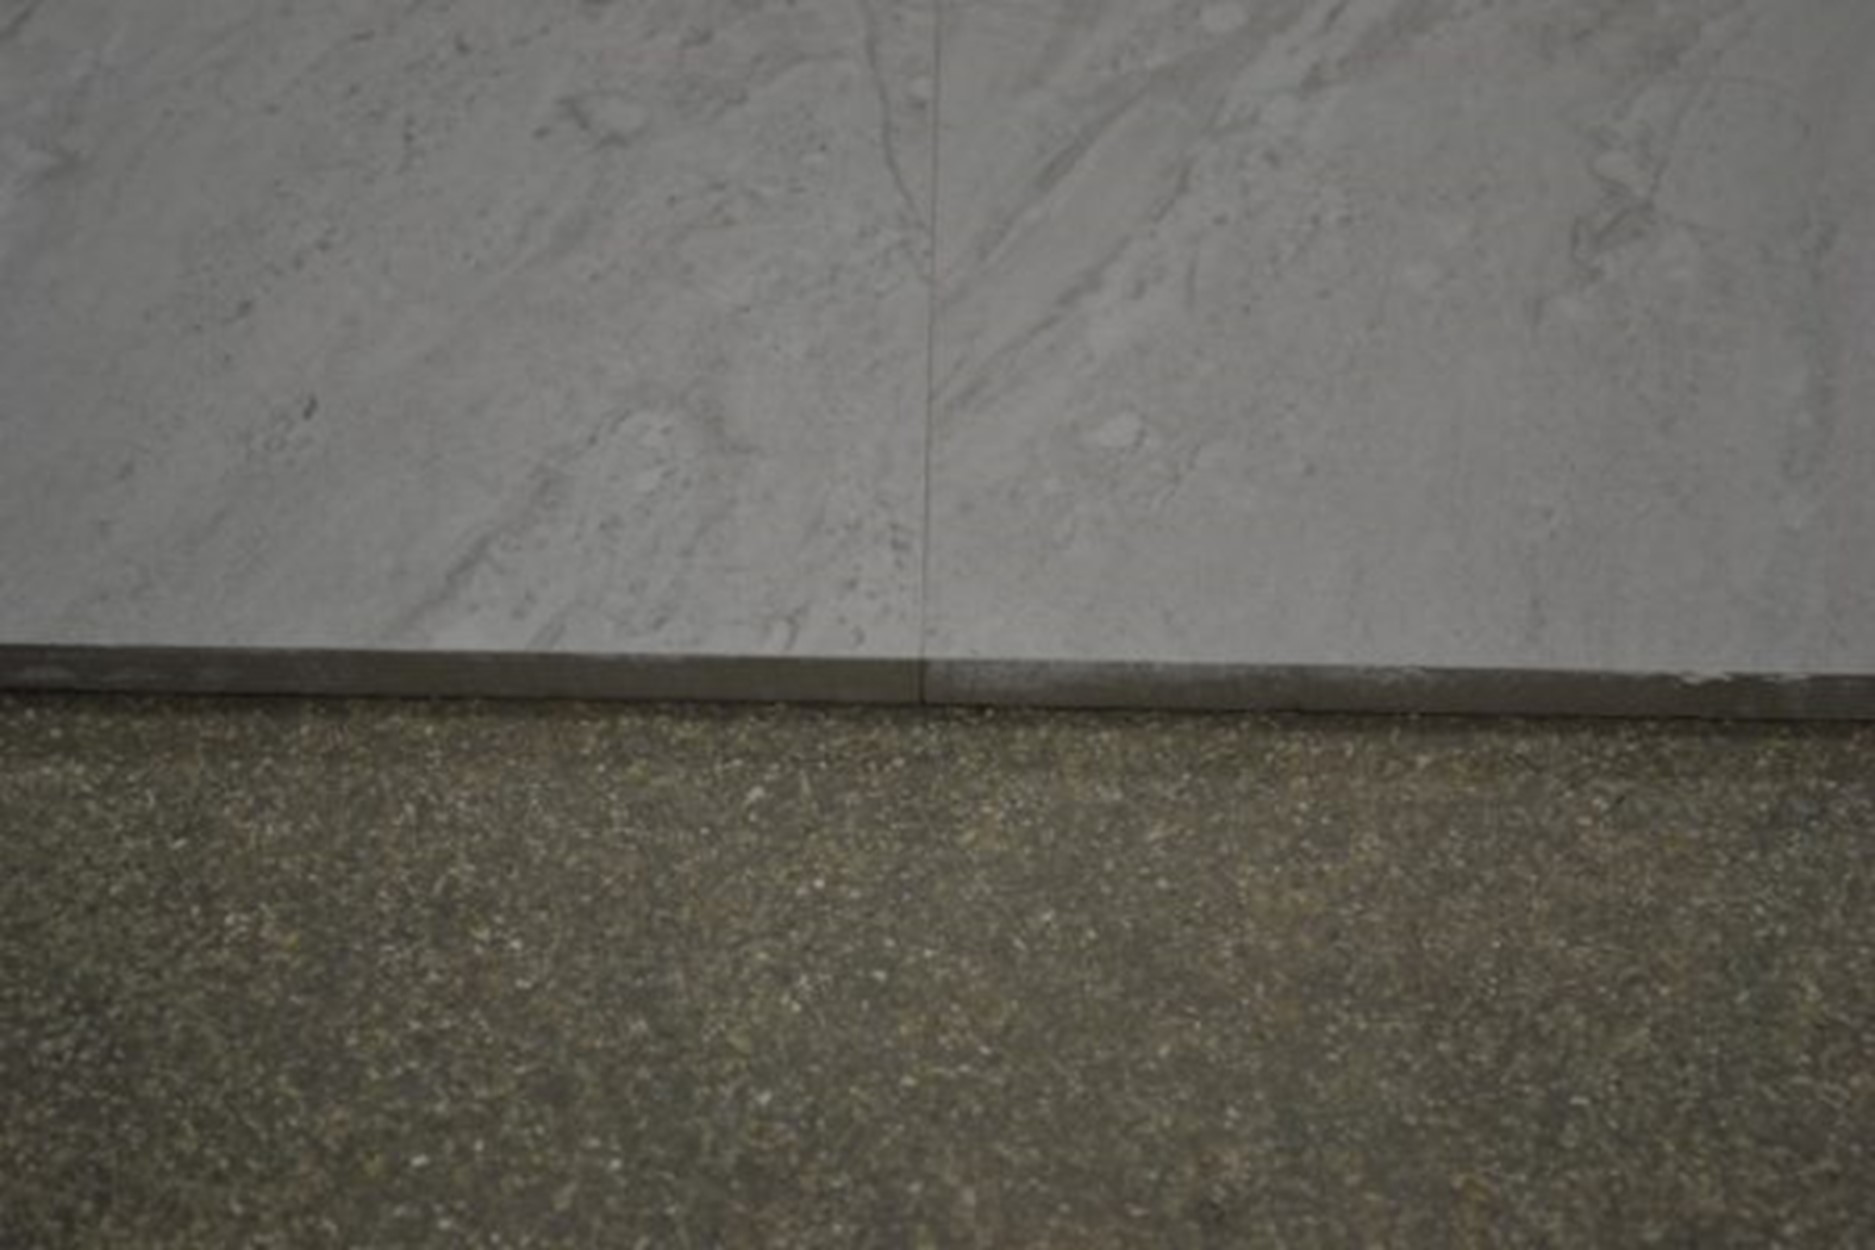
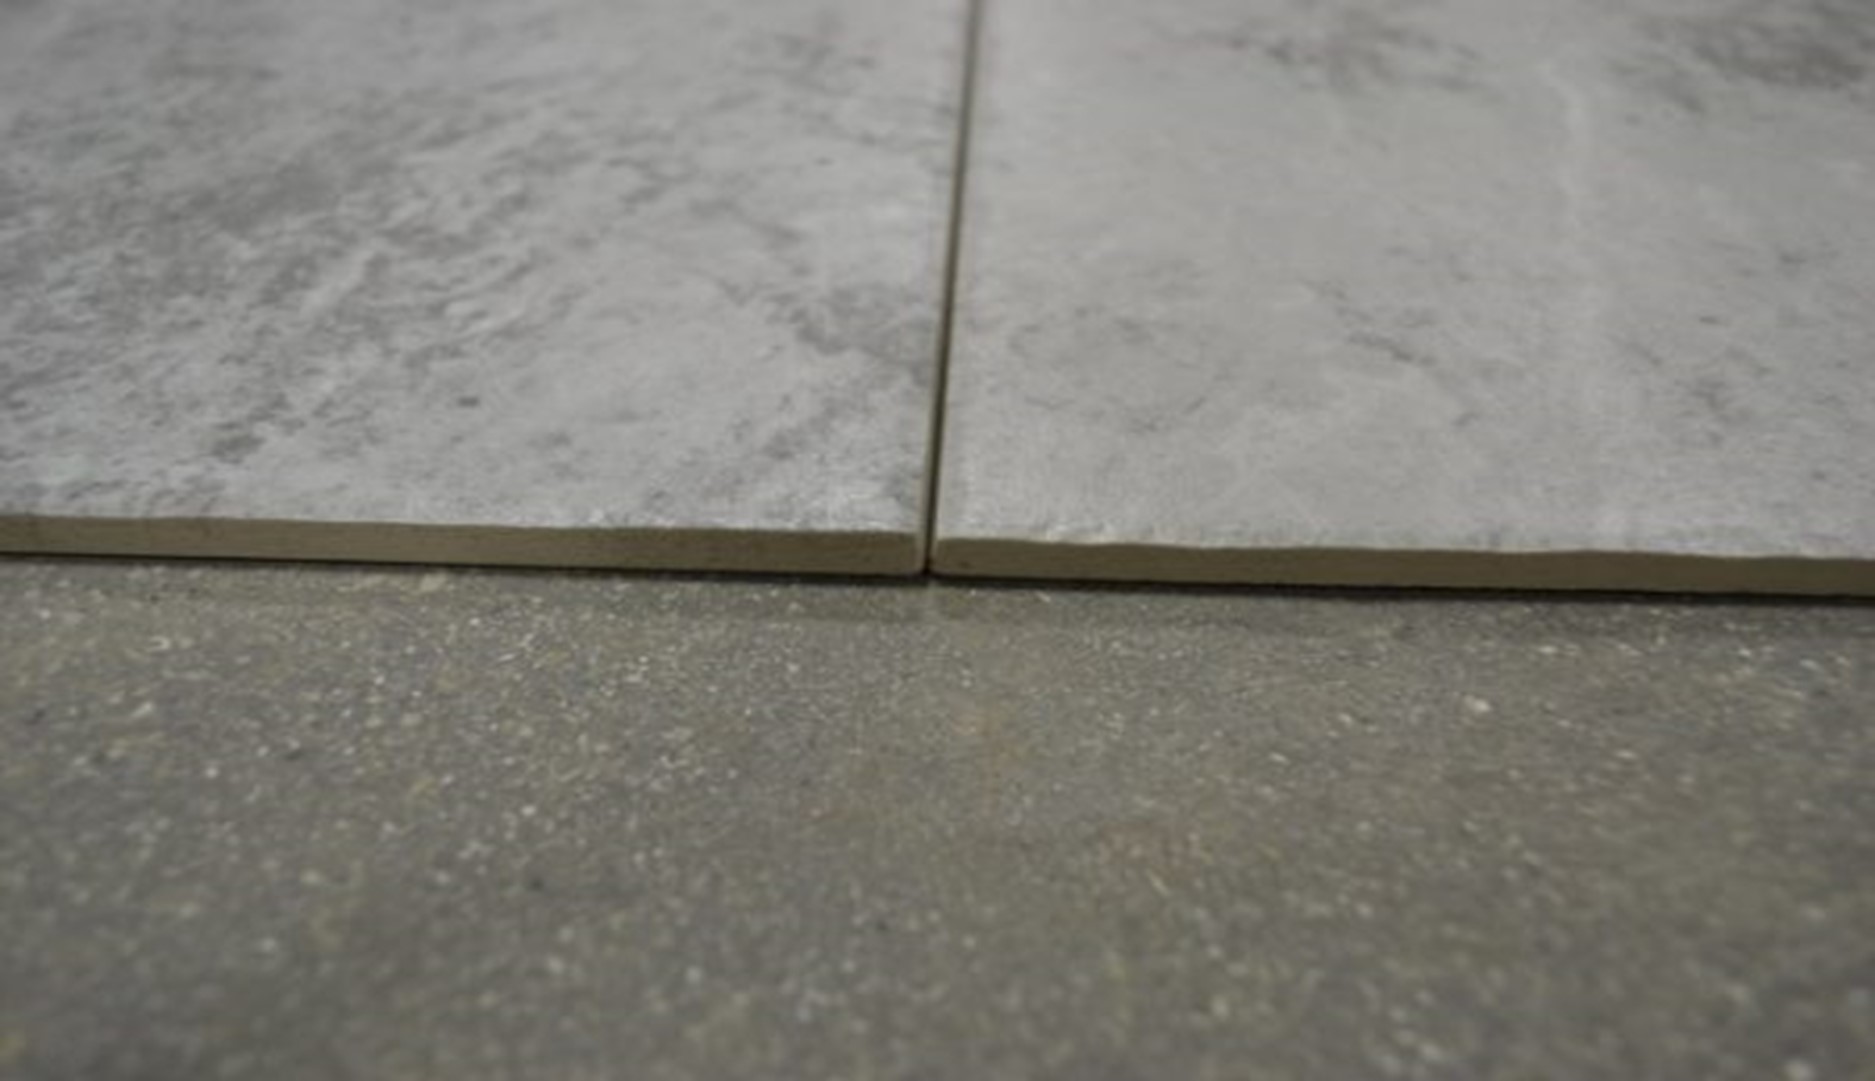
Porcelain is denser than ceramic. Less voids means less abortion. If all of the spaces between the clay particles are filled, the resulting ceramic becomes essentially waterproof, thus becoming porcelain.

Industrial Kiln
Ceramic or Porcelain will come in 4 main tile body types:
- Glazed
- Colour Body
- Double Loaded
- Full Body
Slip Ratings
Dry Slip Rating
- R9 (slope angle of 6° to 10°)
- R10 (slope angle of 10° to 19°)
- R11 (slope angle of 19° to 27°)
- R12 (slope angle of 27° to 35°)
Wet Slip Rating
The ABC Rating is the rating scale used to measure* wet floor conditions such as swimming poos where bare feet are the norm.
DIN 51097: 1992 Classification is the determination of anti-slip properties; wet loaded barefoot areas; walking method; ramp test German National Standard 1992 – fully recognised and adopted in the UK
ABC Rating Value PTV (Pendulum Test Value) Or
DIN 51097: 1992 Classification SRV (Slip Resistance Value)
A (not to be used in wet area) 21 – 31
B (Can be used semi wet area) 32 – 42
C (Can be used in full wet area) 45+
PEI rating (any glazed tile) Porcelain Enamel Institute
PEI 1 wall only
PEI 2 wall only
PEI 3 Very light traffic residential
PEI 4 Residential/Commercial medium traffic
PEI 5 Commercial High Traffic
MOH (method of Hardness) Full body tile (tile with no glaze)
| Mohs hardness | Mineral |
| 1 | Talc |
| 2 | Gypsum |
| 3 | Calcite |
| 4 | Fluorite |
| 5 | Apatite |
| 6 Granite | Orthoclase |
| 7 | Quartz |
| 8 | Topaz |
| 9 | Corundum |
| 10 | Diamond |
Deep scratch abrasion test
Tile should be less than 175 mm3
Group Classification

Group Classification Water Absorbtion
Prevention of Moisture Expansion & Cracks
Allow adequate drying times before tiling can commence:
Floors 4-6 weeks (Usually) and subject to the below list.
Screeds/plasters 2-3 weeks before tiling (Usually) and subject to the following:
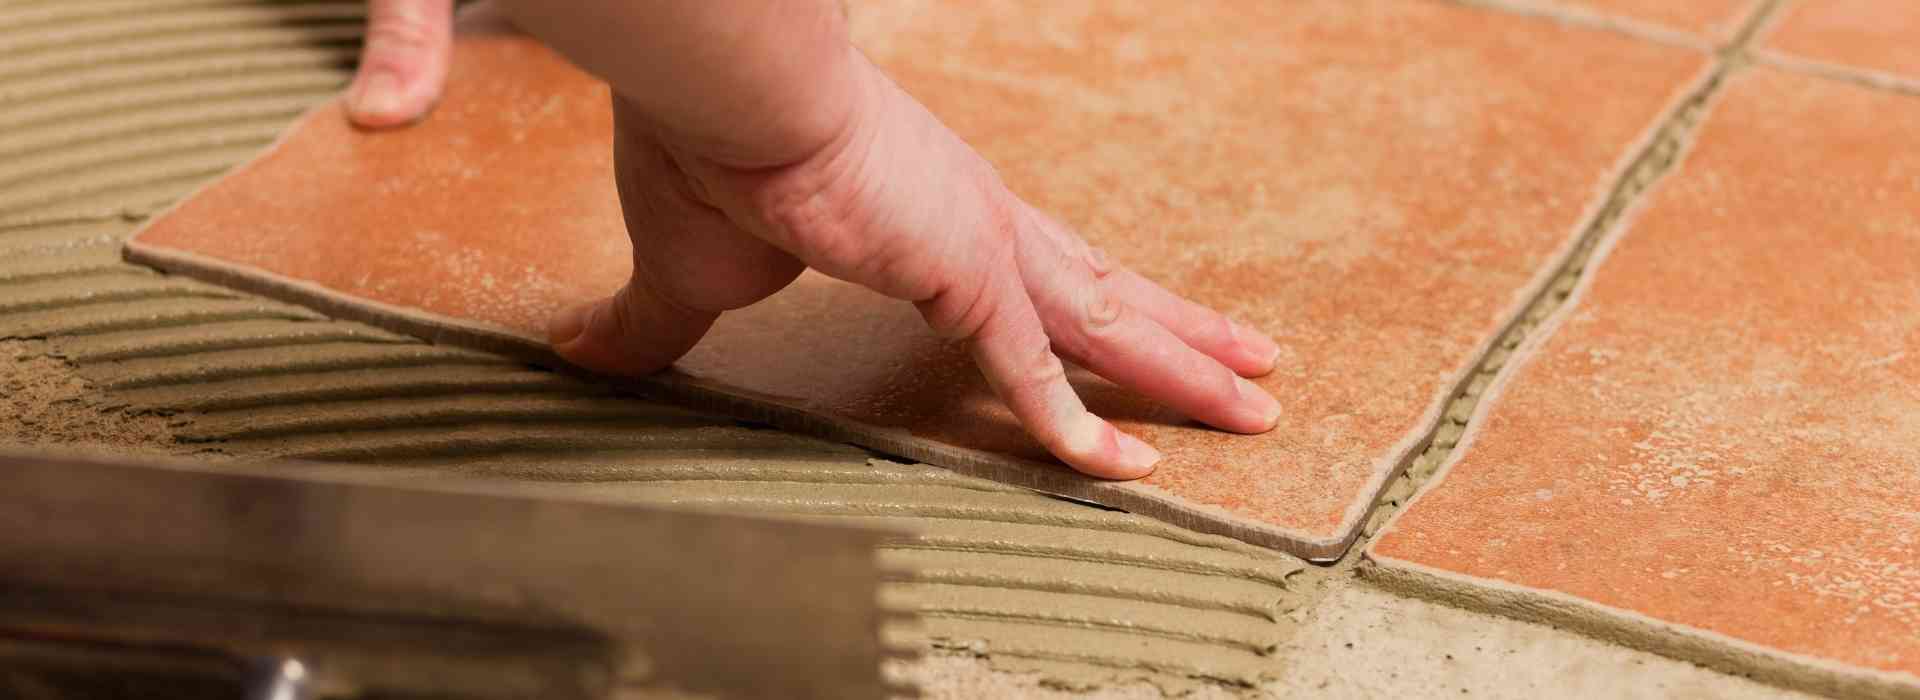
- Proper bedding of the tiles into the adhesive
- Never tile over a construction joint or a door jam
- Bond instead of water outdoors
- Bond into wall grout in we areas
- Perimeter joints (wall and floor)
- Movement joint intervals
- Know where construction joints are
- Don’t lay over door jam
- Correct size grout joint
- Correct adhesive
- Perimeter joint – 10mm
- Expansion joint – Every 5m
Some more important tips
Tiles on Wood (walls)
- Clean surface
- Key Coat (neat)
- Flex
- Expect Grout Cracks
Tiles on Tile (floor)
- Clean surface
- Acid Wash
- Don’t chip
- Key Coat Slurry
- Adhesive
Tiles on paint
- Clean surface
- Indoor – Chip 80%
- Exterior – remove paint
- Key Coat slurry
- Adhesive
Tiles on Fiberglass
- Sand Surface
- Clean surface
- Superprime
- Key Coat slurry
- Goldflex
Tiles on Bitumen
- Remove 100%
- Key Coat (neat)
- Or 70mm topping
Cleaning and maintenance for Porcelain and Ceramic
Initial:
During grouting make sure all excess grout is removed from the surface with a damp clean cloth or sponge and fresh clean water. Washing grout and residues off the surface with dirty water and/ or cloth or sponge does not clean the surface. Any grout residue will impair the finish after sealing and will result in a very expensive repair. Clean with Tile and Floor Care Grout Off (acid wash) & Easy Clean (neutralizer) to ensure a residue free surface.
Maintenance:
Use Tile and Floor Care Quick Clean as the daily tile cleaner. This product will not leave a residue on the surface. It is important to ensure the water is changed regularly. The anti-slip tiles, by nature, will trap dirt more easily and it may be necessary from time to time to scrub them with Easy Clean. Ensure this is rinsed well with fresh clean water.
If you have any technical questions relating to tiles, you are most welcome to contact our Tiletoria Showroom’s to speak to our experts. Our experts offer technical training that is available online or in office with your architectural team. We are also SAIAT accredited to issue CPD credits.