When it comes to interior design, tiles do more than just serve a functional purpose. The style of tiles you choose can have a powerful psychological effect, shaping how a space feels and how it’s perceived. In this post, we’re diving into how different tile styles impact our mood and emotions, and how you can use this knowledge to create the perfect atmosphere in your home.
Bold, colourful tiles can inject a space with energy and life. These tiles make rooms feel dynamic, vibrant, and full of personality. If you’re looking to create a space that feels lively, such as a kitchen or a playful bathroom, bold tiles are a fantastic choice. Whether it’s a vibrant backsplash or a patterned floor, these tiles act as a focal point that grabs attention and brings a burst of energy to any room.
Natural stone tiles like marble and granite are synonymous with elegance. They give off a feeling of calm and serenity, making them ideal for areas where relaxation is key, like bathrooms or meditation spaces. There’s something inherently luxurious about stone tiles, as they connect us to nature and evoke a peaceful, grounded feeling. If you’re after a sense of tranquillity and sophistication, natural stone tiles are the way to go.
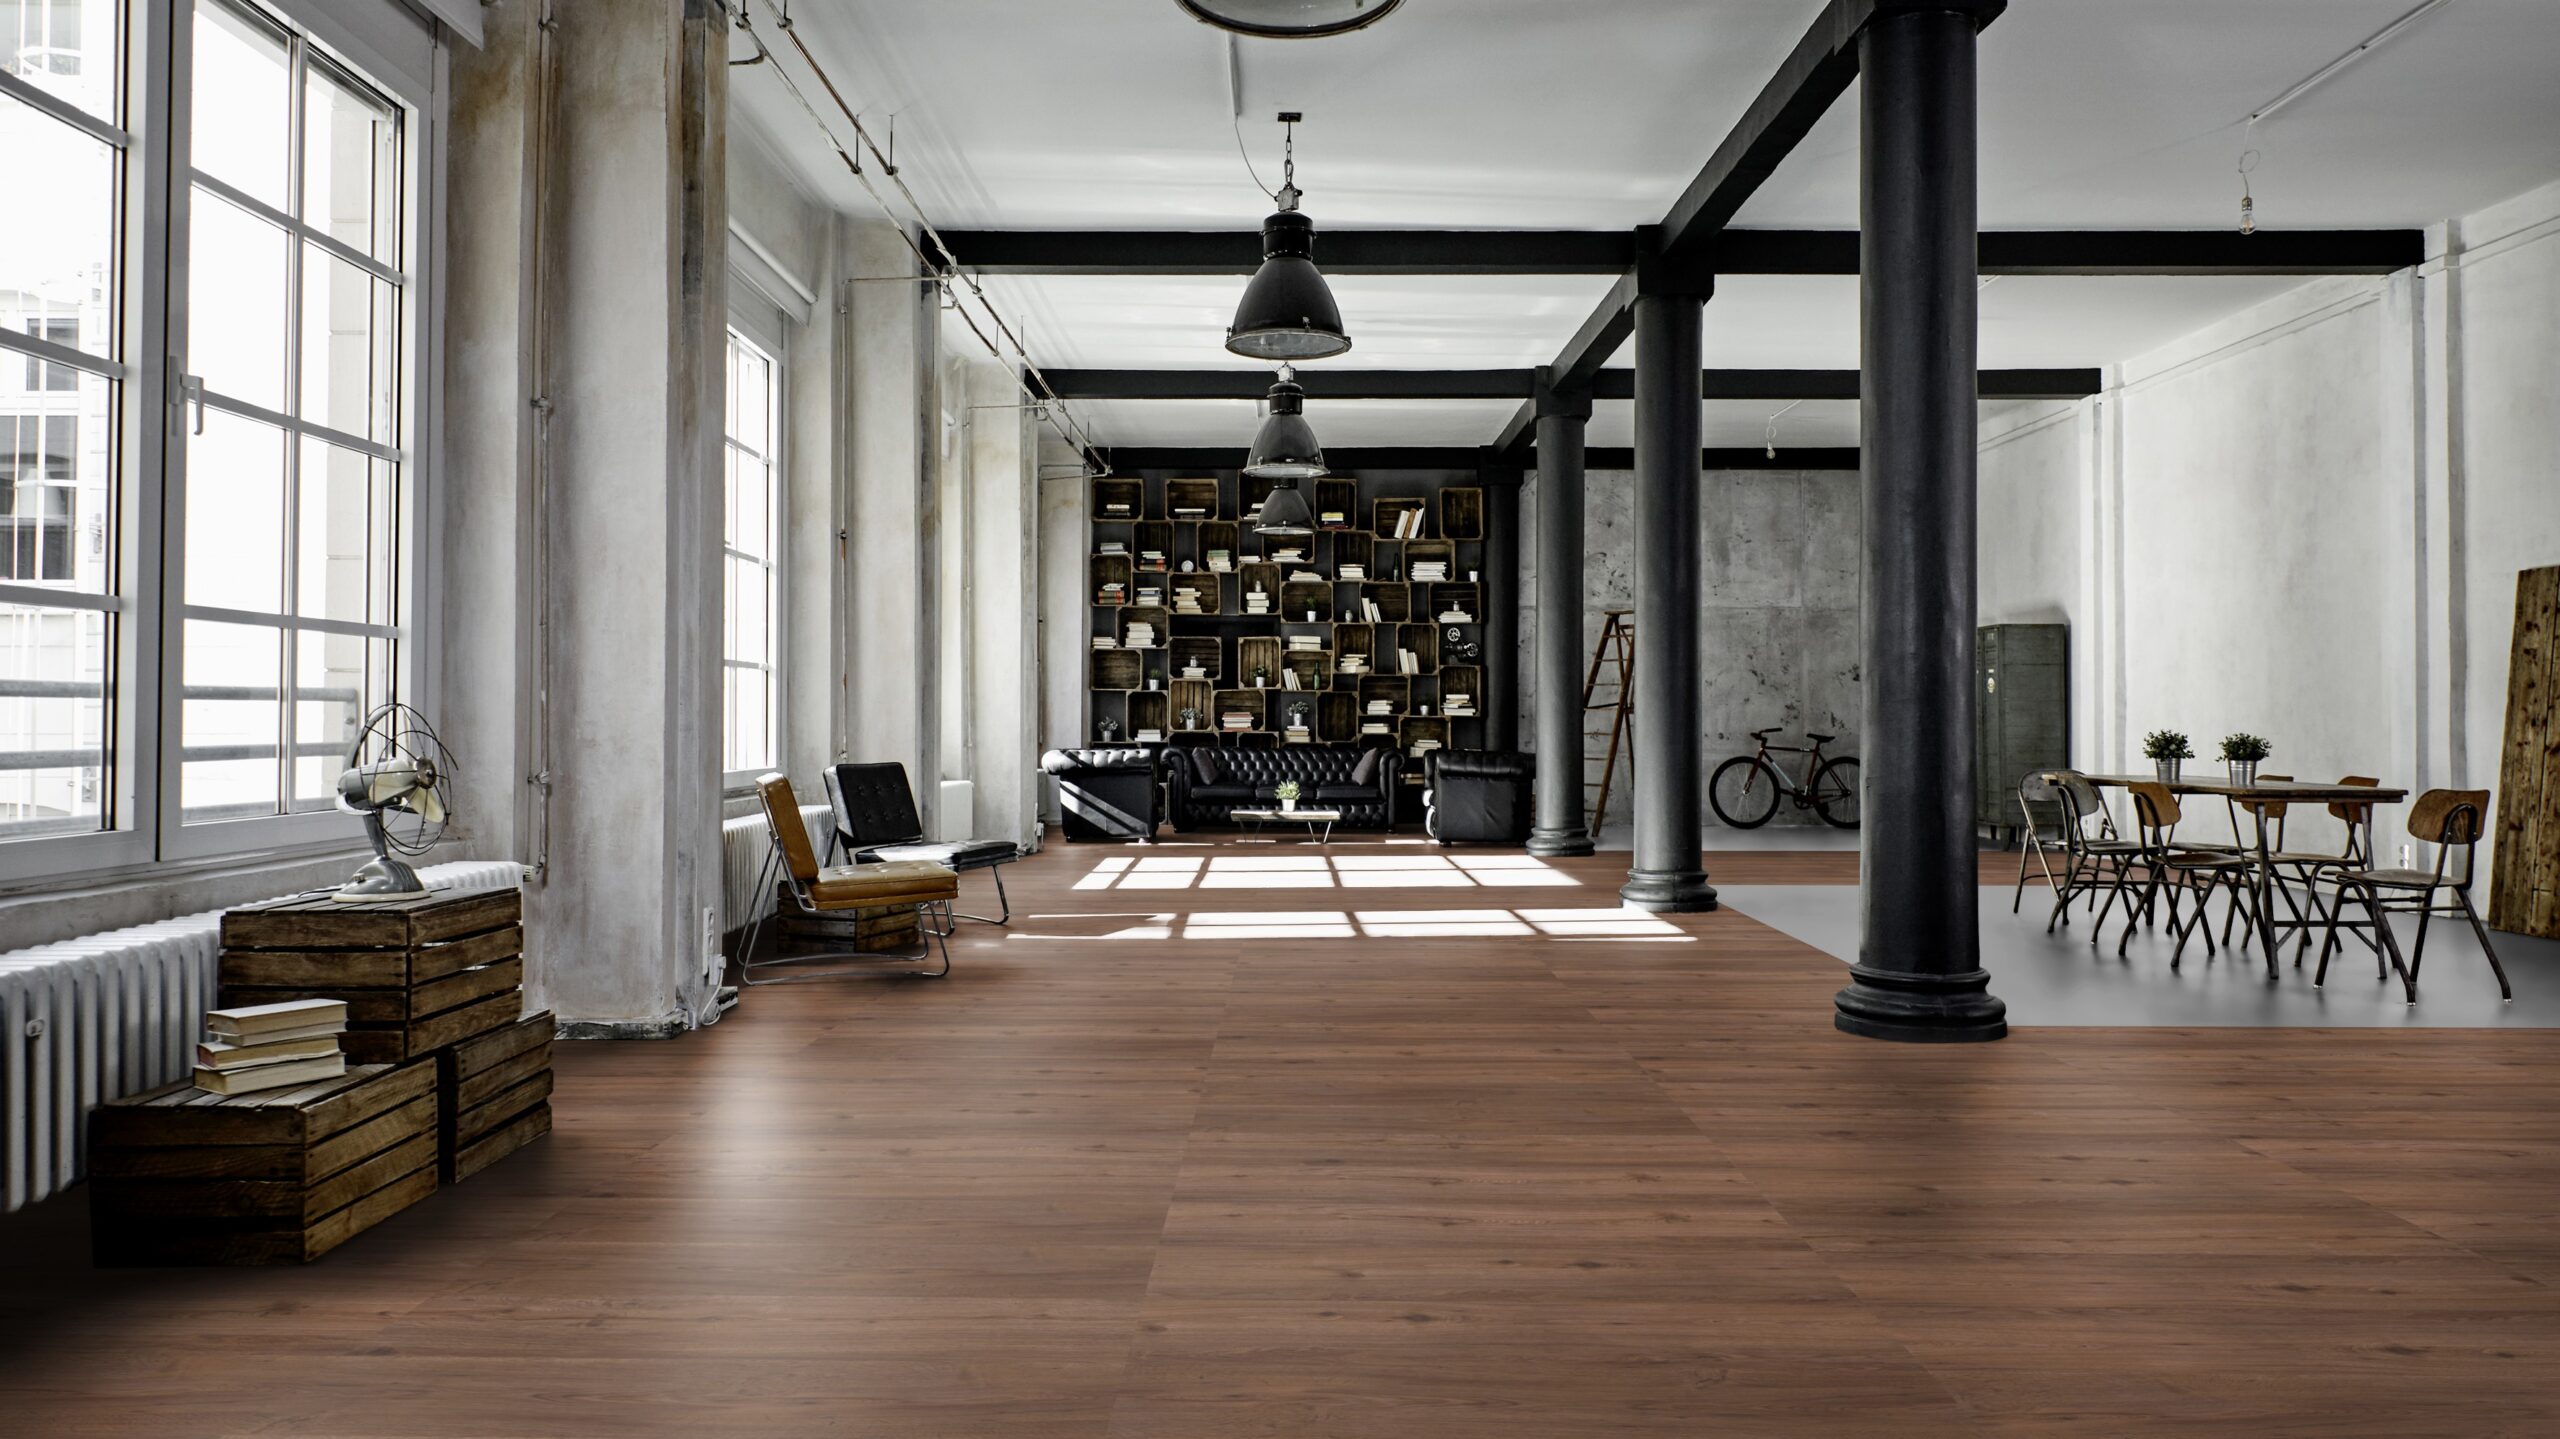
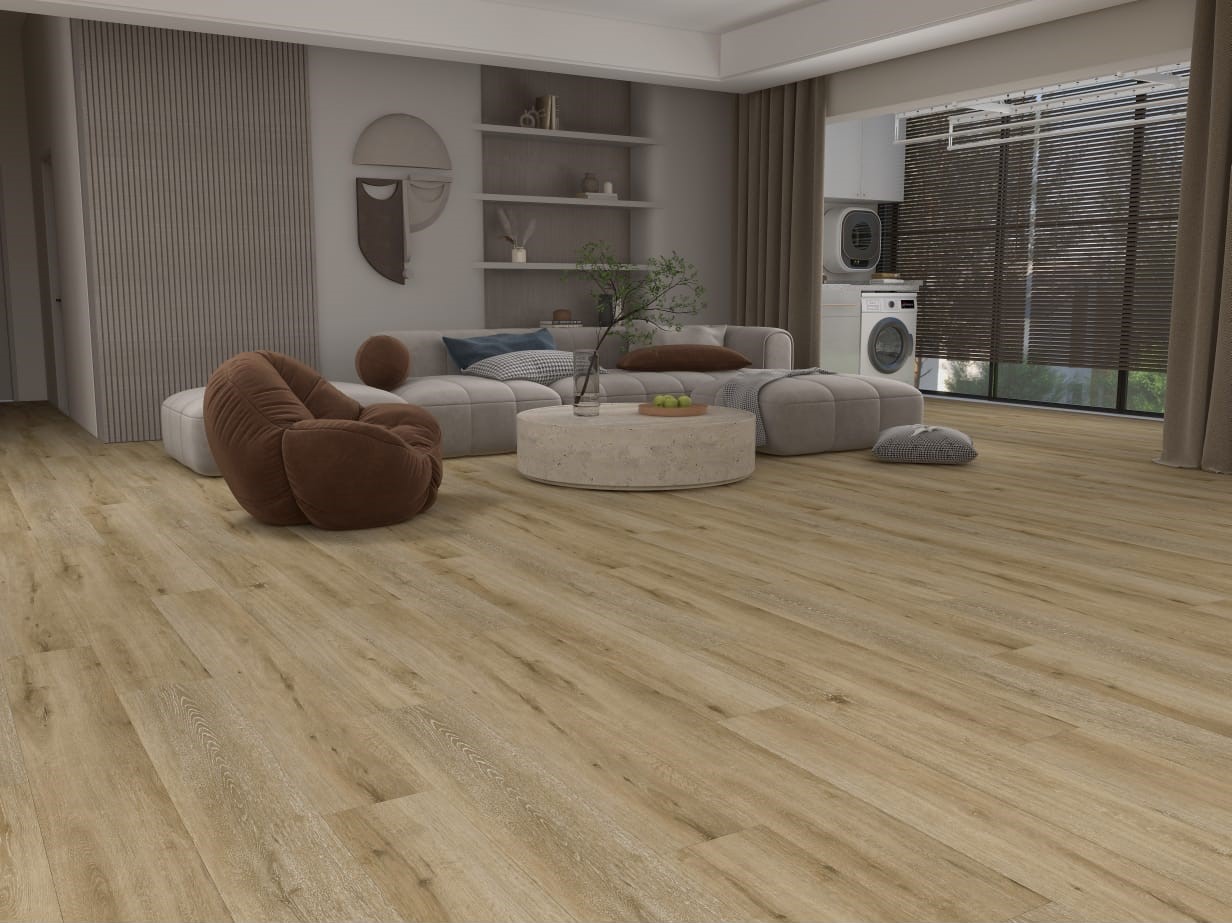
There’s nothing quite like the warmth of wood to make a space feel inviting. Wood-look tiles mimic the appearance of real wood but come with the durability of tile. These are perfect for bedrooms or living rooms where comfort is key. They bring a touch of nature indoors and create a cozy, organic atmosphere that makes any space feel homey and relaxing.
If you’re aiming for a sleek, modern vibe, geometric tiles might be just what you need. With their clean lines and precise shapes, these tiles add a touch of sophistication to any space. Geometric patterns are bold and eye-catching, making them great for kitchens and bathrooms where you want a contemporary, statement look. They evoke a sense of order and structure, adding a modern twist to any room.
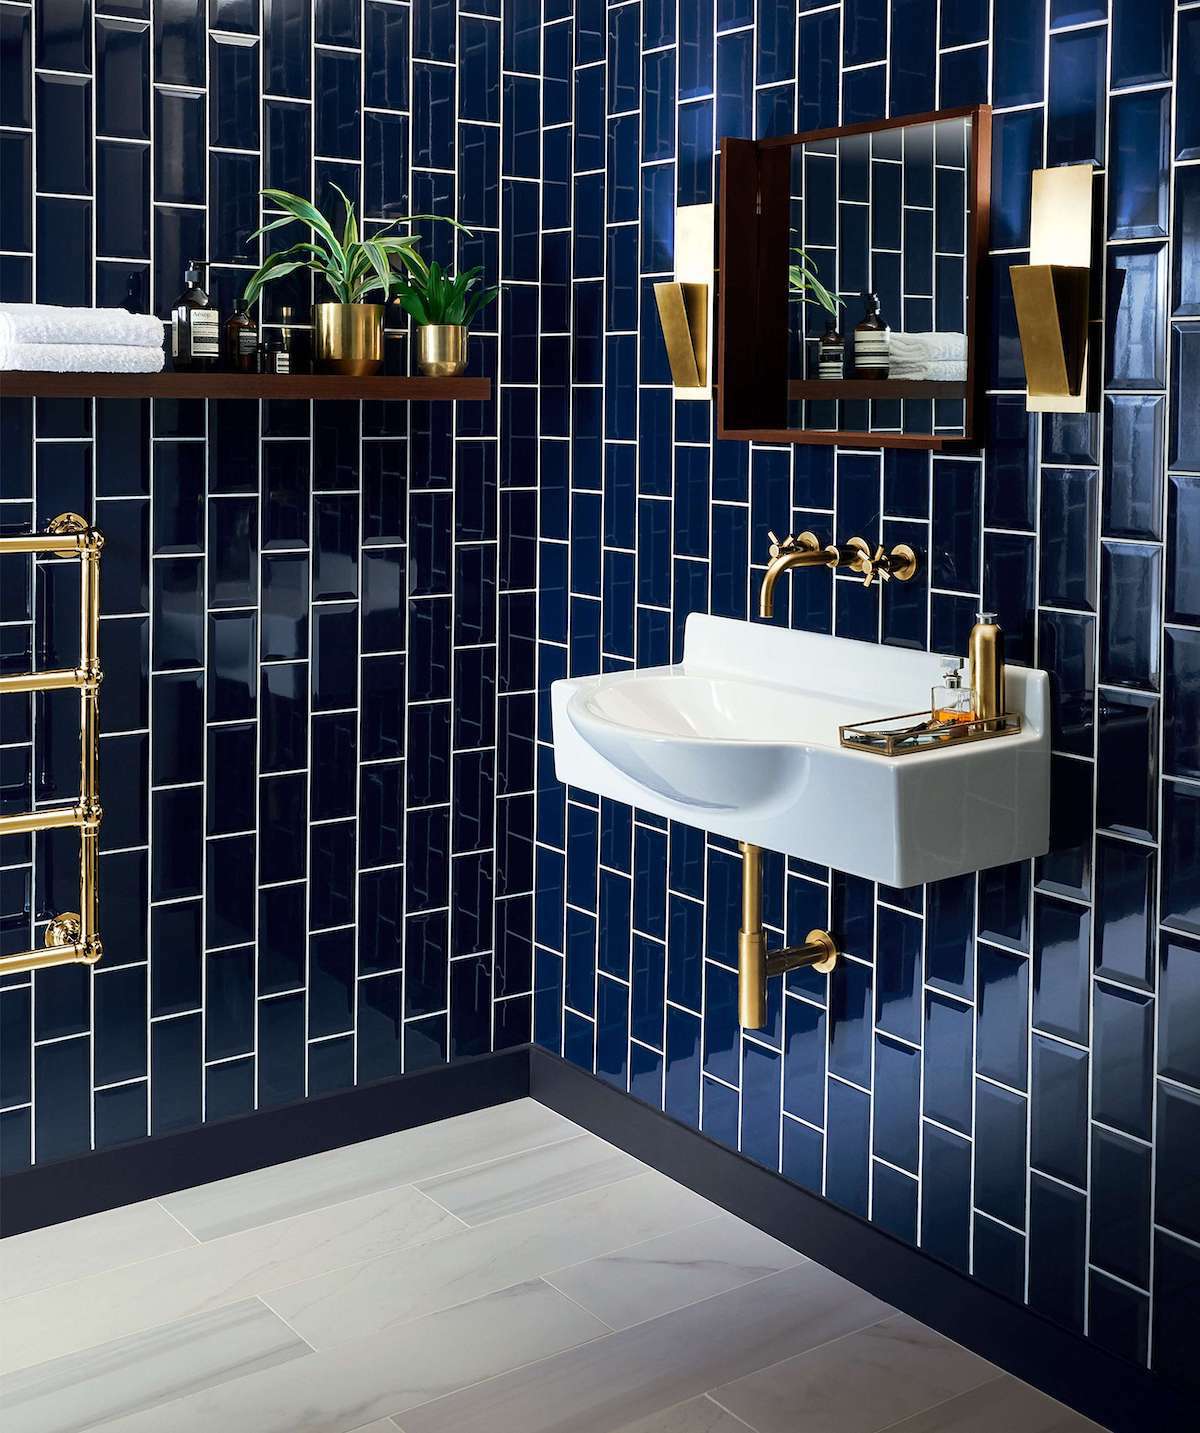
Subway Tiles: Timeless and Elegant
Subway tiles are a classic choice that never goes out of style. Their simple, clean lines bring an air of sophistication to kitchens and bathrooms alike. With their neutral tones and timeless appeal, subway tiles can create a calm and soothing environment, making them perfect for spaces where you want to keep things light and neutral. They also have a nostalgic charm, giving off a warm, comforting feel that never fails to invite.
When it comes to interior design, your choice of tile style can truly transform a space. Whether you’re looking to create a bold, energetic room or a calm, serene retreat, there’s a tile style that can help you achieve the perfect atmosphere. Next time you’re picking out tiles, think about the emotions and feelings you want your space to evoke, and let that guide your decision.
Prefer to watch?
Ryan and Deon discuss The Psychological Impact of Various Tile Styles in the video below:
Ready to explore more? Visit your nearest Tiletoria showroom to discover how the right tiles can bring your interior design vision to life!
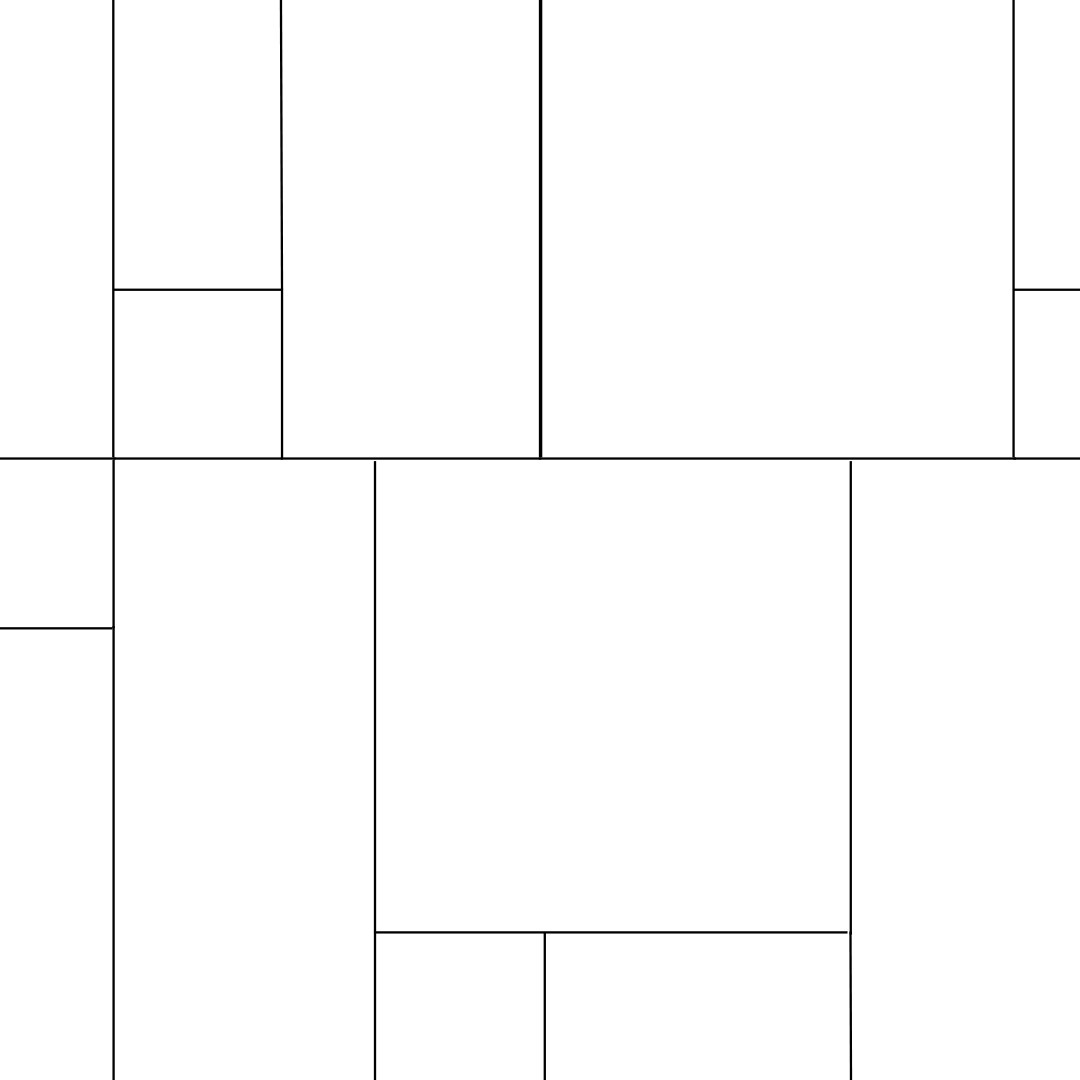
One of the most exciting things about tiles is the many different ways that they can be installed. The same tile can create a very different result by simply changing the layout pattern. But with all the options, where do you start? Here are some of the most popular tile layout patterns to inspire your next project.
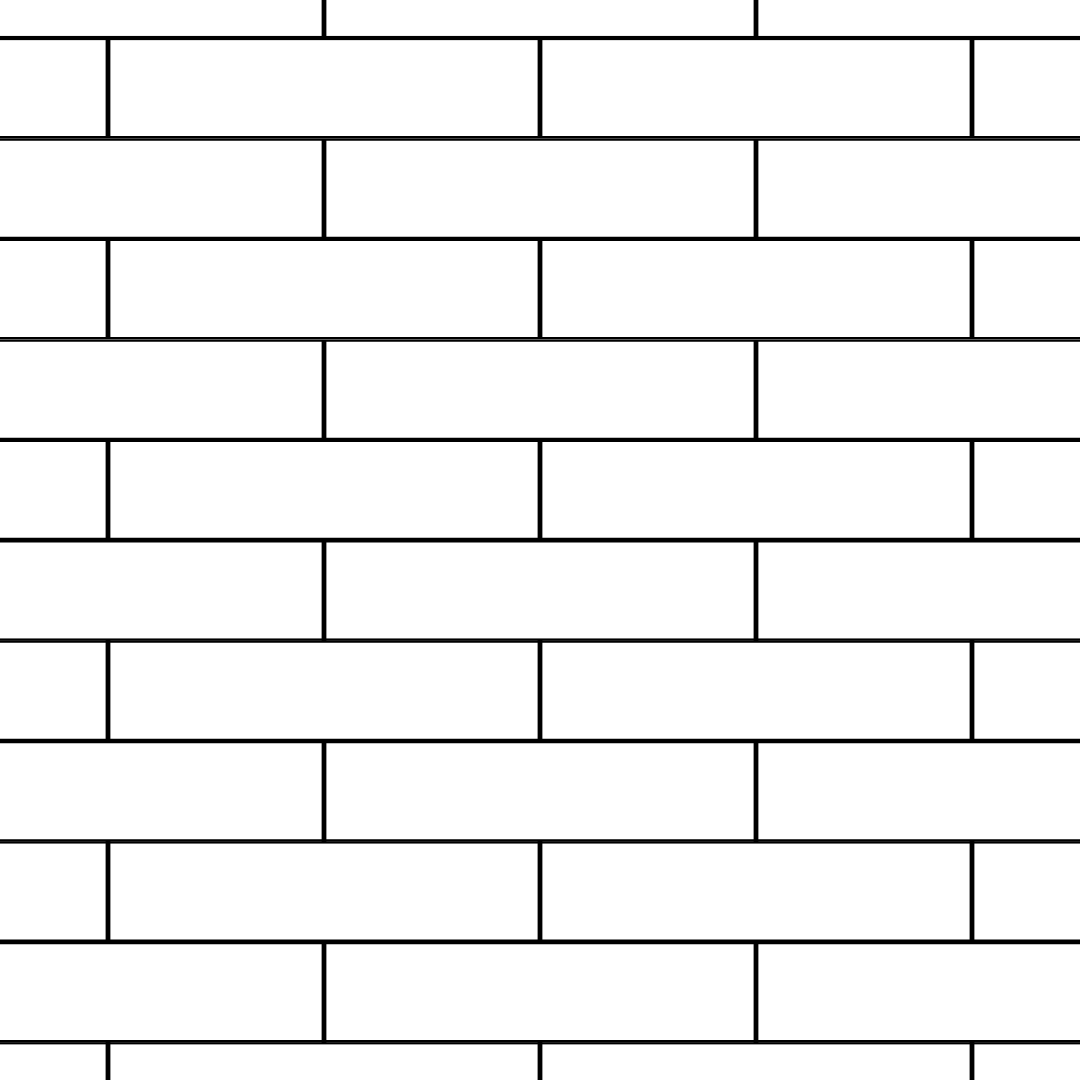
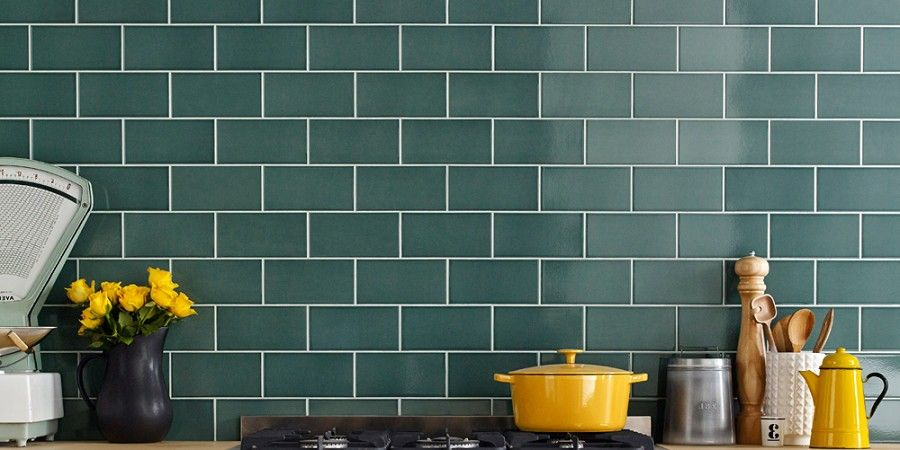
The running bond, or brick pattern, is a classic. Rectangular tiles are laid at a 50% offset horizontally, giving you a clean, timeless look. This pattern is great for hiding imperfections, making it a go-to choice for many.
Image Credit:
2. Vertical Running Bond
The vertical running bond is similar to the running bond but with a twist. Tiles are offset vertically by 50% instead of horizontally. This pattern draws the eye upward, making your small spaces feel taller and more open.
Image Credit: Topps Tiles UK
3. Vertical Offset
In the vertical offset pattern, each tile is shifted by a third from the one above it. This creates a dynamic look and also helps make your walls appear taller, perfect for compact areas.
Image Credit: Ceramic Connection
4. Stacked Layout
The stacked layout is simple and modern. Tiles are laid directly on top of each other in a basic grid pattern. This straightforward design gives a clean, contemporary look and is easy to install.
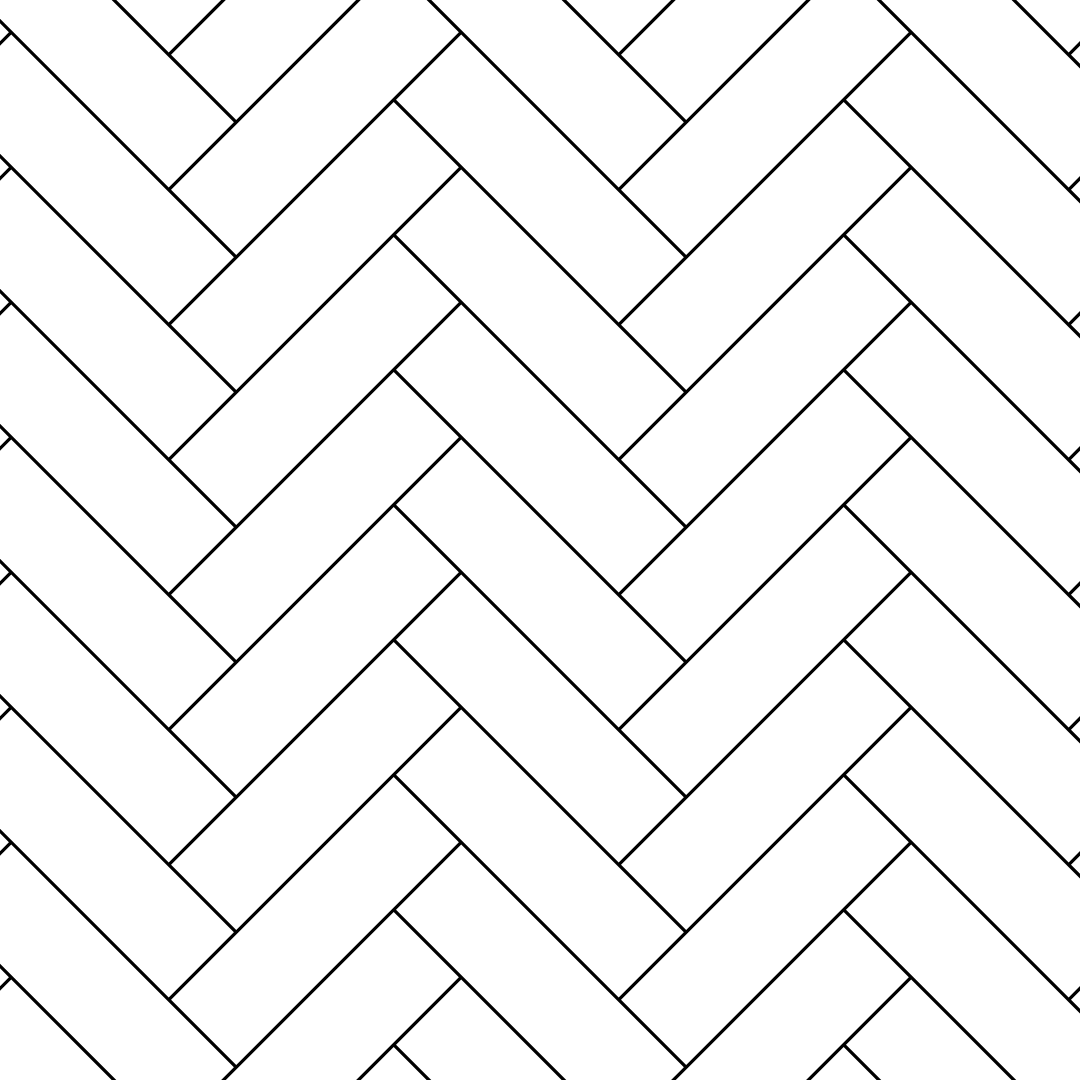
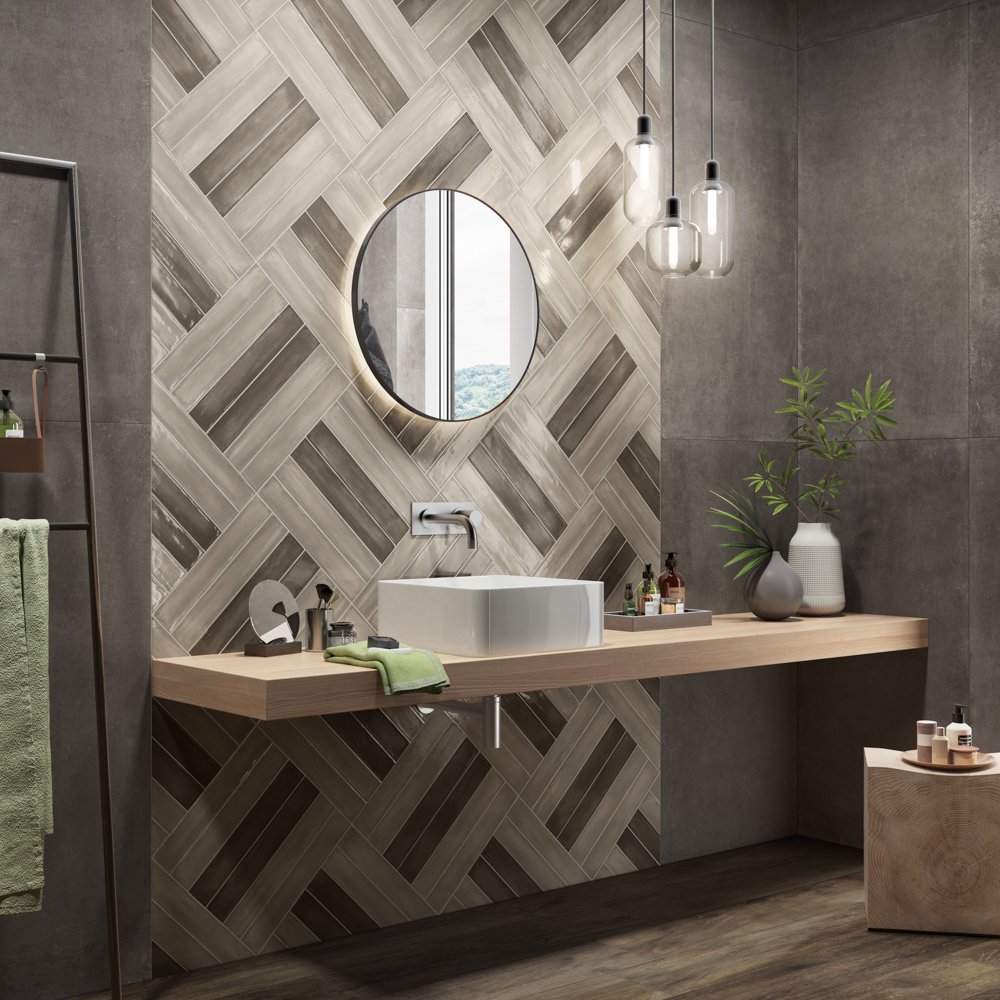
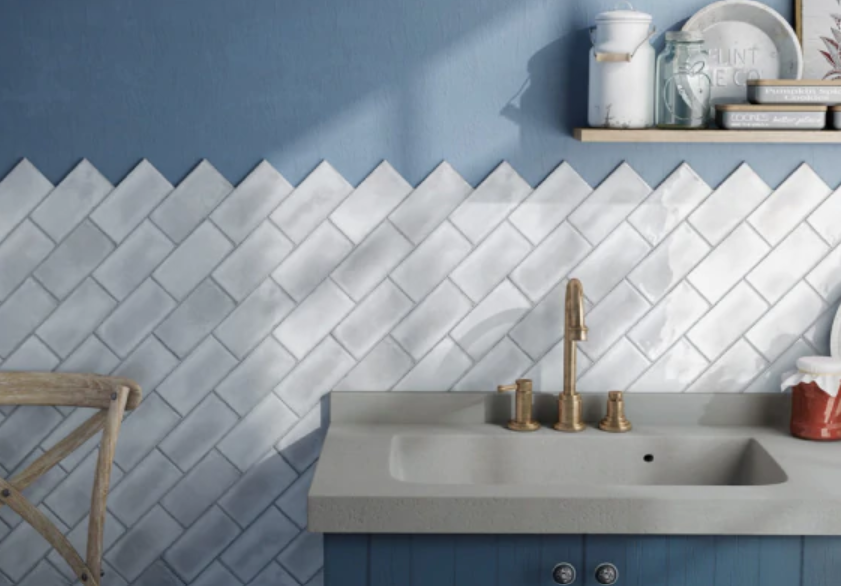
The herringbone pattern uses rectangular tiles set at 45 degrees. This classic design looks amazing on both walls and floors. You can use contrasting grout to create a unique look. Herringbone adds a touch of elegance and movement to your space.
Chevron is like herringbone but with tiles meeting at a 45-degree miter joint. It can be tricky and time consuming to install, but the end result is so worth it. If your tiles aren’t pre-cut for a chevron layout, you’ll need to cut the ends at a 45 degree angle to fit.
Image Credit: Shutterstock
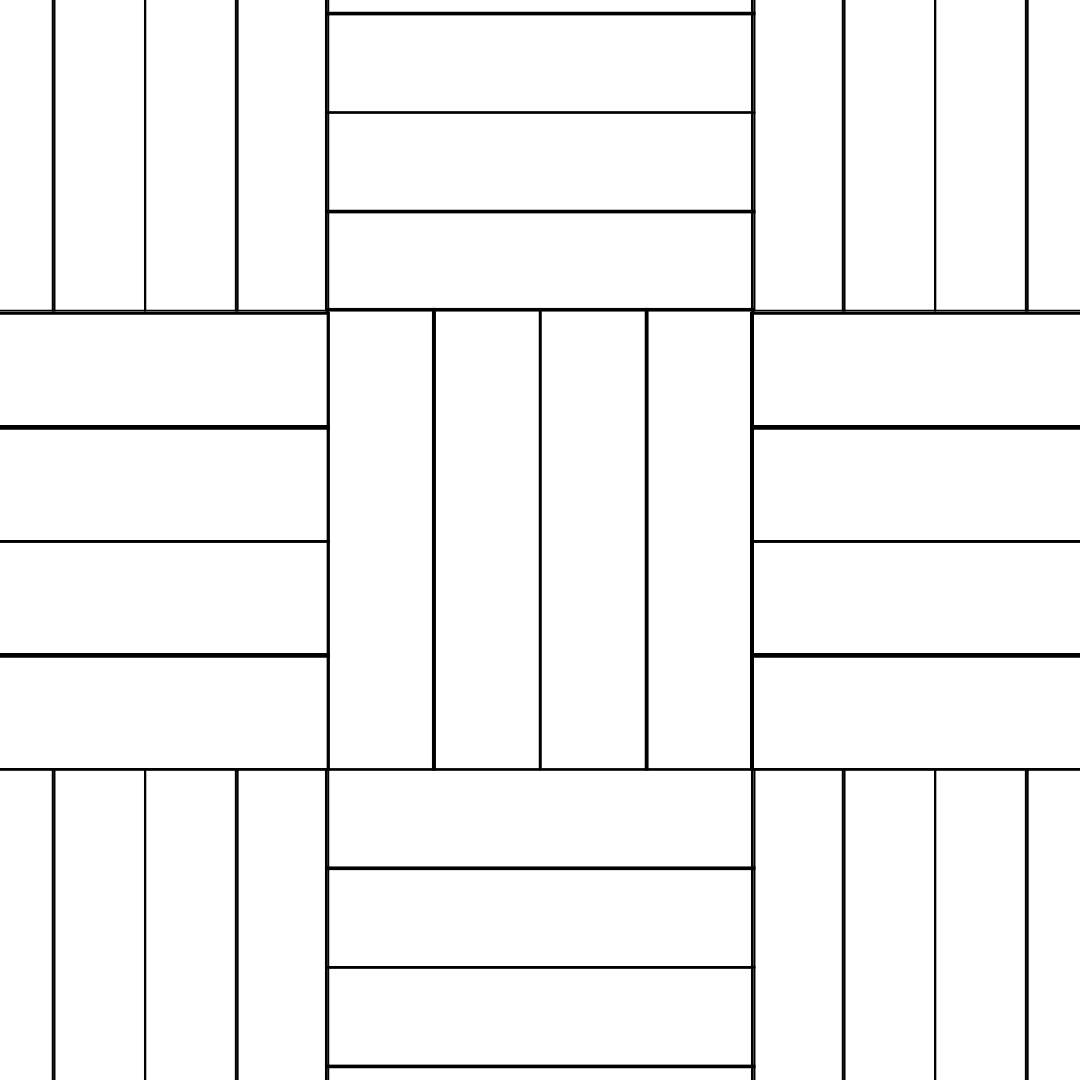
7. Basket Weave
The basket weave pattern alternates horizontal and vertical tiles to create a woven look. Tiles are laid horizontally to form a square and then laid vertically to form another square. The horizontal and vertical tiles then alternate of the following rows. It’s a great way to add texture and visual interest to any space.
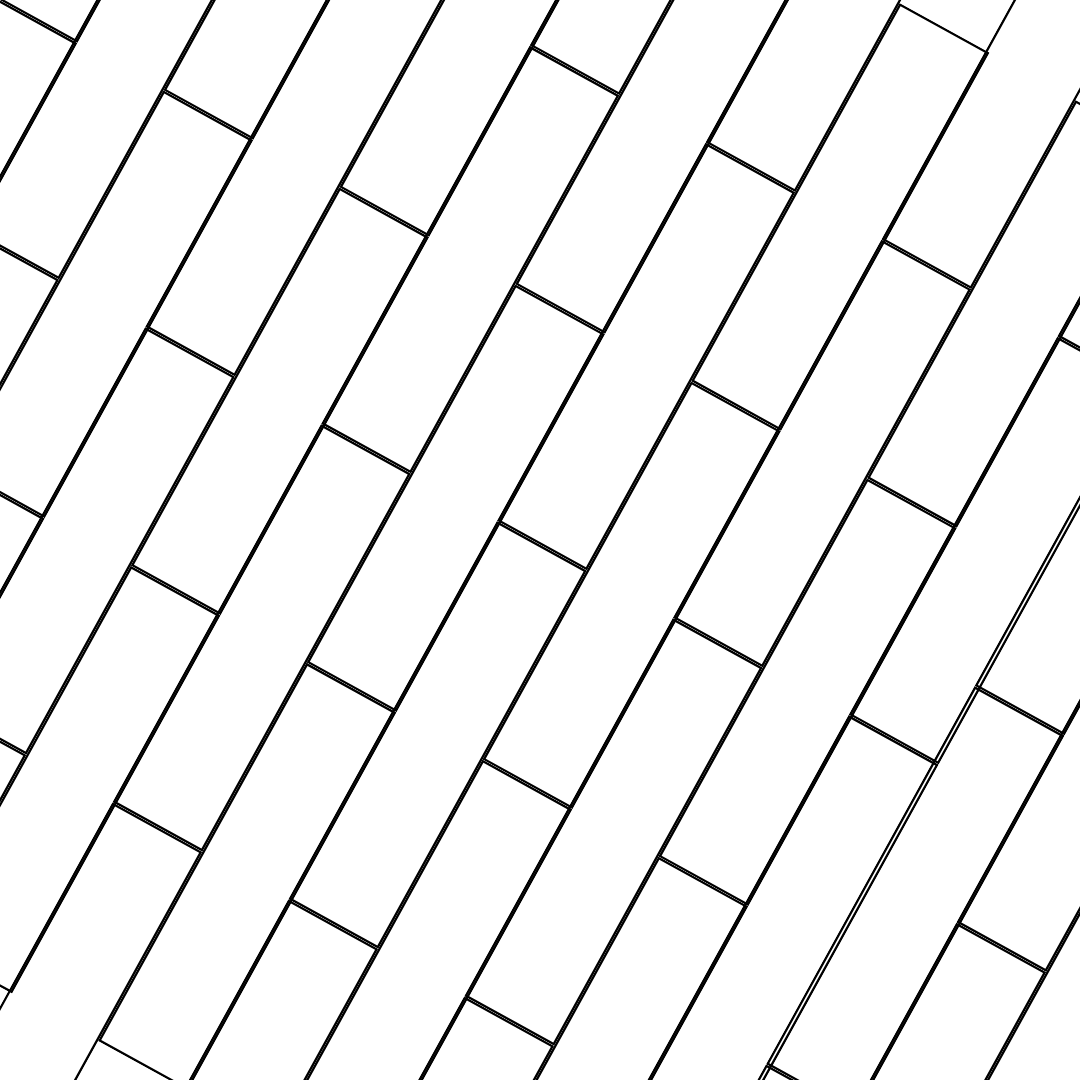
A diagonal layout is similar to a running bond, except tiles are turned 45 degrees for a diagonal layout. This pattern is perfect for hiding imperfections and adding a creative touch to your floors or walls.
Image Credit: Equipe Cerámicas
9. Modular Patterns
Modular patterns are formed by mixing square and rectangular tiles for a modular pattern. The possibilities are endless, and you can create a custom look based on the tile sizes and shapes you choose.
Image Credit: Tile Mountain
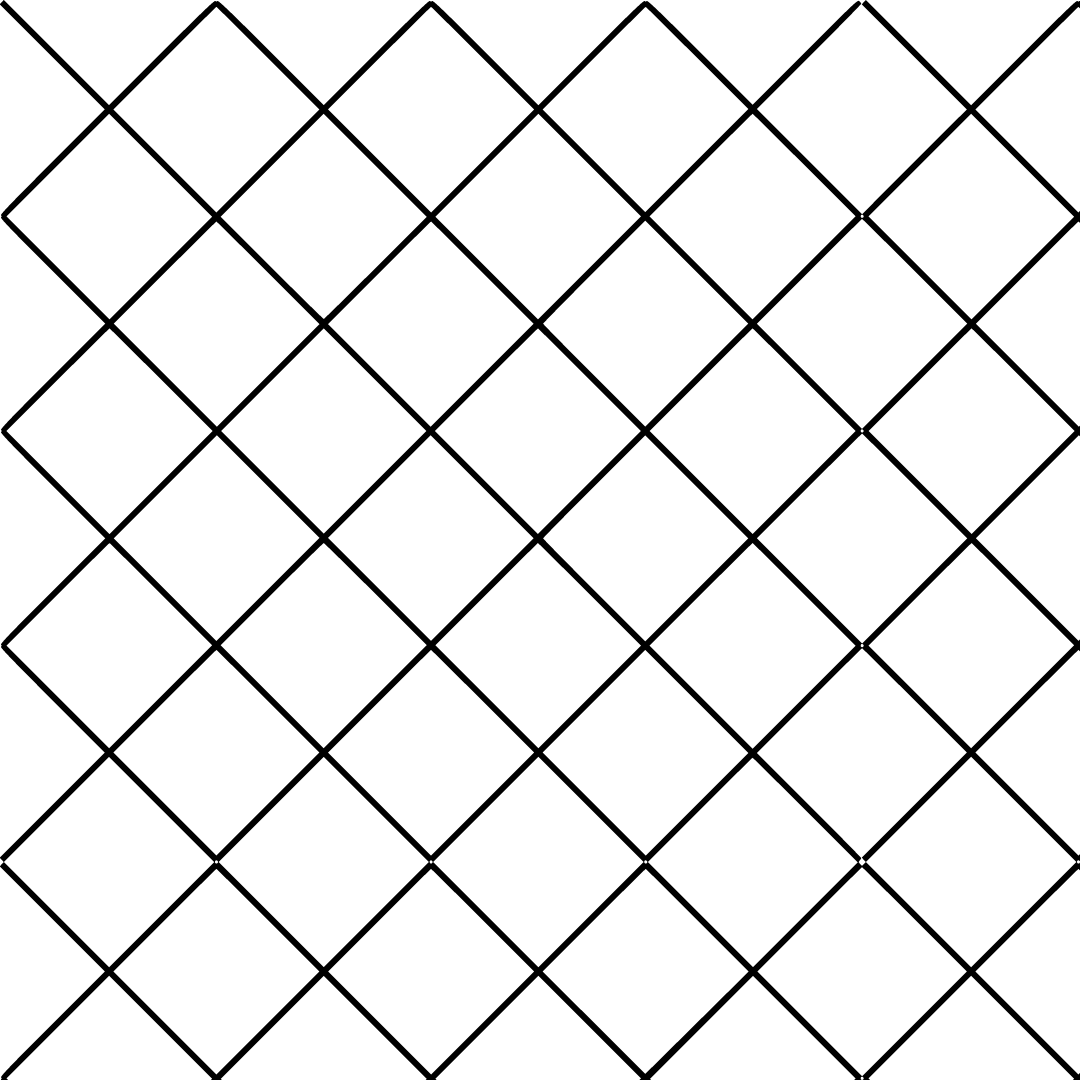
10. Diamond Pattern
Lay square tiles in a diamond pattern for a touch of timeless elegance. This layout is widely used and works well on both walls and floors. A diamond pattern can help disguise uneven surfaces and will hide imperfections if your wall or floor isn’t perfectly square.
Image Credit: The Makerista
Prefer to watch?
Ryan and Deon discuss tile layout patterns
For more inspiration, visit a Tiletoria showroom. Explore these patterns and find the perfect layout for your next project!
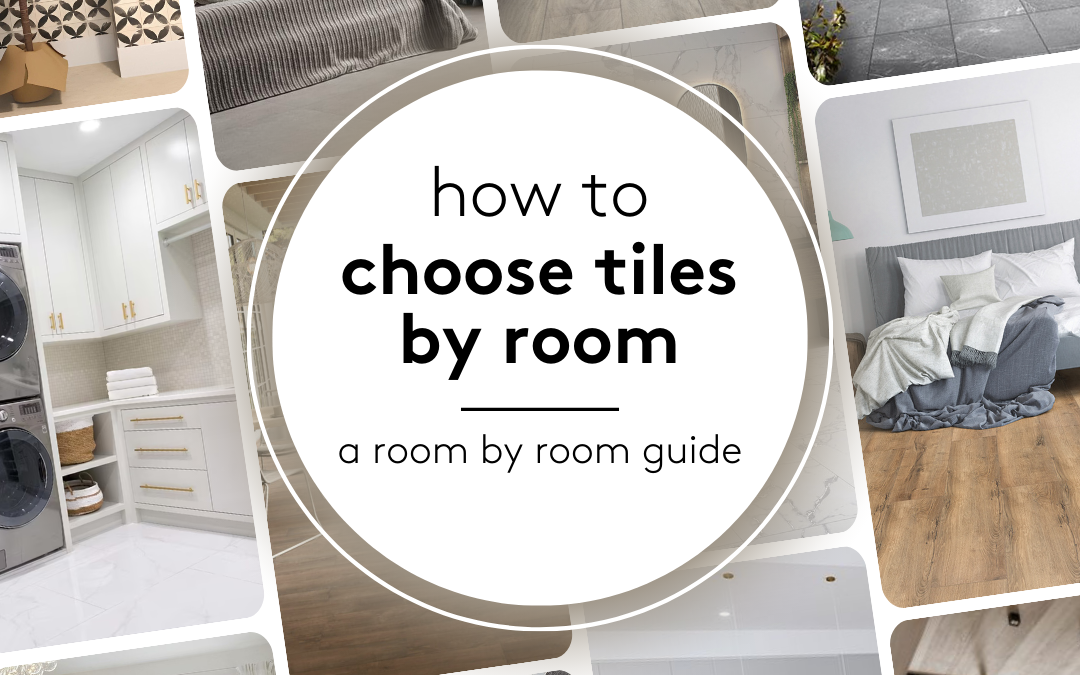
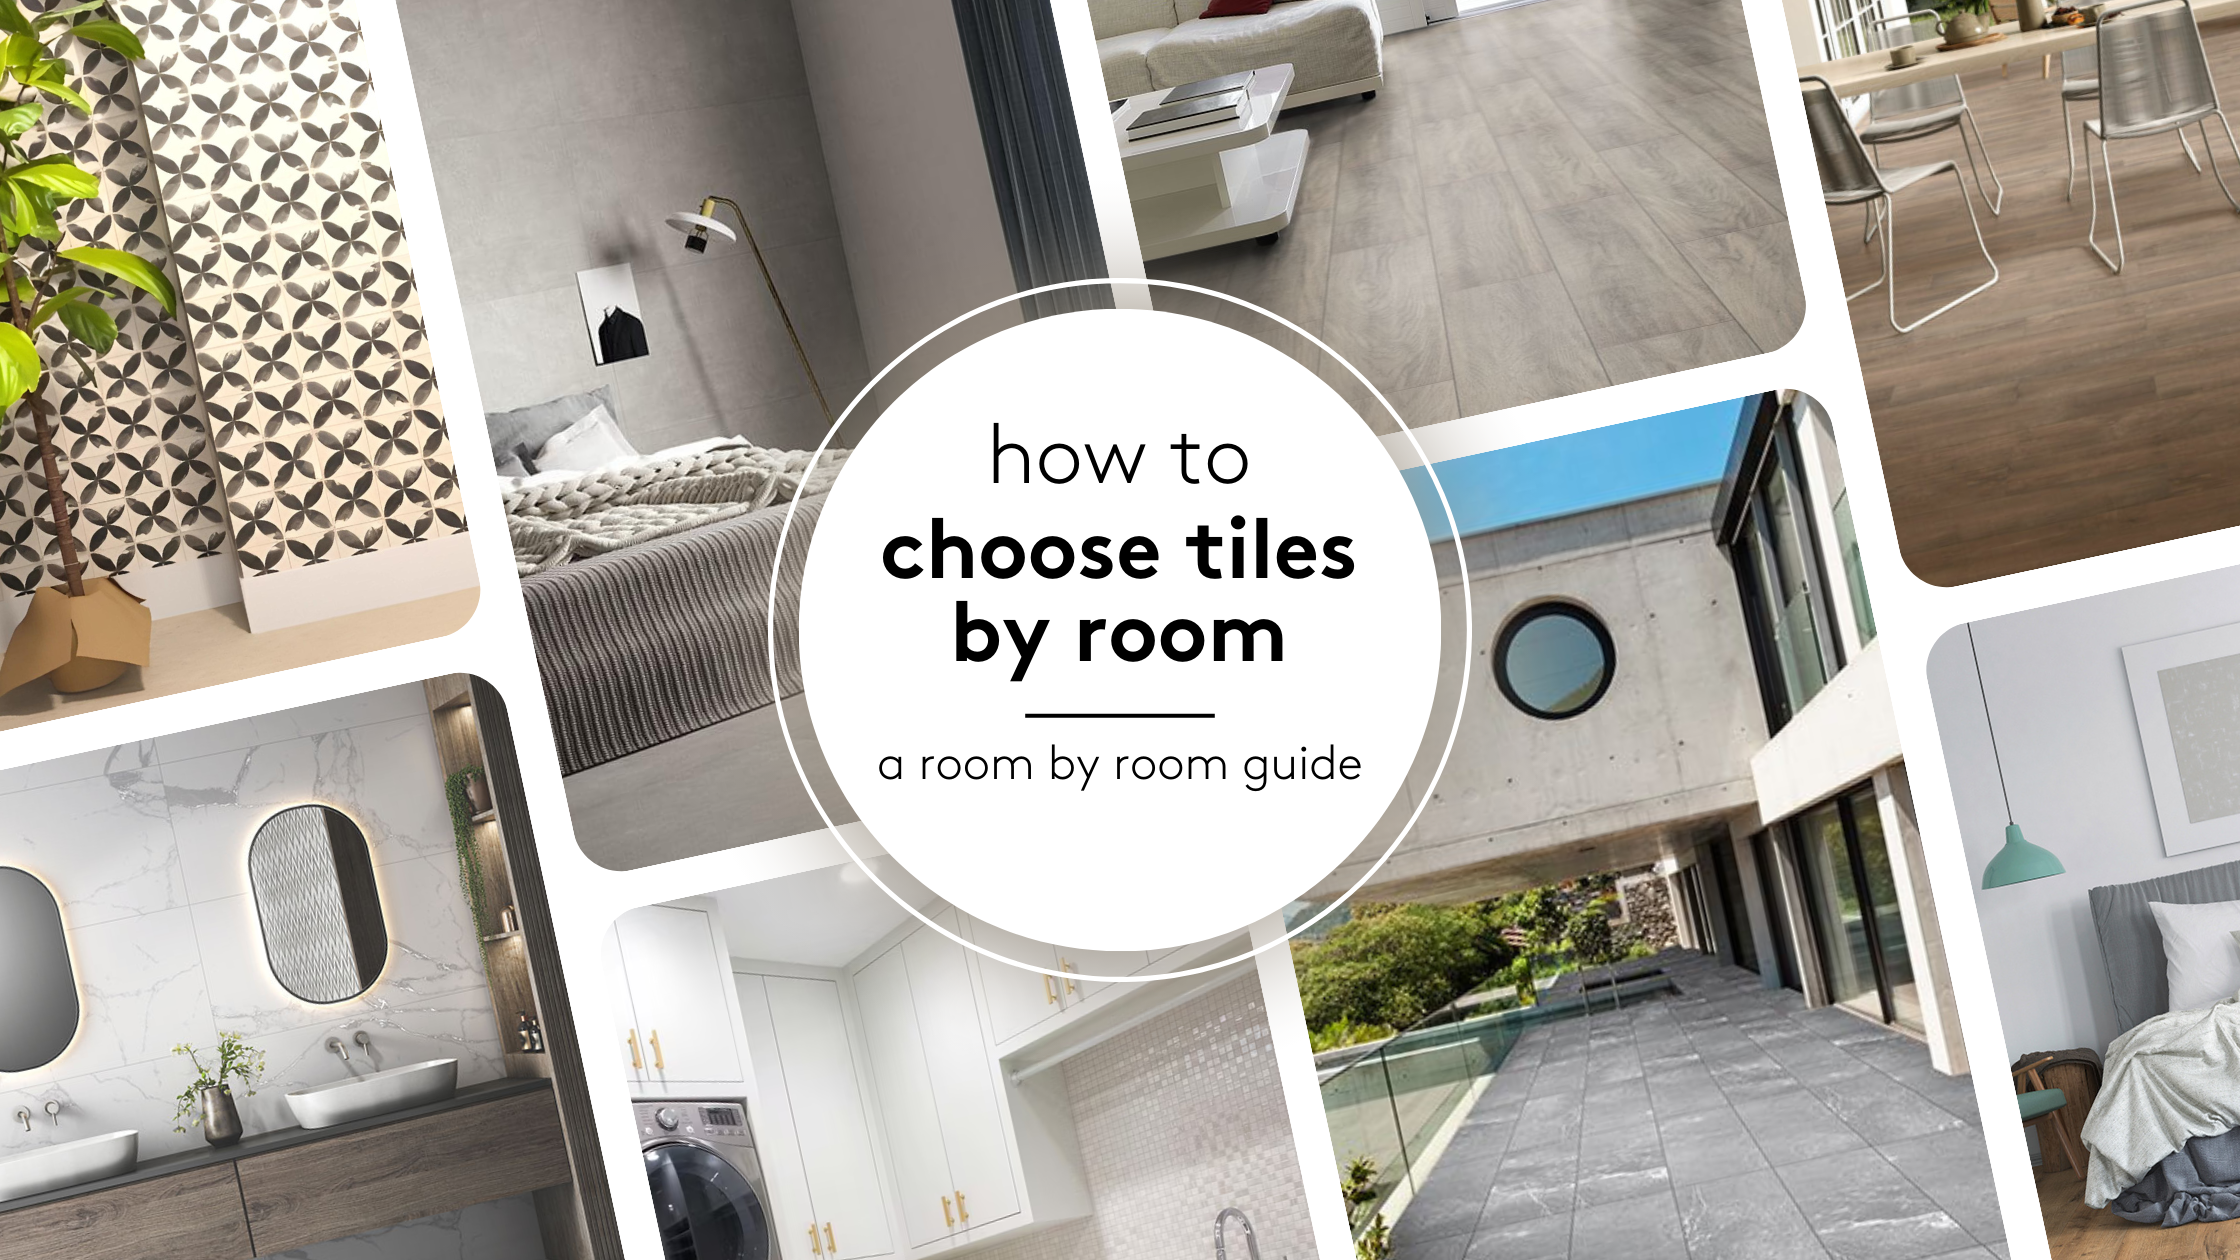
So, you’ve decided that tiling is the perfect option for your latest project, but how do you decide which tiles are best suited for each room of your home? We’re here to simplify the tiling selection process by sharing some tips and considerations for choosing the right tiles for each room.
Table of Content:
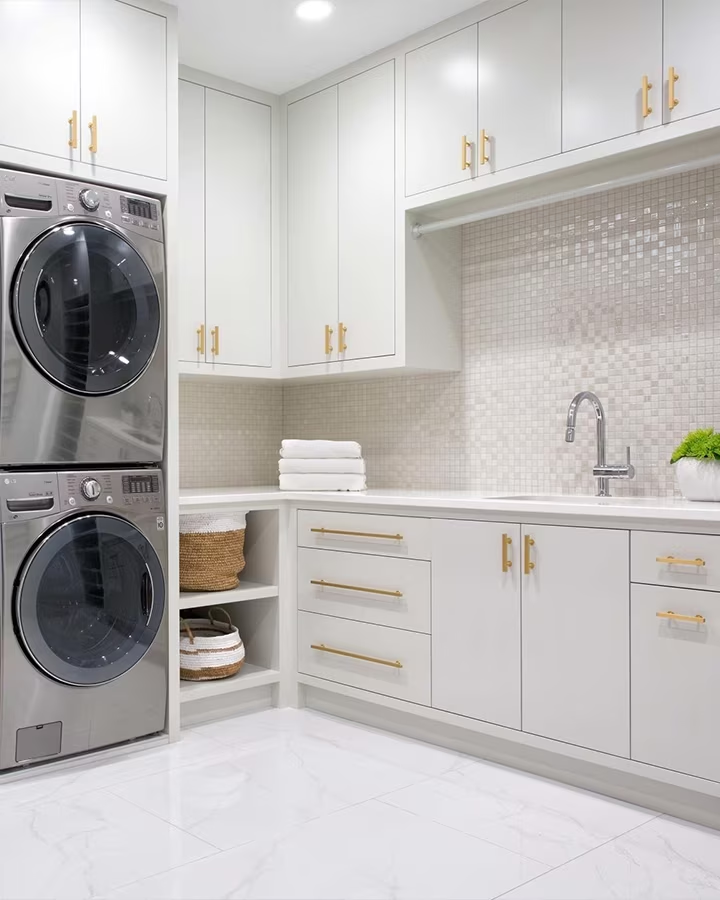
Smaller Rooms: Bathroom and Laundry Room
The Kitchen: The Heart of the Home
Hallways: Making a Great First Impression
Bedroom: A Growing Trend
Living Room: High Traffic and High Style
Outdoor: Extend Your Living Space
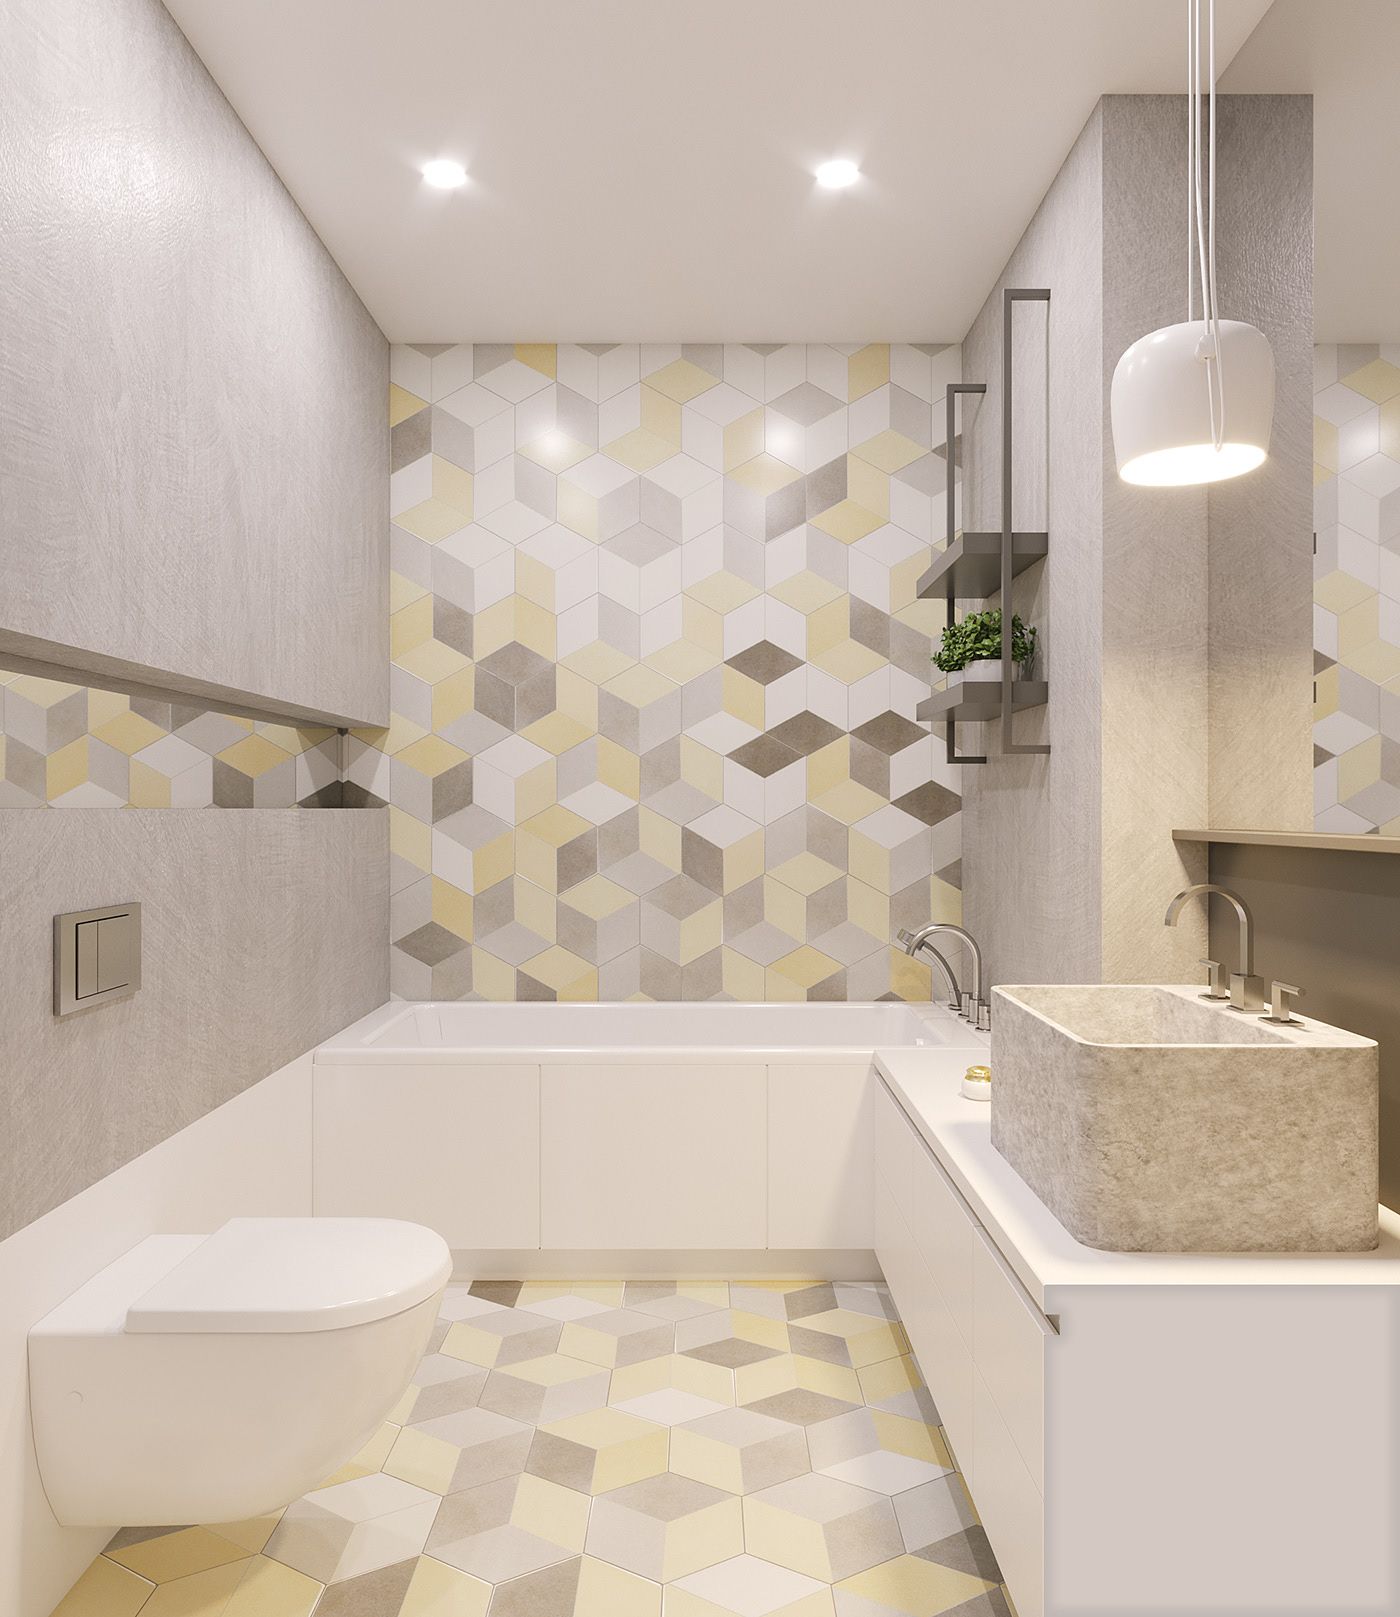
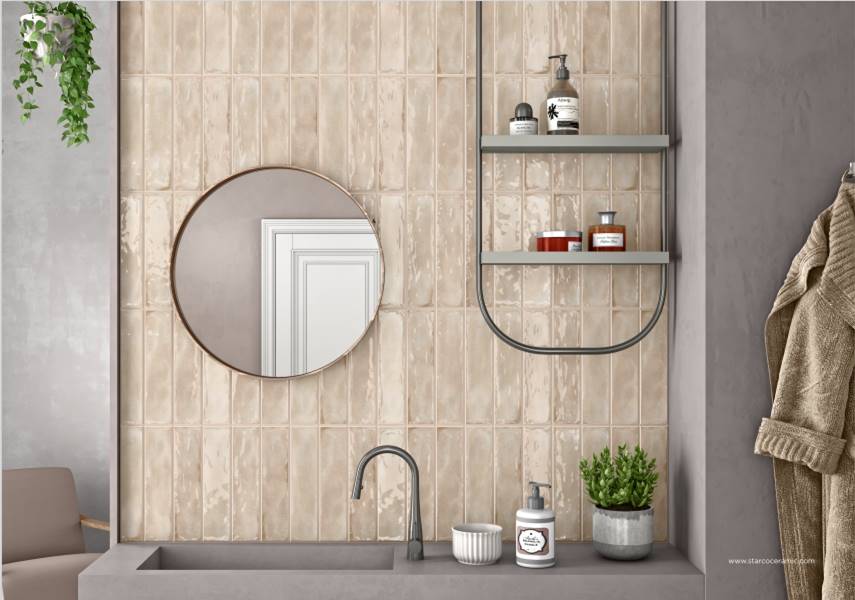
Smaller Rooms: Bathroom and Laundry Room
For smaller spaces like bathrooms and laundry rooms, smaller tiles are generally recommended. They can be fitted around fixtures and appliances more easily, reducing the need for extensive tile cutting. Popular options include marble or marble-inspired tiles, mosaic tiles, monochromatic tiles, and subway tiles.
Credits: @in.house.design
However, larger tiles like large format tiles can also work well in smaller rooms because they have fewer grout lines, creating the illusion of a larger space.
When choosing bathroom tiles, prioritize slip-resistant options that are easy to clean.
Browse some of our most popular bathroom and laundry room tiles to get started:
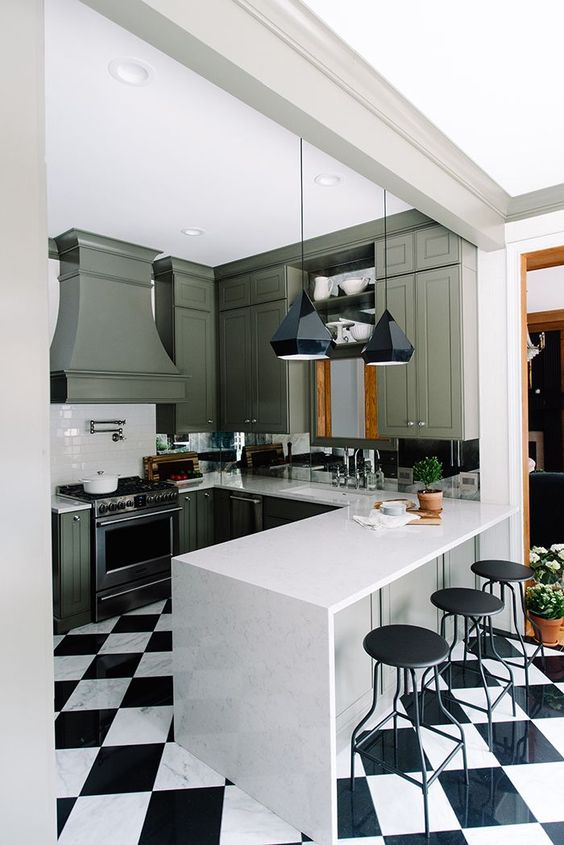
The Kitchen: The Heart of the Home
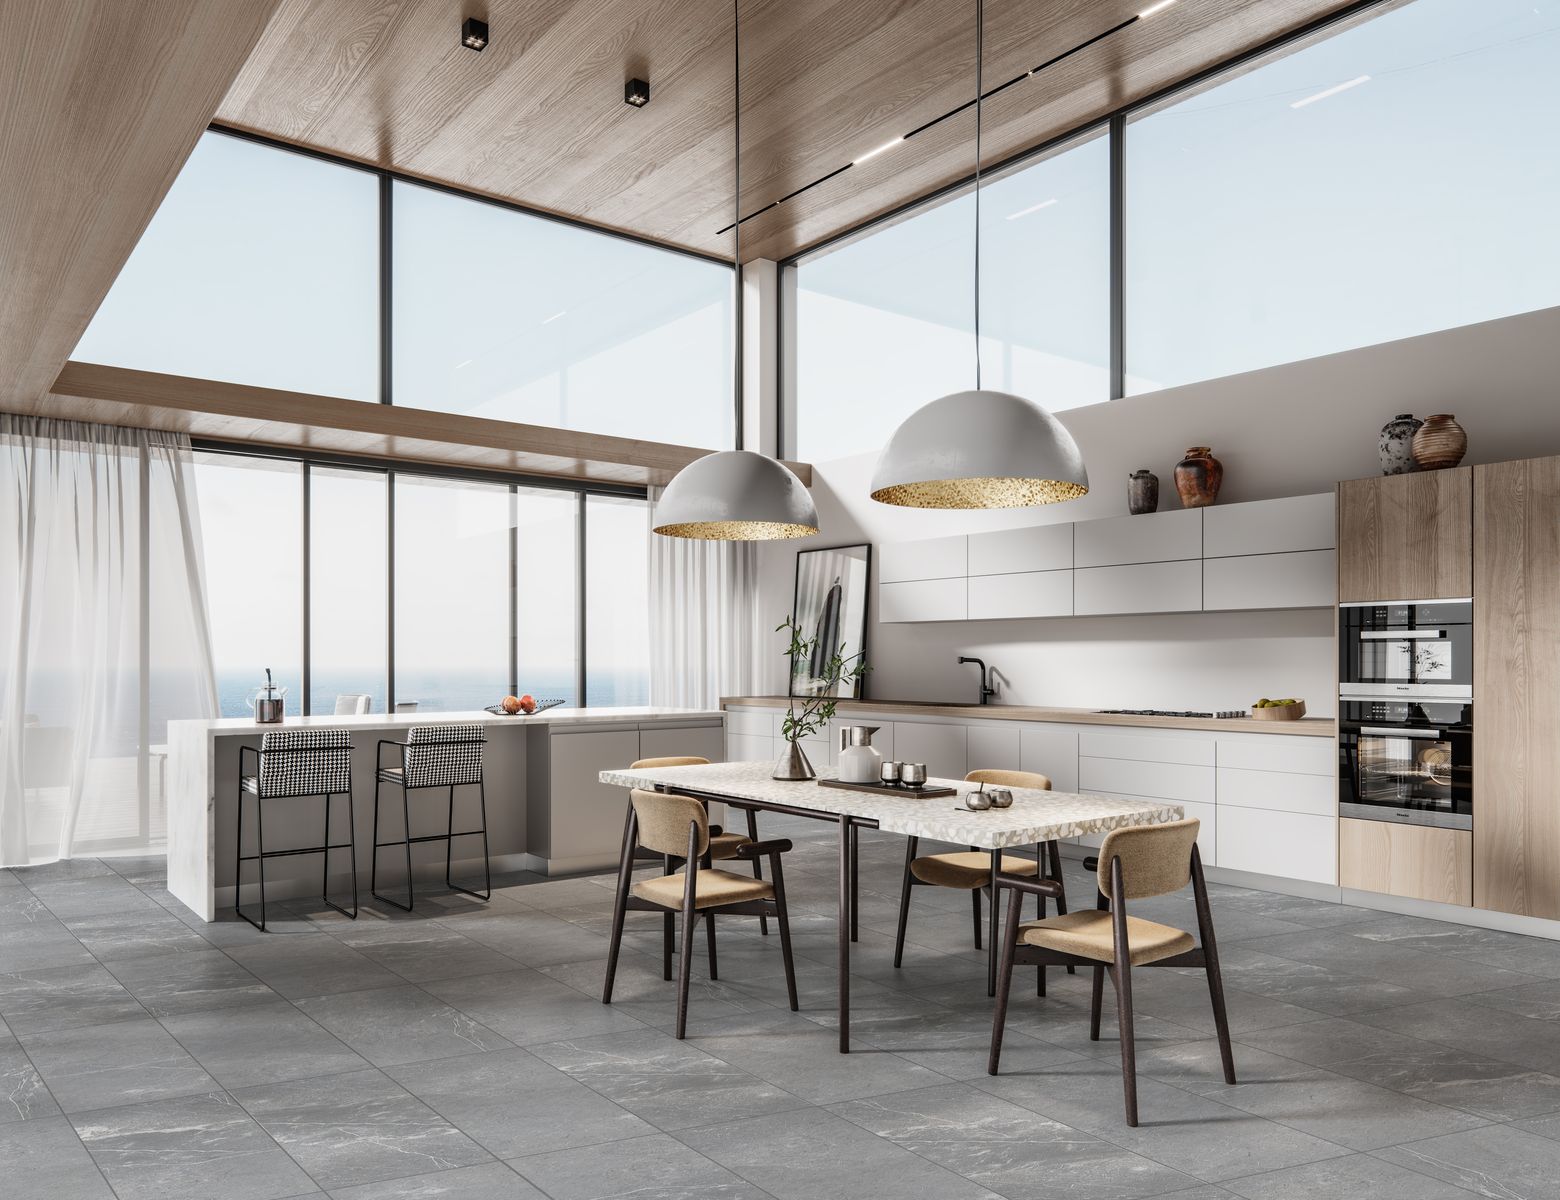
In larger rooms and open spaces, large format tiles can be the perfect choice. They create a uniform flooring and are becoming increasingly popular in open plan kitchens and living rooms. Large tiles offer a contemporary, hard-wearing feel, and slip-resistant tiles are recommended for the kitchen since it is a wet area.
Browse some of our most popular kitchen tiles to find the perfect match for your home:
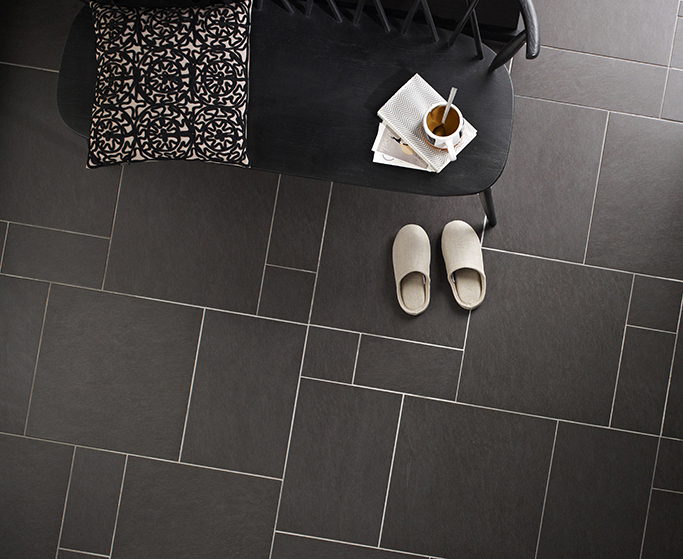
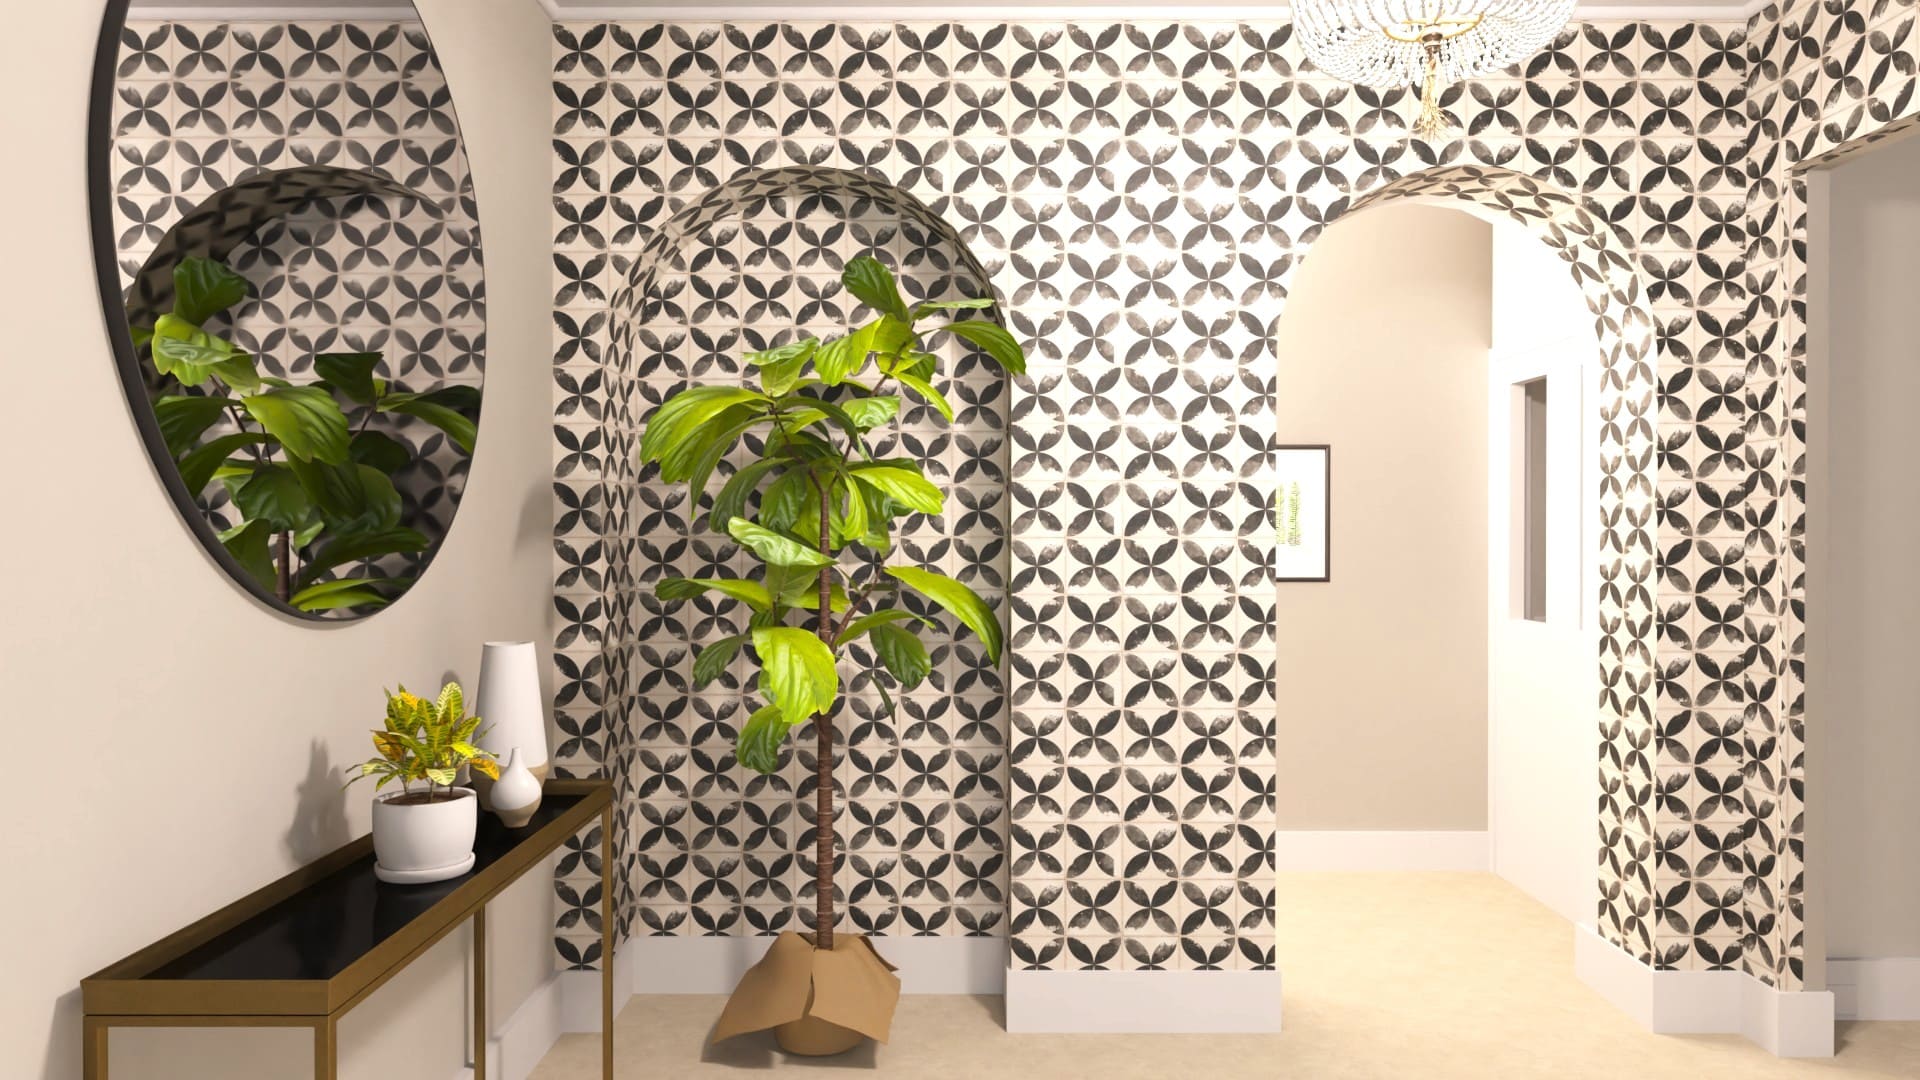
Hallways: Making a Great First Impression
Hallways are often the first area guests see, so it’s important to make a lasting impression. Hallways need to be welcoming and attractive but also hard-wearing, as they endure a lot of foot traffic.
Ceramic tiles are a great choice because they are easy to clean and come in various bright colors and patterns.
Alternatively, large format tiles in neutral colors can create a simple, easy-to-clean look.
Decorative tiles are another popular option, adding a trendy touch to your hallway.
The choice depends on your style and whether you want a cohesive look throughout your home or different styles in each room.
Browse some of our most popular hallway tiles for inspiration:
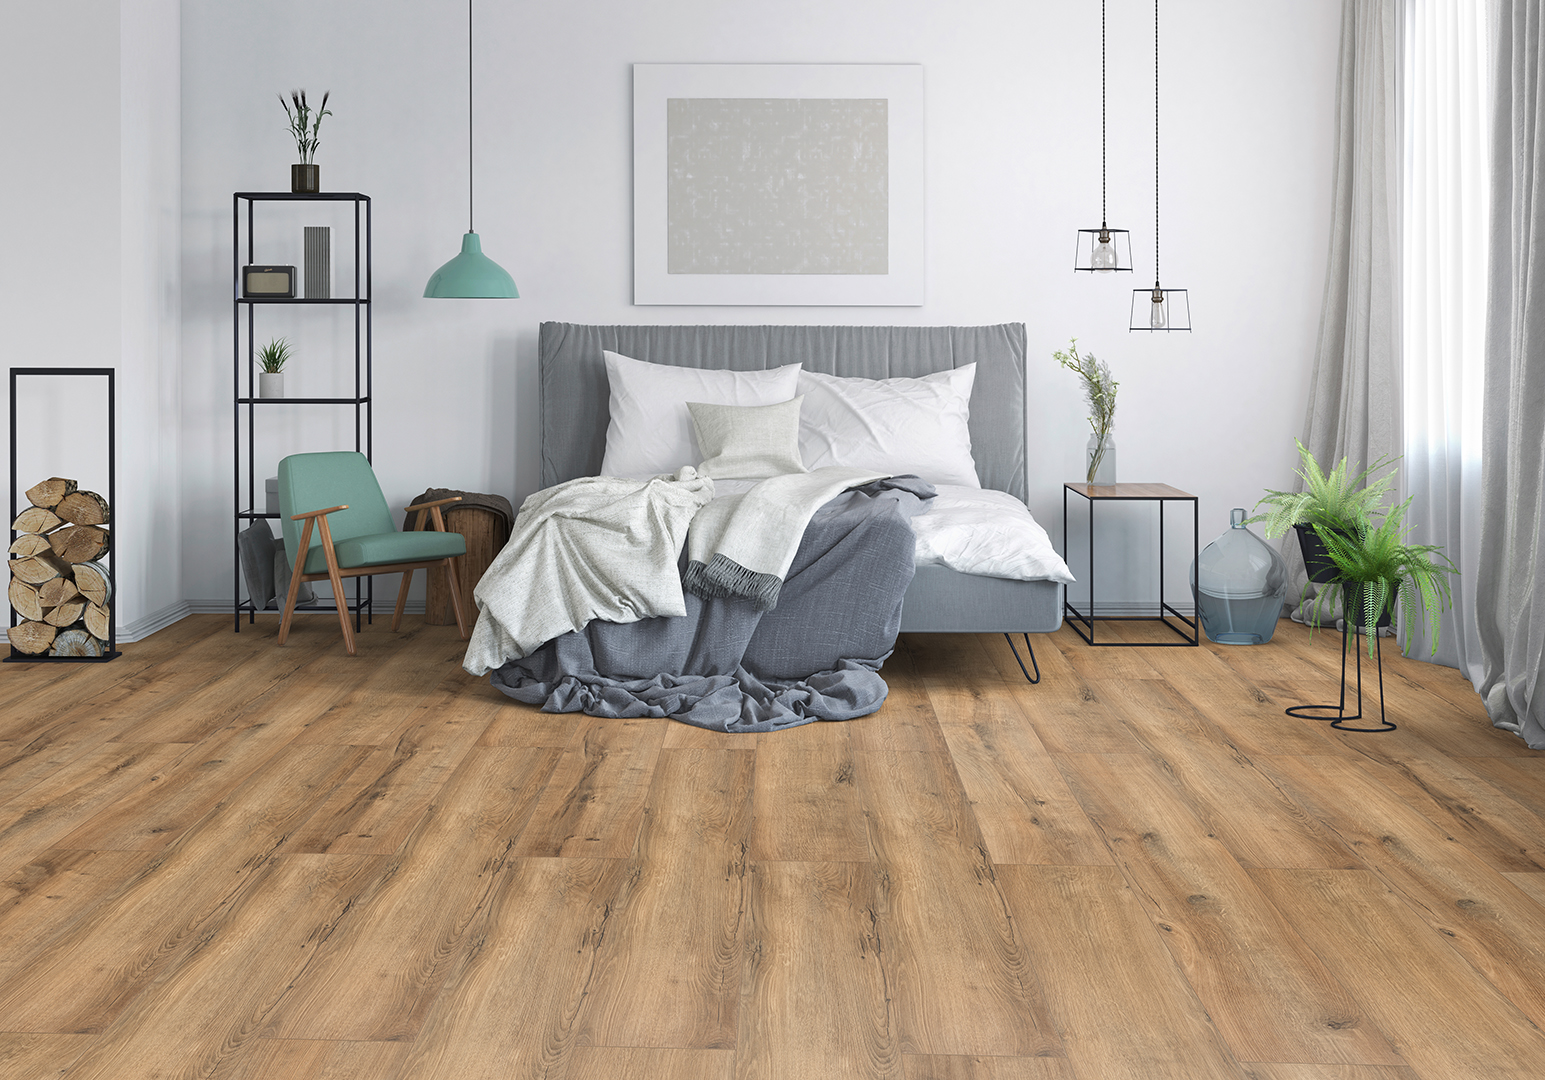
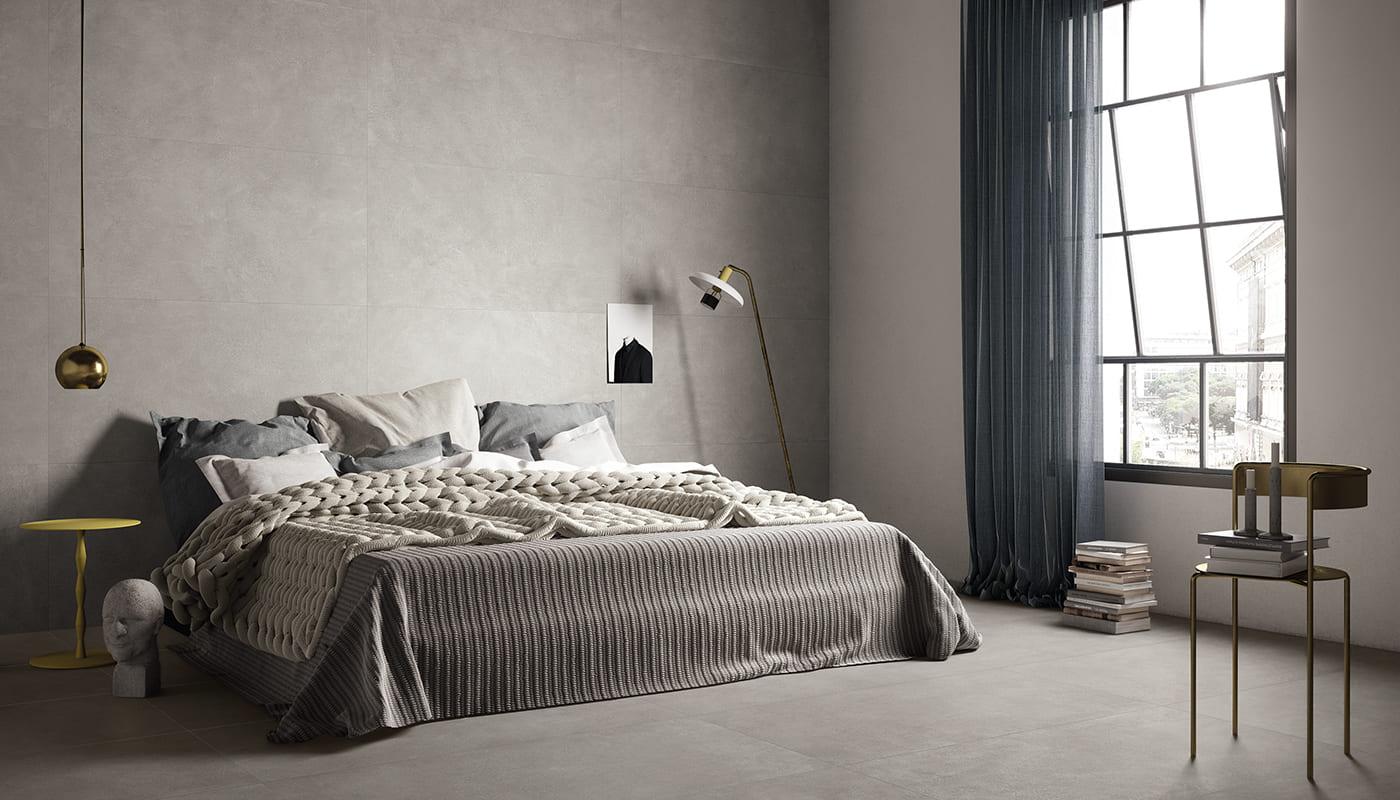
Bedroom: A Growing Trend
Tiles in the bedroom are growing in popularity. Wood-look tiles add rustic, traditional charm to your cozy bedroom while offering ease of installation, cleaning, and maintenance.
Alternatively, large format glossy or matte tiles in neutral colors can provide the finishing touch to a minimalistic, contemporary-styled bedroom.
Credits: Emilgroup
Browse some of our most popular bedroom tiles to create your dream space:
Living Room: High Traffic and High Style
The living room is another high-traffic area. It’s important to choose tiles that are durable, hard-wearing, and easy to clean. For a unified look, consider using the same tiles throughout your home, from the kitchen to the bedroom to the living room. Wood-look tiles are a great option for creating a warm, homely feel in the living room.
Browse some of our most popular living room tiles to find your perfect fit:
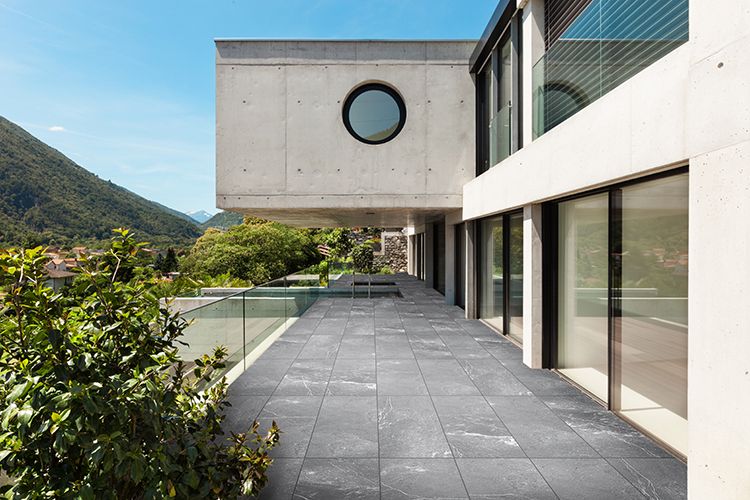
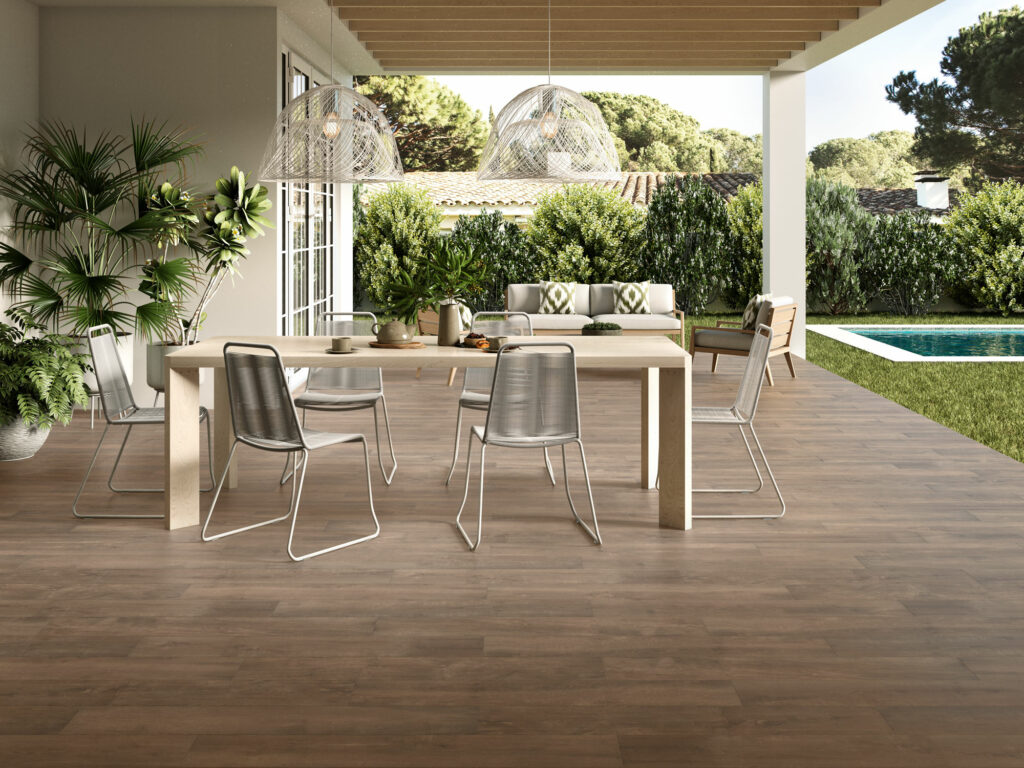
Outdoor: Extend Your Living Space
Let’s take this conversation outside. Slip-resistantporcelain and ceramic tiles are ideal for outdoor areas because they are moisture and water-resistant. Porcelain tiles are particularly suitable for outdoor use due to their higher water resistance. A matte glazed finish can offer even more slip resistance.
Wood-look tiles are another excellent option for the outdoors if you prefer the look of a wooden deck but without the maintenance required with real wood decking.
Credits: Archi Expo
Browse some of our most popular outdoor tiles to enhance your outdoor living space:
Prefer to Watch?
Check out our two-part episode where Ryan and Deon walk you through everything you need to know and share some inspiration for tiles for each room of your home.
Tiletoria Trends – How to Choose Tiles By Room (Part 1)
Tiletoria Trends – How to Choose Tiles By Room (Part 2)
For more expert advice on which tiles are best suited for each room of your home, visit your nearest Tiletoria showroom or check out our website for more information.
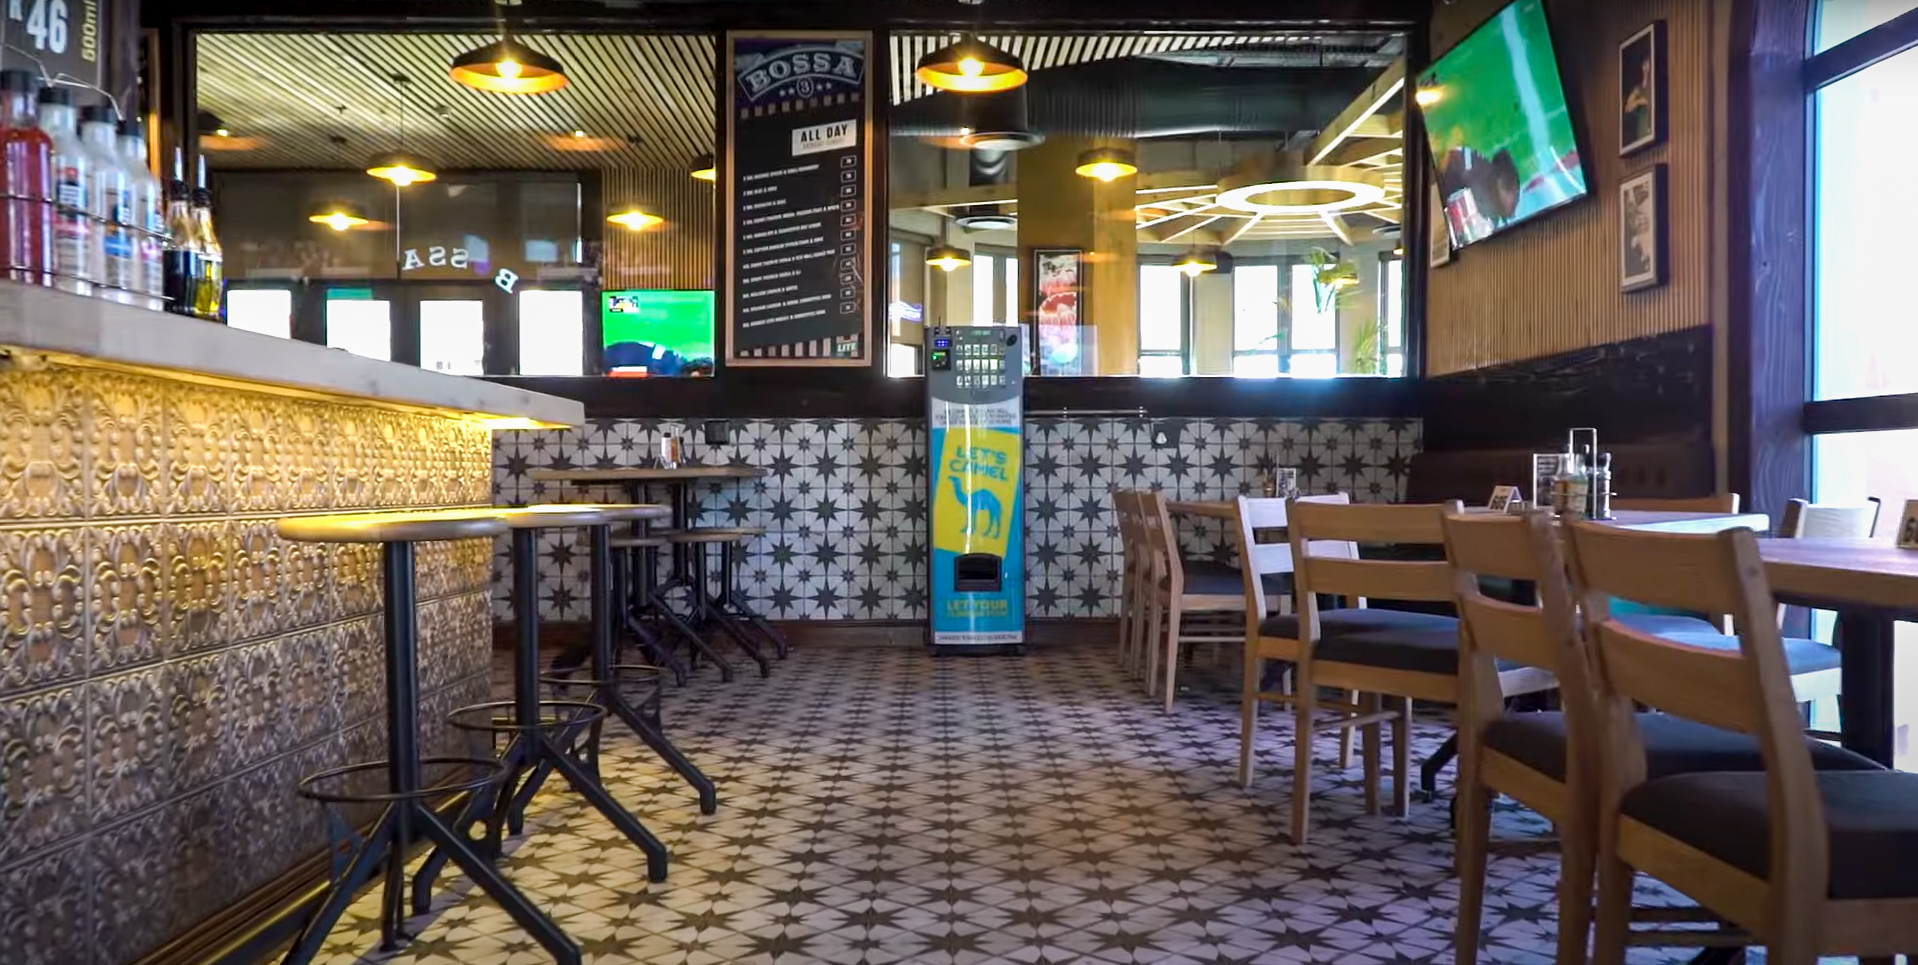
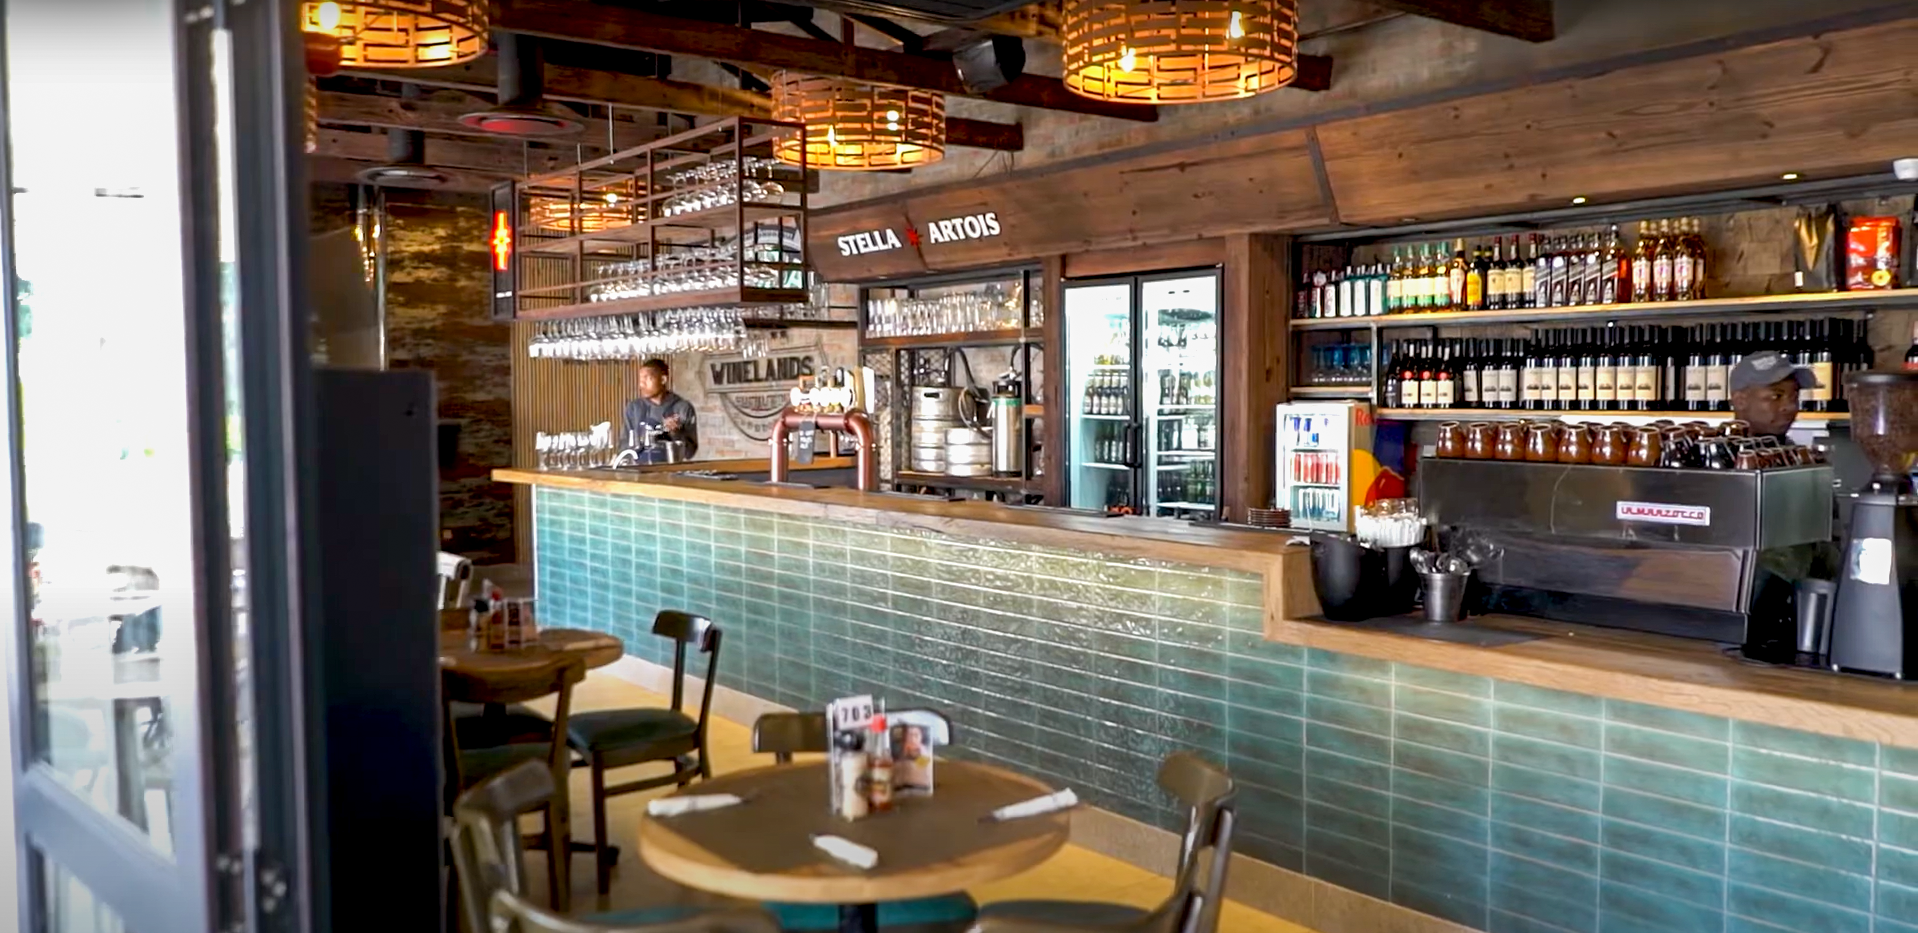
Bossa Restaurants are among the most well-known dining spots in the Western Cape, with 20 successful restaurants opened since their first opening in Paarl in 2002. Known for great food, excellent service, and good times, each Bossa restaurant displays a familiar rustic, modern style. This consistent, inviting atmosphere is thanks to Tiletoria.
Visually, each Bossa restaurant features a theme of warm, timeless, classic colours that create the signature Bossa vibe.
Blending various materials, from vinyl and laminates to porcelain and décor tiles, but it’s not just about the tiles. It’s the attention to detail that brings the final look together, a signature of Tiletoria’s expertise.
When you visit a Bossa restaurant, you can expect great food, great company, and a fantastic ambiance, all enhanced by the stunning décor provided by Tiletoria.
Check out the final reveal of the completed projects at Bossa Meerendal and Bossa Canal Walk:
Are you considering upgrading your floors with tiles? Whether you’re looking for durability, easy maintenance, or a refreshed look, tiles can be the perfect solution for you.
But before you dive into your next DIY project or start browsing floor tiles for sale, you might have a few questions. Here are the answers to some of the most frequently asked questions about floor tiles:
Installing tile floors may seem daunting, but it’s actually quite manageable with the right tools and preparation. Here’s a basic overview:
Make sure you have the right tools. For a breakdown of all the tools and accessories you need for a successful tile installation, read our guide here.
Prepare the surface: Ensure it’s clean, flat, and dry.
Lay the tiles: Start in the center of the room and work your way outwards, using spacers to maintain even spacing between tiles.
Apply adhesive: Spread a thin layer of adhesive with a trowel and press the tiles into place. To achieve professional results and create a durable tiled surfaces, read our guide to using adhesives for tiling here.
Grout the tiles: Once the adhesive is completely dry, fill the gaps between tiles with grout and wipe away excess. The tile grout colour you choose to use on your wall or floor plays an important part in the overall room design. Read our guide on how to choose the right grout colour.
For a step by step guide on how to tile put tiles on the floor, read our guide here.
Installing mosaic tiles? We’ll walk you through the steps to install mosaic tiles like a pro here.
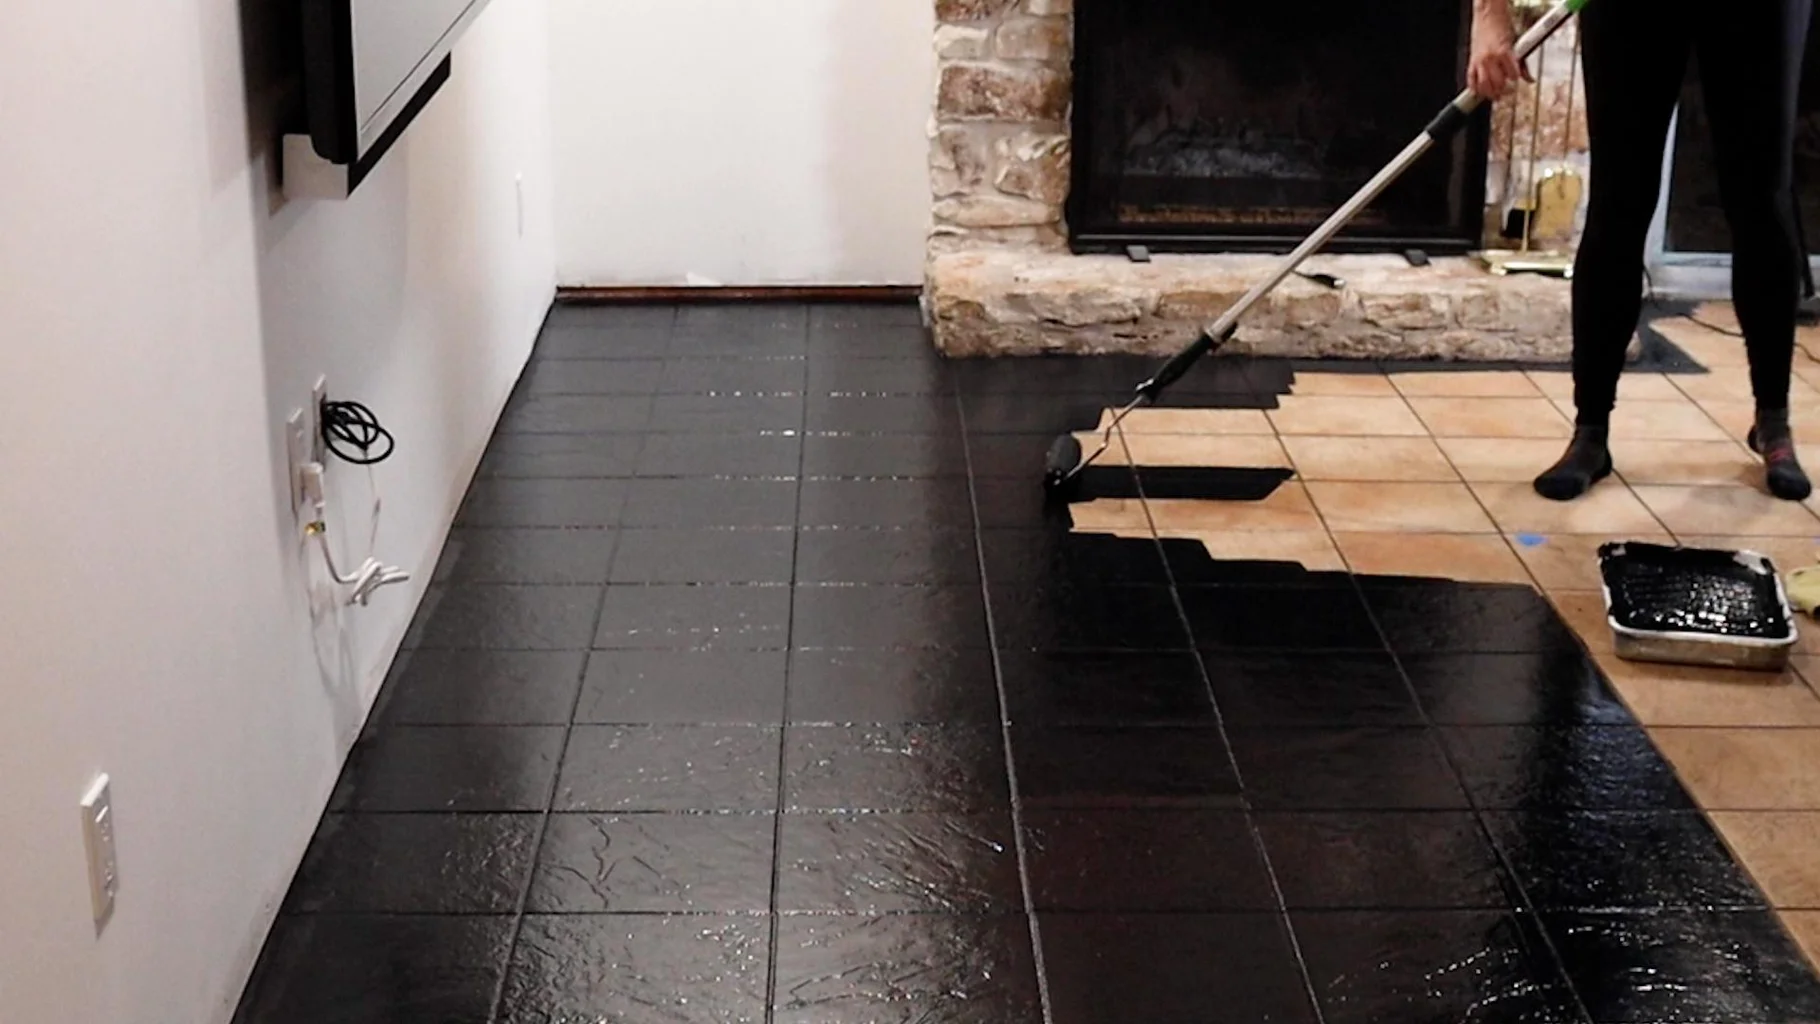
2. Can I paint floor tiles?
The answer is yes- you can paint tiles on the floor to give them a refreshed look and enhance your space! Make sure to clean and prime the tiles before painting, and use a durable enamel paint designed for floors. Proper preparation and sealing are key to ensuring a long-lasting finish.
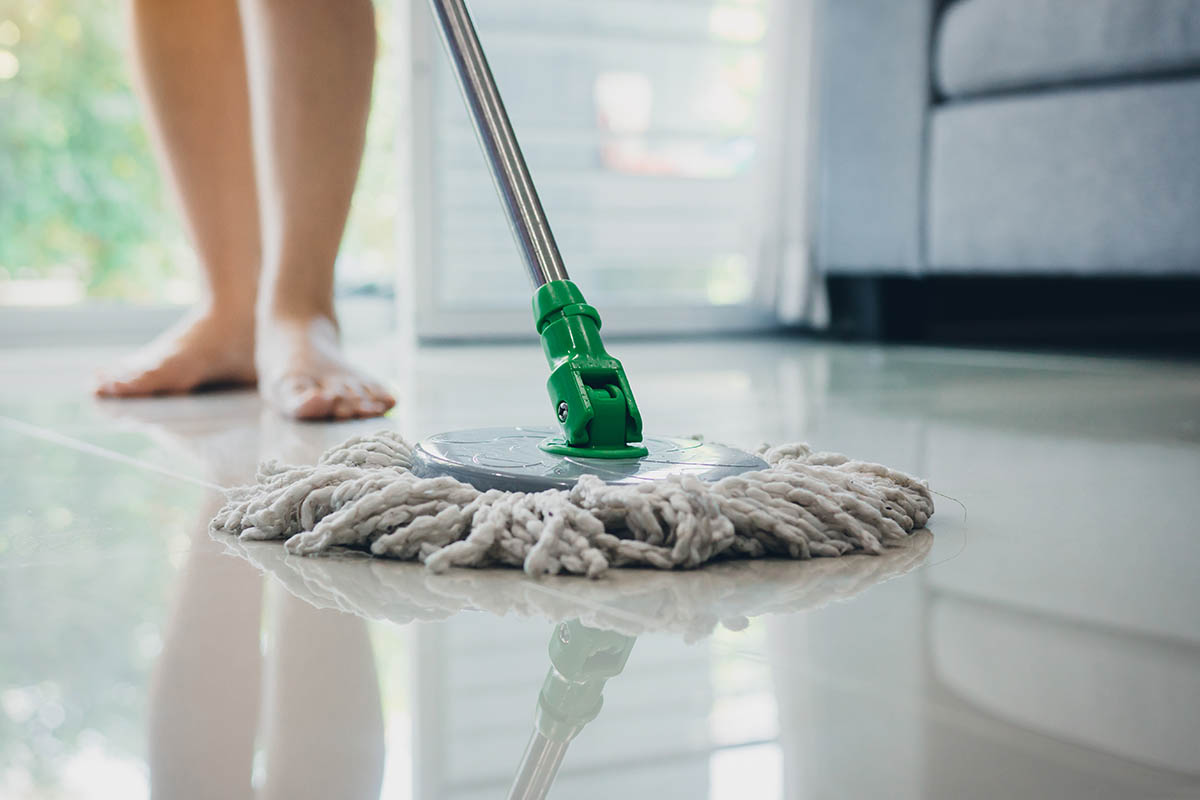
Cleaning porcelain tile floors is easy and simple. Sweep or vacuum regularly to remove dirt and debris. Mop your tiles with clean water and a mild detergent or cleaning solution as needed. Avoid using harsh cleaners or abrasive tools that could scratch your tiles.
The number of tiles in a box can vary depending on the size and type of tile. Typically, manufacturers will indicate the coverage area on the box. This will allow you to calculate the number of tiles you need based on your floor size.
Calculate how much tile you will need for your project here.
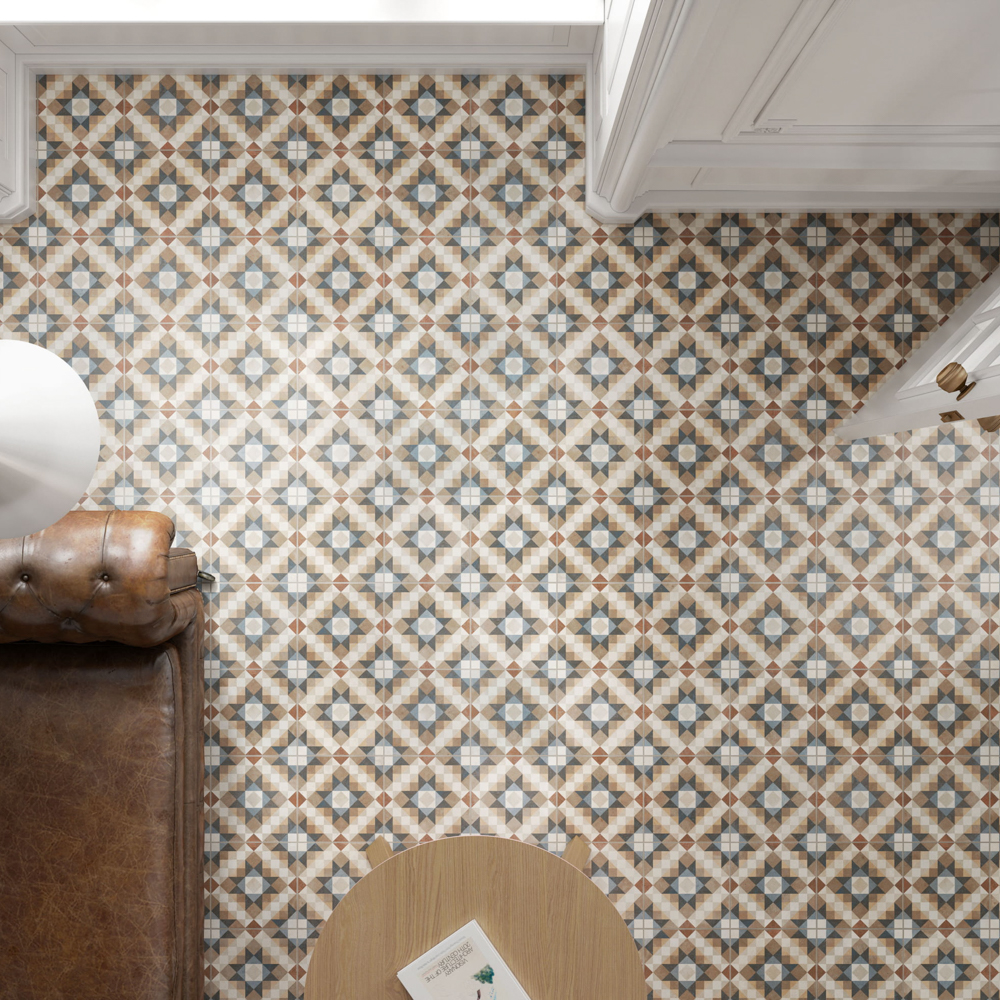
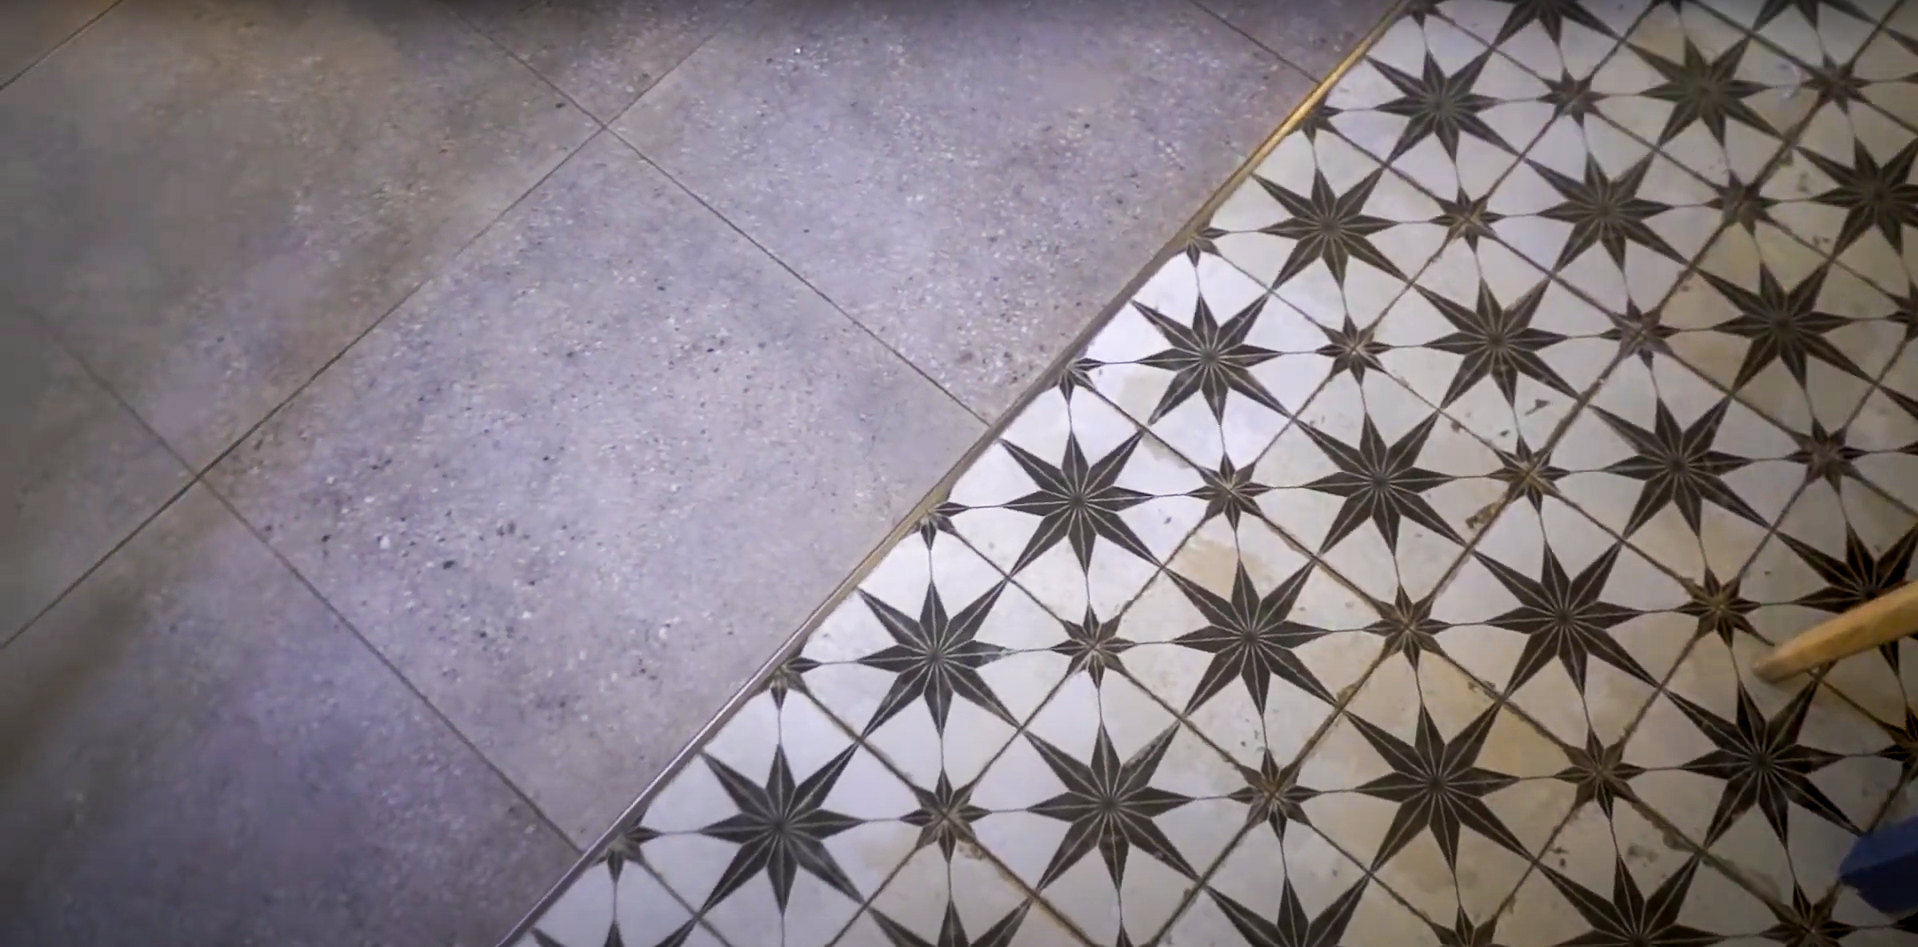
5. What are patterned floor tiles?
Patterned floor tiles feature decorative designs or motifs that add visual interest to your floors. From geometric patterns to intricate designs inspired by nature, patterned tiles can elevate the style of any room.
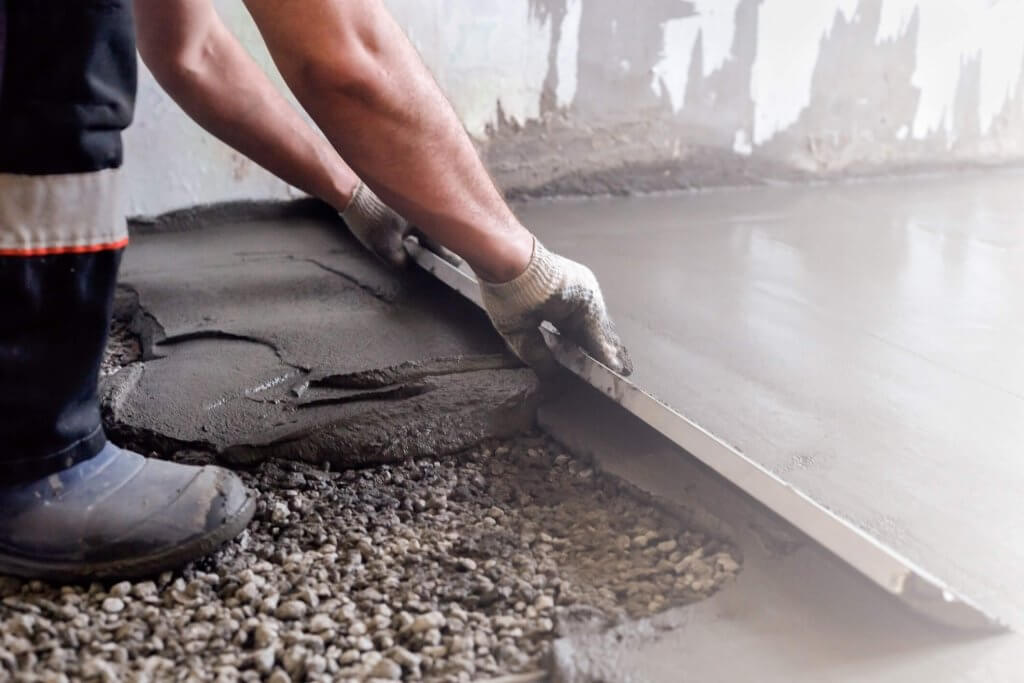
Screeding a floor involves leveling and smoothing the surface to prepare it for tiling. While it’s possible to do it yourself, it requires careful attention to detail and the right tools. Consider hiring a professional if you’re unsure about tackling this task.
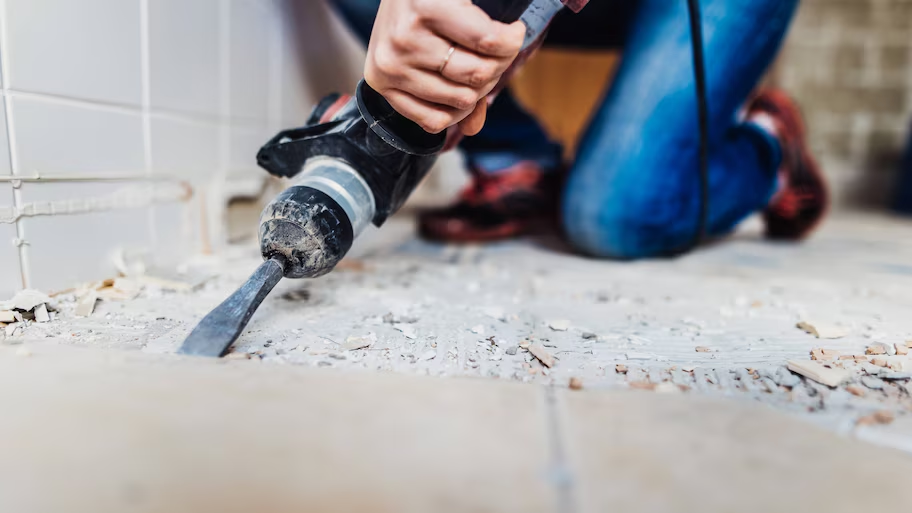
Removing tile floor can be a labor-intensive process. Start by breaking up a tile with a hammer and chisel, then use a pry bar to remove the remaining tiles and adhesive. Take care to protect yourself and your surface during the removal process.
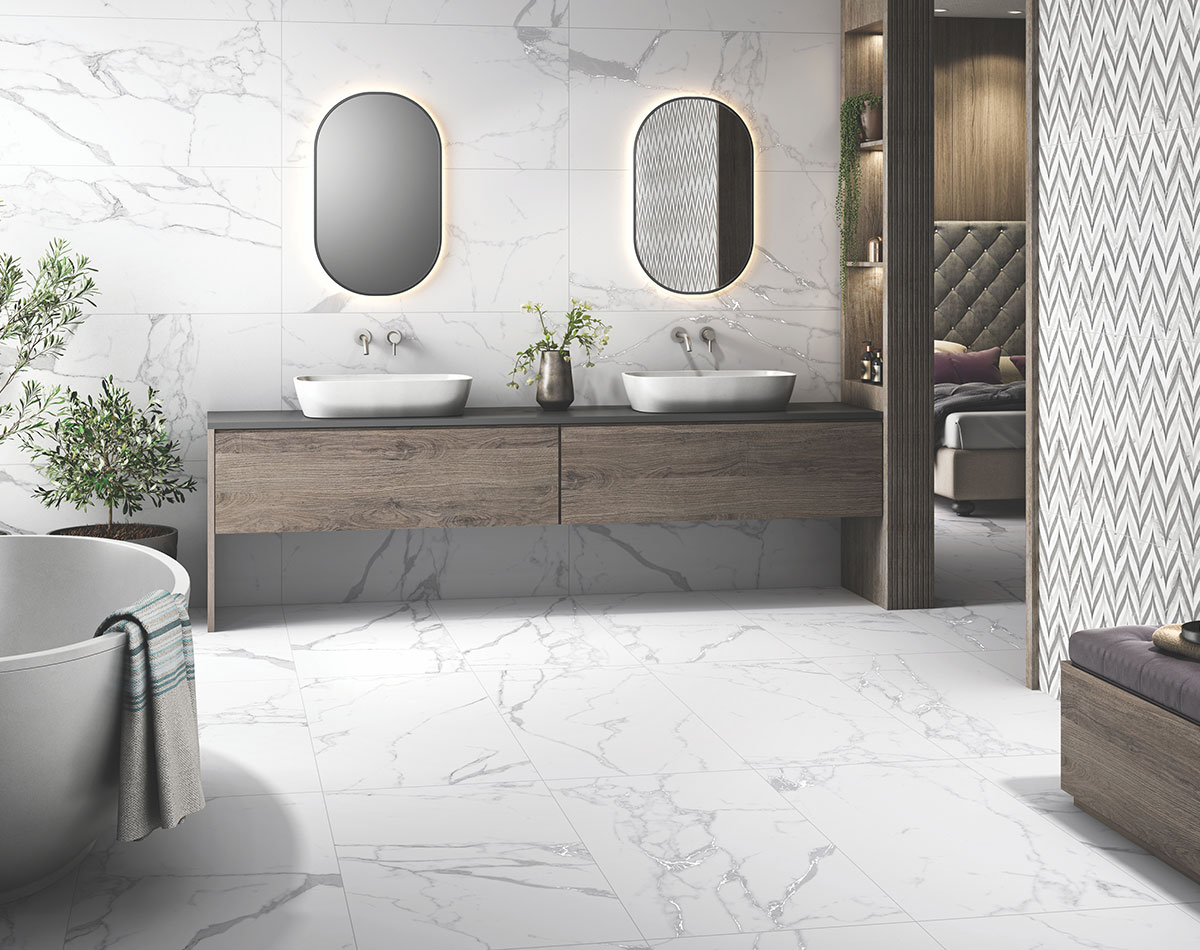
Large format tiles are tiles that are larger in size compared to standard tiles. These tiles typically have dimensions of 1200 x 600mm.
Large format tiles offer a more modern look with fewer grout lines. This makes them easier to install because they cover more space with each tile. Designers often use them in modern design for floors, walls, and countertops to create a clean and open look.
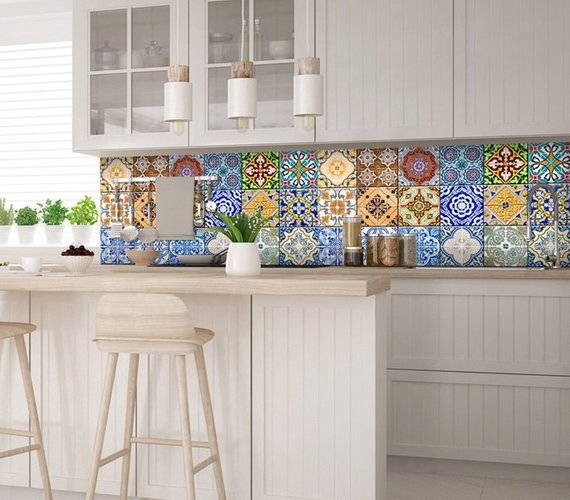
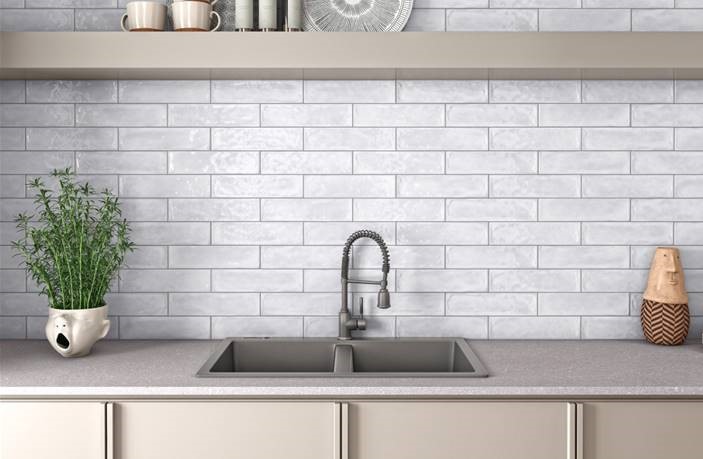
Subway tiles are ceramic tiles that became popular in the early 20th century. They first used them to decorate subway stations in New York City. These tiles are typically rectangular in shape, with dimensions of approximately 300 x 100mm, however, their sizes vary.
Subway tiles are versatile and work well in different spaces, such as kitchen backsplashes, bathroom walls and feature walls. Subway tiles have a timeless and classic appearance that is popular for traditional and modern designs.
Tile layout patterns are tiles laid in a specific pattern or arrangement. These patterns include classics like herringbone, basketweave, chevron, and diamond. You can also use modern layouts like checkerboard or random offset.
You can create patterns by using tiles that are the same size and shape. You can also mix different sizes, colors, or textures for a unique and custom look. These layouts add visual interest and dimension to floors, creating a dynamic and engaging environment.
Experimenting with tile patterns can enhance the floor tiles design. This applies to kitchens, bathrooms, living areas, and entryways.
Do you have another question about tiles that we haven’t addressed? Stop by your closest Tiletoria showroom and our team will gladly help with any questions you have or leave your questions in the comments!
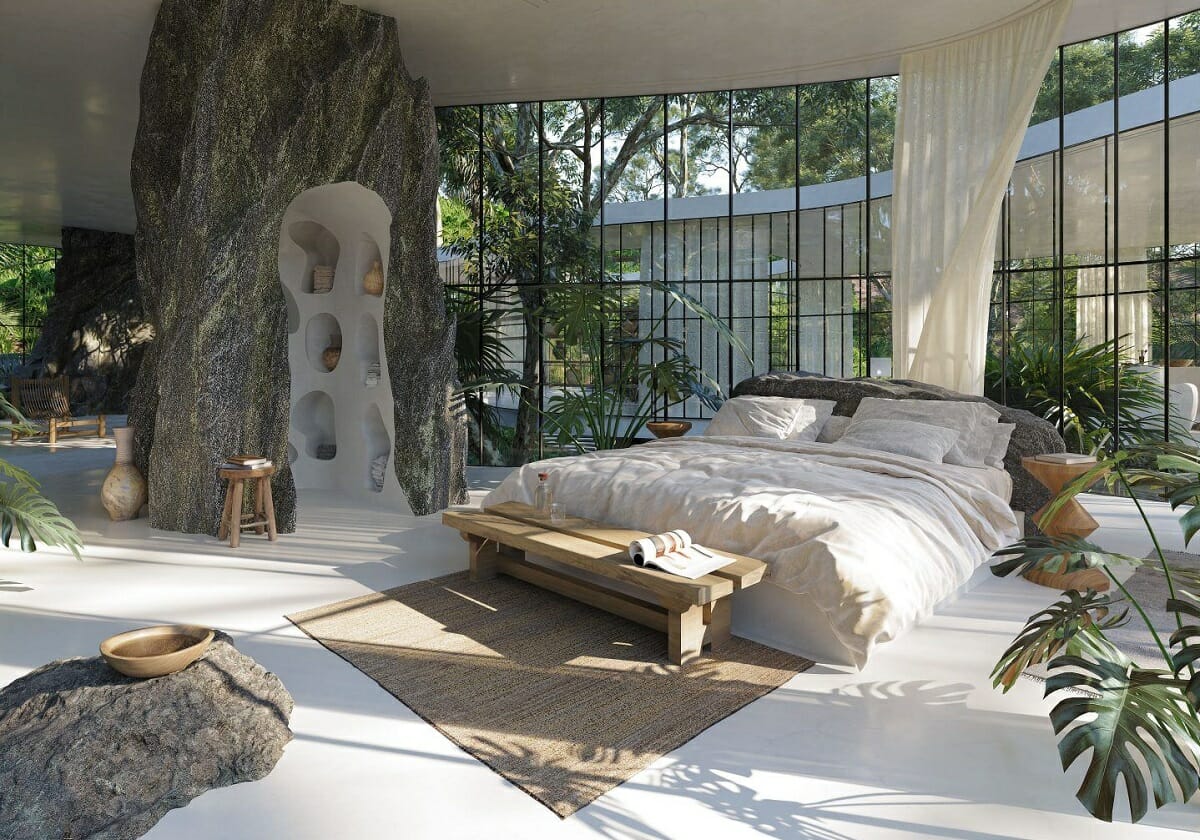
As we stand on the cusp of a new year, the landscape of interior design continues to evolve, revealing trends that echo our yearning for positivity and nurturing home environments. Anticipating the trends that will shape living spaces in 2024, let’s take a glimpse into the future of interior design. From innovative materials to evolving colour palettes, we’ll delve into the predictions that will redefine the aesthetics of our homes.
Nature’s Embrace: Biophilic Design Flourishes
In 2024, the connection between nature and design is set to deepen with the flourishing popularity of biophilic design. Embracing natural elements within interiors—whether through sustainable materials, indoor greenery, or earth-inspired colour palettes—will create spaces that not only look stunning but also foster a sense of well-being and harmony.
Sustainability Takes Centre Stage
With environmental consciousness at the forefront of design considerations, sustainable and eco-friendly materials will dominate interior spaces. From recycled furniture to energy-efficient lighting, homeowners will increasingly seek options that minimize environmental impact, reflecting a commitment to both style and responsible living.
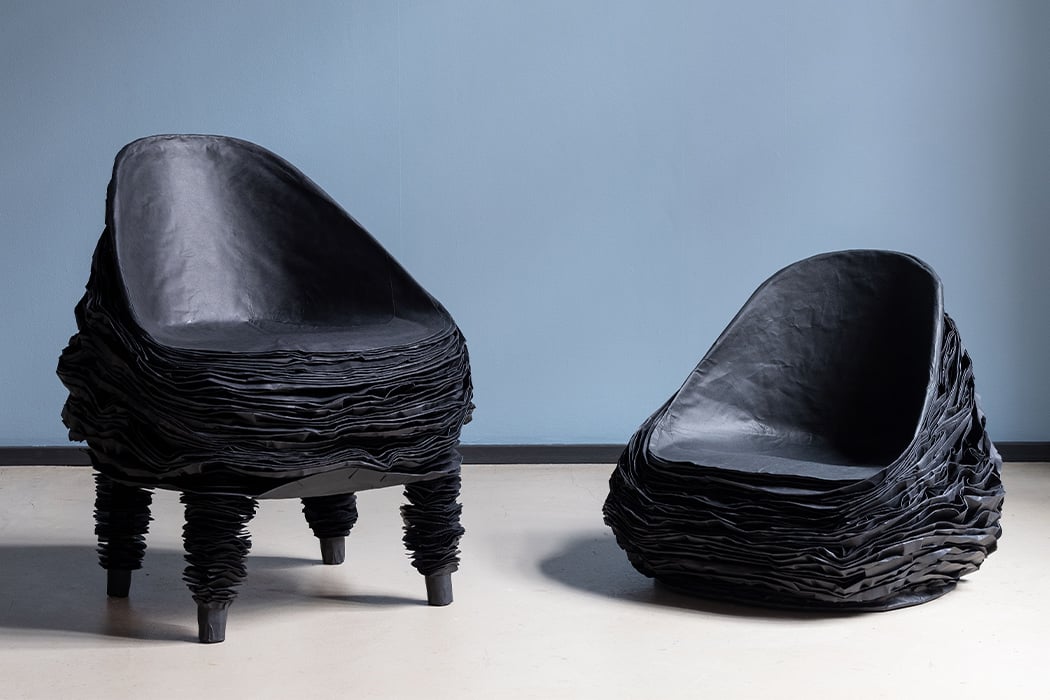
The Rise of Textured Elements
Textured surfaces will become integral to interior design, adding depth and tactile appeal to spaces. From intricately textured walls to furniture adorned with tactile materials, the emphasis on touch and sensory experience will redefine the concept of comfort and luxury in home design.
Fluid Spaces: Multi-Functional Design Solutions
The evolution of home dynamics calls for versatile design solutions. In 2024, interiors will witness a surge in multi-functional spaces, where furniture and layouts adapt to various needs. From convertible furniture pieces to modular design concepts, homes will become dynamic spaces that effortlessly accommodate diverse activities.
Tech-Integrated Living
As technology continues to advance, integration within the home will extend beyond smart devices. In 2024, seamlessly blending technology with design will be a key trend. From invisible tech solutions to innovative lighting designs, homes will be curated with a futuristic touch, enhancing both functionality and aesthetics.
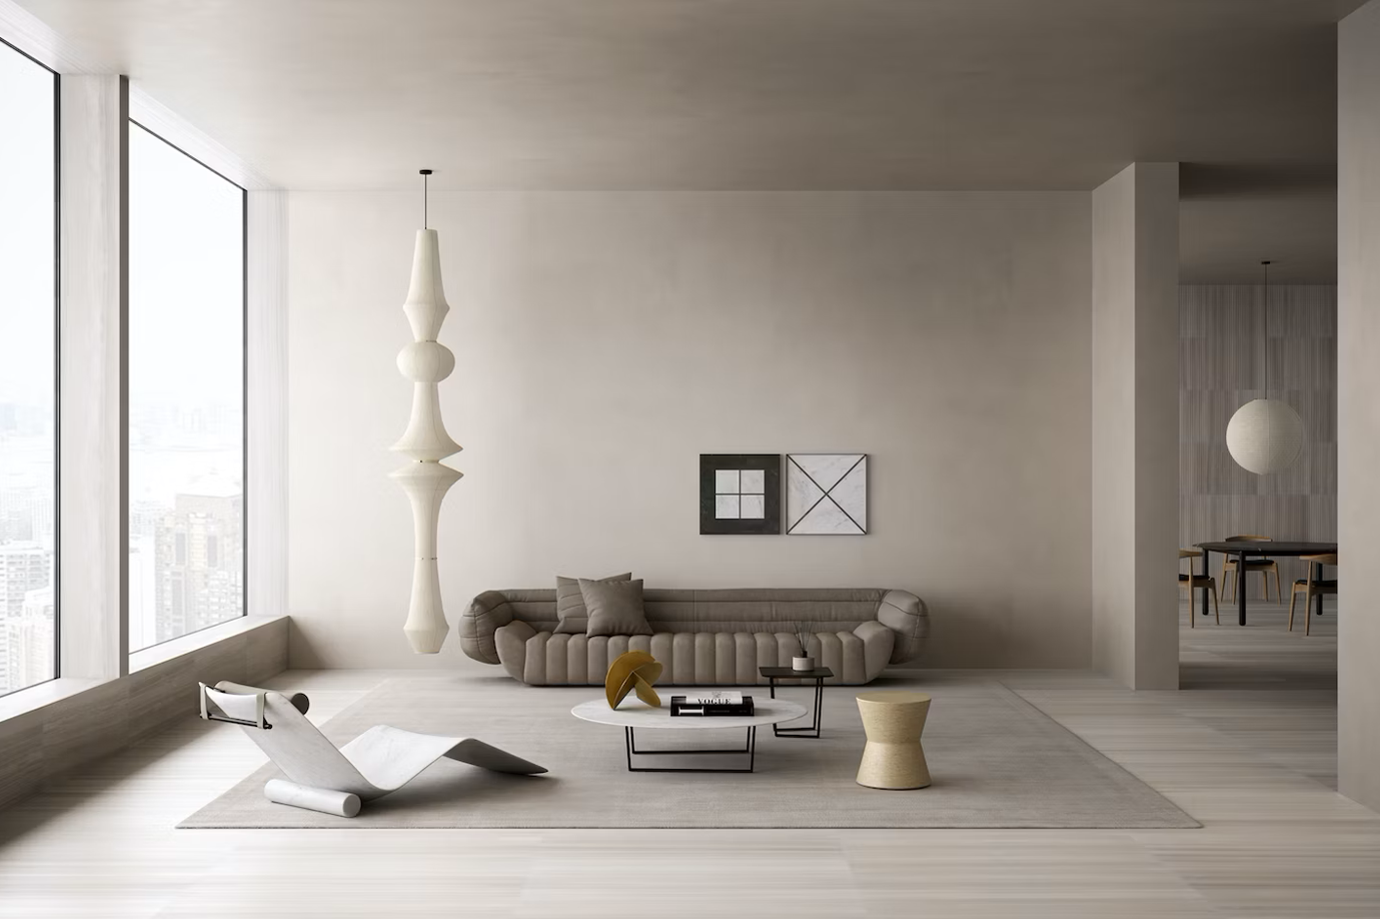
Timeless Minimalism Evolves
While minimalism remains a timeless design ethos, 2024 will witness its evolution. Spaces will feature curated simplicity with thoughtful details, combining functionality and aesthetics to create serene, uncluttered environments that stand the test of time.
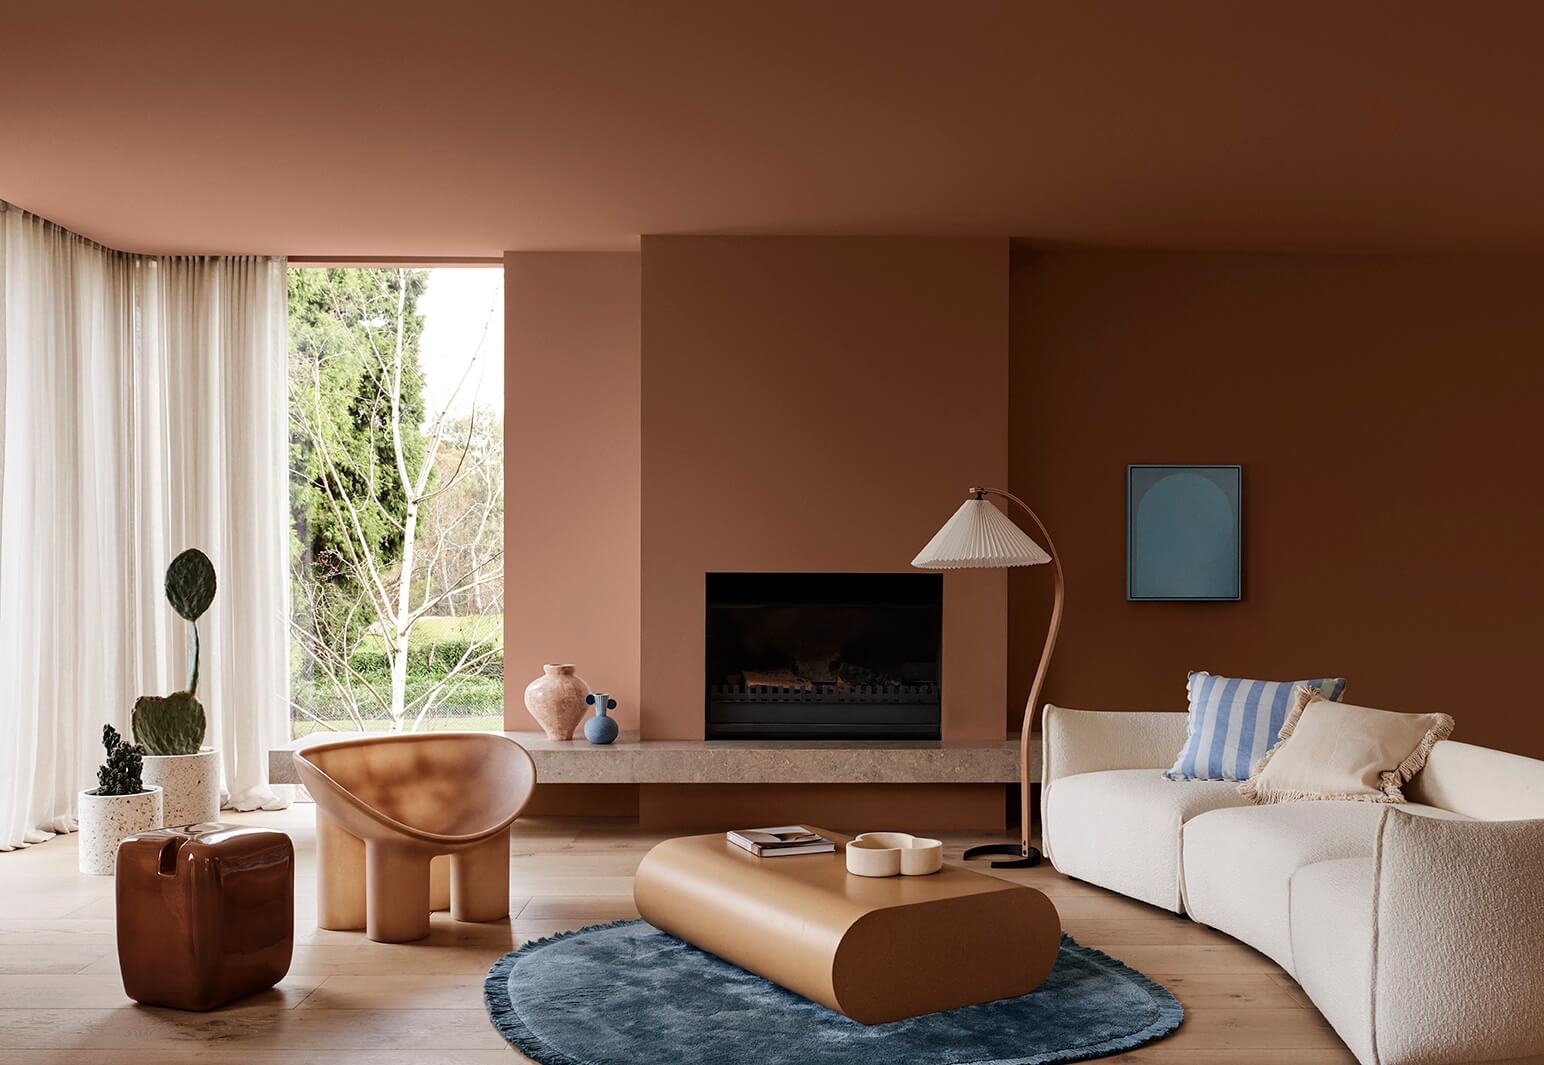
Dulux, a pioneer in colour forecasts, sets the tone for 2024 with a palette that mirrors our inner desire for positivity. Warm hues, kissed by hints of yellow, clay tones delicately touched by pink, deep reddish-brown, olive green, and subtle accents of light blue and vibrant yellow create a canvas that nurtures the soul and uplifts the spirit. These colours aren’t just pigments; they are emotions woven into the fabric of our living spaces.
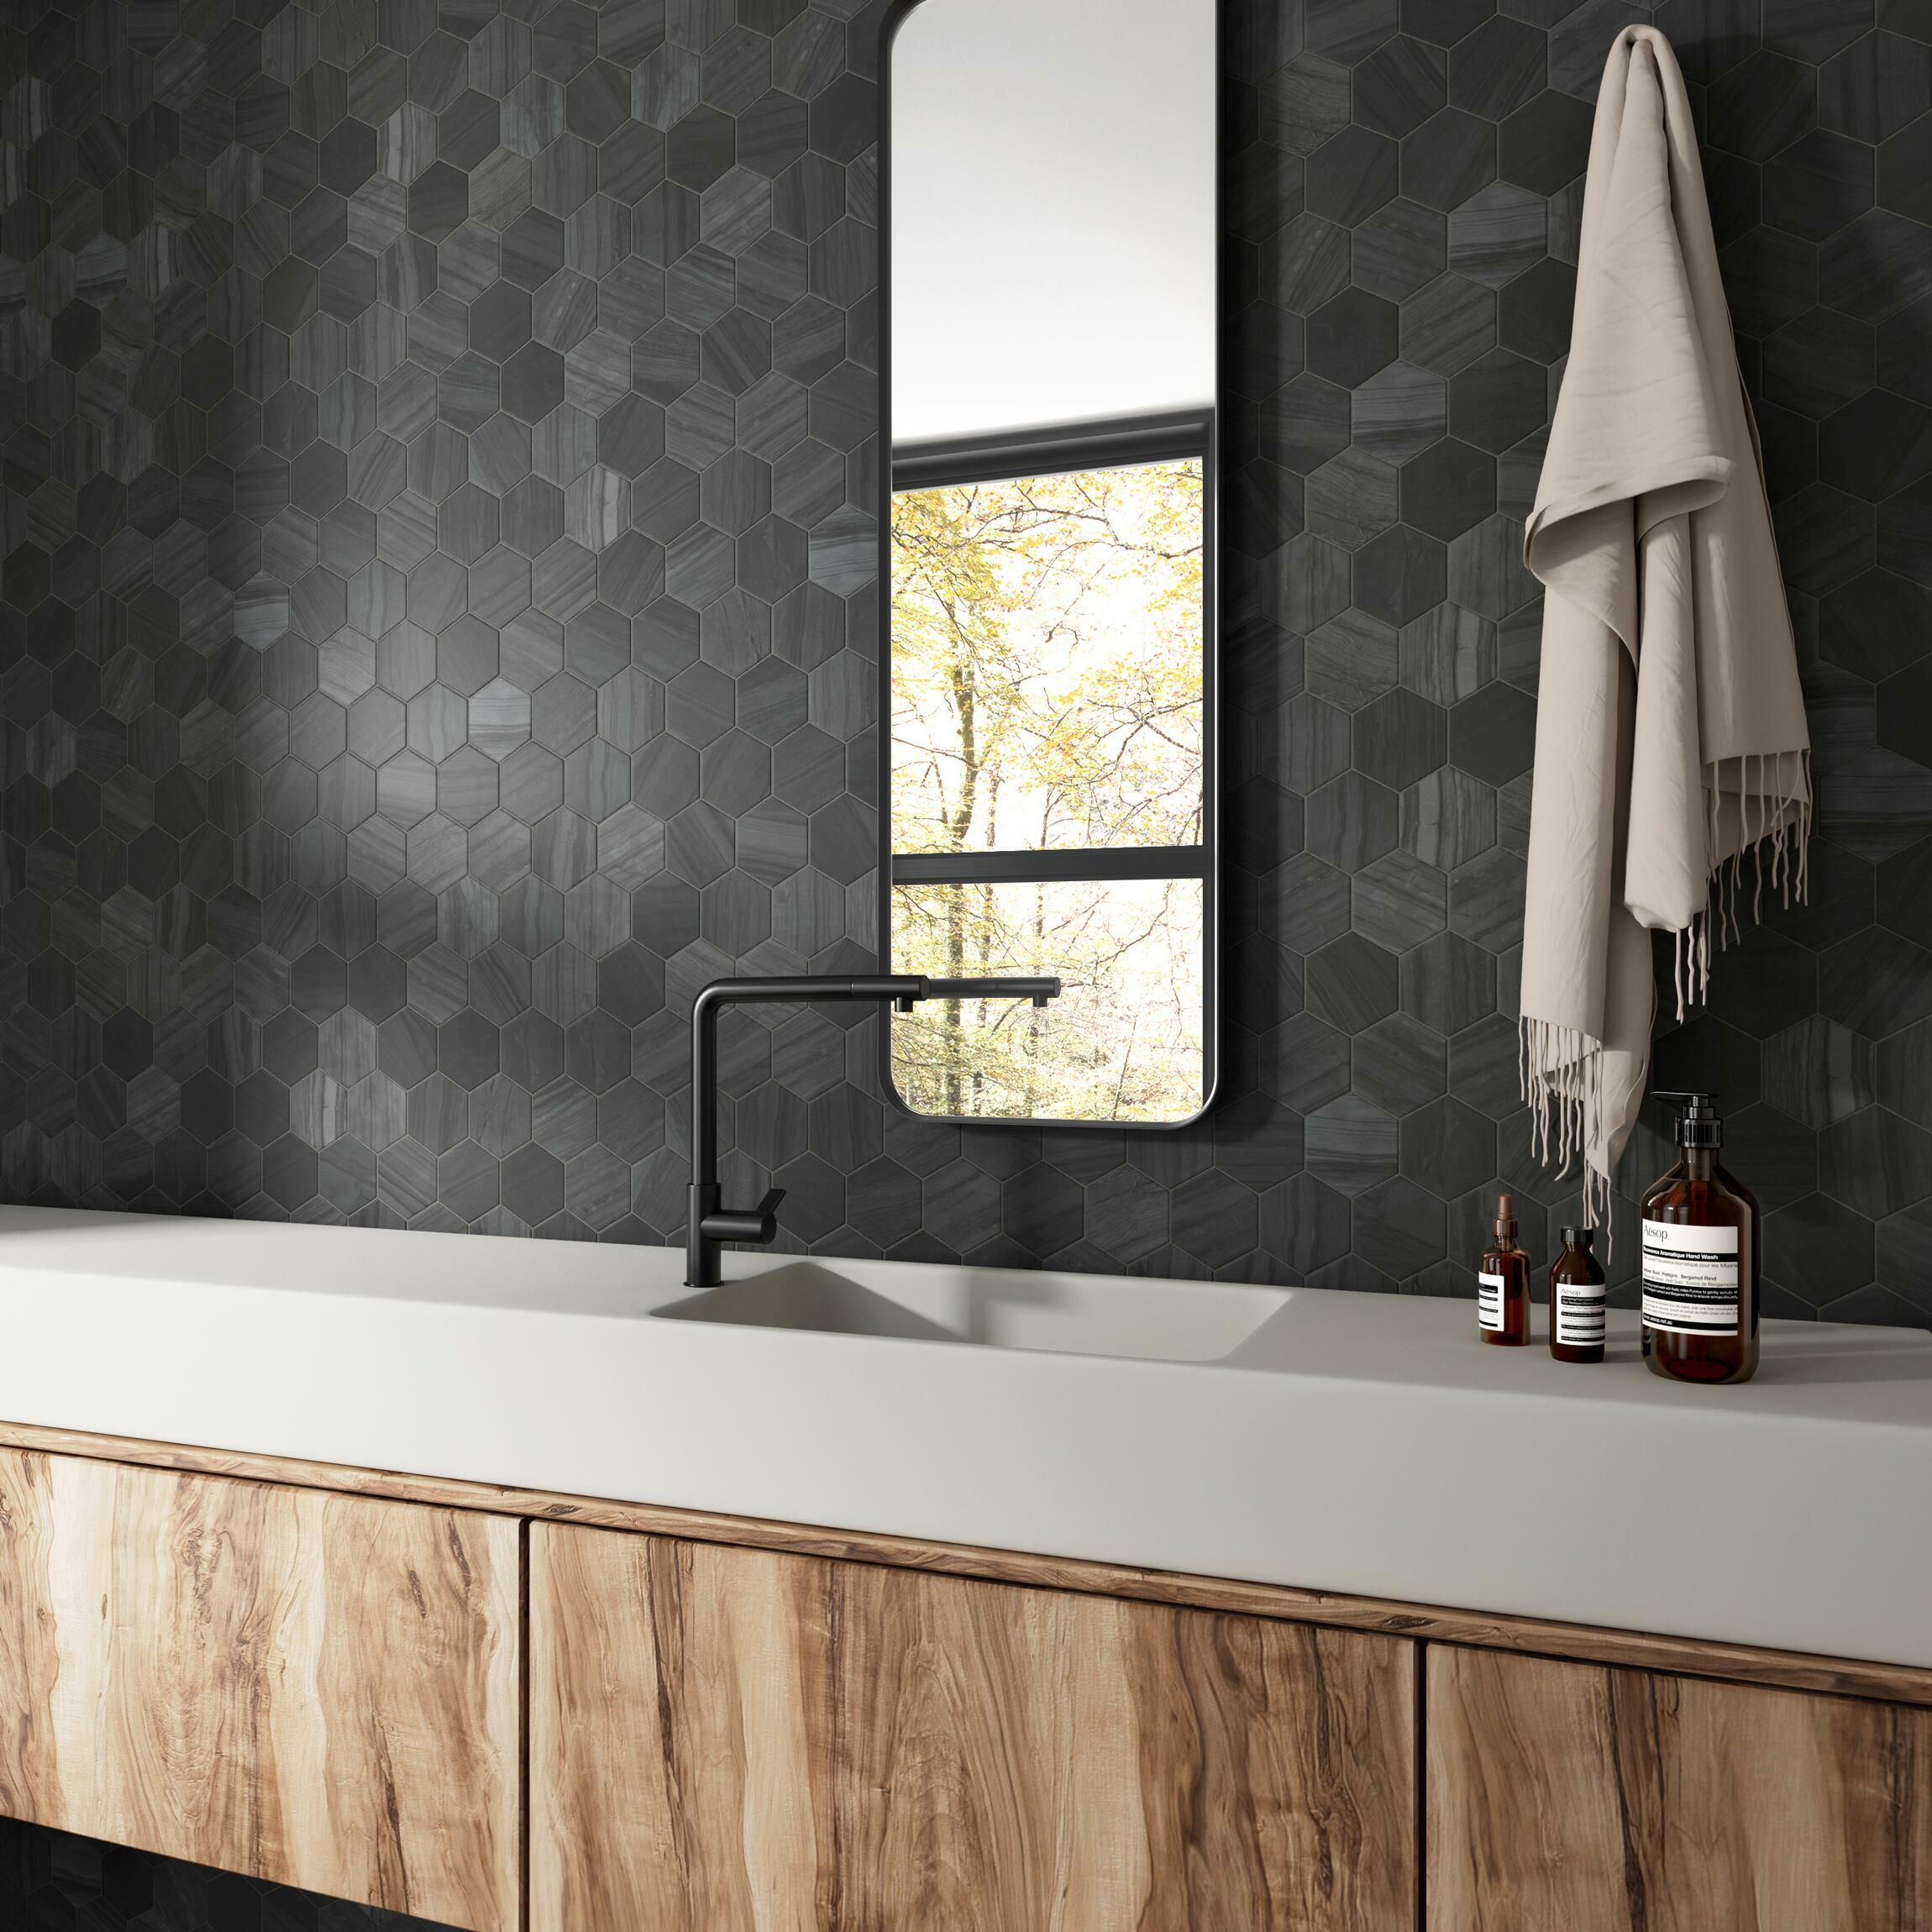
Hexagonal Tiles: A Modern Resurgence
In the realm of tile trends, hexagonal wonders make a triumphant comeback in 2024. These geometric marvels inject a touch of modernity, offering versatility in patterns that can transform spaces. Whether adorning floors or walls, hexagonal tiles captivate with eye-catching designs, proving that classic shapes can find new life in contemporary aesthetics.
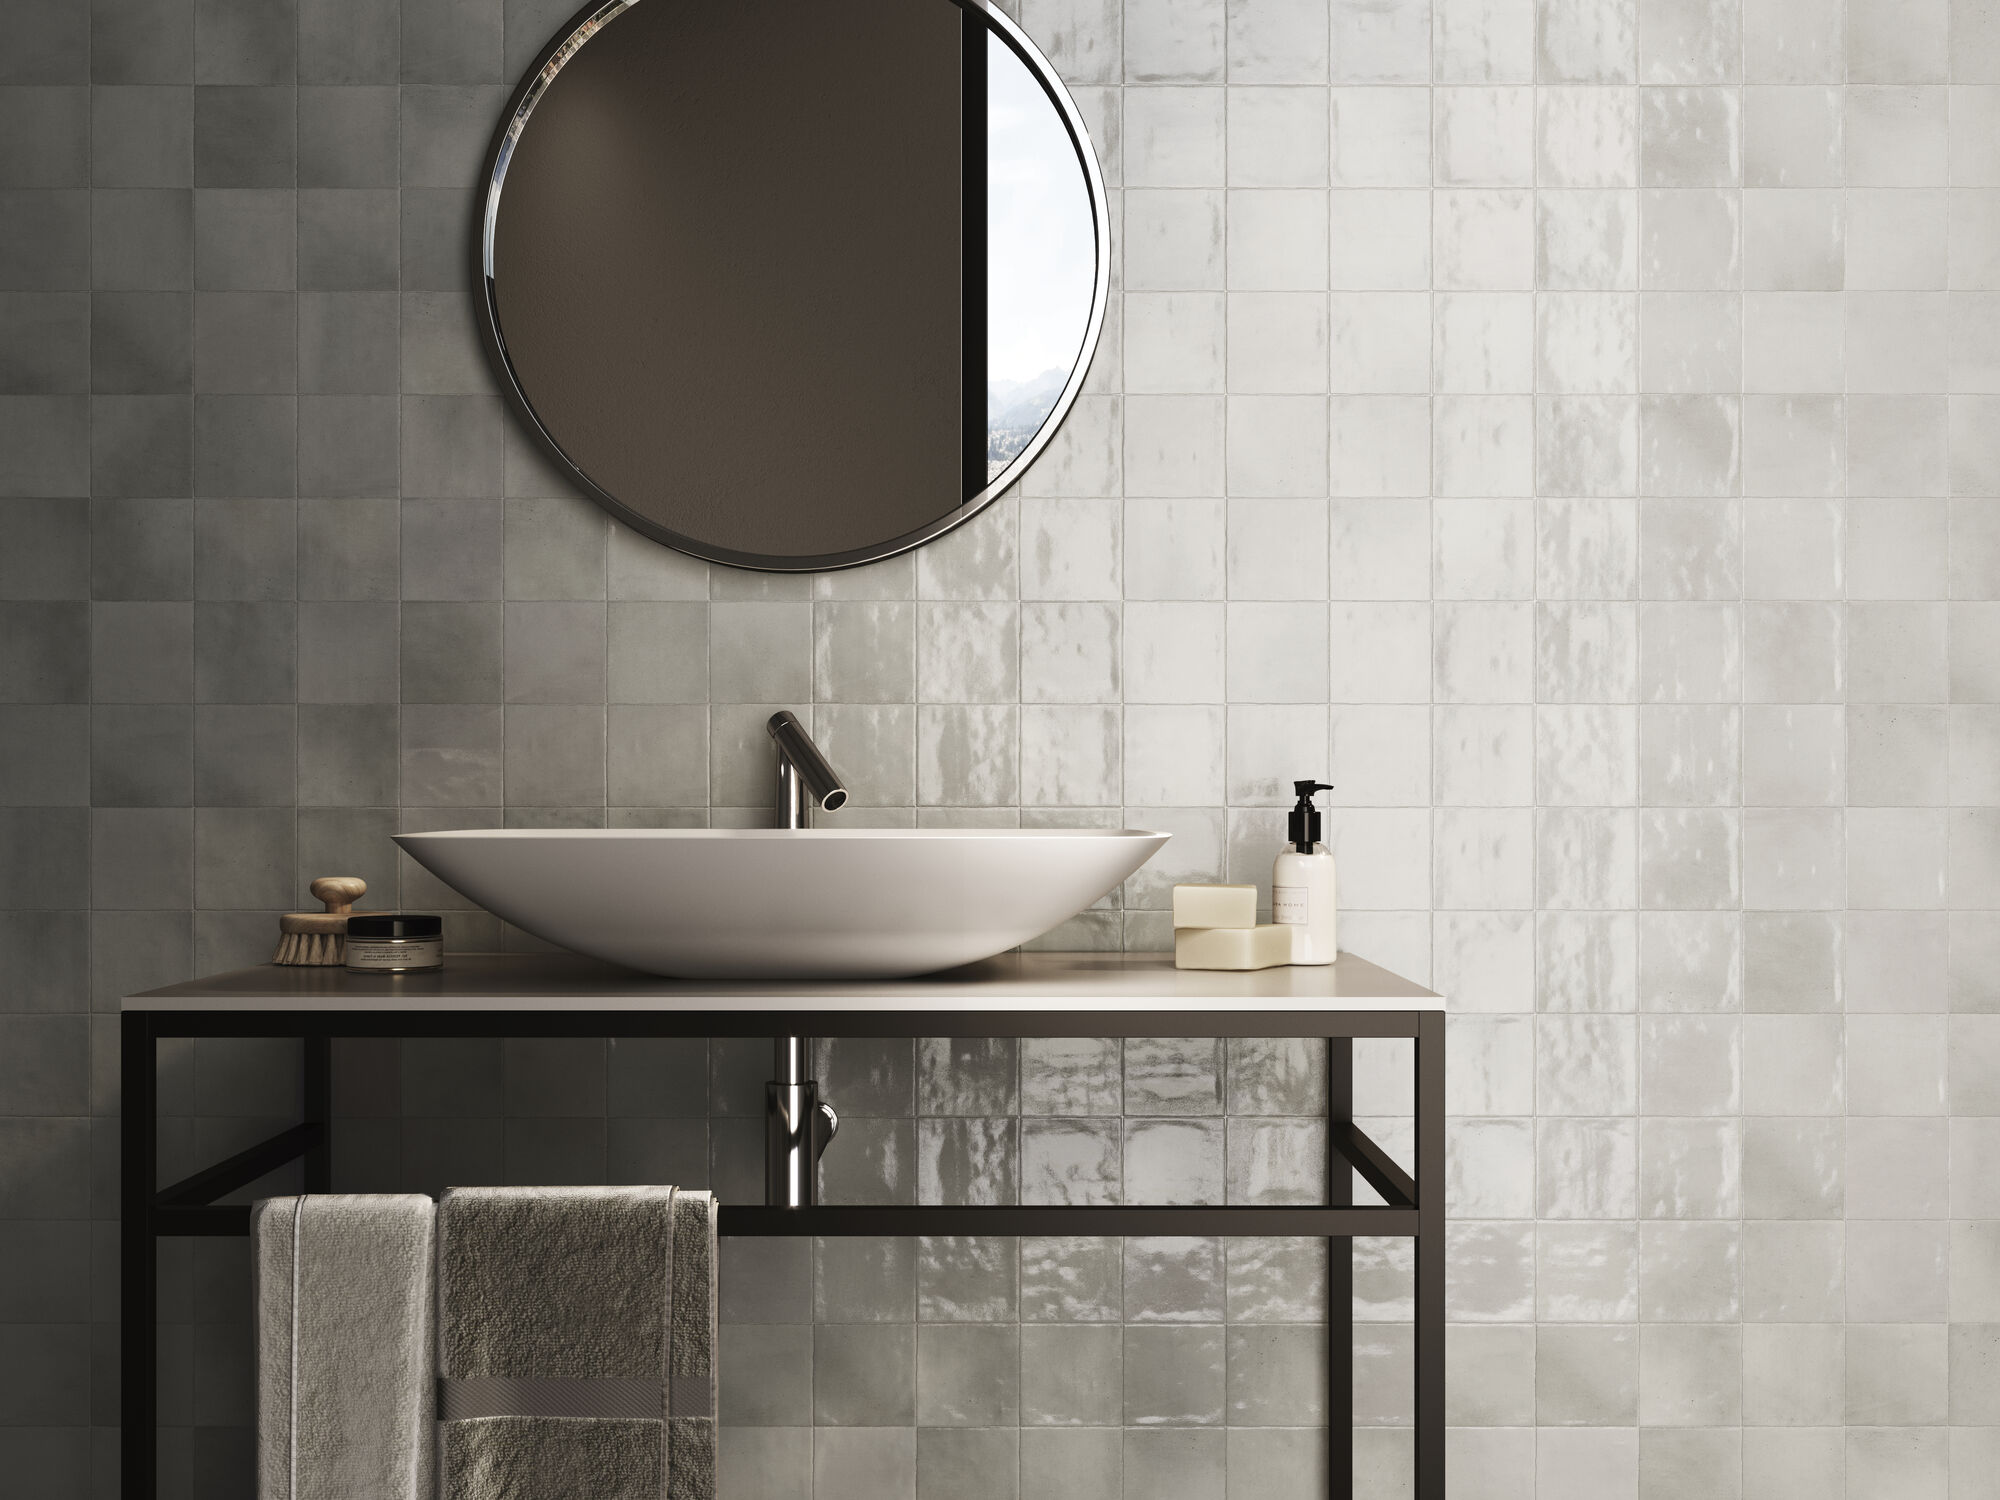
Zellige Tiles: Crafted Elegance with an Artisanal Touch
Handcrafted Zellige tiles, gaining popularity, bring a unique and uneven finish to interior spaces. Whether you’re seeking a bohemian vibe or a touch of exotic charm, Zellige tiles effortlessly add character and depth. Each tile tells a story, creating an atmosphere that transcends the ordinary, inviting you to embrace the richness of artisanal craftsmanship.
Blending Backsplashes: A Modern-Classic Marriage
Imagine the seamless union of a sleek stone or quartz slab harmonizing with tiled surrounding backsplash areas. It’s the epitome of a modern-classic marriage, allowing homeowners to enjoy the best of both worlds without committing fully to either. This trend speaks to the contemporary desire for fluidity in design, creating spaces that resonate with both modern sensibilities and timeless charm.
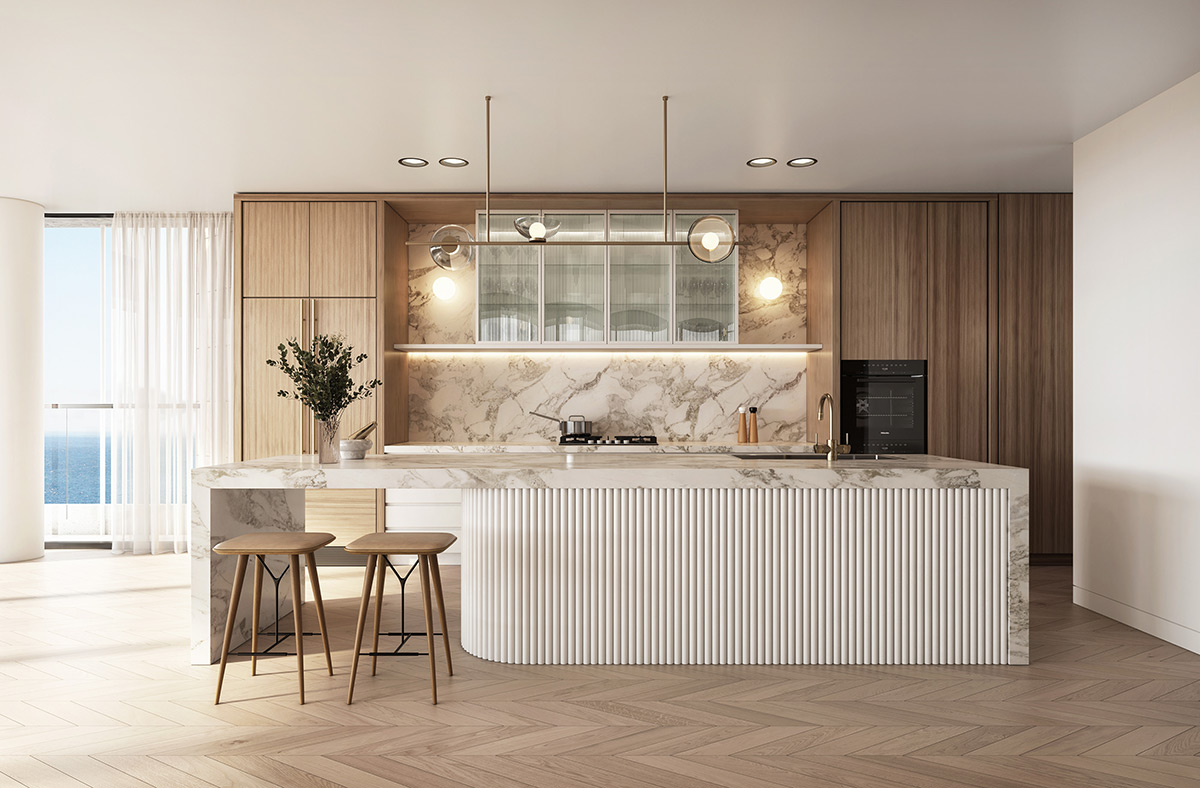
Fluted Cabinets and Details: Tactile Charm in Modern Spaces
Fluted details take centre stage in 2024, adorning kitchen islands, bathroom vanities, and living room furniture. These tactile elements bring back a sense of charm that flat surfaces can’t match. Even in minimalist styles, fluted textures add visual interest and warmth, creating a delicate balance between sleek aesthetics and inviting spaces.
Timeless Style: Bridging Old and New
Homeowners are rediscovering the allure of traditional details and materials, creating a timeless look that stands the test of sustainability. Rustic wood elements, clay tiles, and classic arches bridge the gap between old and new, infusing modern spaces with a sense of age, character, and enduring style.
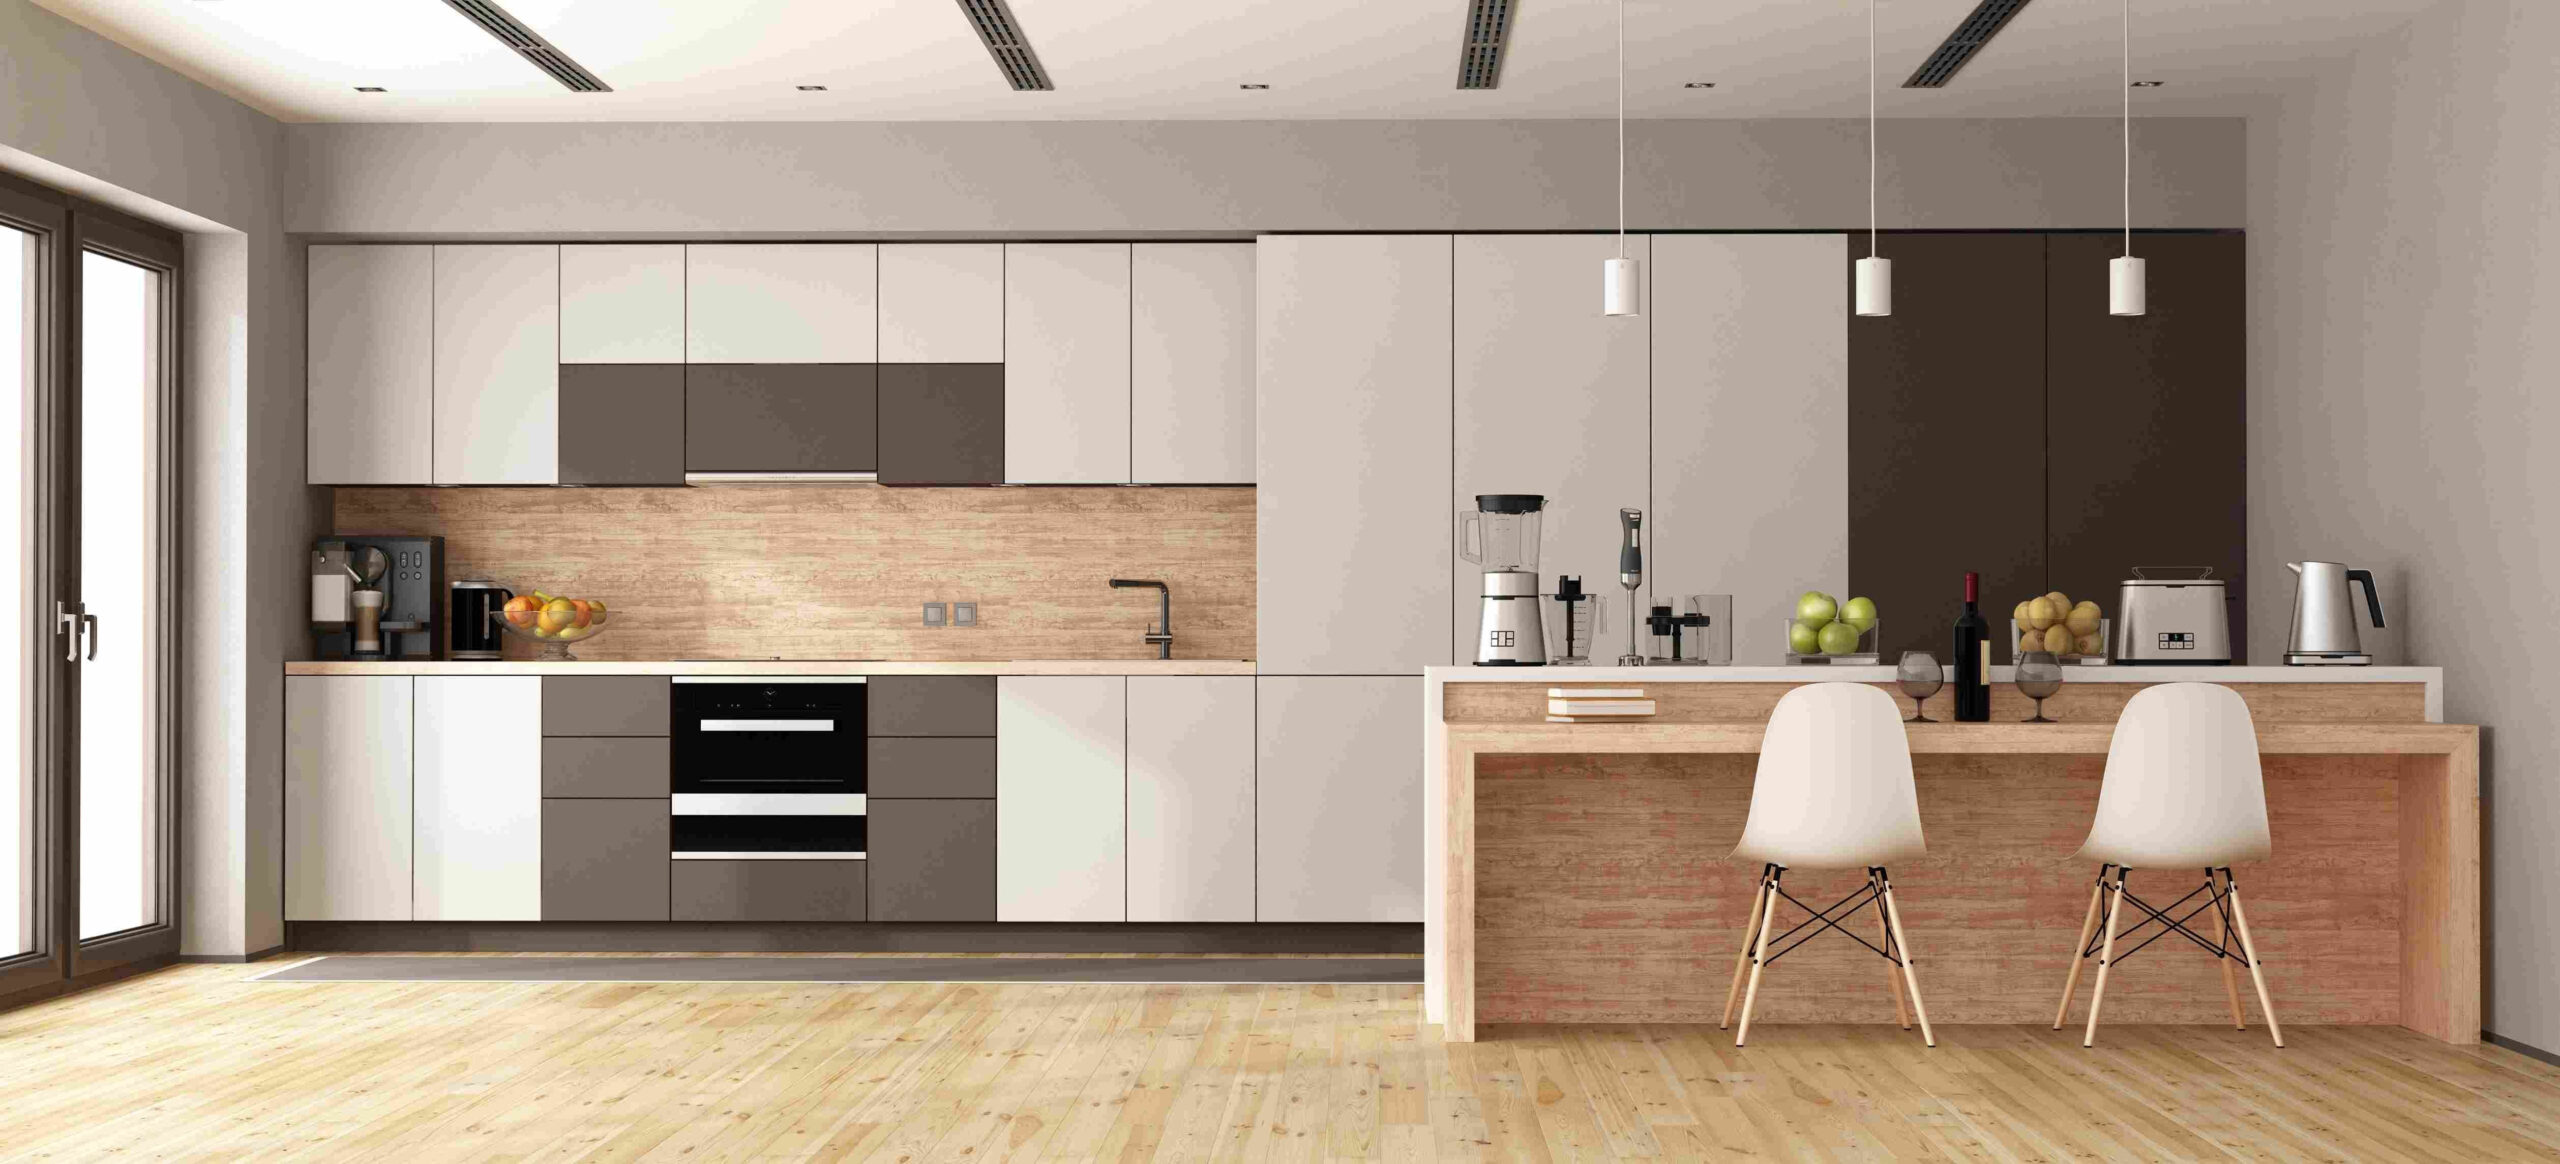
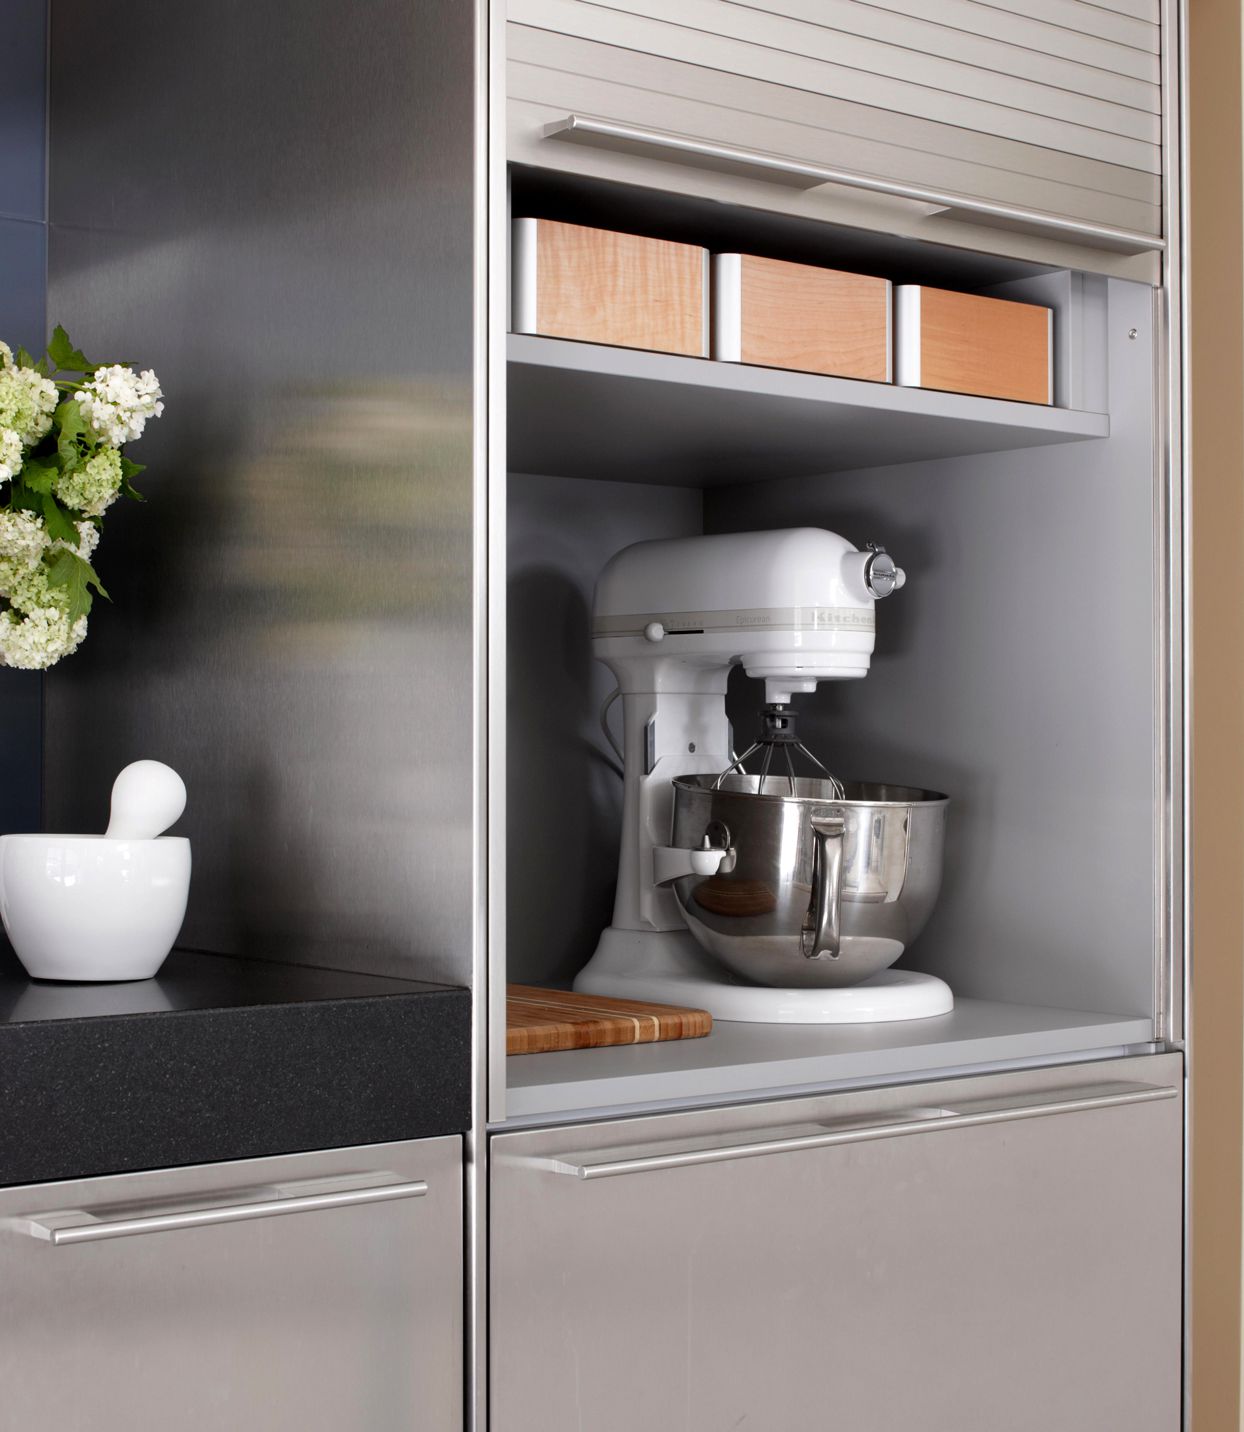
Appliance Garages: A Clever Kitchen Comeback
In the heart of kitchens, appliance garages make a triumphant return. These clever features declutter visual space by concealing countertop appliances like air fryers, blenders, and toasters. A practical yet stylish solution, offering a clutter-free kitchen without sacrificing convenience—a win-win for those who appreciate both aesthetics and functionality.
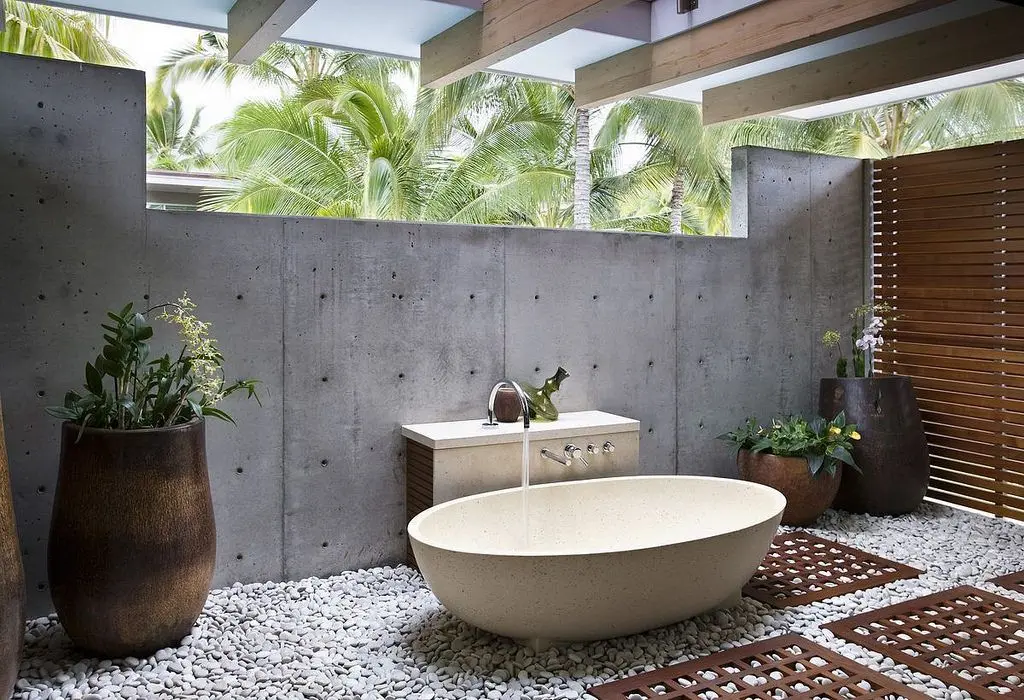
Alfresco Bathing: The Natural Retreat in Bathrooms
The alfresco bathing trend takes bathrooms outdoors, bringing back the allure of outdoor showers and bathtubs. Raw materials like blackened steel or rustic wood create a natural feel, while larger format tiles with a concrete look add an unexpected twist to traditional outdoor materials. It’s a harmonious blend of luxury and nature, redefining the bathing experience.
Tiletoria’s Commitment to Future-Forward Design
In conclusion, the upcoming year promises a fusion of innovation, sustainability, and a harmonious blend of the classic and the modern. Tiletoria stands ready to be your partner in bringing these predictions to life, ensuring that your home not only reflects your unique style but also embraces the cutting-edge trends that define the future of design.
pricing and stock information displayed on this site will be of the branch you select.
it will remain your default branch until you change it. all prices are inclusive of VAT.