bathroom, blog
When you think of a luxury bathroom, you probably imagine marble floors, gold fixtures and a price tag that makes your eyes water. But here’s the truth – you don’t need a massive budget to create a bathroom that looks and feels expensive. With smart choices, a bit of creativity and the right materials, you can build a designer look for much less.
Let’s break down some high-end bathroom features alongside budget-friendly alternatives that deliver style and function without breaking the bank.
Table of Content:
Tiles
Tapware
Vanity
Lighting
Shower
Flooring
Accessories
Colour Palette
Mix High and Low
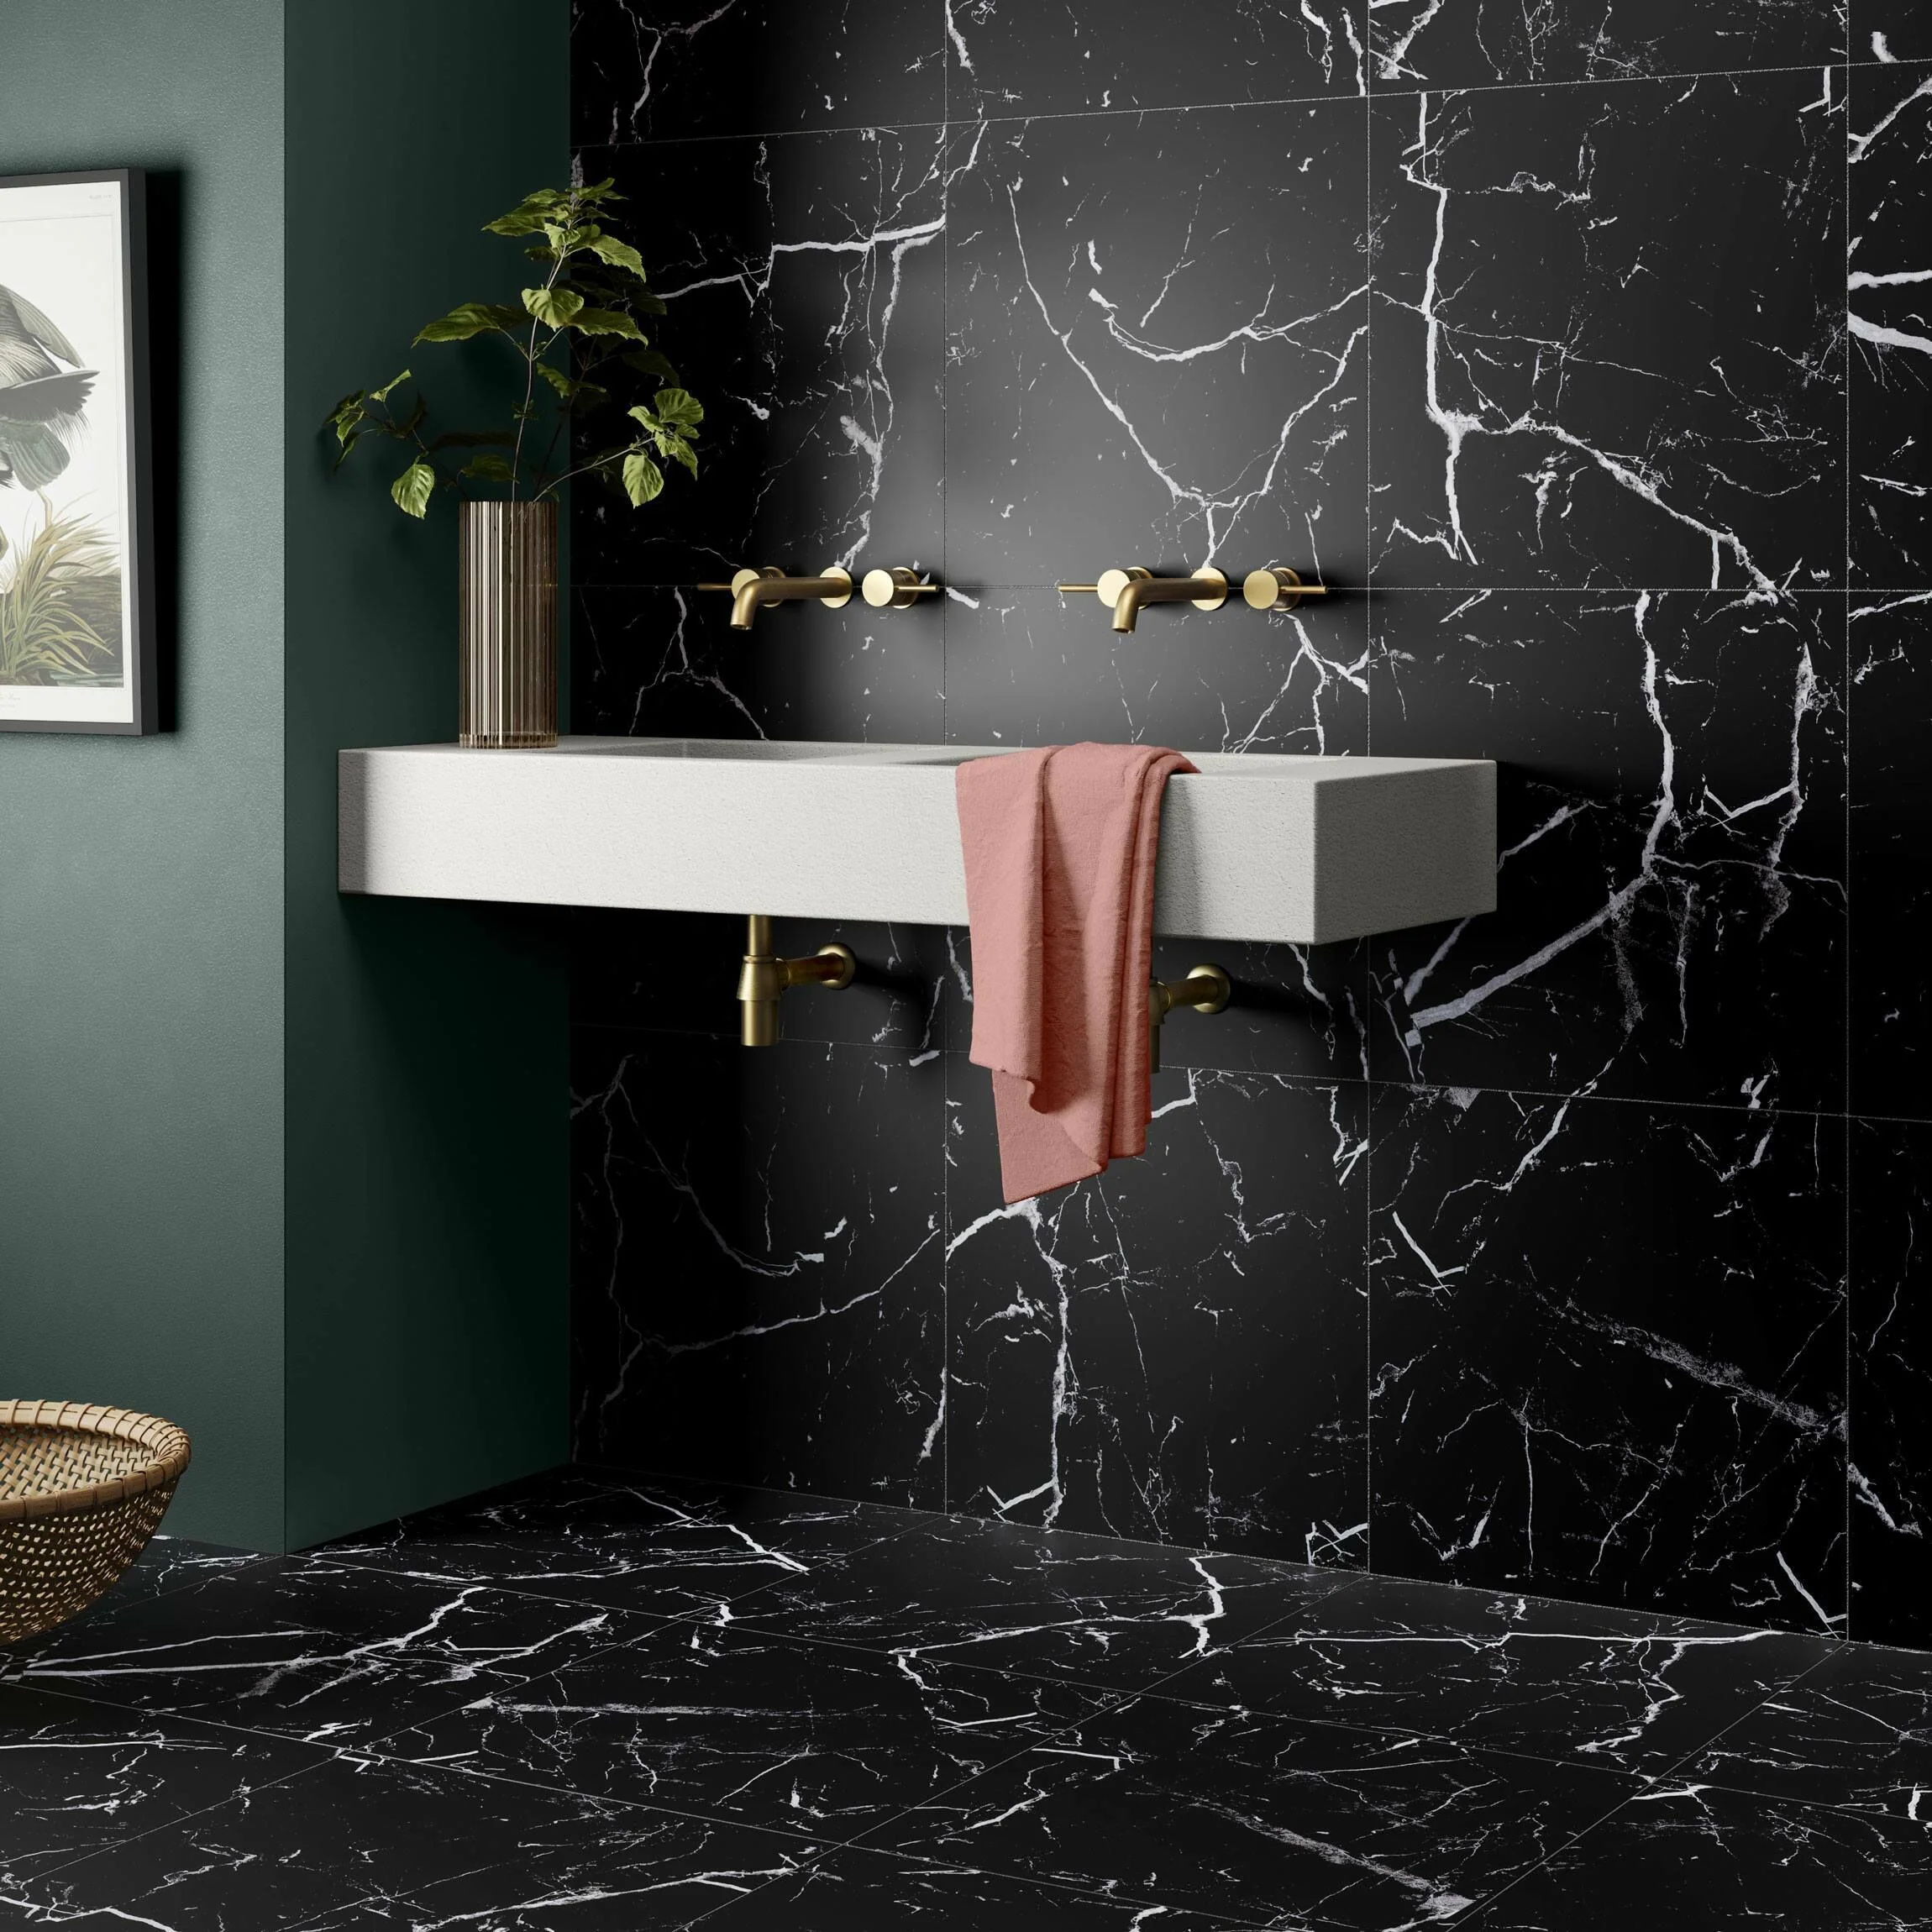
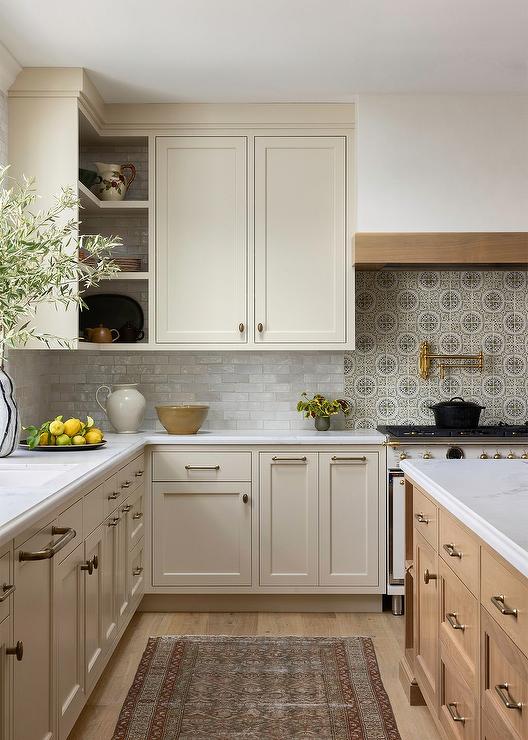
Tiles
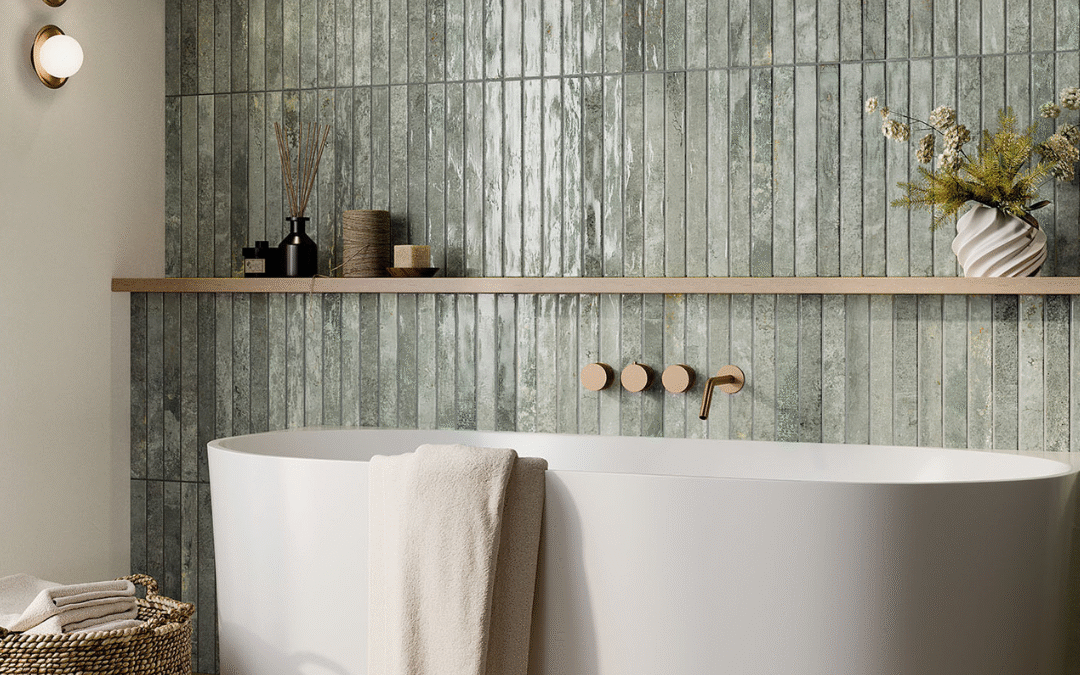
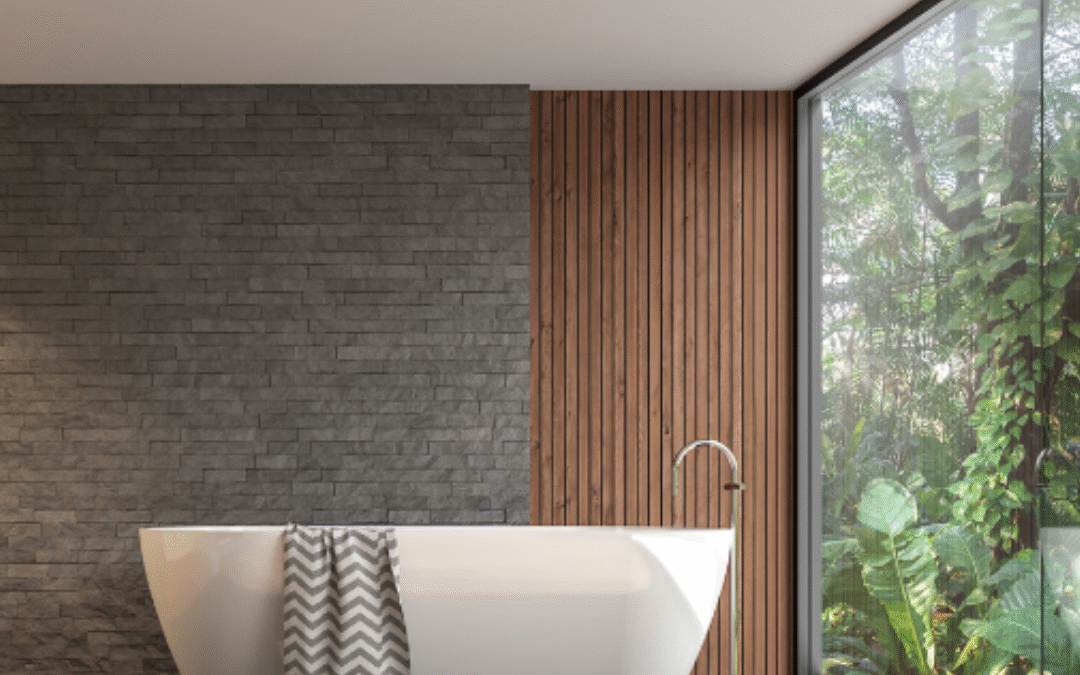
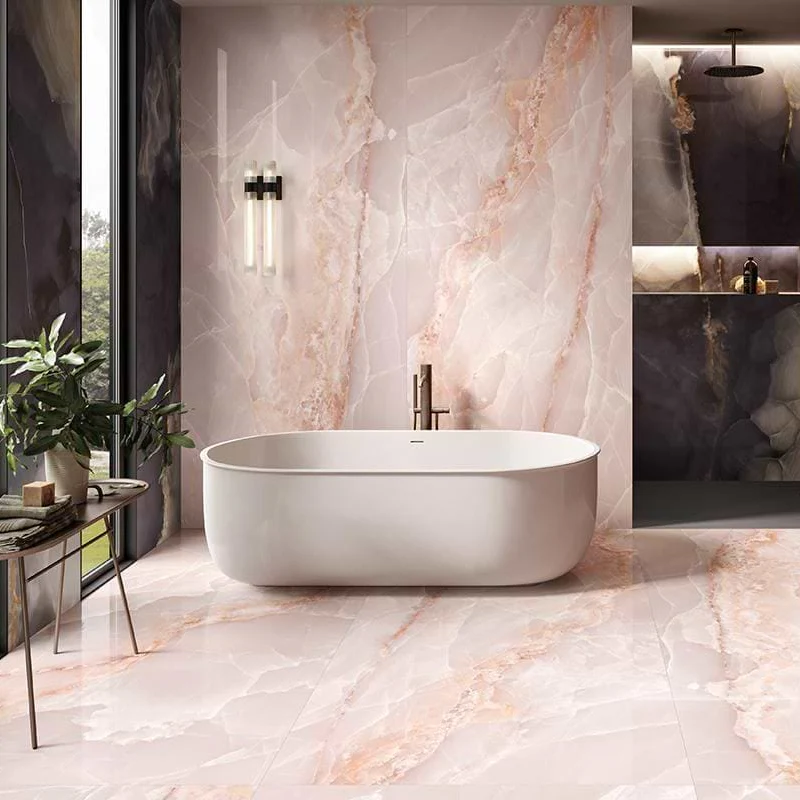
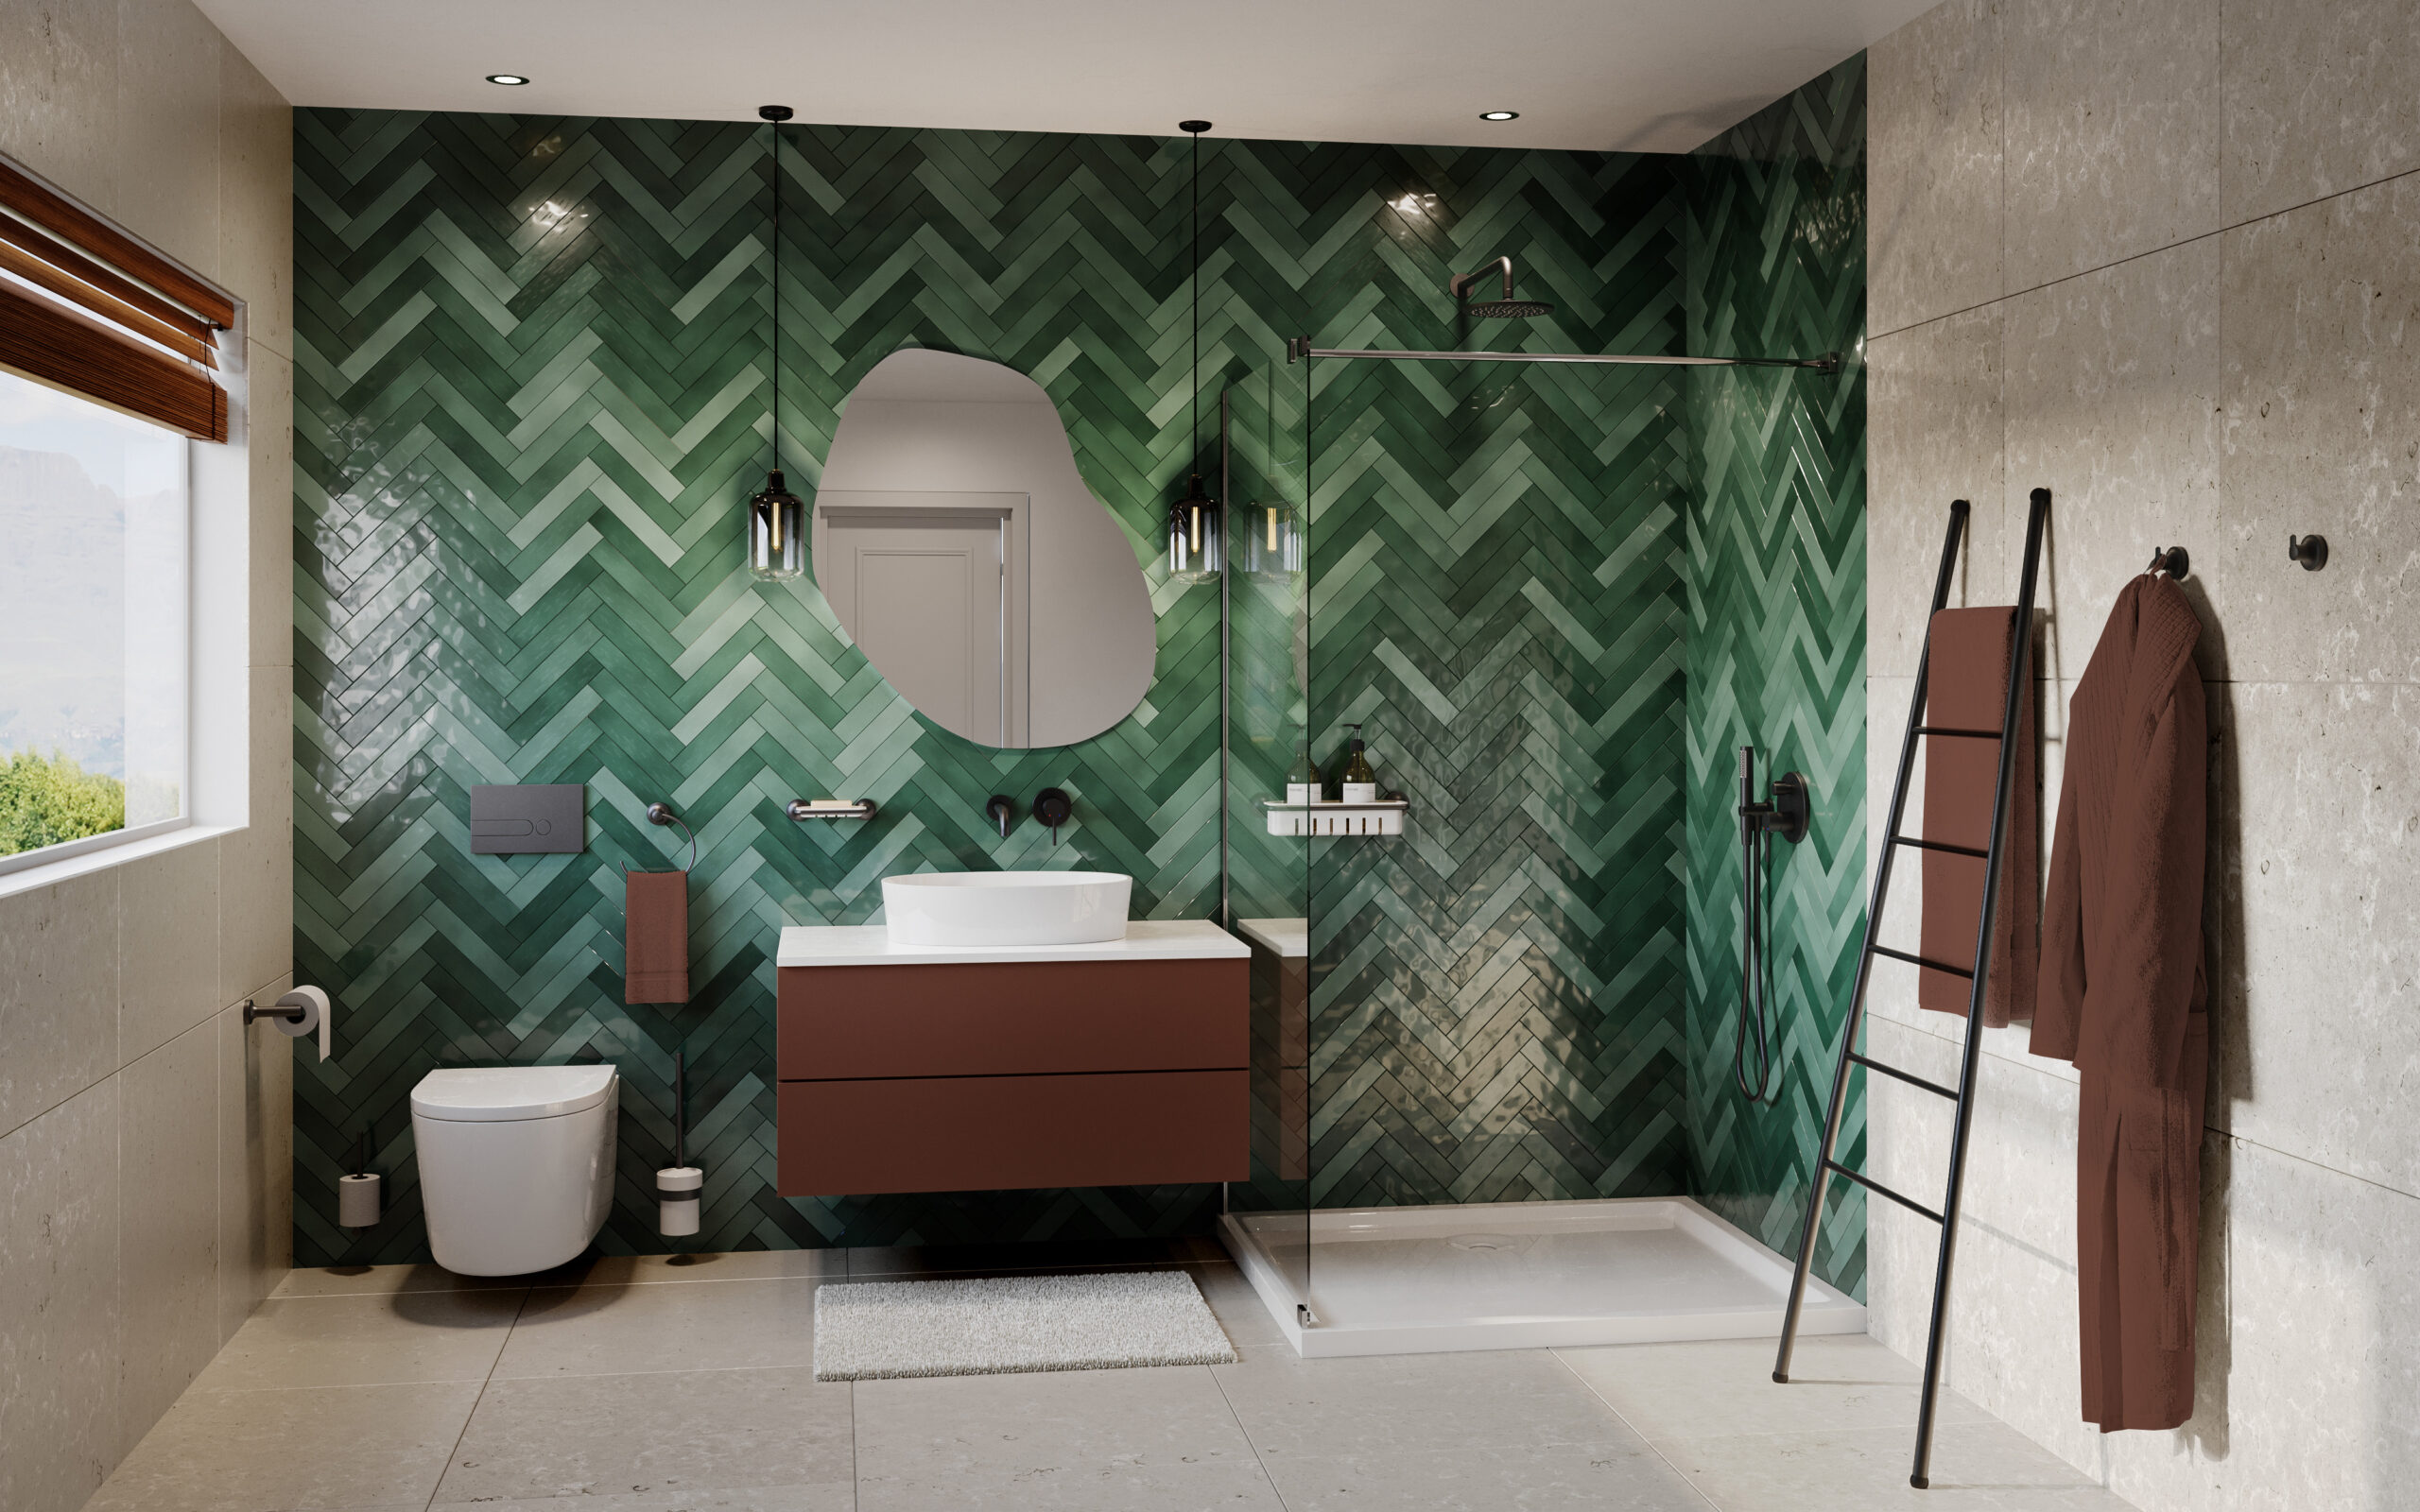
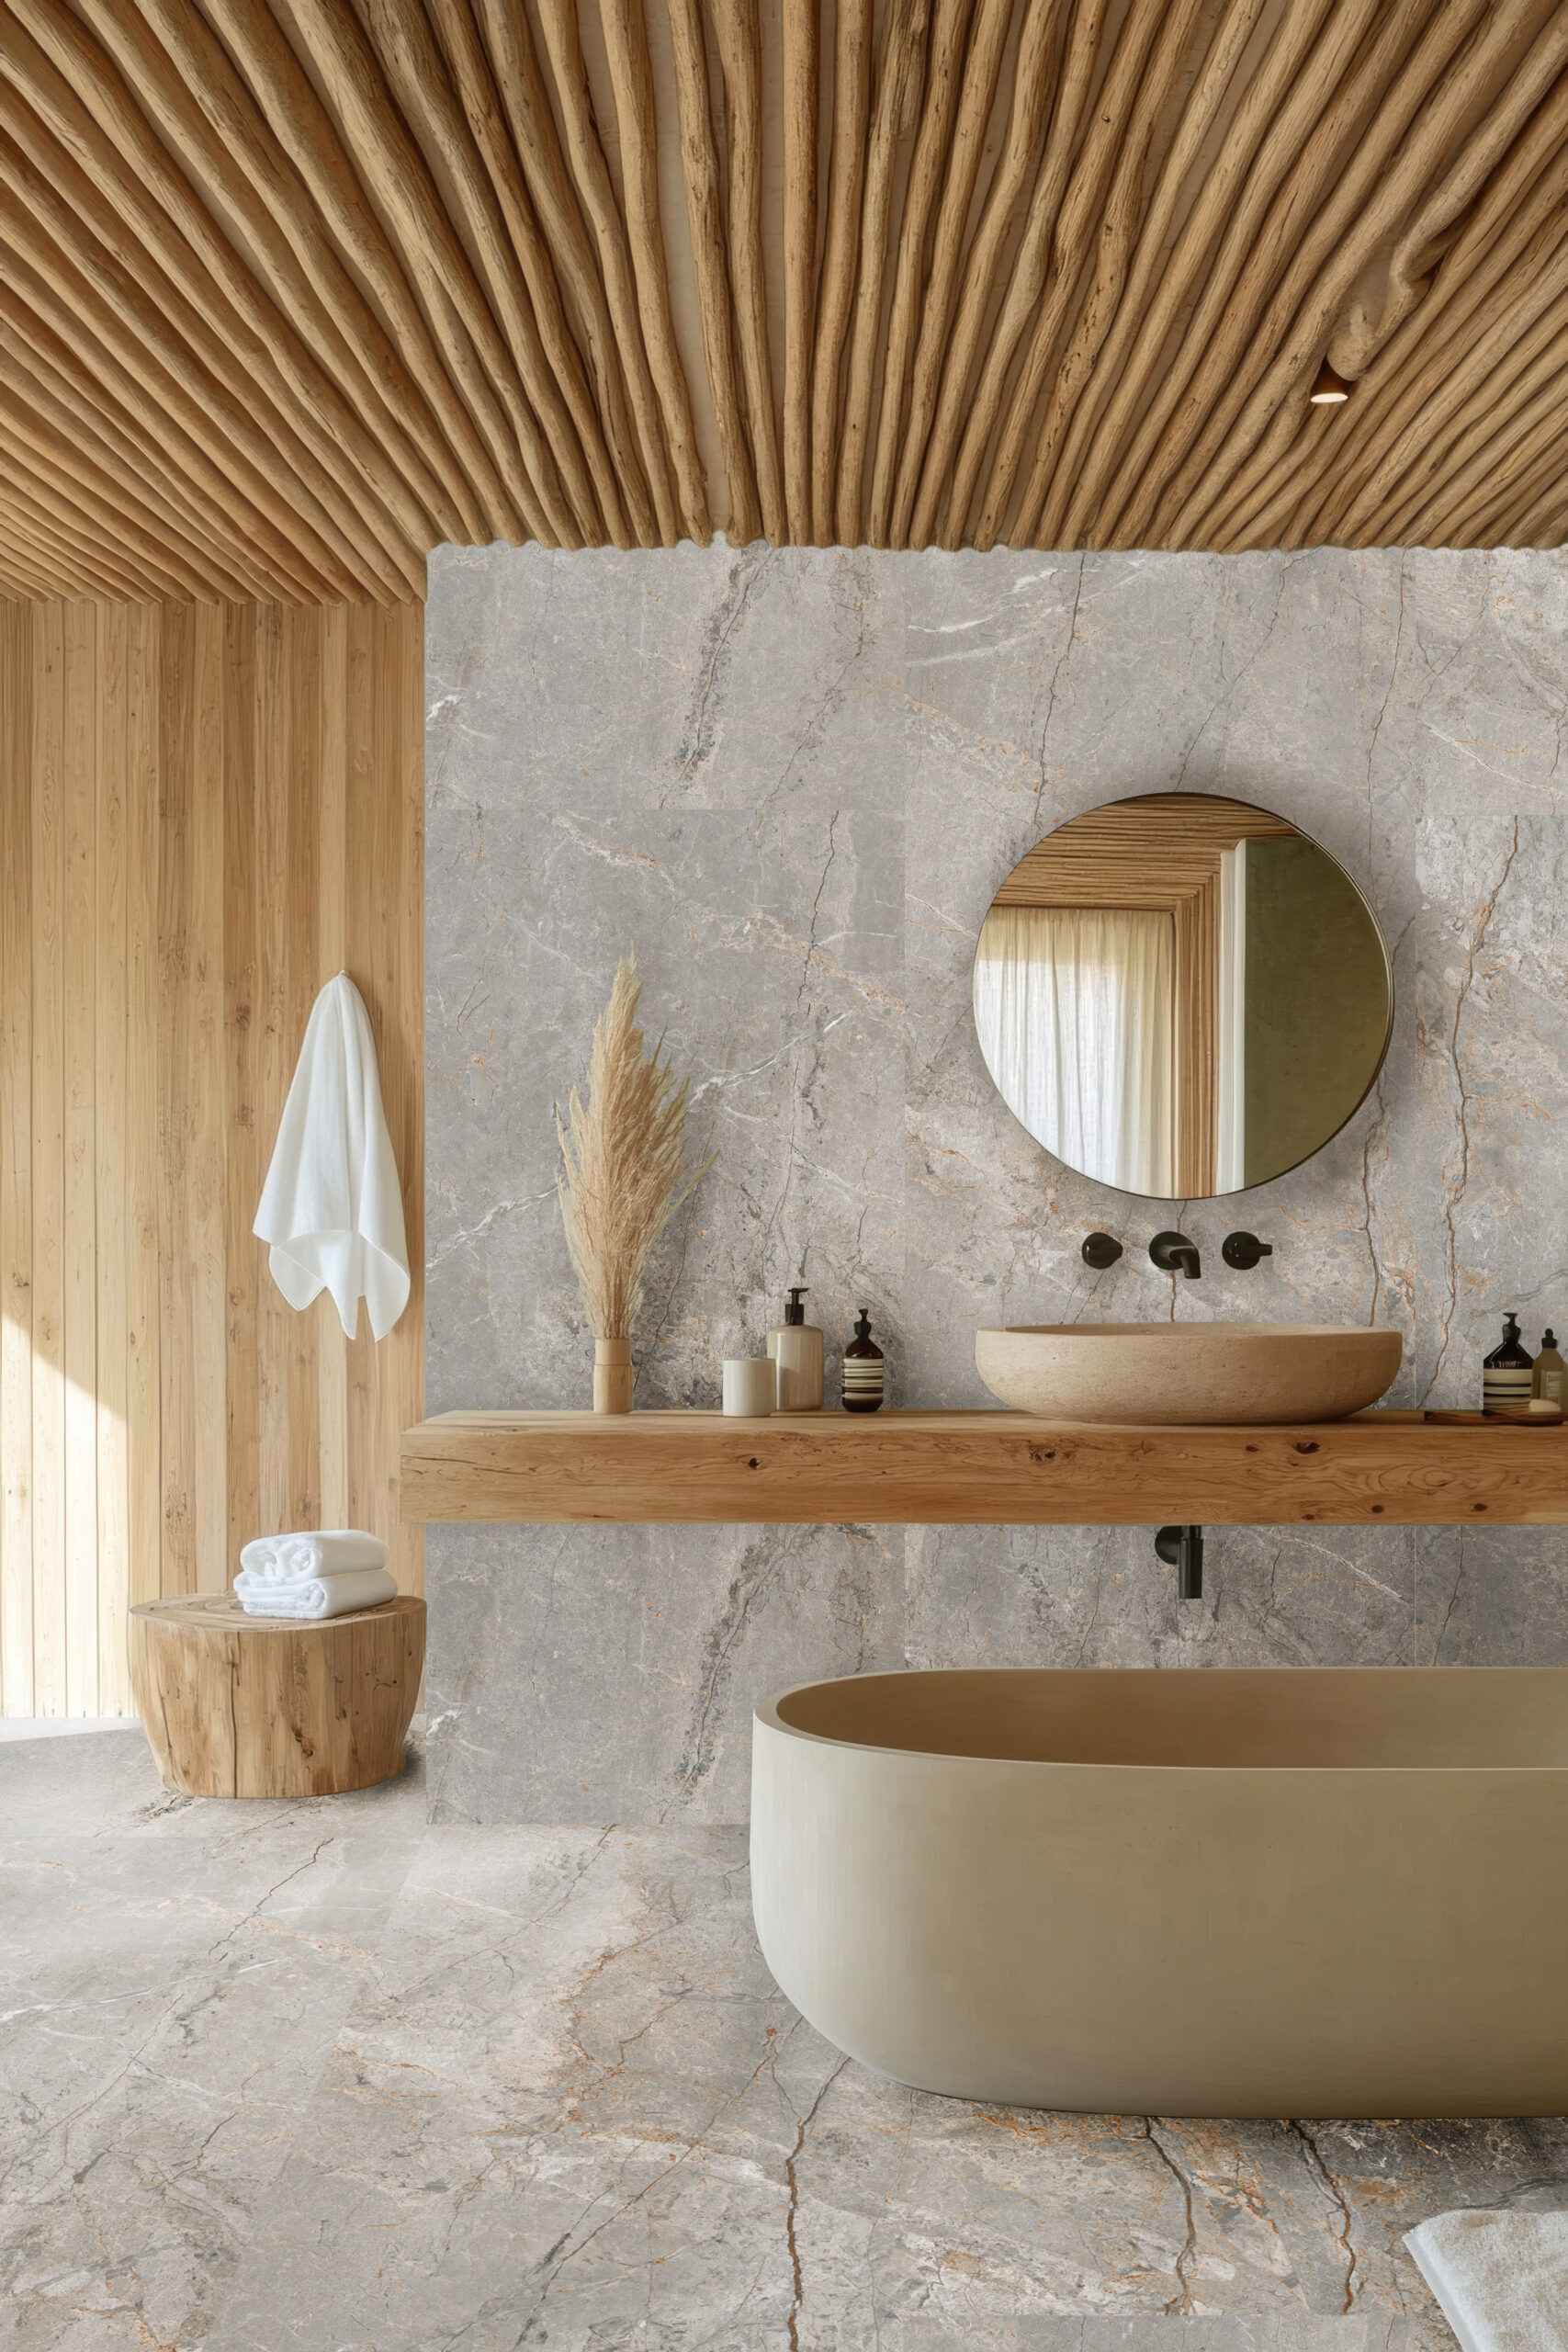
Luxury bathrooms often use natural materials like marble to create an elegant and timeless atmosphere. But you don’t need real marble to get that effect.
Luxury
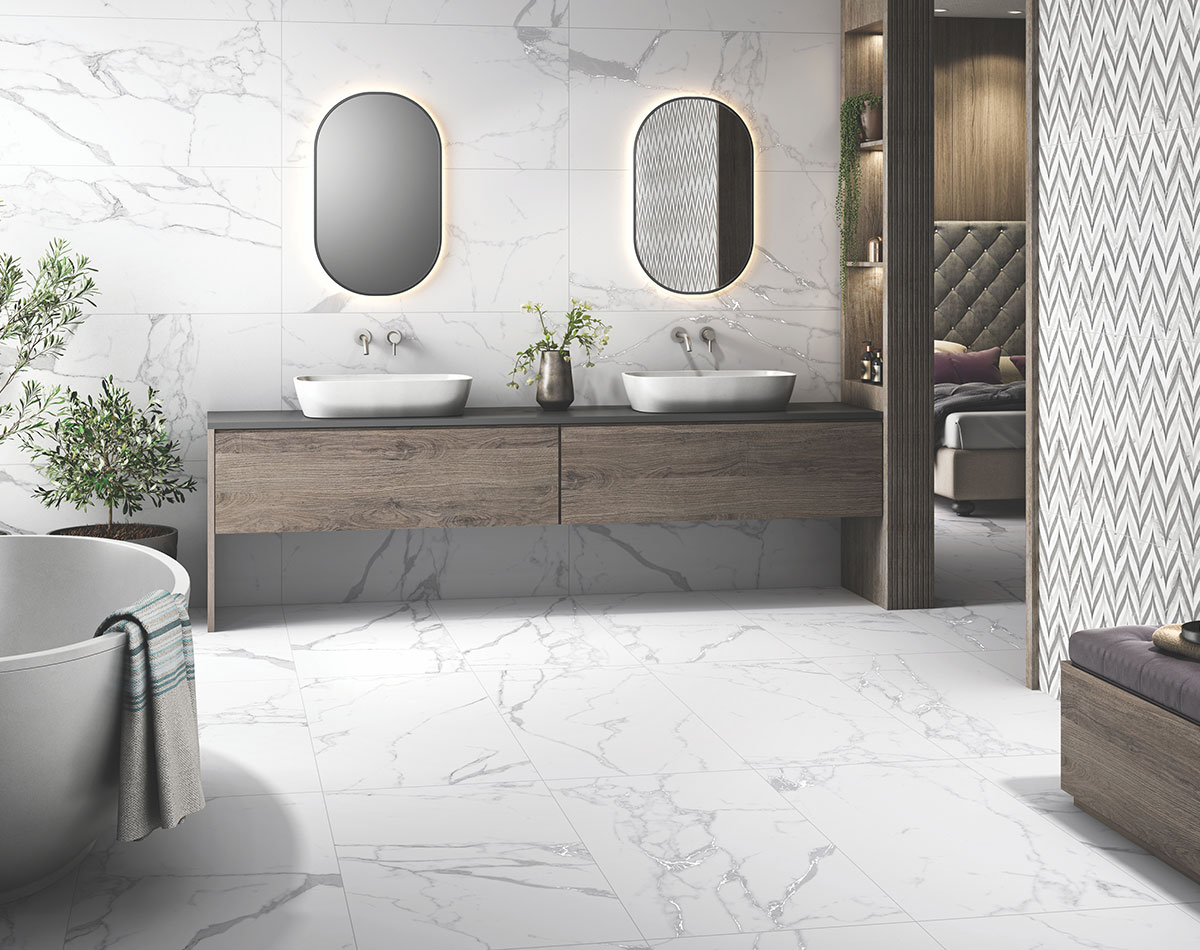
Marble tiles cover the floors and walls, creating a timeless, elegant look with natural veining and shine.
Budget
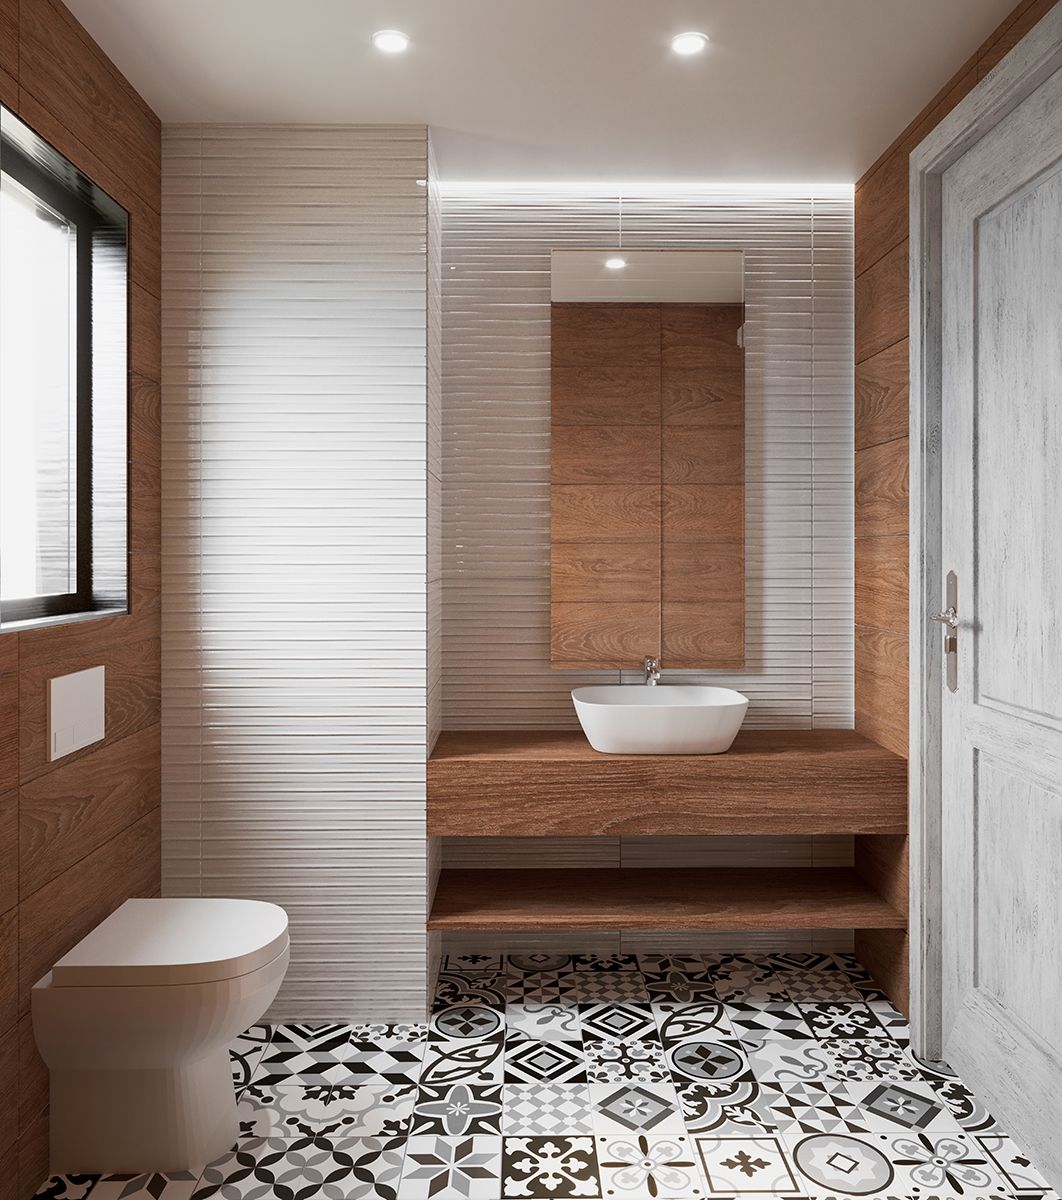
Choose marble-effect porcelain or ceramic tiles. These mimic the look of real marble but cost a fraction of the price and are easier to maintain. Use these tiles on key areas like the floor or shower wall to create impact.
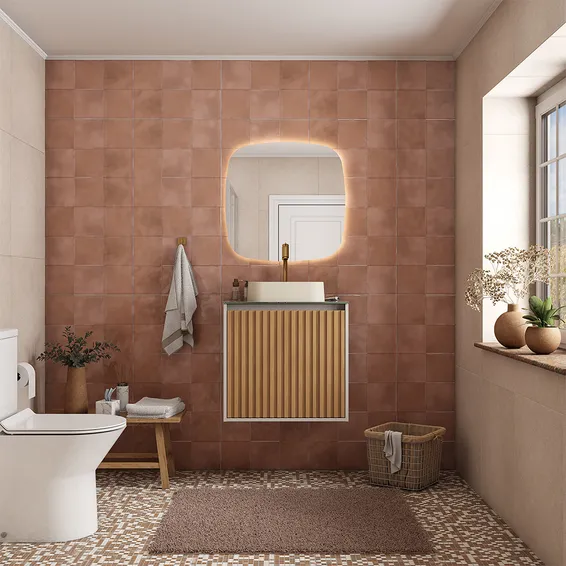
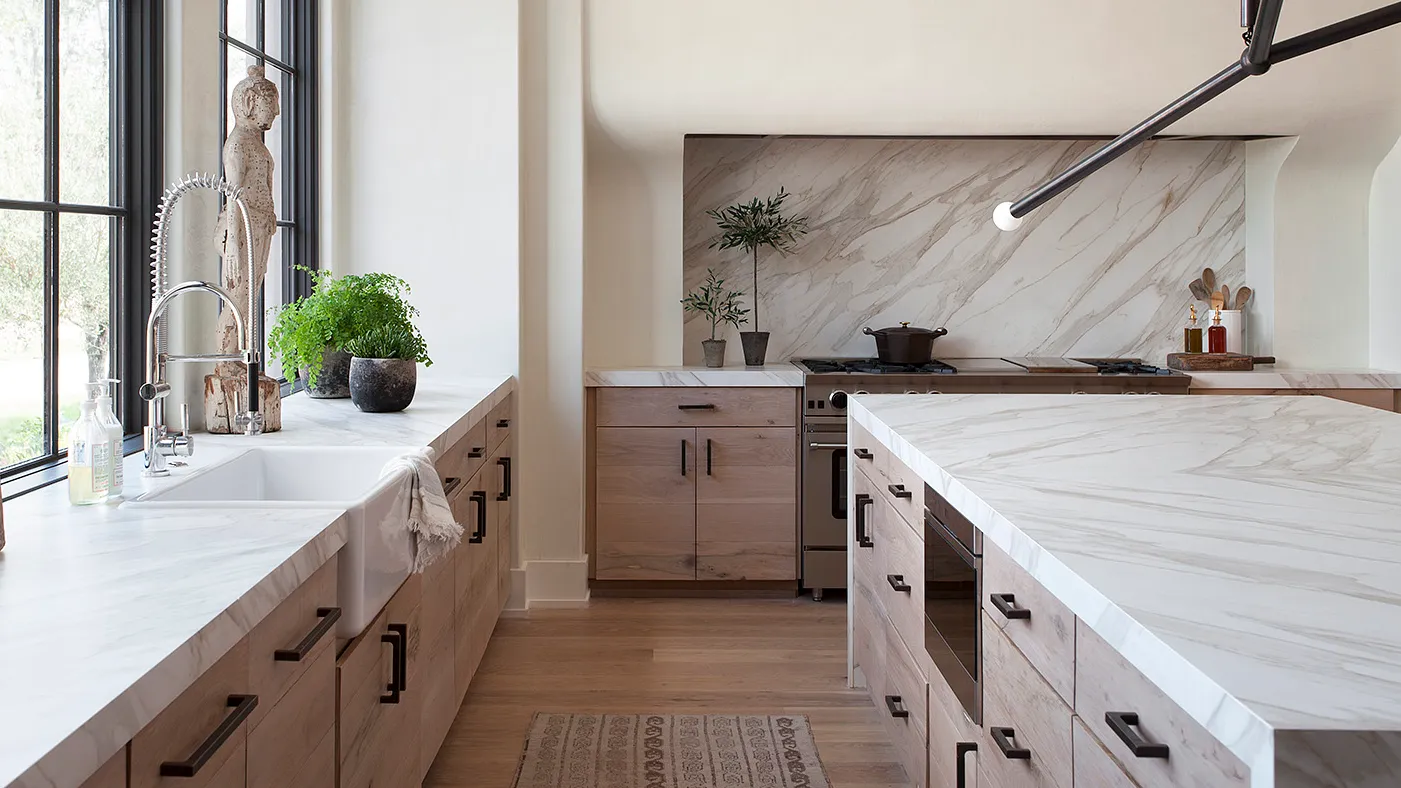
Choose Quality Over Quantity
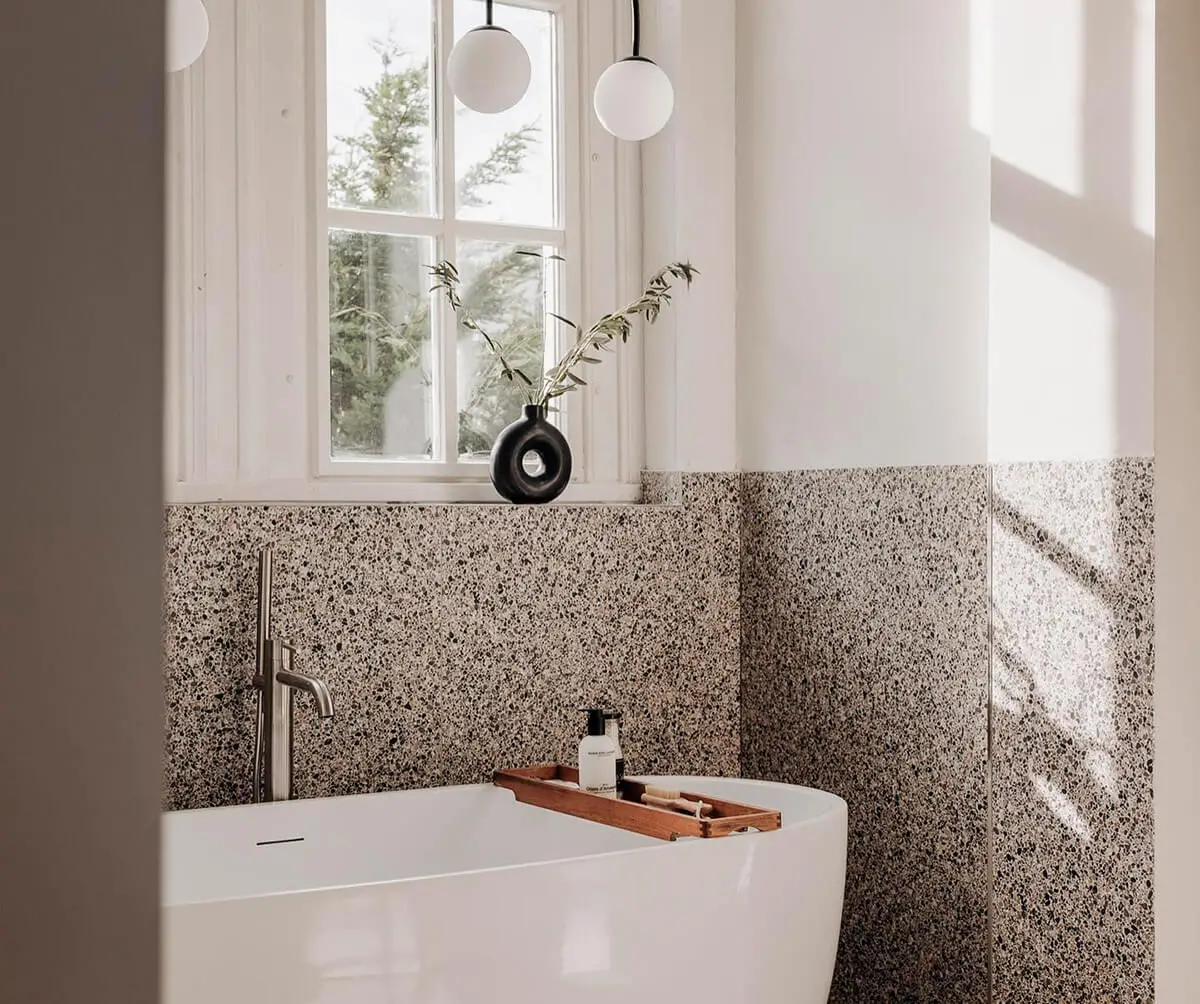
Image credit: @gwenhoopman_interiors
Instead of tiling every surface, tile only the most visible or functional areas. Half-tiled walls or just a tiled splashback in the shower can still make an impact while cutting costs. Use good quality paint in the rest of the space to keep it looking polished.
Browse our range of budget-friendly Bathroom Floor & Wall Tiles
Browse all Bathroom Floor Tiles here and all Bathroom Wall Tiles here.
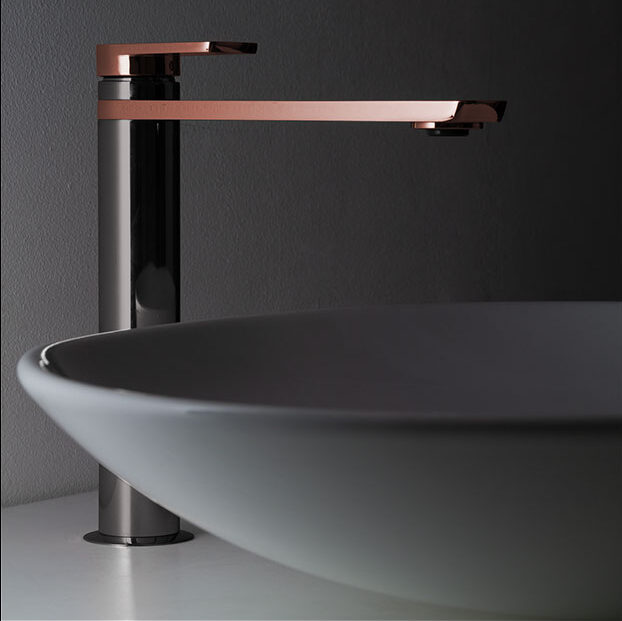
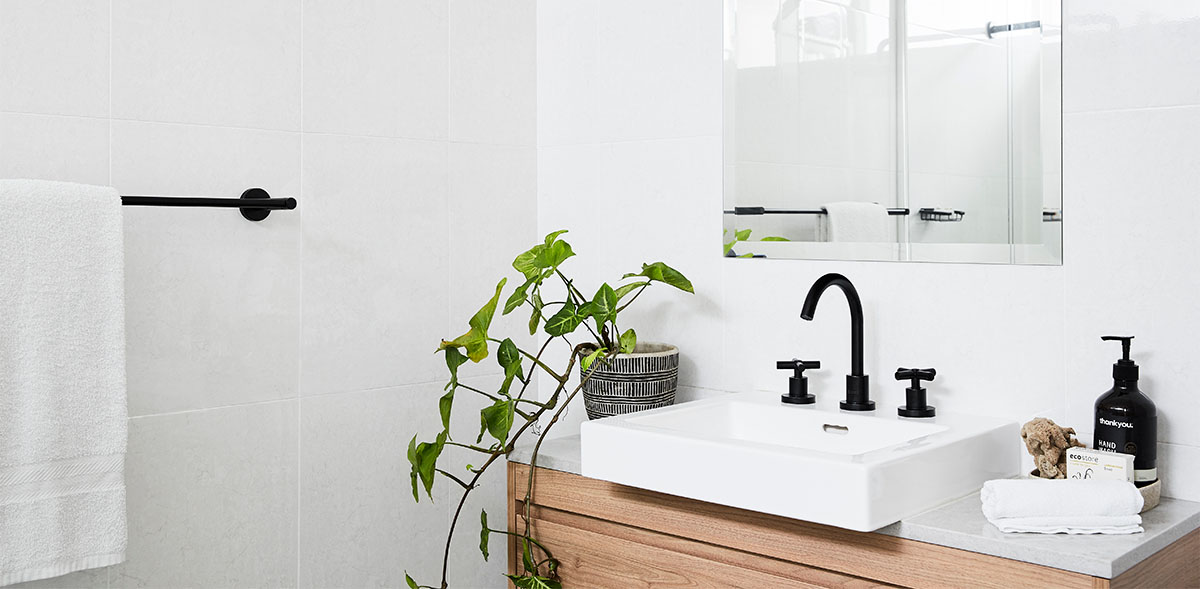
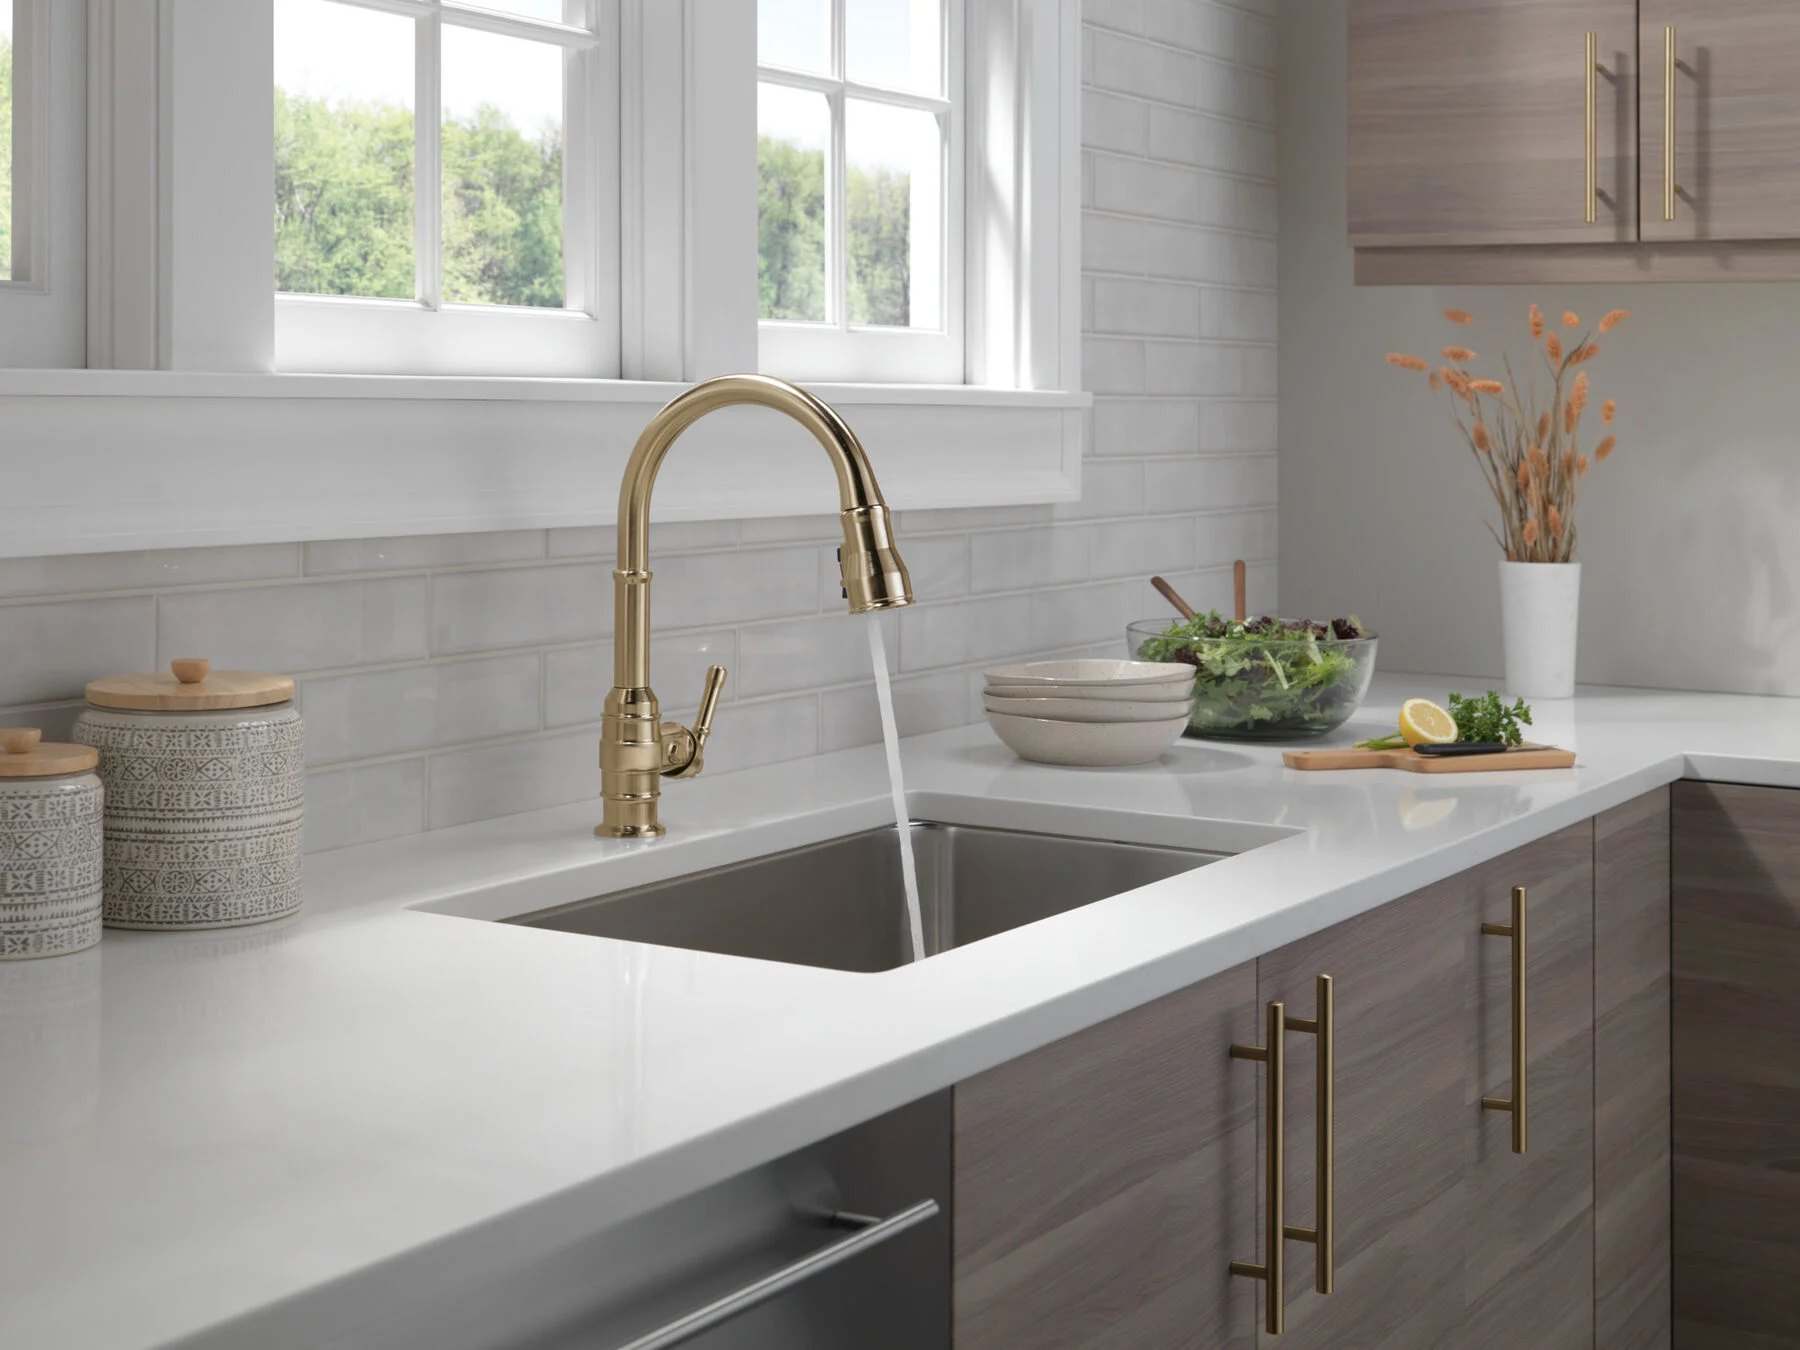
Tapware
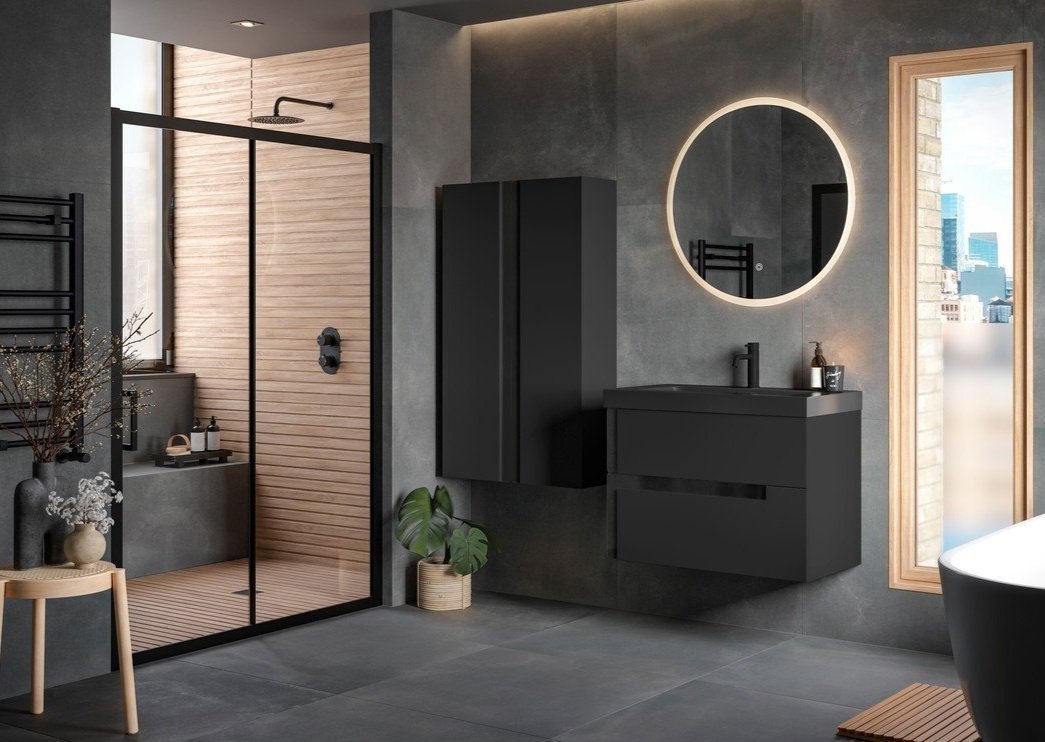
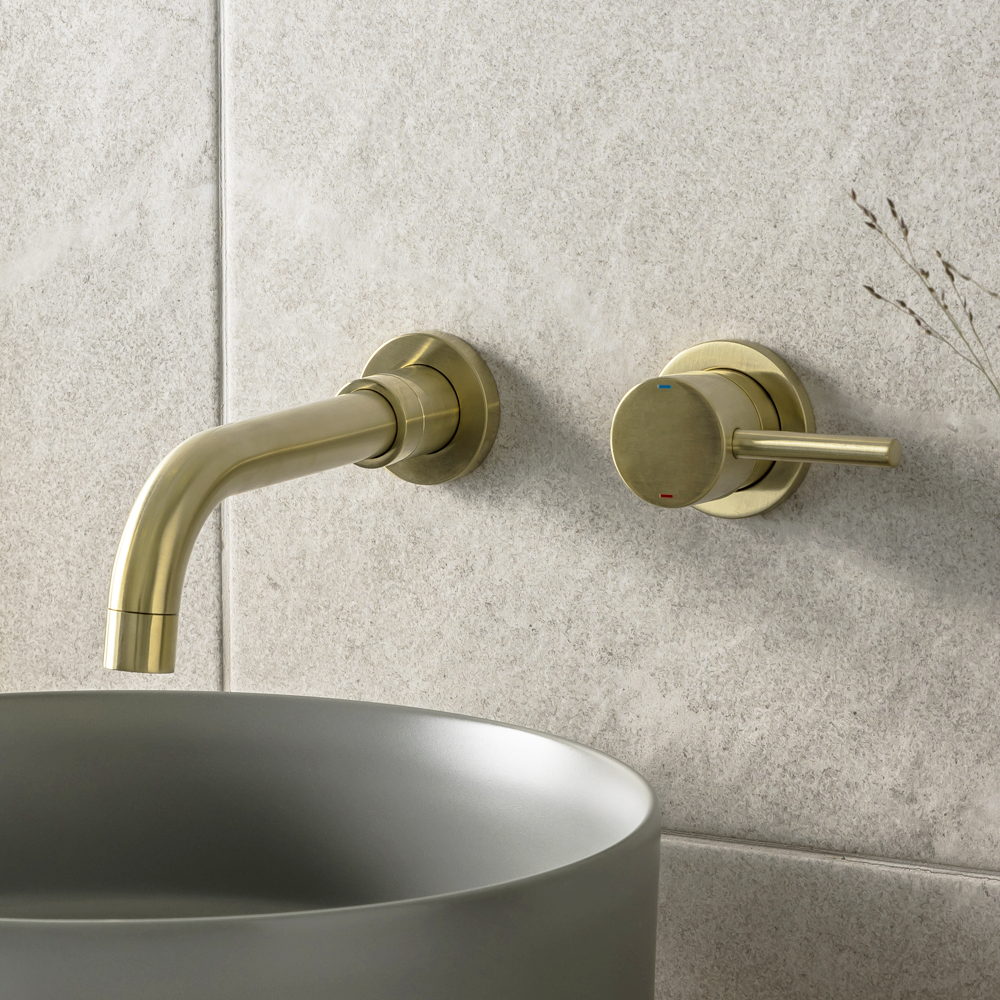
You don’t need designer brands to get a sleek finish. Affordable bathroom taps in matte black, brushed brass or chrome can elevate the look instantly. Swapping out old taps, showerheads and towel rails is an easy and budget-friendly way to modernise your space.
Luxury
Designer brass or gold taps with intricate detailing and premium finish.
Budget
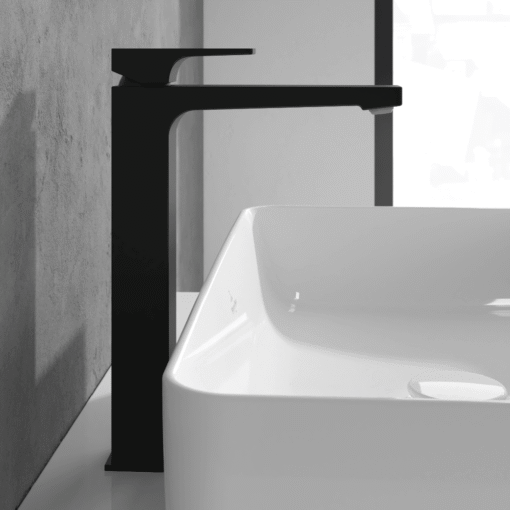
Matte black or brushed brass taps from affordable brands can give the same luxe vibe. These finishes are on trend and instantly elevate your space without the luxury price tag.
Browse our range of budget-friendly Bathroom Taps
Browse all Bathroom Taps here.
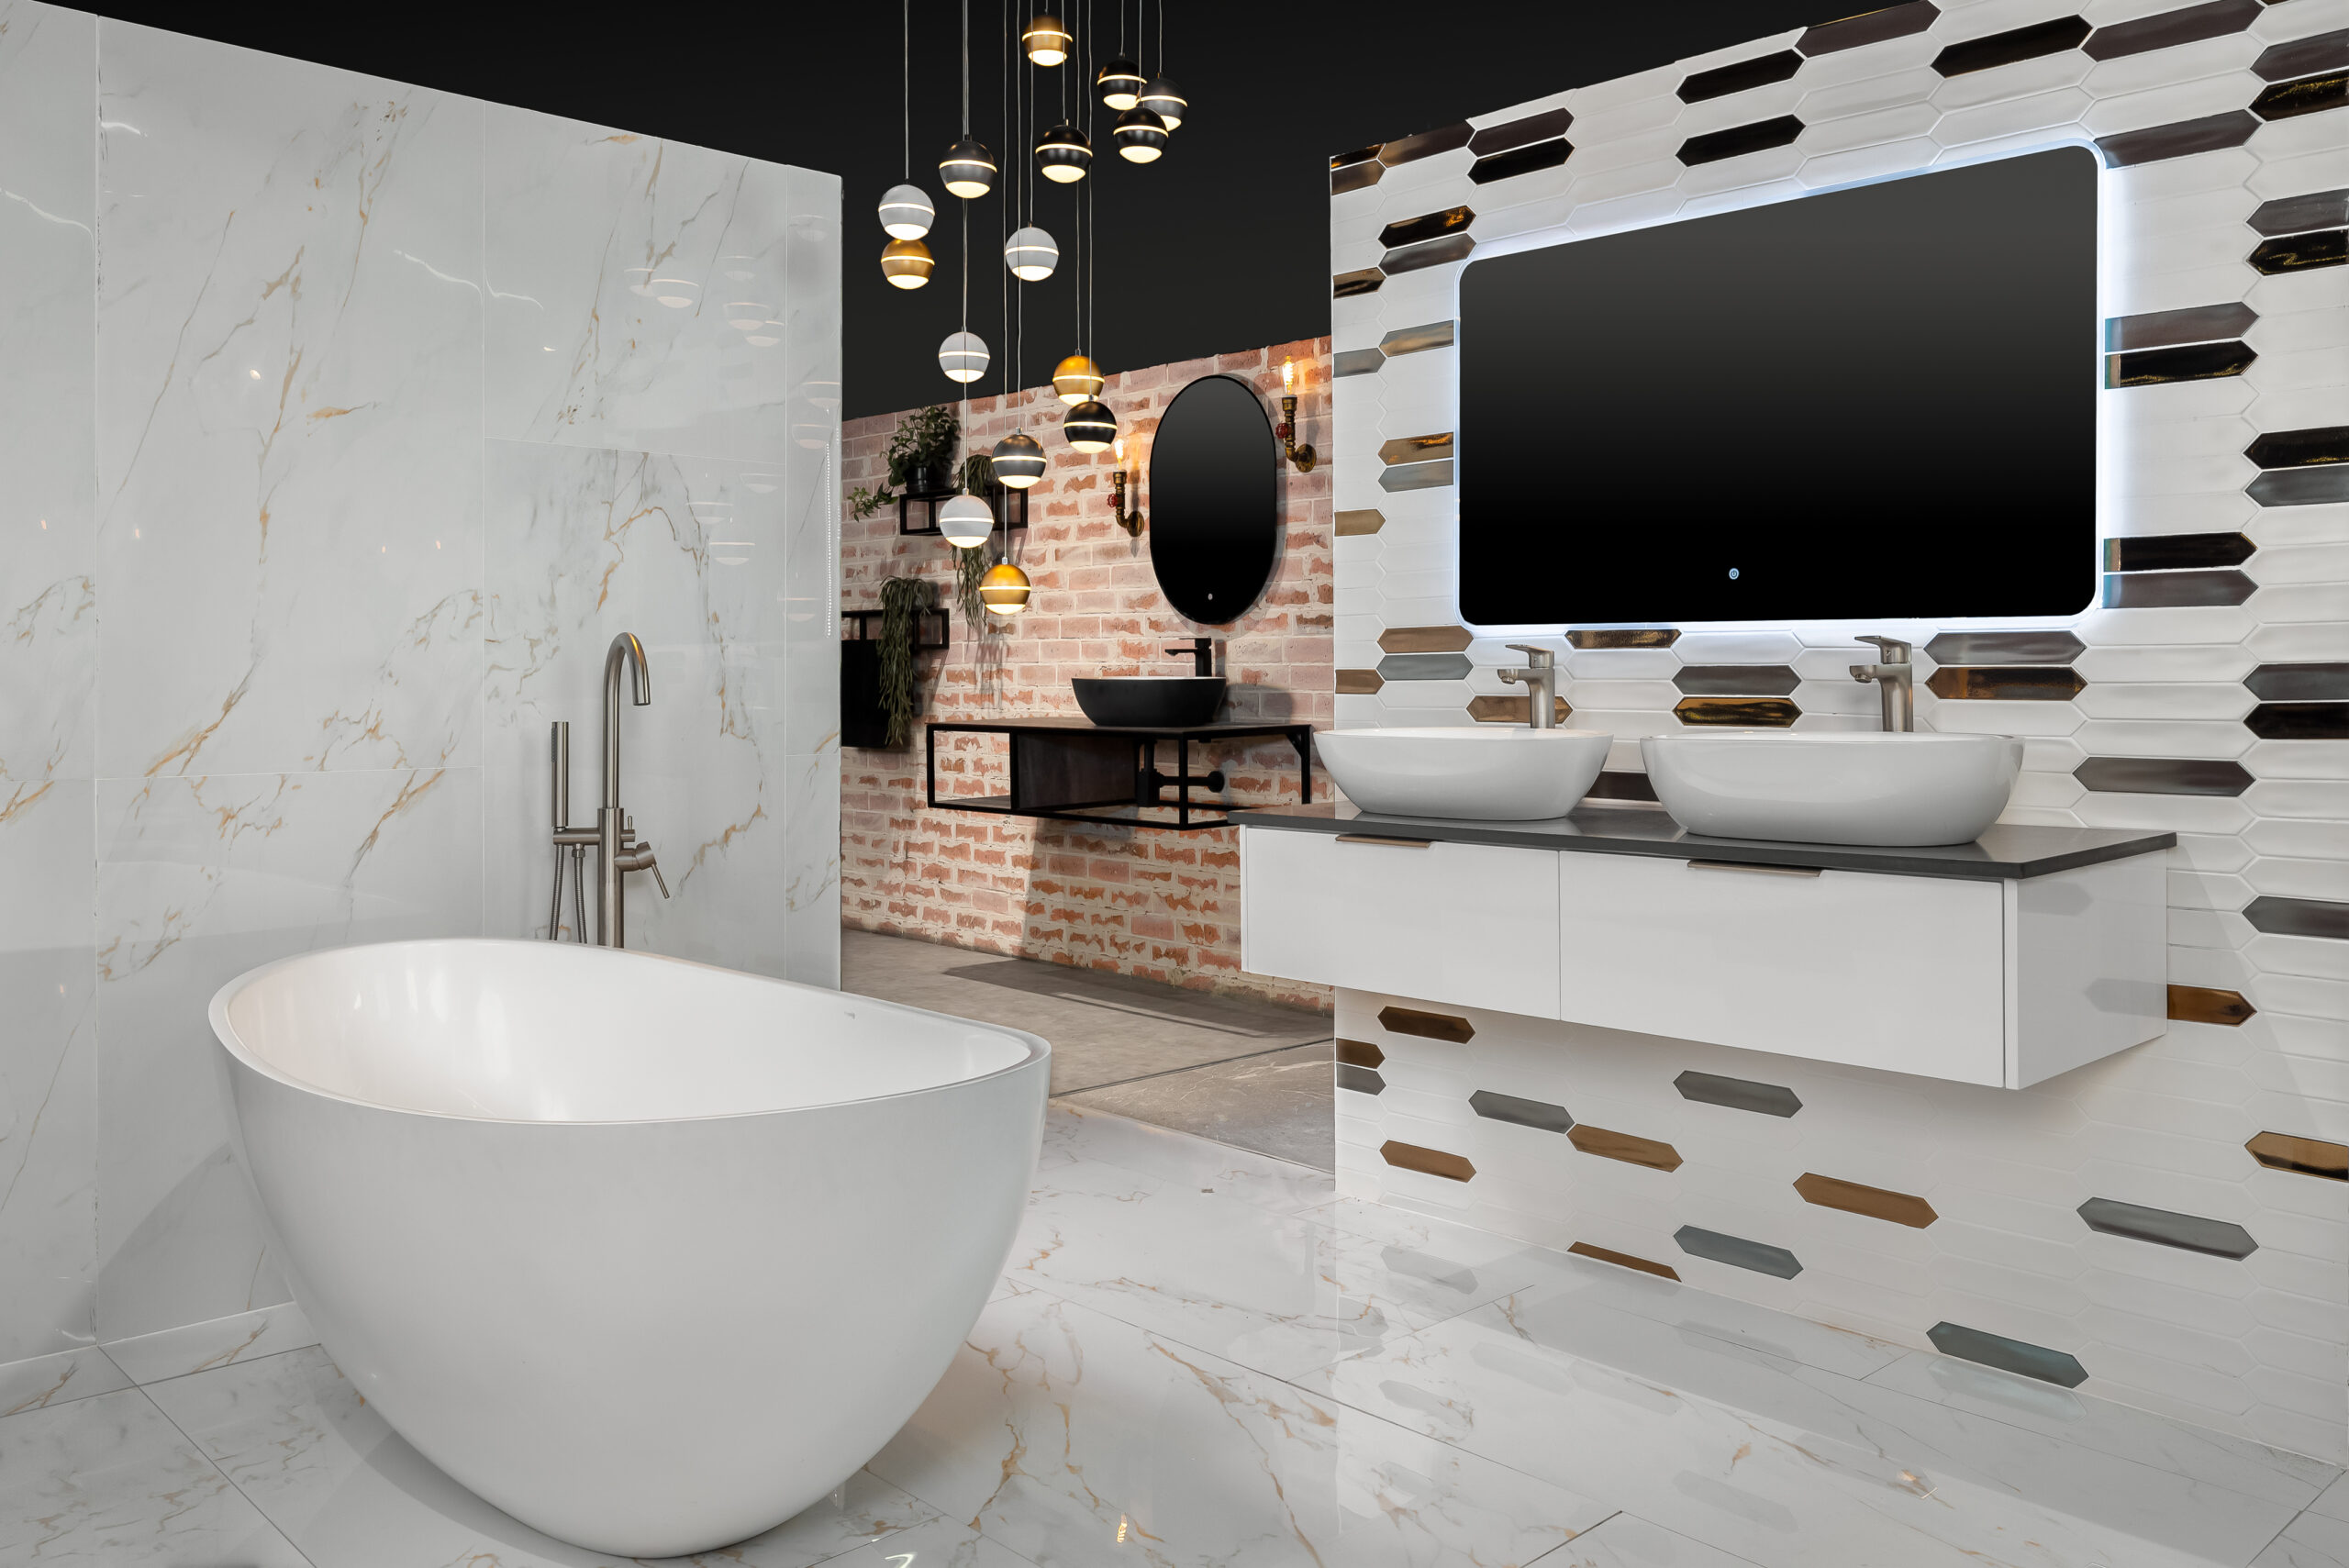
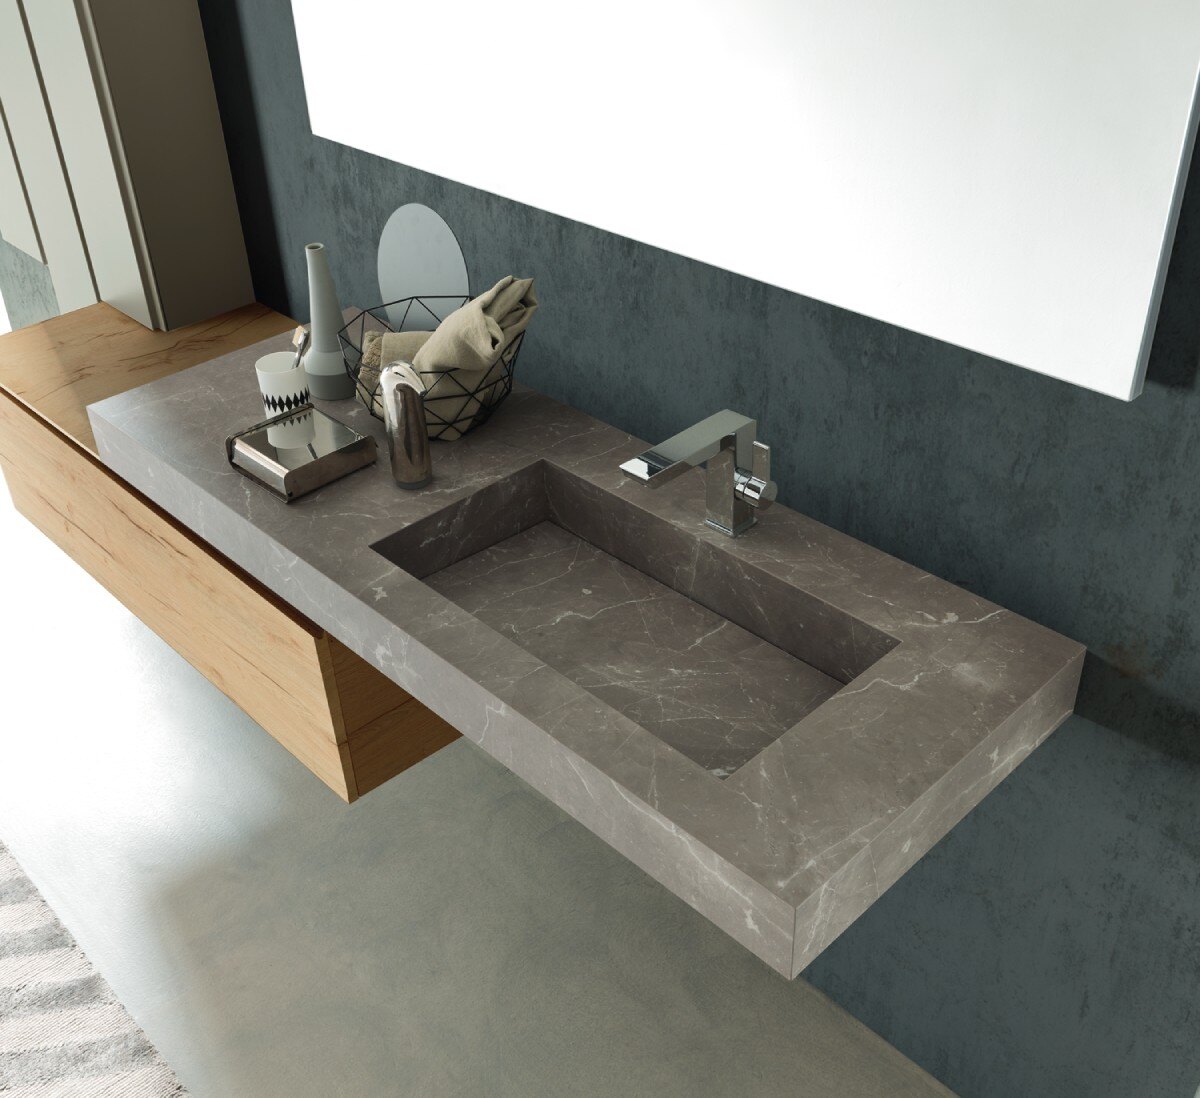
Vanity
Custom vanities and premium stone countertops are hallmarks of luxury bathrooms, but there are budget options that replicate this look well.
Luxury
Custom-built cabinetry with premium wood and stone countertops.
Budget
tiletoria, paarden eiland showroom
Opt for a ready-made vanity unit with a quartz or laminate countertop that looks like stone. Modern flat-pack options offer sleek designs that feel high-end but cost much less.
Browse our range of budget-friendly Bathroom Vanities
Browse all Bathroom Vanities here.
Lighting
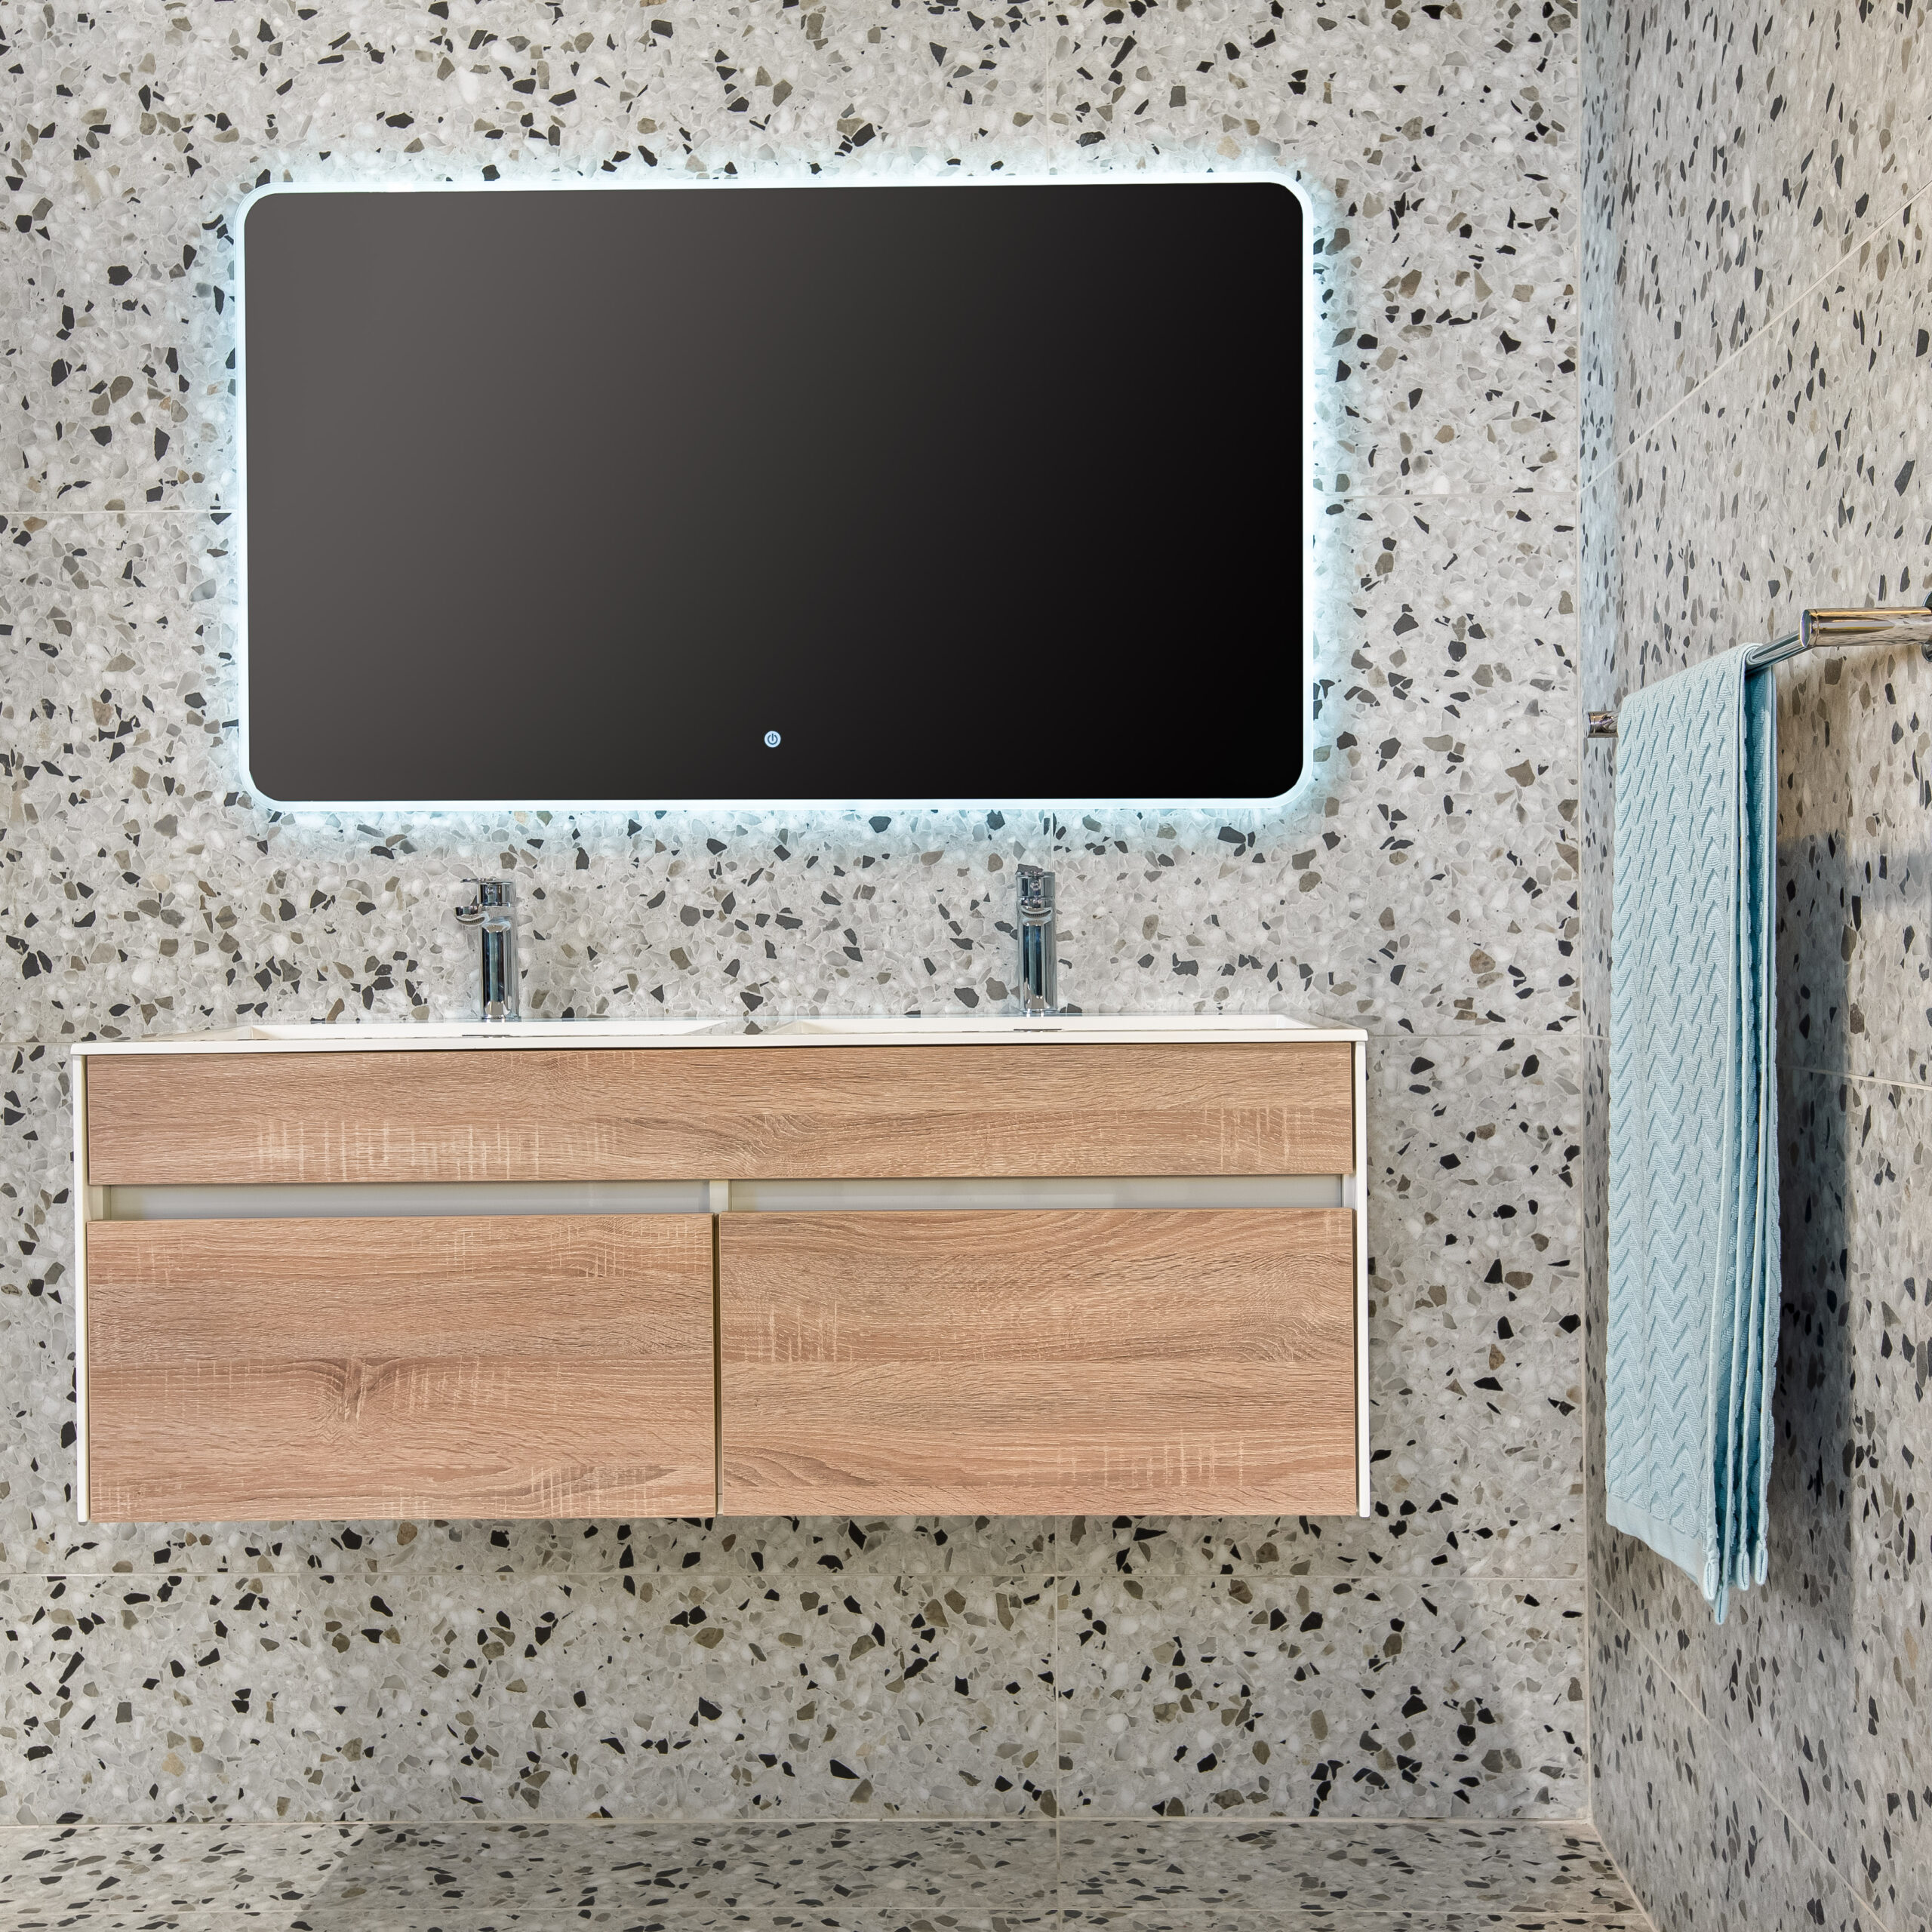
In luxury bathrooms, lighting is both functional and decorative, often using statement pieces to enhance ambiance. You can recreate that inviting glow without overspending.
Luxury
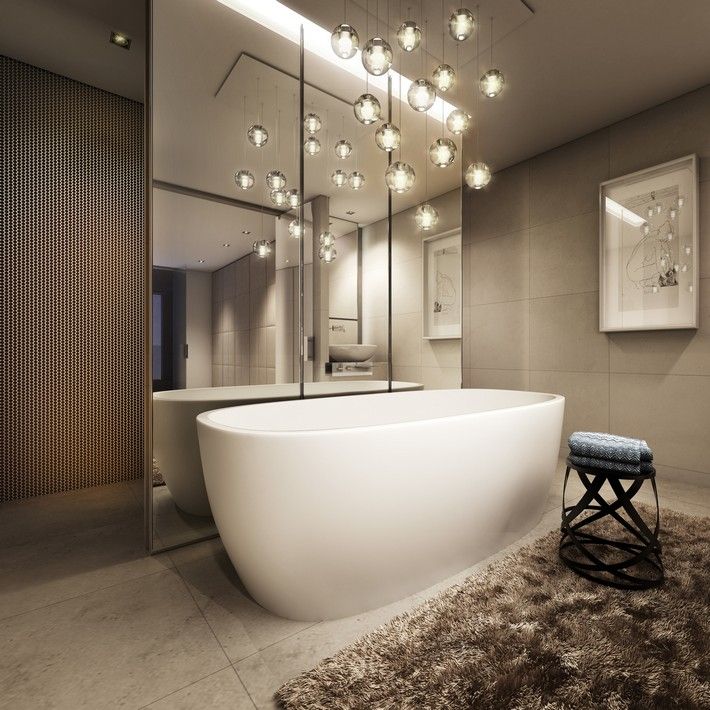
Statement pendant lights or designer wall sconces with high-quality finishes.
Budget
K Light LED Cosmic Cluster
Find stylish, affordable light fixtures online or in stores that mimic designer shapes and finishes. Even a well-chosen LED mirror with built-in lighting can add a luxe touch.
Browse our range of budget-friendly LED Backlight Mirrors
Browse all Bathroom Mirrors here.
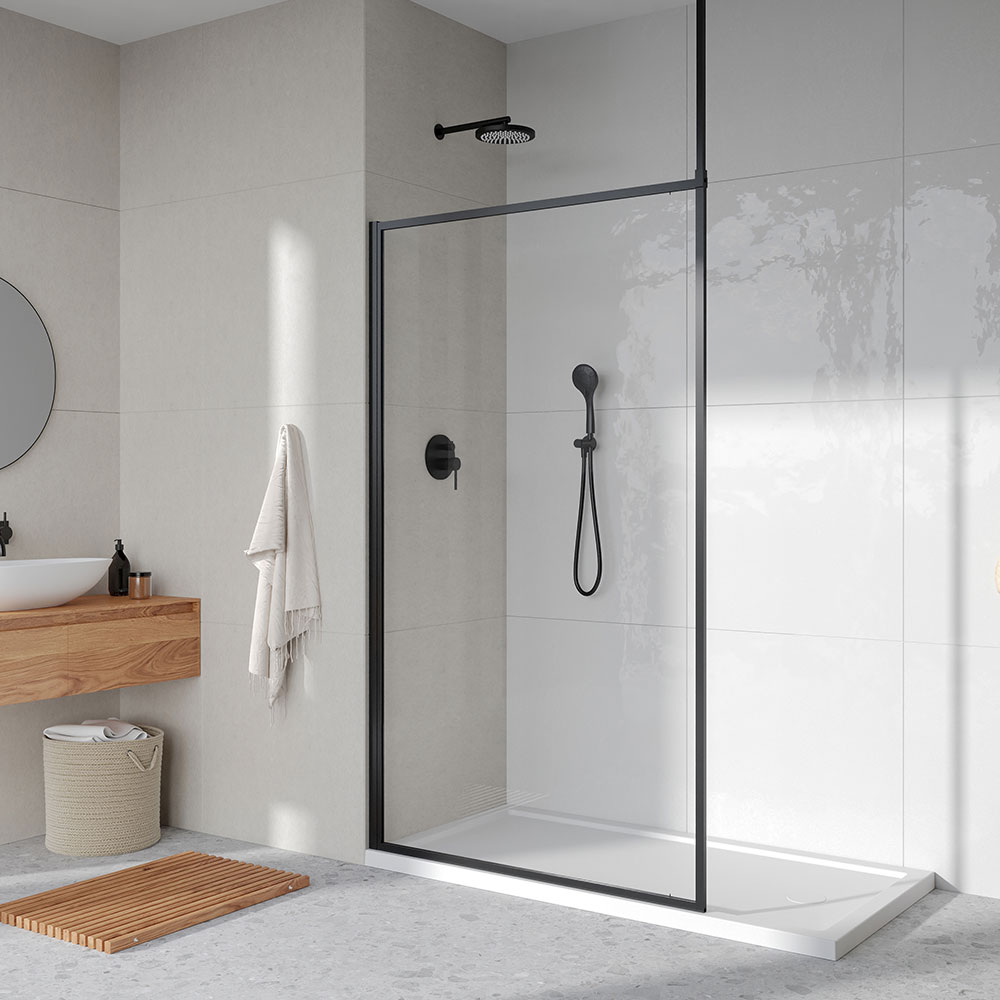
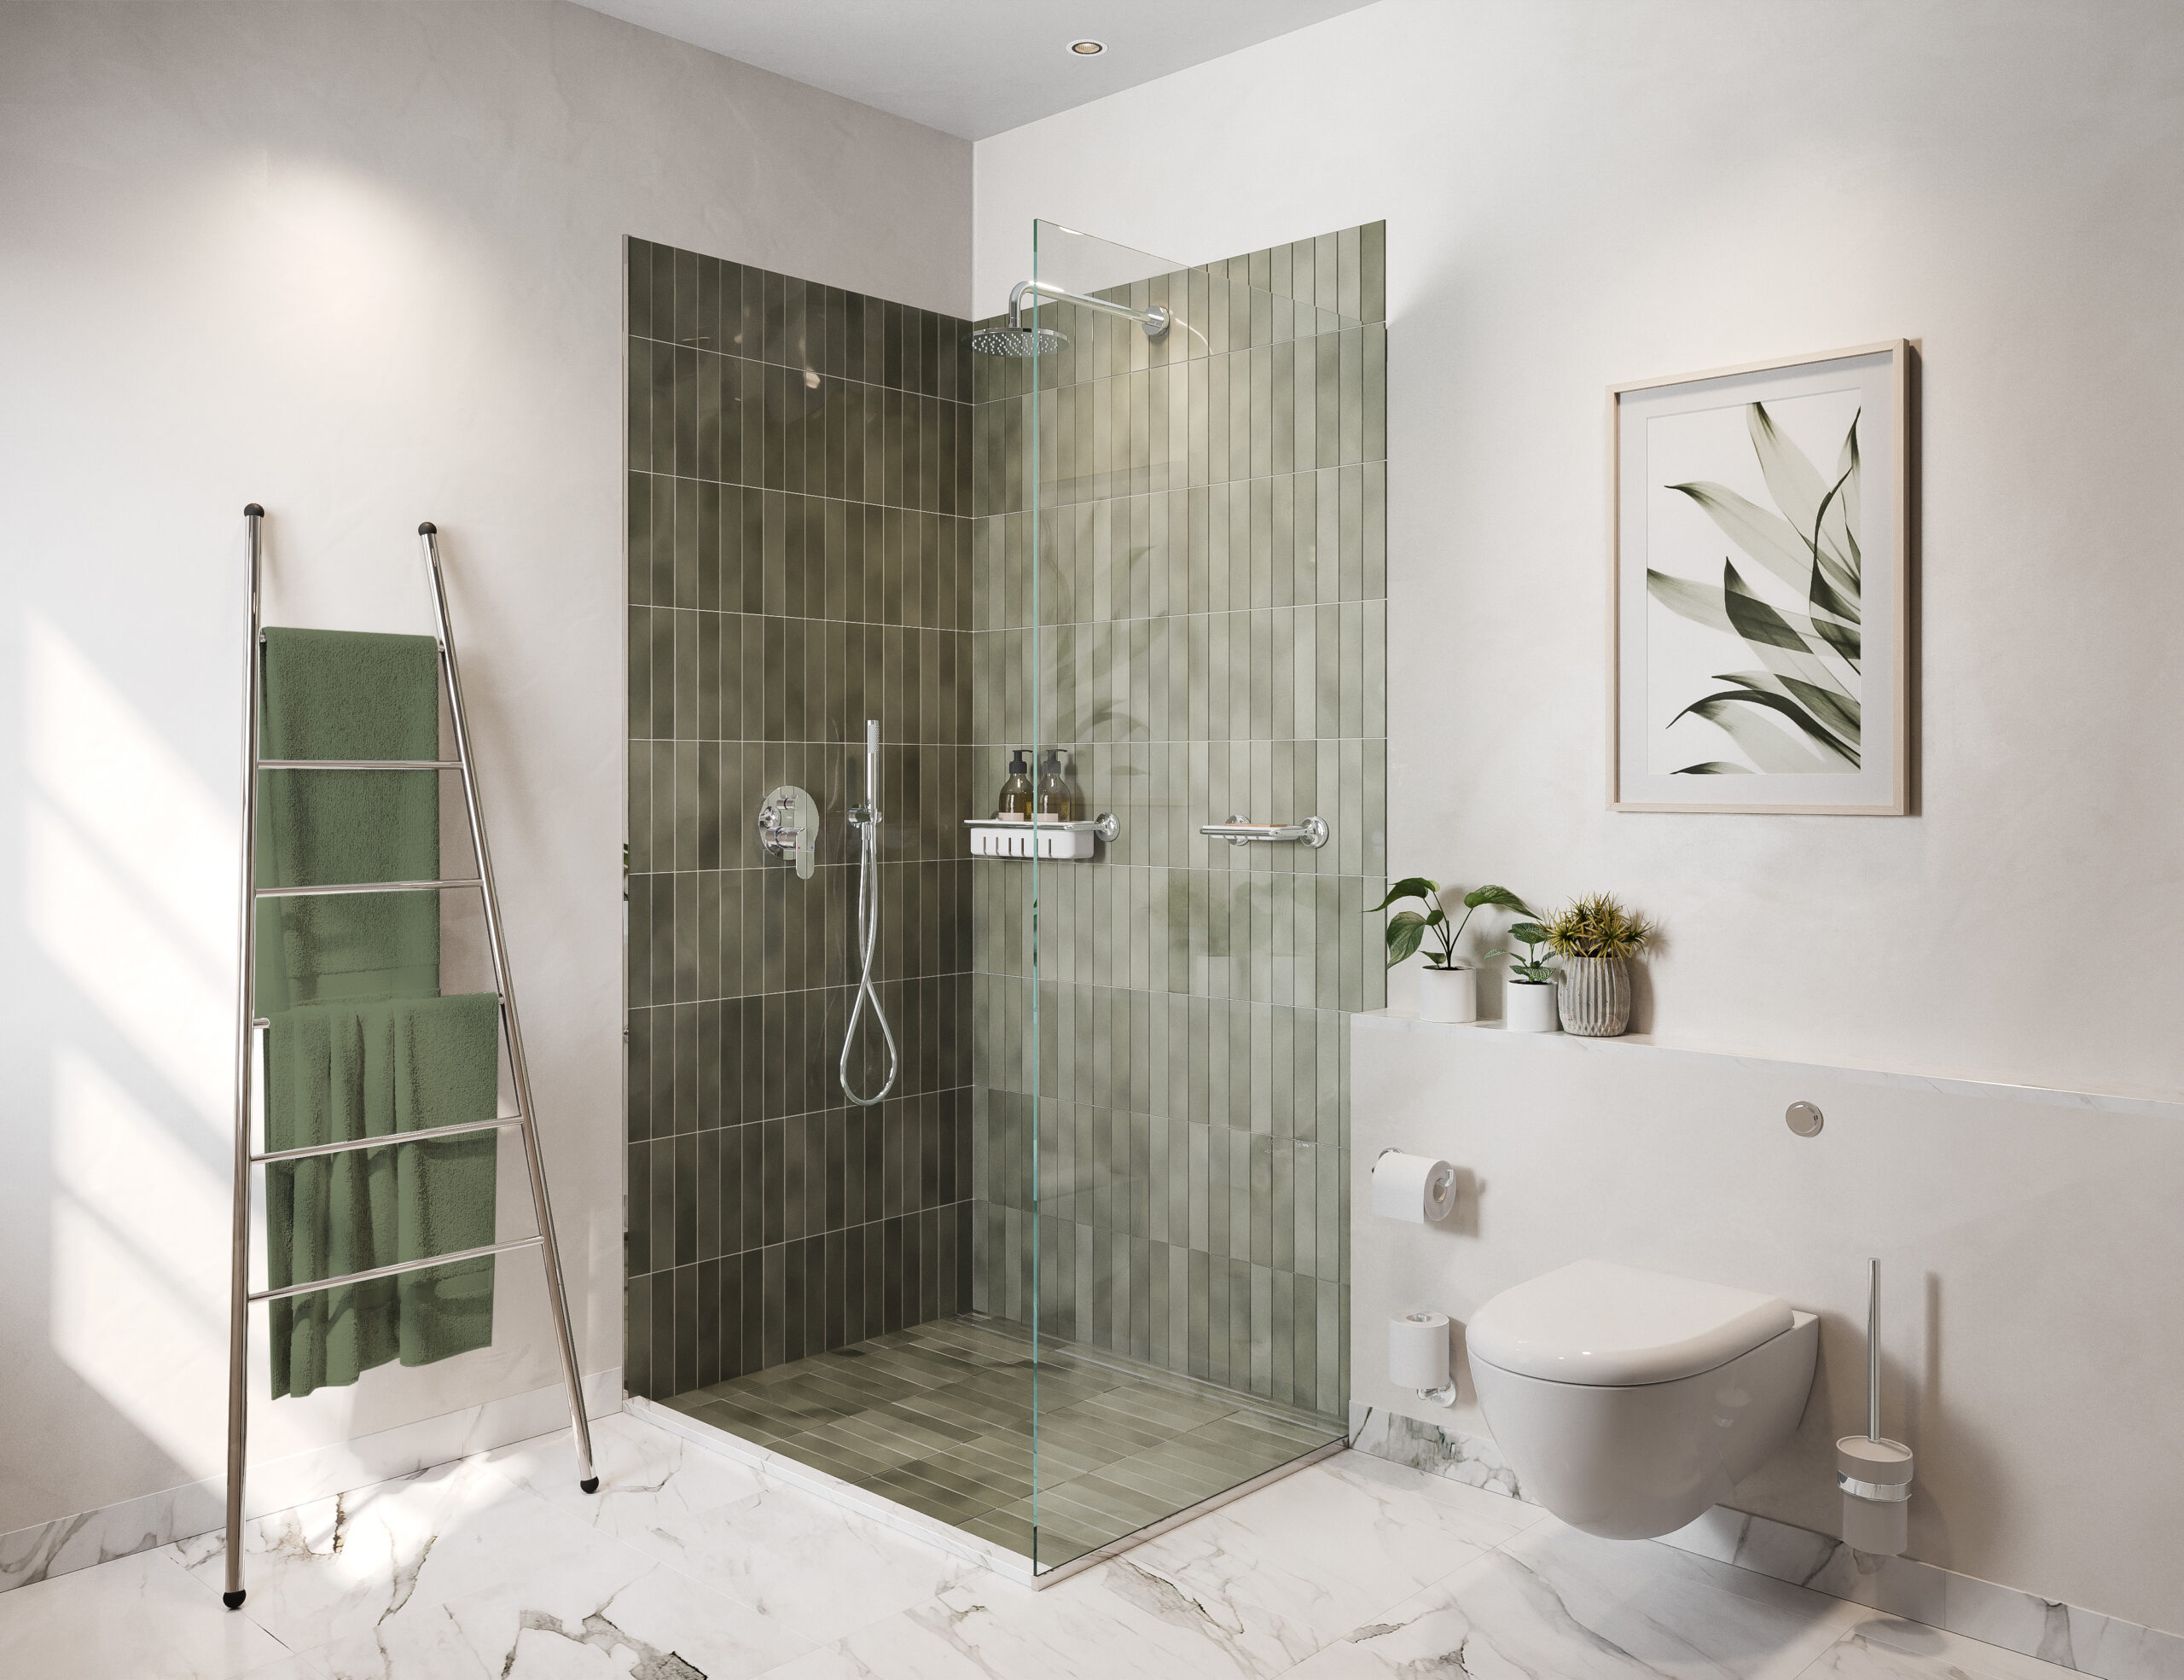
Shower
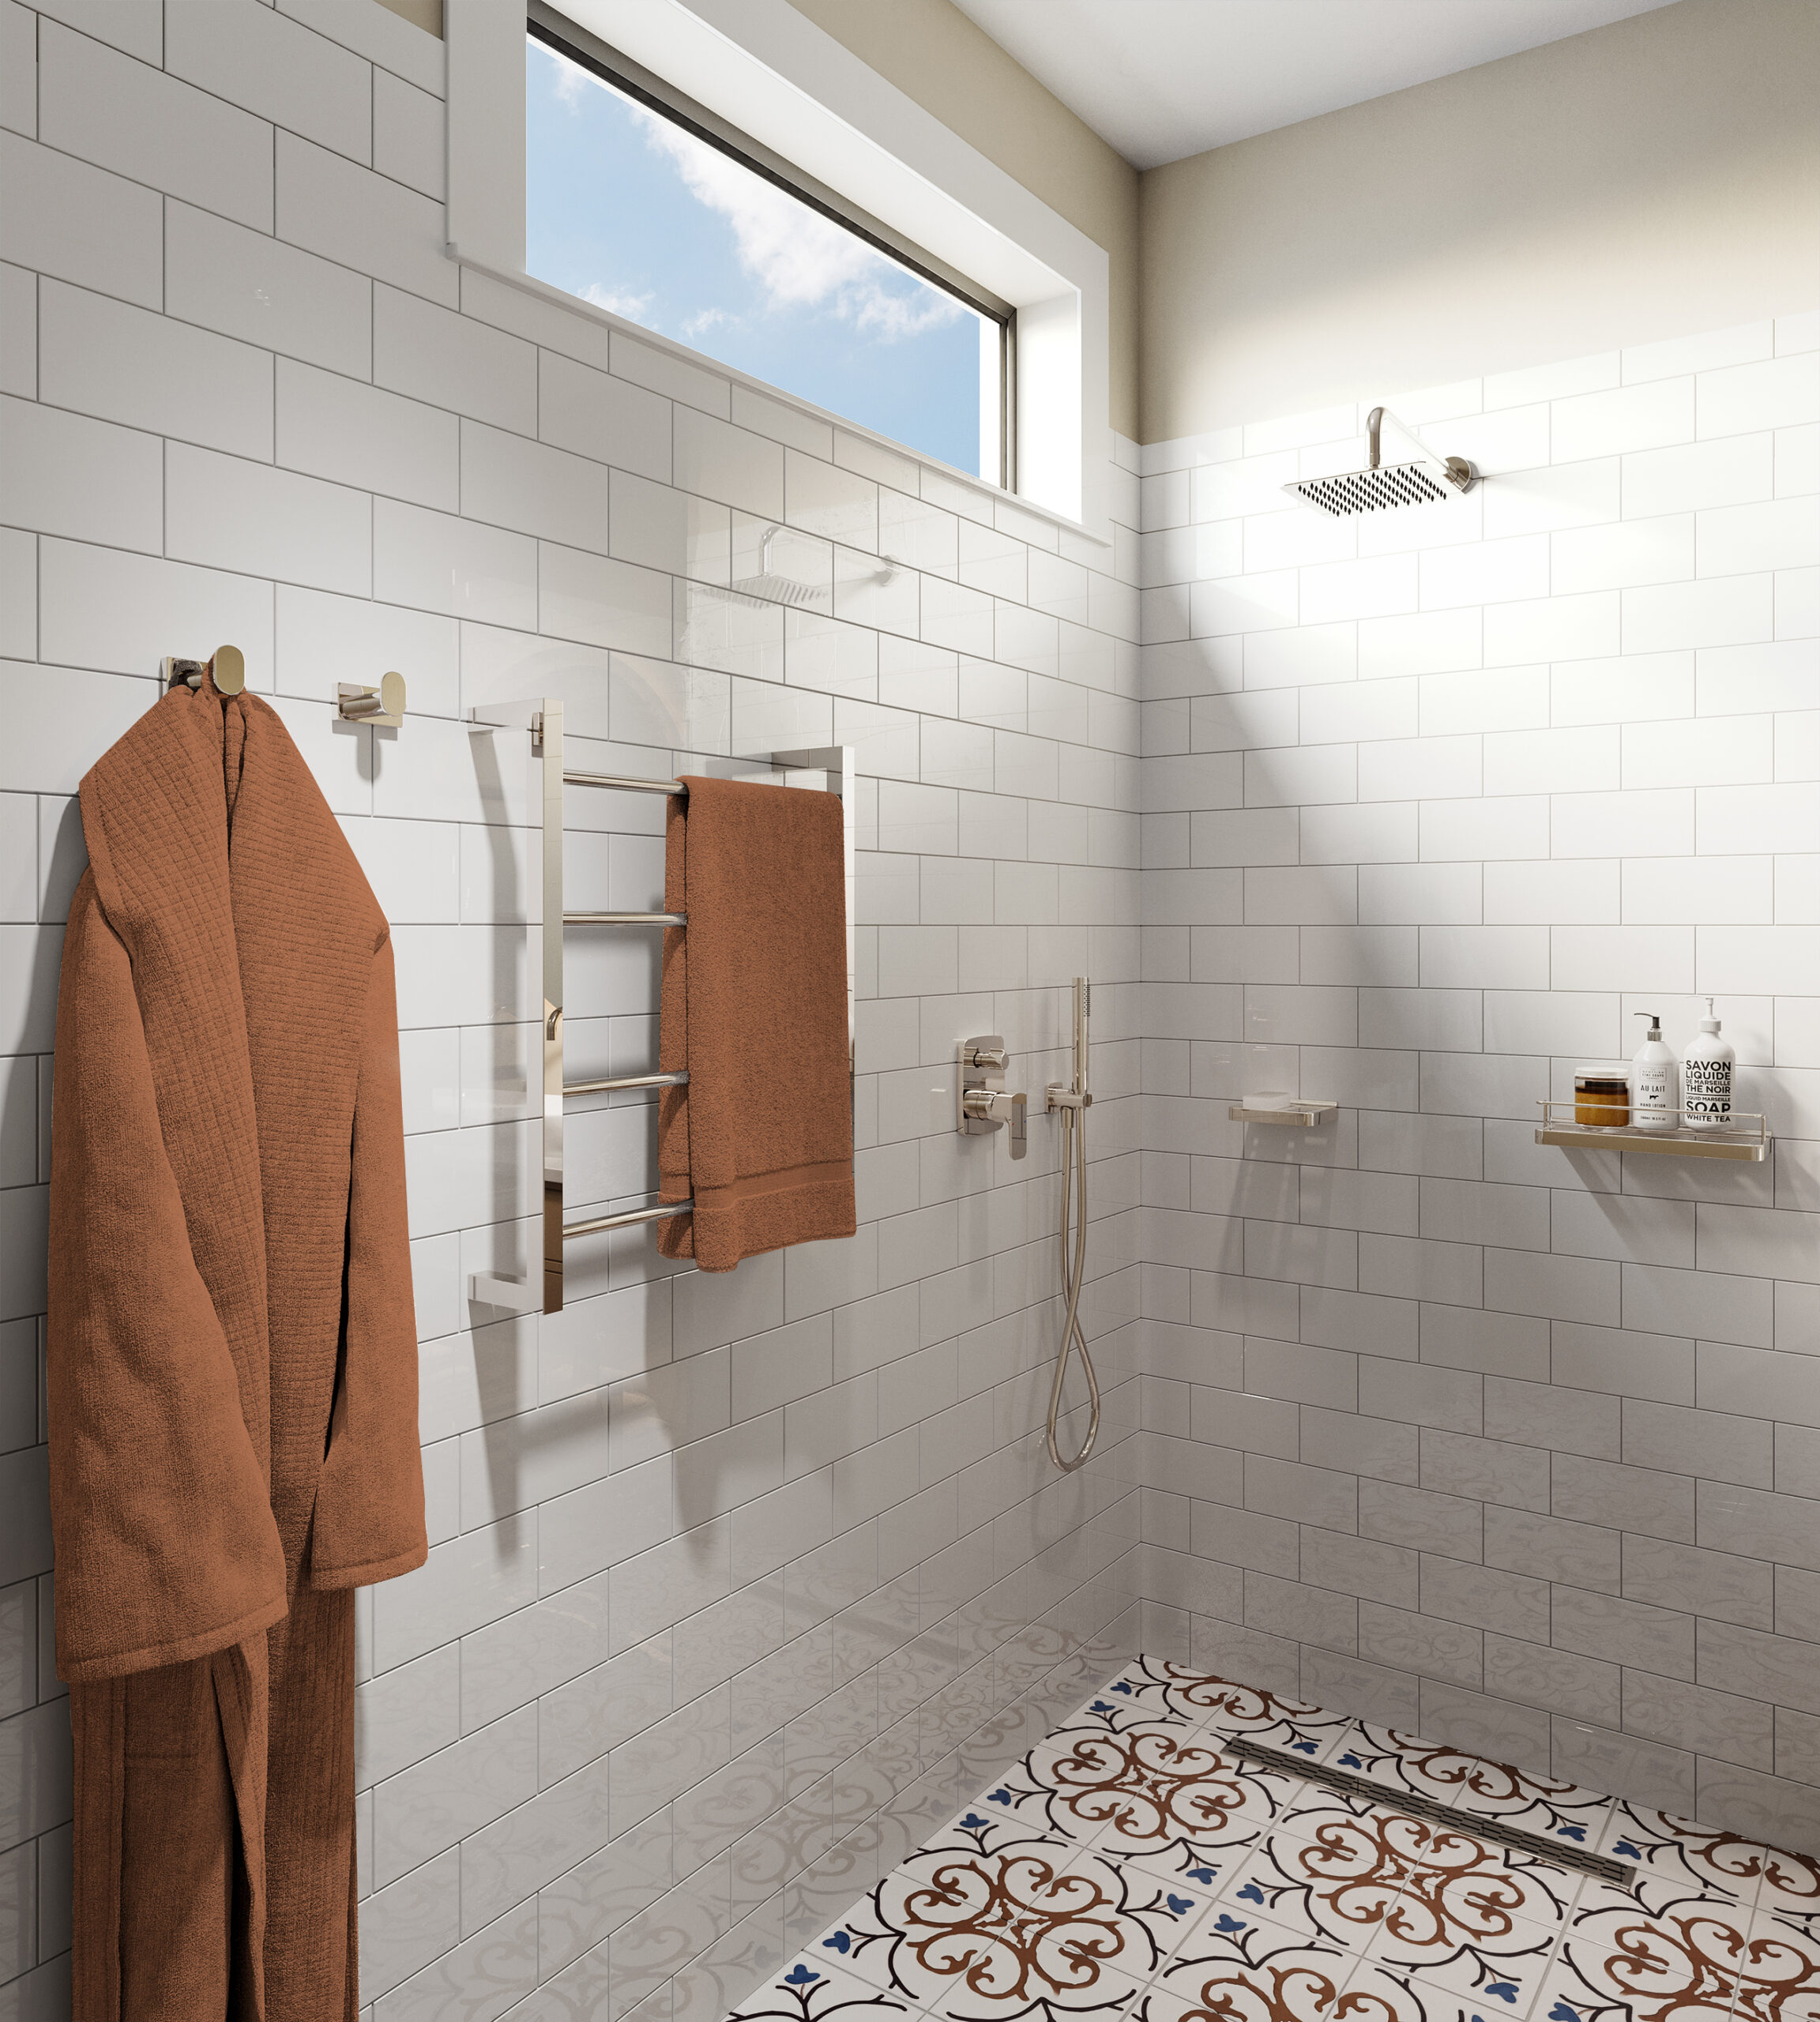
Luxury bathrooms often feature frameless glass showers for a clean and modern look. You can get a similar effect more affordably.
Luxury
Frameless glass shower doors with minimal hardware for a clean, modern look.
Budget
Semi-frameless or framed shower screens with clear glass still create a sleek feel but at a more affordable price point.
Browse our range of budget-friendly Showers
Browse all Showers here.
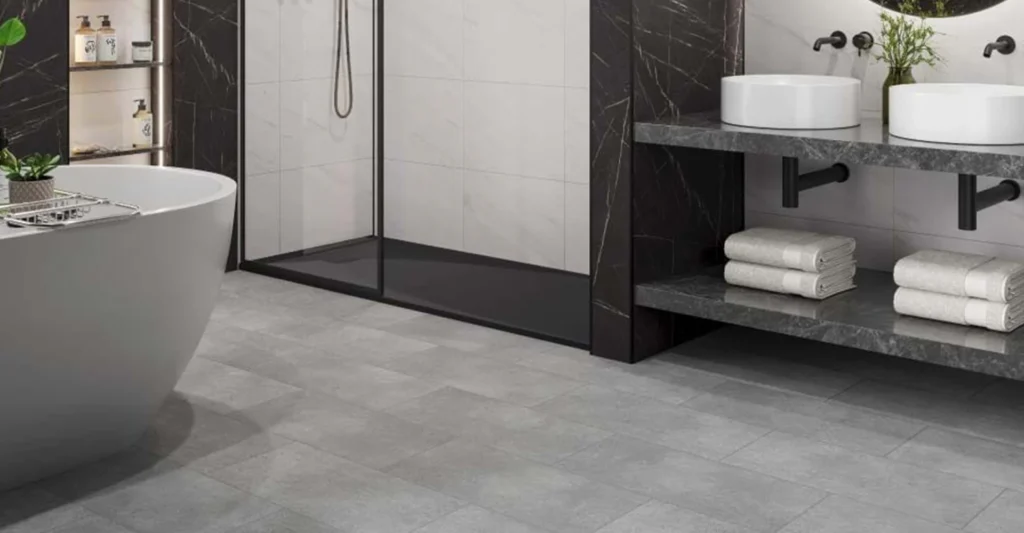
Flooring
High-end bathrooms use natural stone or premium tiles combined with heated floors for comfort and style. Here’s how to achieve that feeling without the high price tag.
Luxury
Heated floors under natural stone or high-end tiles.
Budget
Use underfloor heating mats beneath budget tiles or vinyl flooring with a stone look. This adds comfort and warmth without the big investment.
Browse our range of budget-friendly Vinyl Flooring
Browse all Vinyl Flooring here.
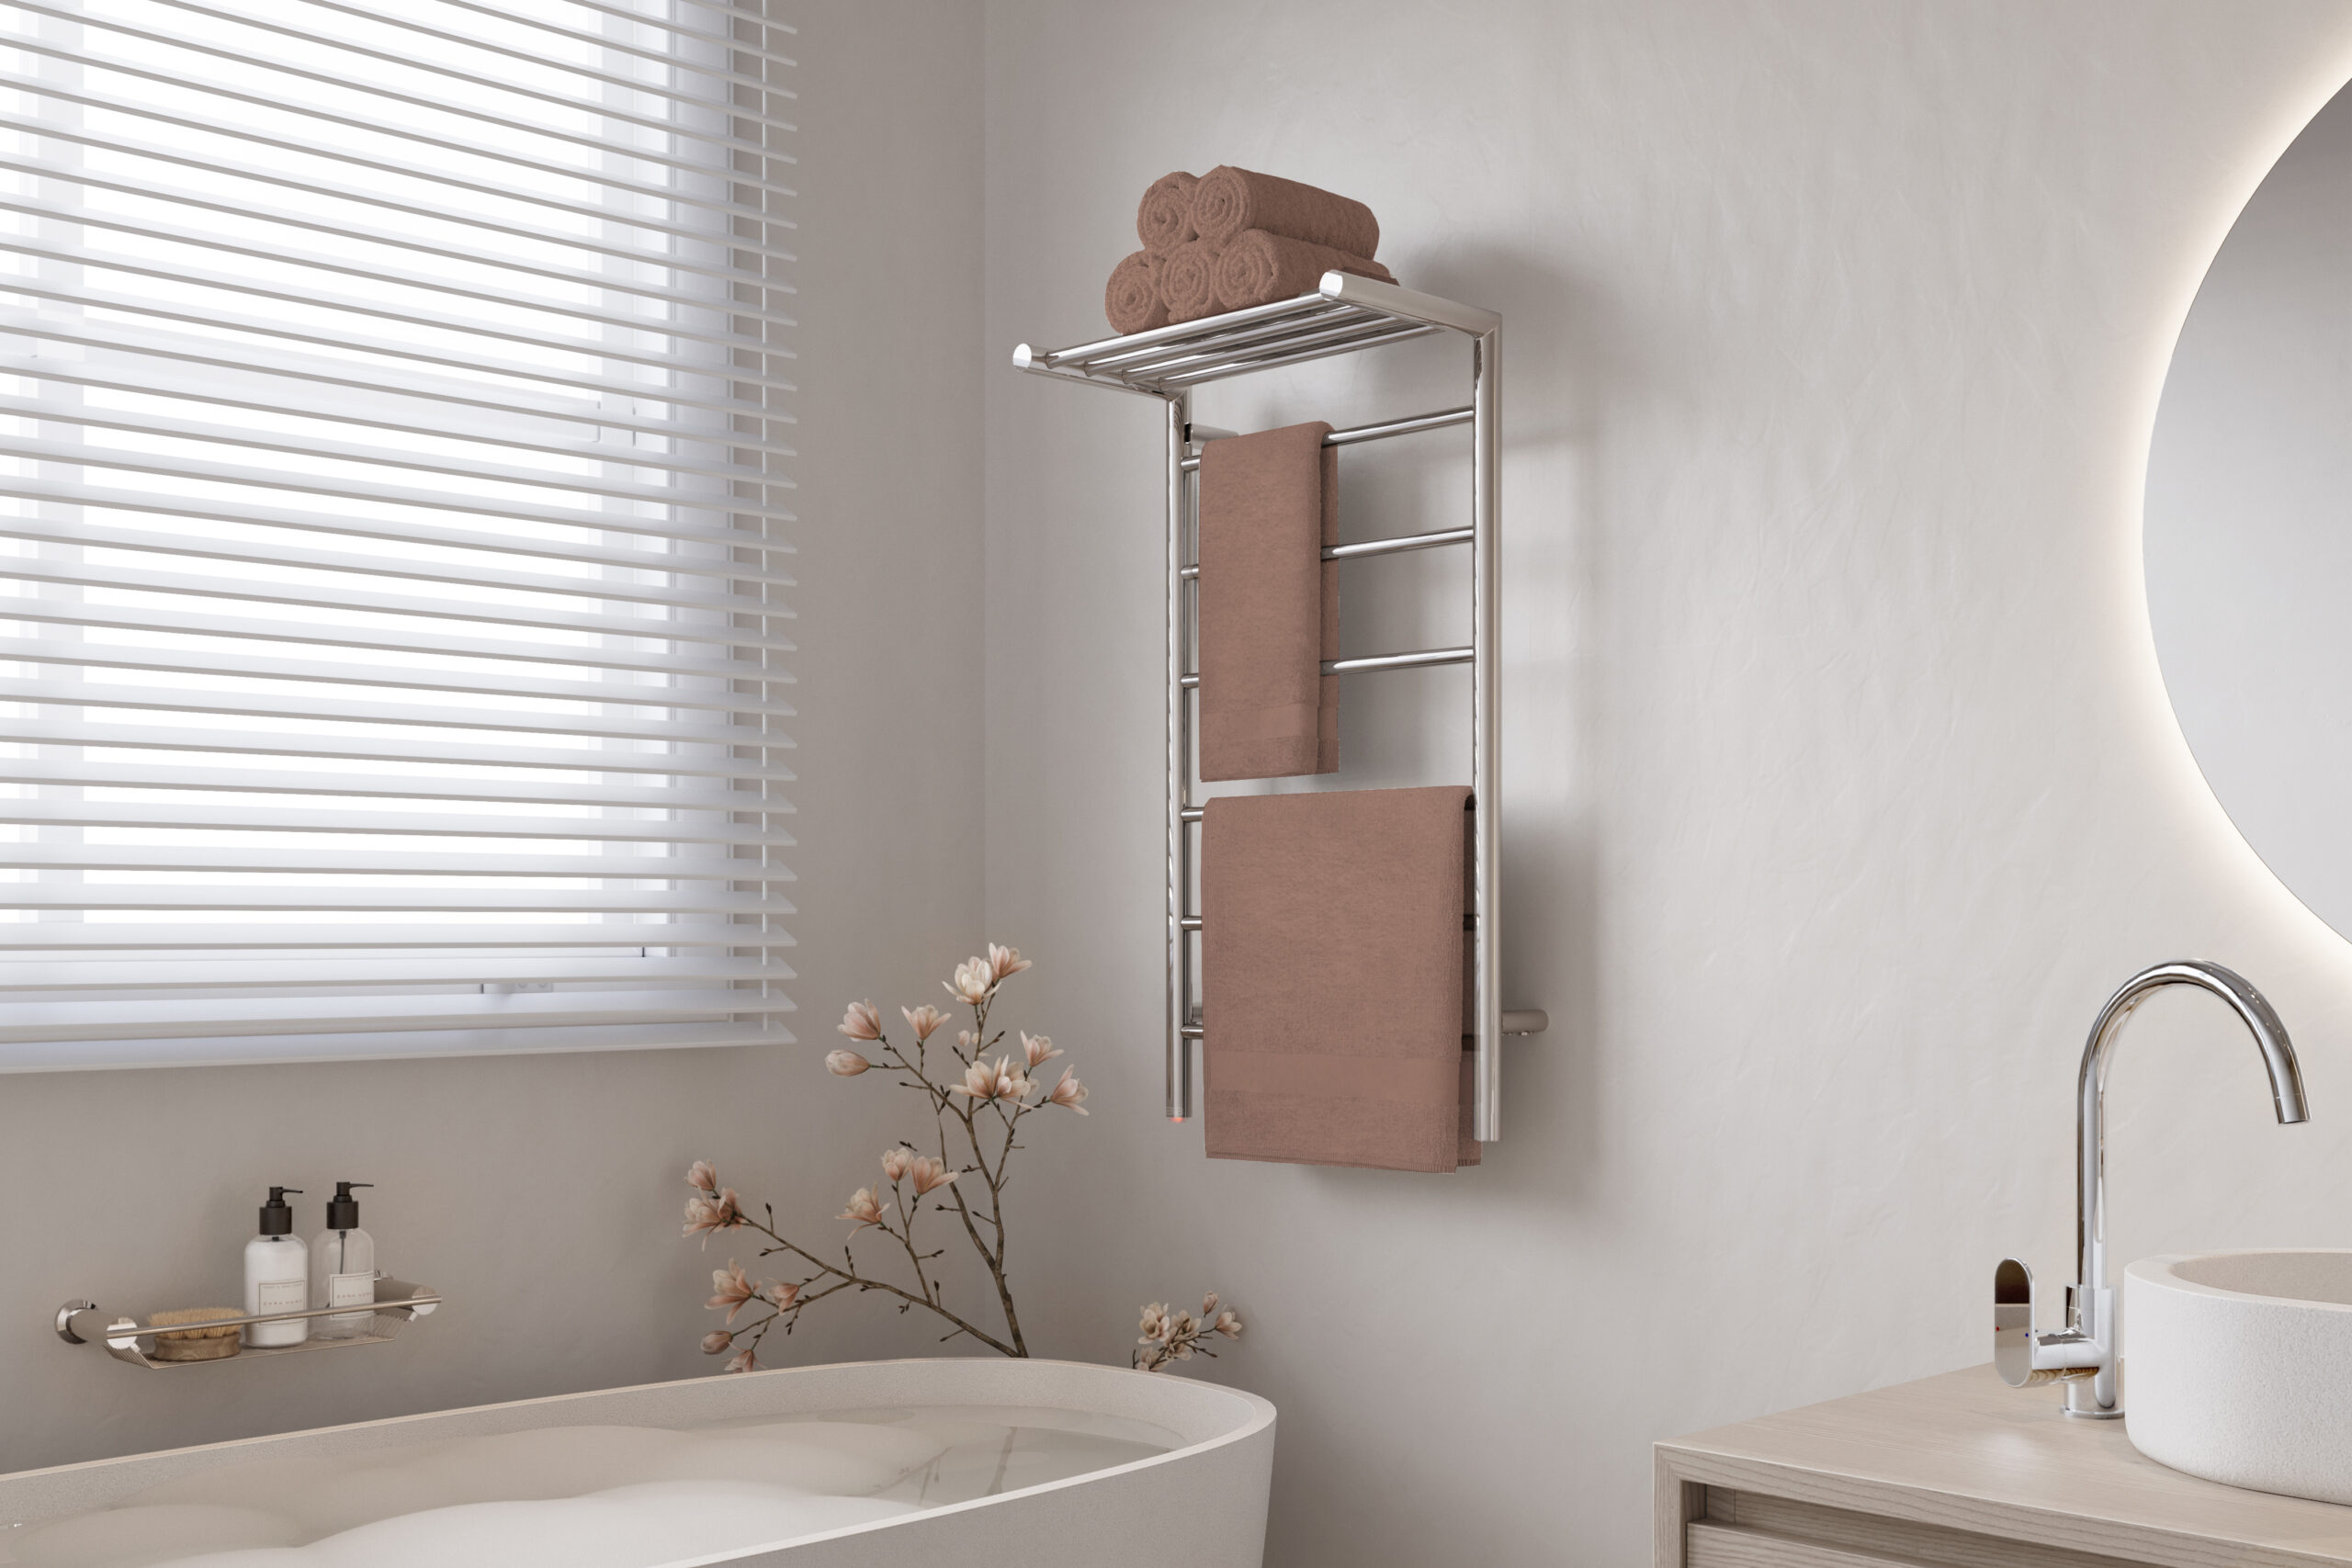
Accessories
Luxury bathrooms have coordinated accessories that add polish and cohesion. You can achieve a similar effect with smart, affordable choices.
Luxury
Coordinated luxury bathroom accessories in matching metals like gold or chrome.
Budget
Mix and match budget-friendly accessories with similar finishes. Simple but thoughtful additions like matching soap dispensers, towel rails and mirrors can tie the look together.
Browse our range of budget-friendly Bathroom Accessories
Browse all Bathroom Accessories here.
Colour Palette
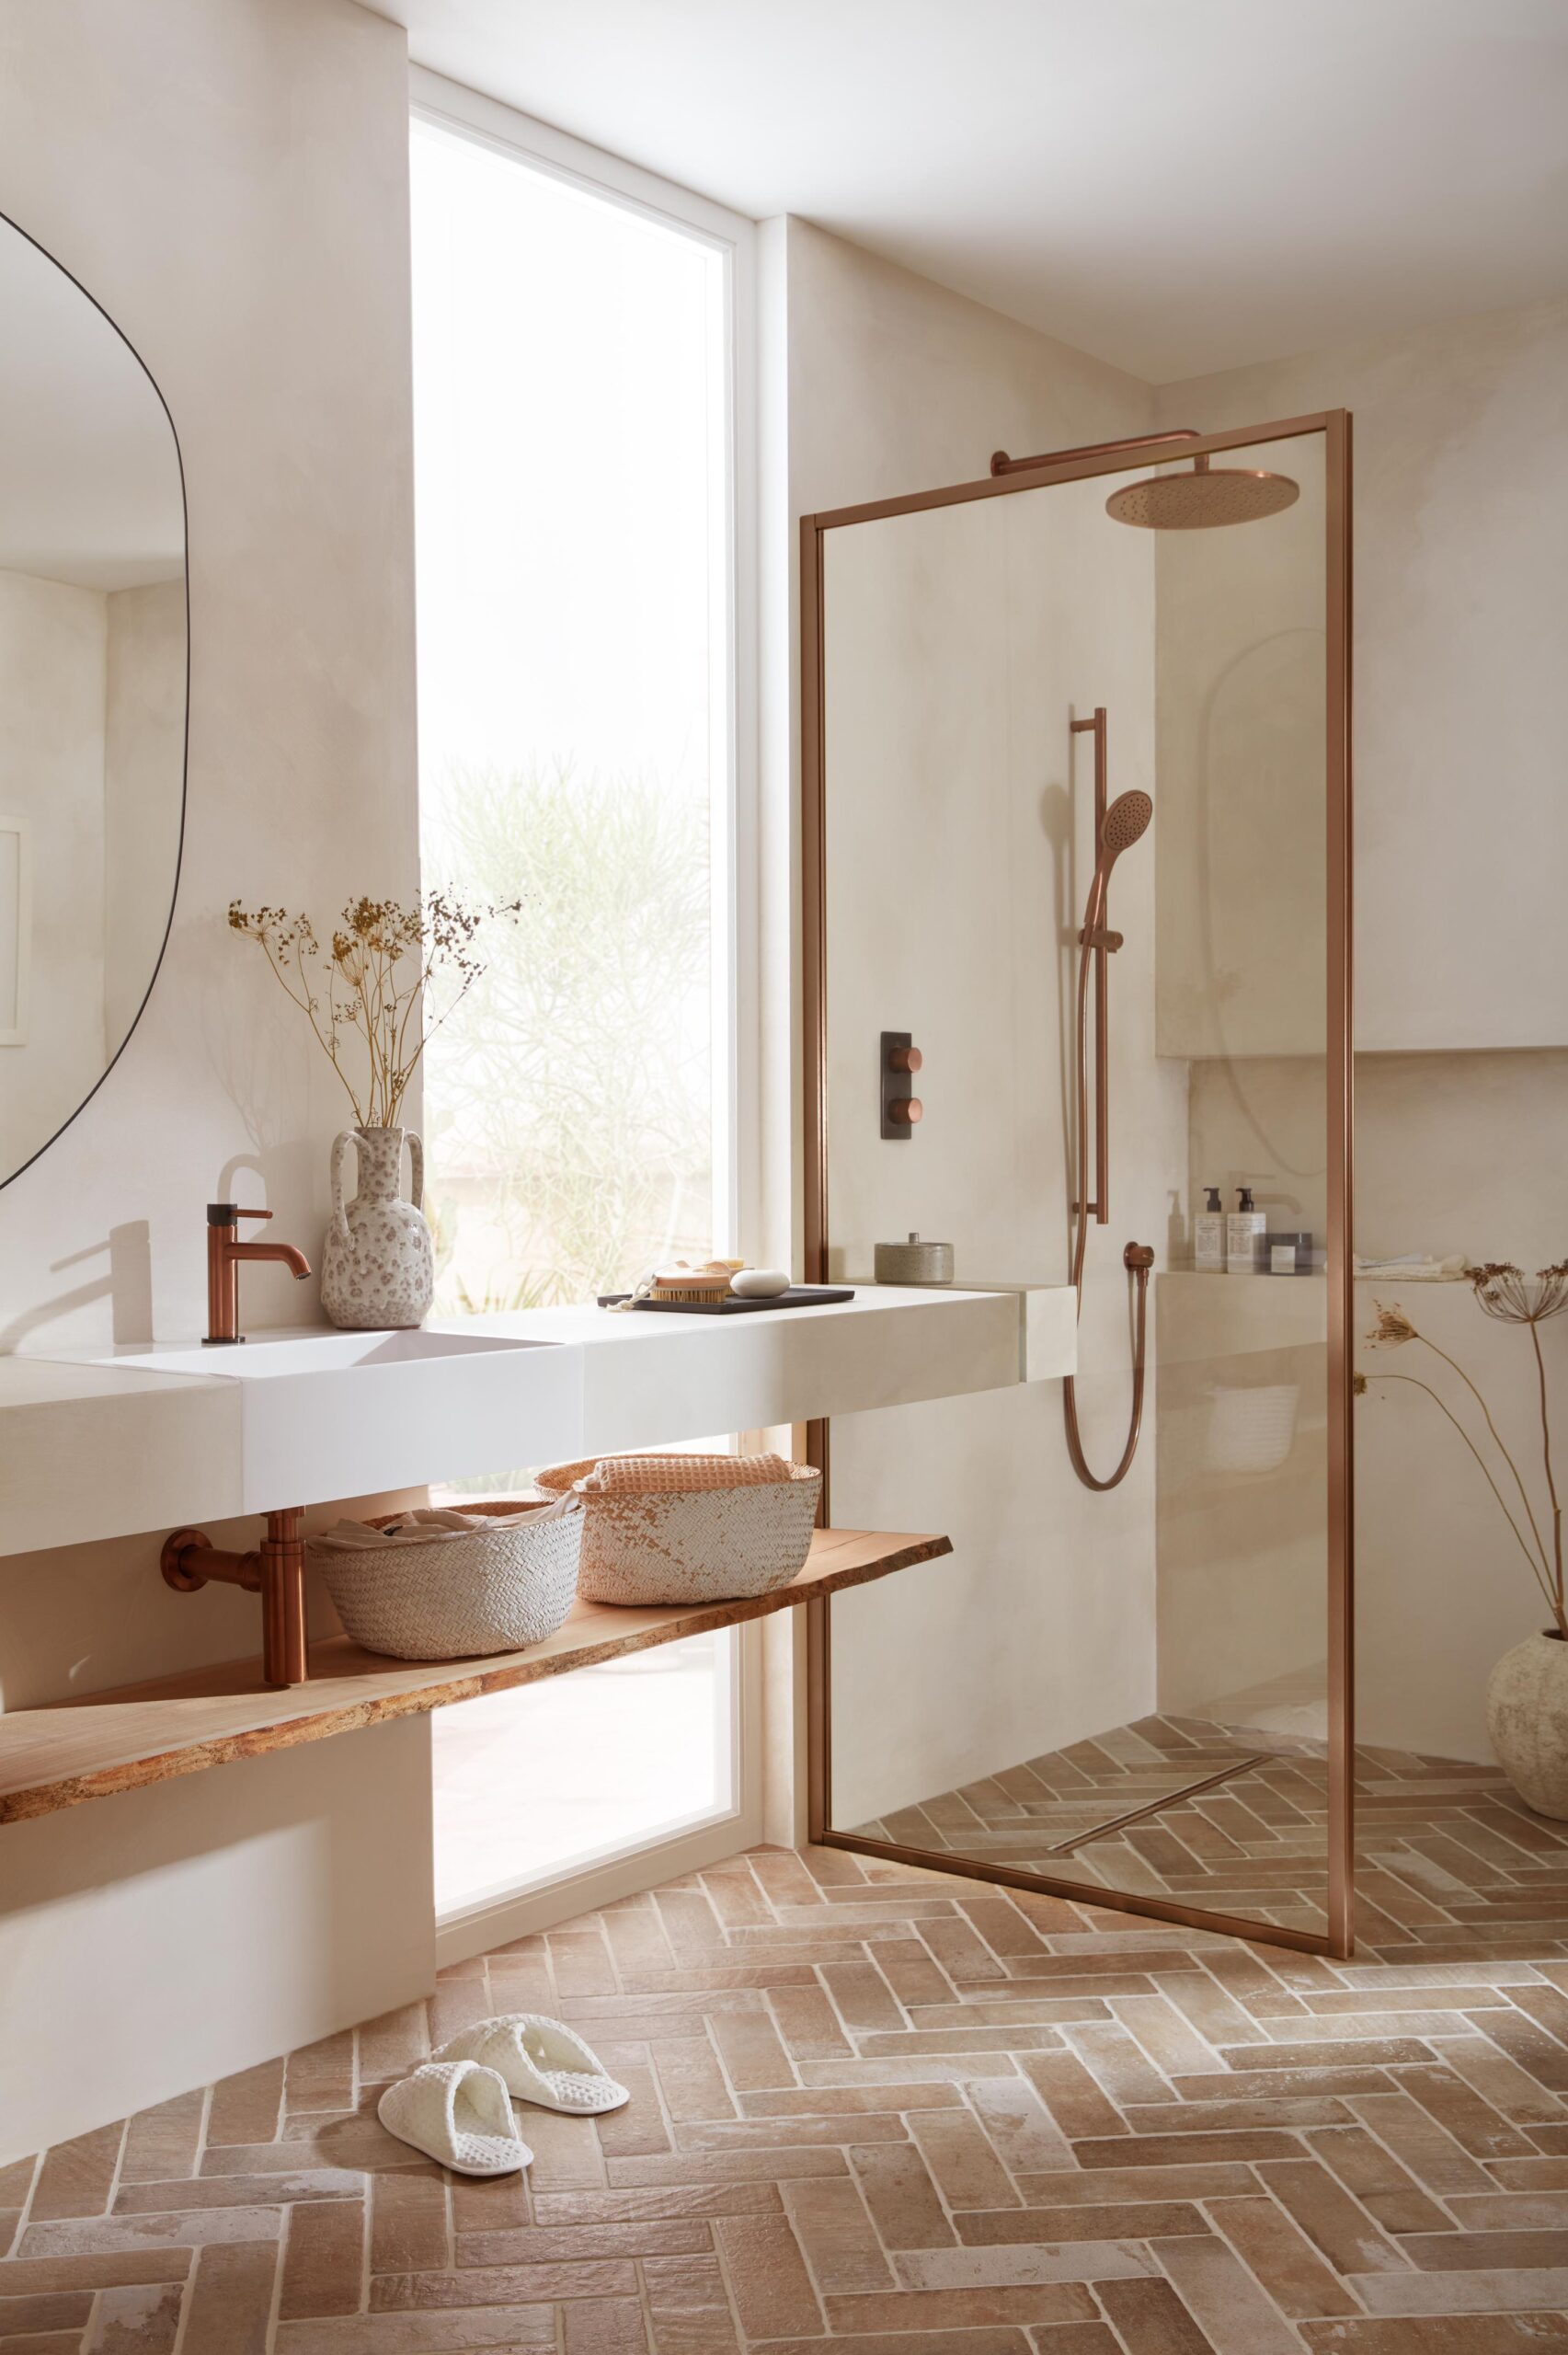
A calm, neutral colour palette is a signature of luxury bathrooms, helping materials and design stand out. You can use this same strategy to elevate your bathroom on a budget.
Luxury bathrooms often stick to white, beige, soft grey or black tones. Keeping colours simple makes your bathroom feel spacious, cohesive and elegant even with budget materials.
Mix High and Low
The smartest way to achieve a designer bathroom look on a budget is to mix high-end statement pieces with affordable basics.
Pair a budget vanity with a beautiful mirror, or upgrade your basin but keep existing cabinetry. Balancing luxury touches with budget-friendly elements keeps costs manageable while still giving you the wow factor.
You don’t need a luxury price tag to create a bathroom that looks and feels expensive. With careful choices and a little creativity, you can have the designer bathroom of your dreams without the designer price.
Need help creating your dream bathroom on a budget?
Visit your nearest Tiletoria showroom or browse our wide range of bathroom tiles and accessories online — we’ve got stylish options for every style and budget.
bathroom, blog, floors, kitchen, walls
When done right, statement tiles can elevate your home from ordinary to unforgettable. But there’s a fine line between bold and overwhelming. If you’re dreaming of eye-catching patterns or vibrant colours, the key is balance.
In this blog, we’ll explore how to use statement tiles in a way that feels stylish, not chaotic.
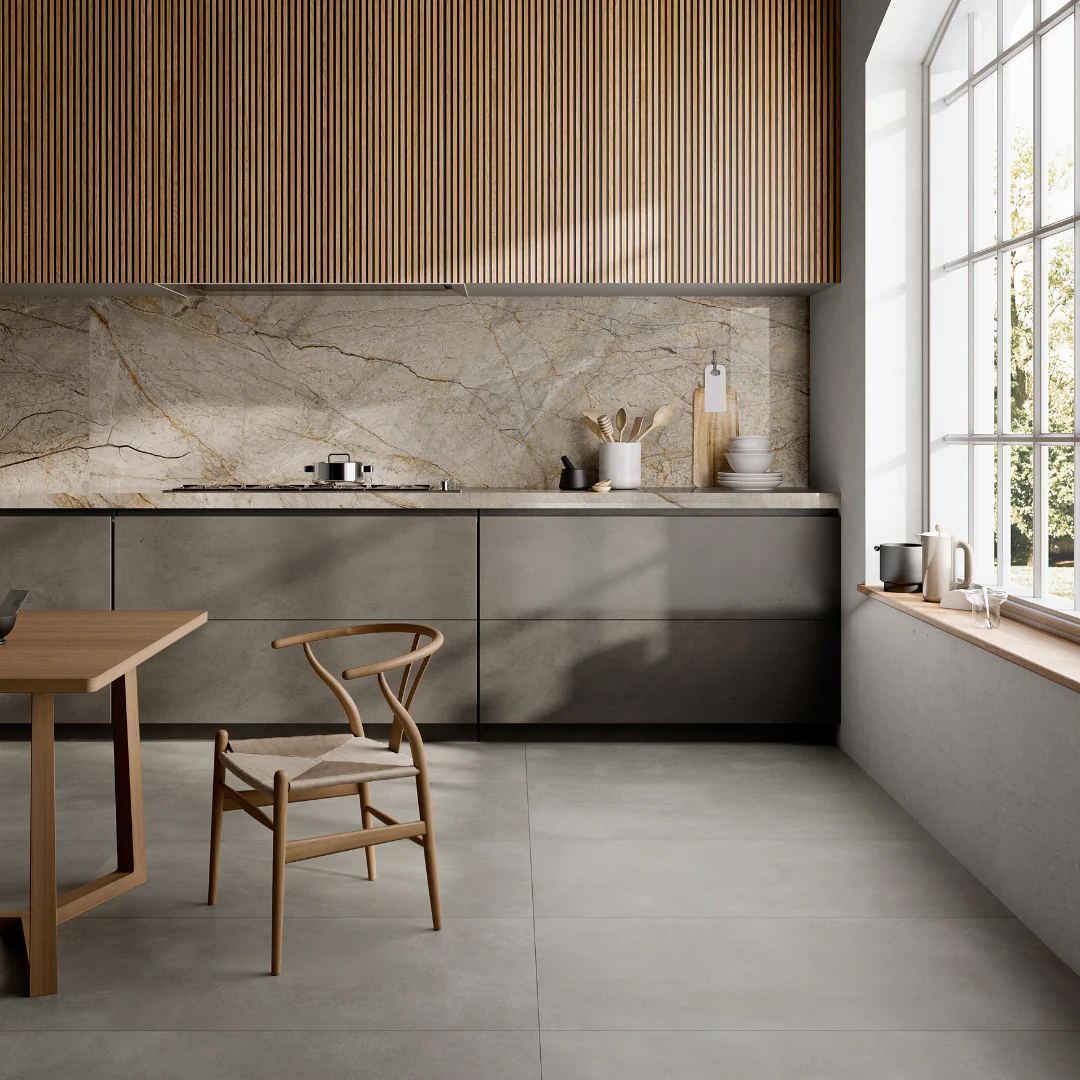
Table of Content:
What Are Statement Tiles?
Choose One Focal Point
Pair with Neutrals
Stick to a Colour Palette
Use Statement Tiles in Smaller Areas
Balance Patterns with Solids
Let Lighting Do the Talking
What Are Statement Tiles?
Statement tiles are tiles that draw attention. Think bold patterns, striking colours, unique shapes or textured finishes. They’re designed to be the focal point of a space — whether it’s a bathroom wall, a kitchen splashback or an entryway floor.
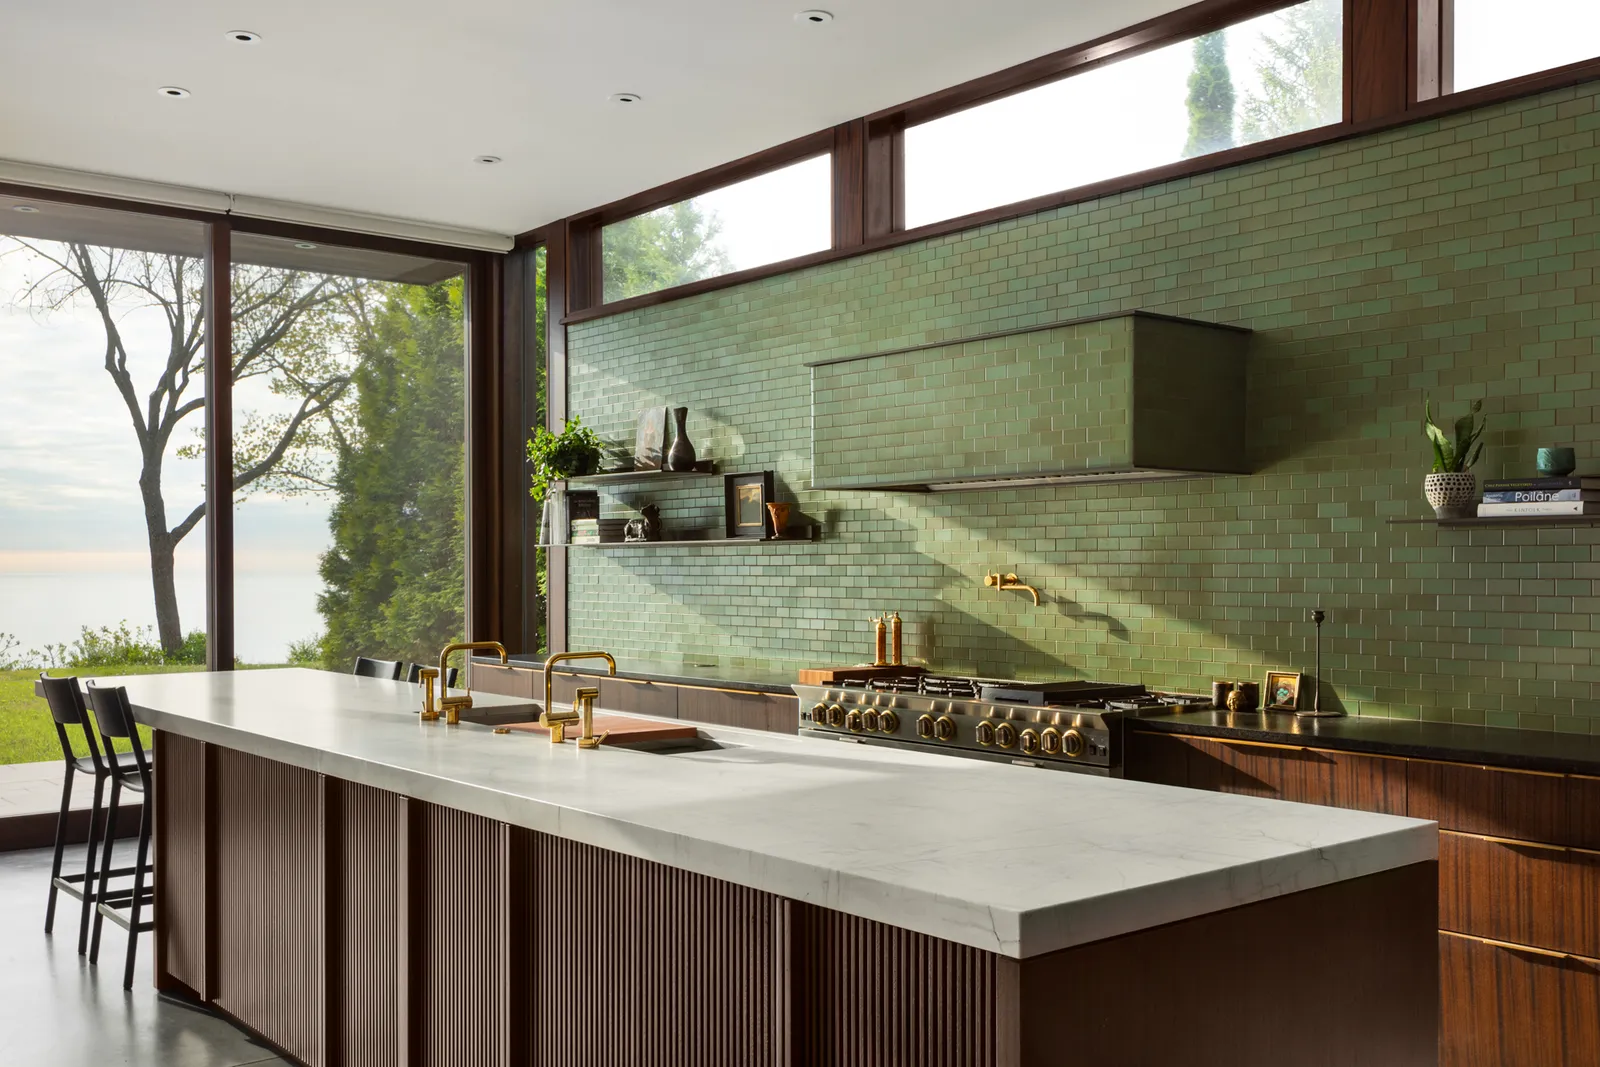
Choose One Focal Point
ribbons shiny 300 x 600 mm
The golden rule? One statement at a time. If you go big on the floor, keep your walls neutral. If your kitchen splashback steals the show, choose simpler cabinets and counters. This keeps the space feeling intentional rather than cluttered.
Try this: Use a bold patterned tile behind your stove or basin, and pair it with plain tiles around it. This lets the statement tile shine without competing for attention.
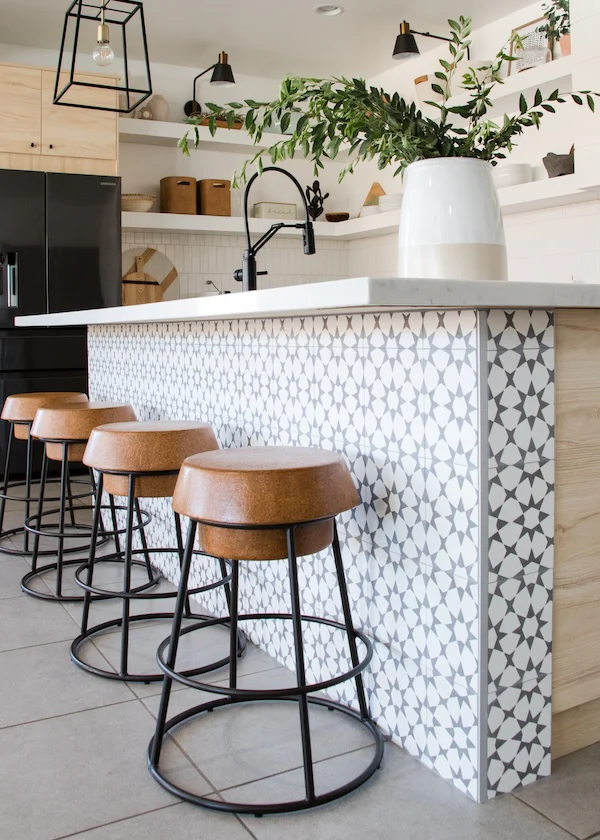
Pair with Neutrals
Statement tiles love a neutral companion. Whites, greys, beiges and earthy tones help tone things down and give your eyes a place to rest. By pairing your bold tile with a subtle backdrop, you let its beauty stand out without overpowering the space.
Bonus tip: Natural materials like wood or matte finishes can complement bold tiles beautifully.
Stick to a Colour Palette
Even the loudest tile can work if it fits your overall colour scheme. Whether you’re working with cool tones, warm hues or monochrome, make sure your statement tile ties in with other elements in the room — like your cabinetry, textiles or accessories.
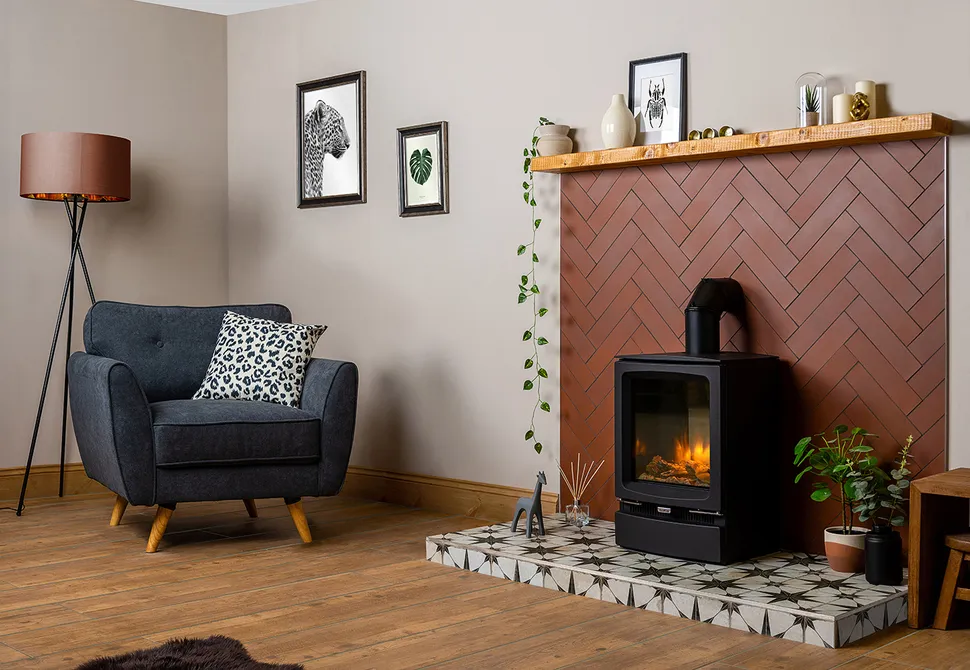
Use Statement Tiles in Smaller Areas
Sometimes less really is more. Think about using statement tiles in smaller zones like:

A fireplace surround
These pockets of personality are perfect for playing with bold design without going overboard.
Balance Patterns with Solids

If your tile has a busy design, balance it with plain, solid colours. On the other hand, if your statement tile is a single bold colour, balance it with simple textures or shapes. This helps maintain a sense of calm and structure.
Let Lighting Do the Talking
Lighting can either soften or highlight a statement tile. Soft, ambient lighting can make a bold tile feel more inviting. On the flip side, directional lighting can spotlight textures and patterns for extra drama — just make sure it suits the mood you’re after.
Statement tiles are a brilliant way to bring life and personality into your space. With the right planning, you can enjoy bold, beautiful design without overwhelming the room. Start small, choose your focal point and let your tiles do the talking.
Need help choosing the perfect statement tile?
Visit your nearest Tiletoria showroom or explore our curated tile collections online — we’ve got bold options for every taste and style.

bathroom, blog, how to articles, kitchen
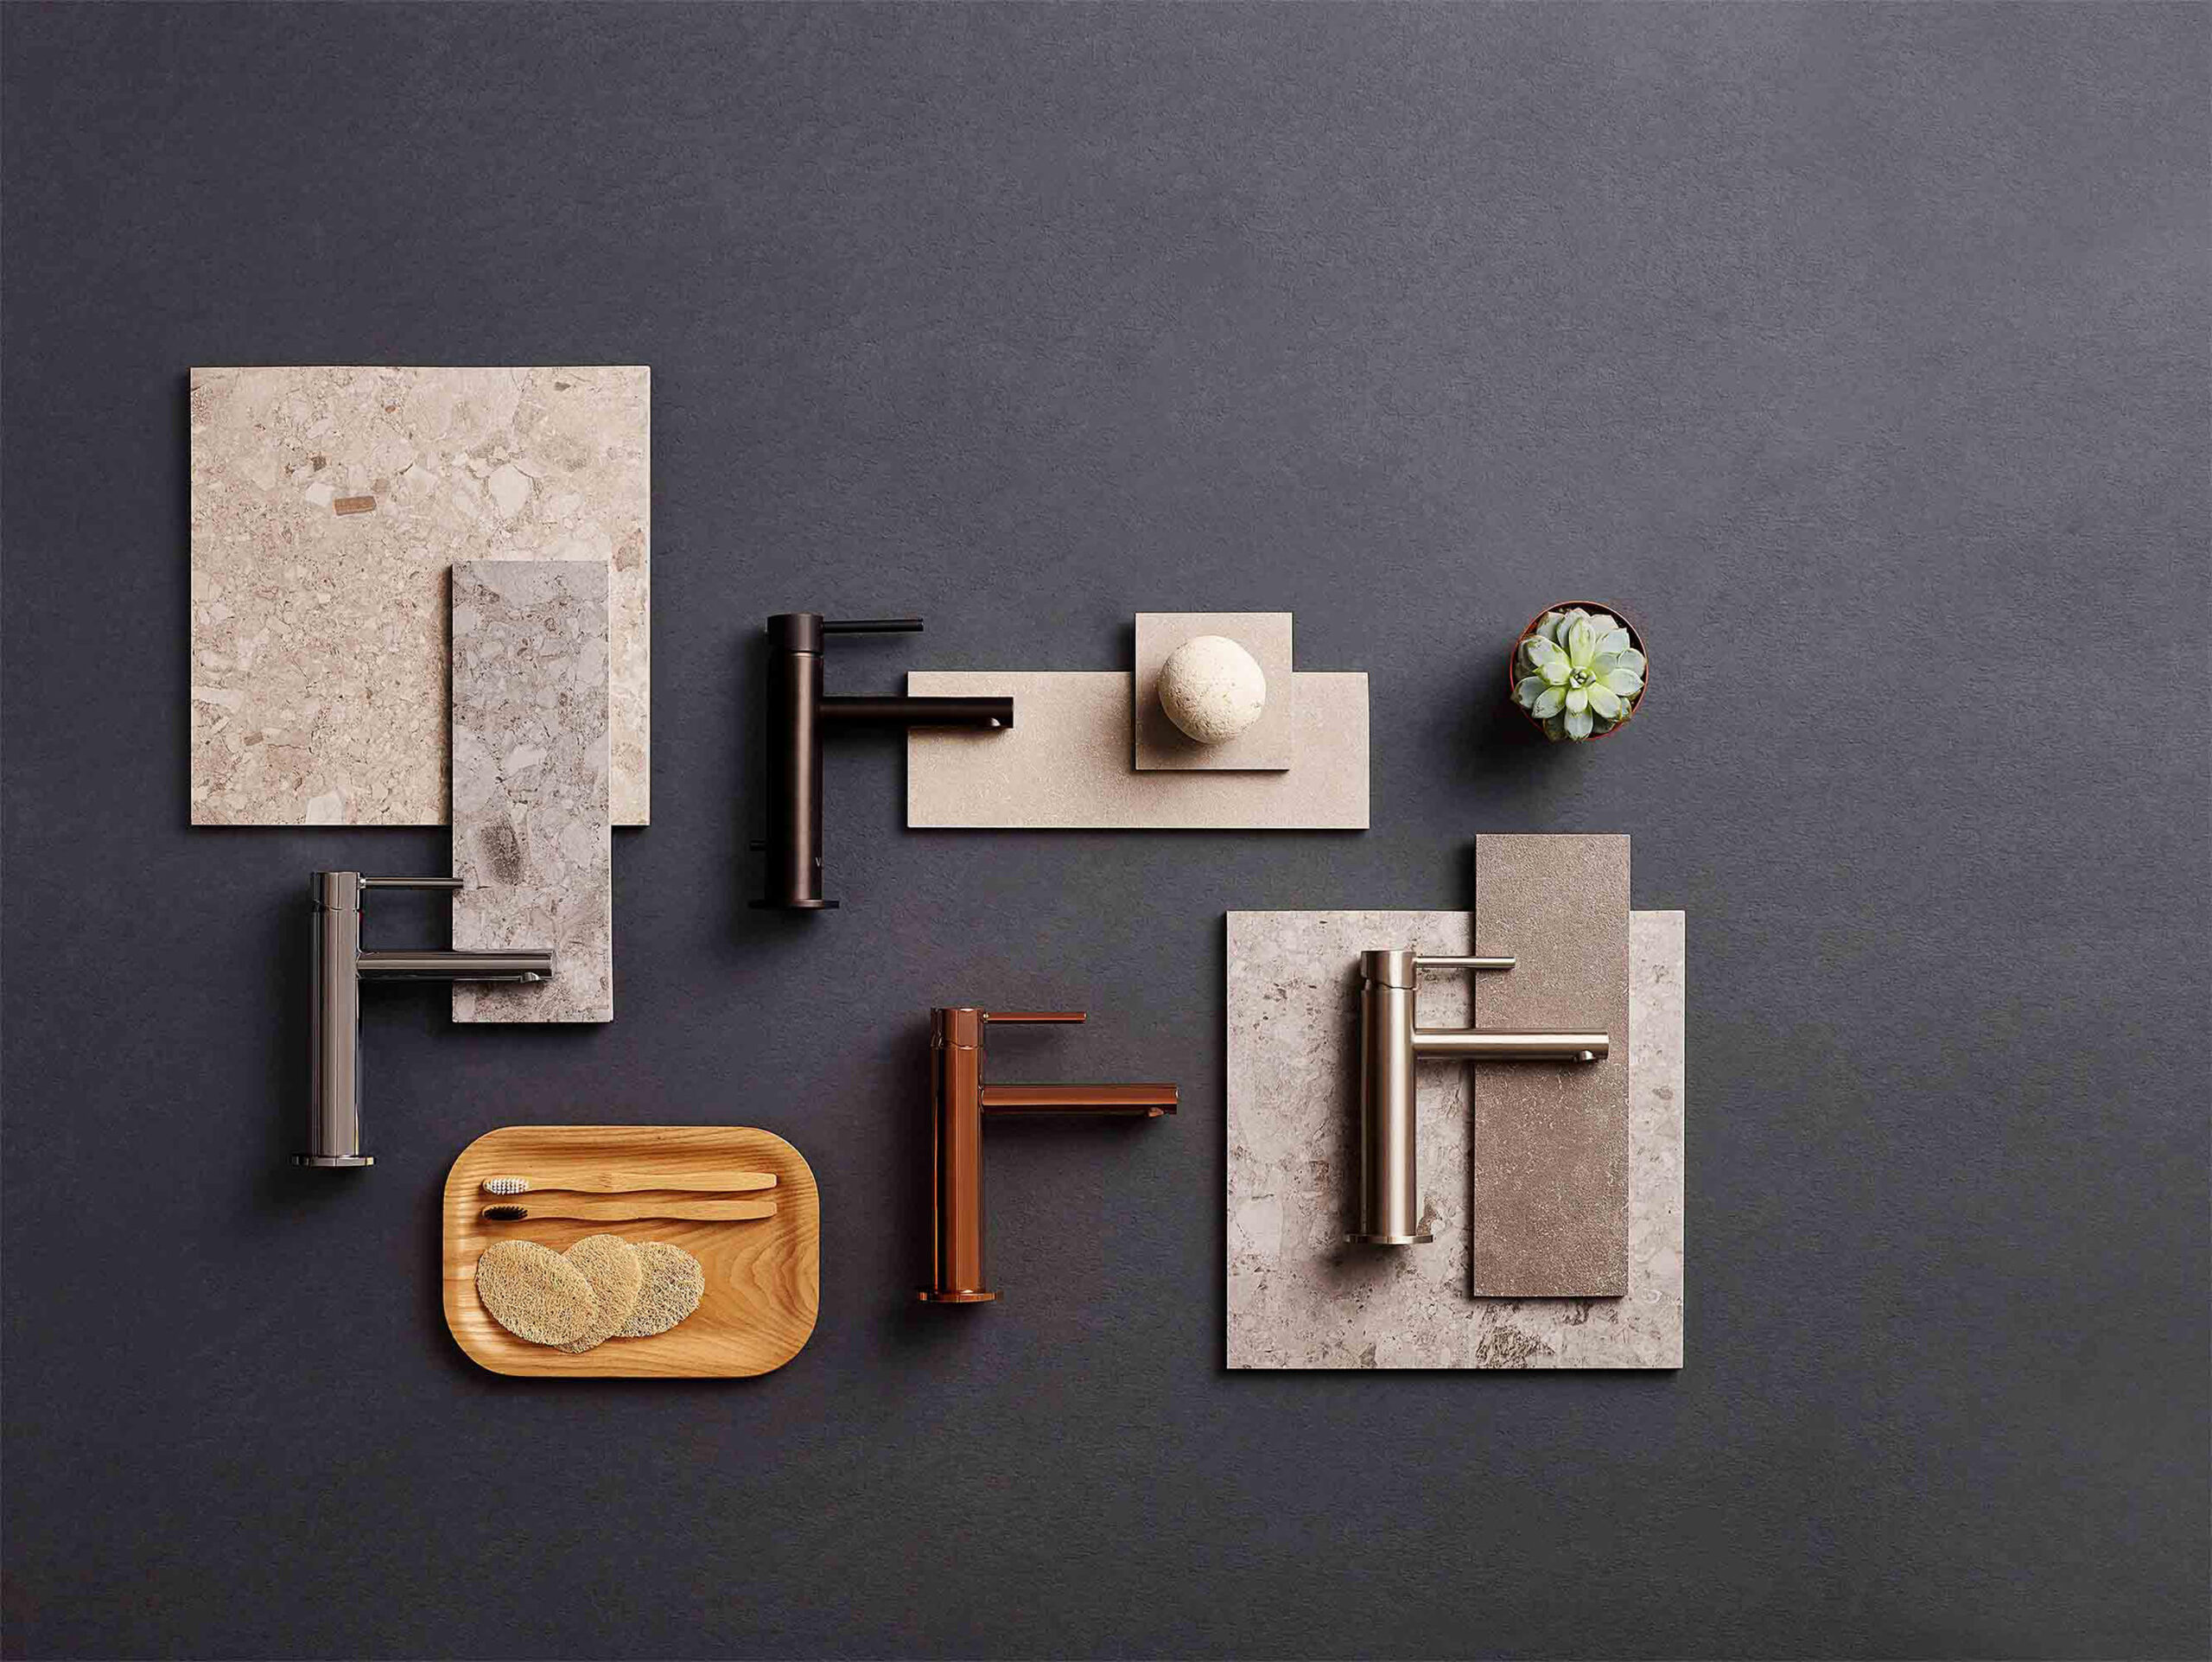
Choosing the perfect tap finish can completely transform your kitchen or bathroom. With so many options available, it can feel overwhelming to decide between brass, chrome or matte black. Each finish has its own look, benefits and care needs.
In this guide, we’ll help you pick the right tap finish that suits your style, practical needs and budget.
Table of Content:
Why Tap Finish Matters
Brass Taps: Timeless Warmth and Luxury
Chrome Taps: Sleek and Reflective
Matte Black Taps: Bold and Contemporary
Tips for Choosing the Right Tap Finish
Browse our range of Bathroom Taps
Browse our range of Kitchen Taps
Why Tap Finish Matters
The finish on your tap isn’t just about looks. It also affects durability, maintenance and how well the tap fits with the rest of your space. The right finish can highlight your design theme and add personality to your room, while the wrong one might clash or require too much upkeep.
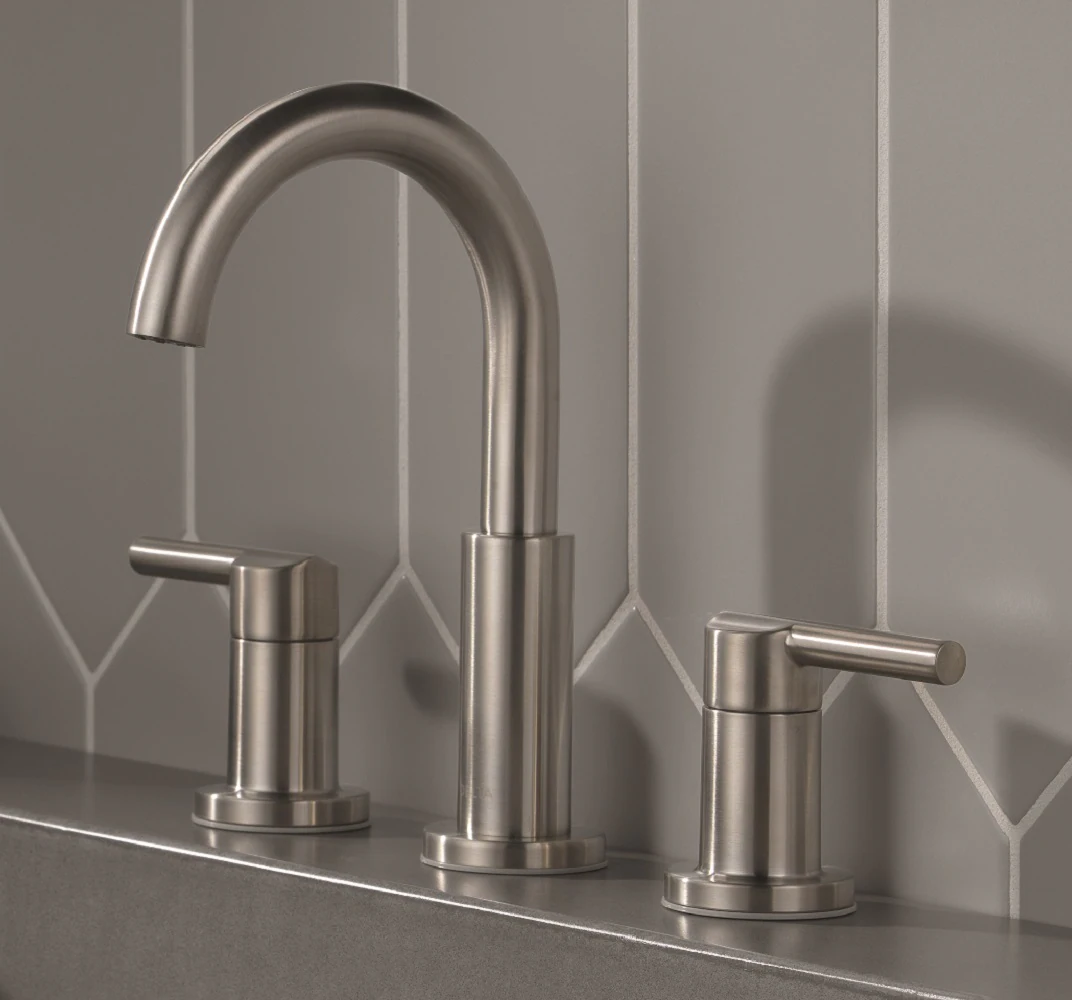
Brass Taps: Timeless Warmth and Luxury
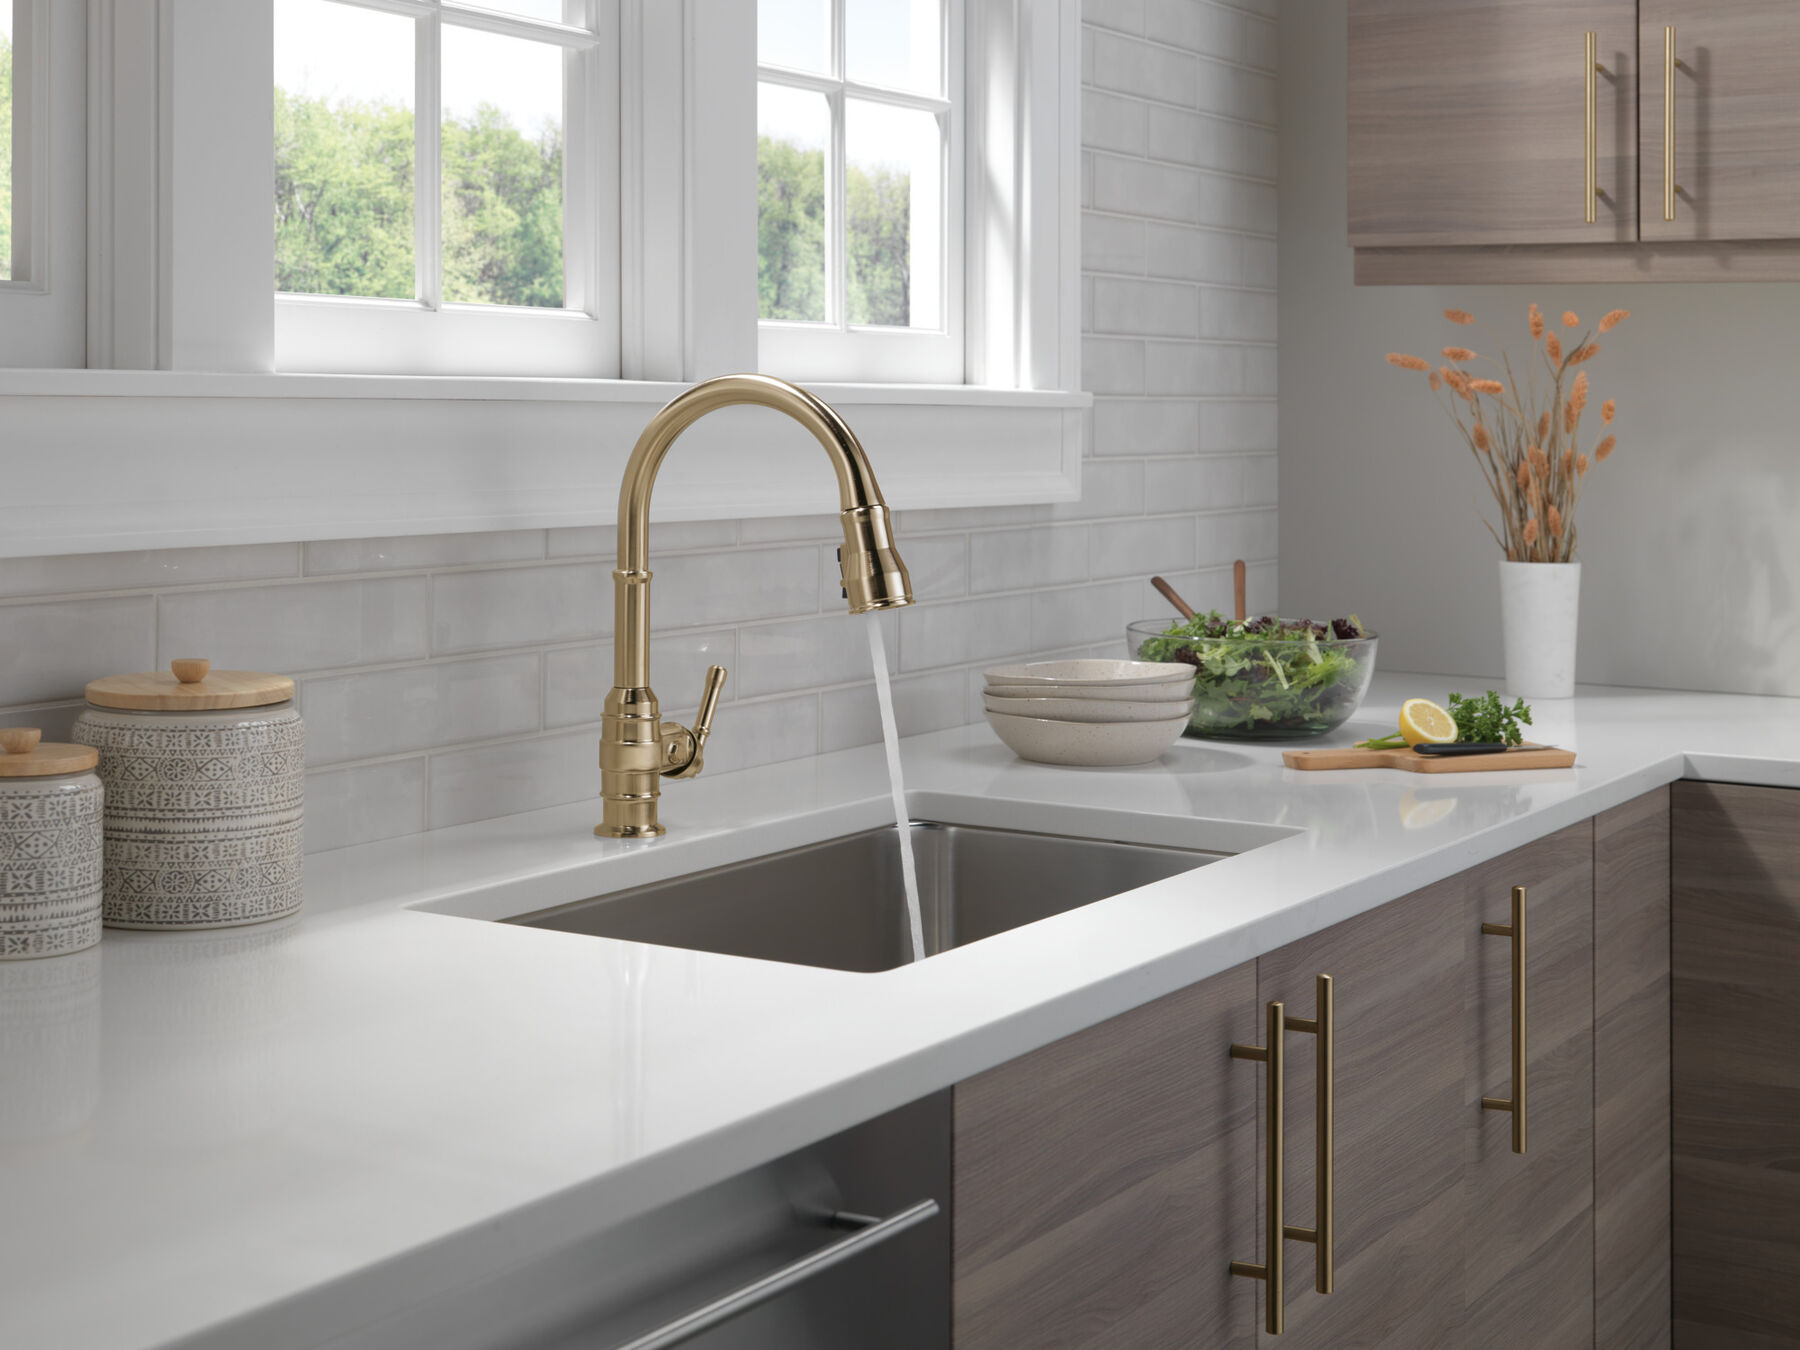
Brass taps bring a warm golden glow that feels classic yet trendy. They work well in traditional, vintage or industrial-style bathrooms and kitchens. Brass has a natural resistance to corrosion and can develop a charming patina over time.
Pros:
Cons:
-
Can be pricier than other finishes
-
Needs occasional polishing to keep shine
-
May show water spots if not wiped regularly
Brass taps pair beautifully with warm colour schemes, wooden cabinets and natural stone surfaces.
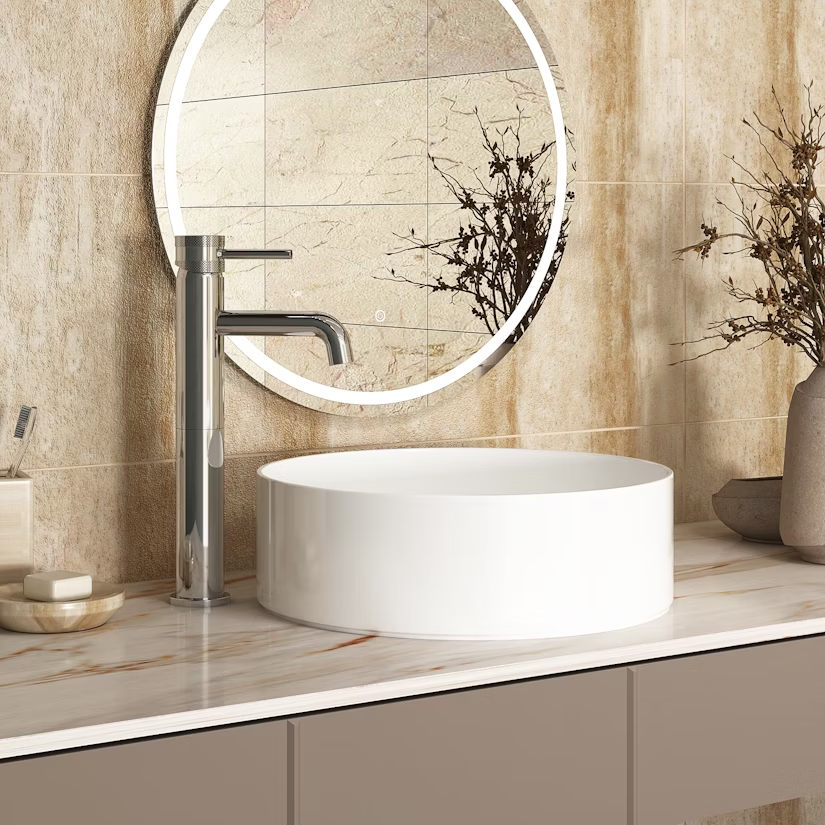
Chrome Taps: Sleek and Reflective
Chrome is the most popular tap finish for good reason. Its shiny, reflective surface creates a clean and modern look that fits almost any style from minimalist to classic. Chrome taps are easy to clean and resistant to tarnishing.
Pros:
-
Affordable and widely available
-
Easy to clean and maintain
-
Reflective surface brightens the space
Cons:
-
Shows fingerprints and water spots easily
-
Can feel cold or clinical if overused
-
Scratches can be noticeable
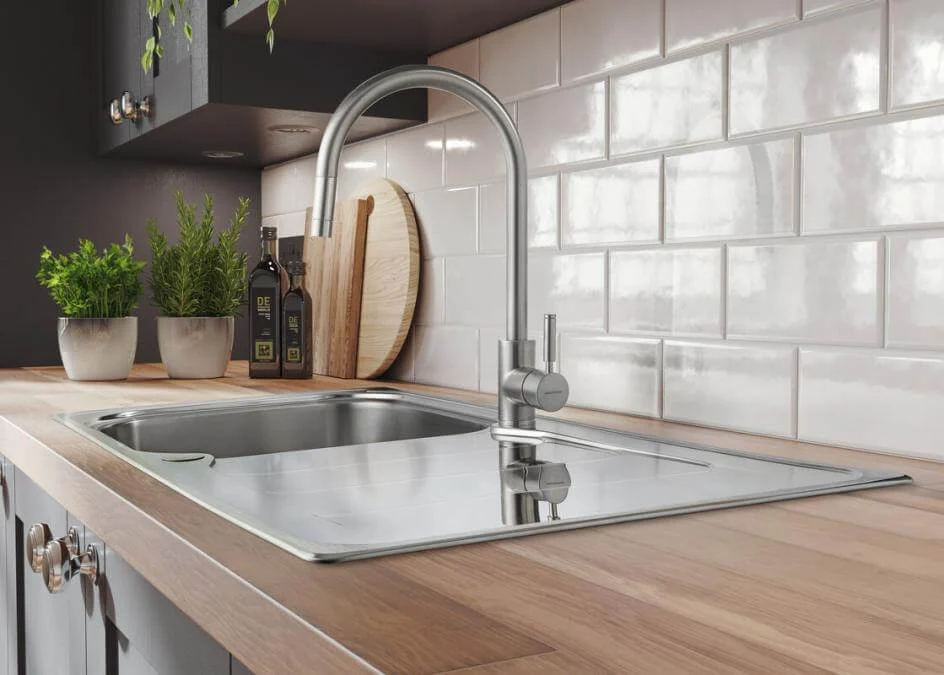
Chrome taps work well in bathrooms and kitchens with neutral or cool colour palettes and modern fixtures.
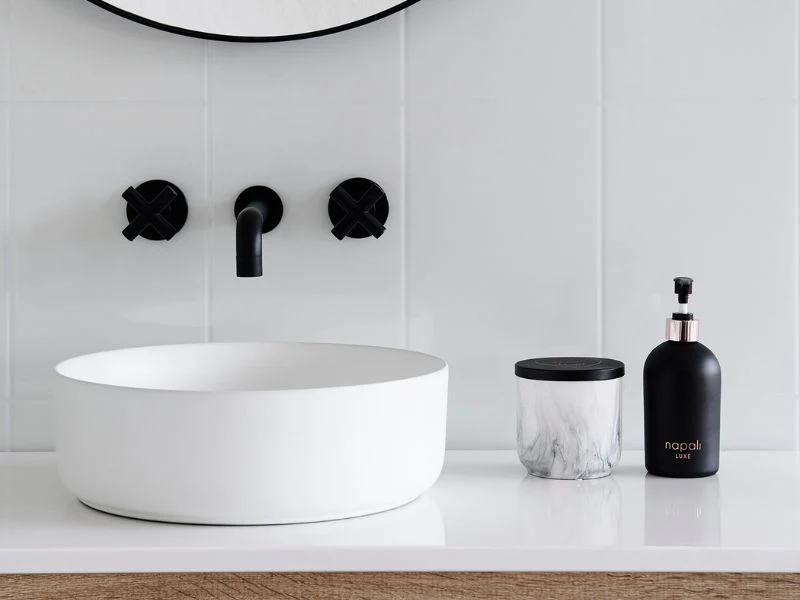
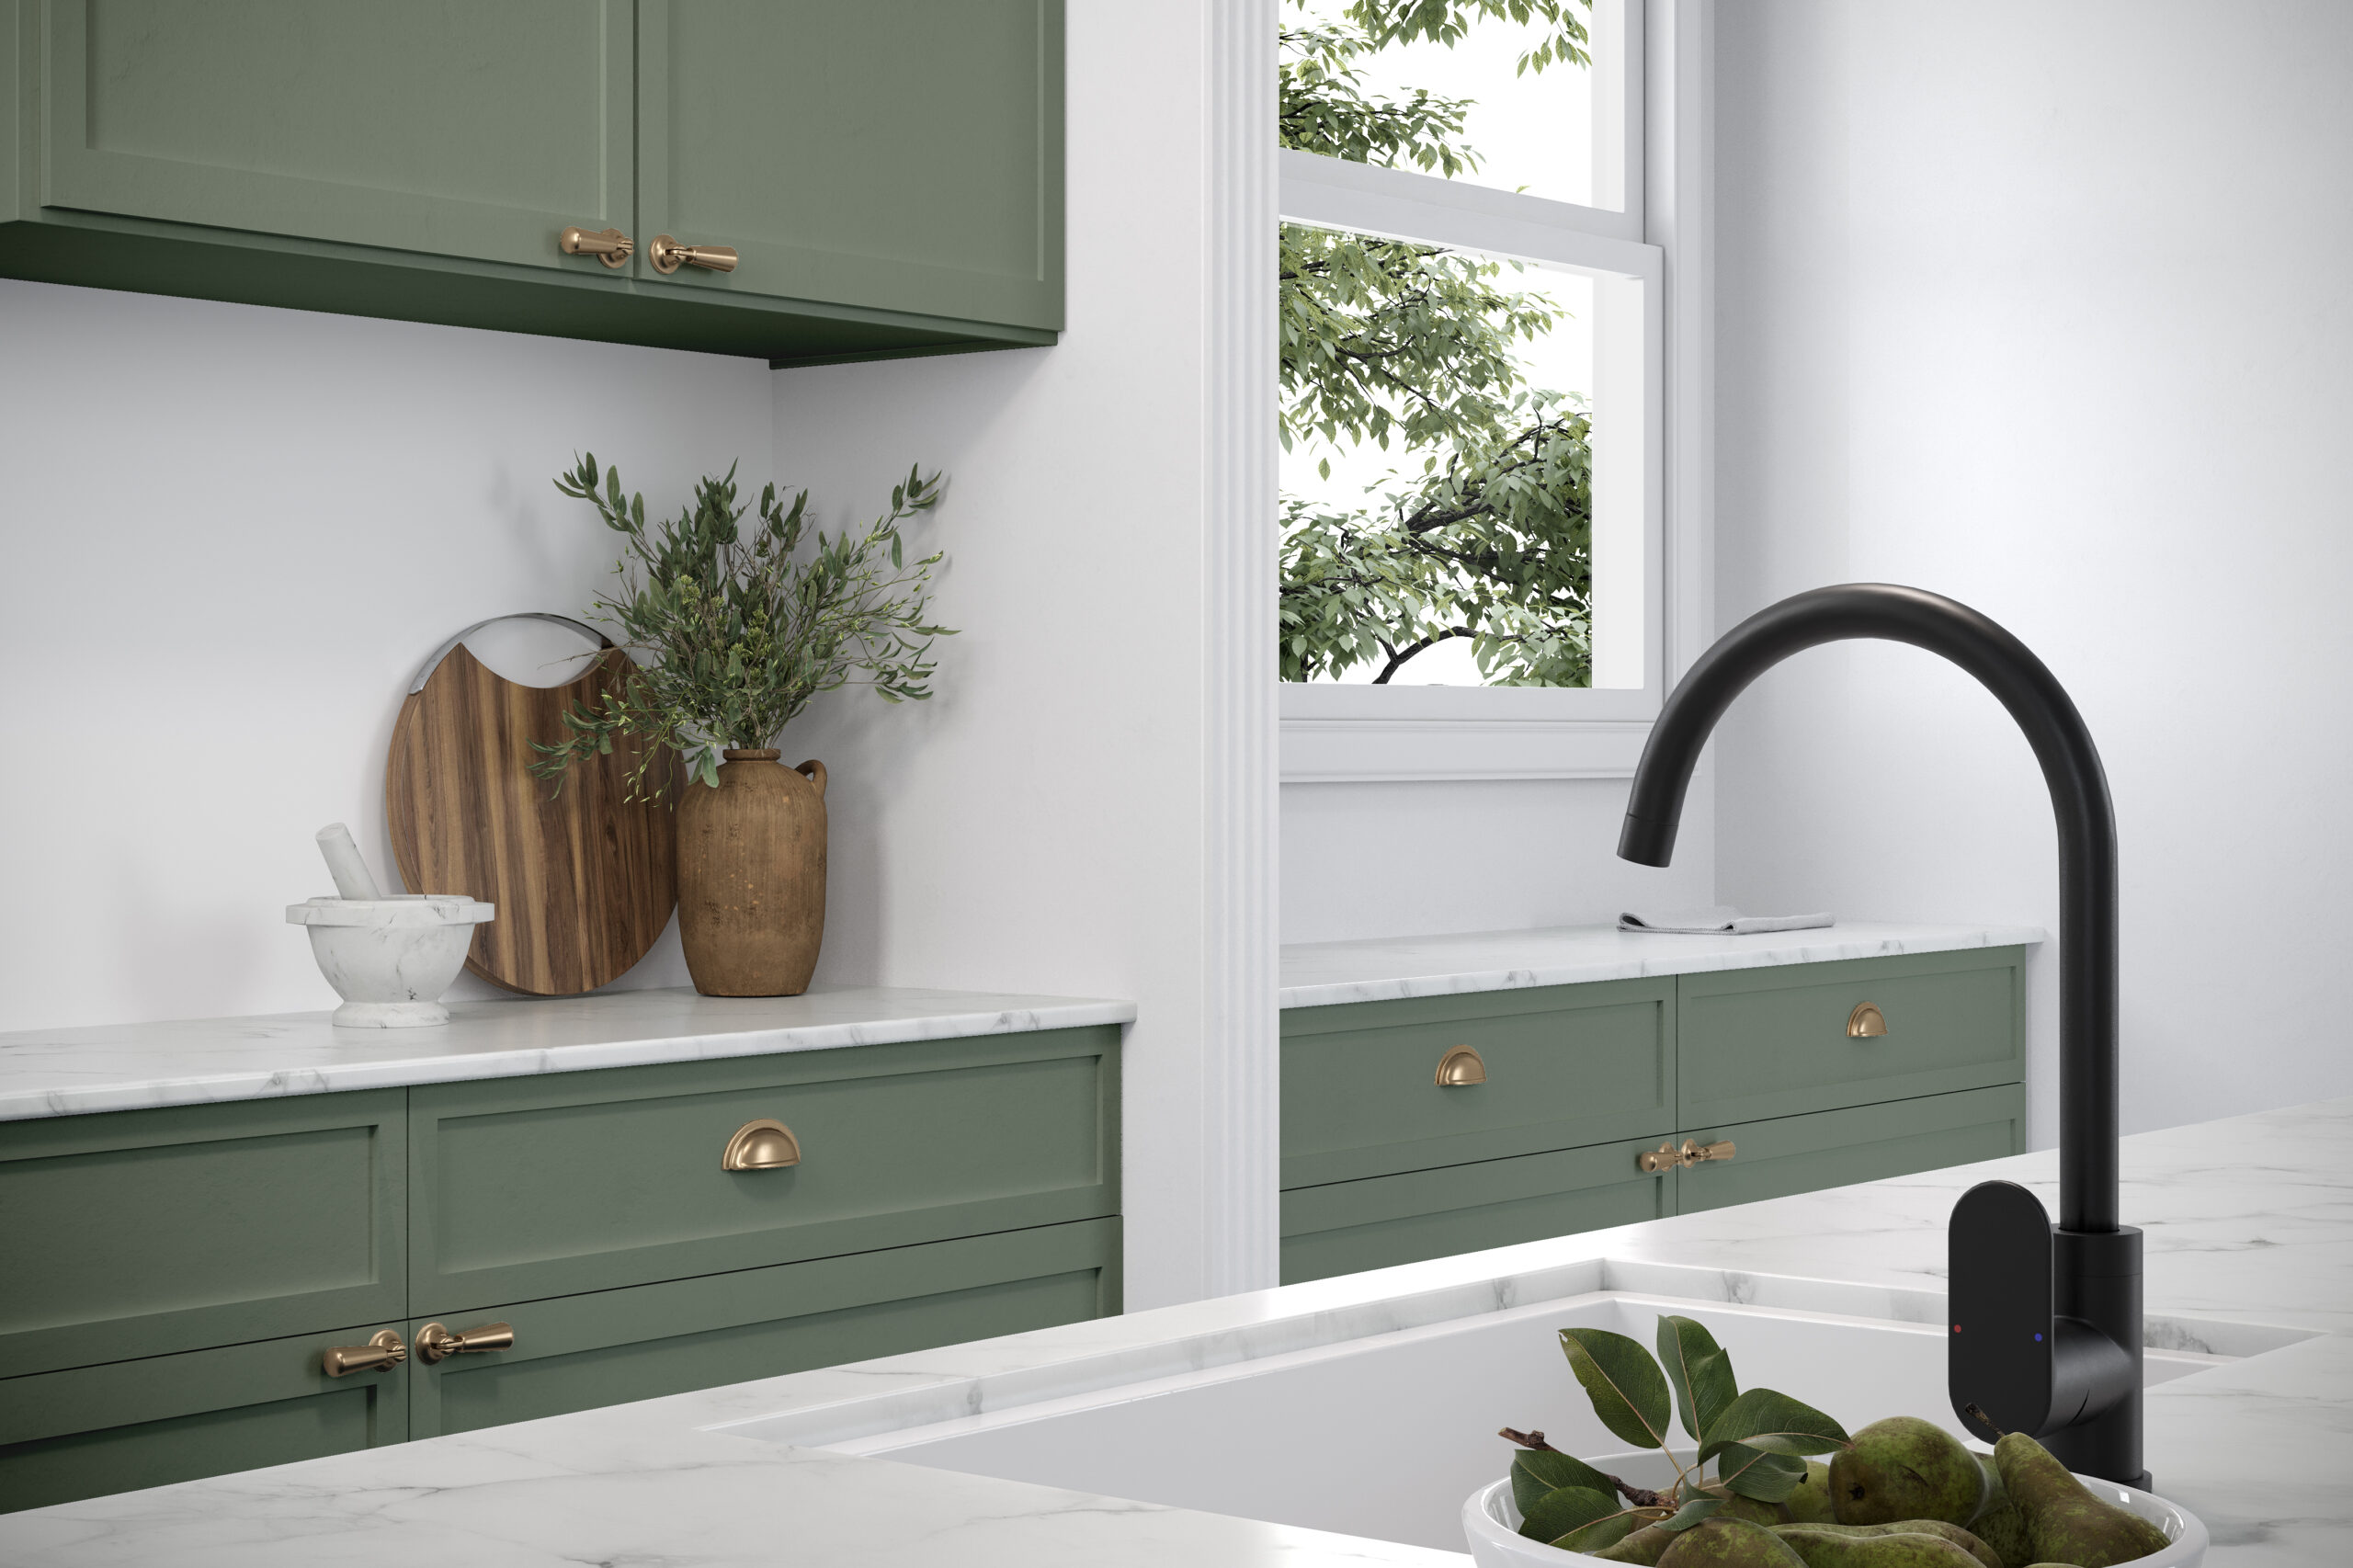
Matte Black Taps: Bold and Contemporary
Matte black taps are a favourite for contemporary and industrial designs. Their bold, understated look creates a striking contrast against light tiles or countertops. Matte finishes also hide fingerprints and water marks better than shiny surfaces.
Pros:
-
Makes a strong style statement
-
Hides fingerprints and water spots
-
Works well with a variety of colours and materials
Cons:
Matte black taps look stunning against white or light-coloured sinks, natural wood and concrete surfaces.
Tips for Choosing the Right Tap Finish
Consider your existing fixtures
Aim for consistency with your cabinet handles, light fittings and other metal details.
Think about style and mood
Brass adds warmth, chrome keeps things sleek and bright, while matte black brings drama and modern edge.
Factor in maintenance
Chrome is easiest to clean but shows water spots. Matte black hides marks but requires gentle cleaning. Brass needs occasional polishing.
Match your colour scheme
Choose a finish that complements or contrasts tastefully with your tiles, countertops and cabinetry.
Your choice of tap finish has a big impact on the look and feel of your space. Brass, chrome and matte black all offer unique styles and benefits. Think about your personal style, practical needs and existing décor to find the perfect match. Whether you want classic warmth, shiny modernity or bold drama, the right tap finish will help you create a kitchen or bathroom you love.
Ready to upgrade your taps? Explore our wide range of stylish finishes and find your perfect fit today!
Browse our range of Bathroom Taps
Browse our range of Kitchen Taps

bathroom, blog, kitchen
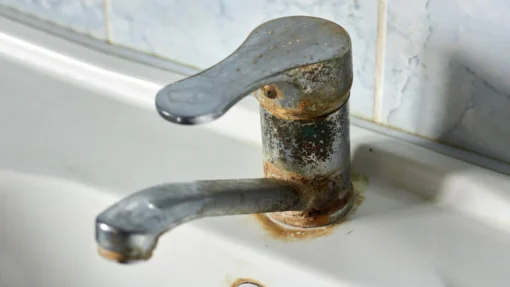
There’s nothing more irritating than the constant drip, drip, drip of a leaking tap. Not only is it a waste of water, it can also add to your utility bills over time. The good news? You can often fix a dripping kitchen or bathroom tap yourself without much fuss. The better news? If things get tricky, you’ll know exactly when to call a plumber.
Let’s break it down step-by-step.
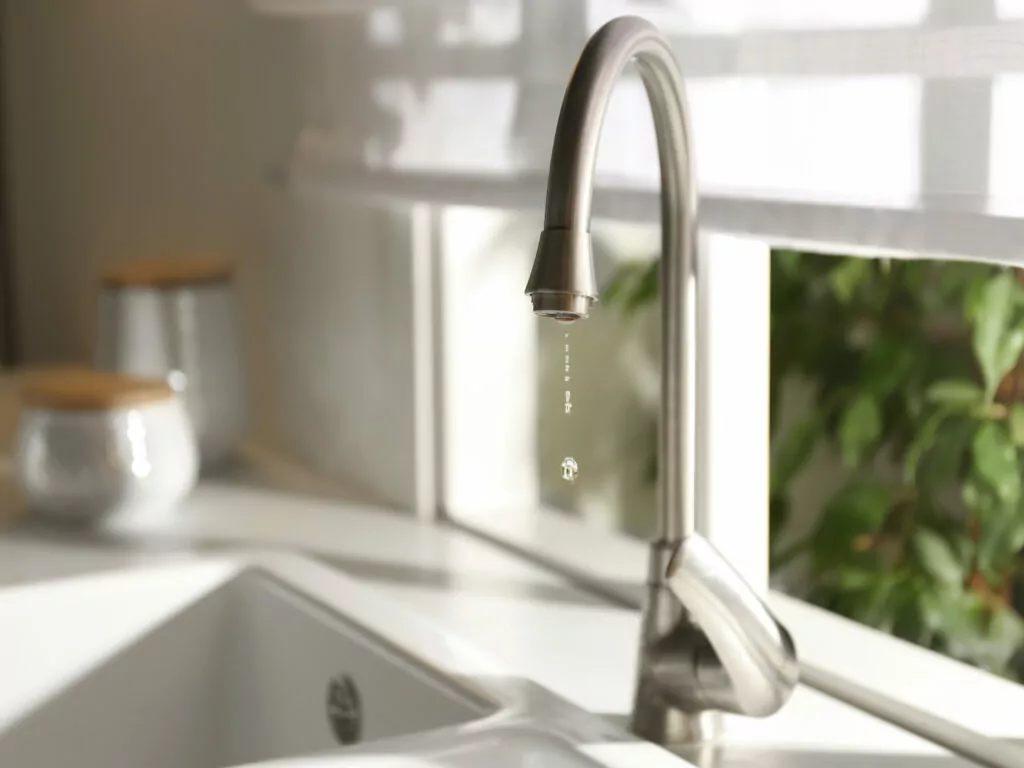
Table of Content:
Why Is My Tap Dripping?
What You’ll Need to Fix a Leaking Tap
How to Fix a Dripping Tap: Step-by-Step
When to Call a Plumber
Why Is My Tap Dripping?
A dripping kitchen or bathroom tap is usually caused by one of these common issues:
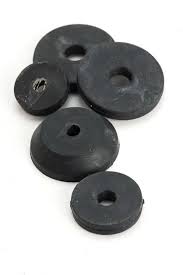
A worn-out washer or O-ring
A faulty ceramic disc cartridge
Loose or corroded parts
High water pressure
These problems sound complicated but many are quick and affordable to fix at home.
What You’ll Need to Fix a Leaking Tap
Before you begin, gather the following:
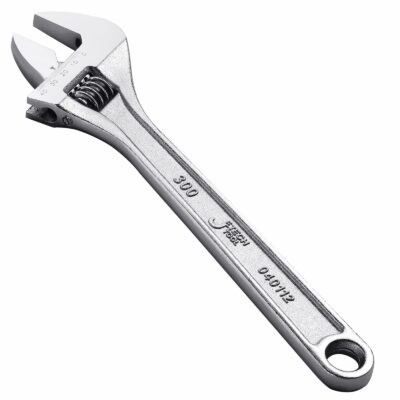
Adjustable spanner or wrench
Flathead and Phillips screwdrivers

Replacement washer or cartridge (depending on your tap type)
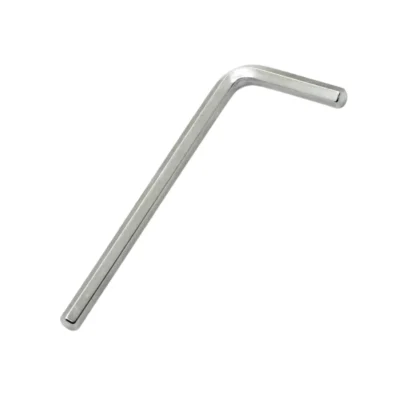
Allen key (for some mixer taps)
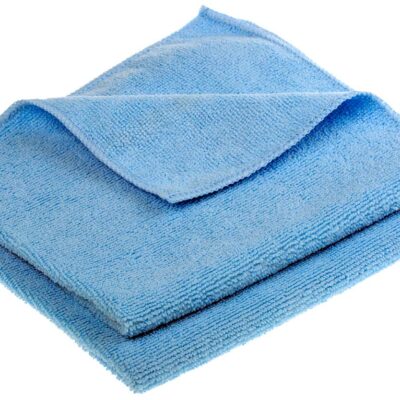
A cloth or towel to protect surfaces
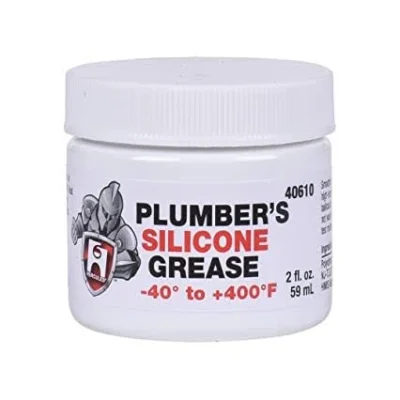
Plumber’s grease (optional but helpful)
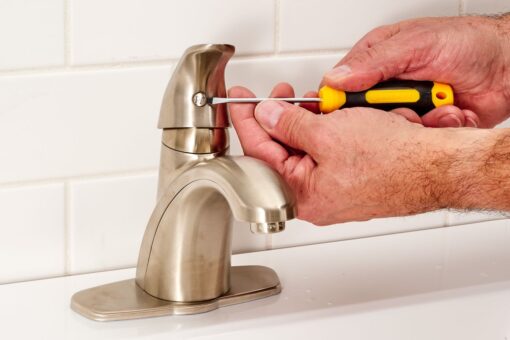
How to Fix a Dripping Tap: Step-by-Step
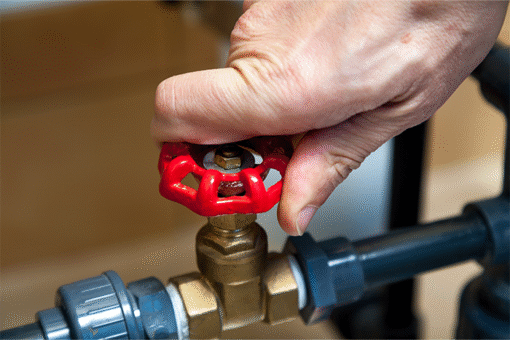
1. Turn Off the Water Supply
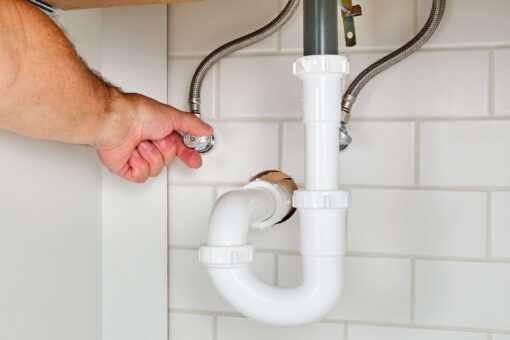
Look under your sink and find the isolation valve. Turn it clockwise to shut off the water. If you can’t find it, turn off the main water supply for your home.
2. Plug the Sink/Basin
You don’t want any small parts falling down the drain, so plug the sink/basin or cover the drain with a cloth.
3. Remove the Tap Handle
Use a screwdriver or Allen key to take off the tap handle. You might need to pop off a decorative cap to access the screw.
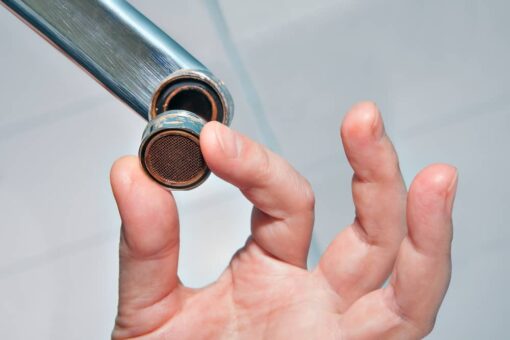
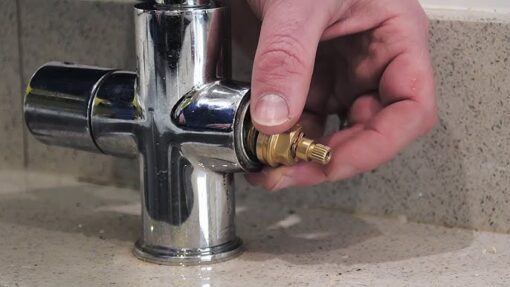
4. Identify the Problem
Once the handle is off, you’ll see the tap mechanism. If your tap uses a rubber washer, inspect it for wear or damage. If it’s a ceramic disc tap, check the cartridge.
5. Replace the Damaged Part
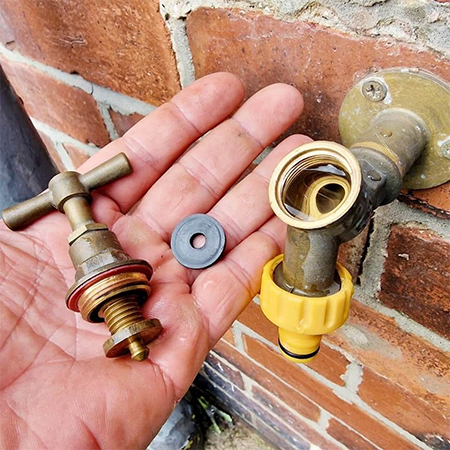
-
For washer taps: Unscrew the valve, remove the old washer and replace it with a new one of the same size.
-
For ceramic disc taps: Replace the entire cartridge with a new one compatible with your tap brand.
Tip: Take the old part with you to a plumbing store if you’re unsure about size or type.
6. Reassemble the Tap
Put everything back in the reverse order. Make sure all parts are tight but don’t overtighten — this could cause damage.
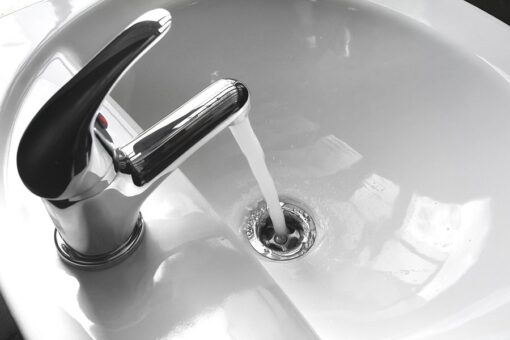
7. Turn the Water Back On
Slowly turn the isolation valve back on and check for leaks. If the drip is gone, you’ve done it right.
When to Call a Plumber
Sometimes, a dripping tap is just the tip of the iceberg. Call a professional plumber if:
-
The tap continues leaking after replacing parts
-
You notice water damage under the sink
-
The plumbing connections are corroded or rusty
-
You can’t identify the type of tap or cartridge
-
You’re dealing with high water pressure or noisy pipes
A plumber will fix the issue properly and help prevent future damage, saving you time and money in the long run.
Fixing a dripping kitchen tap or bathroom tap is a simple DIY job in many cases. With a few tools and a little patience, you can stop that annoying drip and enjoy a quiet, functional kitchen or bathroom again. But if things feel too technical or you’re unsure, don’t hesitate to call a plumber.
Whether you’re renovating your kitchen or bathroom, or just maintaining your home, knowing how to handle small plumbing issues makes a big difference.
Looking to upgrade your kitchen or bathroom taps or need expert plumbing advice? Browse our range of kitchen taps and bathroom taps or get in touch with our team — we’re here to help.
bathroom, blog, renovation tips
If you’re looking to boost your home’s resale value, upgrading your bathroom is a smart move. Bathrooms play a big role in how buyers perceive your home, and even small improvements can make a big impact. Whether you’re planning to sell your home soon or simply want to invest in a better space, a few strategic changes can make a big difference. Here are the best bathroom upgrades that not only improve everyday comfort but also help increase your home’s resale value.
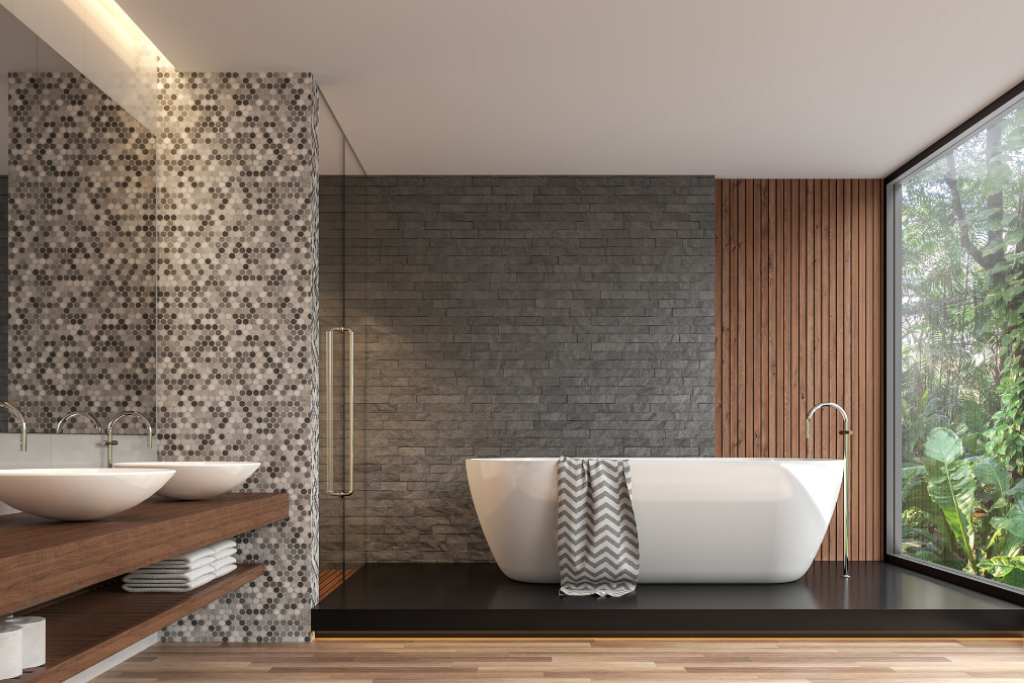
Table of Content:
Modernise Your Fixtures
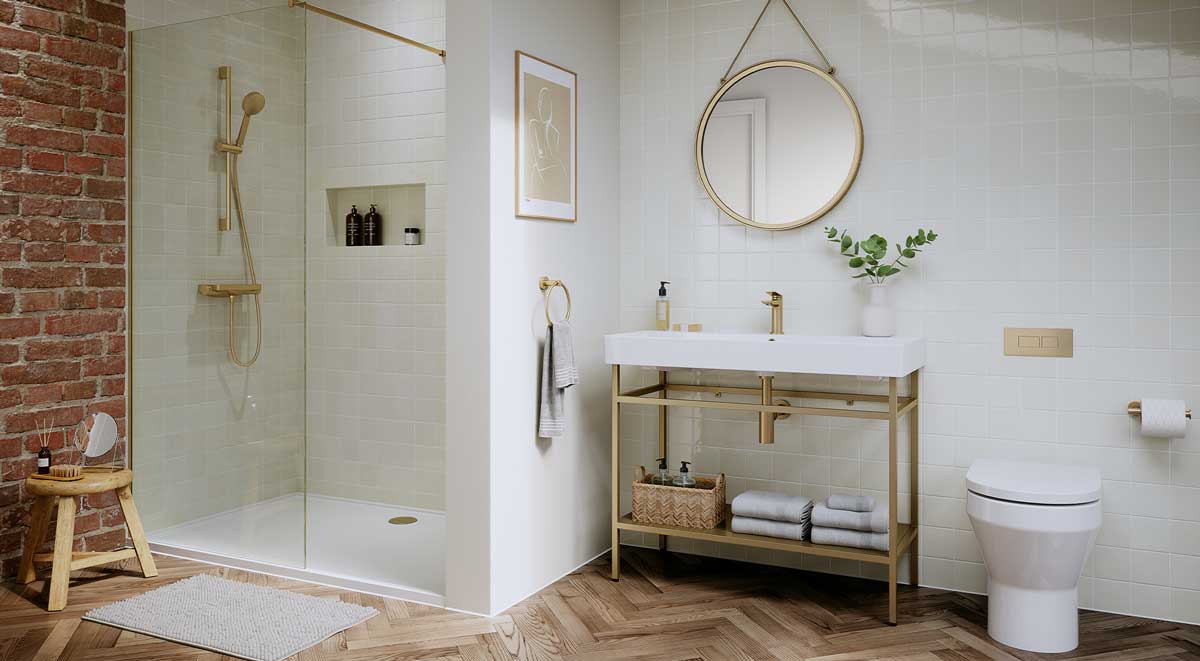
Invest in a Walk-In Shower
Upgrade Your Vanity
Improve Lighting
Add Underfloor Heating
Update Your Tiles
Don’t Forget Storage
Modernise Your Fixtures
Old, worn-out taps and shower heads can make a bathroom feel outdated. Swap them for modern, water-saving fixtures in finishes like matte black, brushed nickel or chrome. Not only do they elevate your space, but they also appeal to eco-conscious buyers.
Invest in a Walk-In Shower
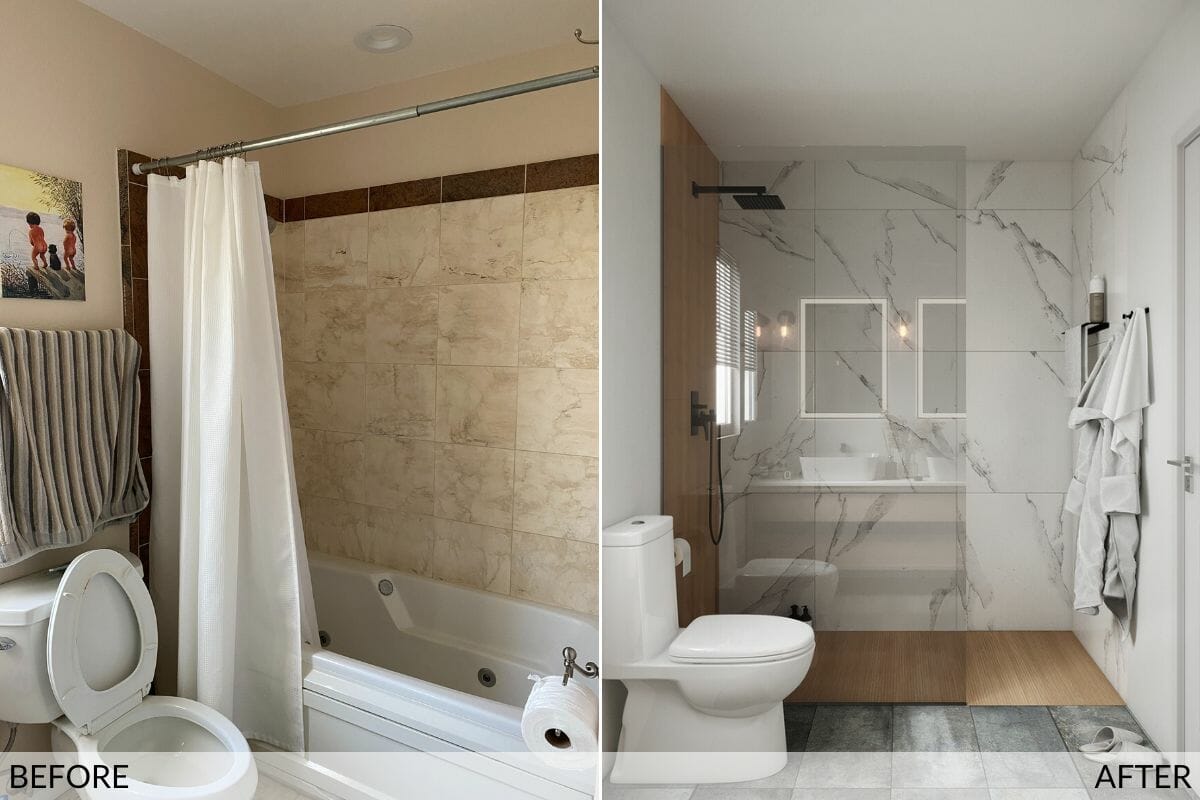
Image Credit: Small shower remodel before and after by Decorilla designer, Liana S.
Walk-in showers are a top choice for modern bathrooms. They’re practical, stylish and great for accessibility. Frameless glass panels create a sense of openness, especially in smaller bathrooms, and tiled shower wall adds a sleek, polished finish.
Upgrade Your Vanity
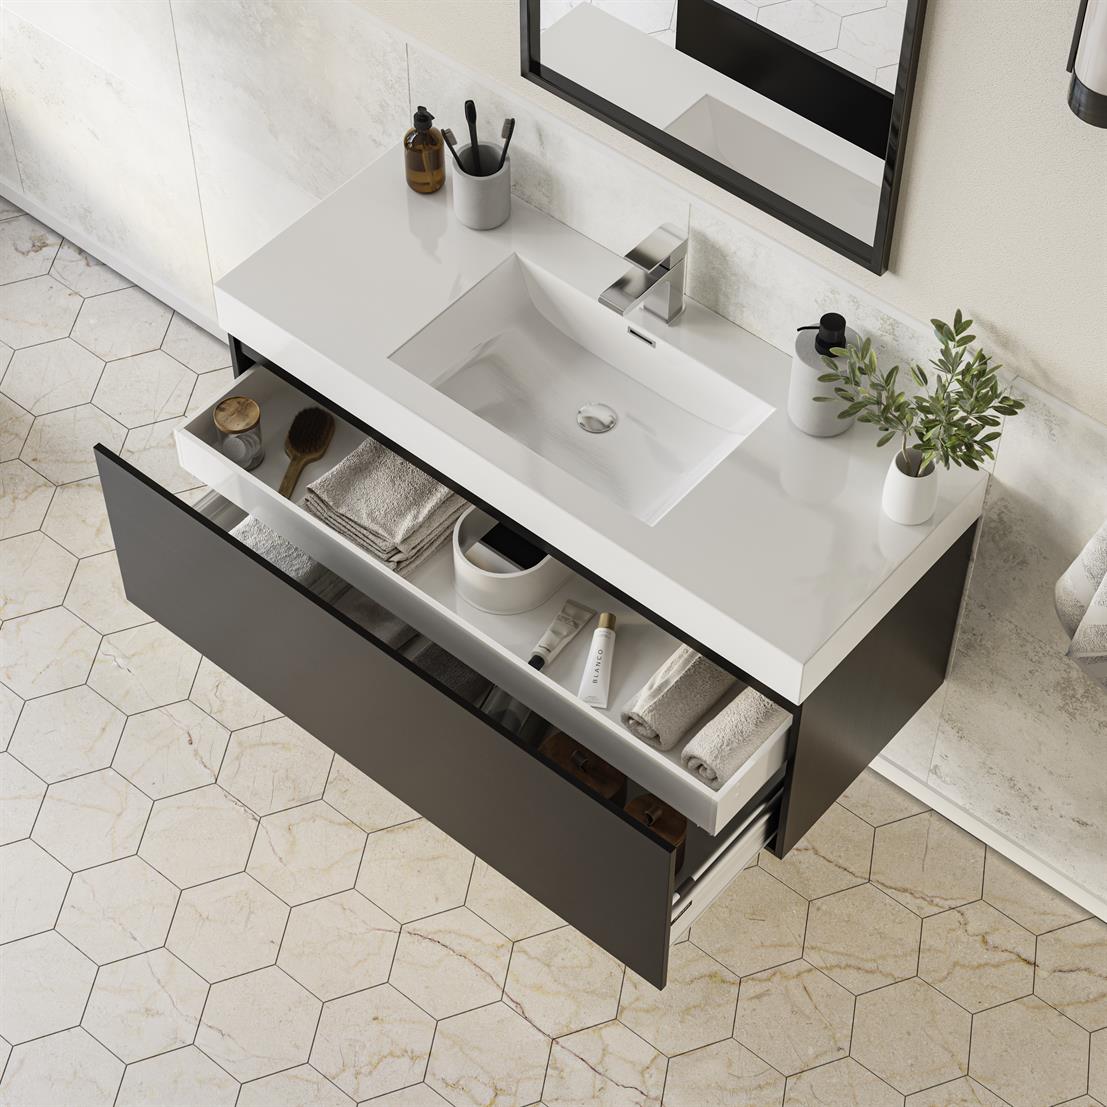
A new vanity can completely transform the look of your bathroom. Choose one with ample storage, a durable counter top like quartz or granite and a stylish basin. Floating vanities are especially popular, adding a modern touch while keeping the floor space open.
Improve Lighting
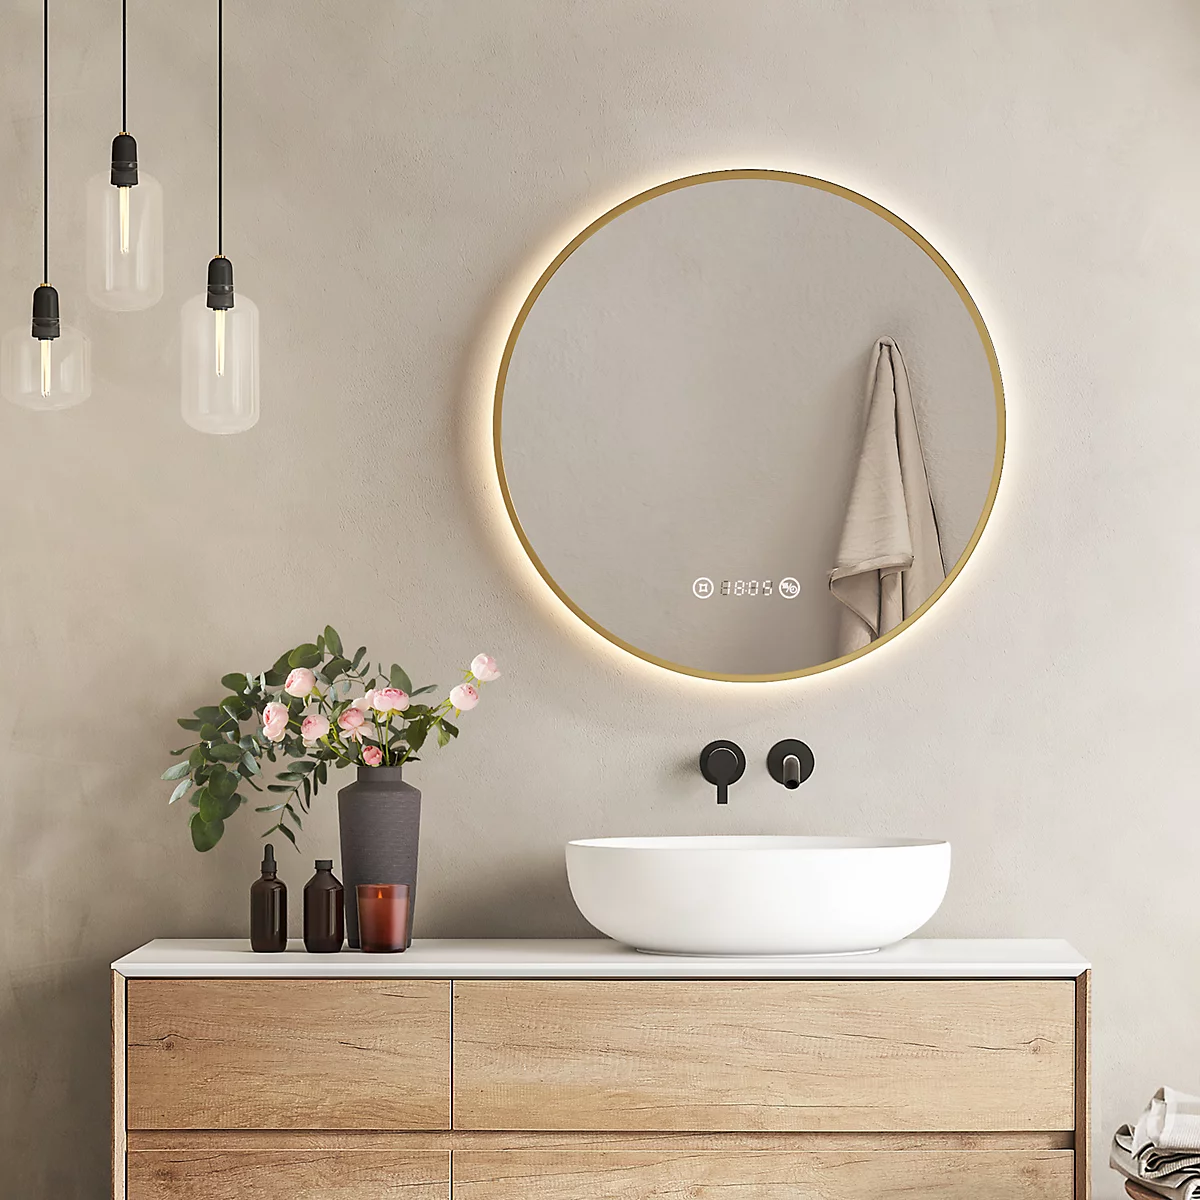
Image Credit: diy.com
Good lighting can make your bathroom feel brighter and more spacious. Install layered lighting—task lights around the mirror, ambient ceiling lights and maybe even a statement pendant or wall sconce for a touch of luxury.
Add Underfloor Heating
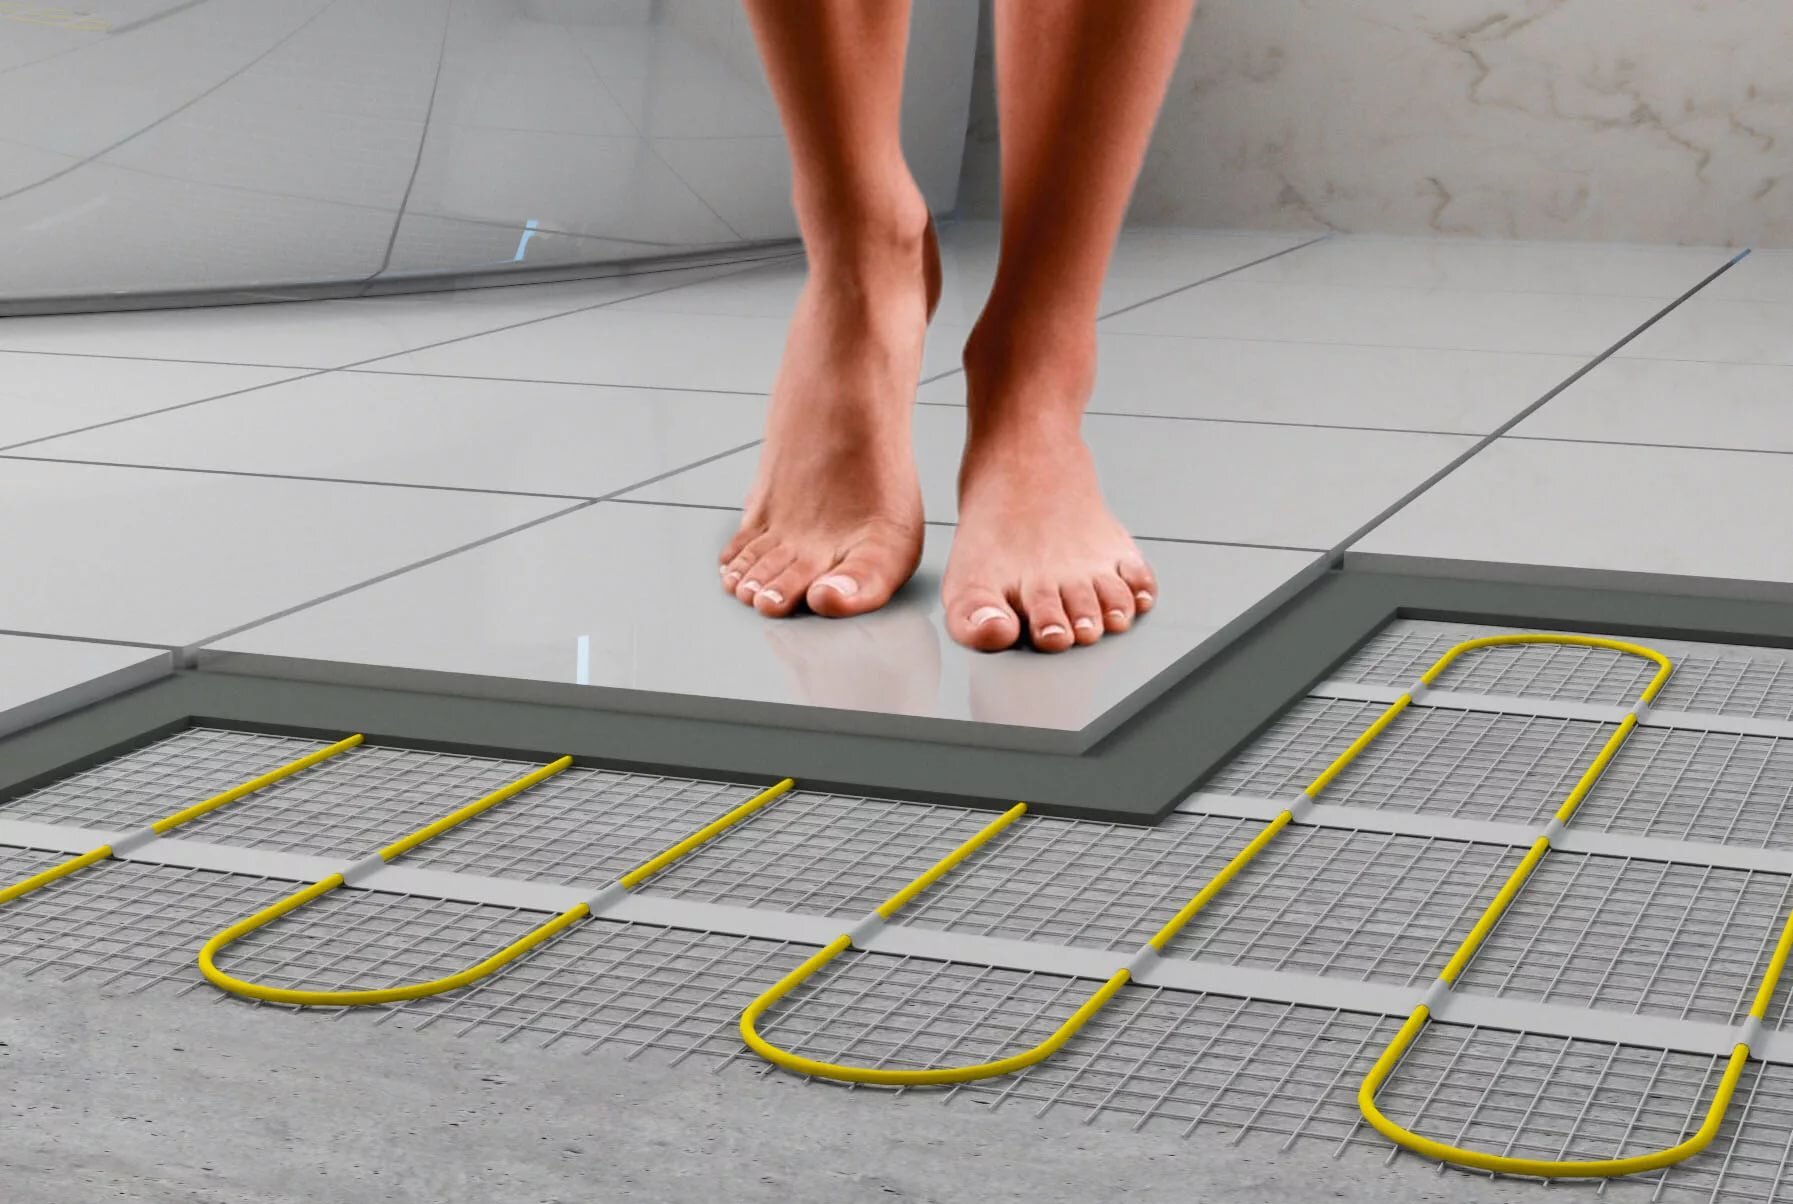
Underfloor heating is a premium feature that many home buyers love. It’s especially useful in colder climates and gives your bathroom a luxury feel. Pair it with stylish floor tiles for maximum effect.
Update Your Tiles
Tiles can set the tone of your bathroom. Large-format tiles make small spaces feel bigger, while natural stone or stone-look tiles offer a timeless, elegant look. For added value, choose high-quality materials and consider tiling from floor to ceiling.
Don’t Forget Storage
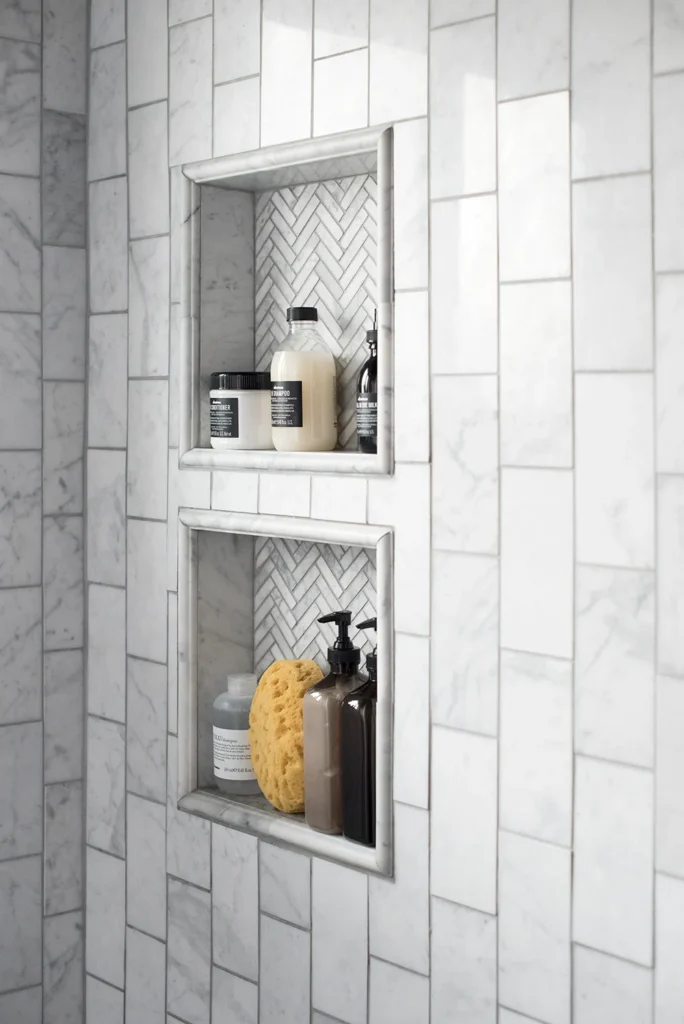
A clutter-free bathroom feels more spacious and functional. Add built-in shelves, mirrored cabinets or recessed niches in the shower to keep essentials tucked away without compromising style.
Bathroom upgrades are a smart investment when done right. Focus on quality finishes, practical improvements and timeless style. Whether it’s new tiles, updated lighting or a luxurious walk-in shower, the right changes can boost your home’s value and your everyday comfort.
For help choosing tiles and bathroom fittings that will add long-term value to your space, visit our showroom or browse our bathroom collection online here.

bathroom, blog, interior design tips, kitchen, trends
There’s a new style on the interior design scene, and it’s winning over homeowners and designers alike. Meet Japandi — the perfect blend of Japanese minimalism and Scandinavian functionality. If you’re looking for a calm, clutter-free and timeless look in your home, Japandi might be exactly what you need.
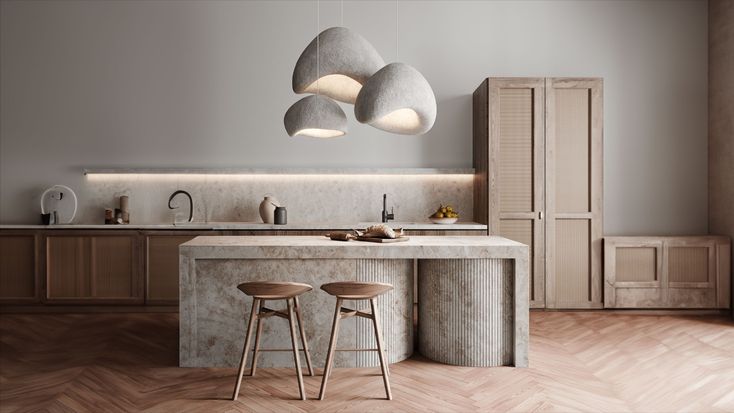
Table of Content:
What Is Japandi Style?
Why Is Japandi Gaining Popularity?
How to Bring Japandi into Your Home
Japandi in Every Room
Tiles and Japandi
Browse our collection of Japandi-inspired pieces
What Is Japandi Style?
Japandi is a fusion of two design philosophies.
On one side, you have Japanese interior design — simple, elegant and rooted in nature.
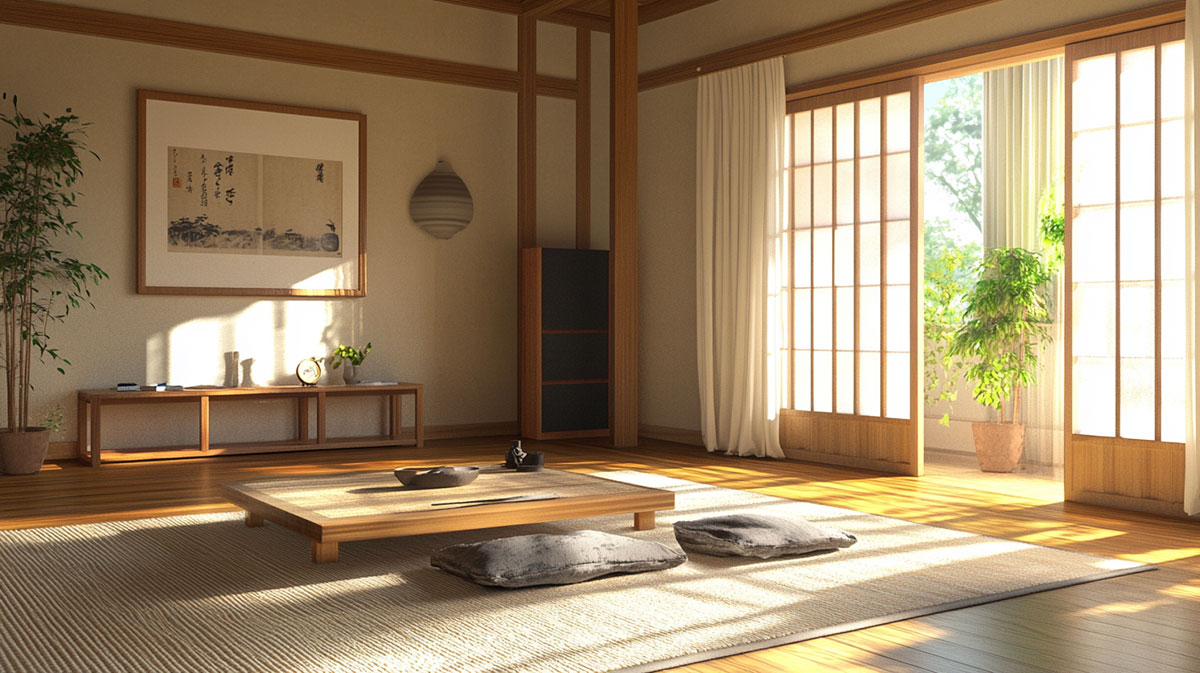
Image credit: awedeco.com
On the other, you have Scandinavian style — warm, functional and focused on comfort.
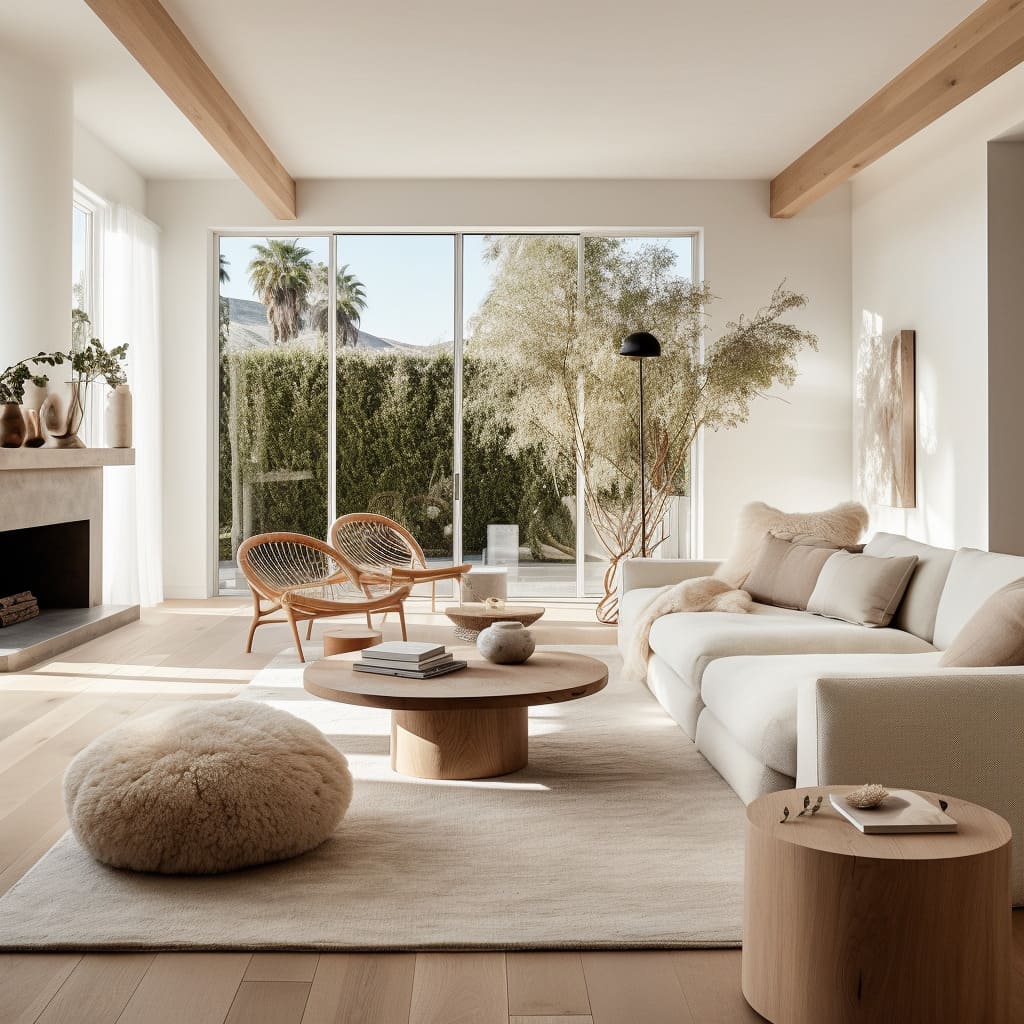
Image credit: fancyhouse-design.com
Together, they create a space that feels both modern and lived-in.
The Japandi trend focuses on clean lines, natural materials and muted colours. It values craftsmanship over mass production and encourages intentional living — only keeping what’s necessary and meaningful.
Why Is Japandi Gaining Popularity?
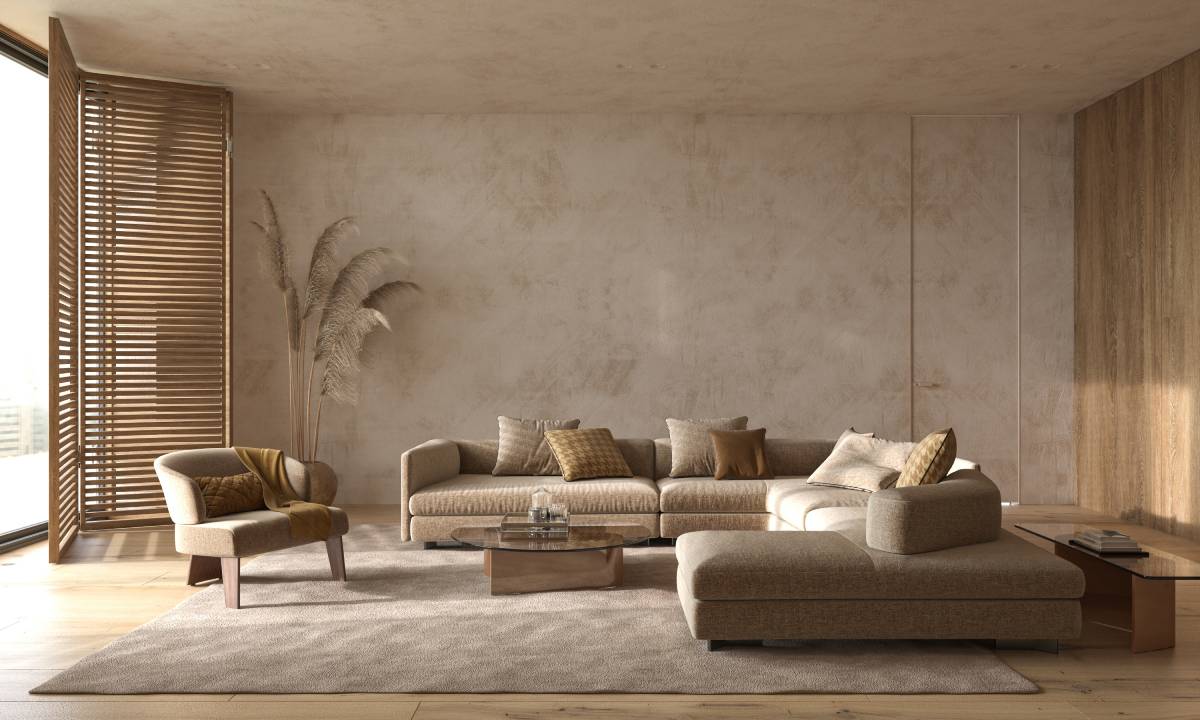
In today’s fast-paced world, many people are looking for ways to create a more calming and grounded home environment. Japandi offers exactly that. It’s not about filling your home with things — it’s about choosing the right things.
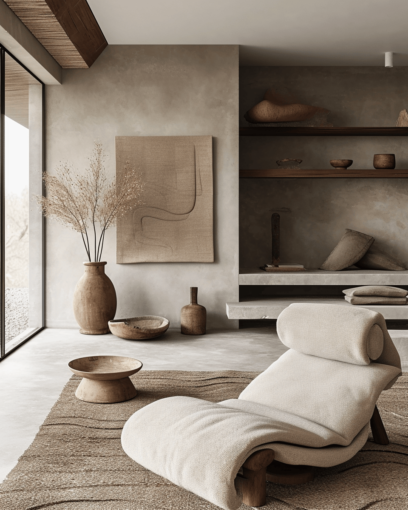
Image credit: edwardgeorgelondon.com
Minimalist yet cosy, Japandi interiors promote wellbeing. Think soft linen throws, warm wood tones and stone finishes. Neutral colour palettes dominate the look, with shades of beige, taupe, sage green and charcoal taking centre stage.
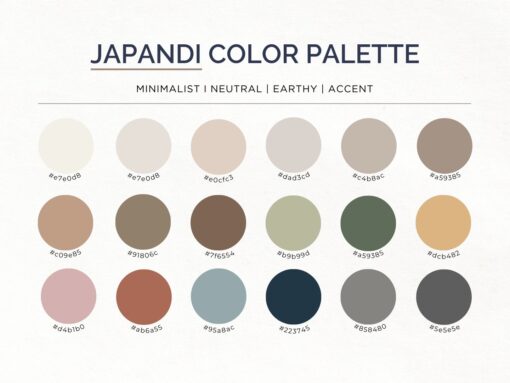
Image credit: global.fujioh.com
The rise in sustainable living has also played a role. Japandi leans into eco-conscious design — using natural fibres, recycled materials and quality over quantity.
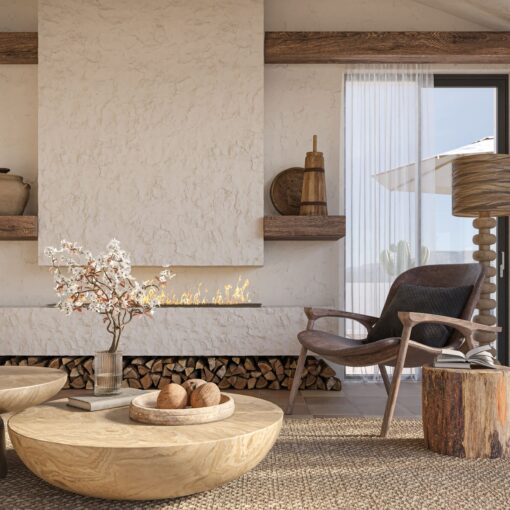
Image credit: annarosemann.com
How to Bring Japandi into Your Home
You don’t need a full renovation to try this trend. Small changes can go a long way.
Start with decluttering
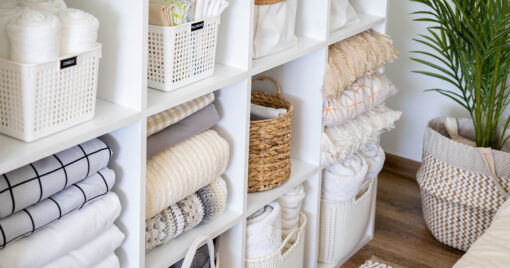
Image credit: edmontonrealestatepro.ca
Keep only the essentials and clear your surfaces.
Choose quality materials
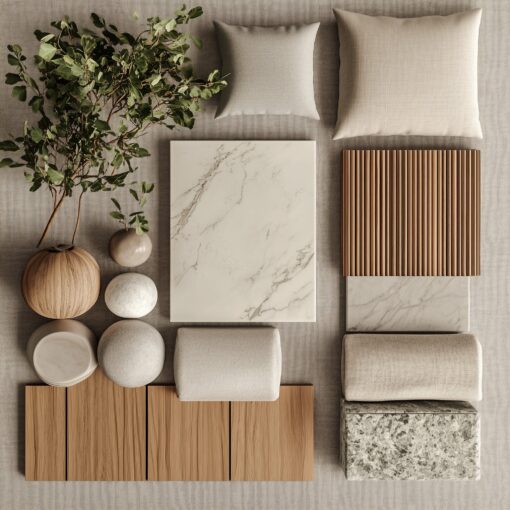
Image credit: global.fujioh.com
Invest in wood, linen, stone and ceramic.
Use a muted colour palette
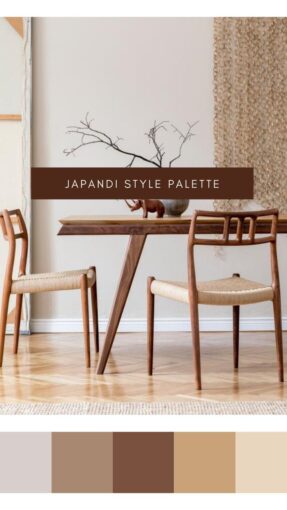
Image credit: Pinterest:@KunitsaHome
Stick to earthy tones like terracotta, sand and grey.
Add plants

Image credit: thursd.com
Nature is central to Japandi, so bring in greenery with simple planters.
Focus on function
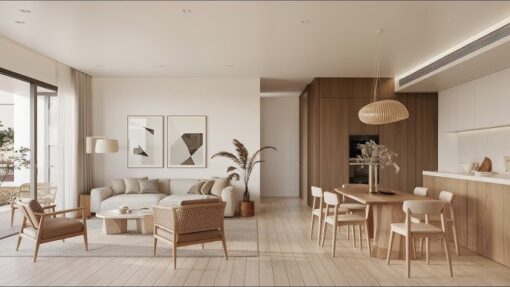
Image credit: houseploy.com
Every piece should serve a purpose and look good doing it.
Japandi in Every Room
Living Room
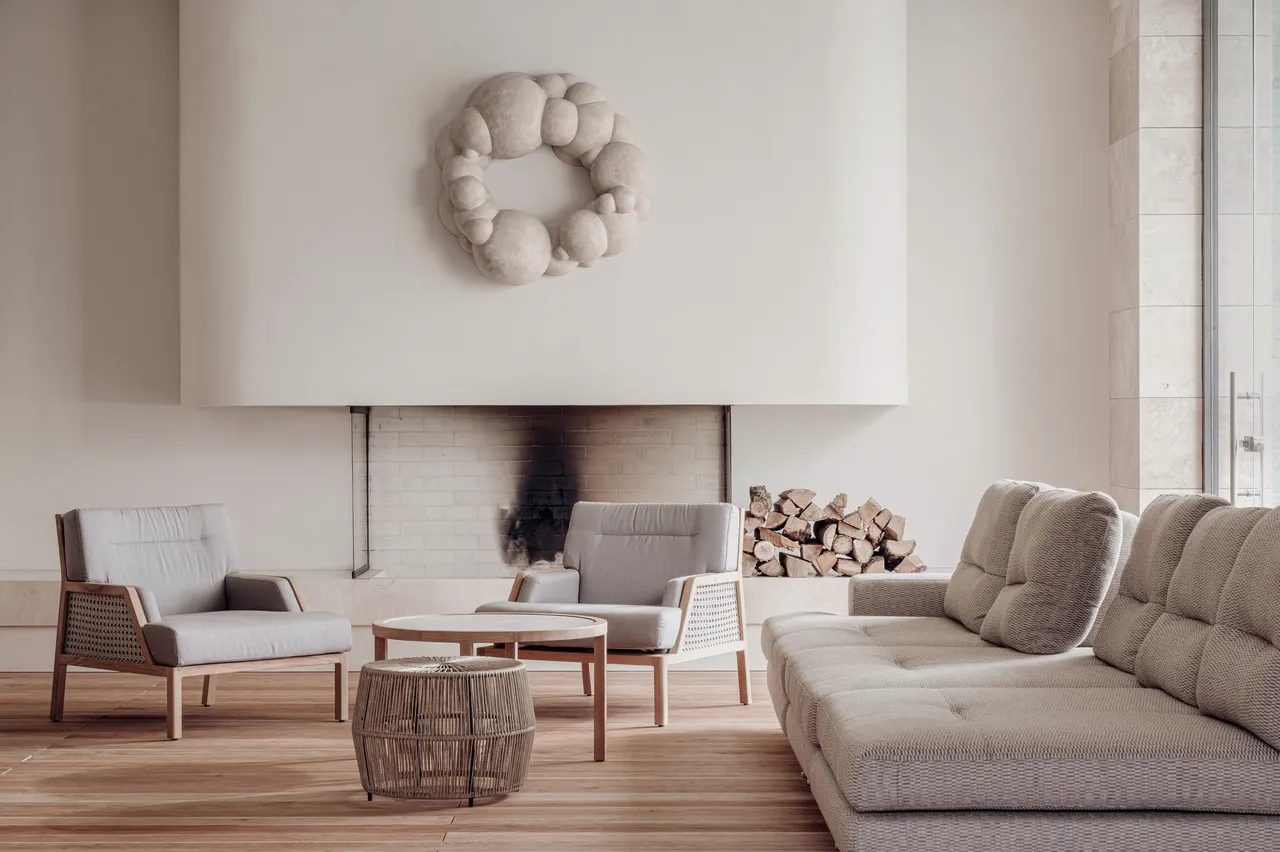
Image credit: livingetc.com
Go for low-profile furniture, woven textures and neutral cushions.
Bedroom
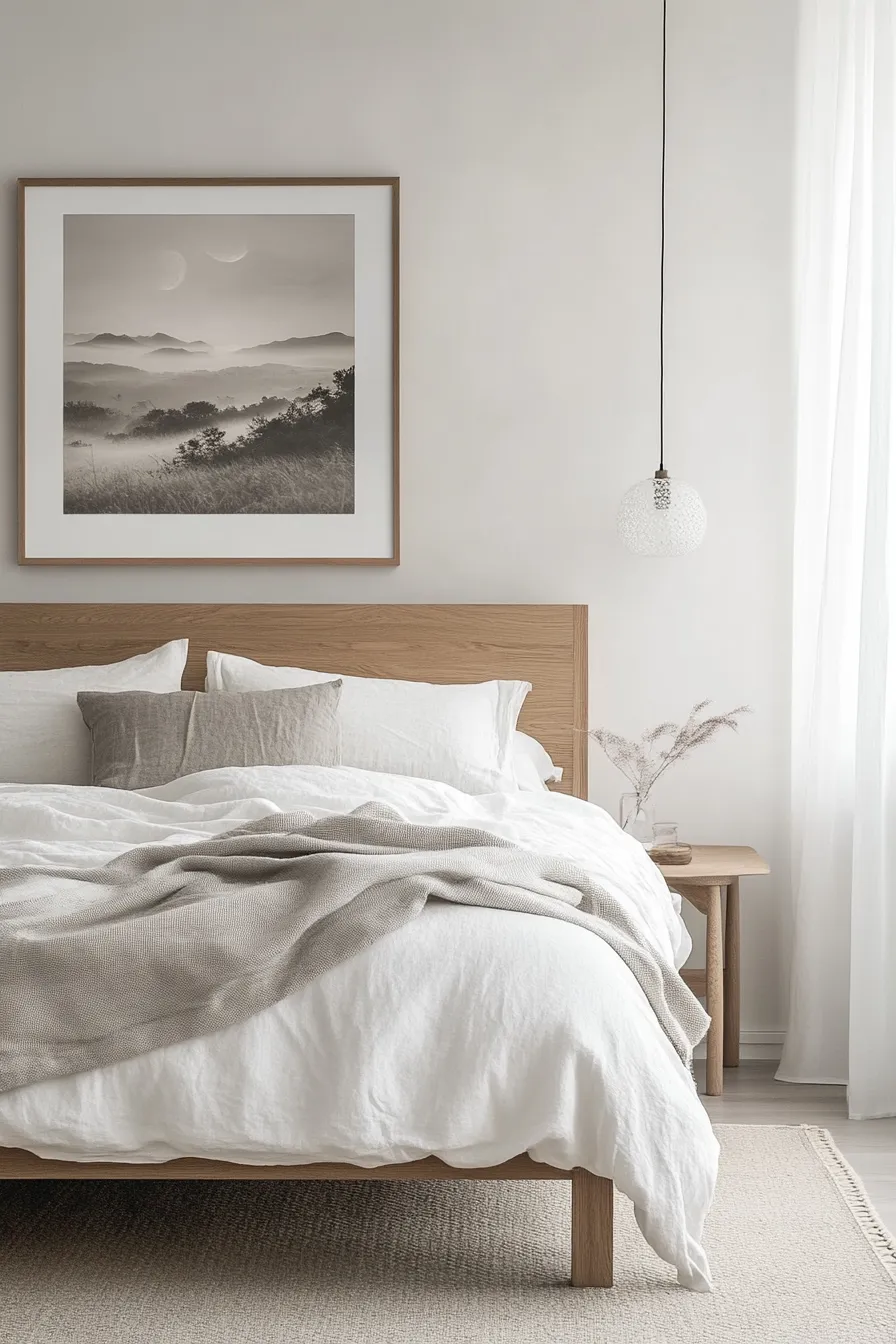
Image credit: edwardgeorgelondon.com
Keep it serene with soft lighting, crisp bedding and a calming palette.
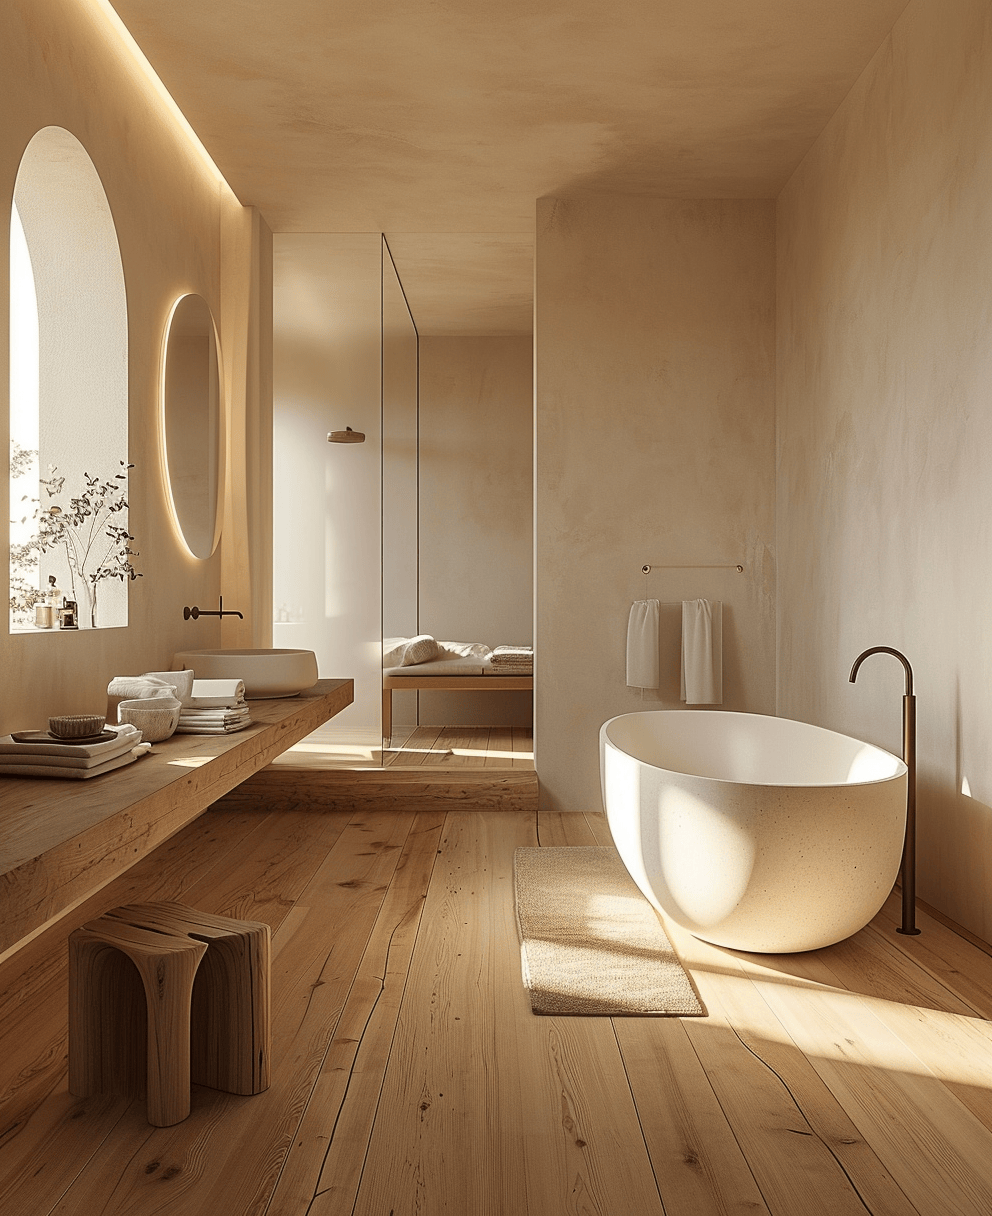
Image credit: edwardgeorgelondon.com
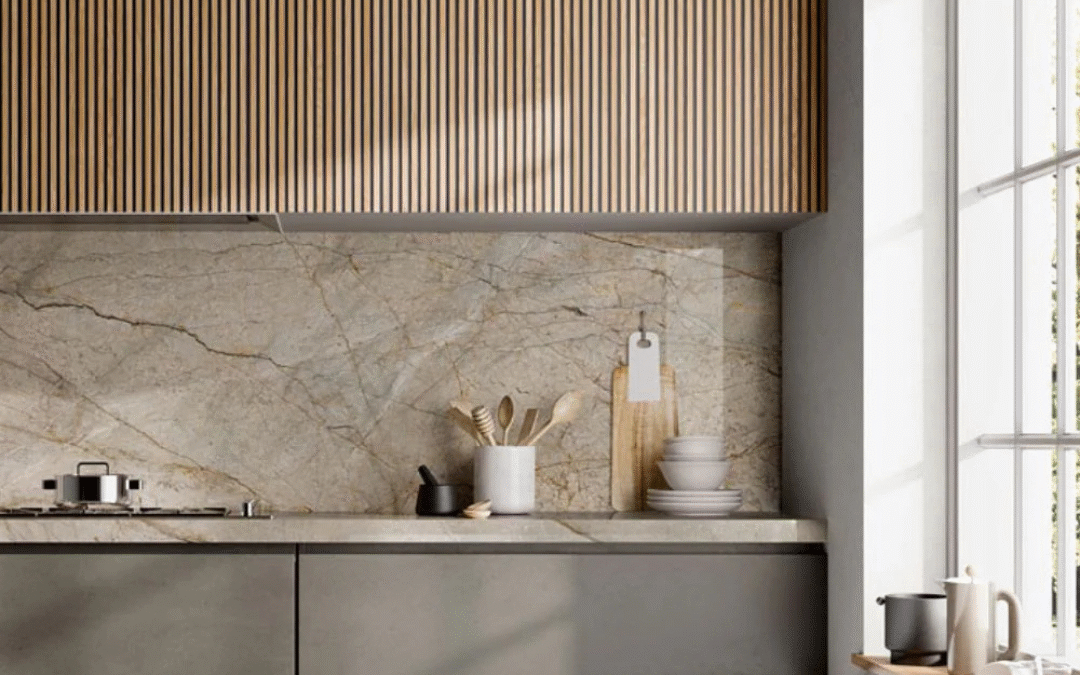
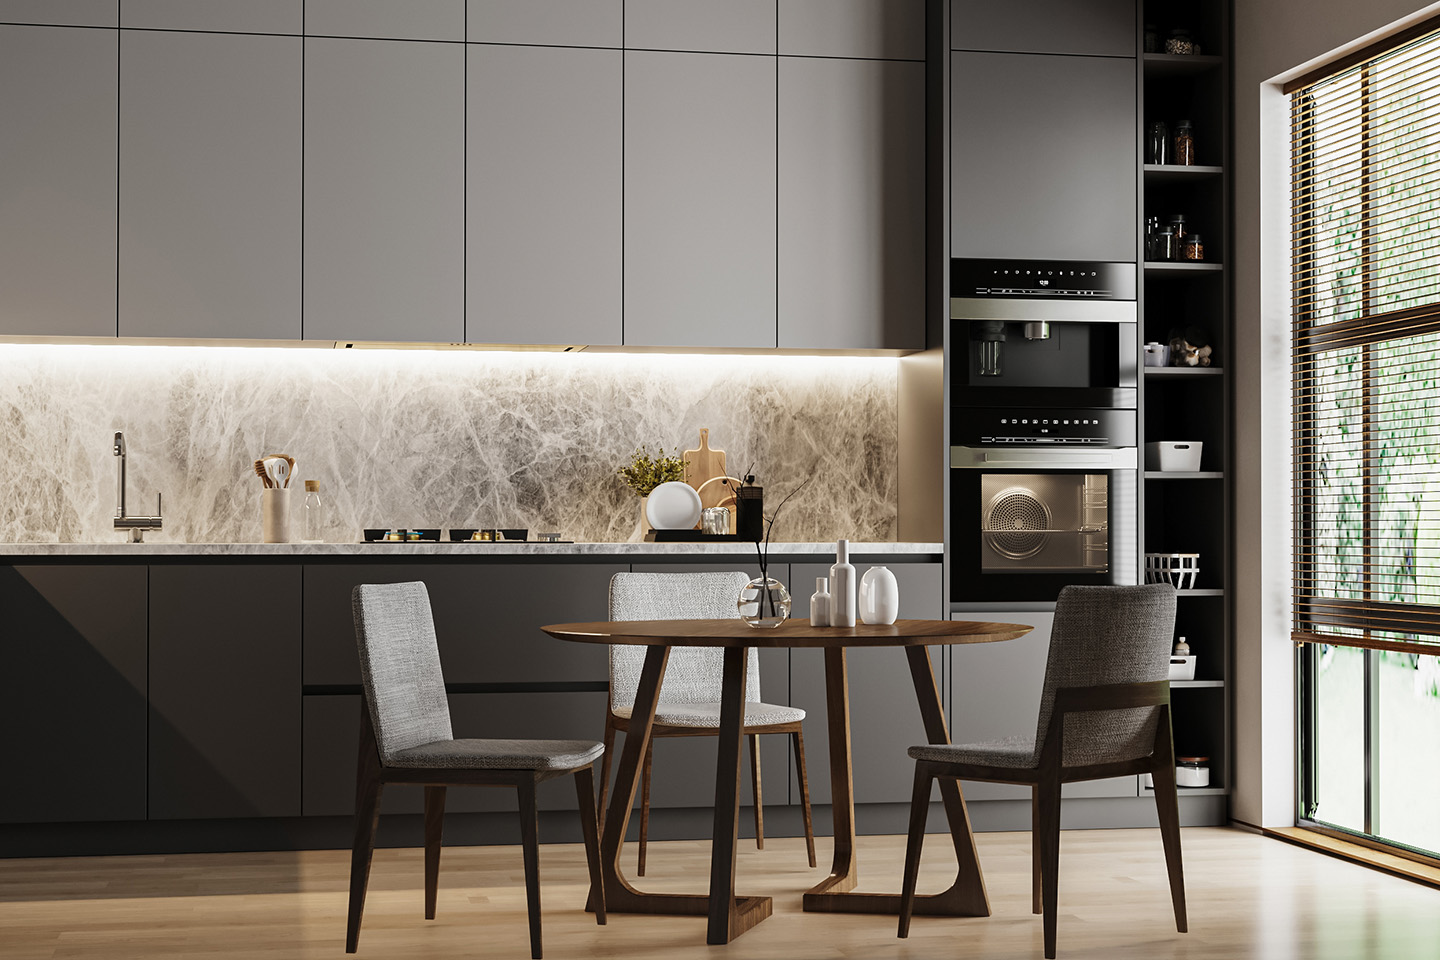
Choose clean finishes, minimal décor and natural touches like wood or stone.
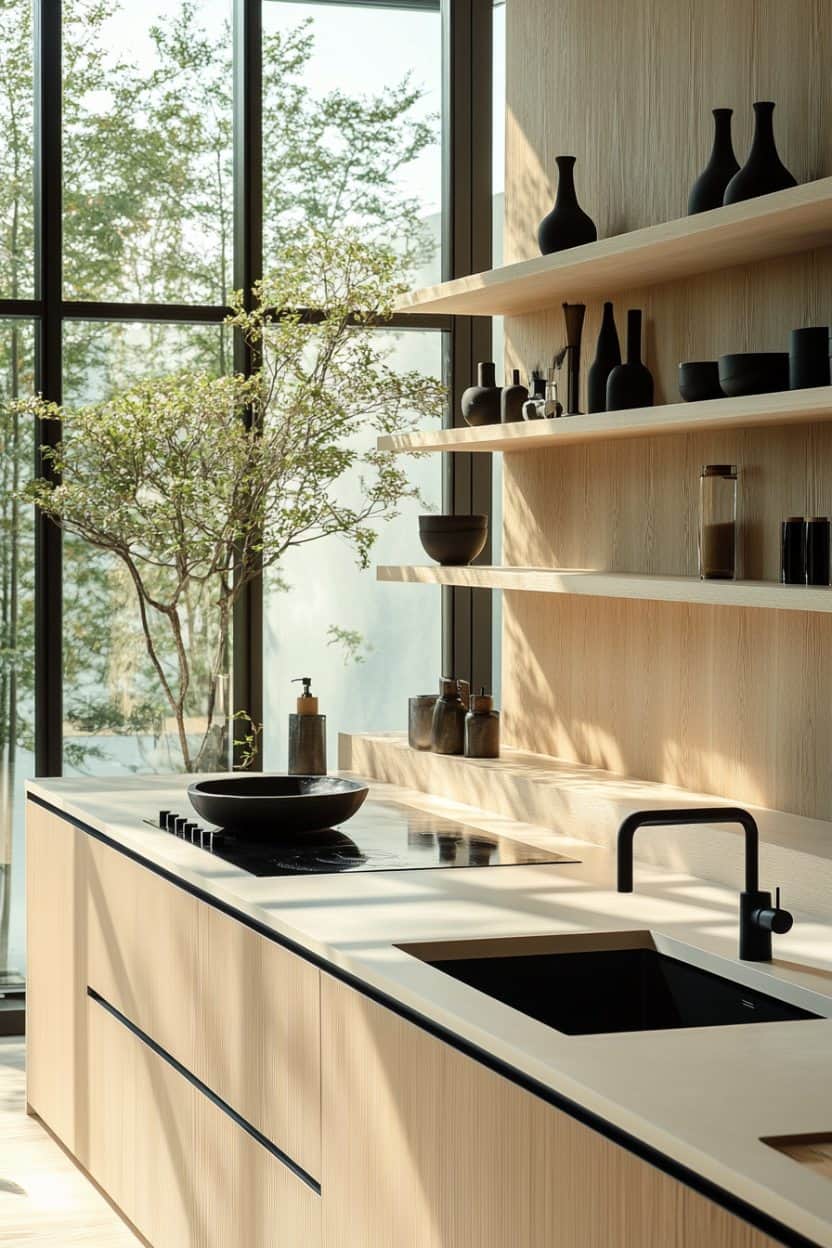
Image credit: hello-hayley.com
Pair sleek surfaces with warm wood cabinets and matte black fixtures.
Tiles and Japandi
Tiles are a great way to embrace the Japandi aesthetic. Think large format stone-look tiles for floors, soft textured wall tiles or handmade ceramic splashbacks. Matte finishes work best to avoid too much shine. You want the space to feel natural and calm, not glossy and loud. Wood-look vinyl, laminate or engineered wood flooring also fits perfectly with the Japandi style, offering the warmth of timber with added durability and easy maintenance — ideal for creating that serene, minimalist feel.
Japandi isn’t just a trend — it’s a lifestyle shift. It’s about stripping back the noise and embracing simplicity, comfort and mindfulness in the way we live. Whether you’re redesigning a single room or your entire home, Japandi offers a timeless and peaceful solution.
Looking for tiles or design elements that suit the Japandi style? Bring your moodboard or Pinterest inspo to our showroom and we’ll help you choose pieces that bring your vision to life. Browse our collection of Japandi-inspired pieces below to get started.
Browse our collection of Japandi-inspired pieces


