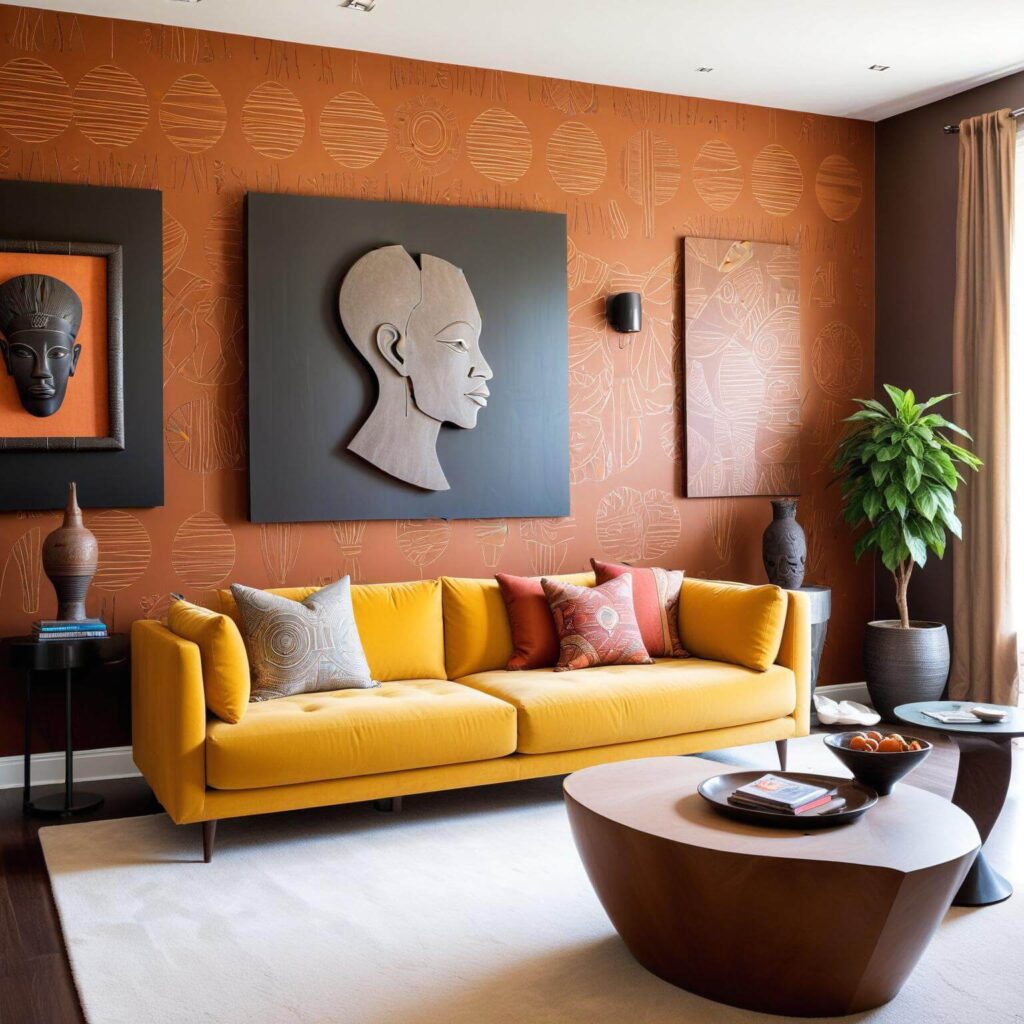
As we say goodbye to Heritage Month, it’s the perfect time to talk about cultural fusion in home design. With a focus on blending traditional elements with contemporary style, this approach celebrates the richness of heritage while creating beautiful, functional spaces that reflect our lives today. Whether you want to make a bold statement or add subtle touches to your decor, cultural fusion allows you to tell a personal story through design.
Cultural fusion is all about merging the old with the new—taking traditional design elements from various cultures and incorporating them into modern interiors. It’s a celebration of diversity that goes beyond simply adding cultural artifacts; it’s about making your space a reflection of your personal heritage, while still keeping it fresh and relevant.
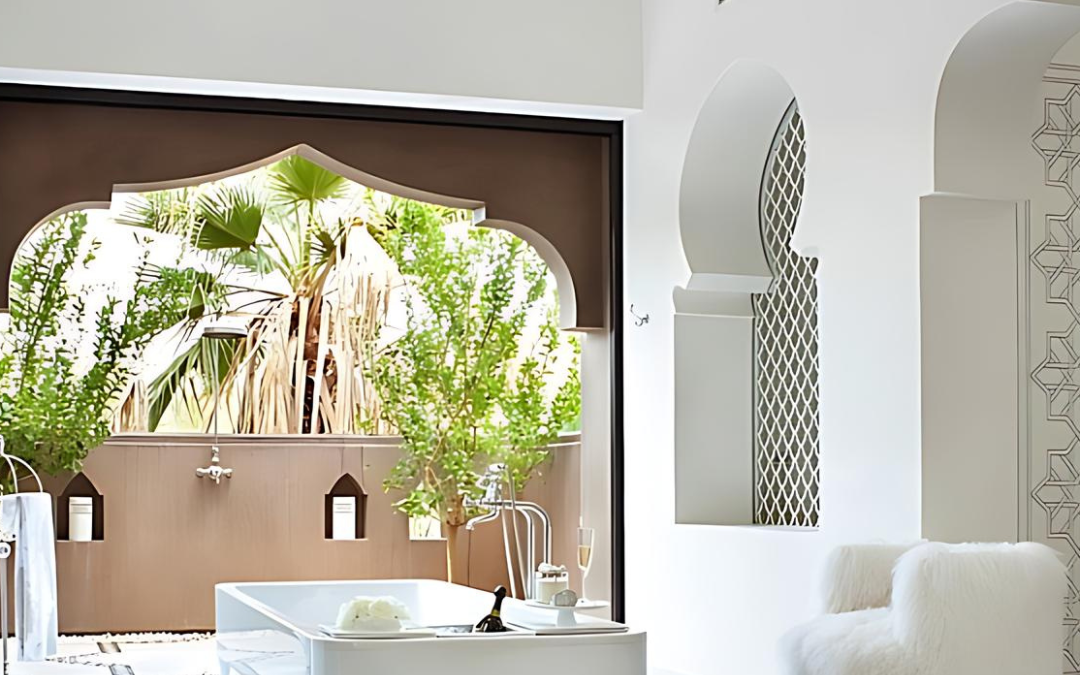
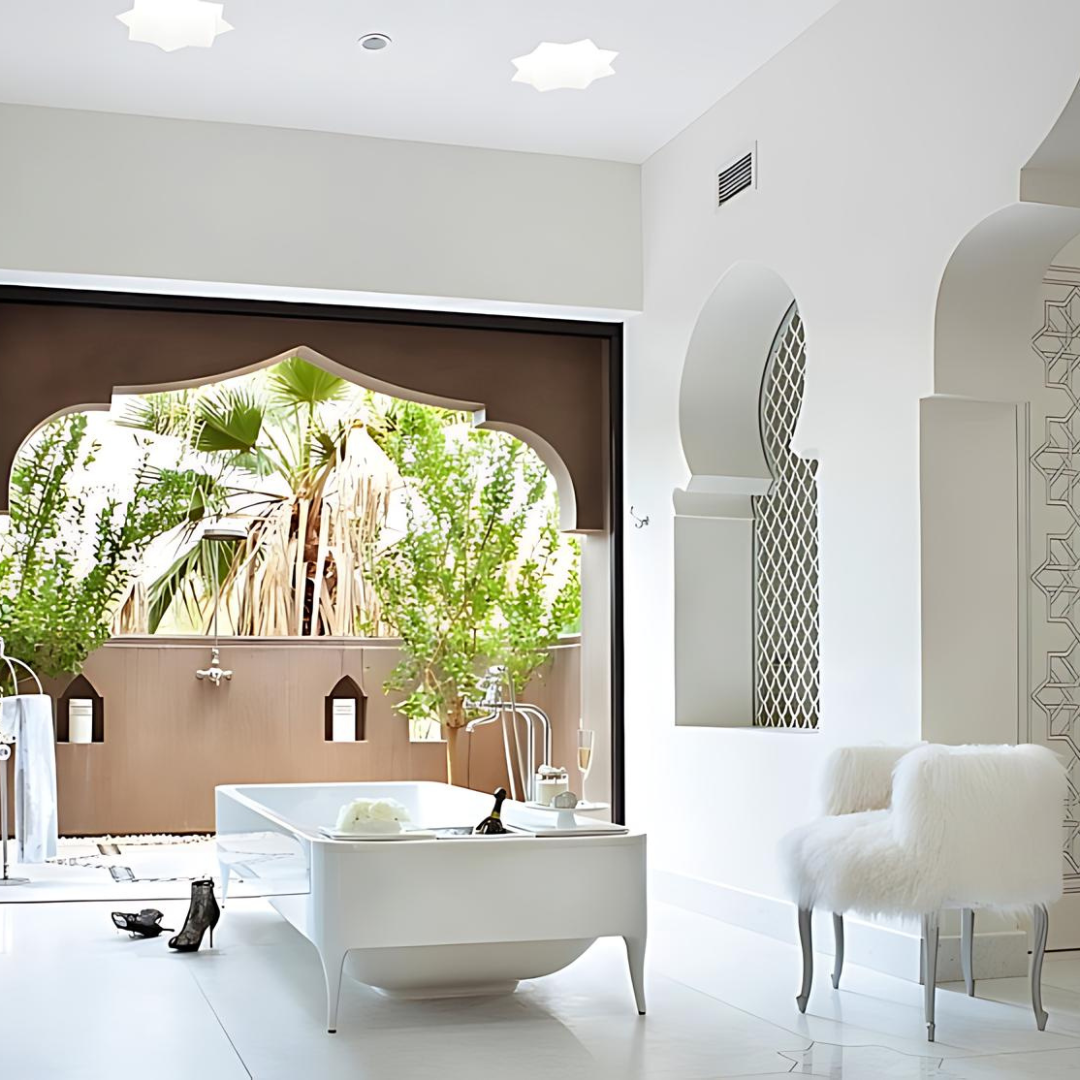
Think of it as creating a conversation between generations. When you add heritage-inspired elements to your home, you’re not just decorating—you’re telling a story. From vibrant Moroccan patterns to the serene, minimalist style of Japanese design, each piece adds a layer of meaning and history to your space.
Image Credit: Malaceo Interiors
How to Bring Cultural Fusion into Your Home
If you’re wondering where to start, there are many ways to incorporate cultural fusion into your home design. Whether you’re drawn to vibrant colours or prefer a more understated look, the beauty of this style is its flexibility. Here are some ideas to get you inspired:
1. Mixing Colours and Textures
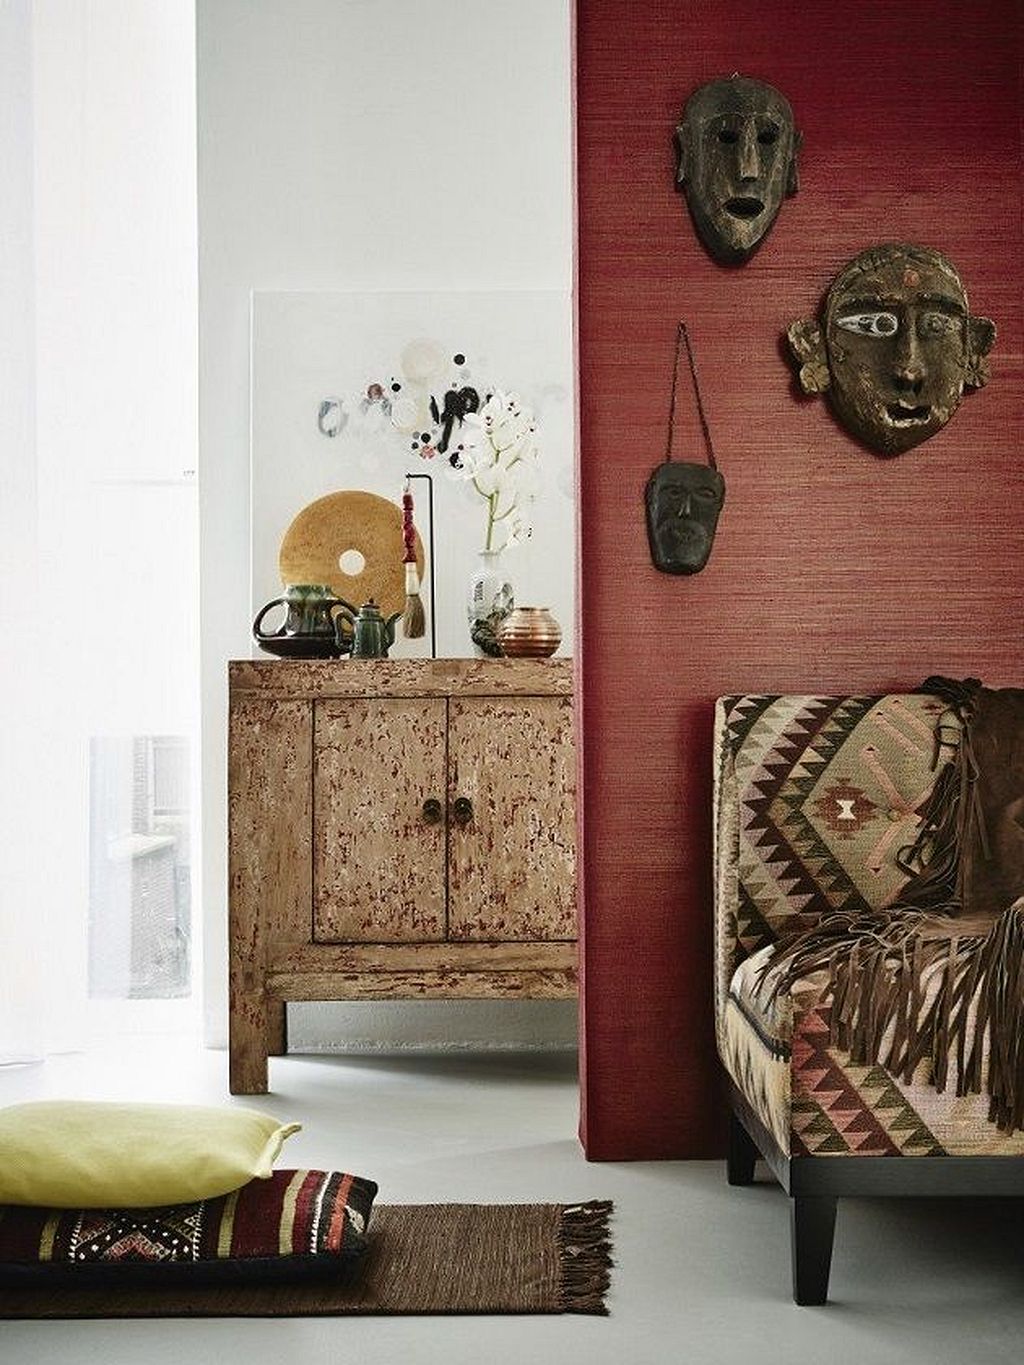
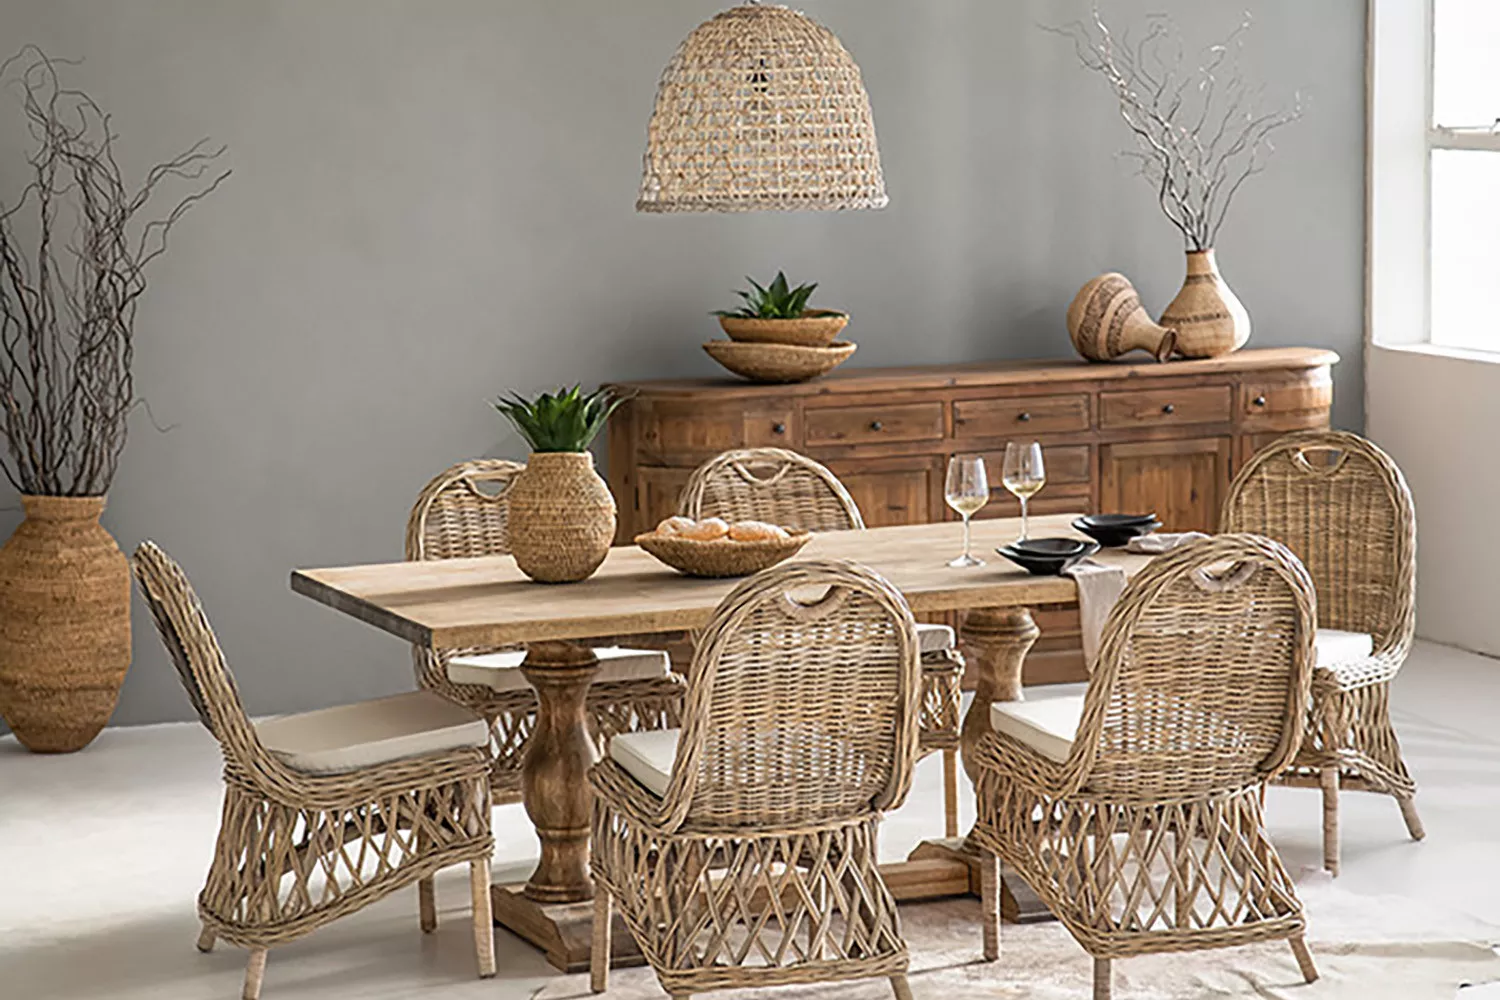
One of the most exciting aspects of cultural fusion is playing with colours and textures. Imagine pairing a sleek, modern sofa with throw pillows featuring intricate Indian patterns, or adding a bold Moroccan rug to a minimalist living room. The goal is to create harmony by blending cultural elements with contemporary pieces.
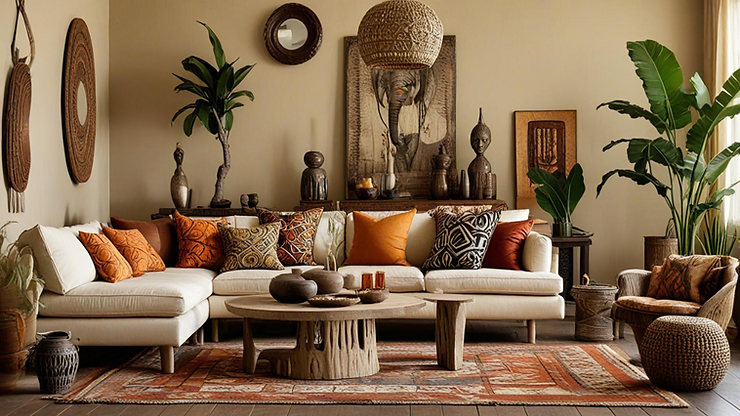
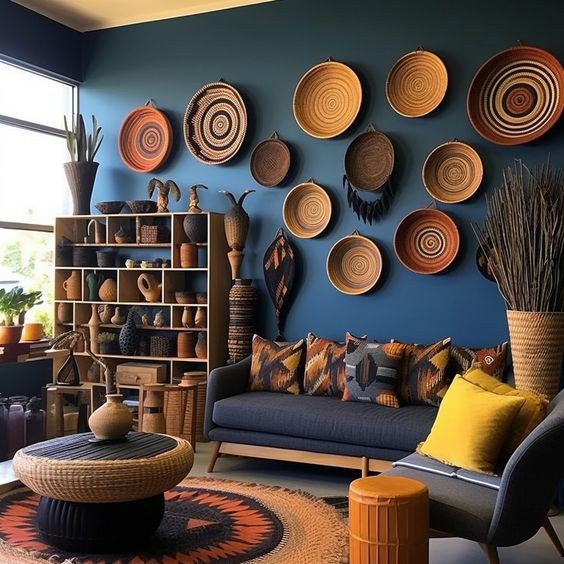
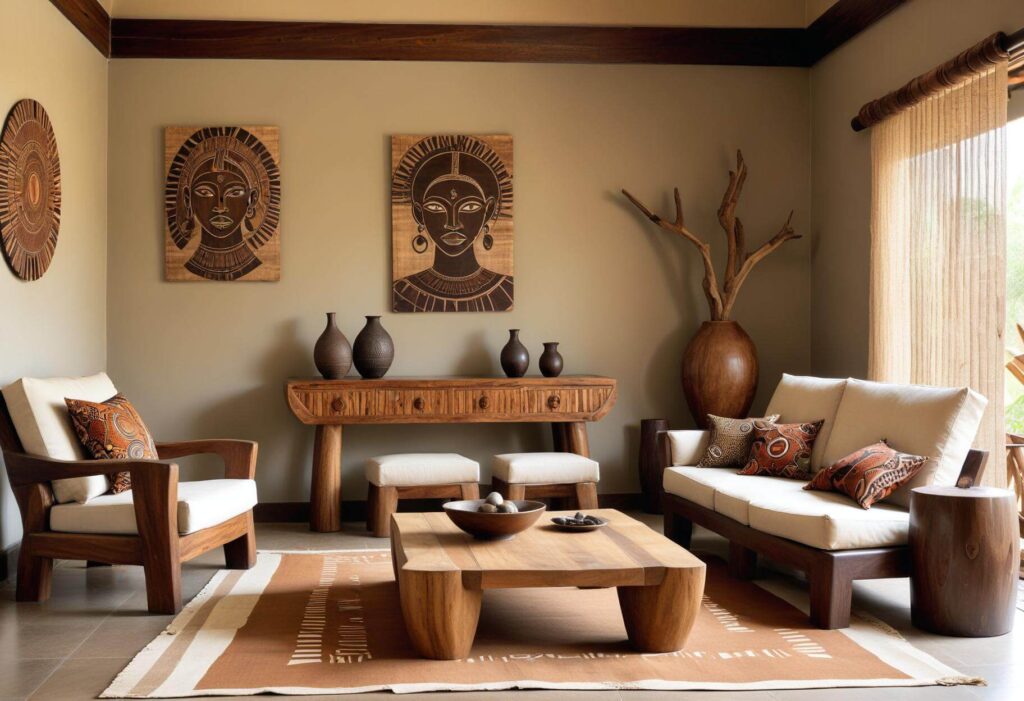
African design, for example, is known for its use of rich textures, earthy tones, and bold patterns. Incorporating African-inspired cushions or wall art into a modern setting can add a layer of warmth and character. For more inspiration on incorporating African Inspired Interior Design in your space, check out our blog here.
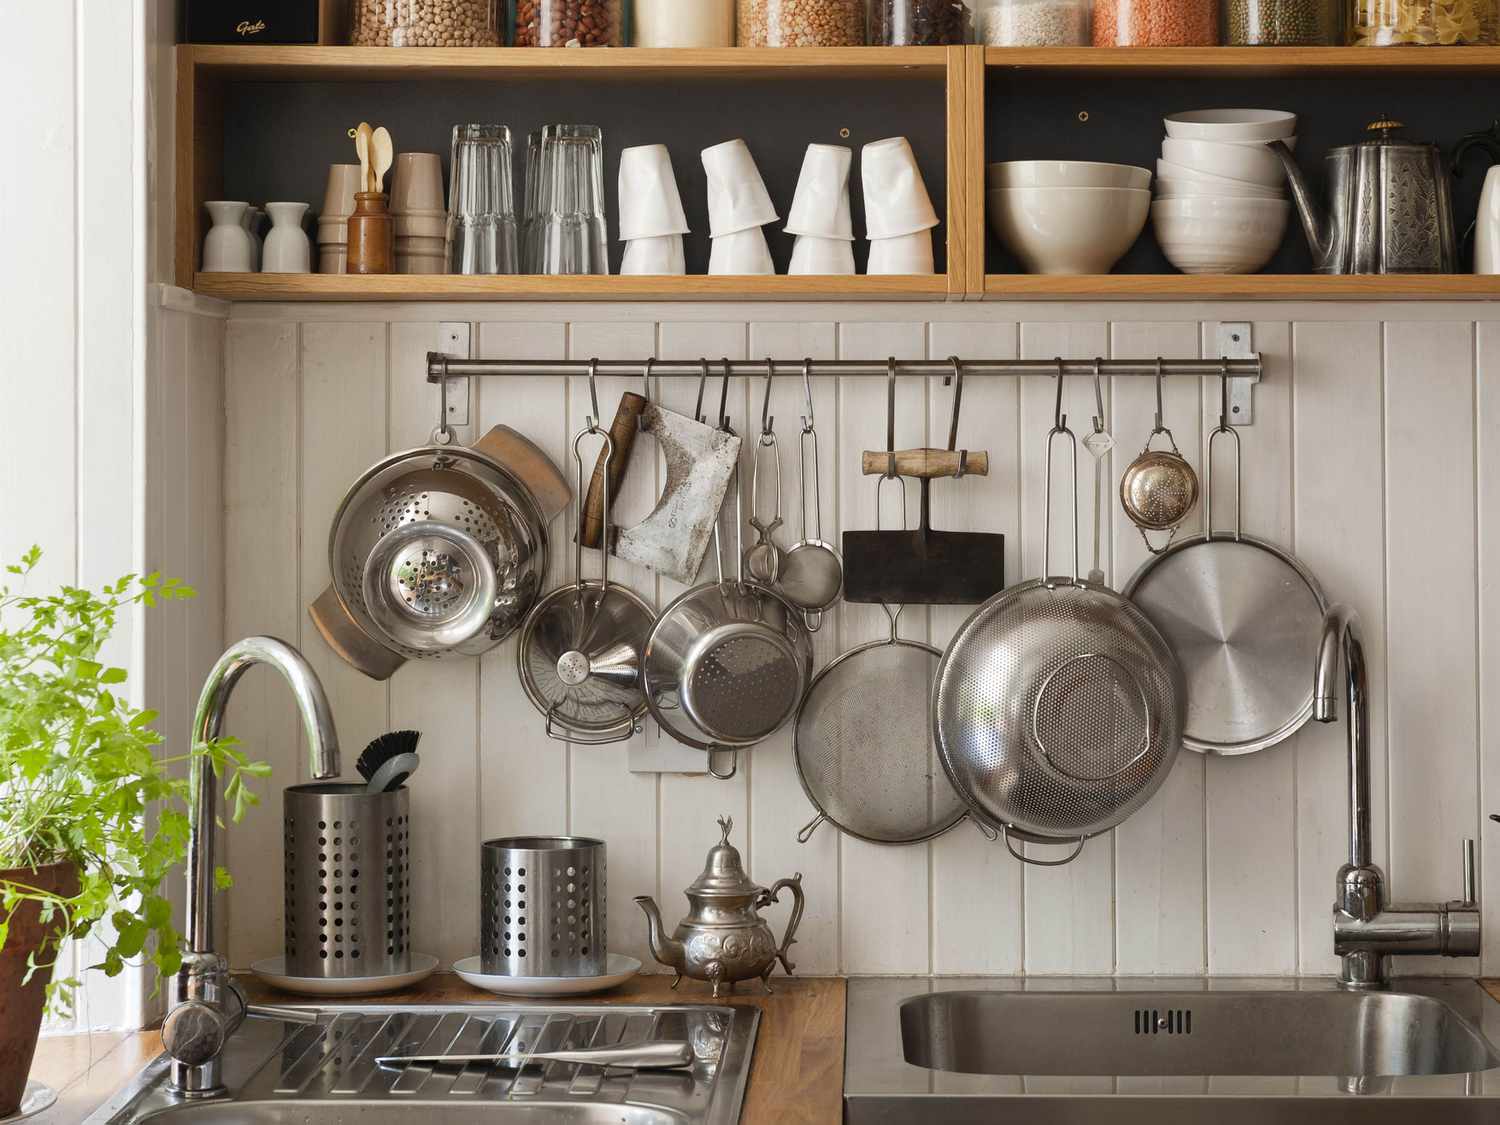
Image Credit: Pinterest
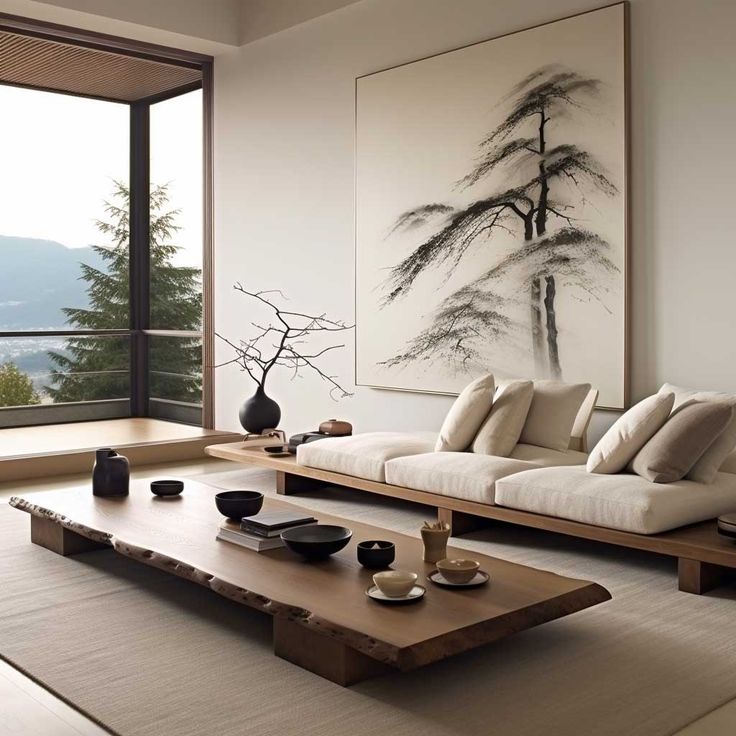
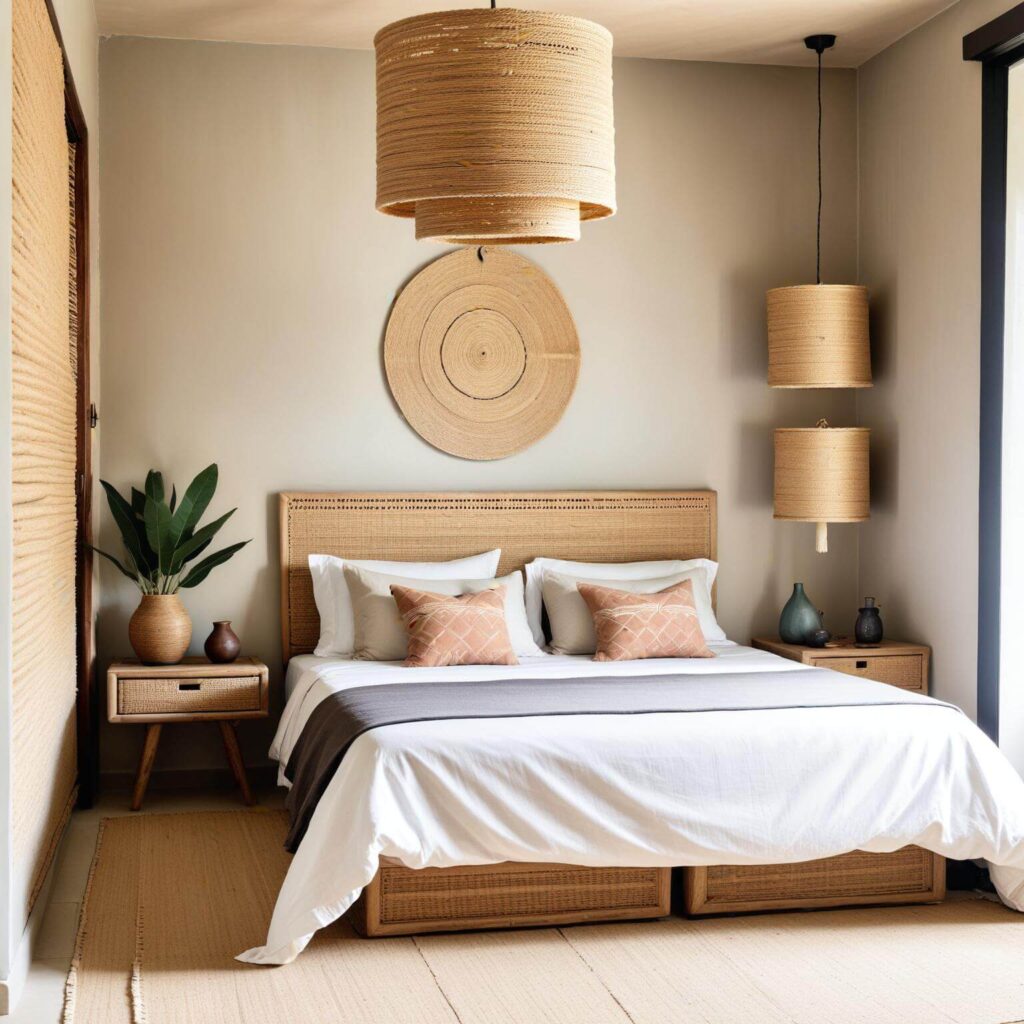
On the other hand, Japanese design offers a more subdued approach, with clean lines and a focus on natural materials, such as wood and stone.
Image Credit: Axxla
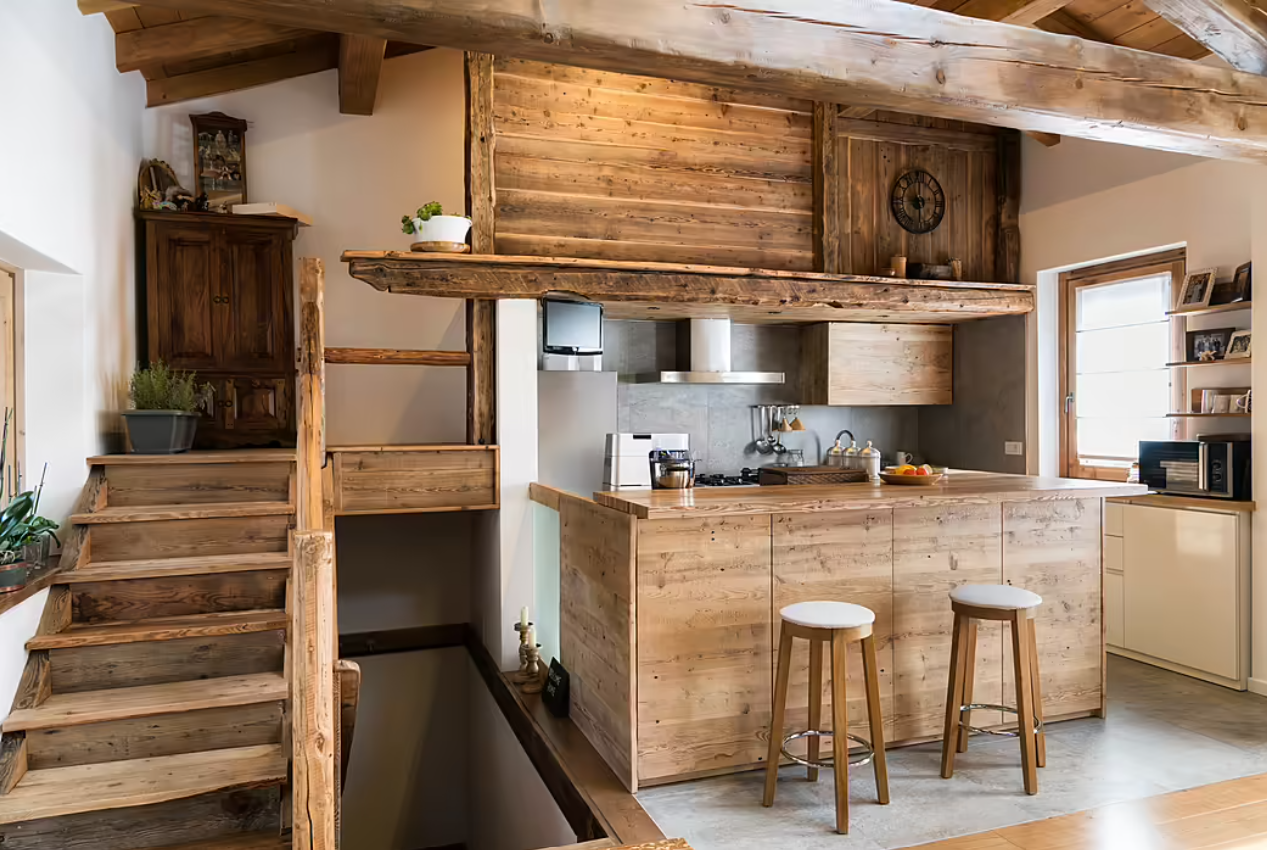
2. Blending Materials
Mixing materials is another way to highlight cultural fusion in your space. Think about combining natural elements like wood, stone, and clay with contemporary finishes such as polished metal or glass. For instance, a wooden dining table paired with chairs that feature indigenous craftsmanship could instantly transform a room, adding depth and cultural richness.
Image Credit: Cielo
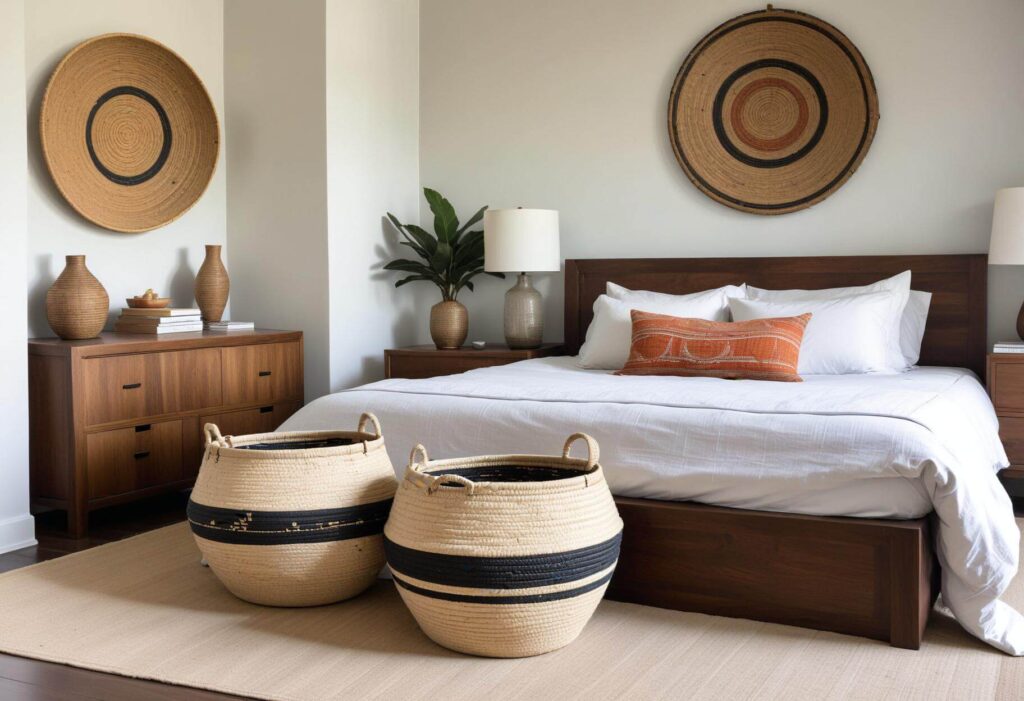
You can also bring in traditional pieces, like hand-carved furniture or woven baskets, to balance out modern elements. This blend of materials not only creates visual interest but also makes your space feel layered and meaningful.
Image Credit: Okanly
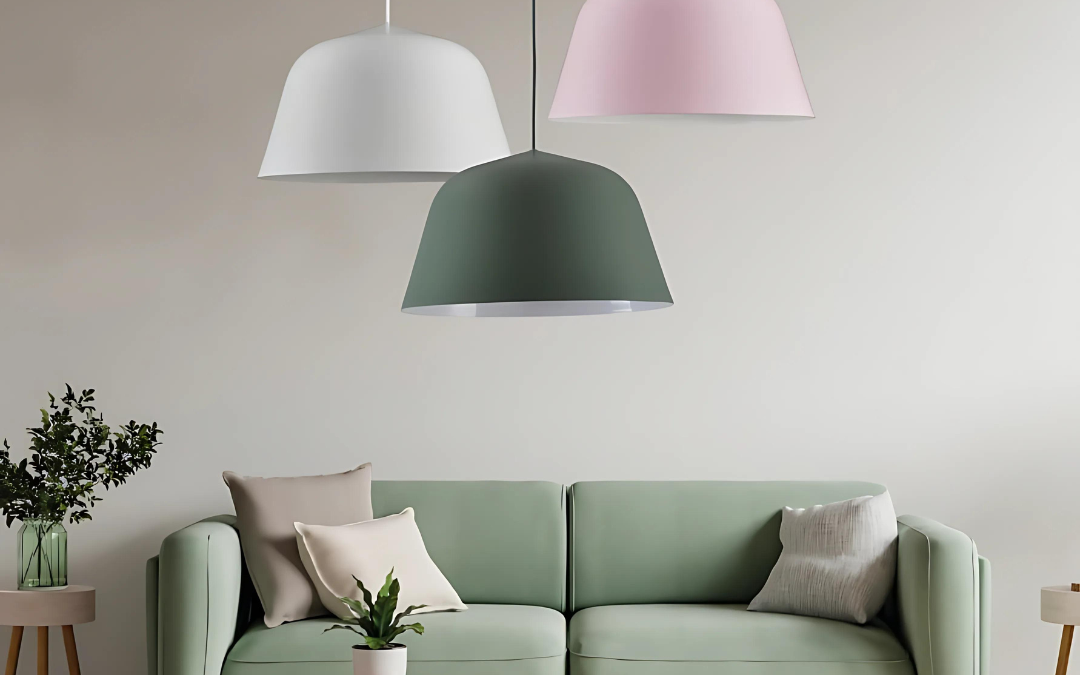
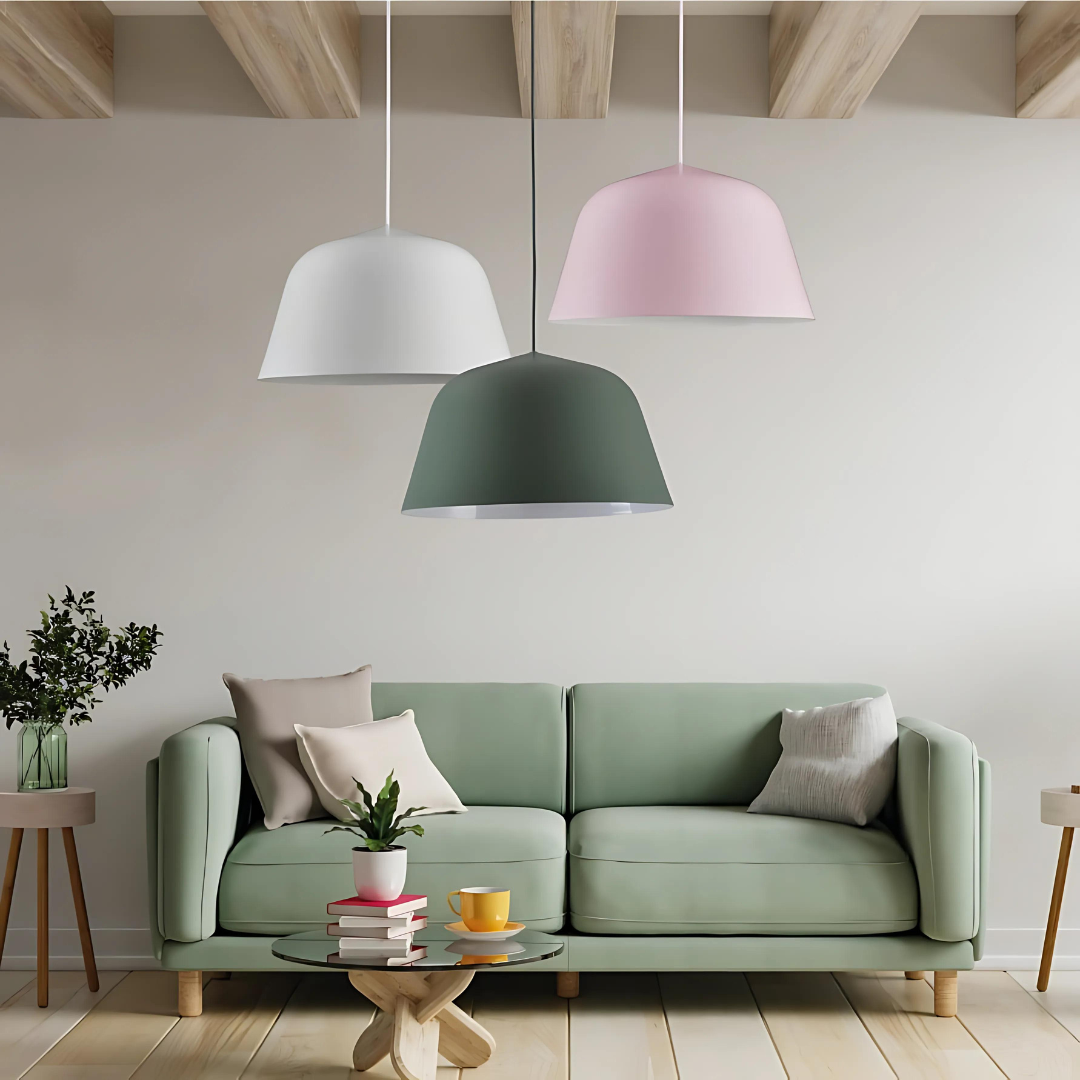
3. Lighting with Cultural Flair
Lighting is often overlooked, but it plays a significant role in setting the mood for a room. Consider adding lighting fixtures inspired by traditional lanterns or chandeliers to create a warm, nostalgic ambiance. A Moroccan lantern, with its intricate detailing, can cast a beautiful, patterned glow, while a more minimalist pendant light could evoke the simplicity of Scandinavian design.
4. Highlighting Cultural Artwork
Don’t forget to use art to express your cultural heritage. Whether it’s bold, vibrant artwork from Latin America or serene calligraphy from East Asia, art can be a powerful way to introduce cultural elements into your home. Art not only adds beauty but also brings personal meaning to your space, making it truly your own.
5. Functional Yet Stylish
Cultural fusion is about more than just aesthetics—it’s about creating a space that’s functional and comfortable for everyday living. A modern kitchen with traditional hand-painted tiles or a bathroom that blends contemporary fixtures with antique accents can strike the perfect balance between old and new.
Cultural Fusion for Any Style
What makes cultural fusion so versatile is that it isn’t limited to a specific design style. You can go as bold or as subtle as you like. Some might prefer a dramatic fusion with vivid colours, ornate décor, and statement pieces. Others may opt for a quieter approach, incorporating just a few carefully chosen cultural elements that complement their existing décor.
Image Credit: Martin Gene
Whether you’re drawn to the rich, textured aesthetic of African design, the romantic elegance of French provincial style, or the calm, Zen-inspired simplicity of Japanese interiors, there’s a place for cultural fusion in any home. The key is to make it your own—let your home tell your story.
Image Credit: Artfasad
Wrapping Up Heritage Month
As we conclude our Heritage Month special, remember that cultural fusion is about more than just decorating your home; it’s about celebrating your roots and honouring your heritage. By blending traditional elements with modern sensibilities, you can create a space that’s not only beautiful but also deeply personal.
So, whether you’re reimagining your living room with colourful textiles or adding a touch of indigenous craftsmanship to your dining area, let your creativity flow and celebrate your culture in style!
Remember: Your home is your canvas. Let it be a reflection of your unique journey and heritage!
Prefer to watch?
Ryan and Deon discuss Cultural Fusion in Home Design in the video below
Colour has the incredible ability to transform a space, affecting both its look and feel. Whether you’re aiming to create a relaxing retreat or an energizing workspace, understanding how to use colour can help you achieve the perfect vibe. In this blog, we’ll explore everything from the psychology of colour to choosing the right palette and adding accents for a visually captivating design. Let’s dive in!
The Psychology of Colour: How Colours Affect Your Mood
The colours you choose for a room can influence how you feel when you’re in it. This is the essence of colour psychology, and it’s a fantastic tool to guide your design choices.
Green: Associated with nature and harmony, green is perfect for spaces where you want a calm, refreshing atmosphere—think bedrooms or living rooms.
Warm colours (Red, Orange, Yellow): These vibrant hues are energizing and uplifting, ideal for creative spaces like home offices or children’s playrooms.
Cool colours (Blue, Purple): These shades bring a sense of calm and tranquillity, making them ideal for bathrooms or any space where you want to unwind.
Neutral colours (White, Grey, Beige): Neutrals are versatile and create a sense of balance. White offers a fresh, clean feel—perfect for bathrooms and kitchens—while grey brings sophistication, and beige adds warmth and coziness.
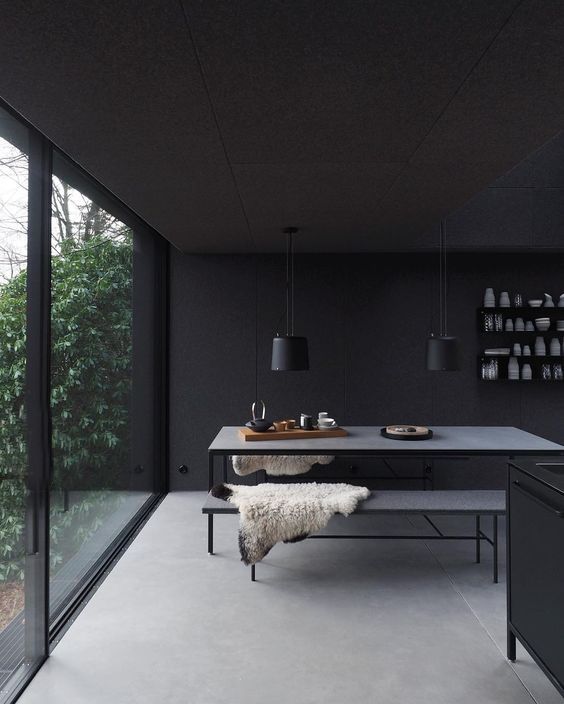
Black: This bold colour adds drama and elegance, perfect for creating a luxurious feel in any room.
Image Credit: Wen van Woudenberg
By understanding the impact of these colours, you can tailor your spaces to evoke the desired mood, whether it’s a serene retreat or an energetic hub.
Choosing the Right Colour Palette: Crafting the Perfect Look
Selecting the right colour palette is key to creating a harmonious and visually pleasing space. Here are some popular schemes to guide you:
Monochromatic: This scheme uses different shades, tints, and tones of a single colour, creating a cohesive and serene environment. It’s an elegant option for spaces where simplicity and flow are important.
Image Credit: iStock
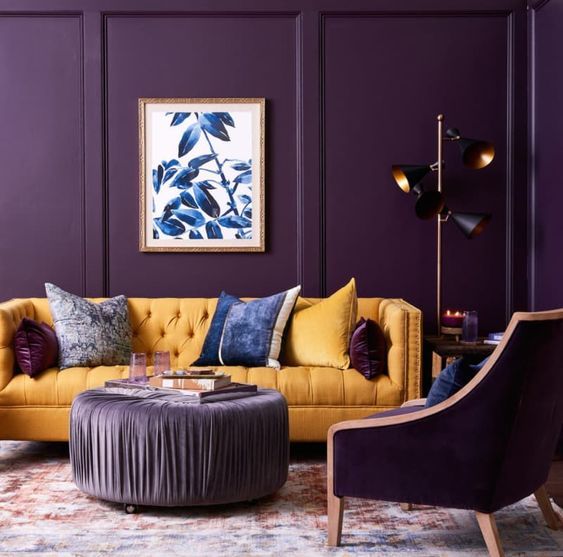
Complementary: Pairing colours opposite each other on the colour wheel, such as blue and orange, creates a dynamic look with lots of visual interest. This scheme works well when you want certain elements to pop.
Image Credit: vogue.com.au
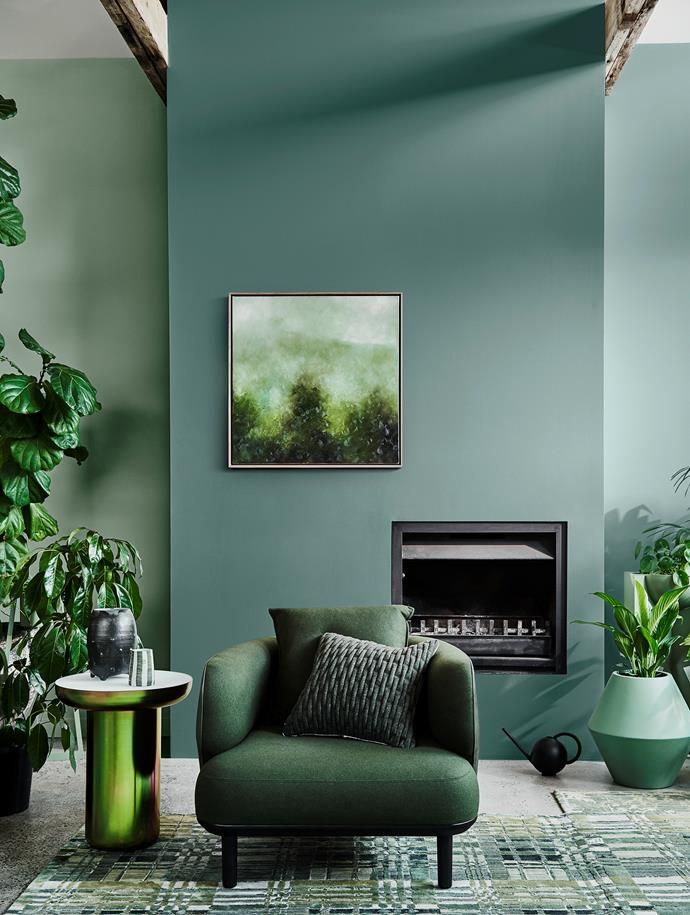
Analogous: These are colours next to each other on the colour wheel, like blue and green. This scheme is naturally harmonious, perfect for creating a unified, peaceful space.
Image Credit: Lisa Cohen
When choosing a palette, consider the size and natural lighting of the room. Lighter colours can make a small space feel bigger, while darker hues create a more intimate vibe. Don’t forget to factor in the emotional impact of the colours you choose to ensure they align with the atmosphere you’re aiming for.
Accentuating with Colour: Bringing Life to Your Space
Once you’ve chosen your primary palette, it’s time to add pops of colour for a bit of flair and personality. Here’s how to do it right:
Accent Walls: Pick a bold colour for one wall to create a striking focal point in the room.
Furniture and Accessories: Add colourful chairs, cushions, or artwork that stand out against neutral backgrounds. These accents can make the room feel lively and well-coordinated.
Image Credit: roseandgrey
Rugs and Curtains: These are another easy way to introduce colour and tie the entire room together.
Small Accents: Don’t underestimate the power of smaller items like vases, throw pillows, or even plants. These subtle touches can add visual interest without overwhelming the space.
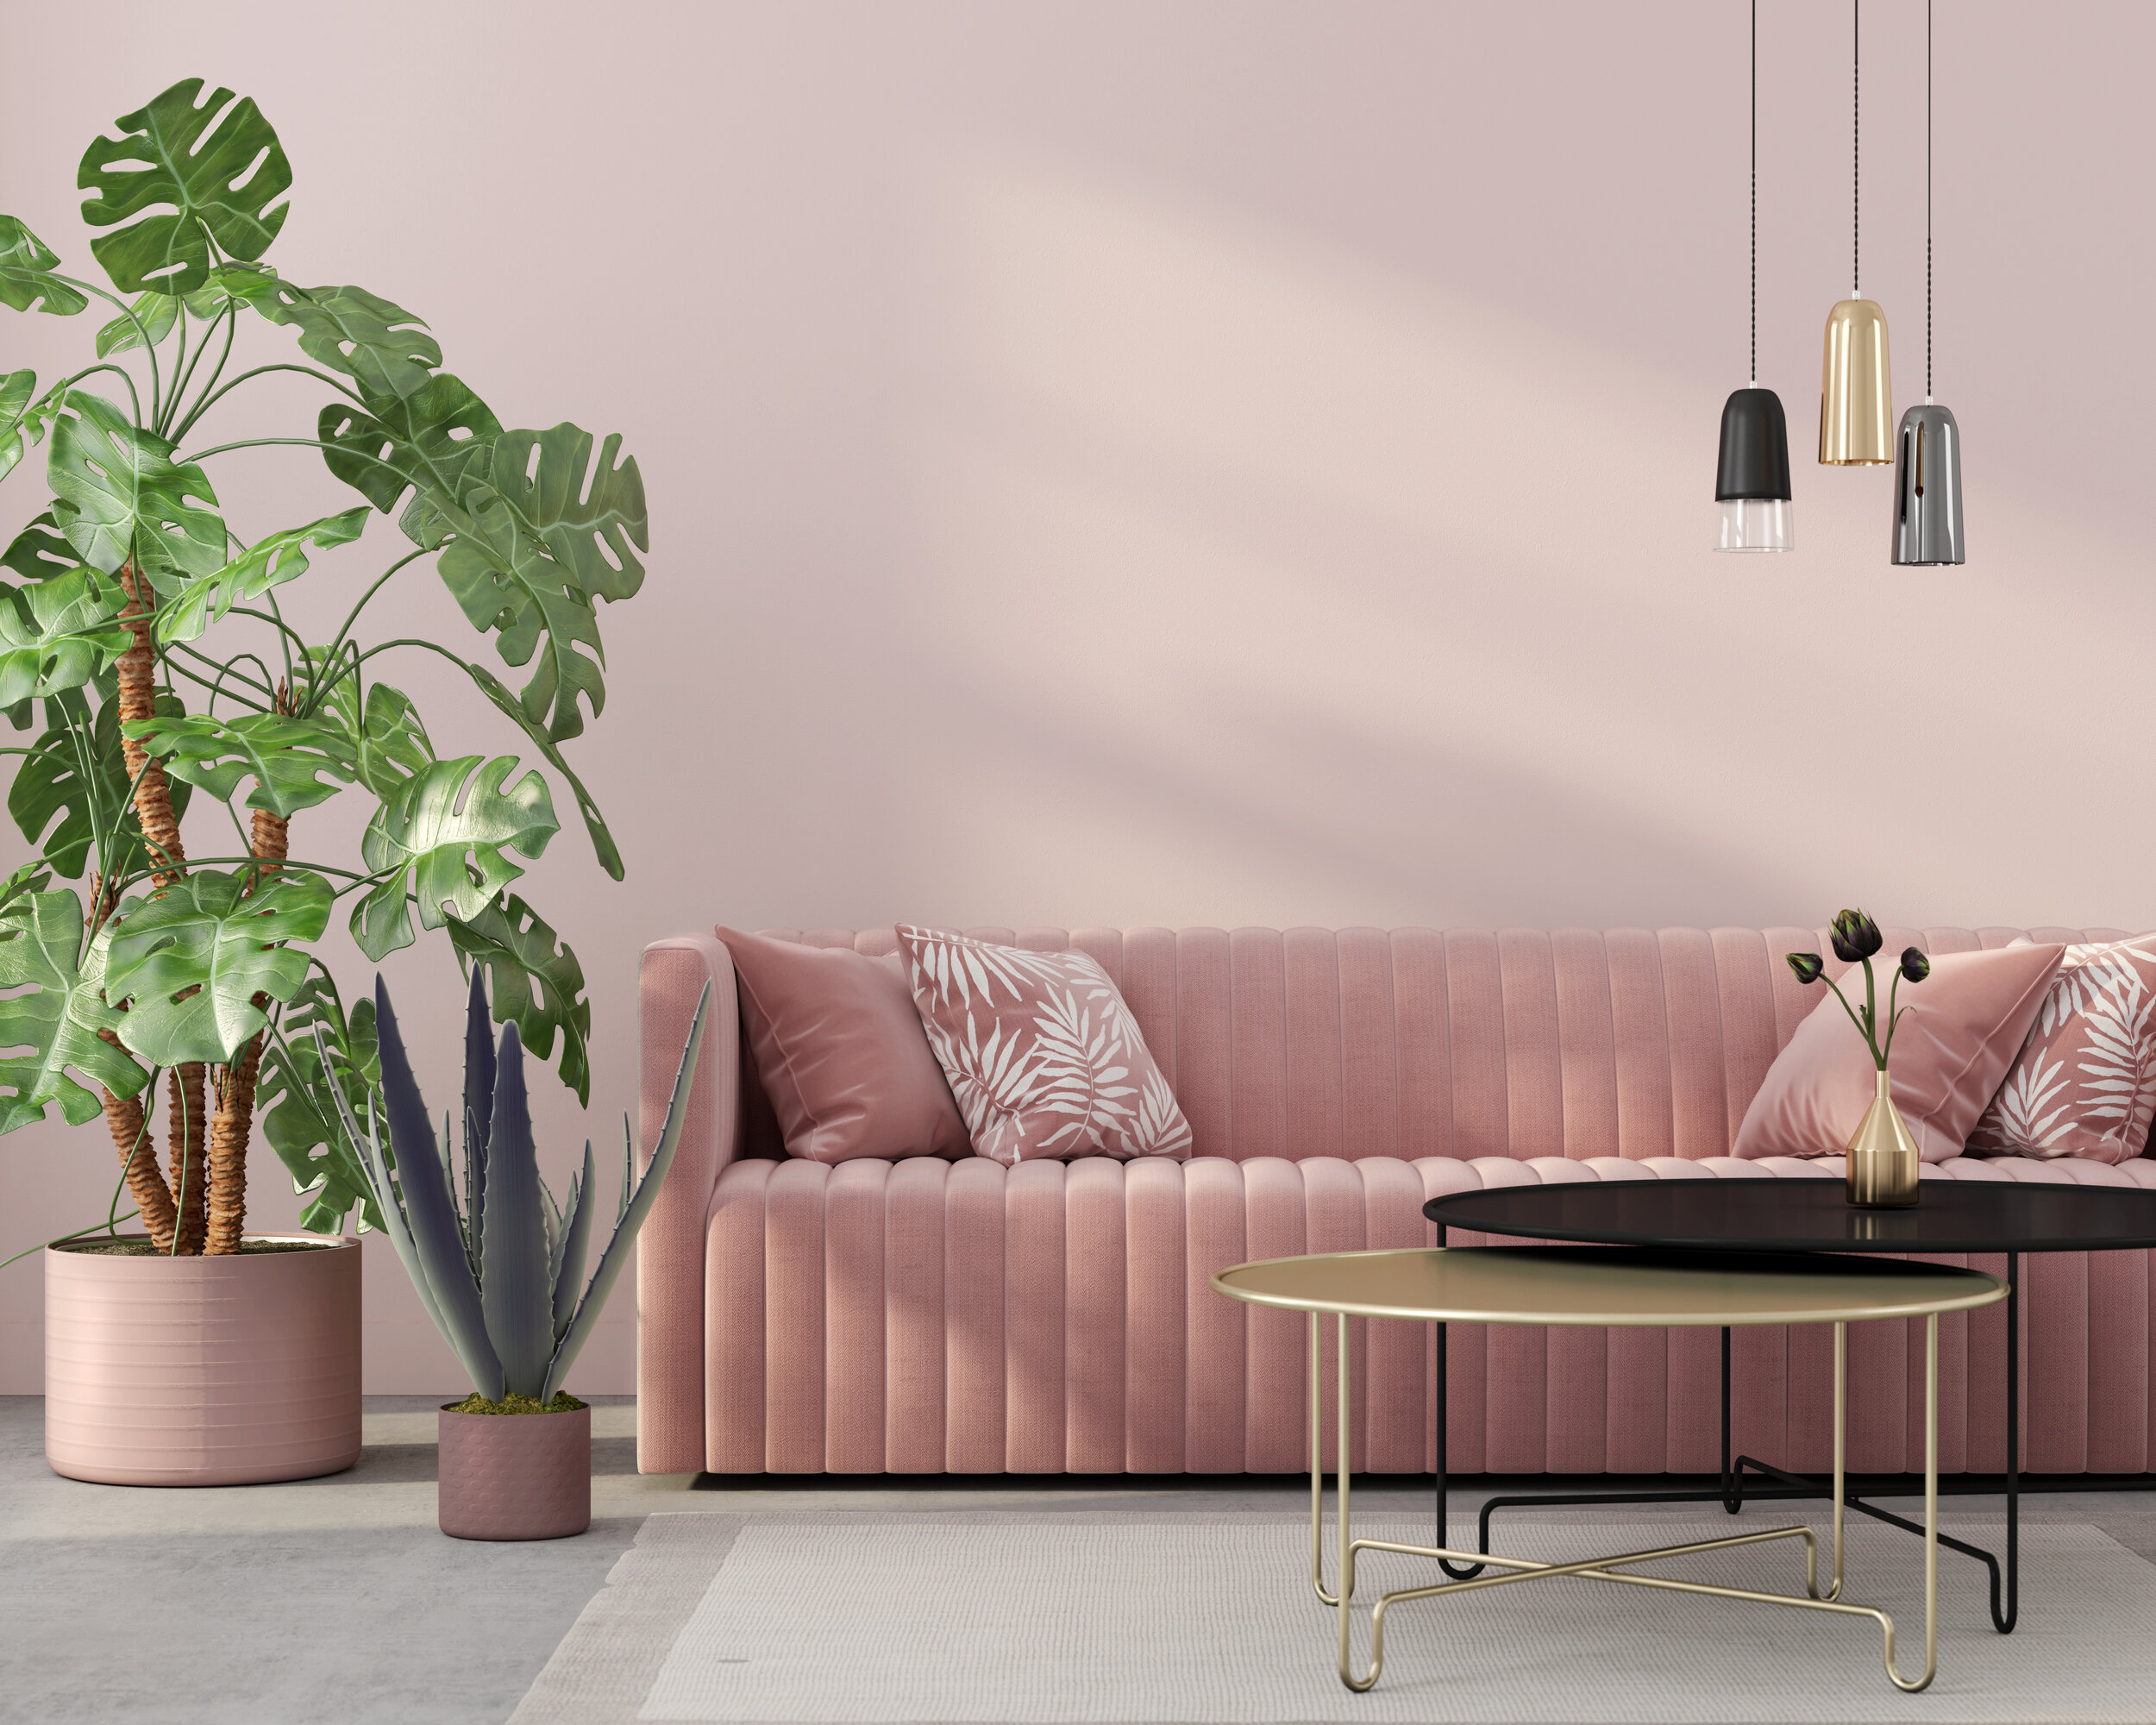
Lighting: Different colour light features can be used as an accent to a room, adding an extra layer of visual interest.
When accentuating with colour, balance is key. You want to enhance the room’s design without it feeling too busy. Using the colour wheel as a guide, choose accent colours that complement your primary palette to create a cohesive look. Even small changes can make a big difference in how a room feels.
Whether you’re starting from scratch or just refreshing a space, the power of colour in interior design is undeniable. From understanding the psychology behind each hue to selecting a colour palette and adding accents, these tips will help you transform any room into a beautiful and functional space.
Ready to get started on your colourful journey? Let us know your favourite ways to use colour in the comments below!
Prefer to watch?
Check out the four three part series below where Ryan and Deon discuss The Power of Colour in Interior Design below
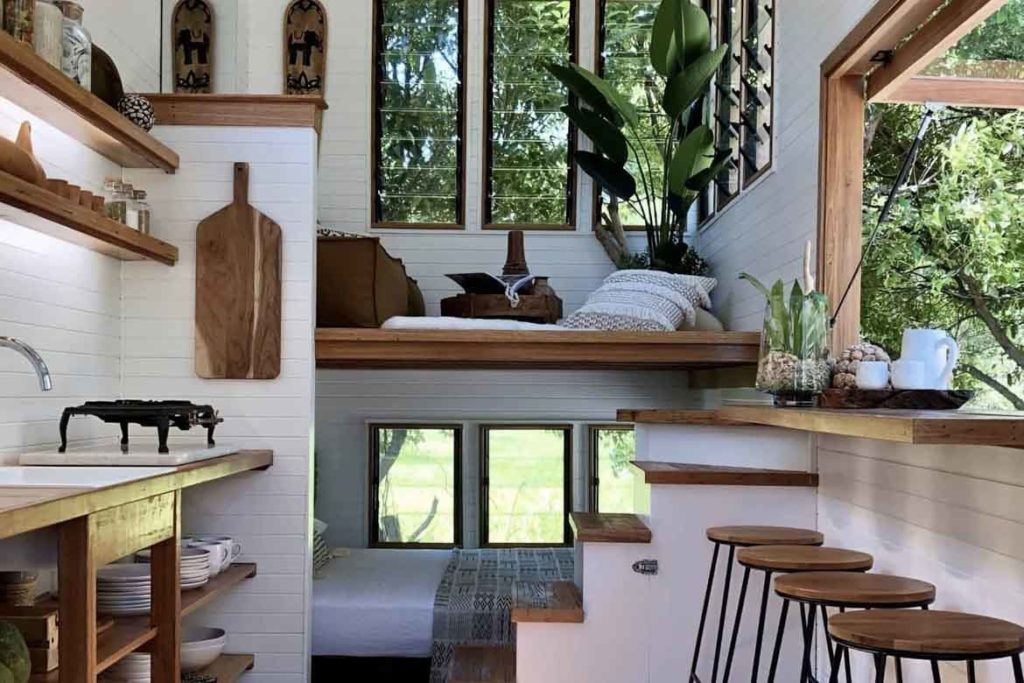
As living spaces get smaller, it’s essential to be clever about how you use the space you have. But don’t worry, a small space doesn’t mean you have to compromise on style or functionality. In this blog post, we’ll share practical tips to help you make the most of your small space, ensuring it’s stylish, functional, and feels bigger than it is.
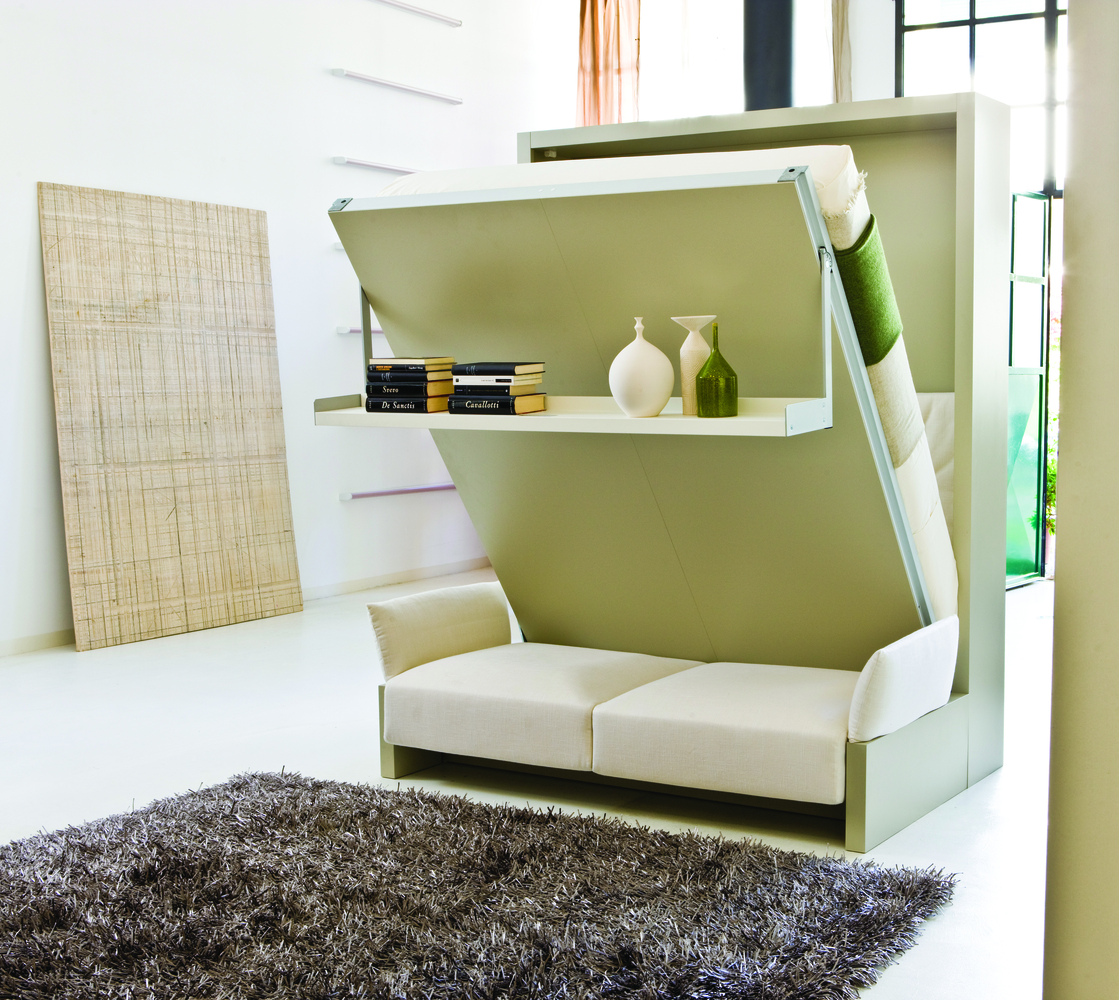
When space is tight, every piece of furniture should do double duty. Think about a couch/bed that’s both a comfortable couch during the day and a cozy bed at night. Or a storage ottoman that’s perfect for putting your feet up but also acts as a handy place to store blankets, pillows, or other items. The key is to choose furniture that offers both comfort and extra storage to keep your space neat and tidy.
Image Credits: Resource Furniture
2. Light Colours for a Brighter, More Open Feel
The colours you choose can make a world of difference in a small space. Light colours like white, cream, beige, or light grey work wonders in making a room feel bigger and brighter. Light walls, furniture, and tiles reflect more natural light, opening up the space and creating a fresh, airy vibe. If your room feels dark and cramped, switching to lighter shades can instantly give it a lift.
Image Credit: InDesignLive
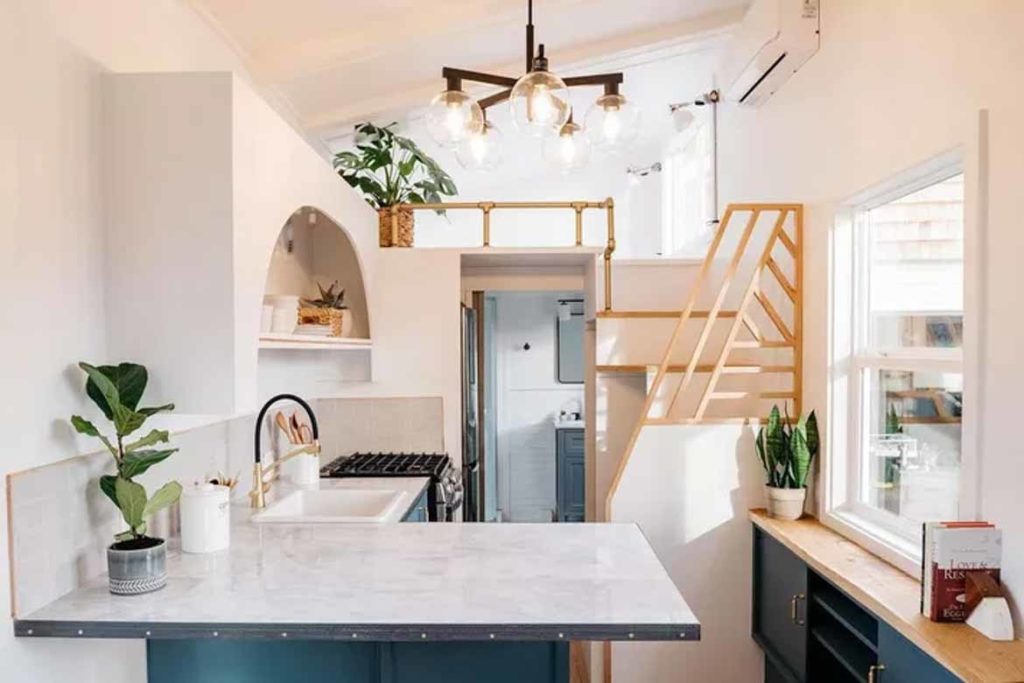
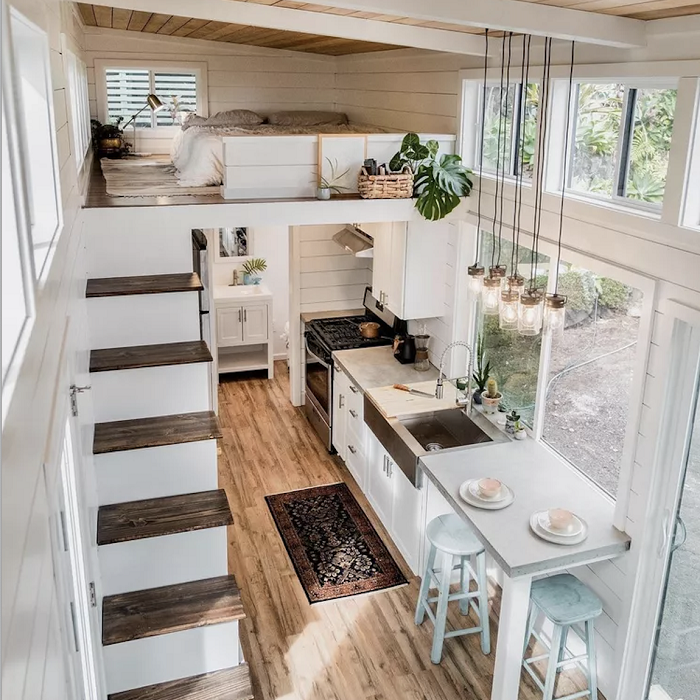
3. Maximise Vertical Space
In small rooms, vertical space is your best friend. Think tall bookshelves, floating shelves, and wall-mounted storage to keep things organised without taking up precious floor space. You can even use curtains or room dividers to create separate areas within one small space, giving the illusion of different rooms without needing more square footage.
Image Credit: InDesignLive
4. Vertical Tiling for Height and Space
You might not have thought about this one: vertical tiling can make a room feel taller! By laying tiles vertically, you draw the eye upward, creating the impression of height, especially in rooms with low ceilings. It’s a simple yet effective way to make any small space feel more expansive.
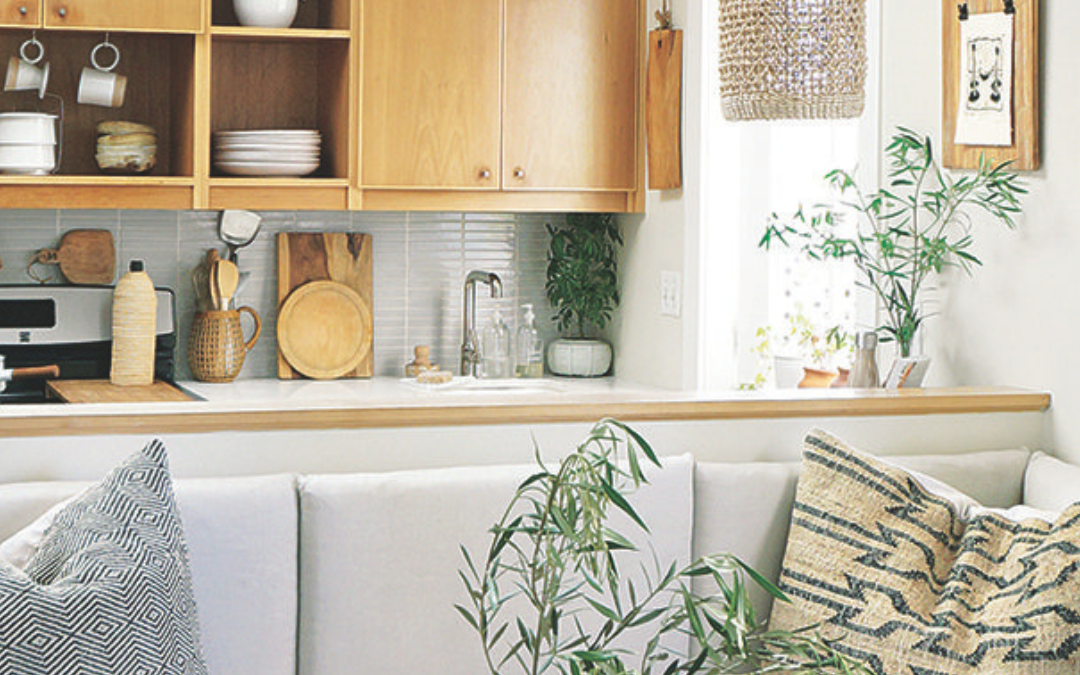
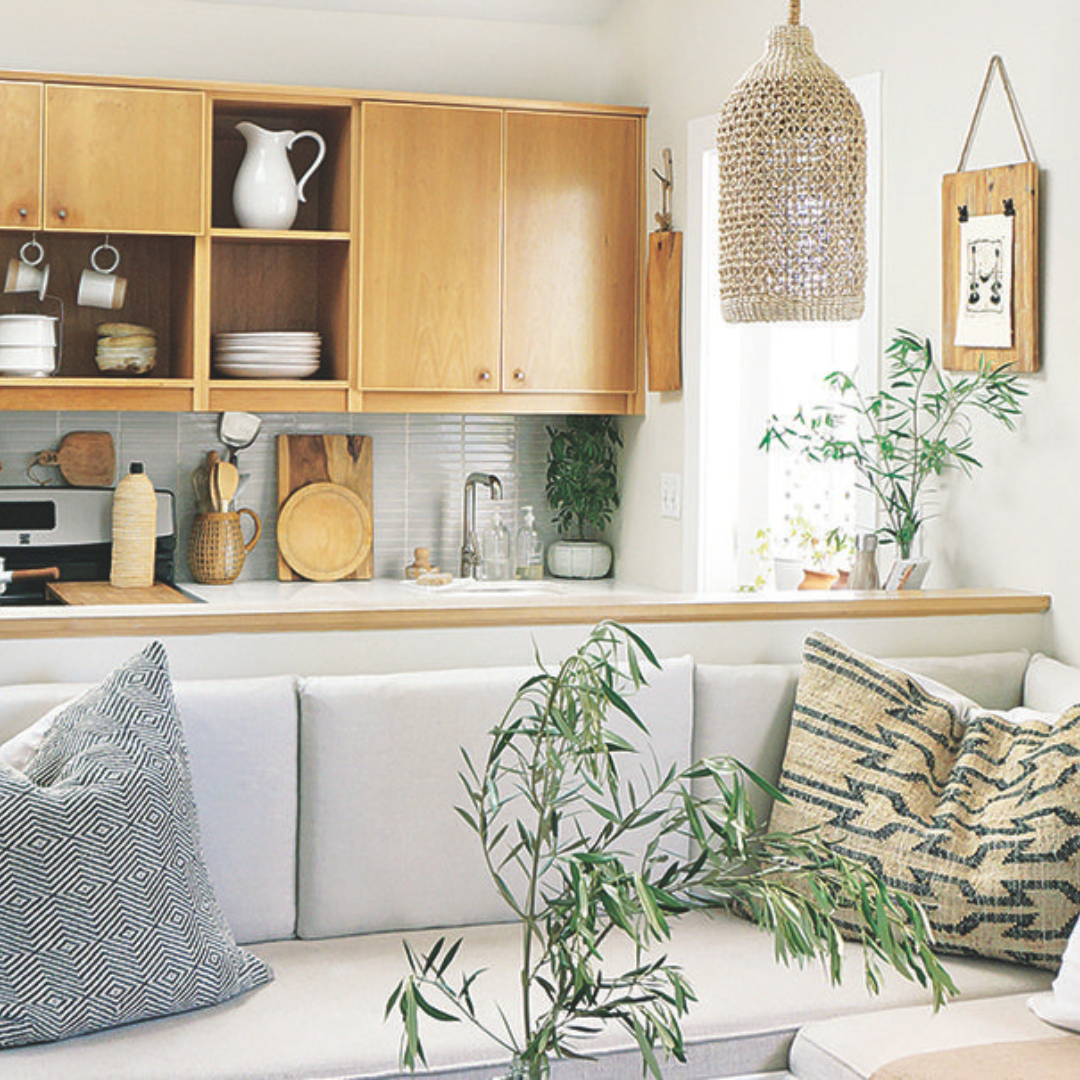
5. Add Texture for Depth and Dimension
Texture is a fantastic way to add depth to any space, and small rooms are no exception. You can mix and match different materials like velvet, linen, and wool to bring variety and warmth to your room. Natural elements like wood and stone can also add texture, and even a few indoor plants can help bring life and freshness to your space. Textured wall coverings, wallpaper, or even bold-patterned tiles can give your small room a big personality without overwhelming it.
Image Credit: Paradise Tiny Homes
6. Don’t Forget Textured Tiles
Textured tiles are another brilliant tool in small-space design. They add visual interest and depth, making a room feel more dynamic. By incorporating textured tiles, especially in spaces that lack natural light, you can create a unique focal point that draws the eye, giving the impression of a larger area.
Image Credit: Julian Porcin
7. Layer Your Lighting
Lighting is crucial in any small space. The right lighting can make your space feel warm, cozy, and inviting. Use a mix of ambient lighting (like overhead lights), task lighting (such as desk or floor lamps), and accent lighting (like spotlights or LED strips) to create layers of light that brighten every corner of your room. This combination will make the space feel well-lit and functional, no matter its size.
Image Credit: Getty Images
8. Declutter and Organise
Lastly, clutter is the enemy of small spaces. Take the time to declutter, removing items you no longer need or use. Creative storage solutions, like under-bed storage boxes, wall hooks, or foldable furniture, can help you keep everything organised and out of sight. A clean, well-organised room will instantly feel bigger, more functional, and more relaxing.
Image Credit: Getty Images
With a bit of creativity and planning, even the smallest spaces can feel open, inviting, and stylish. Whether it’s choosing the right furniture, incorporating vertical elements, or playing with textures, there are countless ways to maximise your space. So go ahead and make the most of every inch—you’ll be amazed at how much bigger your space can feel!
Got more tips? We’d love to hear them! Feel free to share your own creative ideas for small spaces in the comments below.
Prefer to watch?
Ryan and Deon share creative ideas to make the most of your small space in the video below
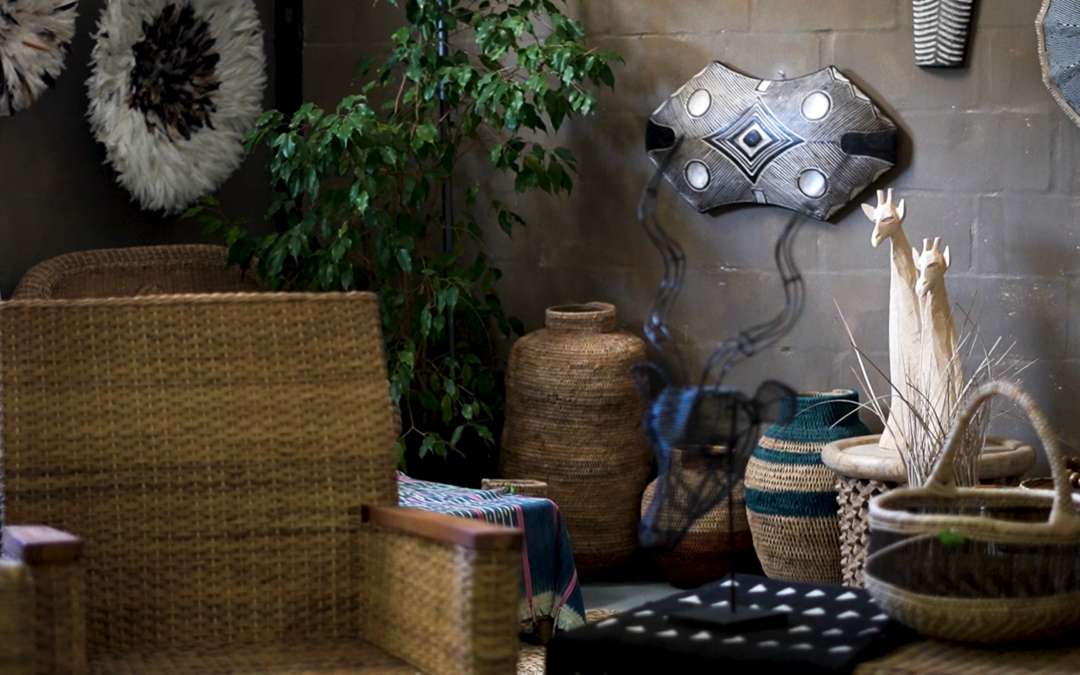
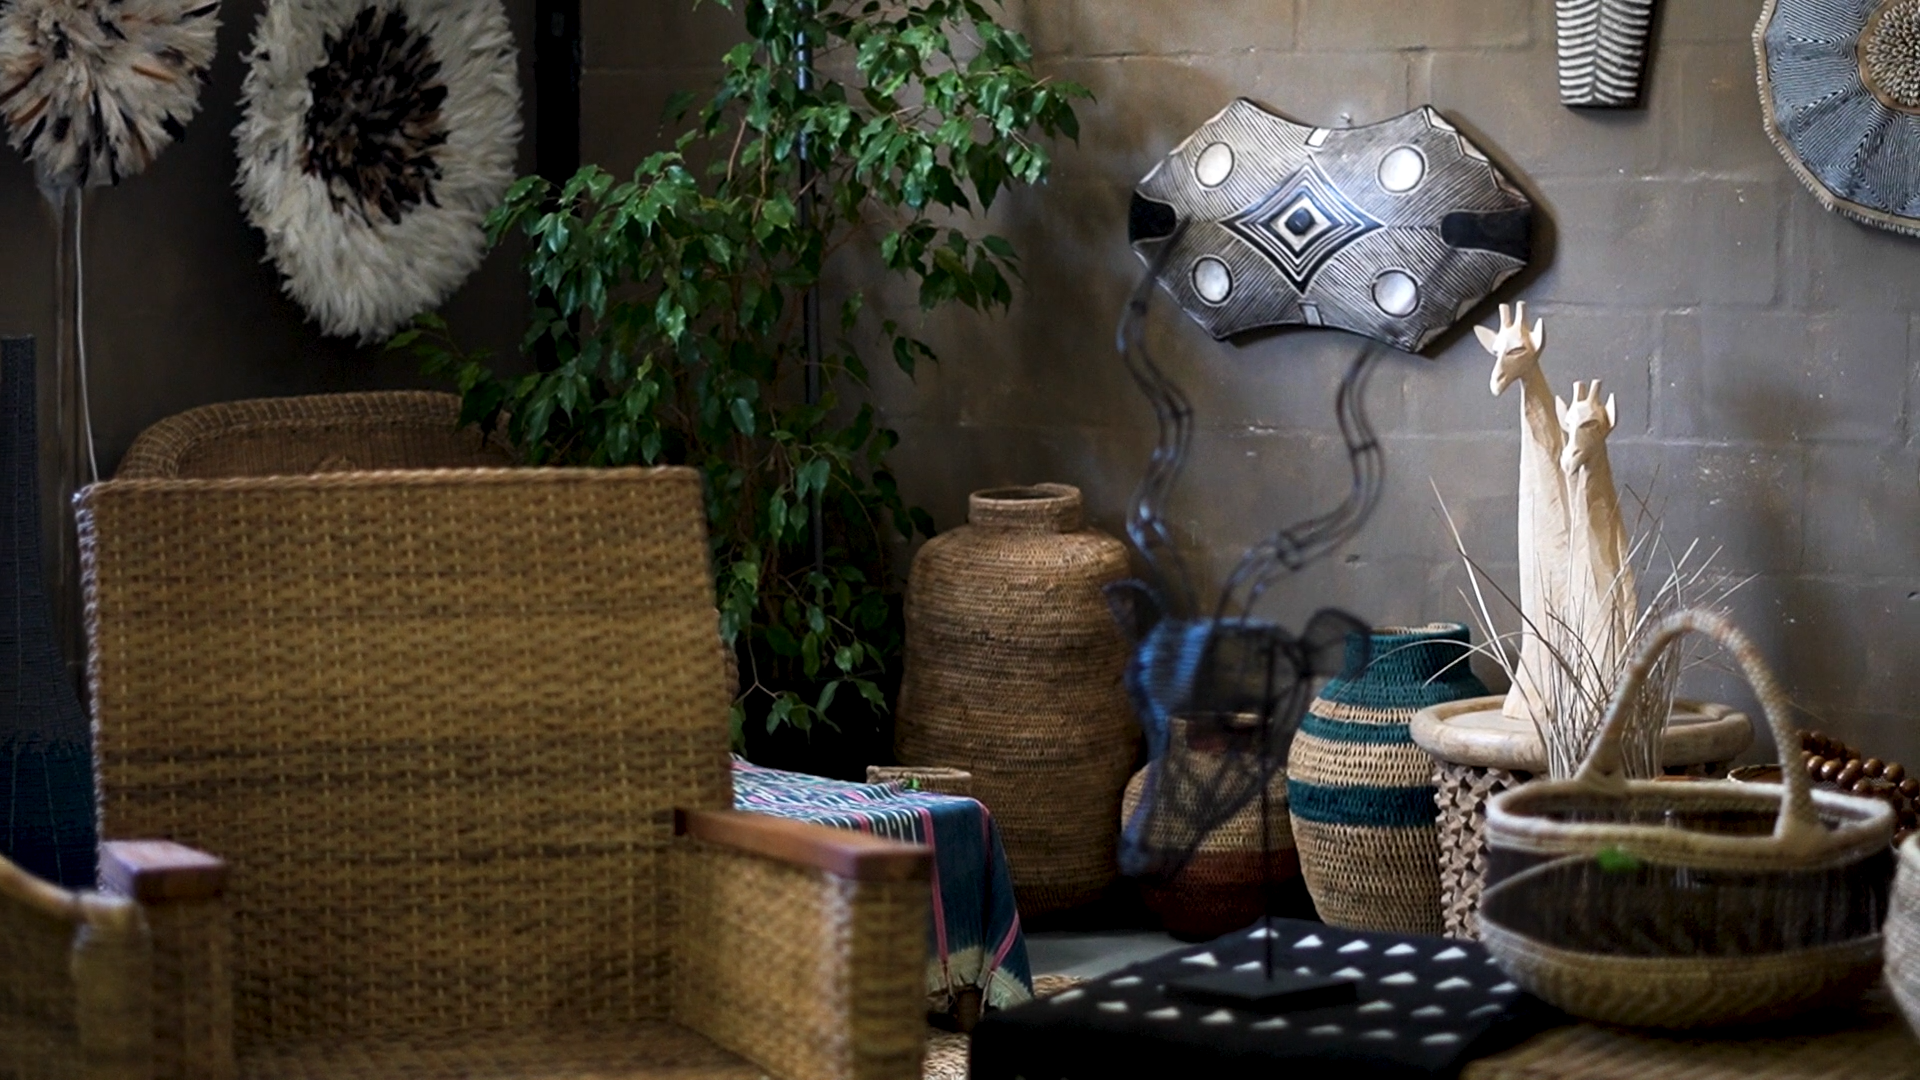
African-inspired interior design is gaining popularity both globally and locally, as more people seek unique décor that tells a story while supporting local artisans. Known for bold geometric patterns, rich textures, and earthy, vibrant colours, African design offers an exciting way to infuse personality and cultural depth into your space. Let’s take a closer look at the defining features of African-inspired interiors, explore how to incorporate them, and dive into some of the latest trends.
What Makes African-Inspired Interior Design Unique?
African décor stands apart from other styles because each piece tells a unique story, often reflecting traditions passed down through generations. Handmade using natural materials like wood, metal, ceramic, cotton, and clay, African-inspired pieces often become striking conversation starters in the home. Unlike mass-produced items, these pieces are crafted by hand, giving them an authenticity that’s hard to find elsewhere. They serve not only as décor but as cultural statements that connect you to Southern Africa’s rich artistic history.
How to Incorporate African Design Into Your Space
Traditional African décor is known for its bright, bold colours, textured elements, and vibrant cultural motifs. However, modern interpretations of African interiors often take a more minimalist approach, using statement pieces that still capture the essence of the culture but with a refined, contemporary touch.
Five Ways to Bring African Design Into Your Home
1. Colours and Patterns
African design is famous for its rich palette and distinctive patterns. Earthy tones like warm reds, deep blues, and neutral beiges are common, inspired by Africa’s natural landscapes. You can use these tones as the base of your design, then add a pop of vibrant colour for contrast. Incorporating traditional African patterns in textiles, wallpaper, or murals will give your space an authentic, cultural feel.
African fabrics such as kuba cloth, mud cloth, batik, and wax prints are essential elements of African-inspired interiors. You can use these textiles in a variety of ways—think pillows, throws, table runners, or even wall hangings. They bring a sense of warmth and texture to a room, instantly adding depth to your space.
Africa boasts a long history of art and craftsmanship, making handmade items like carvings or woven baskets ideal for creating an authentic atmosphere. Whether used as décor or functional pieces, these artisanal items add character and a personal touch to your home.
To really capture the African aesthetic, opt for furniture with a primal, rustic vibe. Hand-carved wooden stools, root-wood tables, or cabinets with traditional African motifs can all serve as statement pieces in your interior. These unique items stand out and give your space a distinct sense of style.
A key theme in African design is harmony with nature. Materials like wood, wool, rattan, cotton, and clay are central to this aesthetic, offering not only sustainability but also a connection to the earth. Incorporating these materials into your space—whether through furniture, rugs, or decorative items—helps create an authentic African feel.
As the popularity of African-inspired interiors continues to grow, several trends are emerging:
Wall Basket Sets: Baskets aren’t just for storage—they’ve become trendy wall décor. Arranging a set of handcrafted baskets on your walls can create an eye-catching focal point.
Beaded Shields and Juju Hats: Items like beaded shields and feathered Juju hats from Cameroon are making waves in modern African-inspired interiors. These pieces add a touch of cultural artistry and are perfect for creating a statement wall.
Rattan Lighting: Handmade rattan basket lights are a popular trend in African-inspired spaces. Available in various sizes and styles, they offer a blend of practicality and aesthetic appeal.
Carved Wooden Stools: These stools or side tables are versatile pieces that can easily fit into both traditional and modern African designs. Their intricate carvings and natural finish make them a must-have for anyone looking to add African flair to their home.
Tribal Rugs: Geometric patterns, earthy tones, and ethnic designs are key elements of African rugs. Made from natural materials, they provide both comfort and visual interest.
Woven Cane Chairs: Perfect for outdoor spaces or patios, woven cane chairs are durable and trendy, adding a natural touch to your African-inspired space.
Whether you’re just beginning to explore African-inspired design or looking for the latest trends to enhance your space, this style offers an enriching way to incorporate culture, artistry, and sustainability into your home.
Leading the charge in this movement are individuals like Jason, the owner of African Creative Wholesale. He and his team travel to remote regions of Africa, seeking out artisans who craft these stunning, one-of-a-kind pieces that are rich with history and tradition. For a deeper dive into their work and the latest trends in African interior design, check out Ryan O’Connor’s fascinating two-part conversation with Jason below.
Creating a stylish home doesn’t mean you have to sacrifice eco-friendliness; in fact, the two can go hand in hand. Here’s how you can embrace some of the latest eco-friendly interior design trends to make your home both chic and sustainable.
One of the most impactful ways to design sustainably is by choosing materials that are kind to the planet. Reclaimed wood is a great example. Whether you use it for flooring, furniture, or even accent walls, reclaimed wood adds a unique character to your space while keeping perfectly good materials out of landfills. Not only does it look beautiful, but it also tells a story and contributes to reducing waste.
Image Credit: ShutterStock
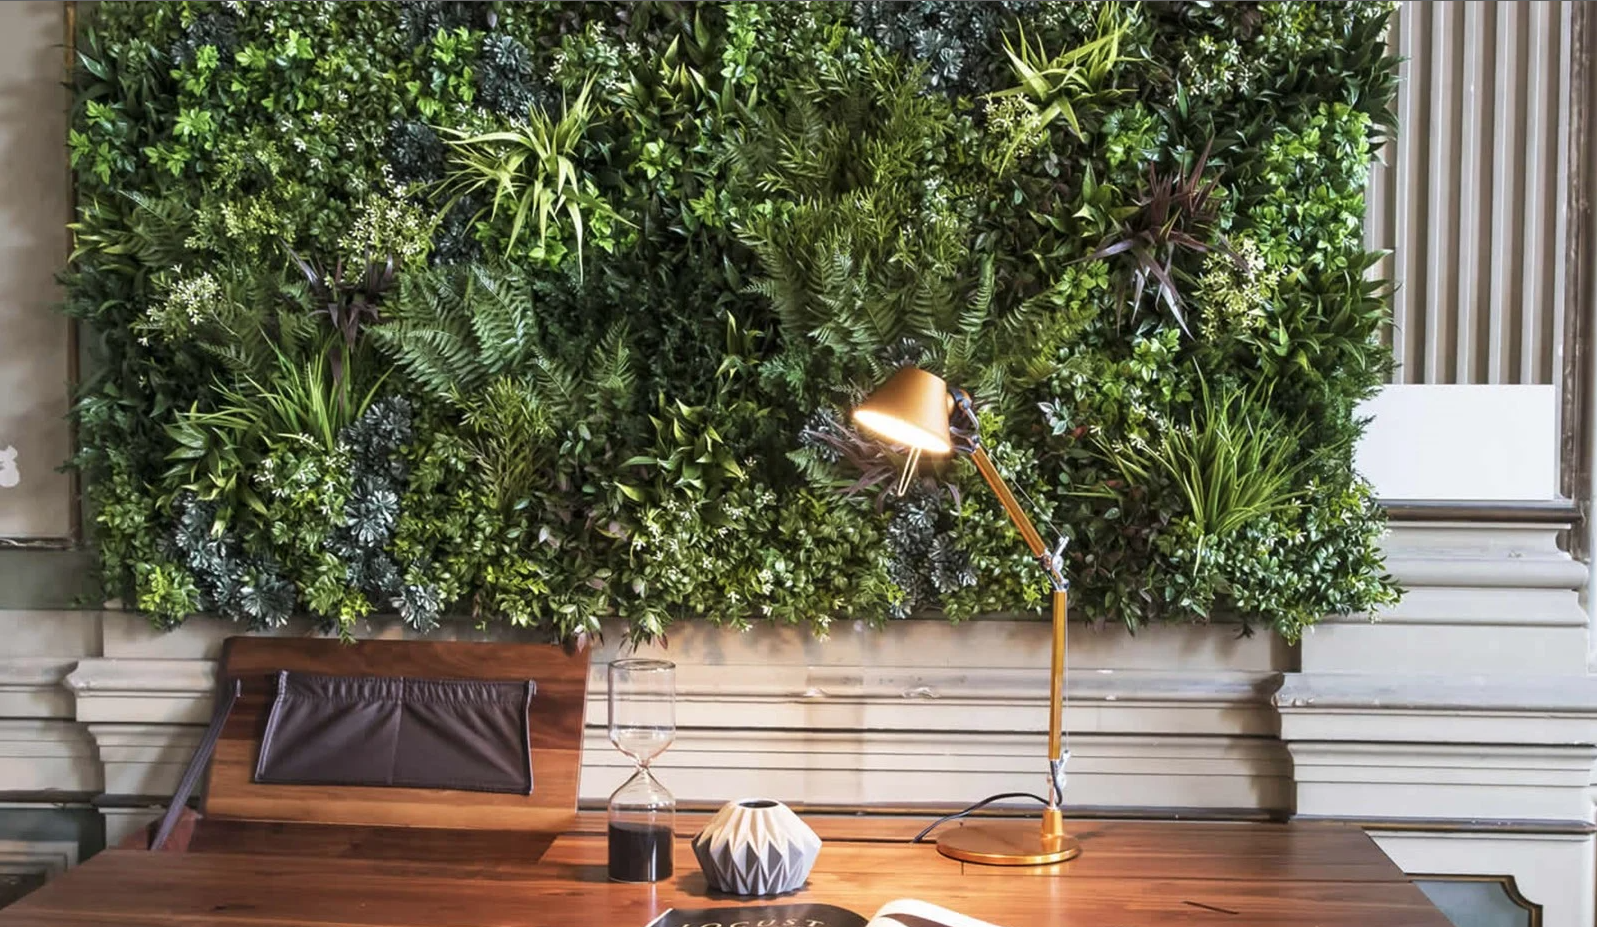
2. Bring the Outdoors In
Incorporating plants into your home is another trend that’s both beautiful and beneficial. Plants don’t just add a fresh, natural vibe to your decor—they also purify the air and help reduce carbon dioxide levels. If you want to make a bold statement, consider creating a living wall. This feature isn’t just visually striking; it also helps regulate the temperature and humidity in your home, making it more energy-efficient.
Image Credit: UpScapers
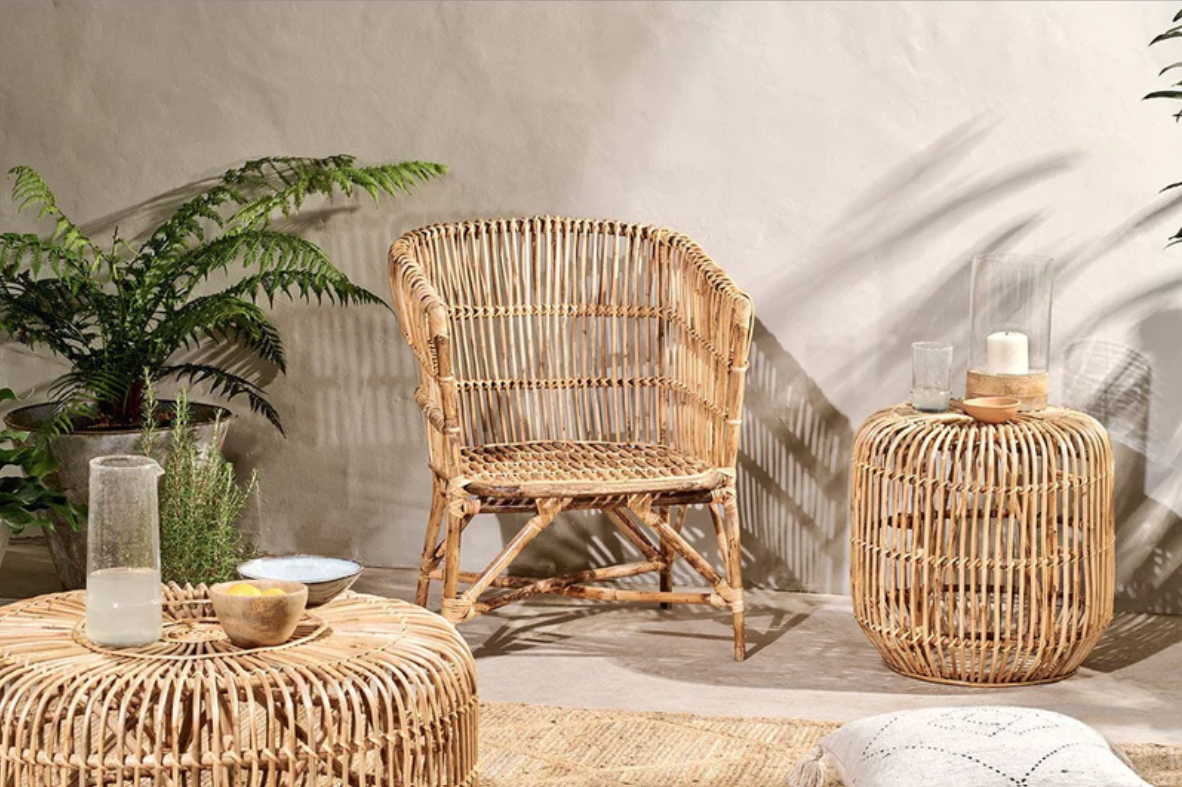
3. Opt for Natural Furniture
When selecting furniture, consider pieces made from sustainable materials like bamboo or rattan. These materials are not only eco-friendly but also bring a warm, natural feel to your home. Bamboo, in particular, is a fast-growing plant that requires fewer resources to cultivate, making it an excellent choice for sustainable living.
4. Switch to Energy-Efficient Lighting
Lighting plays a significant role in both the ambiance and energy consumption of your home. LED lights are a fantastic option as they use less energy and last much longer than traditional bulbs. By making the switch, you’re not only cutting down on your energy bill but also reducing your carbon footprint.
Image Credit: iStock
5. Use Eco-Friendly Paints
When it comes to painting your walls, opt for non-toxic and eco-friendly paints. These paints are free of harmful chemicals and emit fewer volatile organic compounds (VOCs), making them safer for both your health and the environment. Plus, they come in a wide range of colours, so you don’t have to compromise on style.
6. Get Creative with Upcycling
Upcycling is all about giving new life to old items. Instead of throwing things away, think about how you can repurpose them. Old jars can be transformed into chic candle holders, or that set of old sheets can be turned into stylish new curtains. The possibilities are endless, and it’s a great way to add a personal touch to your home while reducing waste.
Image Credit: Dulux
By embracing these eco-friendly interior design trends, you can create a home that’s not only stylish but also kind to the planet. Every design choice we make has an impact, so why not make choices that reflect our commitment to a sustainable future? Let’s all do our part, one beautiful, eco-conscious home at a time.
Prefer to watch?
Ryan and Deon discuss Eco-Friendly Interior Design Trends in the video below:
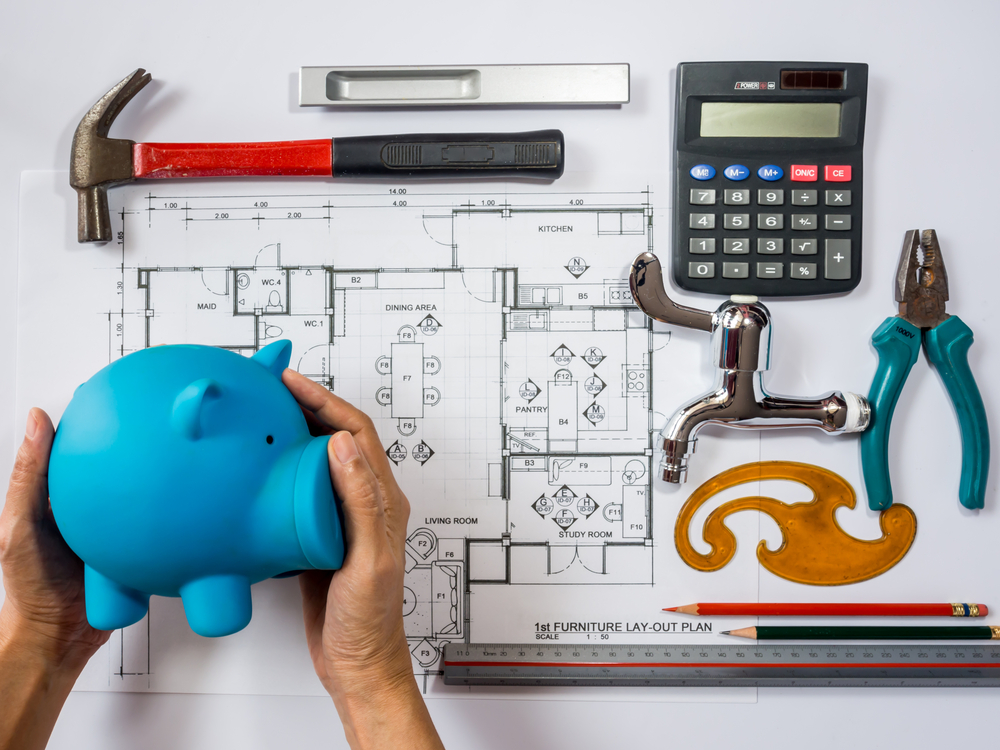
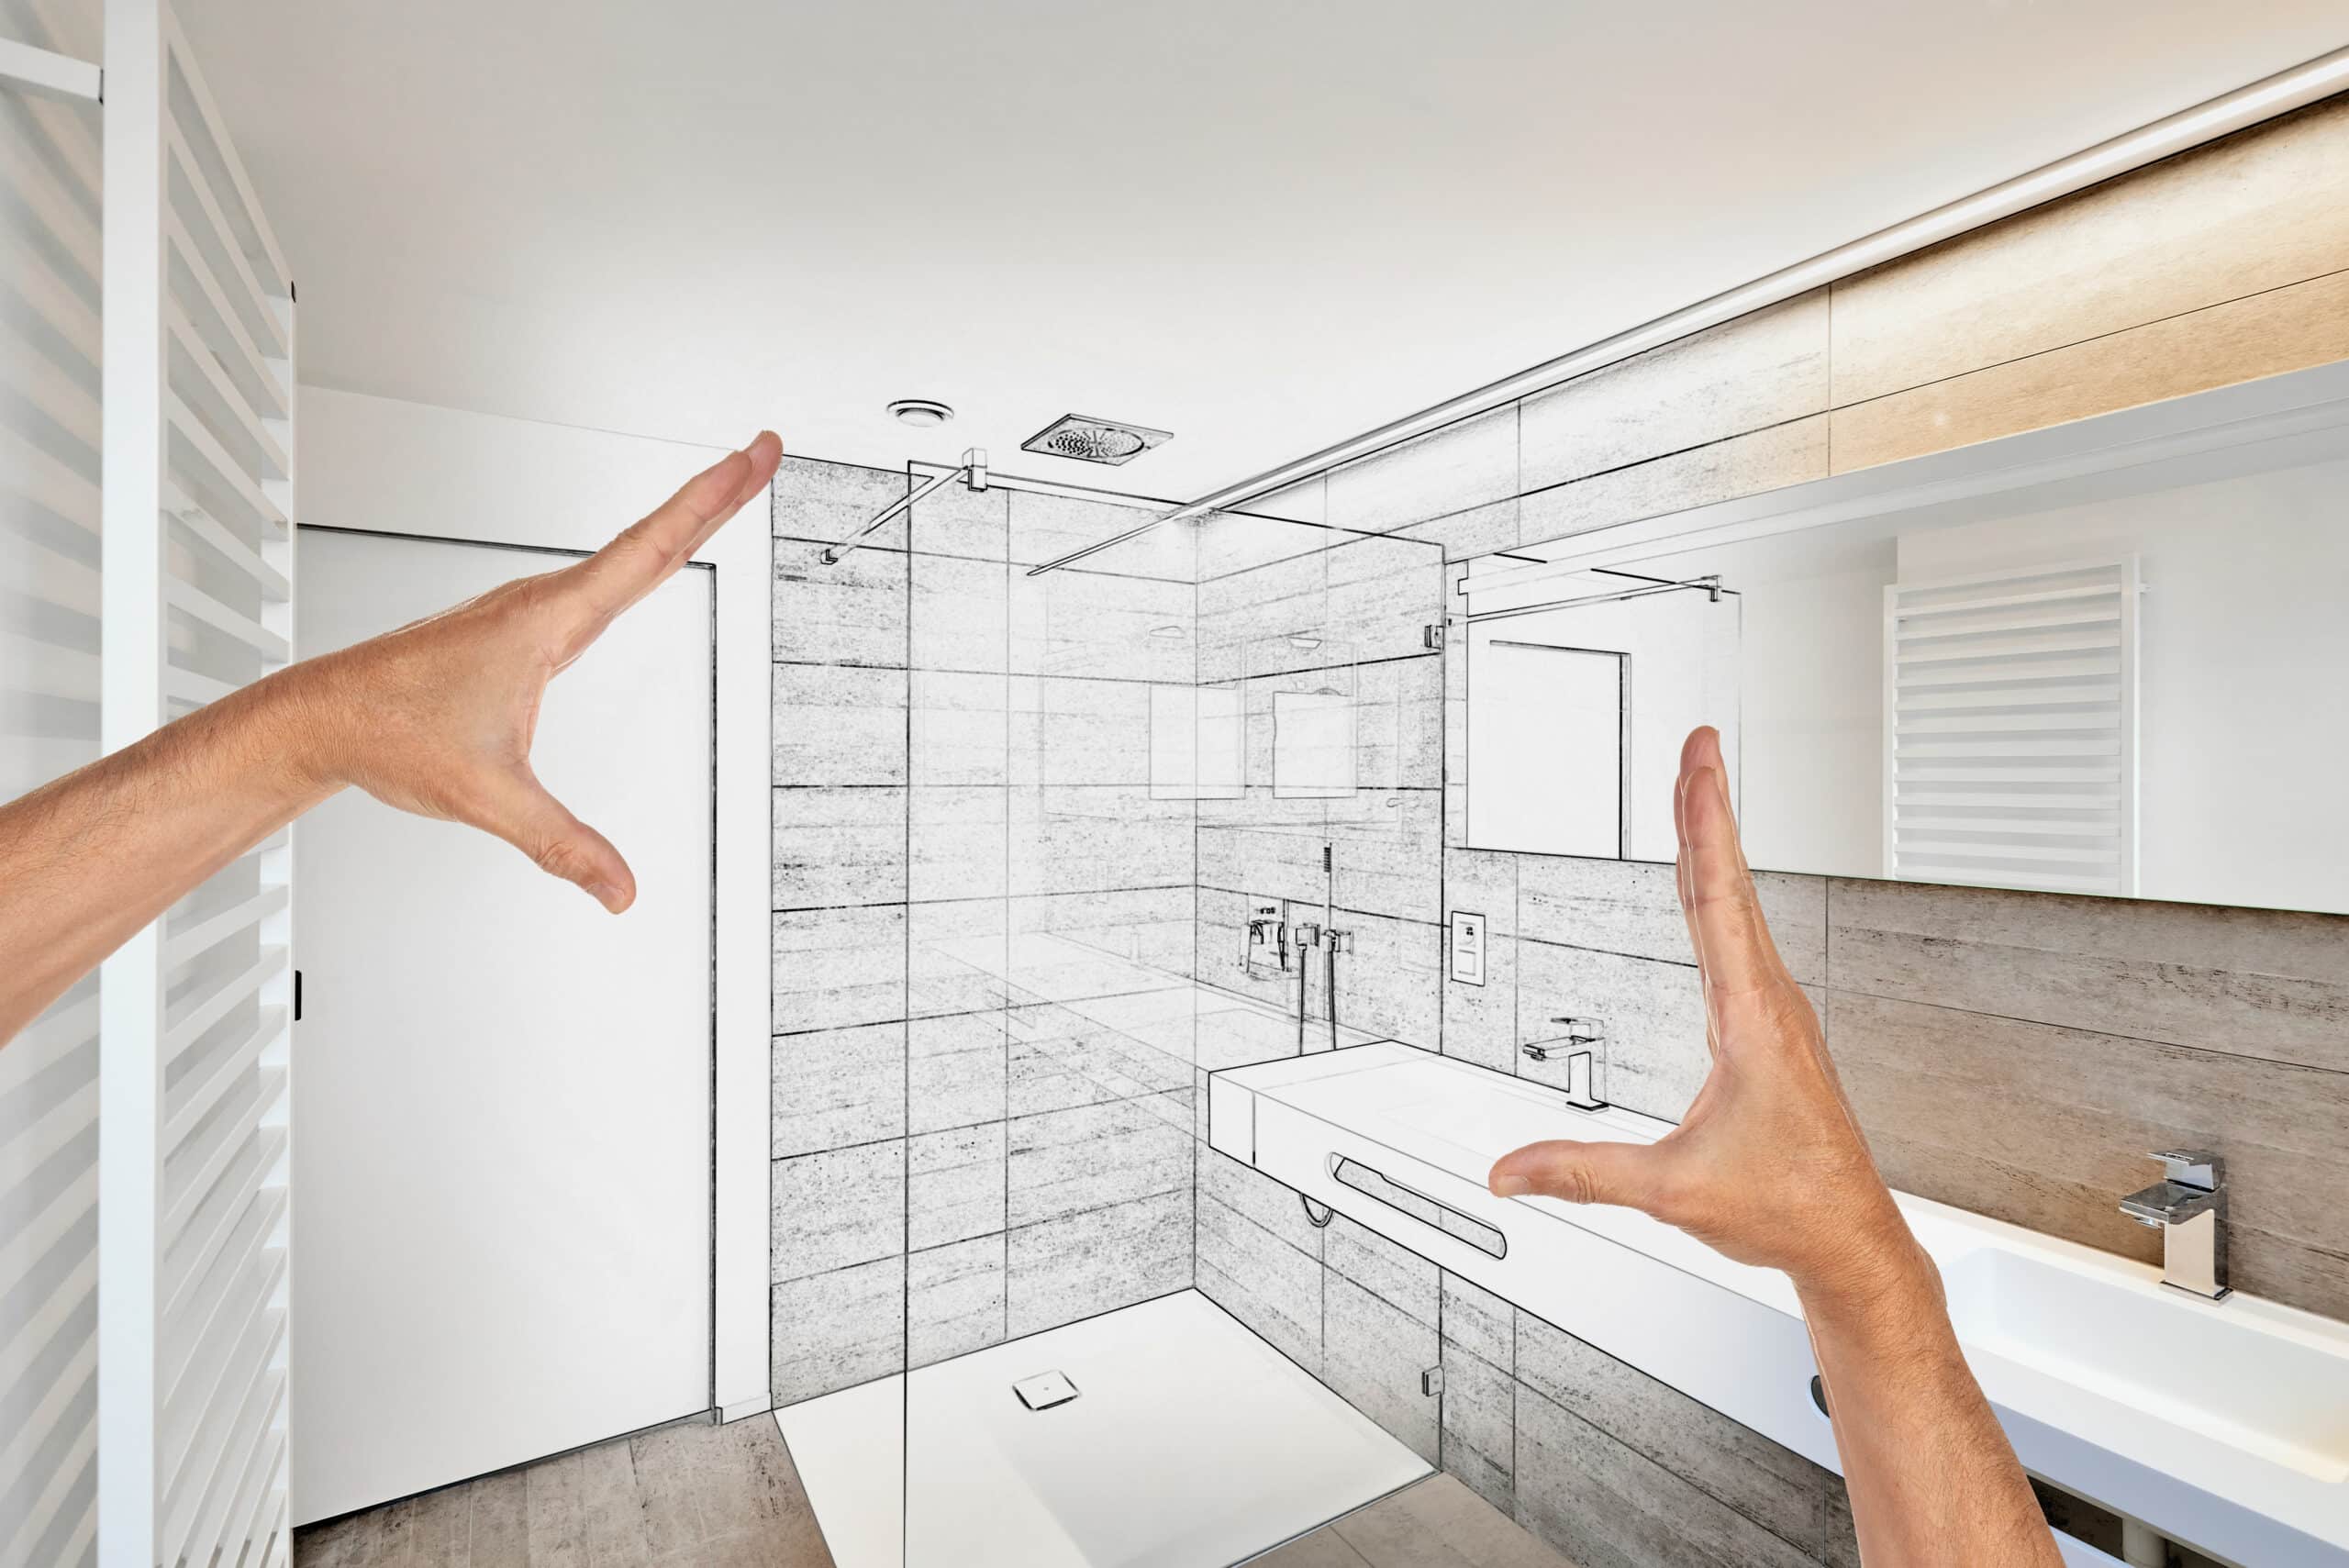
Renovating your home can be both exciting and daunting, especially when you’re working with a tight budget. But with some careful planning and a dash of creativity, you can transform your space without breaking the bank. Here are some practical tips and inspiring ideas to help you get started on your budget-friendly renovation journey.
The first step in any renovation project is setting a clear budget. It’s easy to get carried away with the excitement of revamping your space, but overspending can lead to unnecessary stress down the line. Decide on a budget and make it your mission to stick to it. This will help you stay focused on what’s essential and avoid any financial surprises.
Image Credit: iStock
Prioritize Your Renovation Needs
Once you’ve set your budget, it’s important to prioritize your renovation projects. Focus on the areas that need the most attention, such as fixing any structural or safety issues first. By tackling the most critical areas, you ensure that your home remains safe and functional while staying within your budget.
Image Credit: iStock
DIY to Save on Labor Costs
If you have the skills and knowledge, consider doing some of the work yourself. DIY projects can save you a significant amount on labor costs, allowing you to allocate more of your budget towards materials and finishes. Simple tasks like painting, tiling, or even assembling furniture can be done with a bit of time and effort.
Image Credit: iStock
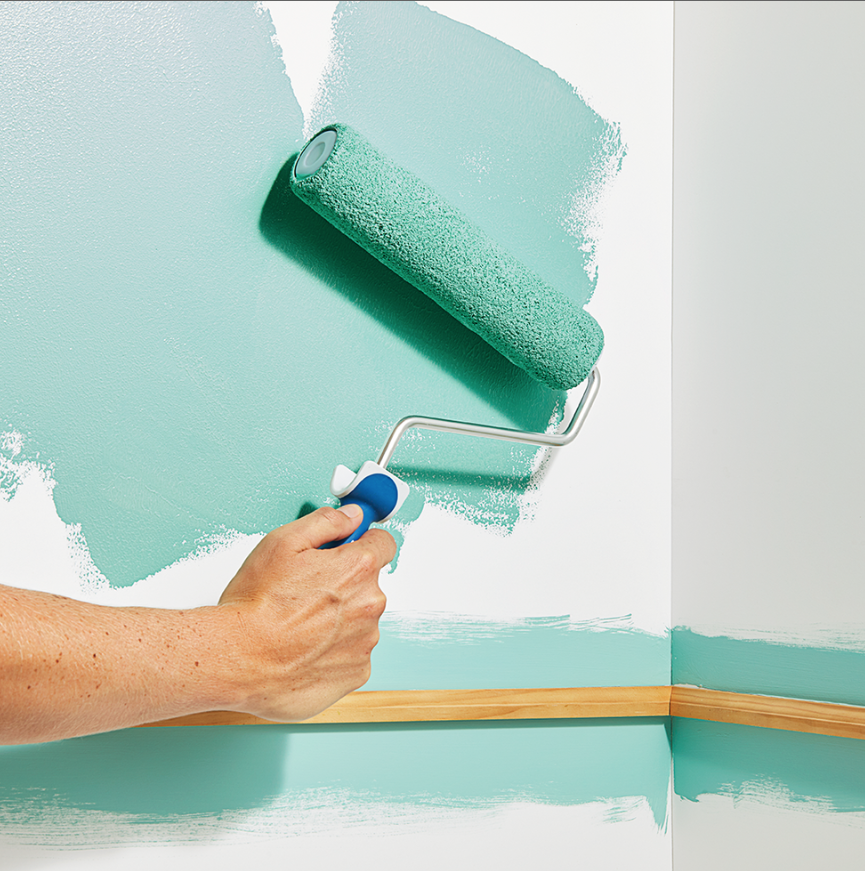
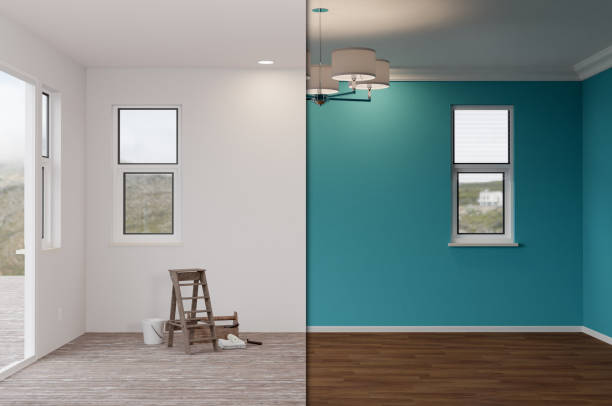
Refresh with Paint and Lighting
One of the most cost-effective ways to transform a room is by giving it a fresh coat of paint. A new color can completely change the mood and style of a space. Similarly, updating your lighting can have a big impact. Replacing old fixtures with more energy-efficient options or adding a few stylish lamps can brighten up a room without costing a fortune.
Image Credit: iStock
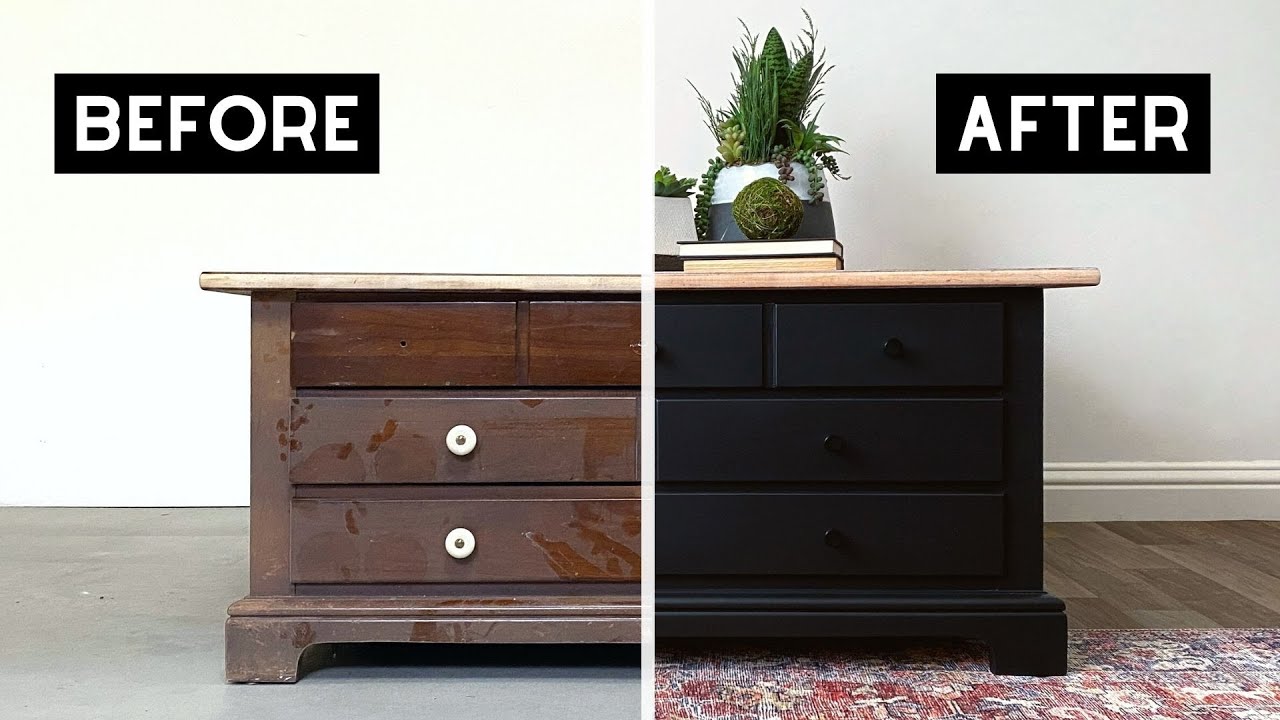
Declutter and Repurpose
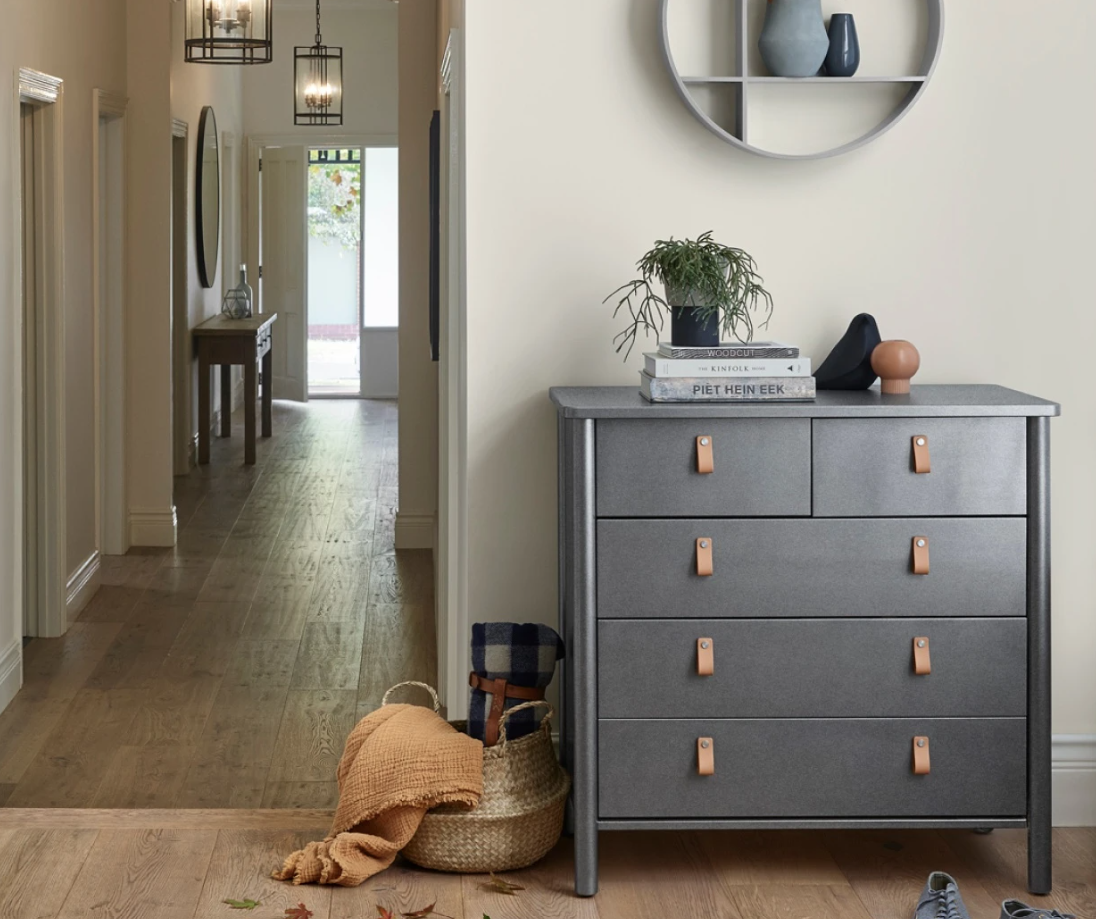
Sometimes, less is more. Decluttering your space can make a huge difference in how it looks and feels. Get rid of unnecessary items and organize what’s left to create a more open and inviting atmosphere. You can also repurpose old furniture and décor. For example, an old dresser can be repainted and turned into a chic bathroom vanity, or outdated furniture can be refreshed with new upholstery.
Image Credit: @arayofsunlight
Shop Smart for Materials
When it comes to buying materials and supplies, shopping around is key. Prices can vary greatly between different stores, so take the time to compare before making any purchases. Look out for sales, discounts, and clearance items to stretch your budget further. We offers amazing specials on flooring and sanitaryware products throughout the year, so be sure to check out our social media pages to stay updated on the latest deals.
Image Credit: iStock
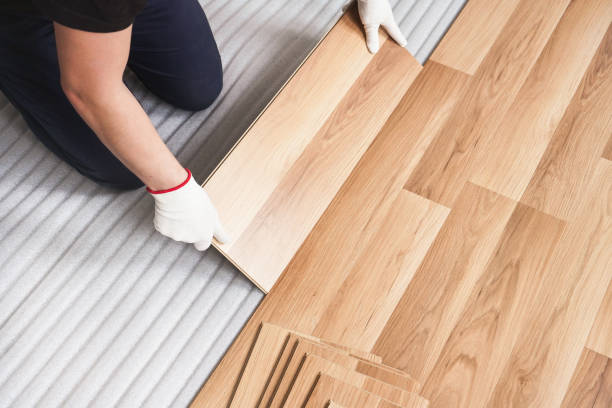
Flooring on a Budget
Flooring is another area where you can make a big impact without spending a lot. Laminate flooring is a cost-effective alternative to hardwood, offering a similar look and feel at a fraction of the price. It’s also easy to install yourself. Vinyl flooring is another affordable option, especially for high-moisture areas like bathrooms and kitchens. It’s durable, waterproof, and available in a variety of styles to suit any taste.
Image Credit: iStock
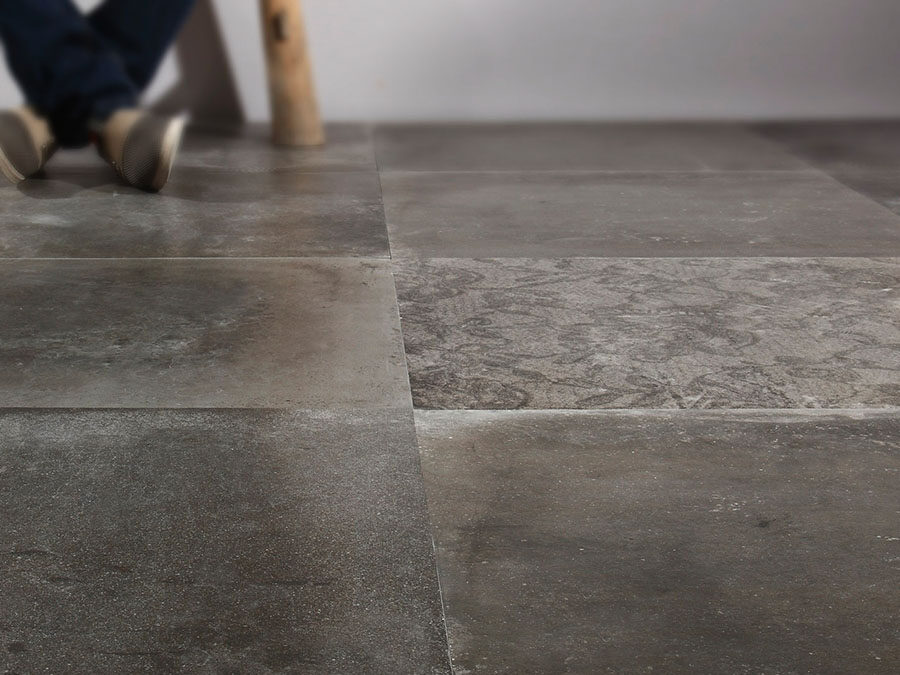
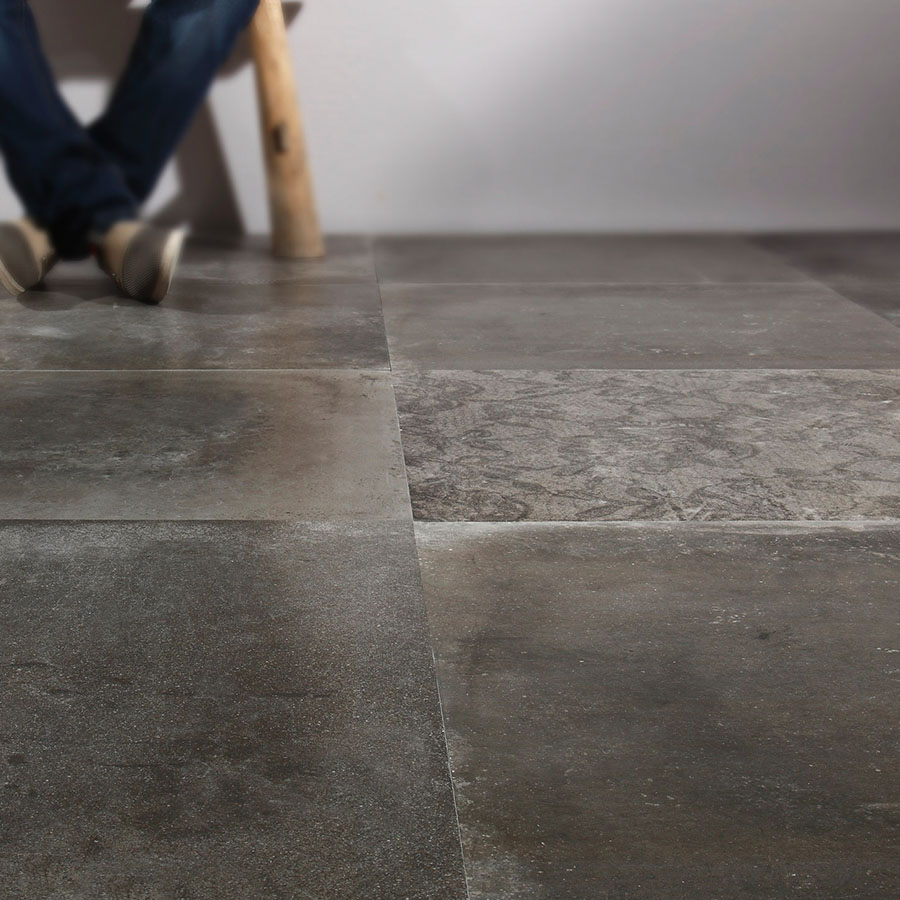
Get Creative with Tiles
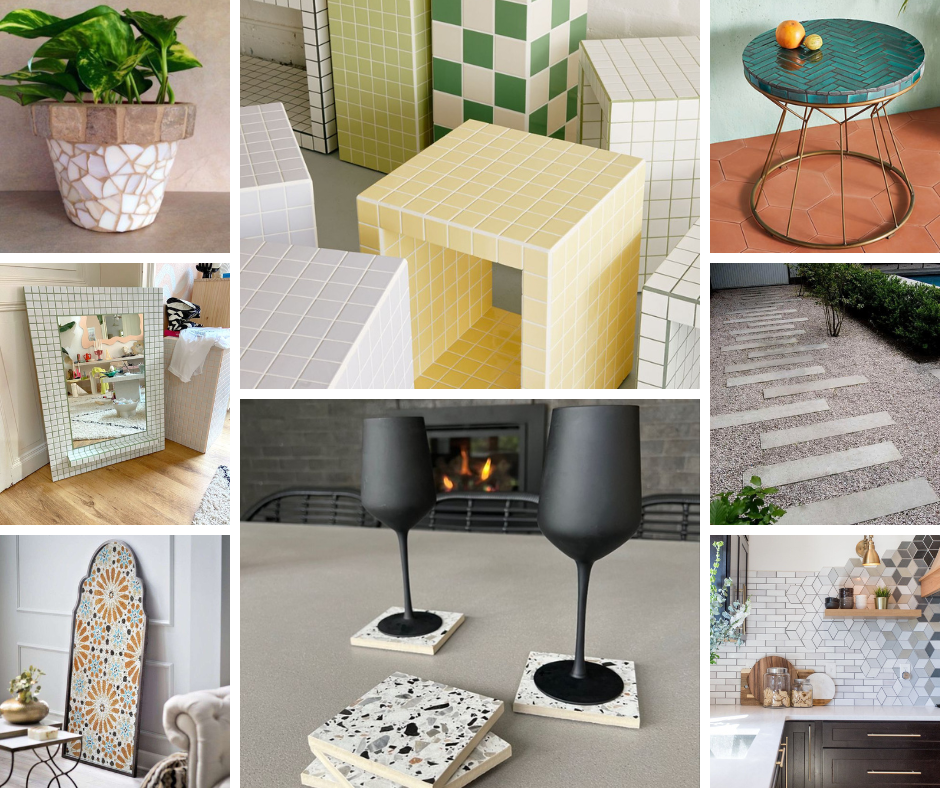
Tiles are a great way to add character to your home, and you don’t need to stick to a single pattern or color. Mixing and matching tiles can create a unique, eye-catching design that’s completely your own. You can even use leftover tiles from other projects to save money. Whether you’re redoing a backsplash, bathroom, or even a floor, tiles offer endless possibilities for creativity. For inspiration on ways to use your leftover tiles check out our blog on Great ways to use your leftover tiles.
DIY Décor and Greenery
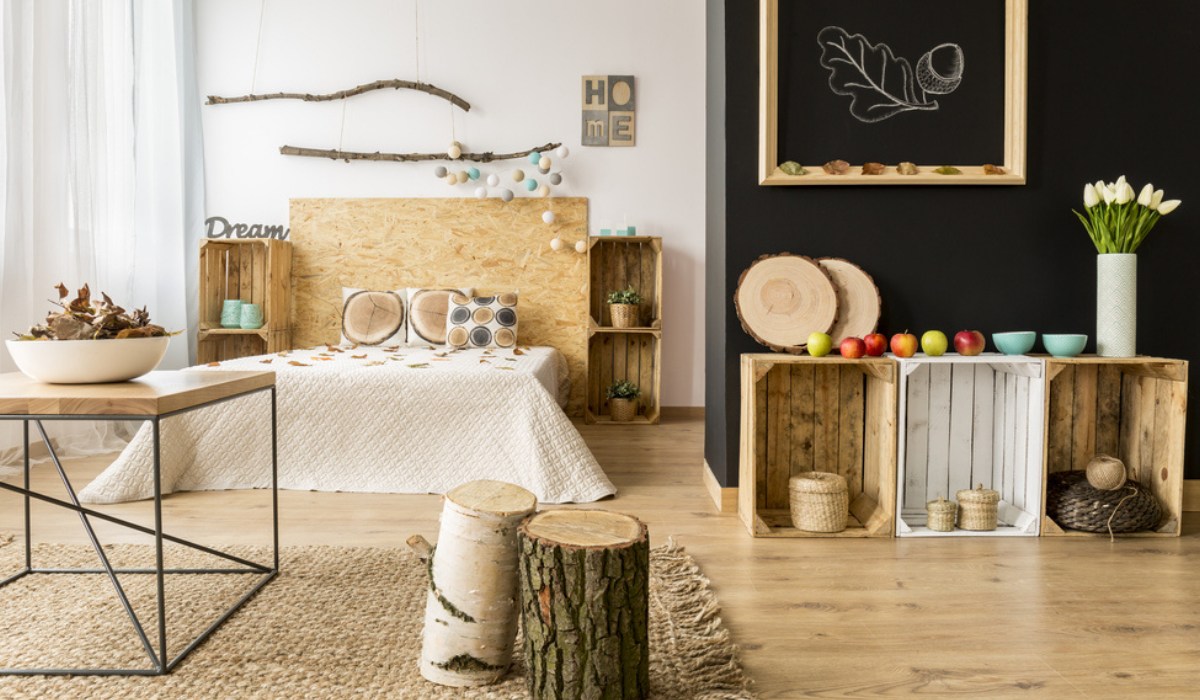
Adding personal touches to your home doesn’t have to be expensive. DIY projects like creating your own headboard from old doors or shutters, or making artwork using stencils and paint, can add a unique flair to your space. You can also bring life into your home with plants. Indoor greenery can make a room feel more vibrant, and you can create a simple herb garden or a statement piece with a large plant.
Image Credit: Shutterstock
Embrace Imperfections
Finally, remember that your renovation doesn’t need to be perfect. A little bit of imperfection can add character and charm to your home. Embrace the quirks and personal touches that make your space unique. After all, it’s the love and effort you put into your home that truly makes it special.
Image Credit: Adore Home Magazine
Renovating on a tight budget is all about being resourceful, creative, and enjoying the process. If you’re looking for more practical advice, don’t forget to check out our previous blog on the Top 10 Essential Tips for Renovating Your Home. With these tips, you’re well on your way to transforming your home into a space you’ll love without overspending. Happy renovating!
Prefer to watch?
Ryan and Deon discuss renovating on a tight budget in the 2 part videos below:
pricing and stock information displayed on this site will be of the branch you select.
it will remain your default branch until you change it. all prices are inclusive of VAT.