

When it comes to tiling projects, using the right adhesive is crucial for achieving a durable and long-lasting finish. Properly applied adhesive ensures that tiles adhere securely to the surface, preventing cracks, loose tiles, and water damage.
In this comprehensive guide, we will walk you through the essential steps and best practices for using adhesives in your tiling projects, enabling you to achieve professional results and create beautiful tiled surfaces that stand the test of time.
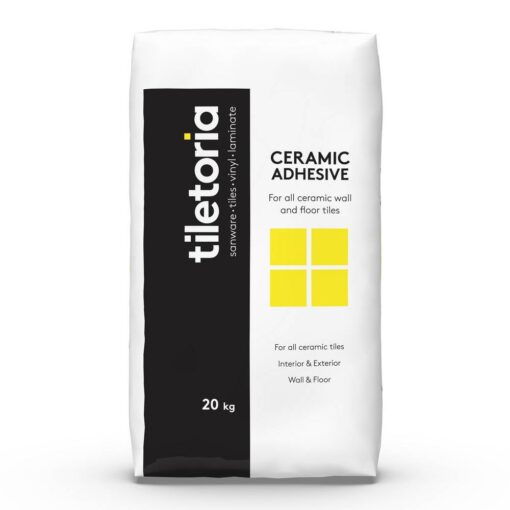
1. Select the Right Adhesive:
Choosing the correct adhesive is the first step towards a successful tiling project. Consider factors such as the type of tiles you are using, the substrate (surface) you are tiling on, and the environment in which the tiles will be installed.
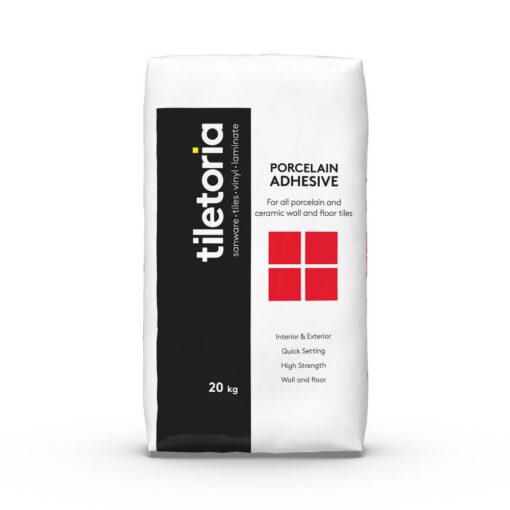
Above: tiletoria porcelain adhesive
Different adhesives are formulated for specific applications, such as ceramic, porcelain, or natural stone tiles. Select an adhesive that is suitable for your specific tile type and the surface you are working on to ensure proper adhesion and longevity.
2. Prepare the Surface:
Proper surface preparation is vital for optimal adhesion. Ensure that the surface is clean, dry, and free from dust, grease, or any other contaminants. Remove any loose or uneven areas and repair them before applying the adhesive.
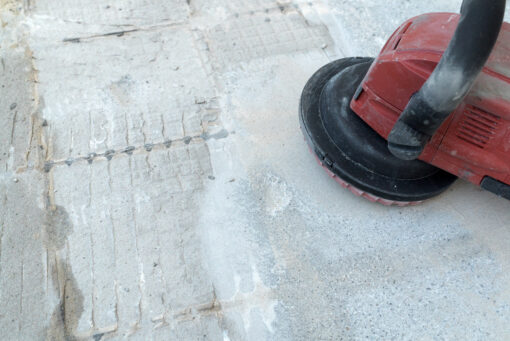
If the surface is particularly smooth or non-porous, consider roughening it with sandpaper or using a suitable primer to enhance the bond between the adhesive and the surface.
3. Mix the Adhesive:
Follow the manufacturer’s instructions to mix the adhesive correctly. Use clean water and gradually add the adhesive powder while stirring to achieve a smooth and lump-free consistency.
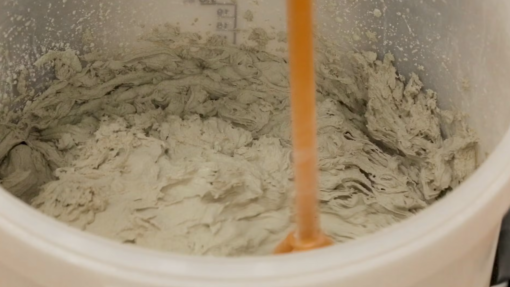
Avoid preparing more adhesive than you can use within the recommended pot life to prevent waste and ensure the adhesive remains workable.
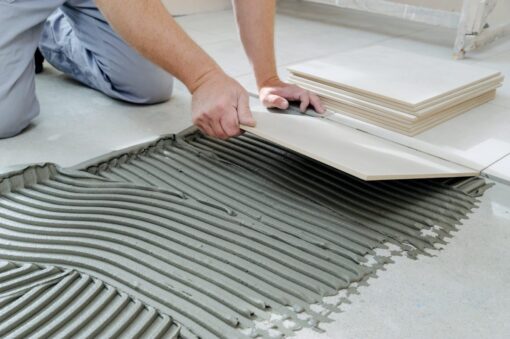
4. Apply the Adhesive:
Using a notched trowel, spread the adhesive evenly onto the surface. The size of the notches on the trowel should be determined by the tile size and thickness, as well as the substrate condition.

Apply the adhesive in small sections, working in manageable areas to prevent it from drying out before placing the tiles. Keep the trowel at a consistent angle to ensure a uniform adhesive bed.
5. Tile Placement:
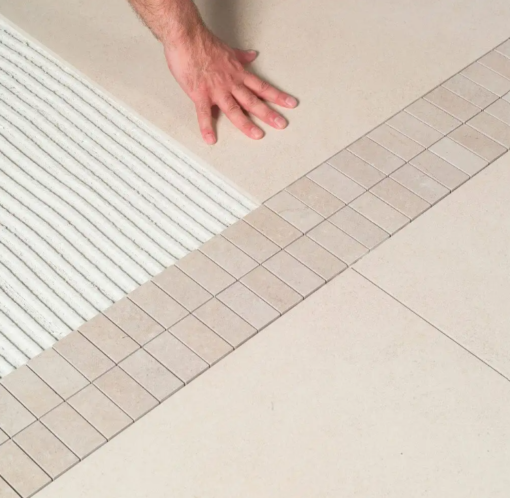
Carefully press each tile into the adhesive, applying even pressure to ensure good contact and proper adhesion. Use tile spacers to maintain consistent spacing between tiles and achieve straight grout lines.
Check periodically with a level or straightedge to ensure that the tiles are aligned correctly and flush with each other. Wipe off any excess adhesive that squeezes out from the joints before it dries.
6. Allow for Proper Drying and Curing Time:
Follow the manufacturer’s instructions regarding drying and curing time. Allow the adhesive to set for the recommended period before applying grout or subjecting the tiled surface to any moisture or foot traffic.
Proper drying and curing time will ensure that the adhesive reaches its maximum strength and bond.
Using adhesives for tiling requires attention to detail and adherence to proper techniques. By following this guide, you can achieve professional results in your tiling projects.
At Tiletoria, we offer a wide range of high-quality adhesives suitable for various tile types and applications. With the right adhesive and proper techniques, you can confidently tackle any tiling project and enjoy beautiful, long-lasting results.
Visit our showroom in Cape Town or Johannesburg to explore our selection and consult with our knowledgeable staff.