
")
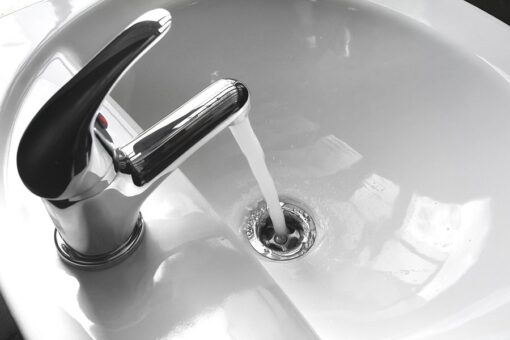
There’s nothing more irritating than the constant drip, drip, drip of a leaking tap. Not only is it a waste of water, it can also add to your utility bills over time. The good news? You can often fix a dripping kitchen or bathroom tap yourself without much fuss. The better news? If things get tricky, you’ll know exactly when to call a plumber.
Let’s break it down step-by-step.
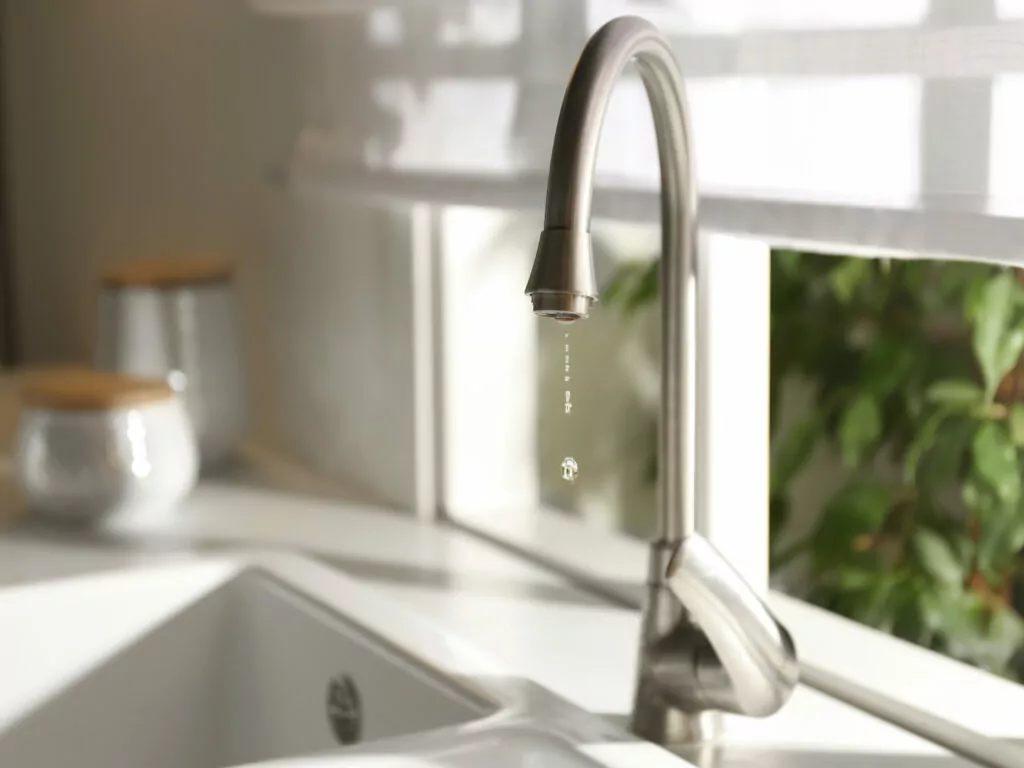
Table of Content:
Why Is My Tap Dripping?
What You’ll Need to Fix a Leaking Tap
How to Fix a Dripping Tap: Step-by-Step
When to Call a Plumber
Why Is My Tap Dripping?
A dripping kitchen or bathroom tap is usually caused by one of these common issues:
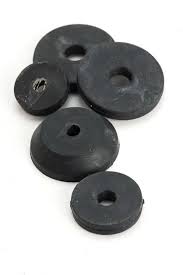
A worn-out washer or O-ring
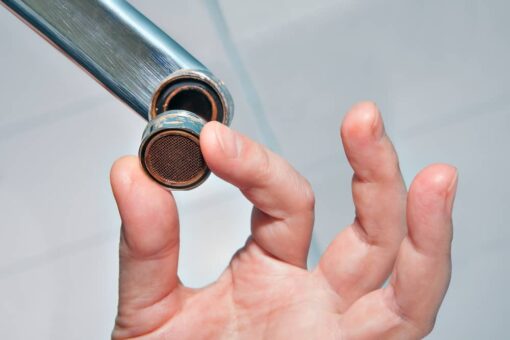
A faulty ceramic disc cartridge
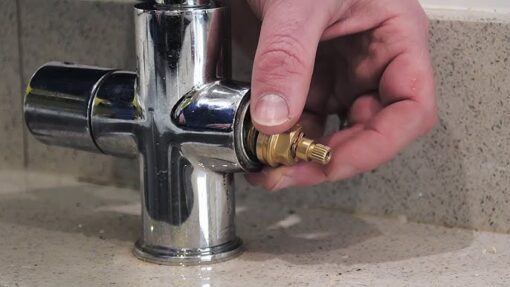
Image credit: Fix Make
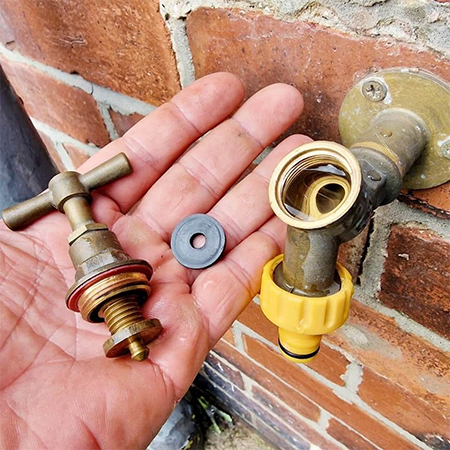
Loose or corroded parts
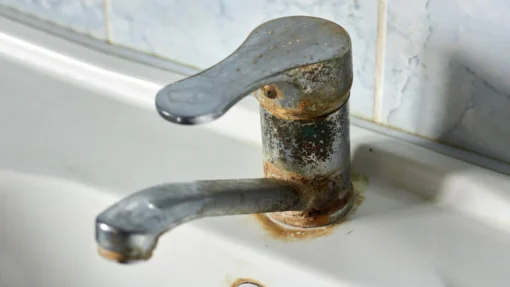
Image credit: ruheindia.com
High water pressure
These problems sound complicated but many are quick and affordable to fix at home.
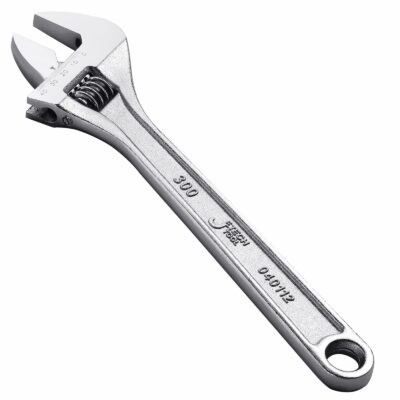
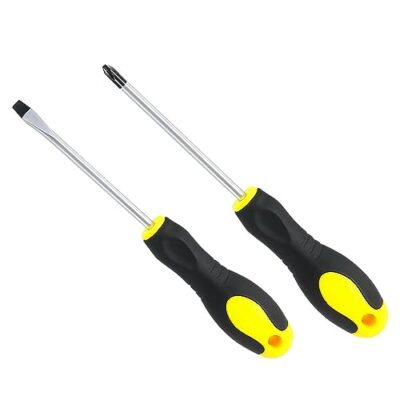
What You’ll Need to Fix a Leaking Tap
Before you begin, gather the following:
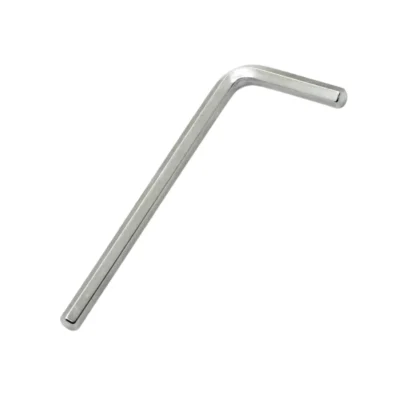
Adjustable spanner or wrench
Flathead and Phillips screwdrivers
Replacement washer or cartridge (depending on your tap type)
Allen key (for some mixer taps)
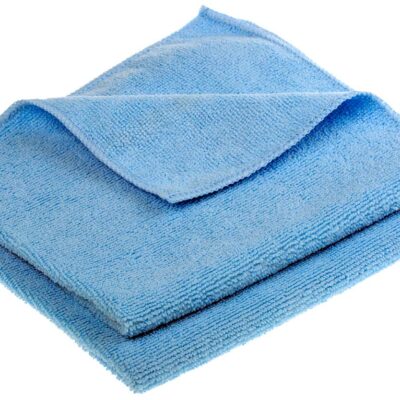
A cloth or towel to protect surfaces
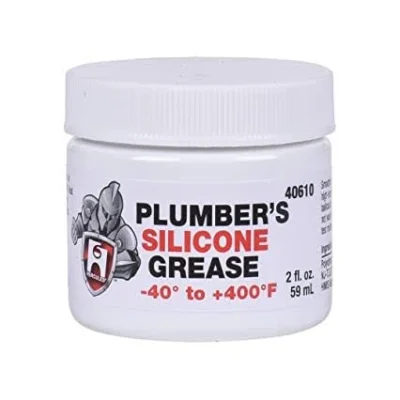
Plumber’s grease (optional but helpful)
How to Fix a Dripping Tap: Step-by-Step
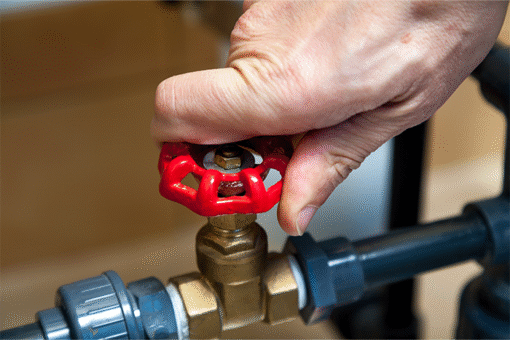
1. Turn Off the Water Supply
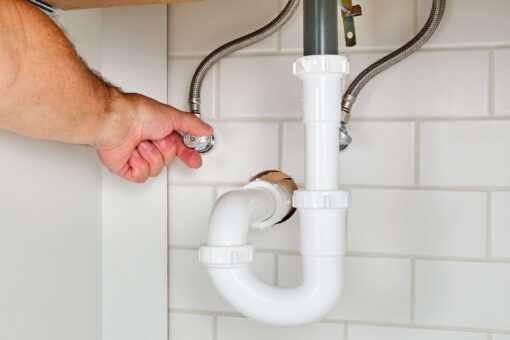
Look under your sink and find the isolation valve. Turn it clockwise to shut off the water. If you can’t find it, turn off the main water supply for your home.
2. Plug the Sink/Basin
You don’t want any small parts falling down the drain, so plug the sink/basin or cover the drain with a cloth.
3. Remove the Tap Handle
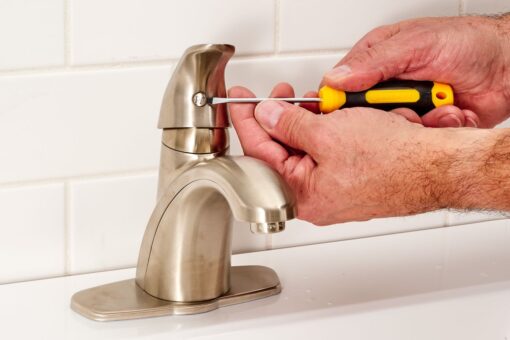
Image credit: thespruce.com
Use a screwdriver or Allen key to take off the tap handle. You might need to pop off a decorative cap to access the screw.
4. Identify the Problem
Once the handle is off, you’ll see the tap mechanism. If your tap uses a rubber washer, inspect it for wear or damage. If it’s a ceramic disc tap, check the cartridge.
5. Replace the Damaged Part
-
For washer taps: Unscrew the valve, remove the old washer and replace it with a new one of the same size.
-
For ceramic disc taps: Replace the entire cartridge with a new one compatible with your tap brand.
Tip: Take the old part with you to a plumbing store if you’re unsure about size or type.
6. Reassemble the Tap
Put everything back in the reverse order. Make sure all parts are tight but don’t overtighten — this could cause damage.
7. Turn the Water Back On
Slowly turn the isolation valve back on and check for leaks. If the drip is gone, you’ve done it right.
When to Call a Plumber
Sometimes, a dripping tap is just the tip of the iceberg. Call a professional plumber if:
-
The tap continues leaking after replacing parts
-
You notice water damage under the sink
-
The plumbing connections are corroded or rusty
-
You can’t identify the type of tap or cartridge
-
You’re dealing with high water pressure or noisy pipes
A plumber will fix the issue properly and help prevent future damage, saving you time and money in the long run.
Fixing a dripping kitchen tap or bathroom tap is a simple DIY job in many cases. With a few tools and a little patience, you can stop that annoying drip and enjoy a quiet, functional kitchen or bathroom again. But if things feel too technical or you’re unsure, don’t hesitate to call a plumber.
Whether you’re renovating your kitchen or bathroom, or just maintaining your home, knowing how to handle small plumbing issues makes a big difference.
Looking to upgrade your kitchen or bathroom taps or need expert plumbing advice? Browse our range of kitchen taps and bathroom taps or get in touch with our team — we’re here to help.