

If you are planning a renovation project you may by wondering if you can install tiles over your existing flooring instead of ripping everything out. The good news is that it is possible but you need to follow the right steps to make sure your tiles last and look professional.
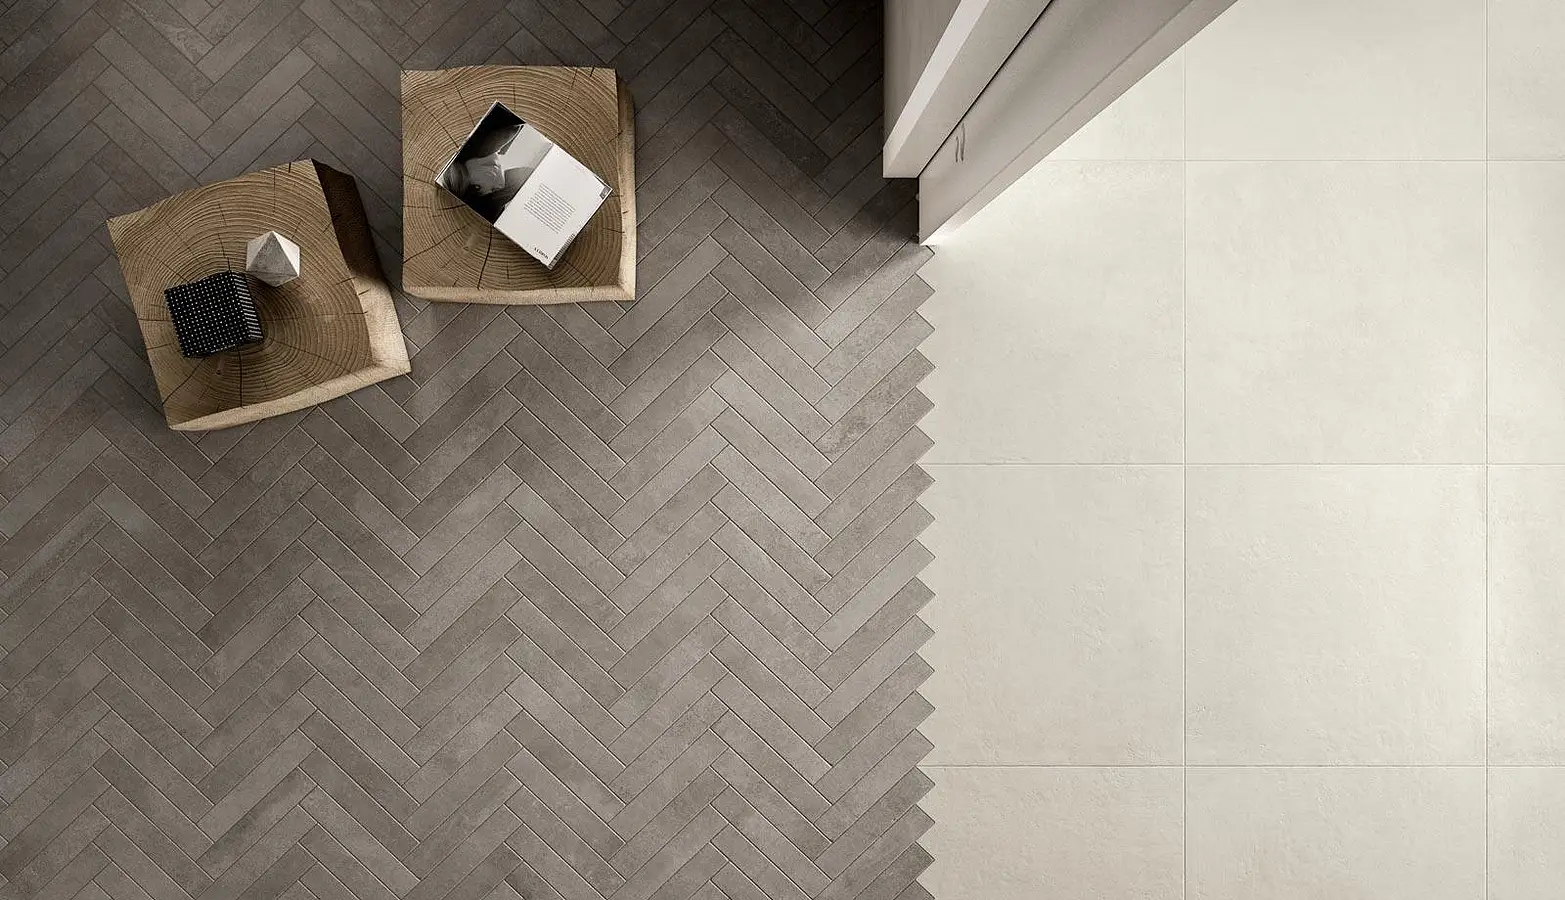
Table of Content:
Why Install Tiles Over Existing Flooring
How To Know If Your Floor is Suitable
Preparing the Surface Before You Begin
Essential Tools and Materials
Steps to Install Tiles Over Existing Flooring
Common Mistakes to Avoid When You Install Tiles Over Existing Flooring
Why Install Tiles Over Existing Flooring
Choosing to lay tiles on top of your current floor can save time, money and a lot of mess. You avoid the hassle of breaking up and disposing of old flooring and you can move forward with your renovation more quickly. This option is especially appealing for busy households or commercial spaces where downtime needs to be minimal.
How To Know If Your Floor is Suitable
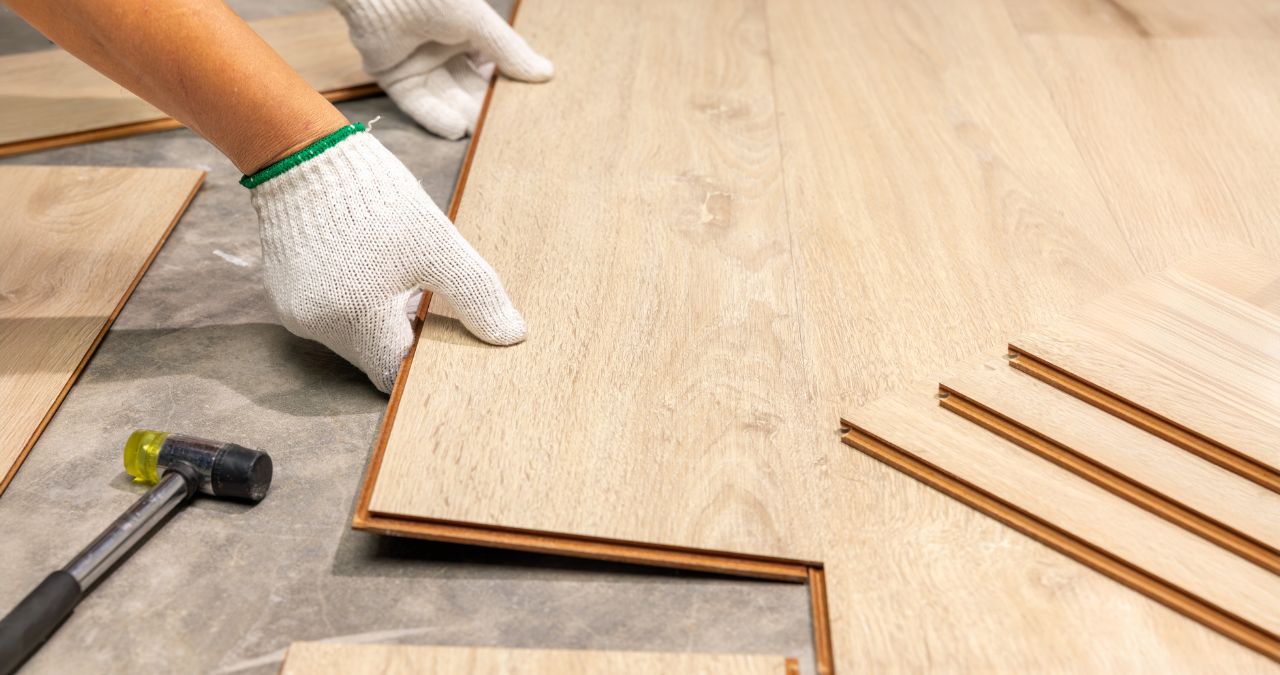
Before you start you need to know if your current floors are suitable. The surface must be stable flat and free from cracks. Materials like ceramic, vinyl or even concrete are usually fine as long as they are in good condition. However carpets, uneven wood floors or anything with water damage will not work.
Preparing the Surface Before You Begin
Preparation is key to a lasting result. Start by giving the surface a thorough clean to remove grease dirt or dust. Fill in any small cracks or gaps and make sure the floor is level. In some cases you may need to roughen the surface slightly with sandpaper or apply a bonding agent to help the new tiles stick properly.
Essential Tools and Materials
Having the right tools will make the job smoother.
2. Grout
3. A notched trowel
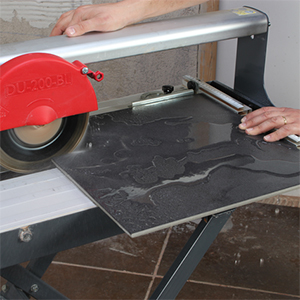
4. A tile cutter
5. Tile spacers

6. A spirit level

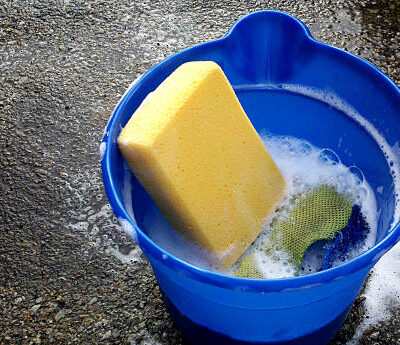
6. A sponge and bucket
These basics will cover most installations whether you are working in a bathroom, kitchen or living space.
Steps to Install Tiles Over Existing Flooring
Follow these steps to ensure a neat finish:
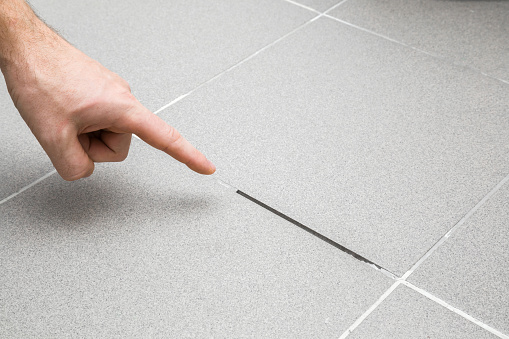
1. Plan your layout and mark guide lines on the floor.
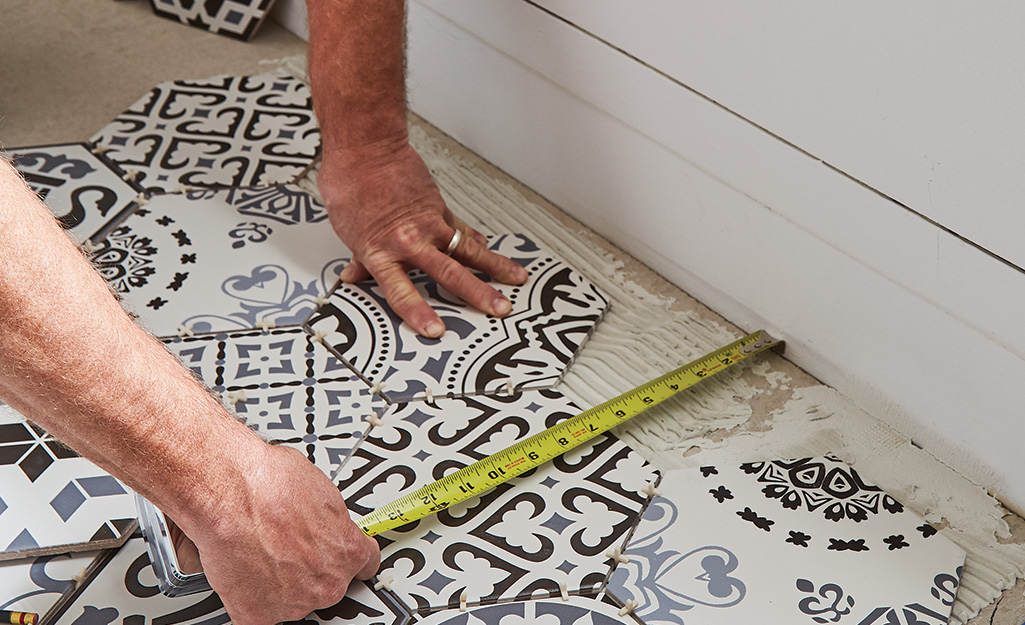
Image credit: The Home Depot
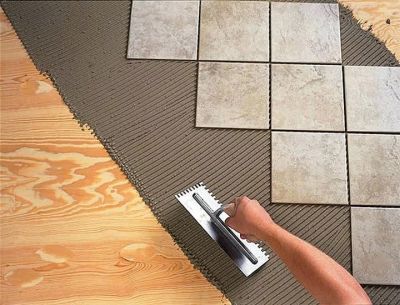
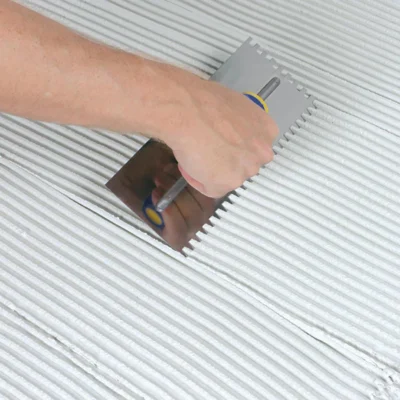
2. Apply adhesive with a notched trowel starting from the centre of the room.
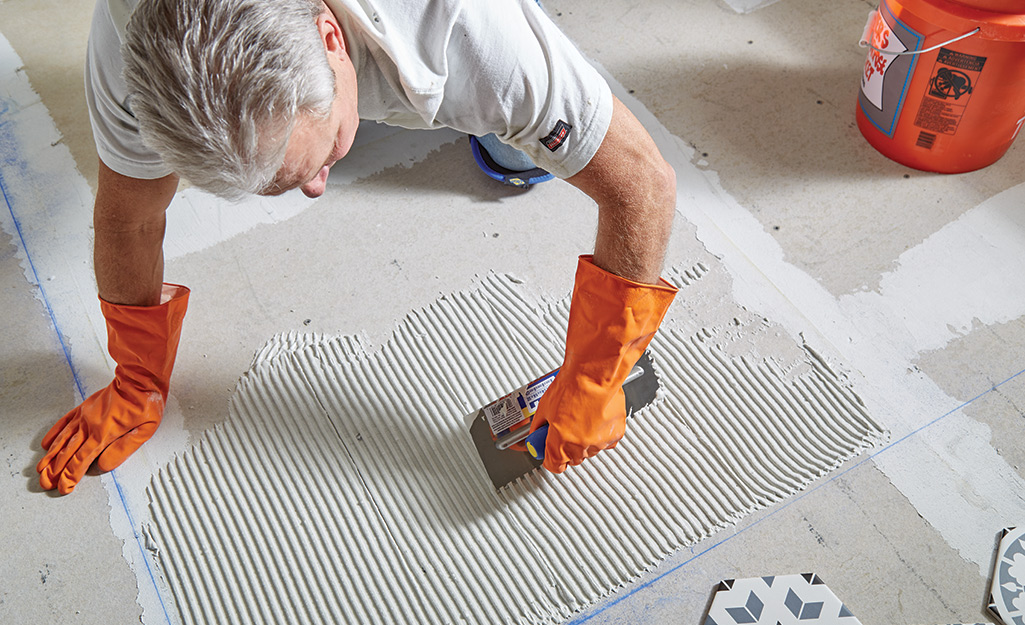
Image credit: The Home Depot
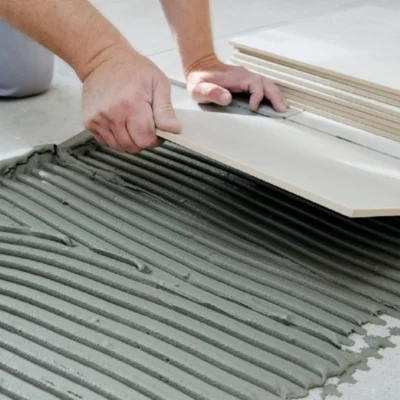
3. Place tiles carefully using spacers to keep lines even.
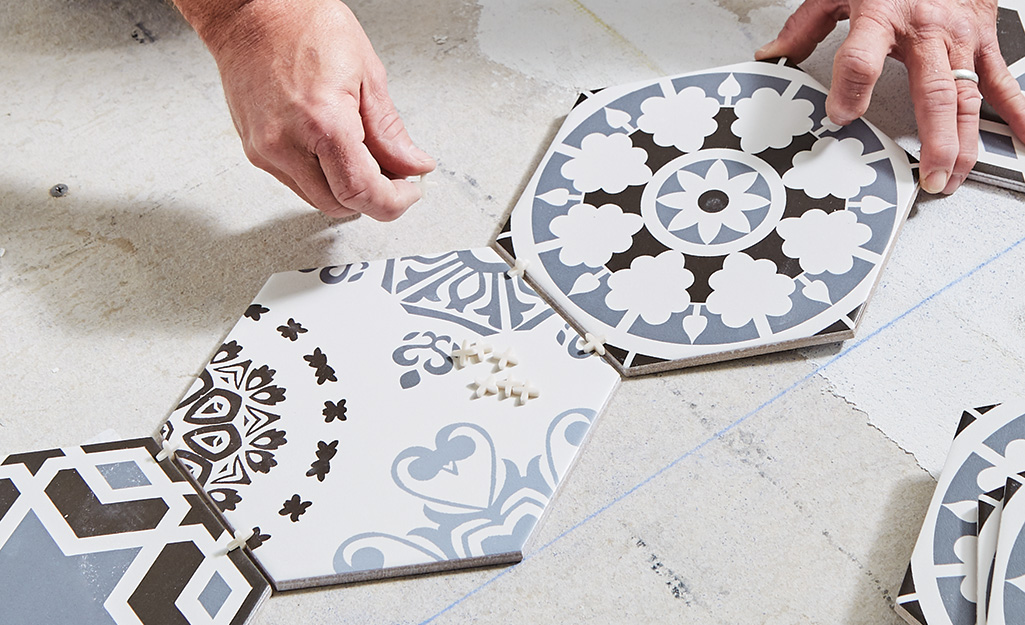
Image credit: The Home Depot
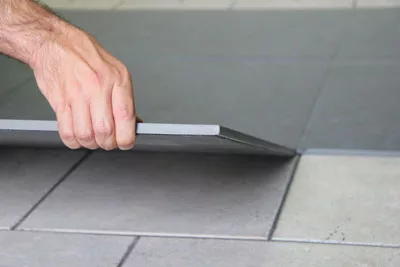
4. Check regularly with a spirit level to maintain a flat surface.
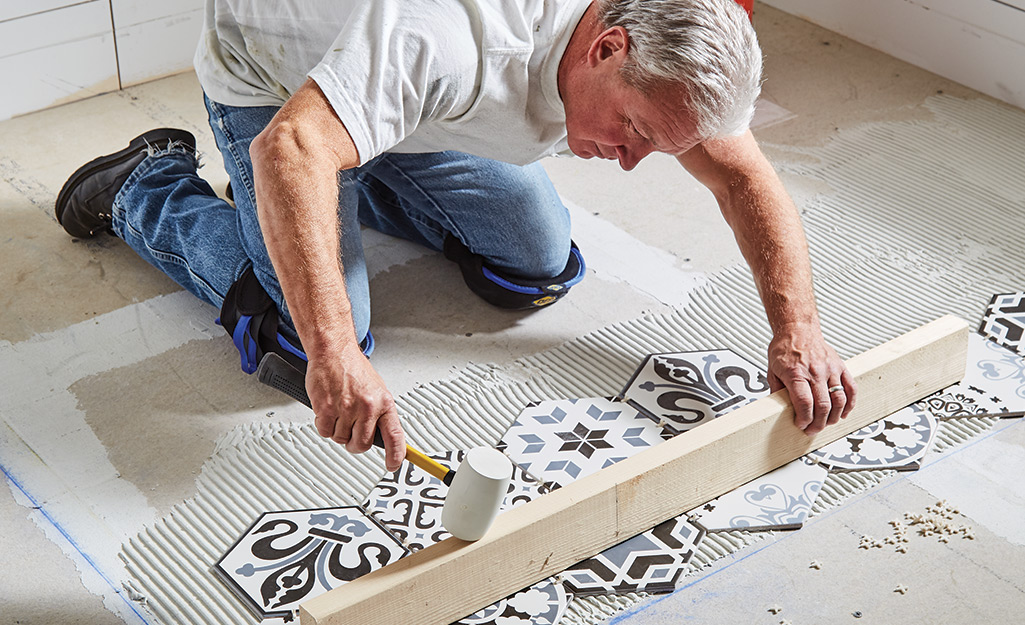
Image credit: The Home Depot
5. Let the adhesive set before applying grout between the tiles.
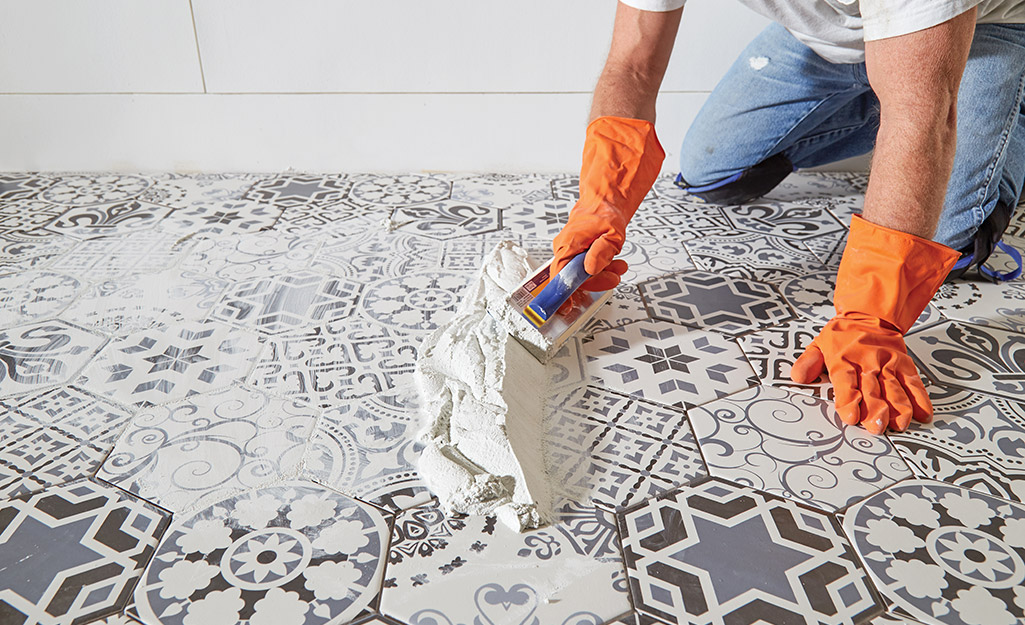
Image credit: The Home Depot
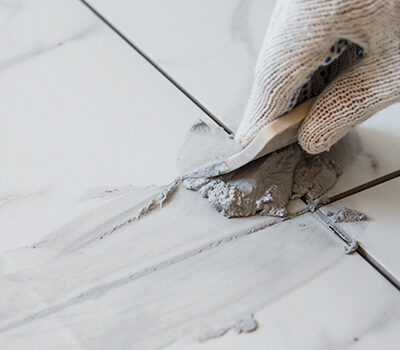
6. Wipe away excess grout with a damp sponge.
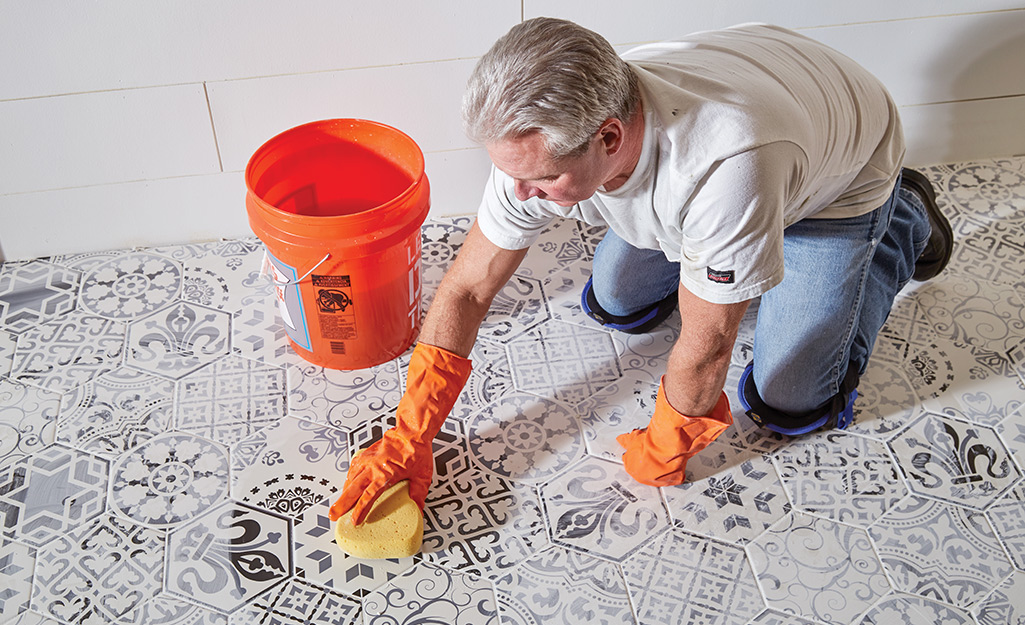
Image credit: The Home Depot
Taking your time during these steps will make a big difference to the final look.
Common Mistakes to Avoid When You Install Tiles Over Existing Flooring
Even with careful planning, small mistakes can affect the outcome. Skipping surface preparation, rushing the adhesive setting time or forgetting to seal your grout can all cause issues like loose tiles or water damage later on.
Updating your space by laying new tiles over your existing floor can save you effort and money while giving your home a fresh new look. The key is to prepare properly, use the right tools and follow the correct steps. If you are not confident in your DIY skills it is always a good idea to call in a professional tiler to ensure the job is done right.